
Custom Leather Koozie Guide from Blank to Finished Press
You've got a leather blank on the bench, a transfer beside it, and a heat press that's already warmed up. The artwork looks right, but you're not sure whether the leather will accept the adhesive or come out darker, stiffer, and permanently marked. That's the point to stop and test, before a promising gift becomes a spoiled blank or an order you can't reproduce.
Why a Custom Leather Koozie Is Worth the Effort
A custom leather koozie makes sense when the sleeve itself matters as much as the decoration. For a wedding favor, brewery gift, or craft-shop product, the buyer can judge the hand-feel, stitching, edges, and personalization together. A clean logo won't disguise a crooked seam or a sleeve that makes the drink difficult to remove.
Leather has a long history as an accessory material. Its established uses and suitability for stamping, engraving, stitching, and applied graphics provide useful context in this history of leather and leather-product manufacturing. That history doesn't guarantee that a particular blank will survive your press, however.
Decide What the Product Needs to Do
Treat leather as a material choice, not an automatic upgrade over neoprene. Compare finished samples for weight, flexibility, grip, and ease of care rather than promising superior insulation without testing it. A substantial sleeve may suit a keepsake; a lighter, easier-care material may be more appropriate for an event giveaway.
Before ordering supplies, settle these practical questions:
- Container fit: Choose the actual can or bottle the customer will use.
- Decoration priority: Decide whether full-color detail or a tactile mark matters more.
- Use conditions: Separate occasional gift use from repeated outdoor handling.
- Production standard: Define what makes the piece acceptable beyond looking good in a photograph.
For outdoor gifts, consider where the finished drink will sit, too. The Lounge Wagon cup holder accessories resource is a useful companion when thinking about a sleeve as part of a larger drink-carrying setup, rather than an isolated decorative item.
Practical rule: Sell the fit, finish, and tested construction you can demonstrate. Don't sell an assumed lifespan.
The manageable route is to approve the leather, prove the template, prepare appropriately sized artwork, and validate the application. Those decisions separate a satisfying one-off from a product you can confidently make again.
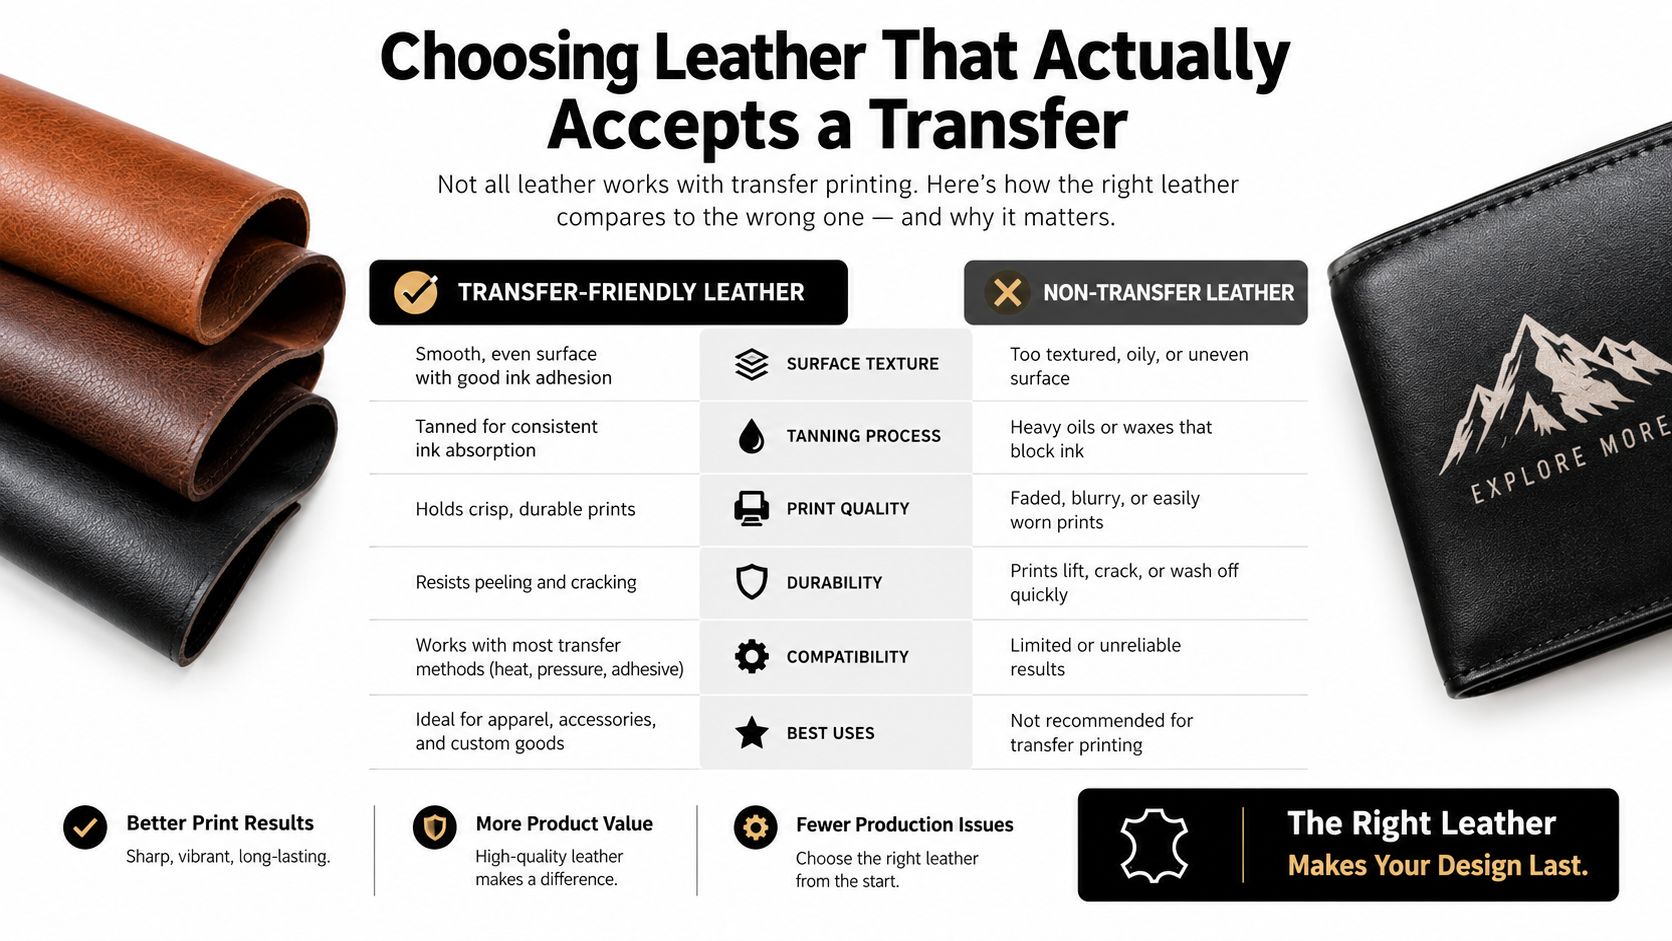
Choosing Leather That Actually Accepts a Transfer
Buy the finish you've tested, not just the leather category you recognize. Vegetable-tanned and chrome-tanned describe tanning approaches, but neither label gives you a complete pressing specification. Ask the supplier about surface coatings, waxes, thickness consistency, and compatibility with your intended adhesive.
Use this comparison as a sampling guide, not a guarantee that every hide in a category behaves alike.
Compare Candidate Materials
| Leather option | What to investigate | Practical buying decision |
|---|---|---|
| Vegetable-tanned leather | Heat response, absorption, and surface change | Request an offcut and compare it with an unpressed control |
| Chrome-tanned leather | Coating chemistry and adhesive compatibility | Approve the exact finish rather than assuming the category will bond |
| Bonded leather or bonded splits | Layer integrity during damp flexing | Don't choose on price alone; require a convincing finished sample |
| Suede or nubuck | Surface texture and acceptable decoration method | Compare transfers with a separately sampled stitched or engraved treatment |
Avoid a universal thickness recommendation. Ask for material that wraps the chosen container without excessive force, supports the intended seam, and remains consistent across the order. A thicker blank isn't useful if it produces an awkward join or makes removal difficult.
The material compatibility chart belongs in the purchasing workflow, alongside the leather supplier's advice. Neither replaces testing the actual leather-and-transfer combination.
Prepare Without Destroying the Finish
Clean away incompatible oils, waxes, dust, and loose finish. Light abrasion is conditional, not permission to scuff every coated surface; preparation must suit the leather. Research on heavy-duty leather demonstrates that primers can substantially affect bonding, but its results shouldn't be generalized to every transfer system, as explained in this study of leather surface preparation and adhesion.
Keep a labeled sample showing the cleaning method and result. Reject preparations that improve adhesion while leaving an unacceptable halo around the artwork.
For another perspective on evaluating leather accessories, Tattoo Golf's golf belt style and performance resource provides a relevant comparison point. Judge your koozie by its own use conditions, especially hand contact and beverage moisture.
Measuring, Templating, and Cutting Your Blank
Measure the container, not a photograph of a koozie. Wrap a flexible measuring tape around the portion you intend to cover, then mark the sleeve's upper and lower boundaries. Bottles need particular attention because the body can transition into a shoulder before the proposed sleeve ends.
Make a cardstock pattern before touching the hide. Wrap it around the container, mark the seam, and try inserting and removing the drink. Add the overlap required by your chosen construction, rather than treating the measured circumference as the finished cutting width.
Common Beverage Sizes and Recommended Koozie Dimensions
The recommendations below are measurement instructions, not universal dimensions. Record the actual values on your approved template.
| Beverage | Diameter | Finished Height | Notes |
|---|---|---|---|
| Standard can | Measure the intended can | Set below the drinking rim | Check insertion and removal |
| Tall can | Measure the intended tall can | Choose the covered body area | Don't assume extra height means extra width |
| Slim can | Measure independently | Match the usable straight body | Create a separate pattern |
| Beverage bottle | Measure the covered body | Stop before the shoulder interferes | Check taper and access |
For a craft-beer project, Aussie craft beer cooler tips from Carbon 6 Brewing Pty Ltd. offers related container context. Keep the intended beverage beside the bench while approving your pattern.
Choose Construction Before Cutting
A wrap joined along a side seam is a straightforward starting project. A tube with a separately stitched bottom adds another component and another fit check, so choose it only when that construction serves the intended use.
Mark grain orientation consistently on the pattern and hide. Use a sharp knife or rotary cutter with a stable straightedge, and keep the seam allowance identifiable throughout assembly. For the controlled workflow described here, stitch or bond the seam before decoration, then support the assembled piece during pressing.
- Cutting control: Keep the template fixed and replace a blade that drags.
- Edge treatment: Sample burnishing, edge paint, or a supplier-approved treatment on an offcut.
- Repeatability: Retain the approved pattern rather than tracing each new blank from the last one.
A production template should include the cutting outline, seam position, and usable artwork area. That gives the next maker something reproducible, not something to interpret.
Preparing Artwork for DTF and UV-DTF Transfers
A design can look sharp on a monitor and still be unsuitable for the finished sleeve. Prepare artwork inside the usable decoration area, not across the entire cutting template. Keep names and important details away from the seam, edges, and tight bends.
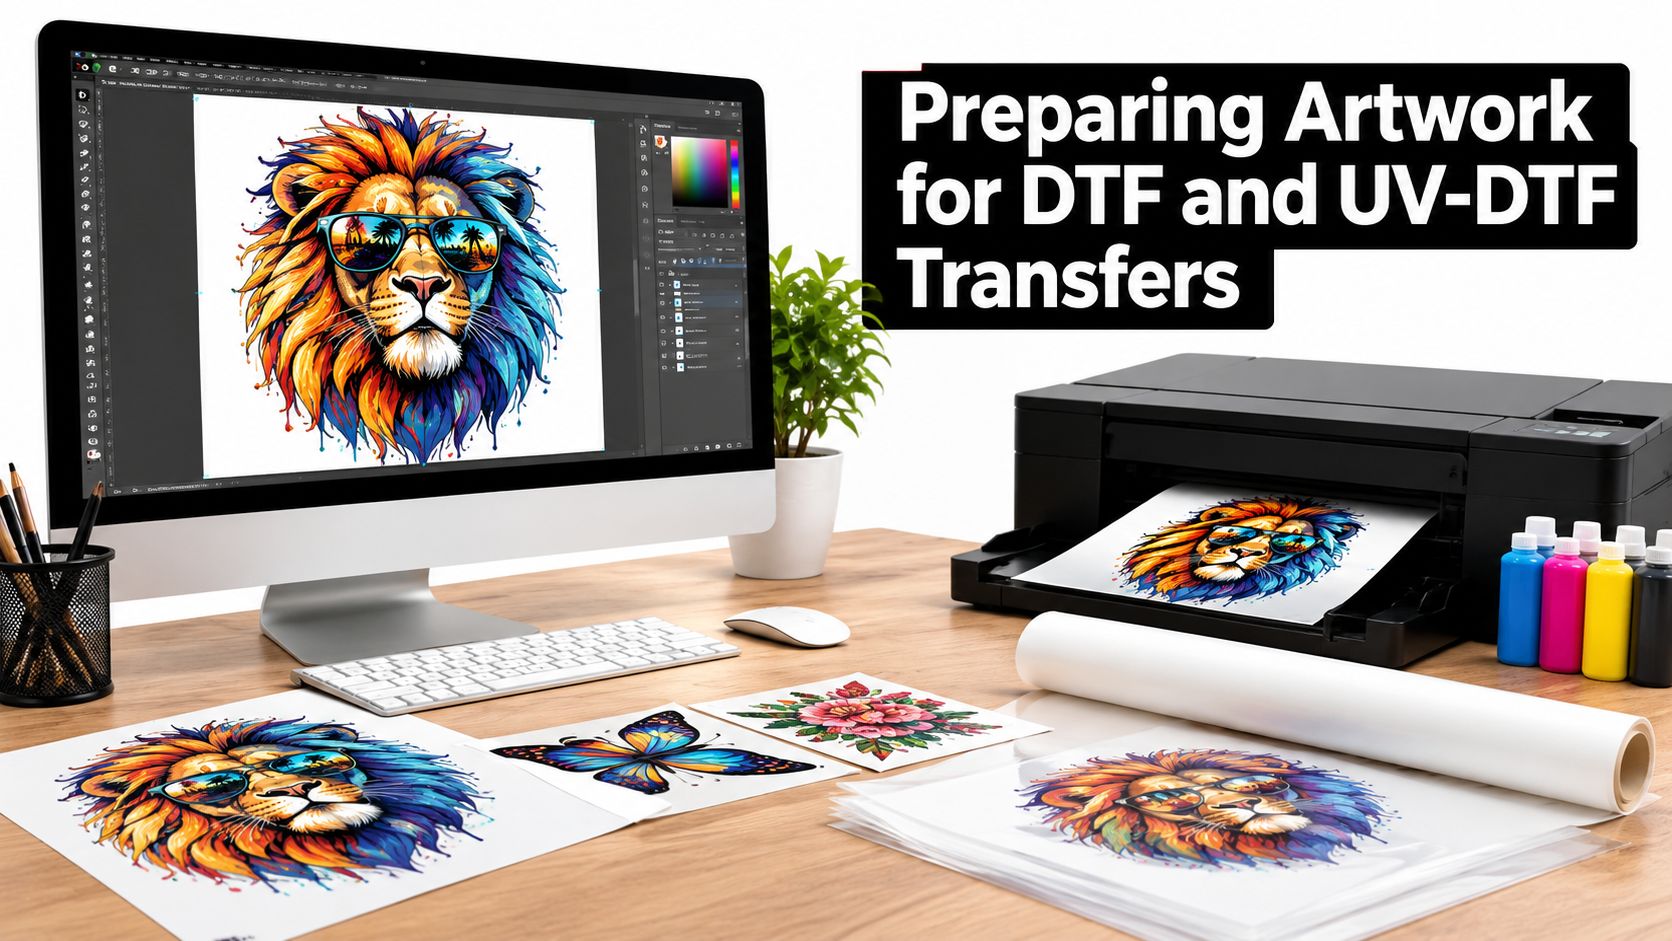
Print a paper proof at the intended output size and place it on the assembled koozie. Read it while holding the sleeve naturally, not just while it lies flat. If a logo only works when you rotate the container into a precise position, simplify or resize it.
Build a Supplier-Ready File
Use the print service's specifications for resolution and color profile. Don't switch between sRGB and Adobe RGB because one sounds more professional; use the profile the supplier requests. Enlarging a low-resolution image also doesn't restore missing detail.
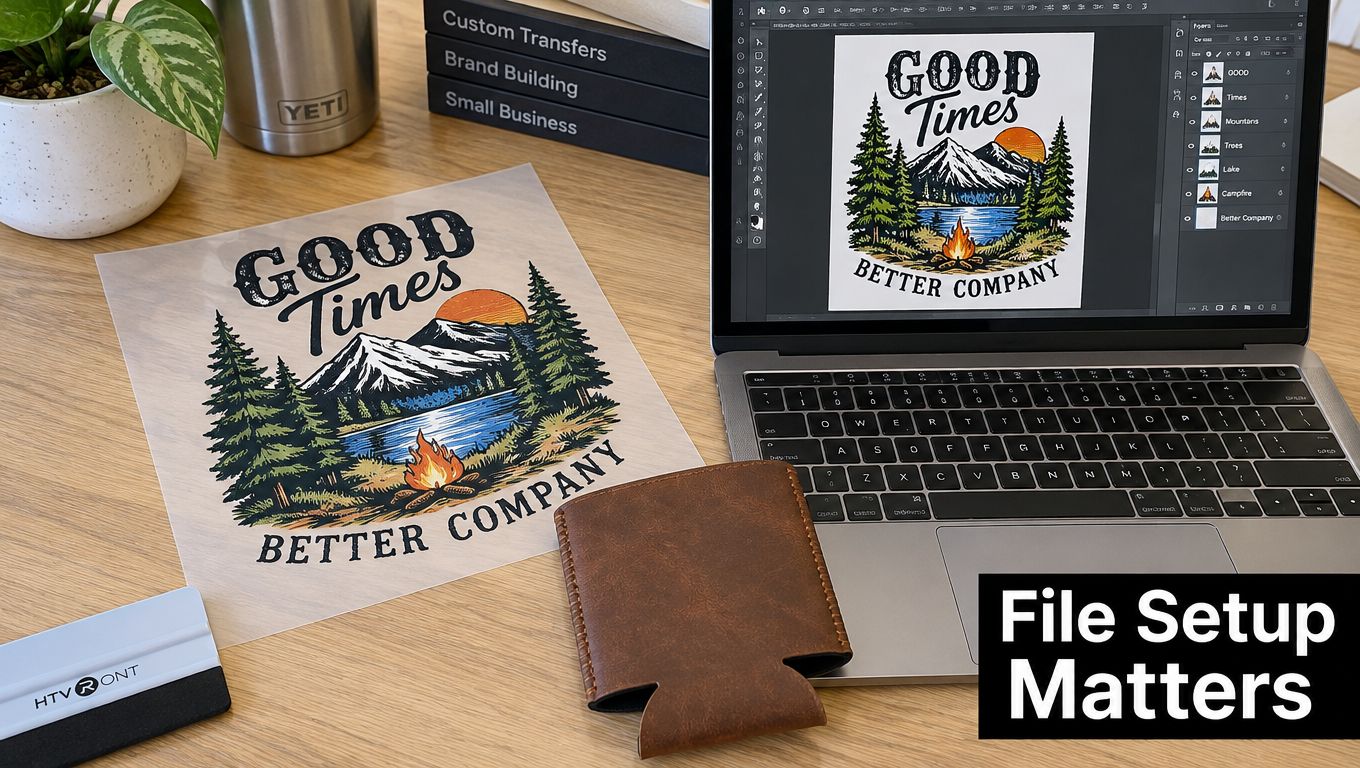
The artwork preparation guide is a useful checkpoint before uploading. Your working file should make the intended output clear:
- Background: Use transparency when you don't want a printed rectangular background.
- Proportions: Preserve the original logo shape rather than stretching it to fill the sleeve.
- Fine details: Inspect small lettering and isolated elements at actual size.
- Personalization: Check every name against the approved customer list.
Confirm upload orientation with the supplier. Don't mirror automatically because you've previously cut heat-transfer vinyl; upload requirements depend on the printing workflow.
Separate File Approval From Material Approval
Build Your Own DTF Gang Sheet is an option for arranging multiple designs together. Grouping artwork is useful for batch organization, but an efficiently packed sheet doesn't prove that its adhesive will hold on your leather.
Reserve a sample design for physical testing before releasing the full order. Keep customer names and artwork revisions clearly labeled so a correct print doesn't end up on the wrong blank.
A digital proof approves the artwork. A decorated, flexed, and moisture-tested sample approves the product.
Prepare DTF and UV-DTF jobs separately. Don't assume a file that prints successfully through either process establishes suitability for a flexible leather sleeve.
Heat Press Settings and Application Steps
There isn't a defensible universal temperature-and-time recipe for leather. Use the transfer supplier's specified temperature, pressure, dwell, peel method, and any finishing press, then verify that the leather tolerates that complete process. A setting borrowed from an apparel blank can produce an unacceptable result on your chosen finish.
The heat-pressing leather guide is a relevant process reference. Obtain instructions for the exact transfer you're purchasing rather than combining settings from unrelated products.
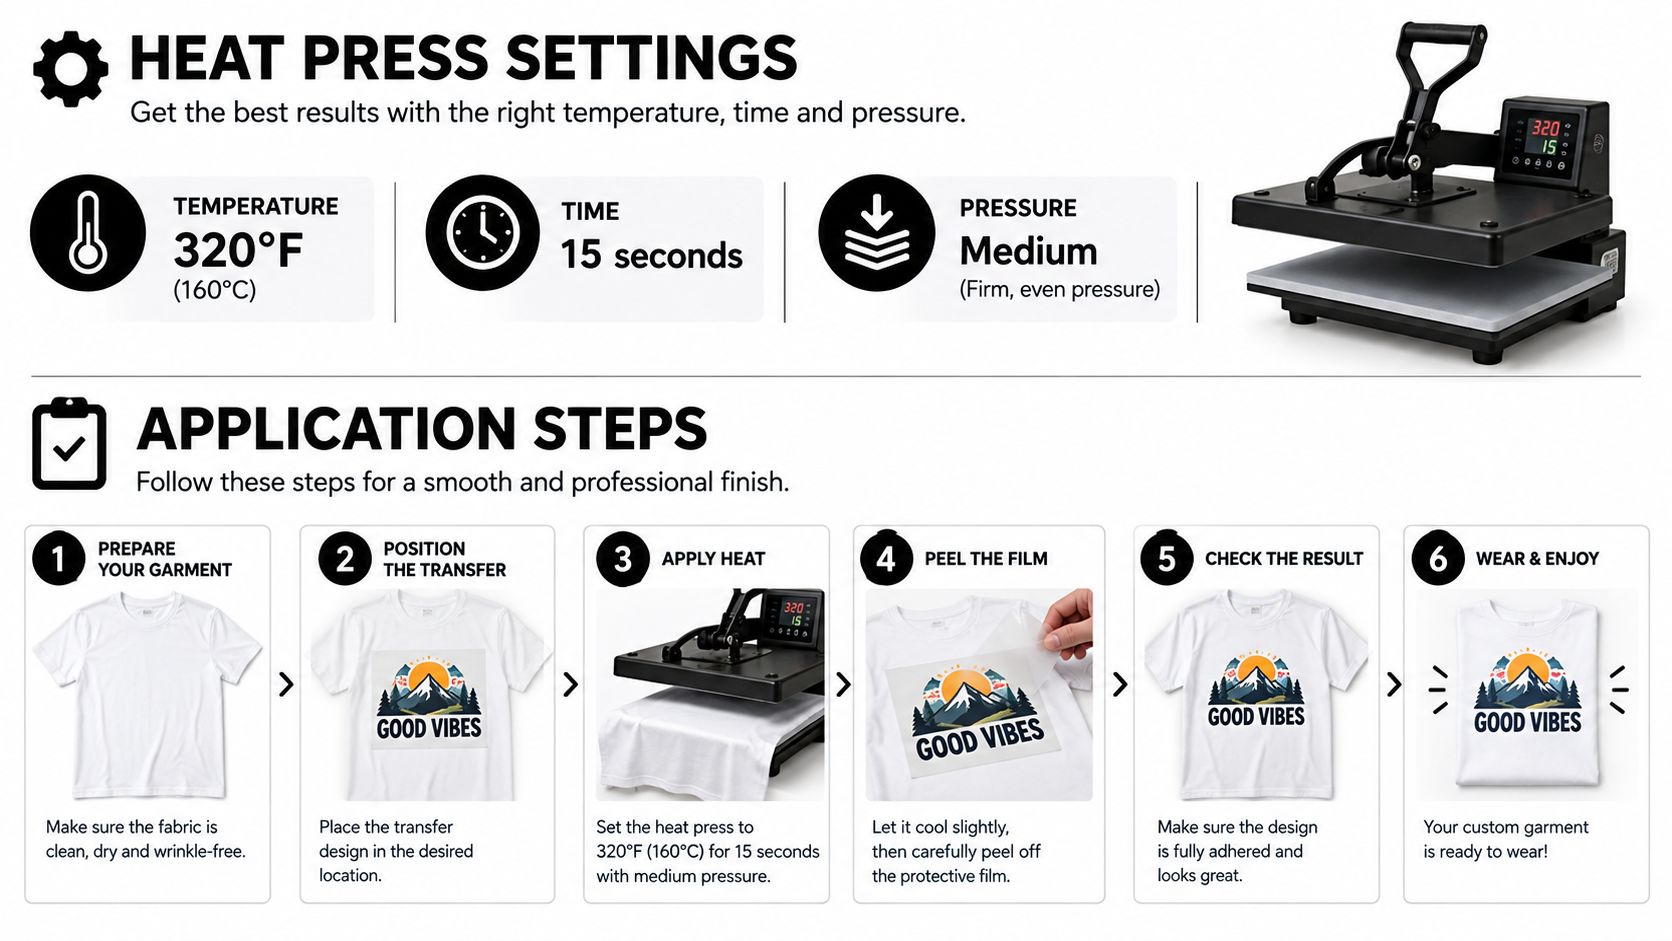
Run a Controlled Application
Start with an undecorated test piece from the same leather lot. Inspect its color, flexibility, and finish before pressing so you have a meaningful comparison afterward.
- Confirm preparation. Use the approved cleaning process and allow residue or moisture to clear before application.
- Support the sleeve. Arrange the assembled koozie so the decoration panel receives even contact without the seam creating a pressure ridge.
- Check any pre-press requirement. Use a pre-press only when the supplier's process calls for it and the leather sample tolerates it.
- Place the transfer correctly. Put the adhesive-bearing face against the leather and keep the carrier oriented as instructed.
- Apply the specified cycle. Record temperature, pressure, and dwell rather than relying on memory.
- Peel and finish as directed. Follow the required peel condition and use a cover sheet or finishing press only when specified.
Custom DTF Transfer by Size: Perfect Prints for Every Project is one ready-to-press option whose listed compatible materials include leather. That listing is a starting point for sampling, not approval of every leather finish.
Diagnose the Failure Before Changing Settings
Scorching, hardening, shrinkage, or distortion means the tested heat exposure is unacceptable. Lifting can involve contamination, incompatible finish, moisture, or application conditions; don't respond by increasing pressure blindly.
Change a controlled variable within supplier-approved limits and compare samples. Preserve failed pieces with their settings, too.
For formal validation, relevant methods include ISO 11644 for finish adhesion, ISO 5403-1 for dynamic water resistance, ISO 17076 for Martindale abrasion, and ASTM D7255 for rotary-platform abrasion, with further detail in CTC's leather physical-testing guidance. Bench checks aren't equivalent to those laboratory methods, but you can still define clear rejection criteria: seam opening, graphic lifting, finish cracking, or exposed substrate.
UV-DTF requires a separate application plan. Its adhesive-backed, UV-printed graphics aren't a substitute for the heat-activated process above, and hard-surface suitability shouldn't be treated as proof of leather-flex performance.
Retain the approved sample and its leather lot, preparation method, press settings, and observed failure criteria. That record is what makes a reorder reproducible.
Cleaning, Conditioning, and Real-World Durability
A finished custom leather koozie spends its working life near condensation, spilled drinks, hands, and tables. Premium appearance doesn't mean low maintenance. The care instructions need to suit both the leather finish and the applied decoration.
Leather-care guidance warns that excessive moisture and heat can contribute to fading, cracking, or mold, while harsh chemicals can damage or discolor leather. These cautions are covered in NBC Select's leather-care guidance. Don't promise that every wet mark will disappear or that every stain can be removed.
Separate Fresh Spills From Established Stains
Blot a fresh beer spill with a clean, soft cloth rather than scrubbing it across the surface. Remove loose residue gently, then let the sleeve air-dry naturally away from direct heat. Don't use a dryer to speed up the process.
An established stain needs a more cautious approach. Test a leather-appropriate cleaner on a hidden area first, allow it to dry, and inspect both the finish and graphic before treating the visible area. Don't rinse or immerse the sleeve unless the maker has specifically approved that treatment for its complete construction.
Care-card standard: Give customers a method you've tested on the finished product, not instructions copied from an unrelated leather accessory.
Conditioning also needs approval for the particular finish. Follow the leather supplier's recommendation and check compatibility with the decoration; a fixed calendar schedule isn't appropriate for every coated or unfinished surface.
Give Buyers Clear Instructions
A useful care card can stay short:
- Spills: Blot promptly with a soft cloth.
- Drying: Air-dry naturally, away from heaters and direct heat.
- Cleaning: Spot-test an approved leather cleaner before use.
- Chemicals: Avoid bleach, rubbing alcohol, and harsh sanitizers.
- Storage: Put the sleeve away only after it has dried.
- Conditioning: Use only a treatment approved for this leather and decoration.
For retail production, keep a reference piece for realistic handling checks. Include damp contact, drying, compression, and sliding against a tabletop in your evaluation, without claiming those checks establish a particular lifespan.
Be equally careful with sustainability language. Ask about hide sourcing, coatings, adhesives, packaging, and repair options. Longevity is a useful design objective, but the word leather alone isn't evidence that the finished product is environmentally preferable.
DIY vs Bulk Ordering and Your Next Steps
Choose the production route by available equipment, labor, and deadline, not an arbitrary quantity cutoff. A gift project gives you room to experiment. A customer order requires an approved sample and a process you can repeat without improvising on delivery day.
DIY makes sense when you want control over material selection, cutting, stitching, and decoration. Ordering preprinted transfers removes the printing stage, but you'll still need suitable application equipment and a validated pressing process.
Compare the Complete Job
For larger runs, compare in-house finishing with contract decoration or finished goods. Ask each supplier about minimum quantities, sample approval, personalization handling, lead time, and responsibility for rejected pieces.
Include your own cutting, assembly, inspection, packing, and potential scrap in the comparison. A lower purchased-component cost doesn't necessarily produce a lower finished-product cost.
Before committing, complete this release checklist:
- Leather: Approve the exact finish and retain a lot sample.
- Template: Verify fit on the intended beverage container.
- Artwork: Approve the output size and customer details.
- Application: Save the successful process record.
- Care card: Match instructions to the tested construction.
Start with a sample you're willing to handle, wet, dry, and inspect, not just photograph. Once that piece passes your acceptance criteria, repeat the documented build before promising the full batch.
Raccoon Transfers offers custom DTF transfers by size and gang sheets for uploaded artwork. Visit Raccoon Transfers to prepare a sample transfer for your leather koozie, and confirm the application requirements before committing to a production run.