

Custom Long Sleeve T Shirt: A Complete 2026 Guide
You've got the blank shirts, the artwork file, and a deadline that seemed comfortably far away until you started thinking about sleeve placement. Then the practical questions arrive. Will the graphic sit straight from shoulder to cuff? Will it clear the seams? Should every size use the same transfer? Will the fabric and print still look good after repeated washing?
A custom long sleeve t shirt isn't just a short sleeve tee with extra material. The sleeve introduces a curved, moving print surface, cuff abrasion, longer alignment points, and more opportunities for a design to look oversized or misplaced. The broader custom t-shirt printing market was valued at USD 5.16 billion in 2024 and is projected to reach USD 9.82 billion by 2030, with an estimated 11.5% CAGR from 2025 to 2030, according to Grand View Research's custom t-shirt printing market overview. That demand gives small brands and event teams plenty of production options, but a good result still depends on decisions made before the transfer is pressed.
Starting Your Custom Long Sleeve T Shirt Order
The first order mistake usually happens before anyone uploads artwork. A buyer sees a product photo, chooses a color, and starts designing without confirming who'll wear the shirts, how many are needed, or when the finished order must ship.
Start with a short production brief. Record the quantity, audience, use, garment choice, size breakdown, final artwork, and shipping deadline. If the shirts are for a team, get the complete roster before ordering. If they're for an event, separate staff, participant, and merchandise quantities. Ordering one shirt in every size “just to see what works” can leave you with a confusing sample set rather than a useful size plan.
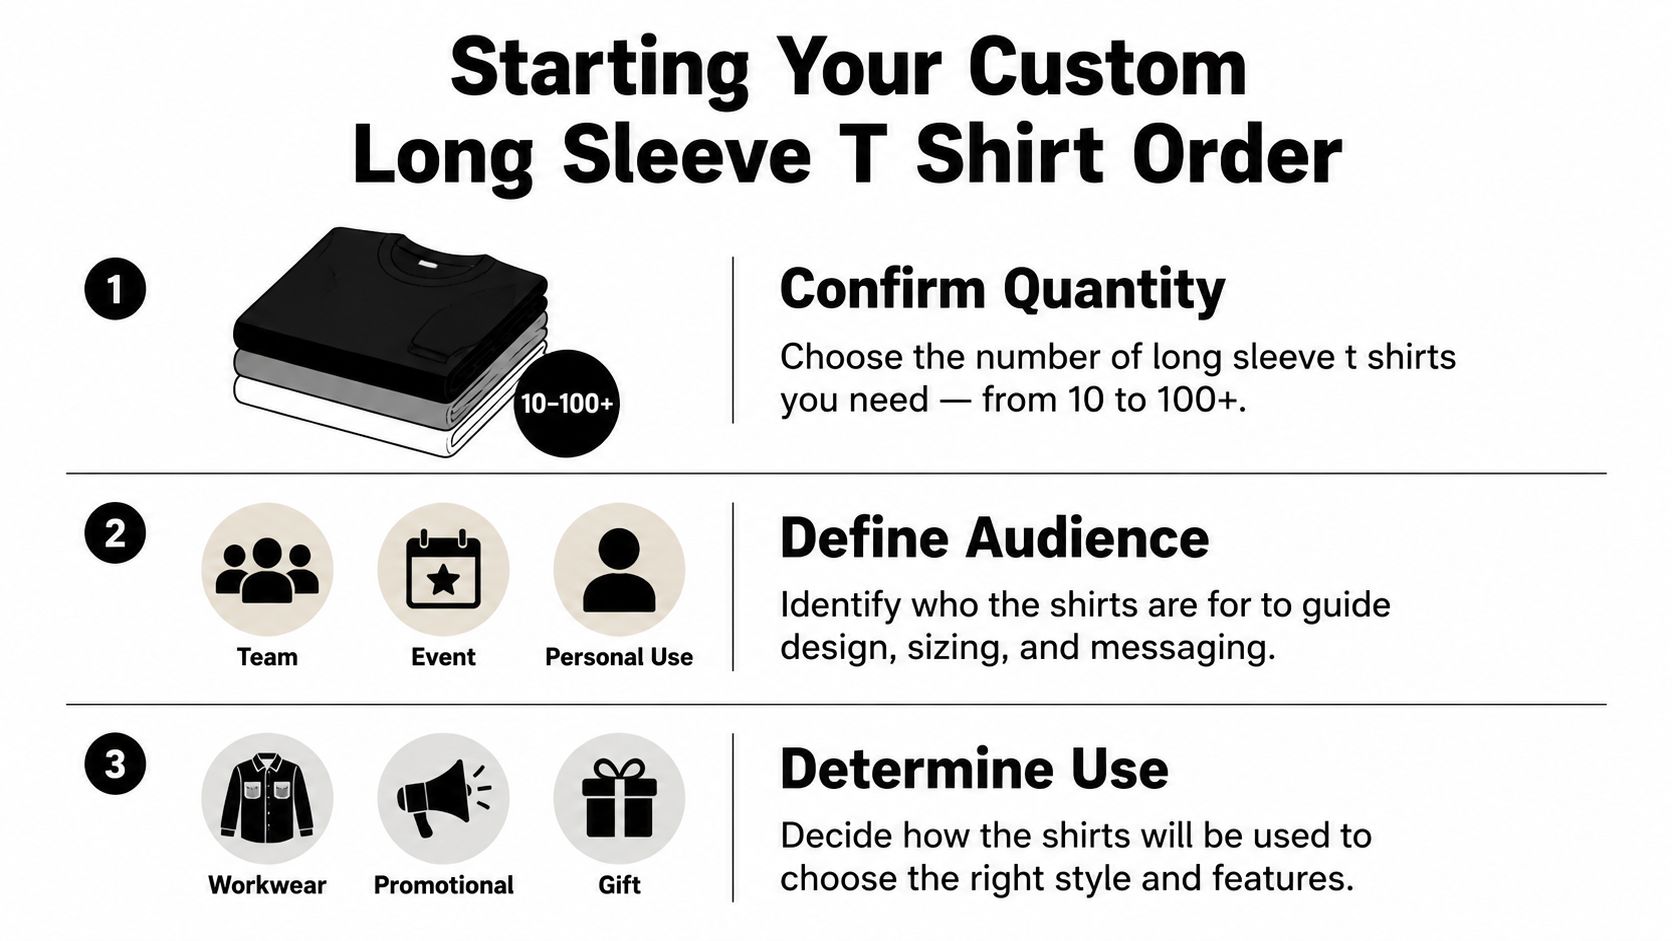
Confirm the physical order first
Choose the blank before finalizing artwork dimensions. Fabric weight, stretch, sleeve shape, cuff construction, and overall fit all affect how a graphic will sit. A fitted performance shirt needs different proportions from a boxier cotton garment, even when the same logo is used.
Build the size breakdown next. If the order spans XS through 2XL, use the smallest garment as the design constraint. A sleeve graphic that feels balanced on the largest shirt can look crowded on XS, especially near the shoulder or cuff. You may need size tiers rather than one universal transfer.
Define the use before choosing decoration
Workwear, promotional apparel, creator merchandise, gifts, and seasonal uniforms have different priorities. A work shirt may need restrained branding and easy laundering. A merchandise piece may benefit from a larger sleeve treatment and a heavier blank. A gift order may prioritize comfort over maximum print area.
Production rule: Decide where the shirt will be worn before deciding how much artwork to put on it.
For larger runs, review bulk long sleeve shirt ordering guidance while you're still comparing quantities and blanks. Don't wait until proof approval to discuss sleeve placement. By then, the artwork may already be built around a location that doesn't suit the garment.
What Makes a Long Sleeve Different From a Short Sleeve
A short sleeve chest panel is comparatively stable and flat. A long sleeve follows the arm from shoulder seam toward wrist, narrows or changes shape through its length, and ends at a cuff that bends, twists, and rubs against other garments. That movement changes both artwork sizing and application risk.
A practical long-sleeve print area can reach up to 10 cm wide by 40 cm high, based on guidance from an independent print resource. Treat that as a working upper limit, not an automatic target. The smallest garment, sleeve width, seam placement, and design density still determine what will read cleanly.
The sleeve is a moving panel
A DTF transfer can reproduce fine lines, gradients, and full-color artwork, but the transfer still has to conform to the garment. If it crosses a raised seam, the film may not receive even pressure. If it reaches too close to the cuff, repeated folding can encourage edge wear or lifting. A design that looks perfect across a flat chest can appear slightly distorted when wrapped around the arm.
For buyers comparing formats, Custom DTF Transfer by Size: Perfect Prints for Every Project describes ready-to-press transfers for cotton, polyester, blends, leather, and other materials, with PNG, PDF, and AI files accepted according to the catalog information. The practical question remains whether the selected transfer size matches the sleeve panel and the blank's construction.
| Factor | Short Sleeve | Long Sleeve |
|---|---|---|
| Main print surface | Broad chest or back panel | Chest, back, and narrower arm panel |
| Sleeve artwork | Usually compact | Often follows the outer arm toward the cuff |
| Seam risk | Lower on central panels | Higher near shoulder, arm, and cuff seams |
| Alignment | Mostly horizontal | Requires shoulder-to-wrist alignment |
| Wear pressure | General garment friction | Added cuff folding and sleeve abrasion |
Keep sleeve artwork 3–5 mm away from seams, as recommended by the independent print guidance in the brief. That clearance gives sewing and pressing variation somewhere to go without cutting into the graphic. On a long sleeve, a few millimeters can separate a clean edge from a visibly crowded one.
Choosing the Right Fabric for a Custom Long Sleeve
Fabric choice controls more than hand feel. It affects shrinkage, surface texture, print adhesion, cuff recovery, and how the garment behaves after repeated laundering. A long sleeve puts extra attention on those issues because the cuffs bend constantly and the arm panels crease during wear.
A controlled durability study from the University of Leeds tested 47 T-shirts through 50 standard mixed 30°C wash cycles followed by tumble drying. The findings reported that cotton-synthetic blends, including cotton-polyester and cotton-elastane, generally outperformed 100% cotton for durability and longevity. For a decorated long sleeve, that finding matters because the sleeve and cuff experience repeated movement, folding, and abrasion. See the University of Leeds report on T-shirt durability for the study context.
Compare the substrate, not just the color
100% cotton offers a familiar natural hand and can produce a substantial garment, particularly in heavier constructions. The trade-off is that cotton can shrink, develop surface change, and place more stress on a bonded print film if the garment repeatedly changes shape.
Cotton-polyester blends usually offer better dimensional stability and resilience for a decorated long sleeve. Polyester can help the garment hold its shape, while the cotton component keeps the shirt feeling familiar. The exact ratio still matters, and the printer should confirm the heat settings for the selected blank.
Tri-blends tend to feel lighter and softer, but their thinner, more textured surfaces can change the visual character of a transfer. They're often a good fit for lifestyle merchandise, but they may not provide the structured appearance a uniform or heavyweight streetwear piece needs.
| Fabric | Print Adhesion | Wash Durability | Cuff Abrasion Resistance |
|---|---|---|---|
| 100% cotton | Strong when correctly pressed | More vulnerable to shrinkage and surface change | Moderate |
| Cotton-polyester blend | Consistent with suitable settings | Generally stronger through repeated laundering | Good |
| Tri-blend | Suitable, but surface texture can affect finish | Good when handled carefully | Moderate to good |
Ring-spun cotton usually gives a smoother hand than carded cotton, while carded yarns can feel more textured and less uniform. That distinction affects how fine details appear, especially in small sleeve lettering. Before committing to a large order, request a sample on the exact blank rather than judging from a different shirt in the same color family.
For a more detailed material comparison, use this guide to T-shirt fabrics while narrowing the blank selection. The most attractive shirt in a product photo isn't always the most reliable substrate for repeated cuff movement.
Preparing Artwork for Sleeve Printing
A sleeve file needs more preparation than a chest logo because the design has a defined direction. Decide whether the artwork will run from shoulder toward cuff, cuff toward shoulder, or sit as a compact mark near the upper arm. Don't leave that decision to the press operator after the file is submitted.
Prepare the master file at 300 DPI, using a transparent-background PNG or a vector format such as AI or PDF. Keep the graphic inside a working area of 10 cm wide by 40 cm high, then reduce it if the smallest sleeve can't accommodate the full length. Long, narrow artwork often needs more attention to letter spacing than a square chest graphic.
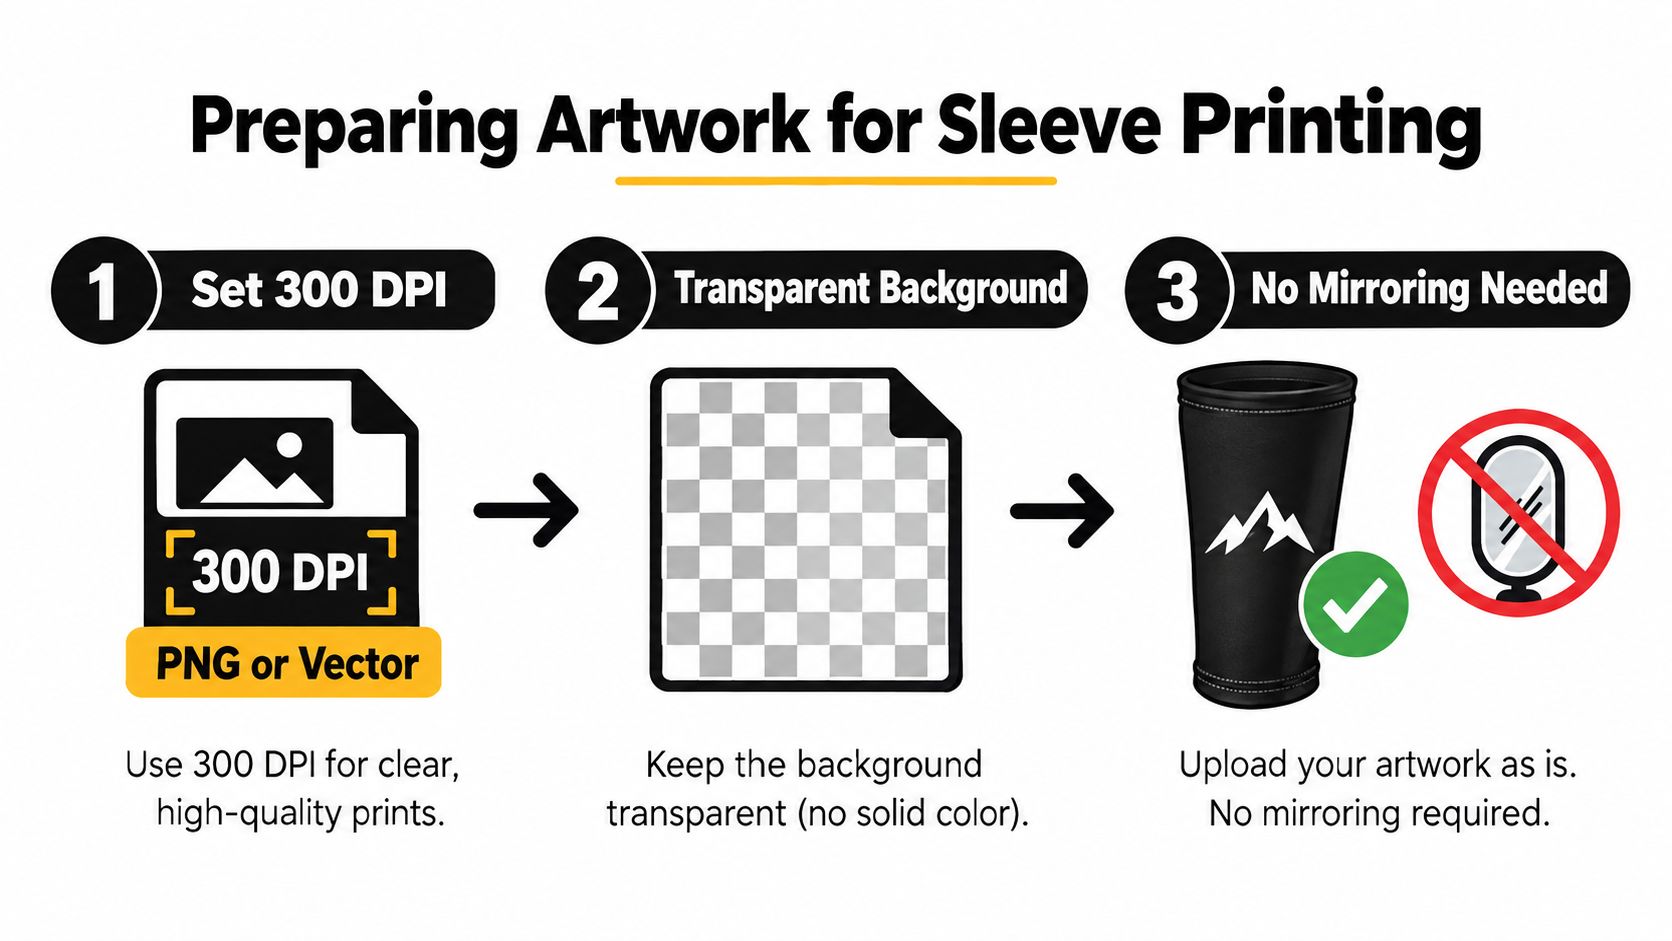
Preflight the file before exporting
Keep every important element 3–5 mm inside the transfer edge. That margin protects thin borders, small type, and sharp corners from seam shift or minor placement variation. If the artwork includes a white underbase for a dark shirt, preserve transparency correctly so the printer can generate the appropriate white-ink layer.
Use RGB or CMYK according to the printer's specification. Don't convert colors casually at the last step, because a forced conversion can alter bright tones and gradients. Confirm the printer's requirements for bleed, transparency, and file naming before building a gang sheet.
Check direction and mirroring
For DTF transfers used on apparel, long-sleeve artwork doesn't need to be mirrored for the normal face-up application workflow. A mirrored sleeve file can produce a backwards logo or an orientation that reads incorrectly from the outside of the arm. Mark the top of the sleeve design in the proof, especially when the artwork contains text.
If both arms use the same graphic, place the left and right files on a shared horizontal axis before exporting. That makes the pair easier to inspect and reduces the chance that one sleeve sits higher or rotates differently.
A visual print product workflow can help you map file preparation, proofing, and application into one repeatable process. The useful habit is to inspect the artwork as a transfer and as a shirt placement, not only as a digital canvas.
Sizing, Fit, and Where to Place the Design
The most reliable size rule is simple: scale the design to the smallest shirt in the run. If a long sleeve graphic fits beautifully on 2XL but overwhelms XS, the run doesn't have one successful size. It has one successful sample and several compromised garments.
Build size tiers from XS through 2XL when the order includes a broad range. You don't need to redesign the artwork for every size, but width and length may need proportional adjustment. Small type, narrow borders, and tall graphics deserve particular attention because they can become cramped near the upper arm or disappear into the cuff area.
Start with a placement proof
For a standard fit, a chest design often sits roughly 7–10 cm below the collar seam, but the blank's neckline and shoulder construction can shift the visual center. A left-chest mark should stay under 10 cm wide when it needs to clear the armhole and remain inside the chest panel. Sleeve artwork should follow the outer arm, with the top edge positioned consistently relative to the shoulder seam.
Oversized silhouettes require a different eye. Recent 2026 trend coverage points toward heavier fabrics, structured fits, boxier proportions, and long sleeves used as versatile layers, as described by Who What Wear's 2026 T-shirt trend coverage and UberPrints' 2026 apparel trend guide. On these garments, a chest print may sit lower, while a sleeve graphic can extend across more of the upper arm without looking crowded.
| Size | Max Artwork Width (cm) | Placement from Collar Seam (cm) |
|---|---|---|
| XS | 8–9 | 7 |
| S | 9–10 | 7–8 |
| M | 10 | 8 |
| L | 10 | 8–9 |
| XL | 10 | 9 |
| 2XL | 10 | 9–10 |
These are planning limits, not universal specifications. The garment pattern, seam position, and print method still control the final proof. Use a physical sample whenever possible. Lay the transfer against the actual shirt, smooth the sleeve into its natural position, and check whether the design reads correctly with the arm relaxed.
The DTF transfer size guide can help organize size selection, but don't let a catalog dimension replace a garment-specific proof. A transfer can be technically within size limits and still feel wrong because the sleeve narrows sooner than expected.
Pricing, Turnaround, and Order Strategy
The final cost of a custom long sleeve order usually comes from three controllable areas: the blank garment, print setup, and shipping. Sleeve decoration adds another placement to prepare and align, so compare the full decoration plan rather than judging the shirt by its base price alone.
Gang-sheet planning can reduce waste when several designs share the same transfer material. Pack repeated sleeve graphics, chest marks, and small labels onto one sheet where the layout allows. The brief's production guidance identifies a 55 cm by 100 cm gang sheet as a format that can usually hold a dozen standard placements, though the actual count depends on the shape and spacing of the artwork.
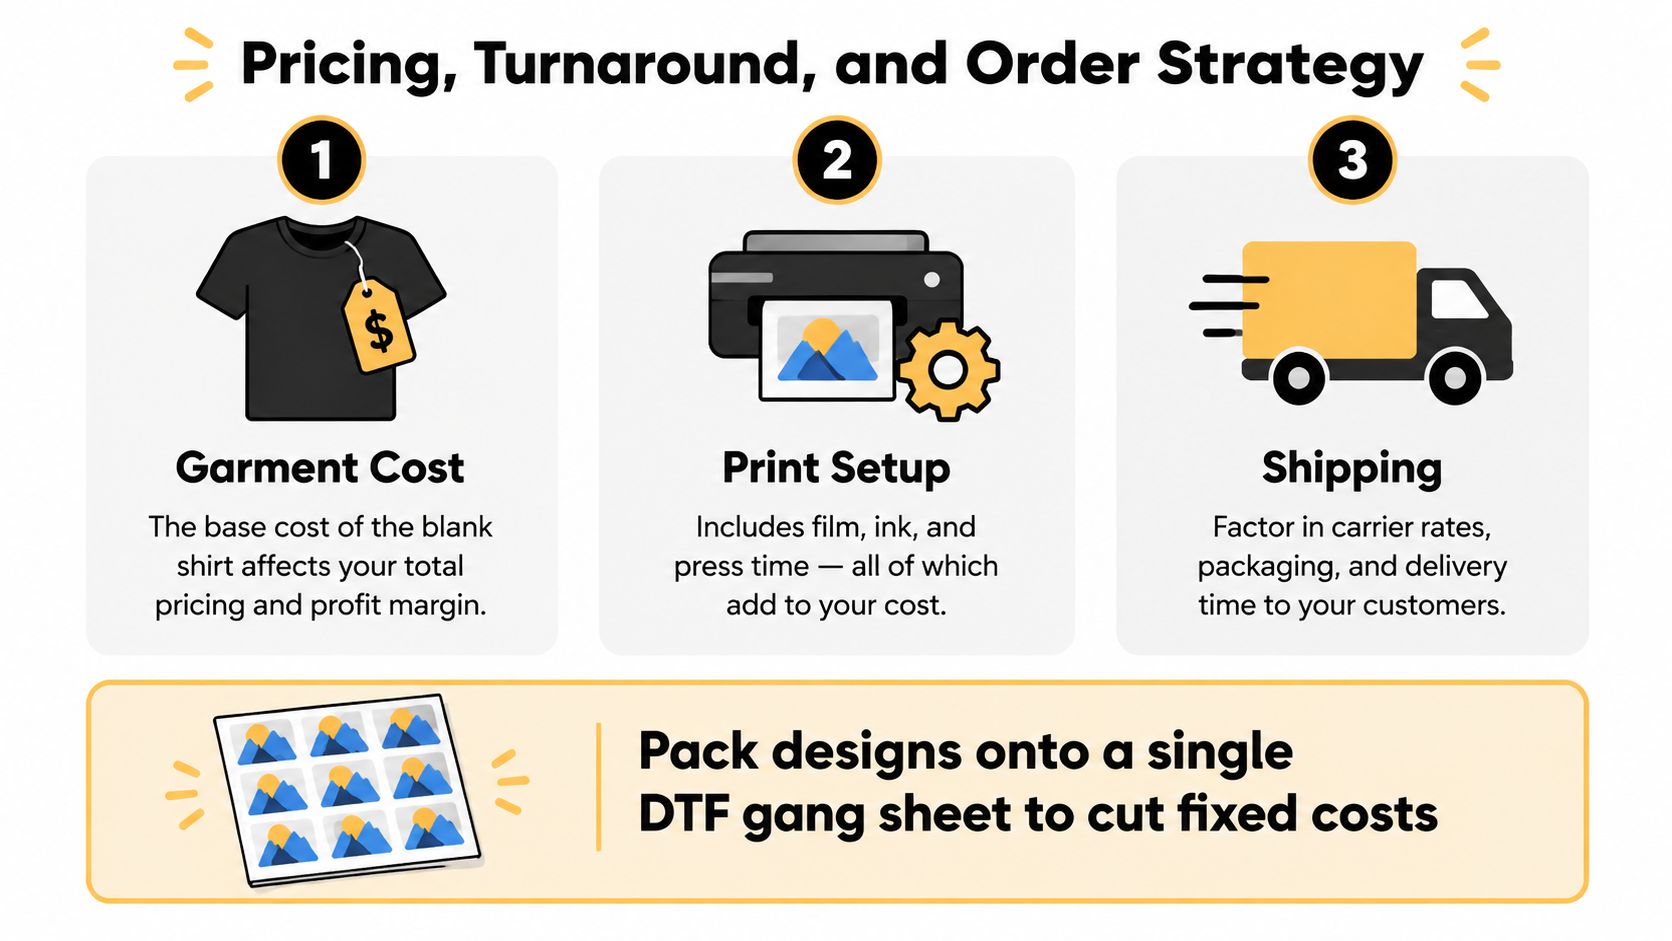
Put the order math on one page
- Garment cost: Compare the blank's fabric, fit, and construction, not just its color. A cheaper shirt that twists at the cuff can create more waste than a better-fitting blank.
- Print setup: Group matching placements and keep the artwork consistent across the run. Multiple print locations can require additional setup and handling.
- Shipping: Raccoon Transfers lists free delivery on orders over $79.90, so calculate whether consolidating the order changes the delivered unit cost. Orders below that threshold may carry freight that affects the total.
- Turnaround: A 24-hour turnaround may be available for suitable orders, but rush production leaves less time to correct a bad file or wrong blank. When the deadline permits, build a buffer for proofing and delivery.
Request a sample on the exact garment before committing to the full run. Fabric absorbency, color, stretch, and surface texture can change how the transfer looks. A small proof is easier to absorb than a full reprint caused by a heather shade, sleeve width, or placement error.
For teams documenting outreach and supplier communication, Sup's brand mention cultivation guide offers a useful framework for keeping external brand references organized. The same discipline helps here, because a written approval record should identify the blank, artwork version, placement, size range, and deadline.
Caring for Your Custom Long Sleeve After Printing
A good transfer still needs sensible laundry care. Repeated washing and drying are the main stress test for decorated apparel, and independent durability testing from the University of Leeds found that laundering conditions materially affect shrinkage and visual stability. The White Rose research paper on physical garment durability specifically examined promotional shirts through standardized wash-and-dry cycles and highlighted fabric composition, washing conditions, and decoration method as important variables.
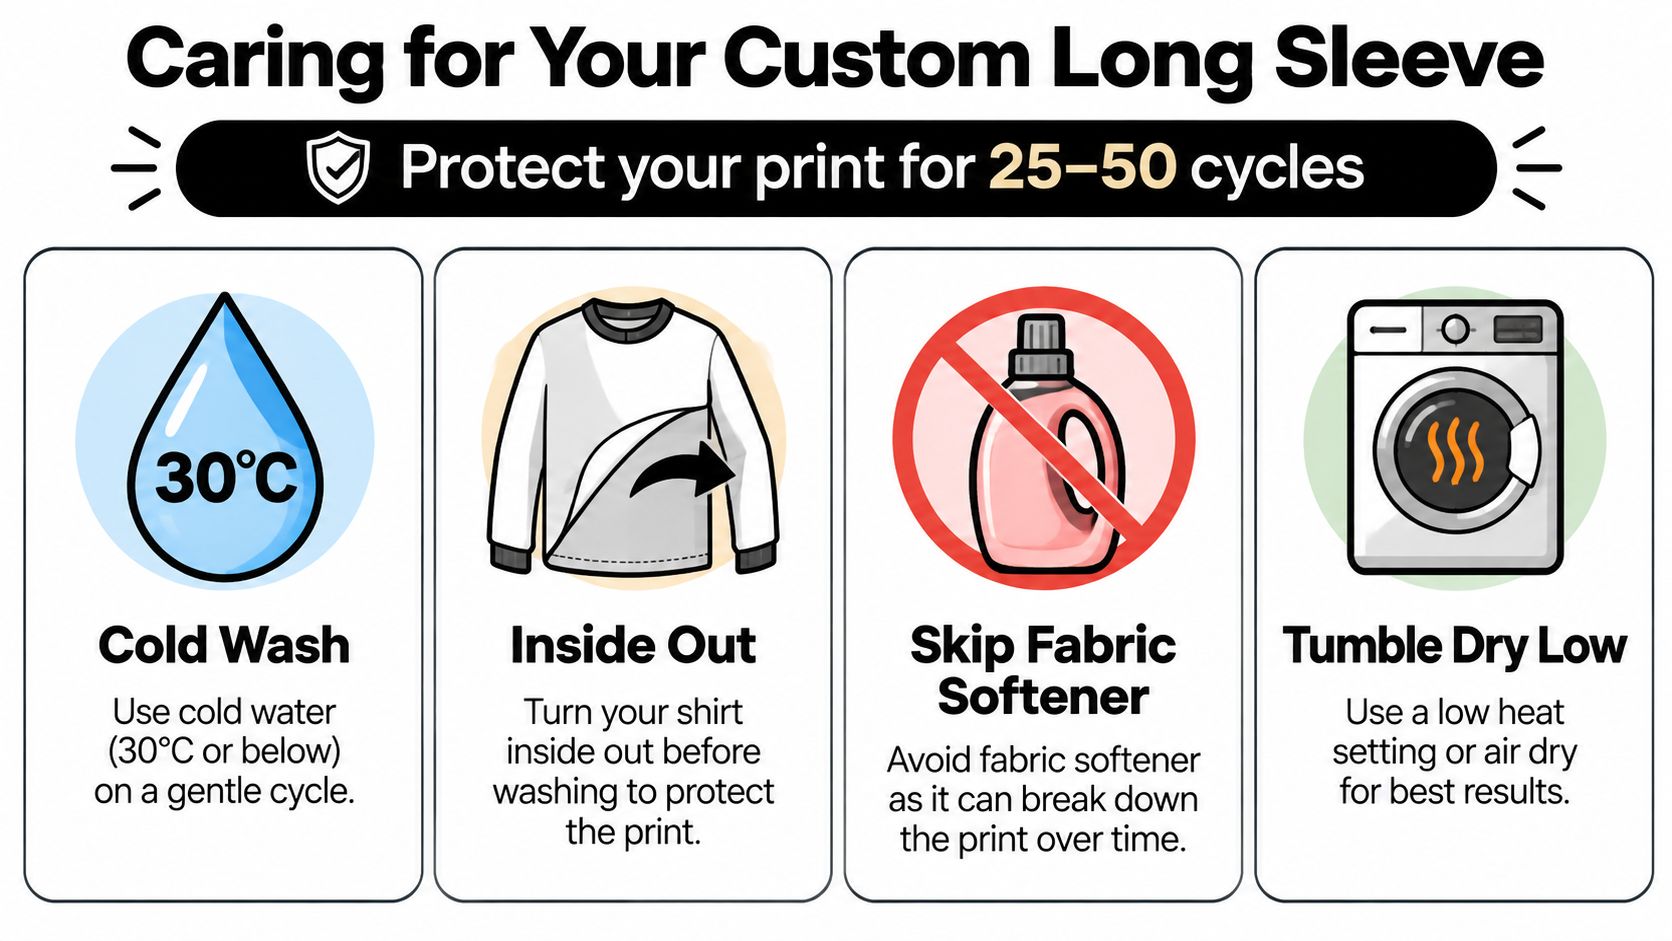
Use a low-stress laundry routine
Wash the shirt in cold water at 30°C or below. Hotter water can increase stress on the adhesive layer and may accelerate garment shrinkage. Turn the shirt inside out before it enters the machine so the print face rubs less against other garments, zippers, and the drum.
Use a mild liquid detergent and skip chlorine bleach and harsh treatments. Bleach can weaken cotton fibers and affect the cured decoration. Fabric softener can also leave residue on the garment surface, so a simple detergent routine is the safer choice for a transfer you want to keep clean and flexible.
Dry on low heat or hang the shirt to dry. High dryer heat can encourage shrinkage and place additional stress on print edges. If you tumble dry, remove the garment promptly rather than leaving it compressed in a hot drum.
Protect the sleeve specifically
Unroll the cuffs before washing. A rolled cuff can trap moisture and detergent against the fabric, while repeated folding keeps pressure on the same area of the sleeve. Don't iron directly over the decoration. Iron the reverse side or place a cloth barrier between the iron and the print.
Use this quick routine as a laundry-room reference:
- Cold wash: Keep the water at 30°C or below.
- Inside out: Reduce abrasion against the printed surface.
- Mild detergent: Avoid chlorine bleach and harsh formulas.
- Low dry: Tumble dry on low or hang dry.
- Open cuffs: Unroll them before washing and drying.
- No direct ironing: Use the reverse side or a protective cloth.
Treat the sleeve as a working part of the garment, not just a second print location. Careful placement, a suitable fabric, and restrained laundry handling give the decoration a much better chance of staying sharp through its first 25 to 50 laundry cycles.
Raccoon Transfers provides ready-to-press DTF transfers, custom gang-sheet options, file upload tools, and stated 24-hour turnaround for suitable orders, with free delivery on orders over $79.90. For a sleeve-specific project, prepare your artwork to the smallest garment, confirm the blank, and visit Raccoon Transfers to choose a transfer format that fits your production plan.