
Your Guide to DTF Custom Transfers
If you're in the custom apparel world, you've probably heard the buzz around DTF custom transfers. So, what are they, really? Put simply, they are ready-to-press designs printed onto a special film. This lets you apply incredibly vibrant, full-color graphics to almost any fabric using just a heat press.
Think of them as the modern, professional version of an iron-on—a high-tech, permanent "sticker" for your apparel. They give you the breathtaking detail of digital printing combined with the rugged durability of screen printing, which is why they've quickly become a favorite for everyone from hobbyists to major brands.
What Are DTF Custom Transfers?
Let's say you have a complex, multi-color digital design. Maybe it has subtle gradients, fine lines, and dozens of different shades. In the past, getting that kind of design onto a t-shirt was a real headache. It was often complicated, expensive, and usually involved sacrificing some of your design's detail.
DTF, which stands for Direct-to-Film, completely flips that script. It’s a process where your design is first printed in full color onto a specialized transparent film. That print is then coated with a special adhesive powder and cured. The final step? You just use a heat press to transfer the design from the film to your garment.
This straightforward process is exactly what makes DTF custom transfers so powerful. Unlike screen printing, where you need a separate screen for every single color, DTF prints all the colors at once. And unlike Direct-to-Garment (DTG) printing, which can be picky about fabrics and really only shines on 100% cotton, DTF works beautifully on a huge range of materials.
The Three Core Components
The real magic of DTF comes from how three key elements work together. Once you understand their roles, you'll see why this technology is such a game-changer for businesses of all sizes.
- Specialized DTF Ink: This isn't the ink from your office printer. It's a unique pigment-based ink made to be flexible and tough, so your designs won't crack or fade after a few trips through the laundry. It also includes a critical white ink base, which is the secret to getting stunningly bright colors, even on black or dark-colored fabrics.
- PET Transfer Film: This is the carrier sheet that holds your design. It's a specific type of Polyethylene Terephthalate (PET) film, engineered to hold the ink perfectly during printing and then release it cleanly onto the fabric when you apply heat and pressure.
- Adhesive Powder: This is the unsung hero. After the design is printed, the wet ink is coated with a fine, granular hot-melt adhesive powder. When you heat it up with your press, this powder melts and creates an incredibly strong bond, permanently locking the ink into the fabric's fibers.
Key Takeaway: By combining digital printing on a film with a heat-activated adhesive, DTF sidesteps the color and fabric limitations of older methods. This gives you a level of versatility that was previously hard to achieve.
For a deeper dive into the mechanics, our guide on understanding DTF printing is a great place to start.
This powerful trio works in concert to create a ready-to-use transfer that feels surprisingly soft and stretches with the fabric. The end result is a sharp, professional-grade finish that looks fantastic on everything from cotton tees and polyester jerseys to canvas tote bags and even leather patches.
DTF Transfer Fundamentals at a Glance
To make it even clearer, here's a quick breakdown of the core components that make DTF transfers work so well.
| Component | Its Role in the Process | Primary Advantage |
|---|---|---|
| DTF Ink | Provides the color and design. The white base layer is key. | Enables vibrant, full-color prints on any color fabric. |
| PET Film | Acts as the carrier sheet for the ink and adhesive. | Allows for clean and precise transfer of the design to the garment. |
| Adhesive Powder | The "glue" that bonds the ink to the fabric's fibers. | Creates a durable, flexible, and long-lasting bond. |
Understanding these fundamentals shows you why DTF has become such a reliable and versatile method for custom decoration.
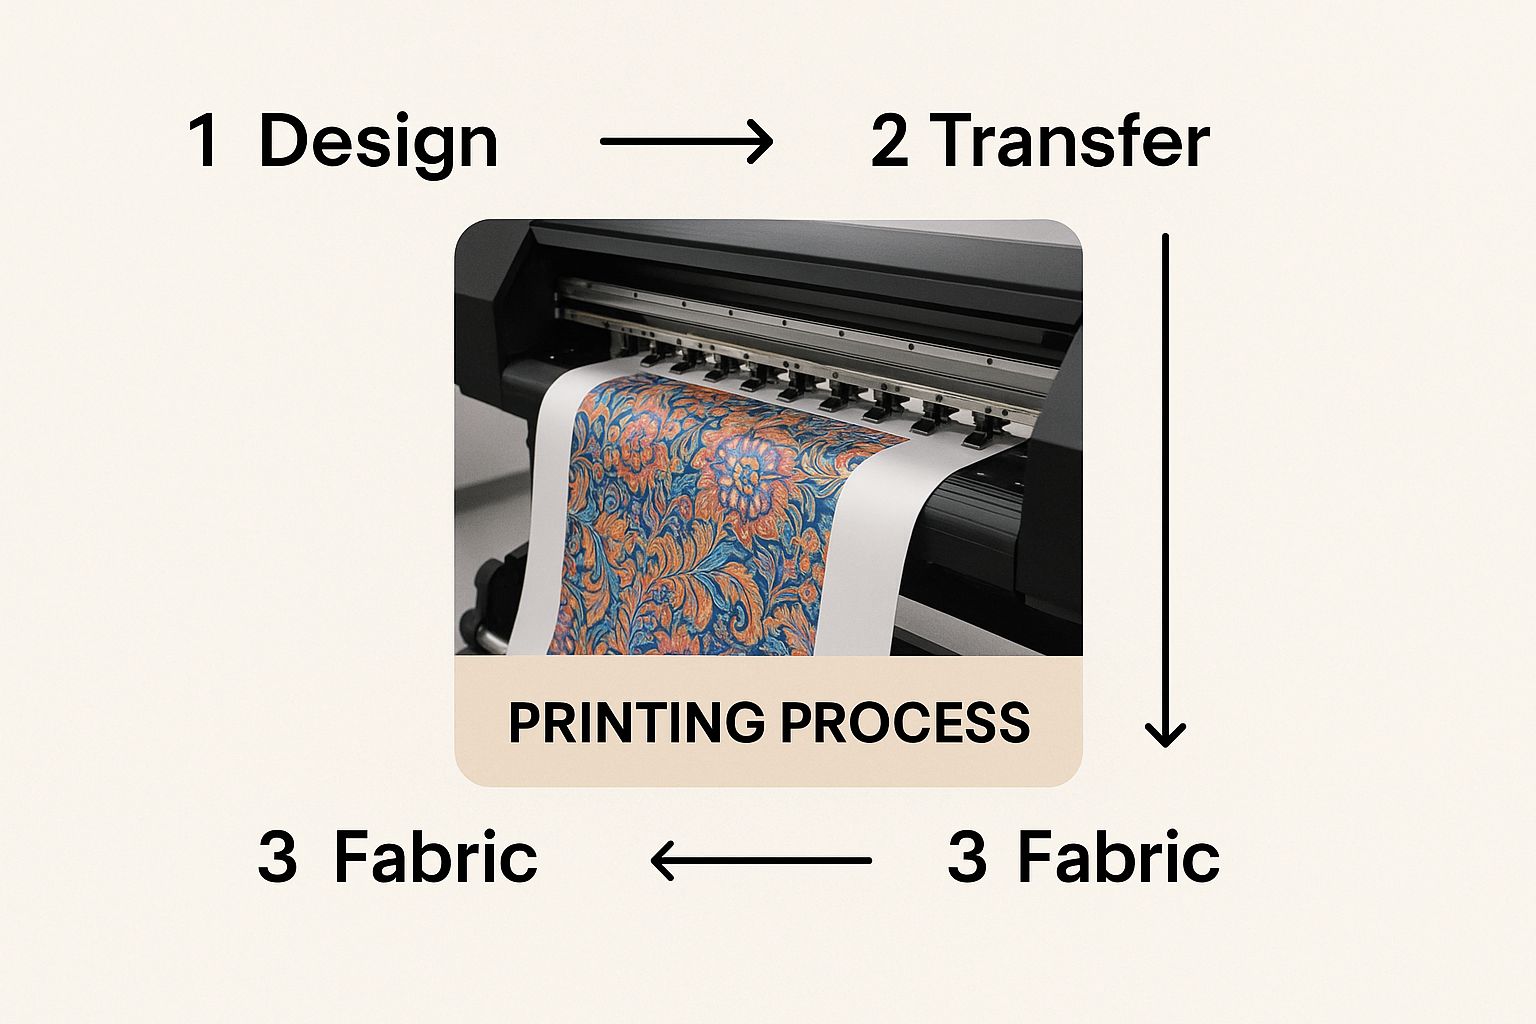
The Process Behind a Perfect DTF Print
Ever wondered how a digital design gets from a computer screen onto a t-shirt, looking vibrant and feeling durable? Understanding the journey behind DTF custom transfers really shows why they’re so effective. It’s a fascinating, multi-step process where every single stage is critical for that professional, long-lasting finish.
Let's walk through it, from digital file to a transfer that's ready to press.
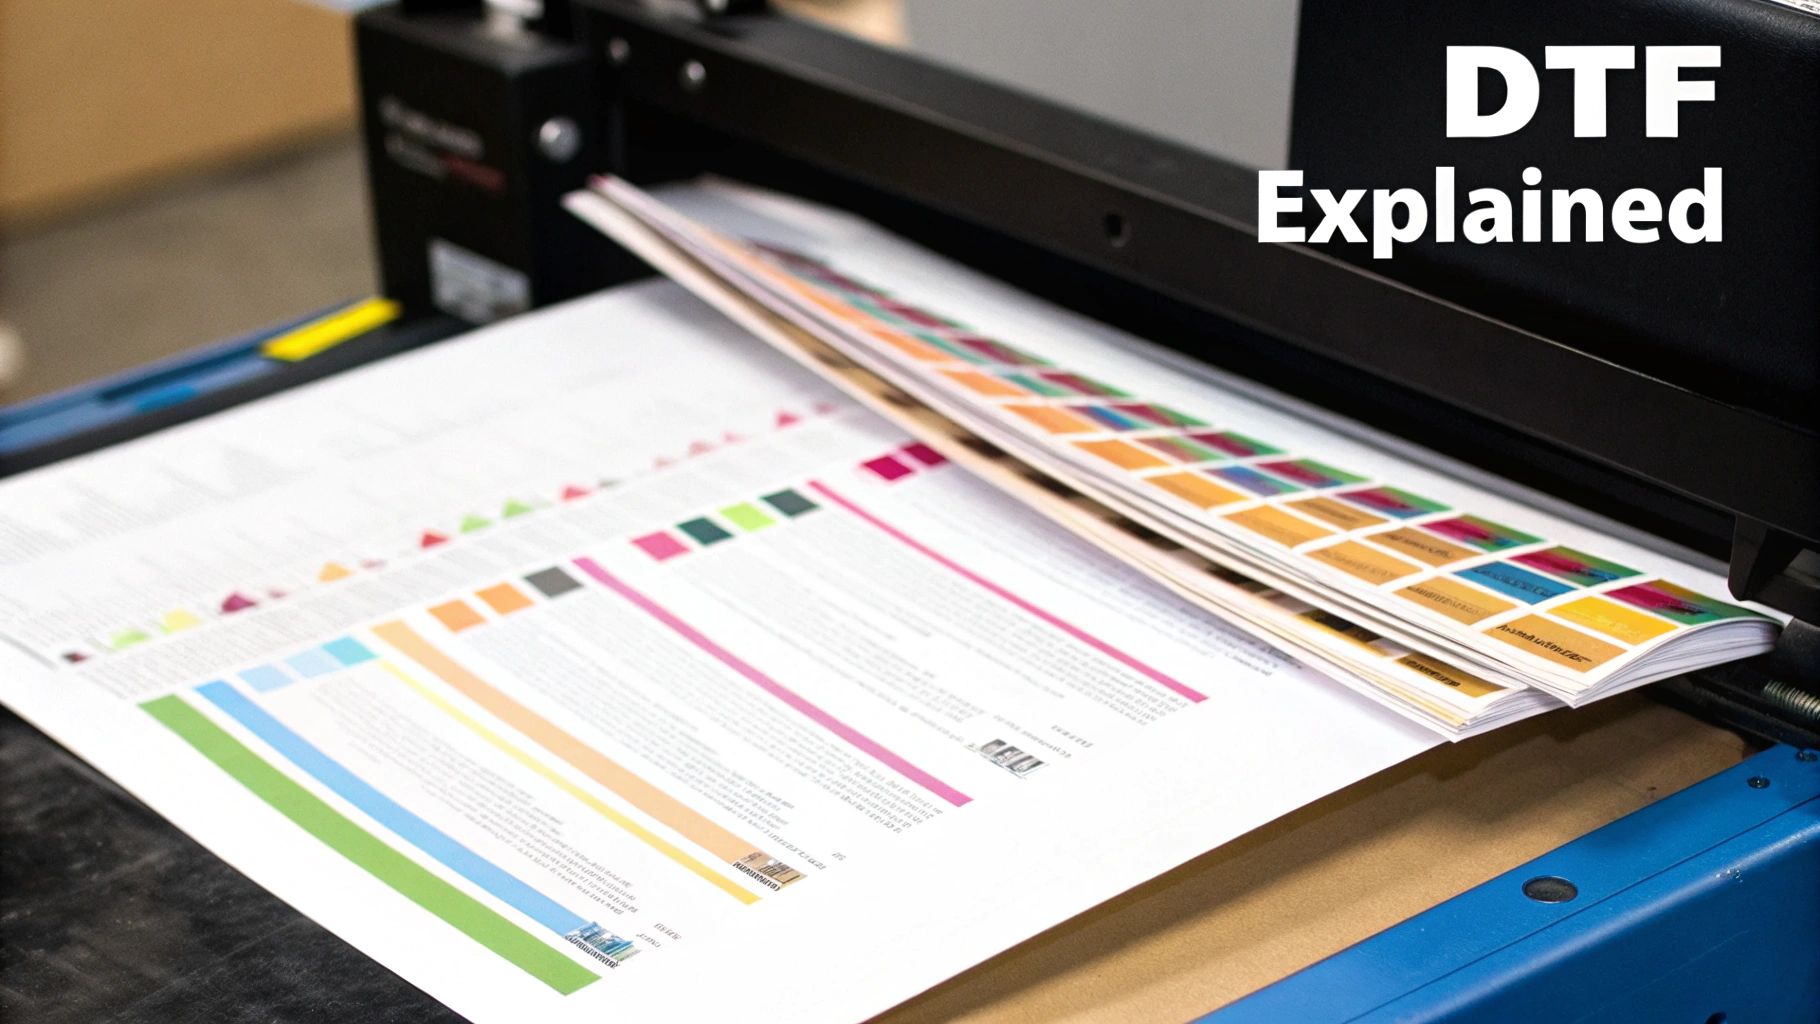
The whole thing kicks off with a highly specialized DTF printer. Picture an advanced inkjet printer, but instead of feeding it paper, it prints onto a roll of specially coated PET film. The magic begins as the printer lays down the CMYK (Cyan, Magenta, Yellow, Black) colors, bringing your design to life.
But what happens next is the real secret sauce.
The Critical White Ink Layer
Right after the colors go down, the printer makes a second, crucial pass. This time, it lays down a perfectly aligned layer of opaque white ink directly over the color design. This white base is everything. It acts like a primer on a dark wall, stopping the fabric's color from dulling your design.
Think about it: without that white layer, a bright yellow sun printed on a black shirt would just look like a murky, greenish blob. The white underbase guarantees that the yellow stays 100% yellow. It’s the key to the high-contrast, pop-off-the-shirt look that DTF custom transfers are famous for and a huge reason they outperform other methods on dark fabrics.
You can see the printer laying down these precise layers of ink onto the film in the image below.
This is the exact moment a design becomes a physical thing, rolling out of the printer with its vibrant colors and that all-important white backing locked in.
From Wet Ink to Powerful Adhesive
While the ink is still wet, the film immediately moves to the next station: the adhesive powder. The freshly printed film is passed through a "powder bath" or manually dusted with a fine, sugar-like polyurethane hot-melt powder.
This isn't just a light sprinkle. The powder is designed to stick evenly and completely to every last drop of wet ink. Any part of the film without ink remains untouched, since the powder just won't cling to the dry, slick surface. This clever detail is what gives you those clean, crisp edges on your final transfer, with no messy glue halo.
Key Insight: The adhesive powder is essentially the "glue" that will permanently bond the ink to the fabric's fibers. It's engineered to melt under heat, creating a bond that is both incredibly strong and flexible enough to move and stretch with the garment.
Once the film is powdered, all the excess is shaken off, leaving a perfect coating only on the printed design. It's an incredibly efficient and clean process. The transfer is almost ready, but one final step is needed to fuse everything together.
Curing and Finalizing the Transfer
The last step before the transfer is ready for you is curing. The powdered film is sent through a curing oven or placed under a heat press that hovers just above the surface—it doesn't actually touch it. This isn't the final press onto the shirt; it's a prep step.
The heat, usually around 200-250°F (90-120°C), melts the adhesive powder and fuses it directly into the ink layer below. This process turns the separate layers of ink and powder into one unified, stable sheet. What you get is a smooth, slightly rubbery finish on the back of your design.
After a quick cool-down, the DTF custom transfers can be cut from the roll, either as individual designs or as a "gang sheet" full of them. At this point, they're finished: stable, easy to store, and ready to be shipped out for the final application onto any garment.
This detailed, step-by-step process is how every single transfer gets its best qualities:
- Vibrant, Opaque Colors: All thanks to that white ink underbase.
- A Powerful, Even Bond: From the precise application of the adhesive powder.
- Excellent Durability and Stretch: Achieved by perfectly fusing the ink and adhesive during curing.
Why DTF Outperforms Traditional Printing Methods
When you’re looking to get a custom design onto a shirt, the sheer number of options can be dizzying. You've got the old-school heavyweights like screen printing and heat transfer vinyl (HTV), plus the modern digital contender, direct-to-garment (DTG). Each one has its day, but time and again, DTF custom transfers step up as the incredibly versatile problem-solver that bridges the gaps left by the others.
This is about more than just a simple list of pros and cons. It’s about understanding the real-world situations where DTF doesn't just work—it excels, giving you the creative freedom you need without the usual trade-offs.
Unmatched Fabric Versatility
Let's be honest, one of the biggest headaches in custom apparel is matching your print method to your fabric. This is where DTF immediately stands out from the crowd.
- Screen Printing: This classic method gets complicated fast. You need different inks and entirely different setups to handle cotton versus synthetics like polyester.
- DTG Printing: This is really a one-trick pony for fabric. It loves 100% cotton and delivers beautiful results there, but its performance drops off a cliff on polyester, leaving you with dull, faded colors.
- Heat Transfer Vinyl (HTV): While HTV is pretty flexible, you still have to worry about buying the right type of vinyl for specialty materials like stretchy athletic wear or tough nylon.
DTF, on the other hand, just works. It's famously fabric-agnostic. Because the design is printed onto a film and then transferred with its own adhesive layer, it bonds perfectly to just about anything—cotton, polyester, tricky 50/50 blends, nylon, leather, and even hard goods. For any shop that wants to print on t-shirts one day and polyester jerseys or canvas tote bags the next, DTF simplifies everything into one reliable workflow.
Superior Color and Detail Capabilities
Now, think about a design with photorealistic details, smooth gradients, and a whole spectrum of colors. This is where the limitations of other methods really show. Screen printing, while fantastic for bulk orders of simple logos, requires a separate screen for every single color. That 10-color masterpiece? That means 10 different screens, which sends setup costs and complexity through the roof. It’s just not practical for small runs.
HTV is even more of a puzzle. Each color in your design has to be cut from a separate sheet of vinyl, weeded (which is a tedious process of removing the excess material), and then layered and pressed one at a time. It’s a recipe for misaligned, time-consuming frustration.
The DTF Advantage: Direct-to-Film printing simply doesn't care about your color count. Whether your design has one color or one million, the process and cost are exactly the same. It effortlessly reproduces photorealistic images with crisp details and perfect alignment every single time, straight from your computer file.
While DTG also offers fantastic detail, it can struggle to produce bright, punchy colors on dark fabrics without a thick, costly pre-treatment layer. For a deeper dive into these two digital giants, our guide on DTF vs. DTG breaks down exactly when to choose one over the other.
The industry is clearly taking notice. In 2024, the global market for Direct to Film printing hit a value of USD 2.72 billion, and it's on track to reach USD 3.99 billion by 2030. This incredible growth is a testament to DTF's ability to deliver what modern creators demand: vibrant, detailed designs with an efficiency that older methods just can't match.
Head-to-Head: A Clear Comparison
To help you visualize the best choice for your project, let's put these methods side-by-side. The right technique often comes down to your specific needs for color, fabric, and order size.
This table gives you a quick snapshot of how DTF stacks up against the competition.
DTF vs Screen Printing vs HTV vs DTG
| Feature | DTF Transfers | Screen Printing | Heat Transfer Vinyl (HTV) | Direct-to-Garment (DTG) |
|---|---|---|---|---|
| Color Capability | Unlimited colors, full-detail photos, and gradients. | Limited colors; each one adds cost and complexity. | Limited to available vinyl colors; complex layering is difficult. | Unlimited colors and good detail, but can be less vibrant on darks. |
| Fabric Compatibility | Excellent on cotton, polyester, blends, leather, nylon. | Best on cotton; requires special inks for synthetics. | Good versatility but needs specific vinyl for certain fabrics. | Best on 100% cotton; struggles with polyester. |
| Feel on Garment | Soft, flexible, and lightweight. | Can be heavy, especially with many color layers. | Can feel thick and plastic-like, depending on the vinyl. | Very soft, as ink dyes the fabric directly. |
| Ideal Order Size | Excellent for small to large runs (1 to 1000+). | Best for very large runs (100+) of the same design. | Best for single items or very small orders with simple designs. | Good for one-offs and small orders. |
| Durability | High durability, rated for 50+ washes without cracking. | Very durable, especially for plastisol inks. | Good durability, but can peel or crack over time. | Good, but can fade faster than other methods. |
So what's the takeaway? While screen printing will always be the king for huge runs of simple graphics and HTV is great for a one-off personalized jersey, DTF custom transfers truly offer the best all-around package. They give you the full-color freedom of DTG, but with even better fabric compatibility and a durability that rivals screen printing. For most modern apparel creators, it’s the clear winner.
How to Apply DTF Transfers for Flawless Results
So, you've got your stack of vibrant DTF custom transfers and a pile of blank garments waiting. This is where the magic really happens—the application. Getting the press just right is what separates a professional, retail-ready shirt from one that looks cheap or starts peeling after the first wash.
Think of it like searing a perfect steak. You can have the best cut of meat, but if your timing and temperature are off, it just won't be right. A flawless press is everything. The good news? It's much easier than you think. Let's walk through the exact process to get a durable, vibrant, and soft-feeling print every single time.
First Things First: Prep Your Garment and Workspace
Before you even think about pressing, you need to get set up. This might seem basic, but skipping this step is the number one cause of failed applications.
Start by warming up your heat press. The right temperature depends entirely on the fabric you're using—a cotton tee needs different settings than a polyester hoodie. Don't just guess here; check the recommended settings for your material.
Once your press is hot, lay your garment flat and give it a quick pre-press for 5-7 seconds. This does two incredibly important things. First, it smooths out any wrinkles that could mess up your placement. More importantly, it zaps any hidden moisture out of the fabric. Moisture is the arch-enemy of a good transfer bond, and this quick step ensures the adhesive sticks directly to the fibers, not to water vapor.
The Application Process: A Step-by-Step Guide
With your garment prepped and your press ready to go, it's time for the main event. Precision is the goal, but the process itself is simple.
- Position Your Transfer: Lay the DTF transfer onto the garment, design facing down. The backing is a clear PET film, so you can see exactly where the design will land. If you're worried about it sliding around, use a little heat-resistant tape to lock it in place.
- The First Press: Cover the transfer with a Teflon sheet or a piece of parchment paper. This protects both your design and the heat press platen from direct contact. Now, press it using the recommended time, temperature, and pressure for your fabric. A medium-firm pressure is usually the sweet spot.
- Let It Cool Down (The Cold Peel): As soon as the timer beeps, take the garment off the press and lay it on a cool, flat surface. Now, hands off! Don't even think about peeling that film yet. The vast majority of DTF custom transfers are cold peel, meaning the transfer must cool down completely to room temperature. This is when the adhesive truly sets and bonds to the fabric.
- The Big Reveal: Once the garment is totally cool to the touch, find a corner and slowly peel the film back. Keep it low and smooth. If you see any part of the design trying to lift up with the film, stop right there. Lay it all back down, put it back on the press, and give it a few more seconds of heat.
- The Final Press (Don't Skip This!): After you've successfully peeled the film, put the garment back on the press. Cover the now-exposed design with your Teflon sheet and give it one last press for 10-15 seconds. This final step is crucial—it locks the ink into the fabric fibers, dramatically improves wash durability, and gives the print a beautiful, soft, matte finish.
Pro Tip: If there's one habit to master, it's resisting the urge to peel the film while it's hot. Patience during the cold peel is what guarantees a crisp, sharp design that will stretch, survive the wash, and look amazing for years.
Recommended Heat Press Settings
You should always defer to the instructions that came with your specific transfers, but these settings are a fantastic starting point for the most common fabrics you'll encounter.
| Fabric Type | Temperature | Time | Pressure | Peel Type |
|---|---|---|---|---|
| 100% Cotton | 300-320°F (149-160°C) | 10-15 seconds | Medium-Firm | Hot |
| Polyester | 260-275°F (127-135°C) | 8-12 seconds | Medium | Hot |
| 50/50 Blends | 275-290°F (135-143°C) | 10-12 seconds | Medium-Firm | Hot |
| Tri-Blends | 260-275°F (127-135°C) | 10-12 seconds | Medium | Hot |
Follow this playbook, and you'll take all the guesswork out of the equation. You'll be able to press with confidence and get those perfect, professional results you're after.
Creative Ways to Use DTF Custom Transfers
Alright, we’ve covered the technical side—what DTF is and how it’s made. Now for the fun part: seeing what you can actually do with it. This is where the real power of DTF custom transfers comes alive. The mix of unlimited colors, the freedom to print on almost any fabric, and the fact that it works for any order size—big or small—is a game-changer for so many people.
Let's ditch the theory and get inspired. Sometimes the best way to figure out what you can create is to see how others are already putting this technology to work. From scrappy startup fashion lines to big corporate events, DTF is solving problems that used to be major headaches.
Launching an Independent Fashion Brand
Picture this: you're an artist with a hard drive full of incredible, multi-colored designs. Not long ago, getting those designs onto a small run of apparel was a nightmare. Screen printing would force you to simplify your colors and order hundreds of shirts you couldn't afford. Other methods just didn’t have the quality or couldn’t handle the cool fabrics you wanted to use. DTF completely rewrites that script.
Today, small fashion brands are using DTF custom transfers to drop entire collections with almost no risk. They can fit a dozen different photorealistic designs onto a single gang sheet, giving them a diverse range of products without a mountain of upfront cash. This lets them test the waters with new artwork, print on demand as orders roll in, and offer their designs on everything from t-shirts to hoodies.
- Intricate Artwork: Finally, you can print paintings, detailed digital art, or complex illustrations without losing a single drop of fidelity.
- Fabric Freedom: The exact same transfer can go on a premium cotton tee, a polyester blend hoodie, and a canvas tote bag. One batch of transfers, multiple products.
- Smart Sampling: Order just a handful of transfers to create samples for a photoshoot or to see if a new design gets any buzz before you go all-in.
This kind of flexibility lets small-time creators go head-to-head with bigger players, turning a creative passion into a real business without going broke.
Key Insight: For new brands, DTF smashes the old barriers to entry. It makes top-tier, full-color production a reality at any scale, which is huge for turning a vision into a sellable product.
Customizing Performance and Team Gear
Sports teams need gear that looks sharp but also holds up to serious abuse. Their logos are often bright and complex, and the jerseys themselves are usually made from synthetics like polyester that can be a real pain for other printing methods. This is where DTF truly excels.
The transfers are so lightweight and flexible they stretch right along with the fabric. That means no stiff, heavy logos restricting an athlete's movement. Since they stick perfectly to polyester and other synthetics, teams can get vibrant, full-color logos on everything from game-day jerseys to warm-up jackets. Plus, they’re tough enough to survive countless games, practices, and wash cycles.
This growing need for high-quality, personalized apparel is a huge reason the industry is booming. The global market for Direct to Film printing was valued at around USD 2.56 billion in 2023 and is projected to nearly double to USD 4.57 billion by 2033. This explosion is driven by the apparel world’s demand for affordable customization. You can discover more insights about the Direct to Film printing market and its incredible growth.
Creating High-Quality Branded Merchandise
Businesses need more than just t-shirts. They need professional-looking branded items for giveaways, employee gear, or stuff to sell in their own shops. Because DTF works on so many different materials and surfaces, it’s the perfect tool for building out a cohesive and polished merch line.
Think about it. With a single order of dtf custom transfers, a company can brand a whole collection of items:
- Hats and Caps: Applying crisp, detailed logos to the tricky curved panels of a hat is suddenly simple.
- Bags and Backpacks: Decorating canvas totes, polyester drawstring bags, or even nylon backpacks is no problem.
- Tricky Placements: Want a small logo on a sleeve, on the back of the neck, or another awkward spot? DTF handles these placements with ease.
This allows any business to create a full range of high-quality swag that looks unified and professional, strengthening their brand on products people will actually want to use.
When it comes to your finished products, their quality is a direct reflection of the transfers you use. It's a simple fact: not all dtf custom transfers are made with the same care or materials. Choosing the right provider is probably the most important decision you'll make for your business.
Think of it like this: a world-class chef can't make a five-star meal with subpar ingredients. The same logic applies here. A great partner will deliver transfers that are consistently vibrant, tough, and easy to work with. A bad one? You'll be dealing with peeling graphics, faded colors, and a lot of wasted time and money. Your reputation is on the line with every press.
First, Look at the Product Itself
Before you even think about pricing or how fast they ship, you need to zero in on the transfer itself. The physical transfer is what determines how well it applies, how it looks, and how long it lasts. Here’s what you absolutely cannot compromise on:
- Vibrant, True-to-Screen Colors: The best suppliers use premium inks and professional color-matching software. The colors on the film should pop just like they did on your monitor.
- Sharp Lines and Tiny Details: Get up close and inspect the edges of the design. They need to be razor-sharp with no fuzzy bleeding. The printer must be able to handle intricate lines and small text without turning them into a blurry mess.
- A Smooth, Even Adhesive: Flip the transfer over. The white adhesive on the back should have a consistent, slightly rubbery feel. If it looks splotchy or uneven, that’s a huge red flag for peeling and application problems down the road.
Expert Tip: The single best way to judge a provider's quality is to get a sample pack. Seriously. Most reputable companies will offer one for free or for a few bucks. Press them, stretch them, wash them. This real-world test tells you everything you need to know.
Then, Evaluate Their Service and Support
A fantastic product is only half the equation. If it's backed by terrible service, you're in for a world of frustration. You're not just buying a product; you're looking for a reliable partner who can help your business succeed.
A good indicator of a forward-thinking company is its commitment to sustainability. Many top-tier providers are now using water-based polyurethane films and materials that can be recycled. This isn't just good for the planet; it’s a sign of a modern, quality-focused operation. These newer materials can slash volatile organic compound (VOC) emissions by up to 73% compared to old-school solvent methods. You can learn more about how these sustainability trends are shaping the heat transfer market.
When you're checking out a potential supplier, make sure you get answers to these questions:
- What’s your typical turnaround? Find out if they can reliably hit their deadlines, especially when you're in a pinch. Clear promises, like shipping the next business day, are what you want to see.
- What are your artwork requirements? A good provider has crystal-clear guidelines for submitting your files. Even better, they offer helpful tools like a gang sheet builder so you can fit as many designs as possible onto a single sheet.
- How do I get help if something goes wrong? Can you easily reach a real human being? A responsive and helpful support team is worth its weight in gold when you run into an issue.
By looking closely at both the physical transfer and the company behind it, you can find a provider that delivers outstanding dtf custom transfers you can count on, every single time.
Answering Your Top Questions About DTF Transfers
Even after you get the hang of what DTF is all about, a few practical questions always seem to come up. Let's tackle the big ones so you can move forward with your projects feeling confident.
Just How Tough Are DTF Transfers?
You'll be happy to hear that DTF transfers are incredibly durable. In fact, they often last just as long—if not longer—than classic screen prints. The key is a proper application with a good heat press. The heat and pressure work together to melt the adhesive, bonding it deep into the fabric's fibers. This creates a powerful connection that lets the design stretch and move with the material, preventing that dreaded cracking and peeling.
When you get the application right, a quality DTF transfer can easily handle 50+ trips through the wash without losing its color or detail.
This impressive resilience makes them a fantastic choice for just about anything, from your everyday t-shirt line to performance gear that's going to see some serious action. If you really want to dive deep, check out our guide on how long DTF transfers last.
Can I Just Use My Iron at Home?
I get this question all the time, and while it's tempting to try for a quick one-off project, you really shouldn't use a home iron. The simple truth is that an iron fails at the two most important things: consistent pressure and precise temperature. You'll end up with hotspots, uneven adhesion, and peeling corners. The result is a design that looks unprofessional and won't last.
A heat press isn't just a recommendation; it's essential for getting that professional, durable finish.
What Exactly Is a Gang Sheet?
Think of a gang sheet as your secret weapon for saving money. It's a large sheet of transfer film where you can place, or "gang up," a bunch of different designs. Instead of ordering and paying for each individual logo or graphic, you just pay for the full sheet.
This is a game-changer. You can fit your main shirt designs, sleeve logos, neck tags, and maybe even a few hat graphics all onto one sheet. This dramatically drops your cost per design and lets you get the most out of every single order.
Ready to see what vibrant, durable, and easy-to-use transfers can do for your brand? Raccoon Transfers delivers premium, next-day DTF transfers that are built to impress. Create your custom gang sheet today!