
A Guide to the DTF Gang Sheet Builder
If you've ever felt the sting of wasting expensive transfer film, a DTF gang sheet builder is about to become your favorite tool. Simply put, it's an online platform that lets you cram multiple designs onto a single sheet of DTF film. This one move can dramatically cut your material costs and is the secret to making smaller, diverse apparel orders truly profitable. Instead of printing individual transfers and watching the waste pile up, you group different graphics together into one efficient print job.
Why a DTF Gang Sheet Builder Changes Everything
 For anyone running a custom apparel business, whether you're a small Etsy shop or a brand on the rise, material waste is a constant headache. Printing one-off designs is incredibly inefficient and just eats away at your profits, especially when you're dealing with on-demand orders that all have different artwork. This is exactly the problem a DTF gang sheet builder solves.
Think of it less like printing and more like playing Tetris with your designs. You can take a big graphic for the back of a hoodie, a few left-chest logos for some polos, and a handful of sleeve designs, and fit them all snugly onto one continuous sheet of film. This smart grouping completely changes your workflow, turning a bunch of costly, separate prints into one smooth, cost-effective production run.
The Business Impact of Smart Layouts
The impact on your bottom line and your sanity is almost immediate. When you fill up every possible inch of film, you minimize wasted material, which directly slashes your cost per print. This kind of efficiency is absolutely essential in the booming custom apparel market.
The global Direct-to-Film printing market was valued around $2.72 billion in 2024 and is expected to hit nearly $3.92 billion by 2030. That growth is all about customers wanting unique, personalized gear that older printing methods just can't deliver affordably.
Getting good at using a gang sheet builder gives you a serious leg up on the competition. It means you can offer much better pricing on those small-batch orders while still keeping your profit margins healthy. It's the perfect answer to the market's demand for customization without the high setup costs and slow turnaround times.
A DTF gang sheet builder is more than just a tool; it's a core business strategy. Here's a quick rundown of why it's so important.
Key Benefits of Using a DTF Gang Sheet Builder
A quick summary of the primary advantages a DTF gang sheet builder offers for print businesses.
| Benefit | Impact on Your Business |
|---|---|
| Cost Reduction | Drastically lowers your cost per transfer by maximizing film usage. |
| Increased Profitability | Makes small, custom orders highly profitable instead of a break-even hassle. |
| Time Savings | Reduces setup and print time by consolidating multiple jobs into one. |
| Material Efficiency | Minimizes expensive film waste, leading to a more sustainable operation. |
| Competitive Pricing | Allows you to offer better prices to customers without sacrificing your margins. |
Ultimately, using a DTF gang sheet builder unlocks the true power of on-demand printing. It makes the whole process genuinely profitable, speeds up your production, and makes sure you get every penny's worth out of your transfer film.
Getting Your Designs Ready for Printing
The quality of your final print is locked in long before you even open the dtf gang sheet builder. The artwork files you start with are the foundation for the entire project, and getting them right is the best way to avoid wasting time and money. Think of this as your pre-flight checklist.
One of the most common—and costly—mistakes I see is people uploading low-resolution images. It's a surefire way to get blurry, pixelated, and completely unprofessional results. To prevent this headache, every single design file needs to be set to 300 DPI (dots per inch). This is the industry standard for a reason; it ensures your transfers come out sharp and vibrant, capturing all those fine details you worked so hard on.
File Format and Transparency
The file format you use is just as critical as the resolution. You should always save your artwork as a PNG file with a transparent background.
If you upload a JPEG or a PNG with a solid white background still attached, that white box will be printed right along with your design. Trust me, I once ruined an entire 22x60 inch sheet because one small graphic had a forgotten white background layer—that was a very expensive lesson in double-checking my work.
A clean, transparent PNG is the only way to ensure just your design gets printed. This simple step prevents the dreaded "white box" effect and gives your transfers a professional, screen-printed look directly on the garment.
Before you upload anything, take a minute to meticulously inspect each file. Zoom way in to check for stray pixels or faint, fuzzy outlines around your artwork. Those tiny, nearly invisible imperfections will absolutely show up in the final print. A few moments of prep work here will make a massive difference in the end.
For a deeper dive into the technology and why these prep steps are so crucial, check out our guide that explains in detail what a DTF transfer is.
Navigating the Gang Sheet Builder Like a Pro
Alright, you've got your high-resolution PNGs prepped and ready to go. Now for the fun part: opening up the dtf gang sheet builder and bringing your project to life. This is where your individual designs come together to form a single, efficient, and money-saving layout. Think of the builder's interface as your digital workbench.
The main area you'll be working in is the artboard. This represents the exact size of the transfer film you chose. The tools you'll constantly be reaching for are the ones for uploading, resizing, rotating, and duplicating your art. Honestly, just getting a good rhythm with these basic functions is the secret to building sheets quickly and without headaches.
The image below gives you a great visual of how you'll drag your prepared art files onto the builder's canvas to start creating your sheet.
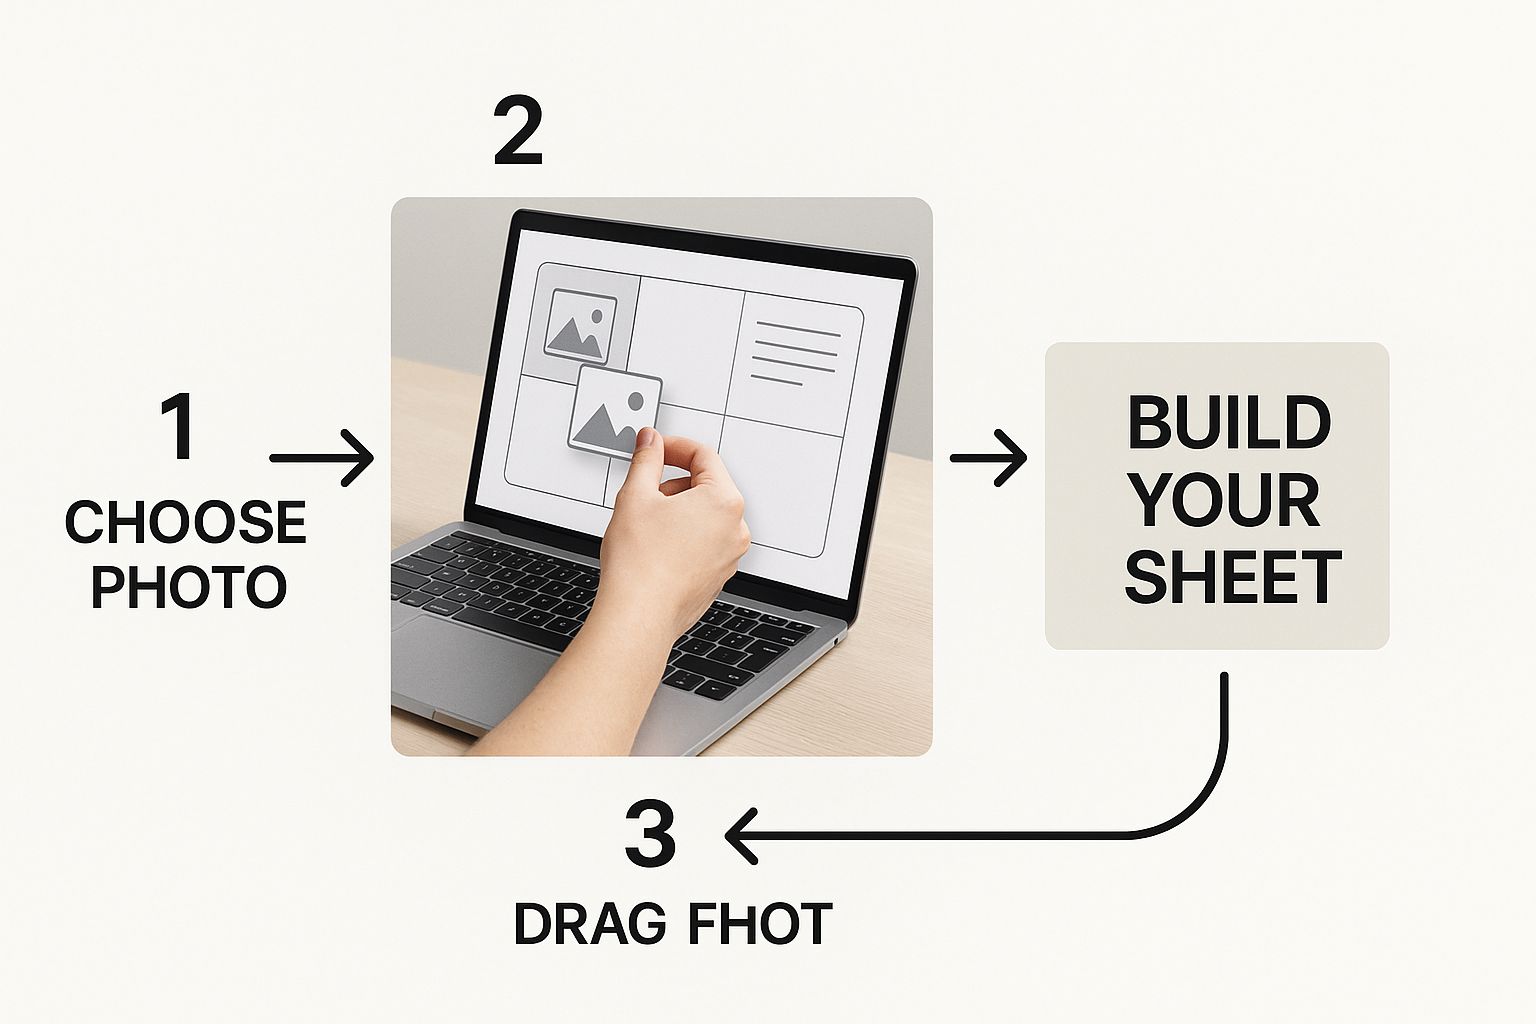
This simple drag-and-drop system is what makes modern builders so user-friendly, putting powerful layout control right at your fingertips.
Mastering the Essential Tools
First things first, upload all the designs you need for this particular gang sheet. As you bring them onto the artboard, the very next thing you should do is resize each one to its final print dimensions. Let's say you're printing for a hoodie order—you'll want to immediately set that back graphic to 10 inches wide and the left chest logo to 3.5 inches. Get the sizing right from the start.
Now, let’s talk about duplication. Say that hoodie order is for ten identical shirts. Instead of uploading and resizing that chest logo ten times, just get one sized perfectly and then hit the duplicate button nine times. It's faster, more accurate, and becomes second nature after a few projects. This little bit of muscle memory will save you a surprising amount of time.
Pro Tip: I can't stress this enough—always leave at least 0.25 inches of space between every design. This tiny gap is your best friend when it comes time to cut the transfers apart. It gives you just enough room for your scissors or rotary cutter without the risk of nicking an adjacent graphic.
This whole process of grouping designs is the core of what makes DTF so efficient. By putting multiple jobs on a single sheet, you're slashing material waste and boosting how much you can produce. If you're interested in the bigger picture, you can find more insights on DTF printing trends and how this technology is shaping the industry.
Using Alignment and Auto-Nesting Features
Once all your pieces are on the board, sized correctly, and duplicated, it's time to arrange them. A sloppy, chaotic sheet is a pain to deal with after it's printed. This is where the alignment tools are a lifesaver. Most builders have functions that let you snap designs to a grid or line them up perfectly with each other, resulting in a clean, professional layout that's a breeze to cut.
Some of the more sophisticated builders offer a feature called auto-nesting or "autofill." This thing is a game-changer. It automatically analyzes all your uploaded designs and arranges them in the most compact way possible to minimize film waste. It’s like having an expert play a game of Tetris with your art so you don't have to.
Advanced Strategies to Maximize Your Savings
Once you've got the hang of the DTF gang sheet builder, it's time to start thinking like a seasoned pro. The goal isn't just to get your designs on the sheet; it's about making every single square inch work for your bottom line. Any empty space on that film is literally money left on the table.
The smartest way to do this is what I call the "fill the gaps" method. See all that empty real estate between your bigger graphics? That's pure opportunity. This space is perfect for tucking in smaller, high-value designs you can press later or even sell as quick add-ons.
The Puzzle Piece Approach to Nesting
Start treating your gang sheet like a game of Tetris. You want every piece to interlock as tightly as possible. Instead of just lining designs up, start rotating them to see how they fit together. You'd be surprised how an L-shaped graphic can nest perfectly next to another one, cutting down wasted space dramatically. It might feel like a simple puzzle, but it has a huge impact on your costs.
Some of the most common "gap fillers" I see people use successfully are:
- Neck Tags: Custom branded tags are small, easy to place, and give any garment a professional finish.
- Pocket Logos: You can always find a home for a few small chest logos. They're a constant seller.
- Sleeve Graphics: Simple icons or bits of text for sleeves slide right into those long, narrow gaps.
- Company Branding: Why not print your own logos or website URL? Stick them on your packaging or toss them in as a freebie.
By adding these small transfers, you're essentially creating free inventory. And these aren't throwaway items; they're built to last. For a deeper dive into their quality, our guide on how long DTF transfers last explains just how durable they really are.
Leveraging Bulk Pricing Tiers
Here’s another pro tip: think beyond your current order. Sometimes, bumping up to the next sheet size—say, from a 22x60 to a 22x90 inch sheet—drops you into a better pricing tier. That move can actually lower your cost per design, even if you don't have an immediate need for the extra space.
Plan ahead. Fill that extra film with your best-selling designs, seasonal graphics, or promotional items. You're not just buying more material; you're making a smart investment in future sales and turning would-be waste into profitable inventory.
This is the real difference between just using the DTF gang sheet builder and truly mastering it. It shifts the tool from being a simple layout assistant to a powerful way to boost your financial efficiency, ensuring every print run adds maximum value to your business.
Your Final Pre-Print Checklist
That moment right before you hit "Confirm Order" is a big one. It's where the pros separate themselves from the rookies. A disciplined final check is the difference between a perfect batch of transfers and a frustrating, expensive reprint. Trust me, spending a few extra minutes on this checklist can save you a ton of headaches and cash down the road.
First, grab a tape measure. Seriously. Check the dimensions of your most important graphics in the dtf gang sheet builder against the actual shirts or hoodies you'll be printing on. A 10-inch wide design that looks great on an XL hoodie might completely overwhelm a small tee. This quick reality check is crucial for getting the placement just right.
Next, do a quick headcount. If you needed 10 chest logos for a customer's order, take a second to manually count each one on your gang sheet. It's surprisingly easy to accidentally hit duplicate one too many times (or one too few) and end up with 9 or 11. A simple count confirms your quantities are spot-on.
Spotting Deal-Breaker Mistakes
The single most common—and costly—error is overlapping images. Even a tiny overlap can cause the transfers to fuse together during printing, ruining both designs.
Use the zoom tool and get in close. You need to meticulously inspect the space between every single design. Make sure there’s a clean, visible gap around each graphic on the sheet. No exceptions.
Think of this final review as your last line of defense. Take your time, zoom in on the details, and double-check every measurement. A few minutes of inspection now is always better than days of delay and the cost of reprinting an entire sheet.
Finally, hit that preview button one last time. The preview shows you exactly what our printers will see, stripping away all the builder's grids and tools. This is your chance to catch any weird issues like stray pixels, faint lines you thought you deleted, or transparent areas that aren't supposed to be there.
Once it looks absolutely perfect in the preview, you're ready to go. You can submit your order with confidence.
Common Questions About DTF Gang Sheets
Even with a great dtf gang sheet builder on your side, some questions always come up. I've been there. Getting these details right from the start is the difference between a perfect print run and a frustrating mistake.
Let's clear up a few of the most common hurdles I see people encounter.
The first thing everyone asks about is file format. For the absolute best results, you want a high-resolution PNG file—specifically, 300 DPI with a transparent background. This is non-negotiable if you want crisp, sharp edges without any weird white boxes showing up on your final product. Stick with a transparent PNG, and you'll always be in good shape.
Spacing and Layout Queries
Next up is spacing. How close is too close?
As a solid rule of thumb, always leave at least 0.25 inches of breathing room around each design. It might not seem like much, but that little buffer makes it so much easier to cut your transfers apart later. Trust me, you don't want to accidentally slice into a neighboring graphic because you crammed them too tightly.
People also ask if they can mix and match sizes on one sheet. Yes, you absolutely should! That’s the whole point of a gang sheet.
Combining a few big back-of-shirt designs with some smaller chest logos and maybe a few tiny sleeve hits all on one sheet is how you squeeze every penny of value out of your order. It's the smartest way to make small-batch, varied designs affordable.
Finally, what about rotating images? Don't even hesitate. As long as you uploaded a high-quality file to begin with, rotating it in the builder won’t degrade the quality at all.
In fact, rotating is a pro move. It helps you nestle designs together like puzzle pieces, which is essential for minimizing wasted film. Less waste means more profit on every sheet, a strategy we dive into in our guide on the top DTF printing trends for 2025.
Ready to put this into practice and build your own cost-effective transfer sheet? The online gang sheet builder at Raccoon Transfers is incredibly intuitive. Start creating your perfect layout today at https://raccoontransfers.com