
Mastering Your DTF Press Instructions
Alright, let's get this done. Before you even think about laying that DTF transfer down, the success of your press is already on the line. Getting the dtf press instructions right from the start is what separates the pros from the amateurs, and that always begins with a good pre-press to get rid of moisture and wrinkles. Honestly, this simple prep work is the biggest difference between a print you're proud of and one that ends up in the trash.
Setting Up for a Perfect DTF Press
I can't tell you how many times I've seen a beautiful transfer get ruined by a rushed setup. The secret to a vibrant, durable DTF print isn't just in the final press; it's in the careful preparation you do beforehand. This isn't just about having a decent heat press; it's about creating the perfect environment for that transfer to bond permanently.
This commitment to quality is exactly why the DTF printing world is booming. The market hit an estimated USD 2.72 billion in 2024 and shows no signs of slowing down, all because people want custom gear that lasts. That level of quality only happens when you nail the process every single time. If you're curious, you can find more insights about the expanding DTF market and where it's headed.
Why You Can't Skip the Pre-Press
Every single shirt or hoodie, no matter how dry it feels to the touch, is holding onto moisture and has tiny wrinkles. These are the two biggest enemies of a good transfer. A quick pre-press for just 3-5 seconds is all it takes to solve this.
Here’s what that quick press does:
- Zaps Hidden Moisture: Any water trapped in the fabric will turn to steam under the press, which completely blocks the DTF adhesive from grabbing onto the fibers.
- Creates a Flat Surface: It smooths out the fabric, getting rid of any creases that would cause gaps or imperfections in the final print.
Think of it like this: you wouldn't paint a bumpy, dirty wall. Pre-pressing is the exact same idea for fabric.
Your Go-To Pre-Press Toolkit
Having a few key items within arm's reach makes the whole process smoother and far more accurate. These aren't just nice-to-haves; they're essential for getting that clean, professional look consistently.
From my experience, the most common pressing mistakes—ghosting, ugly adhesive outlines, or peeling edges—can almost always be traced back to skimping on prep, not a faulty transfer. A good pre-flight check saves you time, money, and a lot of frustration.
Your must-haves are simple. Heat-resistant tape is non-negotiable for holding the transfer perfectly still so it doesn't shift when you lower the press. You'll also need a Teflon sheet or parchment paper for that final finishing press; it protects the design from direct heat and actually helps determine whether you get a glossy or matte finish.
Nailing the Perfect Press: Time and Temperature for Any Fabric
Think of your heat press settings as a unique recipe for each type of fabric. You wouldn't bake a delicate pastry and a hearty loaf of bread at the same temperature, right? The same logic applies here. Getting the DTF press instructions dialed in for each material is the absolute key to a vibrant, durable print that actually feels good to wear.
The science behind it is pretty simple when you break it down. Natural fibers like cotton are quite resilient; they can handle higher heat, which you need to properly melt the adhesive powder and lock that transfer into the fabric for good. On the other hand, synthetics like polyester are much more sensitive. Crank the heat too high, and you can easily scorch the garment or trigger dye migration—that dreaded effect where the shirt's color bleeds into your beautiful design, muddying the colors.
Settings for the Most Common Garments
Every fabric has its own "sweet spot." For a classic 100% cotton shirt, you'll want to aim for a higher temperature, typically between 300-320°F (149-160°C), with a press time of 10-15 seconds. This gives the ink enough time and heat to cure properly into the dense cotton fibers.
Polyester, however, needs a gentler touch. To prevent scorching and keep those colors crisp, you have to bring the temperature down. A setting of 260-275°F (127-135°C) for just 8-10 seconds is usually perfect. It’s just enough heat to activate the adhesive without damaging those delicate synthetic threads. If you're new to the game, it might be helpful to review the basics in our guide on understanding DTF printing for beginners.
Pro Tip from the Shop: If you're ever unsure or working with a fabric for the first time, always do a test press on a hidden spot. A few seconds of testing can save you the headache and cost of ruining a whole garment and a perfectly good transfer.
What about blends? You have to meet them in the middle.
- 50/50 Cotton/Poly Blends: Aim for a middle ground around 280-290°F (138-143°C). This is generally hot enough for the cotton portion without being too harsh on the polyester.
- Tri-Blends (Cotton/Poly/Rayon): These are the most finicky of the bunch. You'll want to stay on the cooler side, around 260-275°F (127-135°C), which is similar to what you’d use for 100% polyester. This helps protect the rayon, which is the most heat-sensitive fiber in the mix.
DTF Heat Press Settings by Fabric Type
Here’s a quick-reference table I keep handy in my own shop. It's a great starting point for the most common materials you'll encounter.
| Fabric Type | Temperature Range (°F/°C) | Press Time (Seconds) | Pressure Level | Peel Type |
|---|---|---|---|---|
| 100% Cotton | 300-320°F / 149-160°C | 10-15 | Medium-Firm | Hot or Cold |
| 100% Polyester | 260-275°F / 127-135°C | 8-10 | Medium | Hot or Cold |
| 50/50 Blends | 280-290°F / 138-143°C | 10-12 | Medium | Hot or Cold |
| Tri-Blends | 260-275°F / 127-135°C | 8-10 | Medium | Hot or Cold |
| Nylon (Uncoated) | 280-300°F / 138-149°C | 10-12 | Medium | Hot or Cold |
Remember, these are guidelines. Your specific heat press, the brand of transfers you use, and even the humidity in your room can cause slight variations. Always be prepared to make small adjustments for that perfect finish.
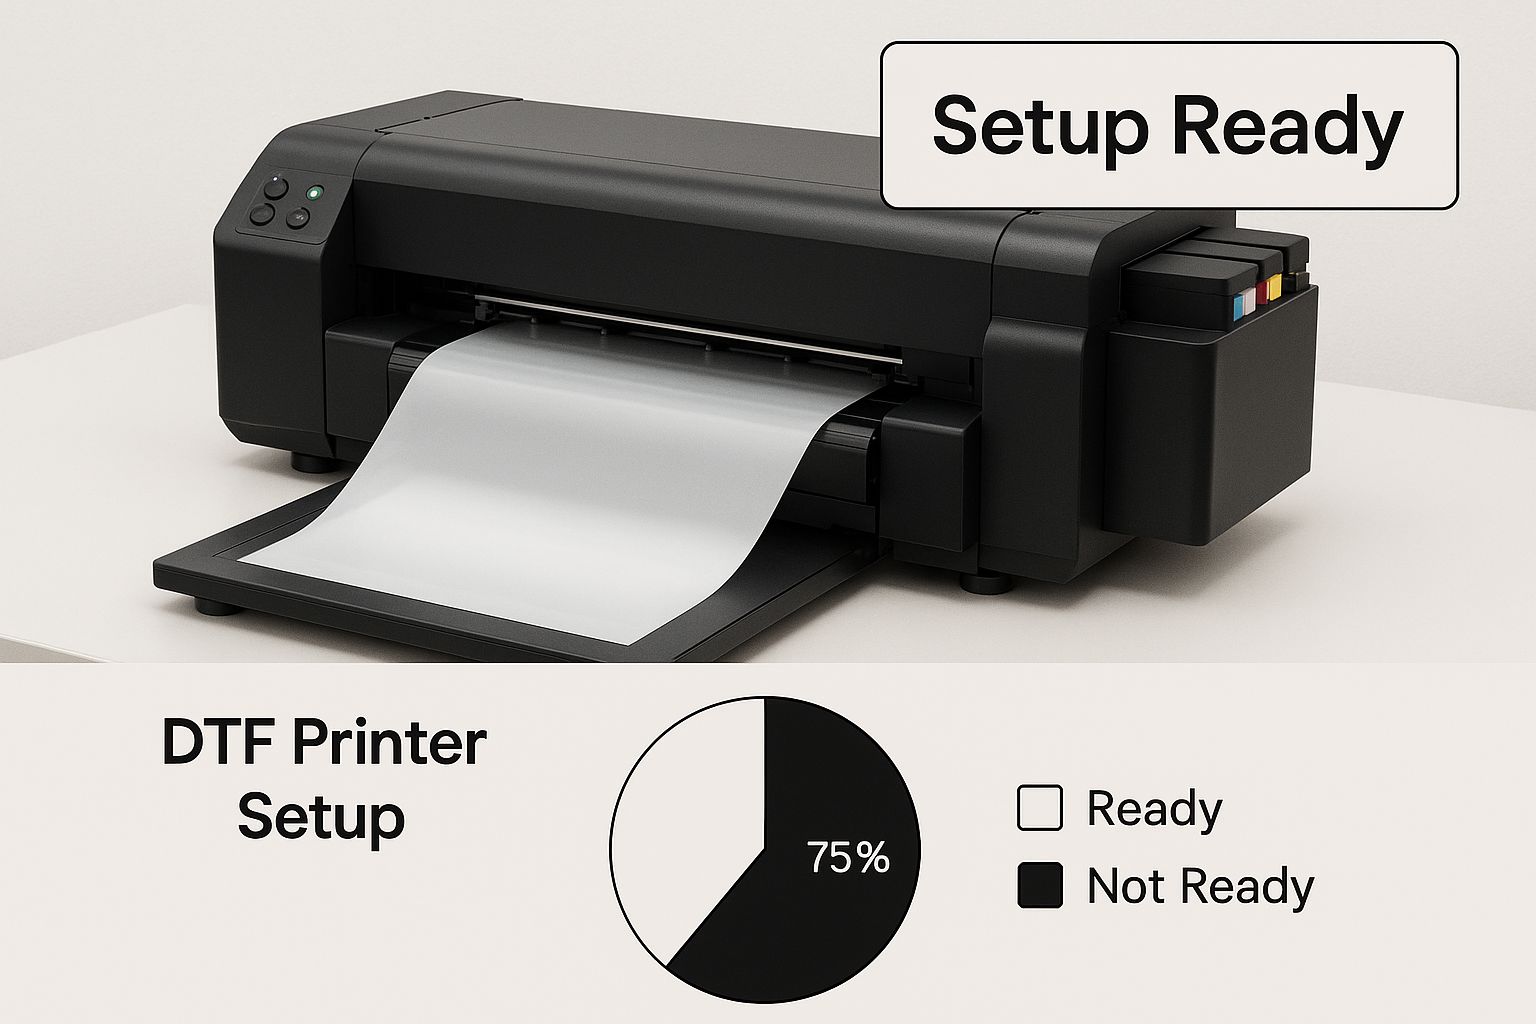
The image above shows a clean, organized workspace—a critical first step before you even think about heat. When your tools and transfers are ready to go, you can work smoothly and confidently once that press gets hot.
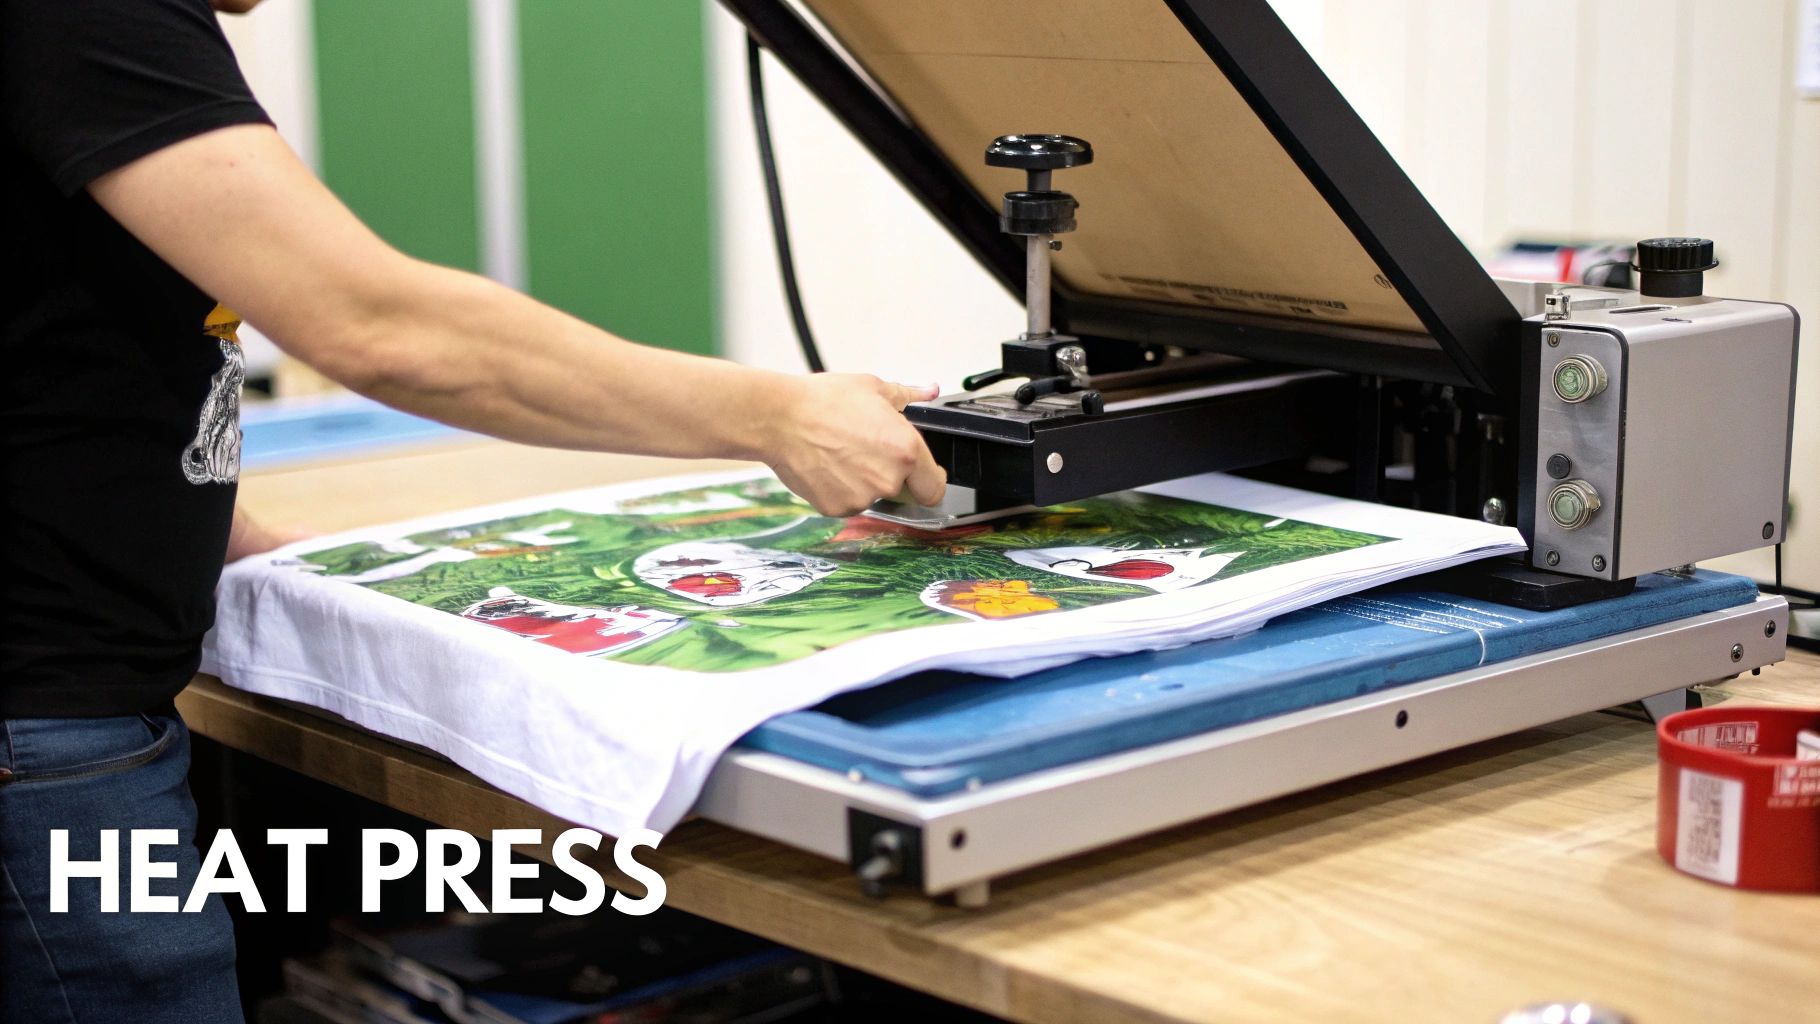
Alright, let's talk about pressure and the peel. These two things are just as important as your time and temp settings, and they're often where things go wrong for people starting out.
Nailing the Perfect Pressure
Once you've got your heat press set to the right temperature and time, it's all about pressure. You need just enough force to melt that adhesive properly and work it deep into the fabric. For most DTF transfers, we're aiming for a solid medium to firm pressure.
But what does "medium to firm" actually feel like? There's a classic trick for this, and it works great.
It’s called the "paper test." Just grab four small pieces of regular printer paper and place one at each corner of your bottom platen. Clamp down your press. Now, try to pull each piece of paper out. You should feel a good bit of drag—it shouldn't just slide out. If there's no resistance, your pressure is too light. If you can't budge the paper at all without ripping it, you've gone too far and need to back it off.
This little test also reveals if your platen is uneven. If one corner is loose while another is locked down tight, you've found a problem that will definitely lead to botched transfers.
Hot Peel vs. Cold Peel: What's the Difference?
The final moment of truth is the peel. This is where you see your hard work pay off. Your DTF film supplier will tell you if you have a hot peel or a cold peel film, and you absolutely have to follow their lead on this. It's not a suggestion.
-
Hot Peel: This means you peel the film off the moment the press opens. The shirt will still be smoking hot. It's fast, efficient, and great for high-volume jobs, but it can feel a bit nerve-wracking at first.
-
Cold Peel: This is the opposite. You have to let the garment and the film cool down completely before you even think about touching it. I mean completely cool. This method is usually more forgiving for intricate designs and gives you a super smooth finish.
The biggest mistake I see people make is rushing a cold peel. If the film is even a little bit warm, you risk pulling the ink right off with it, especially with fine lines or tiny text. Seriously, just walk away for a minute or two. A little patience will save you a shirt.
When it's finally time to peel—whether hot or cold—don't just grab a corner and yank it upwards. That’s a recipe for disaster.
Instead, start at one corner and roll the film back over itself. Keep it low and smooth, almost parallel to the shirt. This rolling motion gently releases the design, leaving all the details perfectly attached to the fabric. This single technique is a game-changer for preventing lifted edges and getting that professional, screen-printed feel everyone wants.
Don't Skip the Finishing Press—It's Your Secret to Durability
The first press gets your DTF transfer onto the shirt, but the second press is where the real magic happens. This is the step that separates the pros from the amateurs. It’s a simple finishing touch, but it's what gives your prints that incredible soft-hand feel and unbeatable wash durability.
Think of it this way: the second press melts the ink into the fabric fibers, rather than just letting it sit on top. This quick reapplication of heat dramatically improves the design’s stretchability and makes sure it can handle whatever the washing machine throws at it. This is how you create a print that looks fantastic for years, not one that cracks and peels after a few washes.
Choosing Your Finish: Matte vs. Glossy
The tool you use for this final press has a huge impact on the final look. You’ve got two main choices, and they produce very different results:
- Parchment Paper: If you're going for a flat, non-reflective matte finish, this is your best friend. It delivers that modern, high-end look that blends perfectly with the garment.
- Teflon Sheet: Want a little more pop? A Teflon sheet will give your transfer a slight sheen for a glossy finish. This is a great option when you want the colors to feel extra vibrant and the surface to be a bit slicker to the touch.
This second press isn't just about the aesthetics; it’s a critical part of the process that fully cures the adhesive. A quick 5 to 10-second finishing press is all it takes to lock in the design for good.
At the end of the day, your goal is to create a product that not only looks professional off the press but also holds up over time. Mastering this final step is the key to delivering that quality.
To really get into the weeds of what makes these prints so tough, check out our guide on the factors that influence DTF durability.
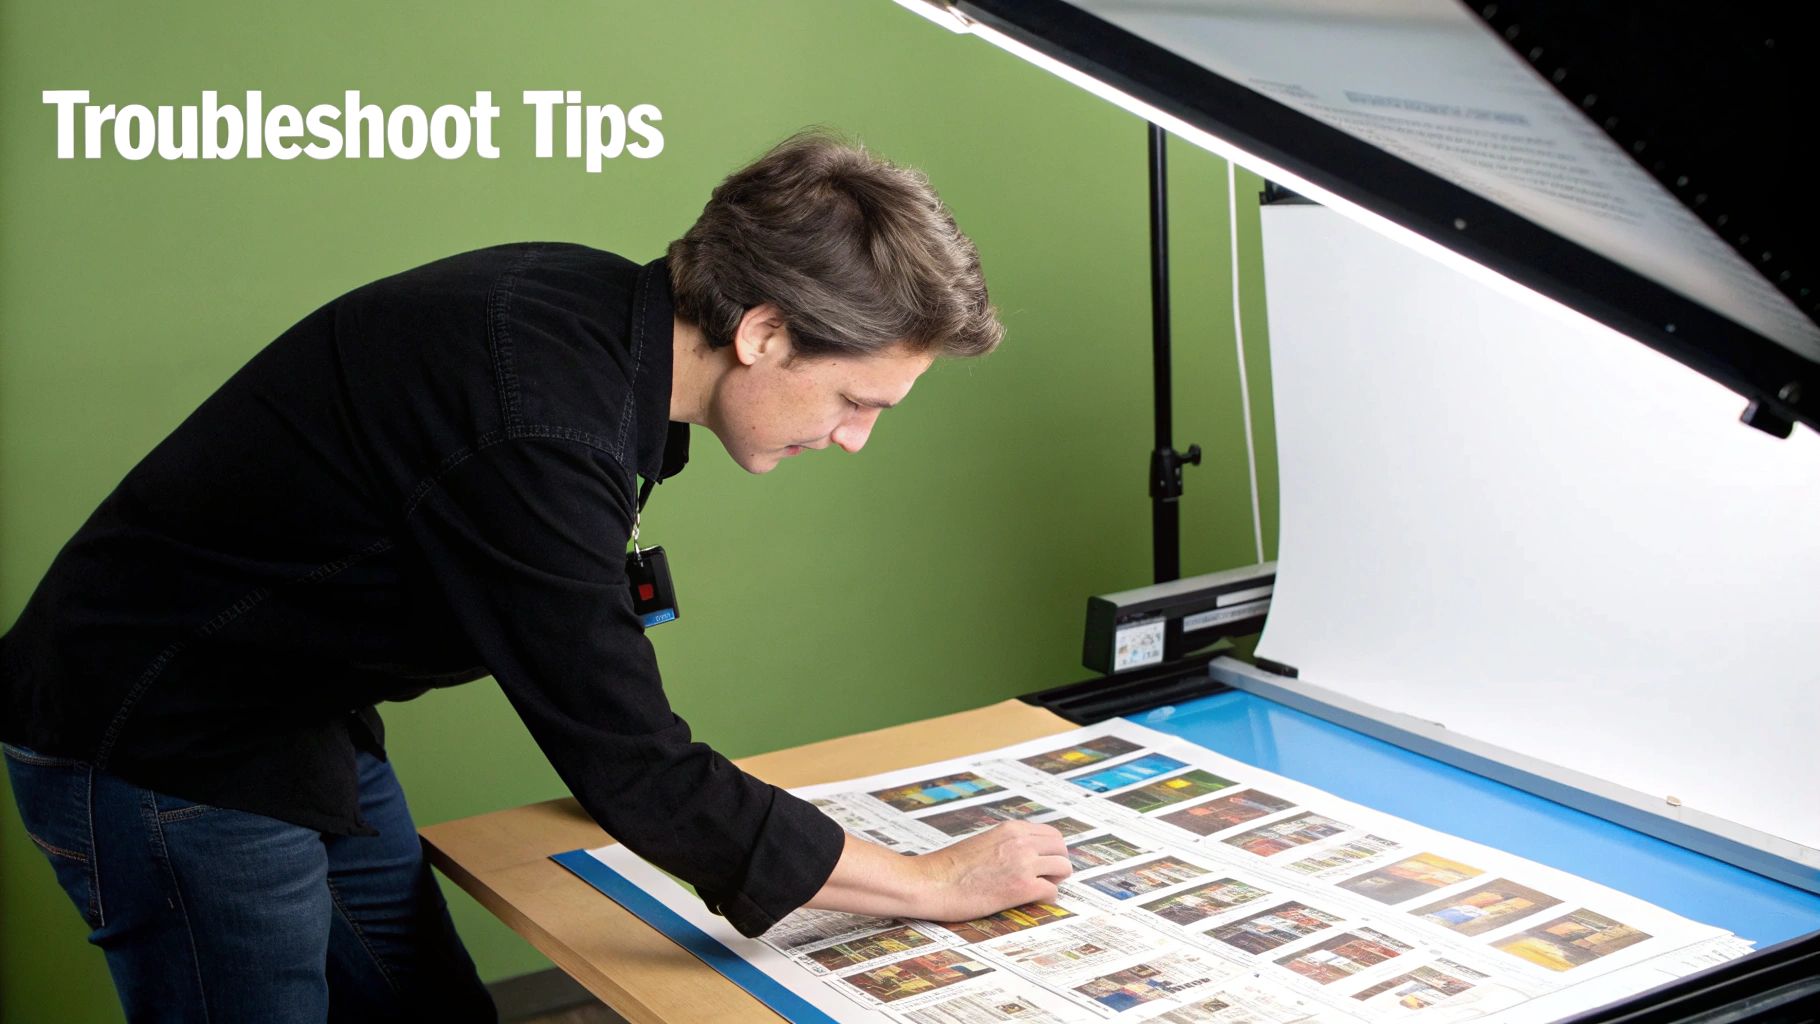
Working Out the Kinks: A Guide to Common DTF Pressing Issues
Sooner or later, every print shop runs into a snag. It's just part of the process. Think of this as your go-to guide for figuring out what went wrong and, more importantly, how to fix it so you can rescue that garment and perfect your technique.
When a transfer just won't stick, my first suspects are always heat and pressure. The bond between the DTF adhesive and the fabric is everything. If the pressure is too light, that bond never fully forms, and you'll see peeling edges or the whole design will lift right off. Run a quick paper test to be sure your pressure is dialed in correctly.
Adhesive Halos and Pesky Dye Migration
Ever notice a faint, glossy outline around your design? That's what we call an "adhesive halo." It's usually a sign of too much adhesive powder on the transfer itself or that you pressed it for a few seconds too long. Trimming a little time off the clock can help, but the best defense is starting with high-quality transfers from a reliable source.
Dye migration is another classic headache, especially when you're working with polyester. This is what happens when the fabric's dye bleeds into your ink—turning that crisp white print into a dull pink on a red shirt.
The fix is almost always to lower your temperature. Pushing polyester above 275°F is asking for trouble because it activates the fabric's dyes. For any synthetic apparel, stick to cooler temperatures and shorter press times.
These challenges are hot topics in the DTF world. As the North American market continues its rapid growth—with some estimates projecting the US segment to reach USD 81.6 million by 2032—sharing solutions to these common problems is how we all get better. You can discover more insights about these DTF market trends.
Finally, what if the print looks great off the press but cracks after the first wash? This almost always points back to an incomplete cure. The adhesive didn't get a chance to fully set. You might need a little more heat or a few extra seconds on the timer. More often than not, it means the crucial second finishing press was skipped.
If you're still exploring different apparel decoration methods, our guide on DTF vs. DTG printing can offer a much broader perspective on the pros and cons of each.
Answering Your Top DTF Pressing Questions
As you get the hang of working with DTF transfers, you're bound to run into a few specific quirks. It happens to everyone. Here are some quick, no-nonsense answers to the most common questions I hear from printers, both new and seasoned.
Can I Just Use a Home Iron for DTF Transfers?
I get this question a lot, and the short answer is no—at least not if you want professional results. For any serious work, a home iron just won't cut it.
The biggest problem is that irons can't deliver the consistent, even pressure and stable temperature needed for the DTF adhesive to properly cure. Those two factors are absolutely critical. Trying to use an iron almost always ends in peeling prints, spotty adhesion, and a lot of wasted time and materials. A quality heat press is a foundational investment for a reason.
Help! My DTF Print Is Cracking After I Wash It.
This is a classic sign of an incomplete cure, and I've found it almost always comes down to one of three culprits: your temperature was too low, the pressure wasn't firm enough, or you skipped the final finishing press.
That second press is non-negotiable. It's what truly embeds the ink into the fabric's fibers, giving it the durability and stretchiness to survive the wash. Always follow the dtf press instructions for your specific material and never, ever skip that final press.
What's the Actual Difference Between Hot and Cold Peel?
This isn't about personal preference; it's a technical requirement dictated by the transfer film you're using. The term simply refers to how warm the transfer is when you remove the clear carrier sheet.
- Hot Peel: The film is made to be peeled away immediately after the heat press opens. You don't wait.
- Cold Peel: You must let the garment and transfer cool down completely before peeling. I mean completely cool to the touch.
Attempting to hot peel a cold peel film (or vice-versa) is one of the most common reasons for a failed transfer. Always stick to the instructions provided by your DTF supplier to get a clean release every single time.
Ready to create stunning, durable custom apparel with transfers that never fail? Raccoon Transfers offers premium, easy-to-apply DTF transfers with next-day shipping and unmatched support. Build your gang sheet and order today!