DTF Washing Instructions: Keep Your Prints Vibrant & Long-Lasting
You’ve got a garment with a sharp, vibrant Direct-to-Film (DTF) print, and you want to keep it looking that way. The good news? It's easier than you think. Proper care is what separates a shirt that looks great for a dozen washes from one that lasts for years.
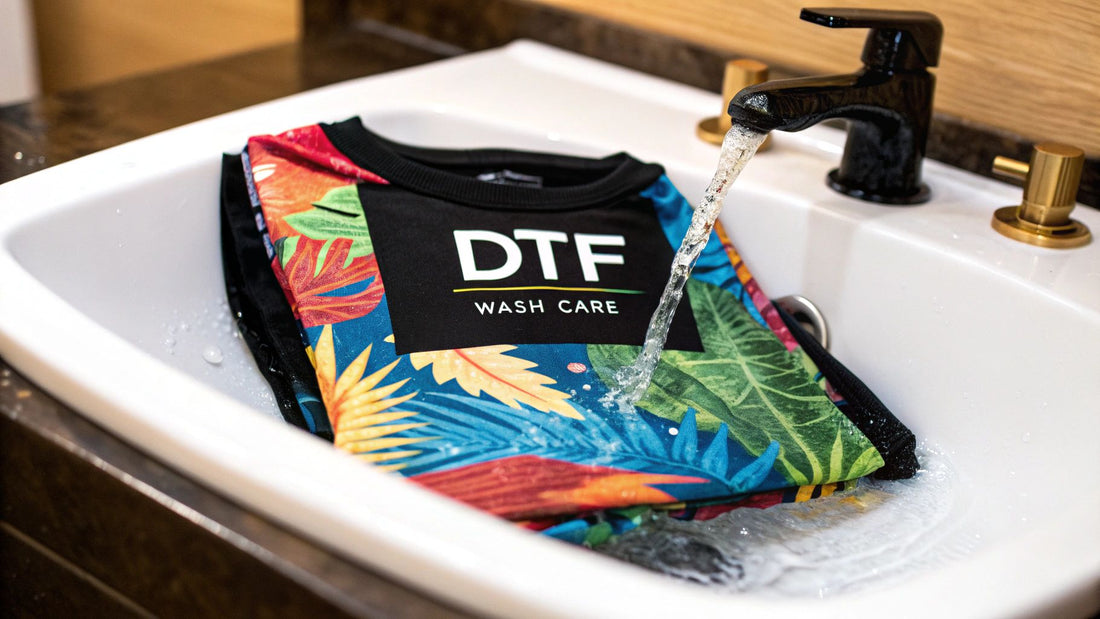
The secret isn't complicated: always wash your DTF apparel inside-out in cold water, use a gentle cycle, and let it air dry. That’s it. Following these core rules is the single best way to protect your print from fading, cracking, or peeling.
Your Essential Guide to DTF Garment Care
Think of a DTF transfer as a thin, flexible layer that's been fused directly onto the fabric. Its biggest enemies in the laundry room are friction, high heat, and harsh chemicals. Every step in a proper washing routine is designed to combat these threats and dramatically extend the life of your apparel.
This isn't just a random list of rules; each instruction protects the print’s delicate structure and the adhesive that bonds it to the material.
Protecting Your Print from Day One
The principles behind solid DTF care are pretty straightforward. Once you understand the "why" behind each step, making the right choices every time you do laundry becomes second nature.
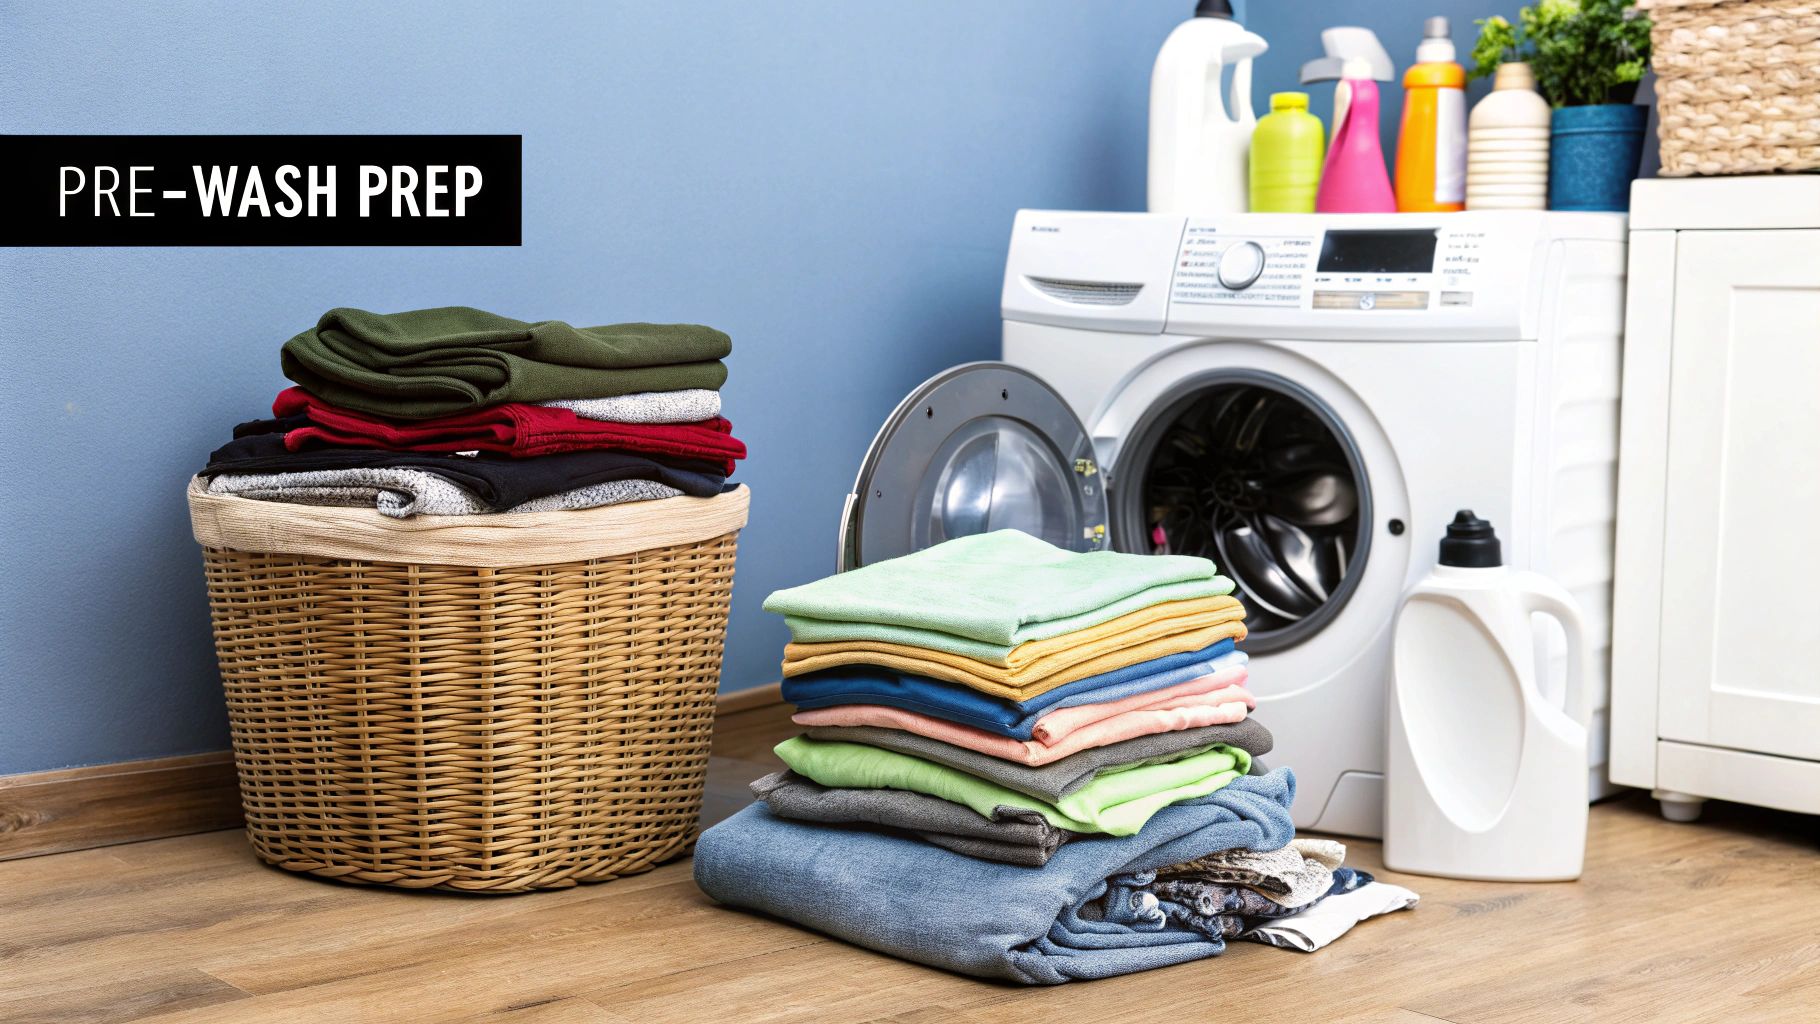
- Turn It Inside-Out: This is non-negotiable and the most important thing you can do. Turning the garment inside-out creates a protective barrier, stopping the print from rubbing against other clothes or the washing machine drum.
- Use Cold Water: Hot water is the enemy of the adhesive. It can soften and weaken the bond holding the print to the fabric, which is what leads to peeling or cracking over time. Cold water cleans just as well without putting the transfer at risk.
- Choose a Gentle Cycle: A delicate or gentle cycle minimizes the physical stress on the garment. Less aggressive spinning and agitation means less stretching and damage to the print.
A well-cared-for DTF print isn't just about looks—it's about getting the maximum value and enjoyment from your custom apparel. Small adjustments in your laundry routine yield significant long-term results.
With the right care, industry tests show that high-quality DTF prints can easily endure between 50 to 100 washes before showing any major signs of wear. This impressive durability is why it’s become a go-to for custom apparel. You can read more about the research behind DTF washability and longevity to see just how tough these prints are.
For a quick reference, I've put together a simple cheat sheet to help you remember the basics.
Quick DTF Care Cheat Sheet
This table breaks down the essentials for washing and drying your DTF garments to keep them looking brand new.
| Care Step | Do | Don't |
|---|---|---|
| Preparation | Turn the garment inside-out. | Wash with abrasive items like jeans or towels. |
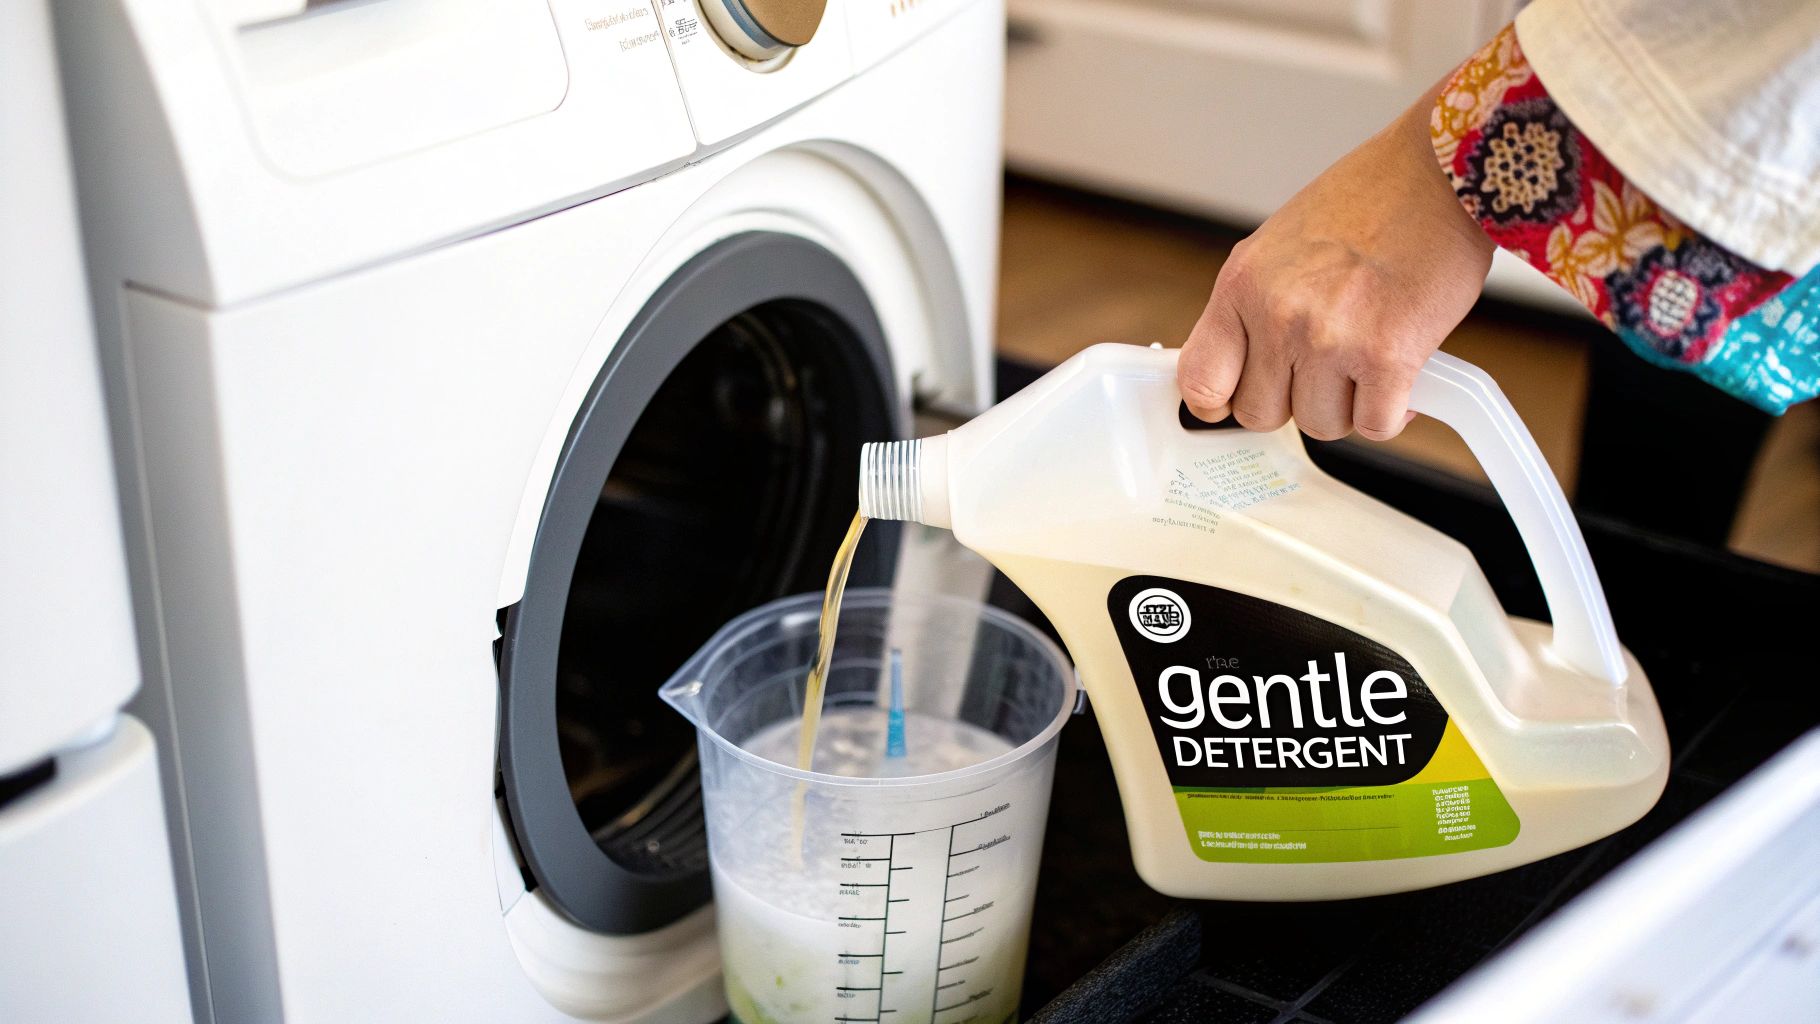
| Washing | Use cold water and a mild detergent. | Use bleach or harsh fabric softeners. |
| Machine Cycle | Select a gentle or delicate cycle. | Use a heavy-duty or high-agitation cycle. |
| Drying | Hang to dry or tumble dry on low/no heat. | Dry on high heat. |
| Ironing | Iron inside-out on a low setting, away from the print. | Iron directly on the DTF transfer. |
Sticking to these simple do's and don'ts will make all the difference in preserving the quality and vibrancy of your custom prints for years to come.
The Critical First Wash for New DTF Prints
You just got your new custom shirt, and that DTF print looks absolutely perfect. It's tempting to throw it on right away, but hold on. The single biggest mistake you can make right now is washing it too soon.
Give that print at least 24 to 48 hours before its first trip through the laundry. This isn't just a friendly suggestion; it's essential. This waiting period allows the transfer's adhesive to fully cure and permanently bond to the fabric's fibers. Rushing this is like touching wet paint—it compromises the final result.
What Happens If You Wash It Too Early?
If you jump the gun, the water and detergent from the wash cycle will attack the adhesive before it has fully hardened. This interference prevents the bond from reaching its full potential strength.
The print might look okay after that initial wash, but you've set it up for failure. It's now far more likely to start peeling or cracking after just a handful of wears.
That initial 24-48 hour waiting period is the best thing you can do for your print's lifespan. Patience here ensures the transfer is properly locked in and ready for the long haul.
Your Guide to the First Wash
Once you’ve waited patiently, it’s time for that crucial first wash. Getting this right sets the stage for how the print will hold up over time.
- Turn It Inside-Out: This is non-negotiable. Turning the garment inside-out creates a protective barrier, shielding the design from the abrasive friction of the washing machine drum and other clothes.
- Go Cold: Always use cold water. Hot water is the enemy of a fresh print, as it can soften the adhesive and cause colors to bleed or fade prematurely.
- Keep It Gentle: Choose a delicate or gentle cycle. The lower spin speed reduces the physical stress on the fabric and the transfer itself, preventing any stretching or damage.
- Use a Mild Detergent: Stick to a simple, mild detergent. Avoid anything with bleach, fabric softeners, or other harsh additives, as these chemicals can attack the ink and adhesive over time.
Following these DTF washing instructions for the first wash does more than just clean the shirt; it solidifies the print for a long, vibrant life. Care instructions can differ quite a bit depending on the print method. For more on that, check out our guide comparing DTF vs. DTG printing methods to see why this matters.
Nailing the Routine Wash for Your DTF Gear
Now that your DTF shirt has made it through that critical first wash, it’s all about creating a smart, consistent cleaning routine. This is where you really lock in the lifespan of the print. The small habits you build now will prevent the slow, cumulative damage from dozens of future washes, keeping that design looking sharp for years.
Think about what's happening inside a washing machine—it's a pretty chaotic environment for a print. A standard cycle's aggressive tumbling and high-speed spin can tug and stretch the transfer. Over time, this creates tiny cracks that eventually become noticeable. To avoid this, the delicate or gentle cycle is your best friend. It seriously cuts back on the agitation and slows the spin, which means far less physical stress on the design.
This quick visual guide breaks down the simple, three-part process for a perfect DTF wash, every time.
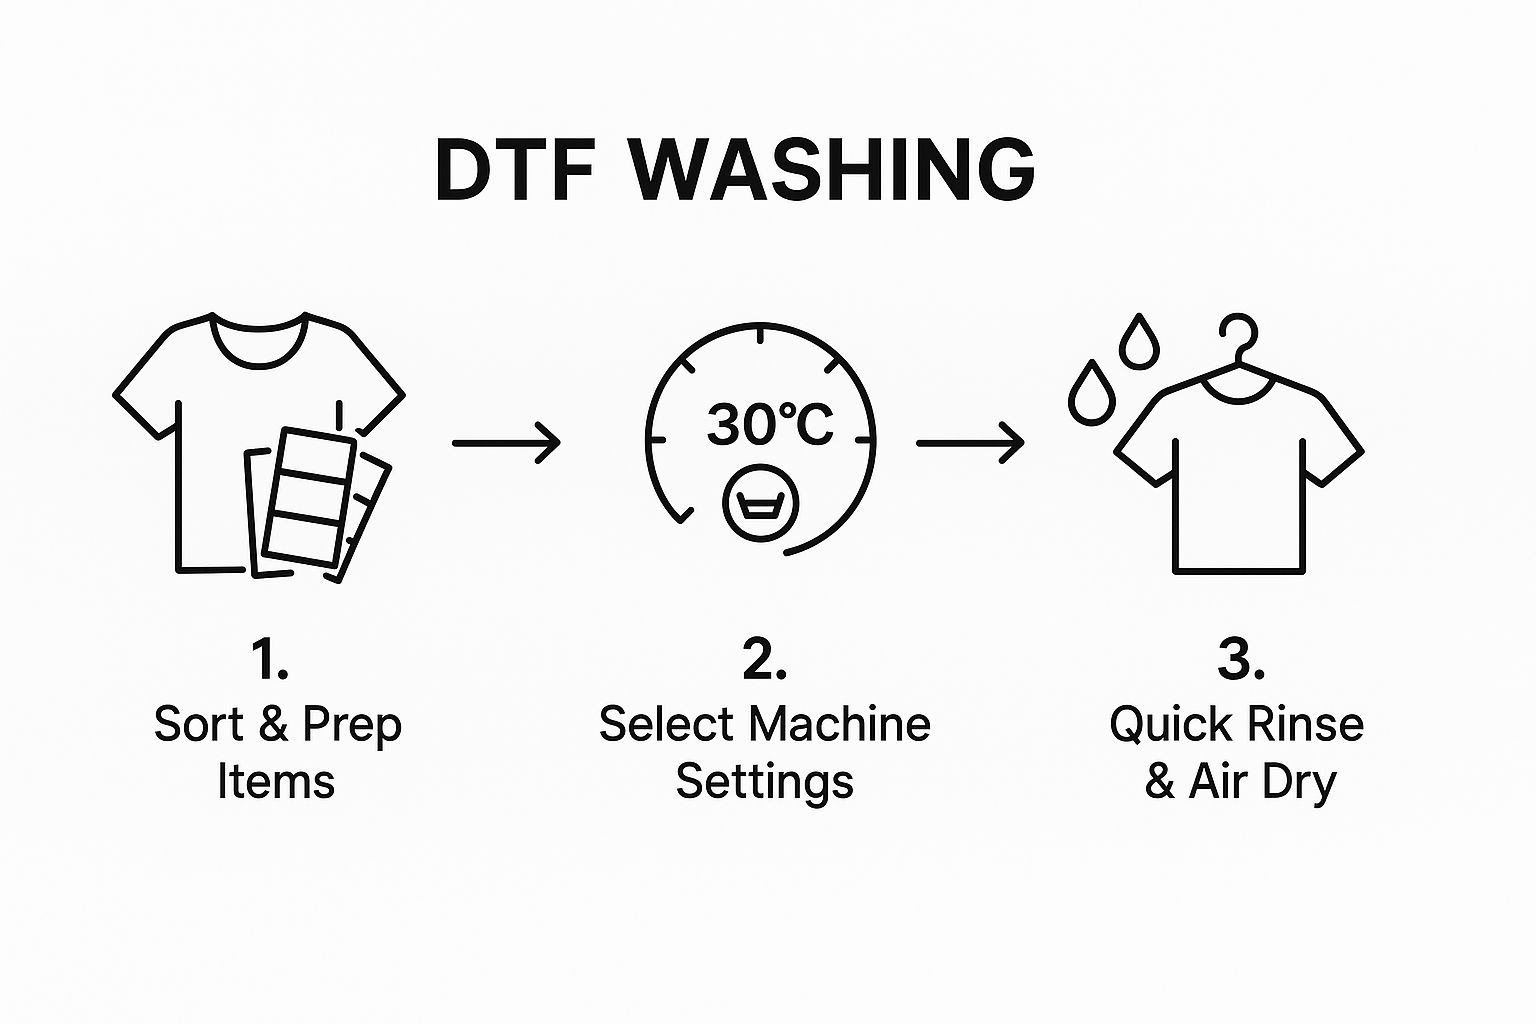
As you can see, it all boils down to proper prep, gentle machine settings, and avoiding heat during the drying phase. Following these steps is the best way to maximize the life of your DTF prints.
The Right Temperature and Detergent
Beyond just the cycle setting, water temperature is a huge deal. Hot water is public enemy number one for the adhesive layer that bonds the print to the fabric. Heat softens that glue, leaving the transfer vulnerable to peeling, cracking, and fading.
The rule of thumb here is non-negotiable: always use cold water. This keeps the adhesive firm and stable, protecting the print’s integrity wash after wash.
I always recommend washing DTF garments inside out to protect the design from rubbing against other clothes. For temperature, stick to a cold wash between 30 to 40°C (that's 86-104°F). Hot water is just asking for trouble, as it can weaken the adhesive and ruin the print. You can find more great DTF wash care best practices that go into even more detail.
What you don't put in the wash is just as important as what you do. Many common laundry products contain harsh chemicals that can absolutely wreck a DTF print. Here’s what to keep out of the machine:
- Bleach: This goes for both chlorine and so-called "color-safe" bleach. They will strip the color right out of your design and can even eat away at the ink.
- Fabric Softeners: These leave a waxy film on fabrics to make them feel soft. That same coating can work its way under the transfer, weakening the bond and causing it to peel off way sooner than it should.
- Aggressive Detergents: Just stick with a simple, mild liquid detergent. Avoid anything with heavy-duty stain removers or powerful enzymes that can attack the ink and adhesive.
Combine a delicate cycle with cold water and a mild detergent, and you’ve created the ideal, low-stress environment for your DTF apparel. It’s a straightforward routine, but it's the single most effective way to prevent damage and keep your prints looking brand new.
How to Properly Dry and Iron DTF Garments
So, you've washed your DTF garment perfectly. Great! But don't let your guard down just yet. The drying process is where a lot of well-intentioned care goes wrong. High heat is the ultimate enemy of a DTF transfer, and a hot dryer can ruin a print in a single cycle.
From my experience, the absolute best way to dry your DTF gear is the old-fashioned way: air-drying. Just hang it up on a line or lay it flat. This simple step keeps the transfer flexible, the colors pop, and completely sidesteps the risk of heat damage that causes those dreaded cracks and peels.
Can You Use a Machine Dryer?
Life gets busy, and sometimes you just don't have time to wait for a shirt to air-dry. If you absolutely have to use a machine, you need to be strategic. The name of the game is minimizing heat.
Look for one of two settings on your dryer:
- Tumble Dry Low: This should be your go-to if you need a little heat. Use the absolute lowest temperature setting your machine has.
- Air Fluff / No Heat: This is the jackpot. It tumbles the clothes with room-temperature air, helping them dry without any risk of melting the adhesive.
Choosing the right drying method is just as important as the wash cycle for keeping your prints looking brand new.
Key Takeaway: High heat is the mortal enemy of DTF adhesive. It literally melts the bond holding the design to the fabric. Once that bond is compromised, it's only a matter of time before the print starts to lift, peel, or crack.
Ironing Without a Meltdown
Just like with drying, ironing a DTF garment is all about managing heat. A hot iron placed directly on the transfer will cause an instant, gooey mess and potentially ruin your iron. Don't do it.
The solution is simple: turn the garment inside-out before you even plug the iron in. This puts a protective layer of fabric between the hot plate and the design itself.
Once it's inside-out, follow these quick rules:
- Use a Low Heat Setting: Think cool. Settings for silk or synthetics are usually a safe bet.
- No Steam: Keep it dry. The combination of steam and heat can weaken the transfer's bond over time.
- Keep It Moving: Never let the iron rest on one spot for too long, even on the inside of the shirt.
The science behind proper care is directly related to the science of application. If you want to dive deeper into how heat and pressure work together, our guide on mastering heat press settings for DTF is a great resource.
Troubleshooting Common DTF Print Care Issues
Even when you follow all the rules, sometimes a small issue pops up with your DTF print. You might spot a tiny corner lifting or a faint crack appearing. Don't worry—this doesn't mean the shirt is a lost cause. More often than not, it just means the print had a run-in with some accidental high heat or a harsh chemical in the wash.
The best part is that these little problems are usually an easy fix, especially if you catch them early. Acting quickly stops them from getting worse and keeps your gear looking sharp.
How to Fix Minor Peeling
Seeing an edge or corner of your design starting to peel up can be frustrating, but there's no need to panic. You can usually reactivate the adhesive and stick it right back down with a bit of heat. This trick works wonders for small, localized lifting.
Here’s a quick-and-dirty guide to fixing it:
- Lay the garment out flat on a heat-resistant surface, like an ironing board.
- Cover the peeling section with a sheet of parchment paper.
- Grab a regular home iron, set it to low heat, and make sure the steam is off.
- Press down firmly over the parchment paper for just 5-10 seconds.
- Let it cool down completely before you touch it or check if it has re-adhered.
A quick, careful press is often all it takes to reactivate the adhesive and lock the print back into place. It’s a simple trick that can save a garment and is a core part of truly understanding advanced DTF care.
What about unexpected fading or cracking? That's almost always a sign of a laundry mishap—think fabric softener or a dryer that was cranked up too high. Unfortunately, you can't reverse that kind of damage, but you can definitely stop it in its tracks. Immediately switch to a strict cold-wash and air-dry routine to prevent any more wear and tear.
To get a better handle on what keeps prints looking great for the long haul, check out our guide on what impacts DTF durability.
Got Questions About DTF Care? We've Got Answers
You've got your new DTF gear, and you want to keep it looking sharp. Let's tackle some of the most common questions we hear about washing and care, so you can feel confident every time you do laundry.
Can I Use Fabric Softener on My DTF Shirts?
That's a hard no. It's really best to skip fabric softeners and dryer sheets entirely when washing DTF-printed apparel.
The chemicals in those products are designed to break down fibers to make them feel softer, but they can do the same thing to the transfer's adhesive. Over time, this can cause the design to peel away or crack. Stick with a simple, mild detergent, and you'll be golden.
What Happens If I Accidentally Wash It in Hot Water?
It happens to the best of us. One accidental trip through a hot water cycle probably won't ruin your shirt, but it’s definitely not ideal. Hot water can weaken the adhesive bond, making the design more vulnerable to damage later on.
If you make this mistake, don't sweat it. Just let the garment air dry completely—don't toss it in the dryer. For all future washes, be sure to switch back to a cold water setting to keep the print secure.
When it comes to the basics, DTF care is a lot like caring for a classic screen-printed shirt: wash it inside-out in cold water and avoid high-heat drying. The main difference? DTF prints are often a bit more sensitive to harsh chemicals, so mild detergents are your best friend.
Is Hand Washing Better Than Using a Machine?
While hand washing is technically the gentlest option, a modern washing machine is perfectly fine as long as you use the right settings. It's all about minimizing stress on the print.
If you're using a machine, just pop the shirt in on a delicate cycle and choose a low spin speed. Both hand washing and a gentle machine cycle will get the job done without putting the design through a wringer—literally.
Ready to make your own custom apparel that stands up to the wash? At Raccoon Transfers, we specialize in top-quality, durable DTF transfers designed to look incredible for the long haul. Start your order today!