
Mastering Heat Press Settings for DTF
If you're looking for the sweet spot for a perfect DTF application, your best bet is to start at 300–315°F (150–158°C) and press for 10–15 seconds with medium pressure. I've found this combination works beautifully on most cotton and poly-blend garments, giving you vibrant, durable results right out of the gate.
Think of it as your reliable foundation. From here, you can make small tweaks to master just about any fabric that comes your way.
Your Essential DTF Heat Press Starting Points
Getting a flawless DTF transfer isn't about luck; it's about getting the three core elements just right: temperature, time, and pressure. I like to think of these settings as a recipe. While a standard recipe works for most things, the best cooks know how to adjust for different ingredients—and in our case, those ingredients are fabrics.
These go-to settings create the ideal conditions for the DTF adhesive to fully bond with the fabric fibers without scorching the garment. That balance is the secret sauce for a print that’s not just bright and sharp but also holds up wash after wash.
Mastering Temperature and Time
Generally, you'll want to keep your heat press somewhere between 280°F and 320°F (138°C to 160°C). The exact temperature depends entirely on the material you're working with.
For example, a sturdy cotton garment can handle higher heat, often pressing perfectly around 320°F for 12-15 seconds. On the other hand, heat-sensitive polyester needs a much gentler touch. I usually drop the temp to around 270°F for 6-12 seconds to prevent any melting or dreaded dye migration.
This is where experience comes in, but you can get a head start by learning the quirks of each fabric.
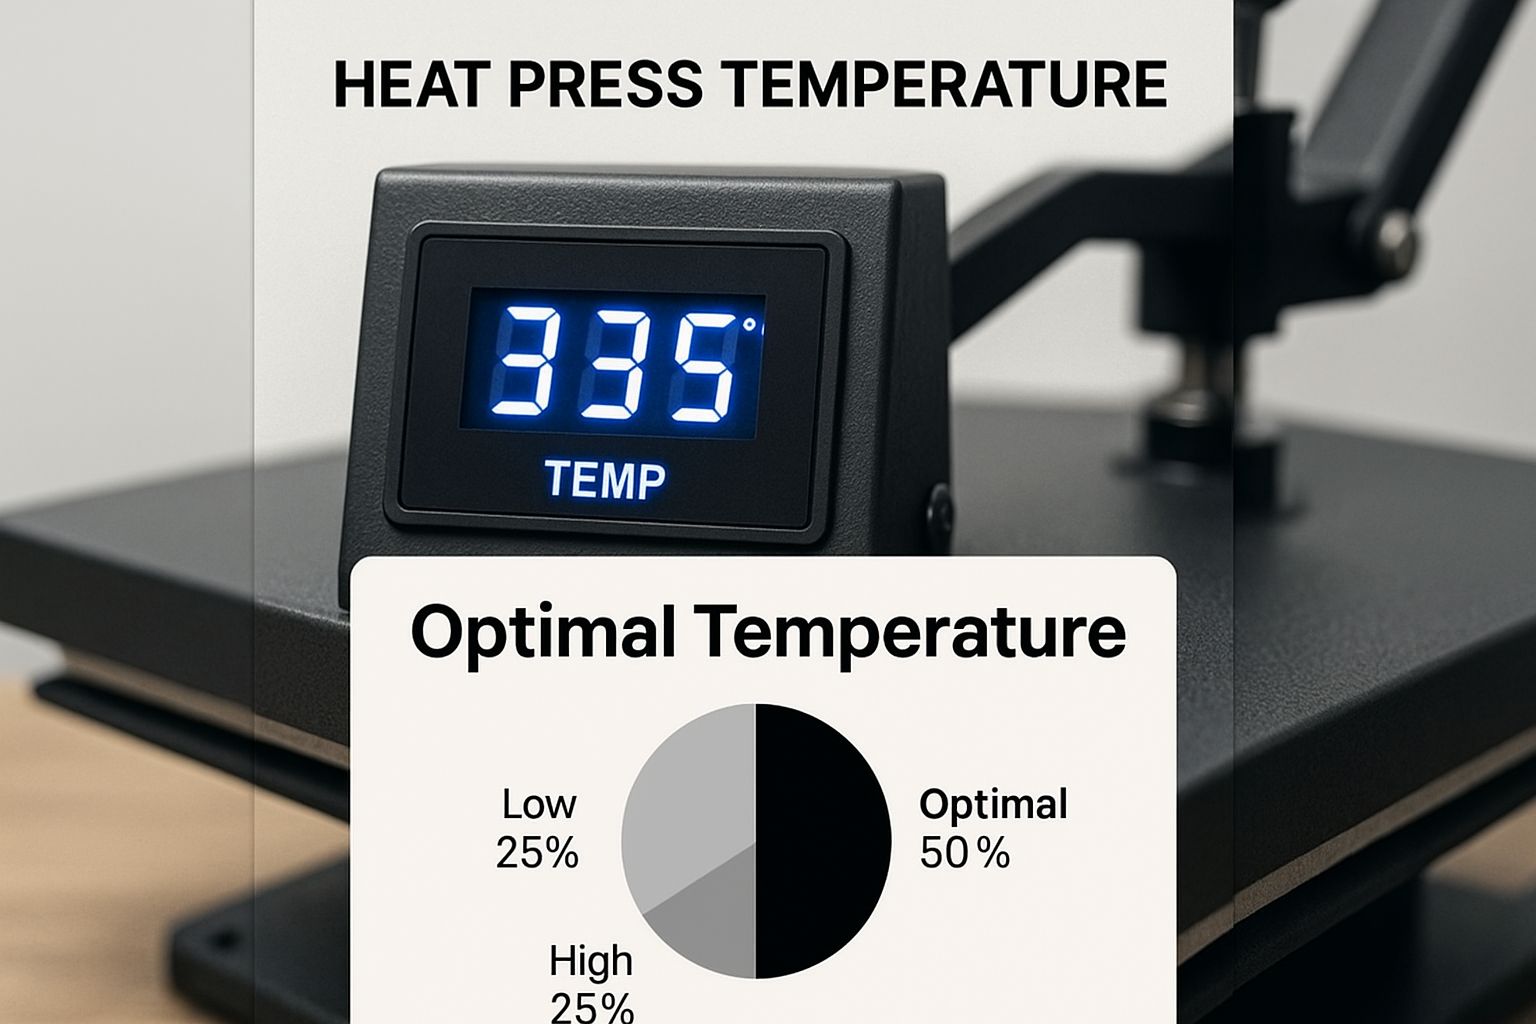
As this shows, keeping a consistent and accurate temperature across your heat platen isn't just a suggestion—it's non-negotiable for a properly cured and long-lasting transfer.
My Go-To Pro Tip: Always, always pre-press your garment for 3-5 seconds. This is the one step I never skip. It irons out wrinkles and, more importantly, removes any hidden moisture from the fabric. You'll get a perfectly smooth surface for the adhesive to grab onto, which makes a huge difference in the final quality and durability.
Quick Reference DTF Heat Press Settings by Fabric
To make your life easier, I've put together a quick-reference table with my trusted starting points for the most common fabrics. Think of these as your baseline.
I always recommend doing a quick test press on a scrap piece of fabric or an inconspicuous area first, especially when working with a new garment or transfer. While these settings are dialed in for DTF, the core principles of heat application are similar across different methods. If you want to broaden your skills, you can see how they compare by checking out this guide on using heat transfer paper.
| Fabric Type | Temperature Range (°F/°C) | Press Time (Seconds) | Pressure Level |
|---|---|---|---|
| 100% Cotton | 300-320°F / 149-160°C | 12–15 Seconds | Firm |
| Polyester | 260-275°F / 127-135°C | 10–12 Seconds | Firm |
| 50/50 Blends | 280-290°F / 138-143°C | 10–15 Seconds | Firm |
| Tri-Blends | 260-275°F / 127-135°C | 10–12 Seconds | Firm-Medium |
Use this chart to get started, and don't be afraid to make small adjustments. A few degrees or a couple of seconds can be all it takes to go from a good print to a great one.
The Three Pillars of a Perfect DTF Transfer
Getting a flawless, long-lasting DTF print really comes down to mastering the delicate dance between three key things: temperature, time, and pressure. These aren’t just numbers you punch into your heat press; they're the foundation of the entire process. When you get them right, the adhesive cures perfectly, the colors pop, and the final design feels soft and integrated into the shirt.
I always tell people to think of it like baking a cake. If the oven's too cool, you get a gooey, raw middle. Too hot, and you end up with a burnt crust and an undercooked center. It’s the exact same principle with DTF. Nailing the interplay between these three elements is what separates an amateur-looking shirt from a truly professional-grade product that you can be proud to sell.
The Role of Temperature
Temperature is probably the single most important factor you'll deal with. Its entire job is to activate that powdered adhesive on the back of the DTF film, melting it just enough to grab onto the fabric fibers and create a permanent bond.
So many common frustrations I see trace back to the wrong temperature setting.
- Too Low: If your press isn't hot enough, the adhesive simply won't cure all the way. This leaves you with a dull-looking print that’s practically guaranteed to start peeling or cracking after its first trip through the laundry.
- Too High: On the flip side, too much heat is just as bad. It can easily scorch delicate fabrics like polyester or cause dye migration—that dreaded effect where the shirt's color bleeds into your white ink. It can also "over-cook" the transfer itself, leaving the colors looking faded right from the start.
Your goal is to find that "Goldilocks" zone—the perfect sweet spot where the adhesive melts completely but the fabric and ink remain unharmed.
A key thing people often forget is platen temperature uniformity. A cheap press might read 325°F on the display, but it could have cold spots that are only hitting 300°F. This kind of inconsistency is a recipe for uneven curing and blotchy, failed prints. Honestly, investing in a quality press that delivers even heat across the entire platen is one of the best moves you can make.
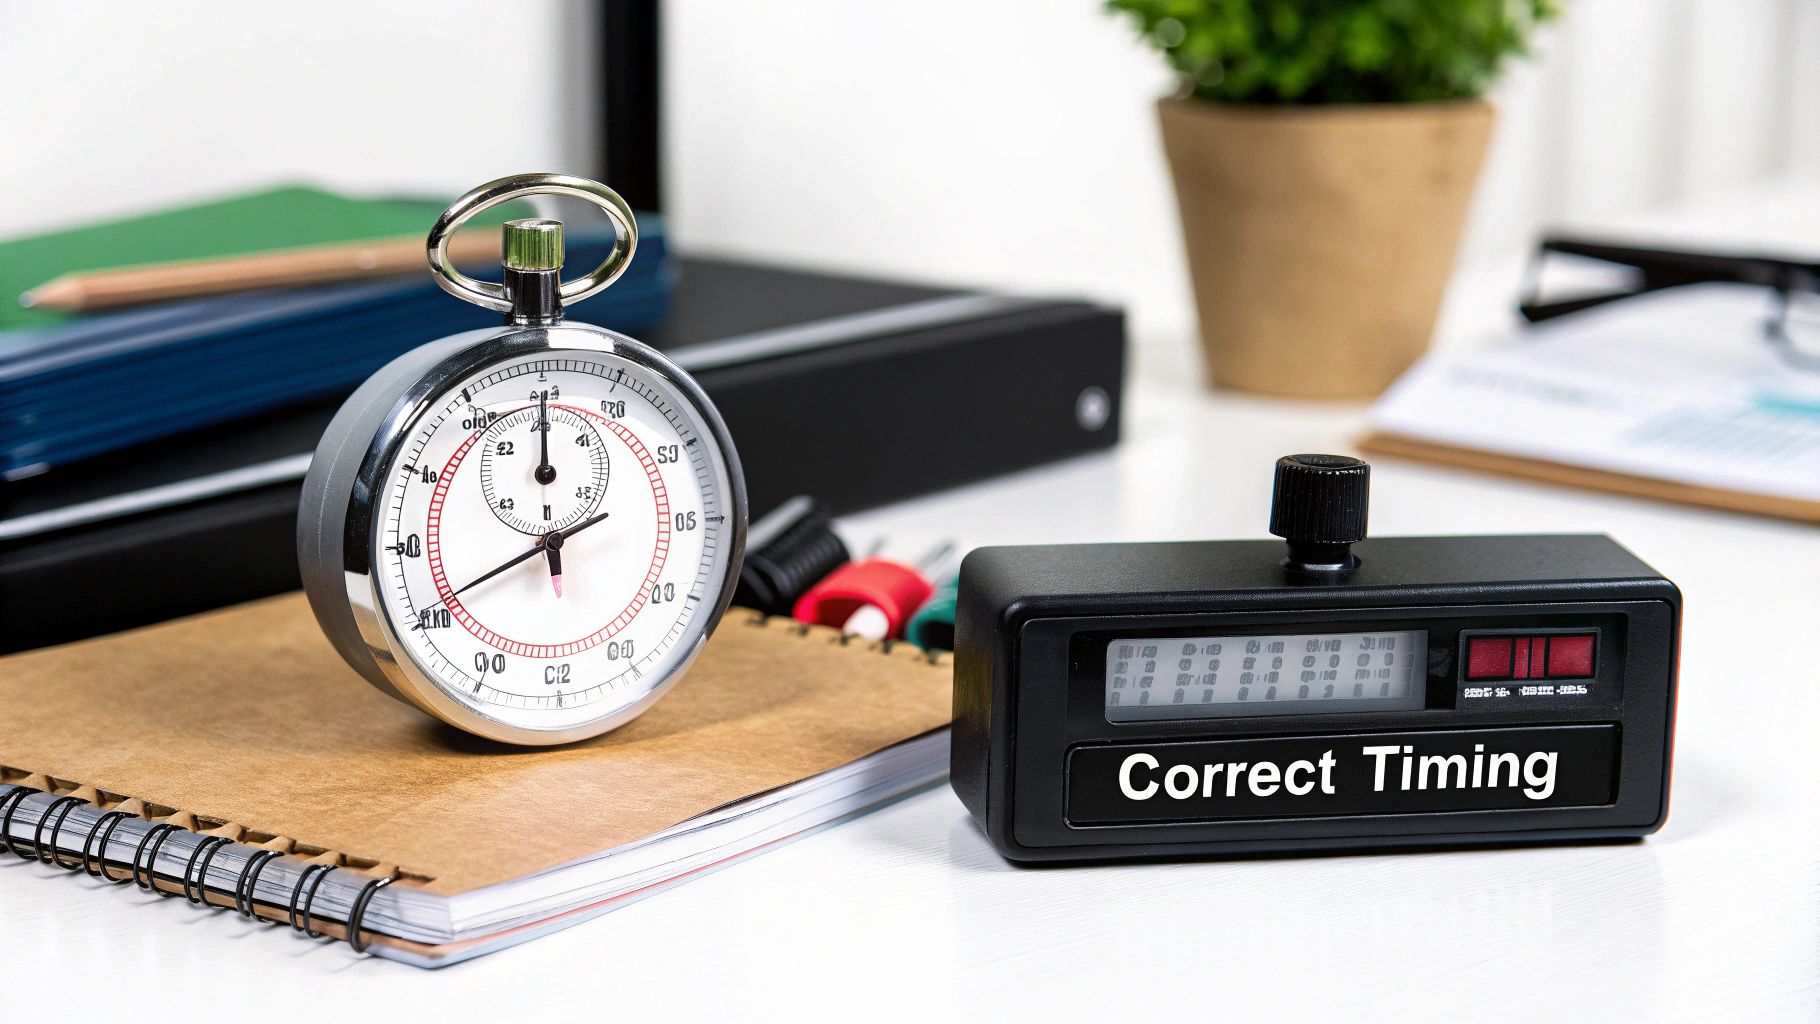
The Importance of Dwell Time
Next up is time, or what we call "dwell time." This is simply how long you apply the heat and pressure. This window is just as critical as the temperature because it dictates how much time the adhesive has to work its magic and bond to the garment.
A rookie mistake is thinking that more time is always better. It's not. Pressing for too long can cause the same problems as too much heat, like faded colors and scorching. But if your press time is too short, you'll run into the same poor adhesion issues you'd get from a temperature that's too low.
For most standard DTF transfers, the ideal window is typically 10-15 seconds. That’s usually plenty of time for the heat to penetrate the film and fabric and give you a perfect cure.
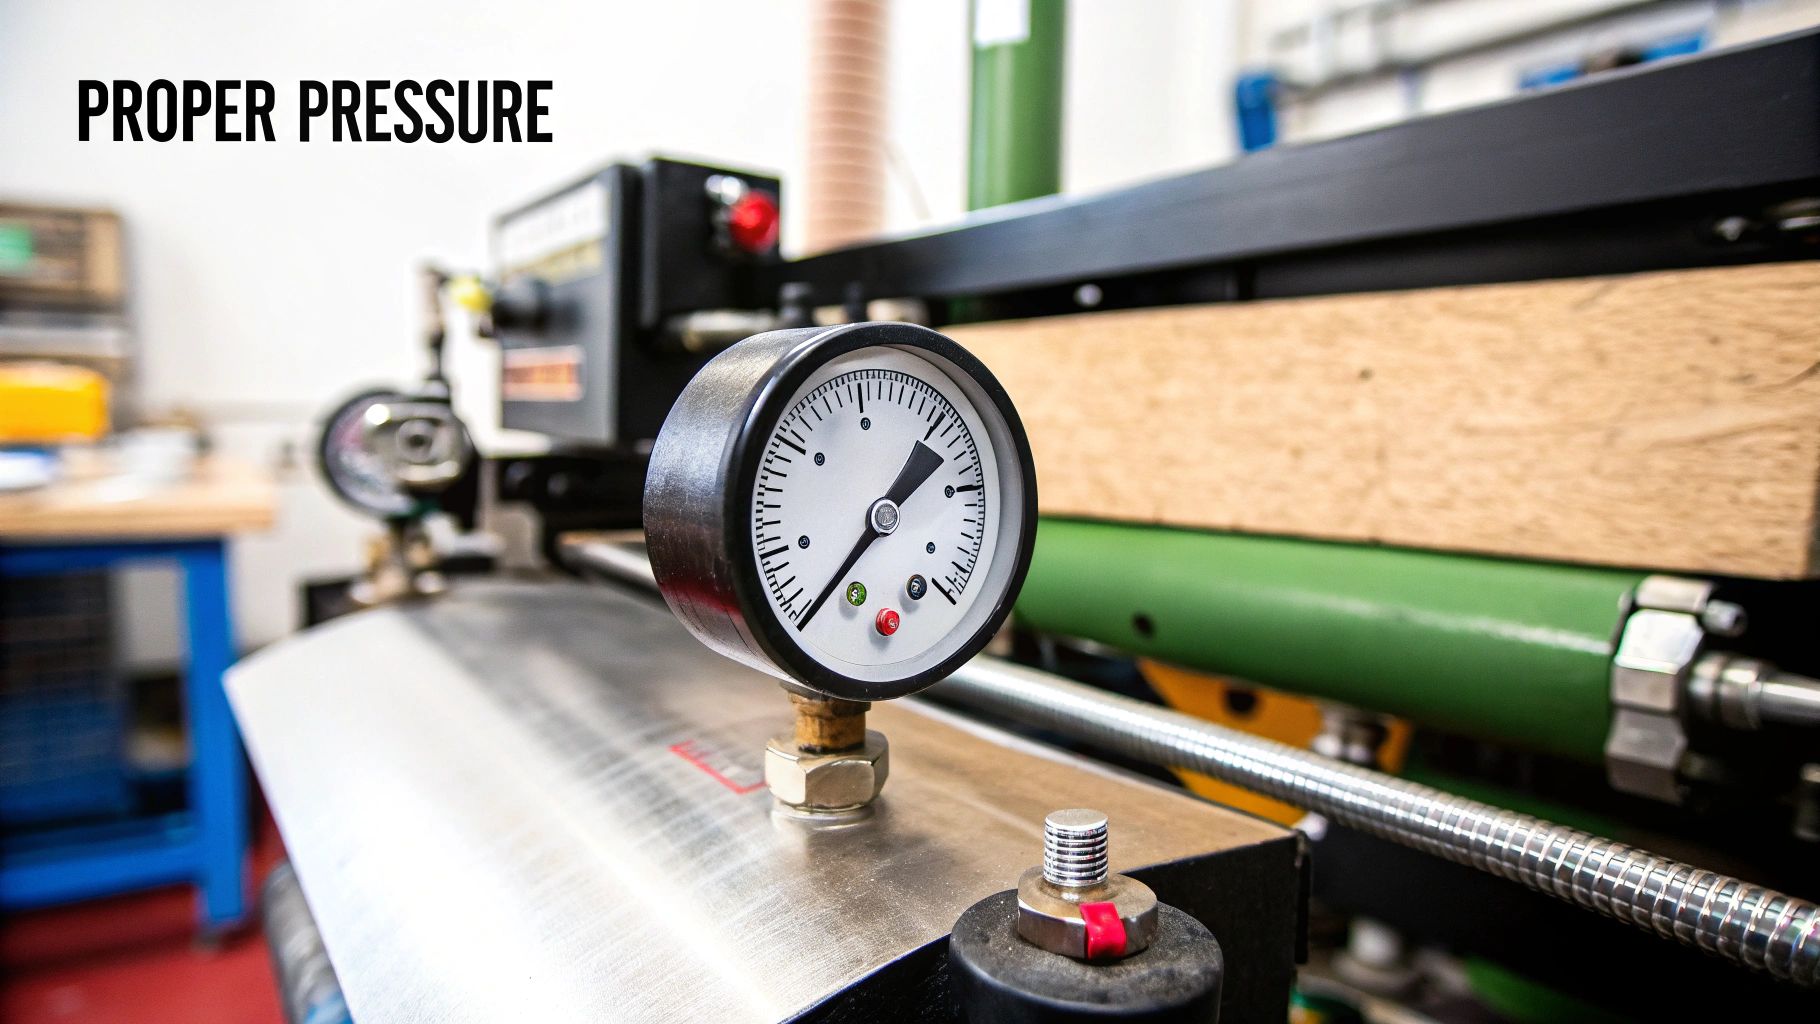
Understanding and Applying Pressure
Finally, we have pressure. This is often the most subjective and misunderstood of the three pillars. Pressure is what ensures the melted adhesive makes firm, even contact with the fabric's weave, creating a bond that’s physically strong.
Terms like "medium pressure" can be a bit confusing because what feels "medium" on a clamshell press might feel totally different on a swing-away.
- Insufficient Pressure: This is the #1 culprit behind transfers that peel up at the edges. Without enough force, the adhesive just sits on top of the fabric instead of getting pushed into the fibers, resulting in a weak, temporary bond.
- Excessive Pressure: On the other hand, mashing the transfer with too much force can squish the ink too deep into the fabric, making the colors look dull. You can also cause the adhesive to ooze out from the edges of your design, creating a little shiny outline.
Getting a feel for your specific machine is the real key here. Once you master your heat press settings for DTF, you'll be able to produce consistent, high-quality results every single time.
Dialing In Your Settings for Different Fabric Types
One of the biggest mistakes I see people make with DTF is using a single, one-size-fits-all setting for every garment. It’s a surefire way to get frustrating, inconsistent results. Every fabric has its own personality—some are tough and can take the heat, while others need a much gentler touch. Getting a feel for these nuances is what separates an okay print from a truly professional one.
Think of it like cooking. You wouldn't blast a delicate piece of fish with the same high heat you'd use for a thick steak. Applying that same logic here, a setting that works perfectly for a cotton tee will absolutely ruin a polyester shirt, leaving you with scorch marks or, even worse, a melted mess.
The Cotton Standard
Let's start with the workhorse of the apparel world: 100% cotton. This natural fiber is wonderfully forgiving and tough, which makes it the perfect place to start if you're new to this. Because it handles higher temperatures so well, you have a much bigger window for success.
For most standard cotton t-shirts and hoodies, I’ve found the sweet spot is between 325°F and 350°F (163-177°C). I press for about 12-15 seconds. This gives the adhesive enough time and heat to fully cure, sinking deep into the cotton fibers for a bond that will last.
The key takeaway with cotton is its heat tolerance is your best friend. You can confidently press a little hotter to guarantee a solid cure, which is absolutely critical for the transfer's long-term durability, especially on heavier garments like sweatshirts.
Taming Polyester: The Heat-Sensitive Fabric
Polyester is a completely different animal. It's a synthetic material, essentially a form of plastic, and that means it's extremely sensitive to heat. Using your go-to cotton settings here is asking for trouble.
You're up against two main risks with polyester:
- Scorching: Too much heat will leave a permanent, shiny outline of your platen on the fabric or even melt it.
- Dye Migration: This is the big one. The heat can cause the dye from the polyester fabric to turn into a gas and bleed into your transfer. That's how your crisp white design ends up looking pink on a red shirt.
To avoid these disasters, you have to bring the heat down. My starting point for polyester is always around 300-320°F (149-160°C) for a shorter press of 10-12 seconds. This is just enough to activate the adhesive without damaging the delicate fabric.
Navigating Blends: The Best of Both Worlds
So what about those popular 50/50 cotton/poly blends or the ultra-soft tri-blends? The rule of thumb here is simple: always cater to the most sensitive fabric in the mix. In this case, that's polyester.
My go-to recipe for a 50/50 blend is around 325°F for 12 seconds. For tri-blends, which are even more delicate, I dial it back even further, sticking to the lower end of my polyester settings and using a lighter pressure.
Getting these settings right isn't just about how the print looks today; it directly impacts its entire lifespan. To get a better sense of this, check out our guide on how long DTF transfers last. This knowledge is what ensures your hard work doesn't wash away after a few cycles in the laundry.
Hot Peel vs. Cold Peel Film: Which One Is Right for You?
When you're working with DTF, one of the first big decisions you'll make is whether to use a hot peel or a cold peel film. This isn't just a small detail; it fundamentally changes your workflow, how the final print feels, and the specific heat press settings for DTF you’ll need to use. Getting this choice right from the start saves a ton of frustration down the road.
Hot peel film is all about efficiency. The name says it all: you peel the film off the garment right after the heat press opens, while everything is still piping hot. If you're cranking out a large order, this is a massive time-saver. You can press a shirt, peel, and move on to the next one almost immediately.
The trade-off for that speed is that it can be a little less forgiving. Hot peel transfers sometimes have a slightly glossier look and can take a bit of practice to get a perfectly clean peel, especially with designs that have fine details.
Making the Case for Cold Peel Film
Then you have cold peel film. This process demands patience, and I can't stress that enough. After you press the shirt, you have to let it cool down completely before you even think about peeling the film. I mean completely cool to the touch. The number one mistake I see people make is rushing this step, which almost always results in the design lifting right off with the film.
But your patience is rewarded. Cold peel transfers consistently deliver a beautiful matte finish that a lot of people, including my own customers, really love. The print tends to feel softer and looks more "at one" with the fabric. From my experience, cold peel is also fantastic for beginners because the cooling process gives the adhesive plenty of time to fully bond, making the peel itself incredibly reliable and clean.
Here's my golden rule for cold peel: If the transfer is fighting you, it's not cool enough. Stop pulling. Give it another minute. Sometimes I'll lay the shirt on a cool, clean countertop to help draw the heat out faster.
Dialing in Your Settings for Each Film
You can't just use the same settings for both film types and hope for the best. The chemical makeup of each film is different, and they respond to heat and time in their own unique ways.
Film technology has come a long way, and the settings have gotten more refined. Generally, hot peel films thrive with shorter press times at slightly lower temperatures. You’re just looking to activate the adhesive long enough for that immediate transfer. On the other hand, cold peel films need a longer press time, and often a bit more heat, to let the adhesive fully cure before it cools and you peel it.
Here’s a general starting point I use in my shop:
- Hot Peel: I usually start around 140-150°C (284-302°F) for a quick press of 5-10 seconds.
- Cold Peel: This one typically gets a longer press, somewhere between 10-20 seconds at 150-170°C (302-338°F).
You can get a more in-depth look at the science behind these film-specific settings. Understanding why they differ will give you the confidence to pick the right film and nail your settings for a perfect print every single time.
Troubleshooting Common DTF Printing Problems
Even with the most careful setup, sometimes a DTF transfer just doesn't turn out right. It’s a frustrating but totally normal part of the learning curve. The good news is that most issues, from peeling edges to lackluster colors, are usually caused by a minor hiccup in your settings—not a catastrophic failure.
Think of it like being a detective. Your job is to figure out whether the culprit is temperature, time, or pressure. A small, targeted adjustment is almost always the key to turning a dud into a perfect print.
The Game-Changing Second Press
If there’s one "secret weapon" in the DTF world, it’s the second press. I consider this a non-negotiable final step for every single garment I make. After you've done the main press and peeled off the film, you simply press the design one more time.
Why bother? It accomplishes two crucial things:
- Boosts Durability: This final hit of heat melts the adhesive and ink just enough to push them deeper into the fabric's weave. This physically locks the design in, dramatically improving its resistance to cracking and peeling through dozens of wash cycles.
- Improves the Feel: It knocks down that initial shiny, slightly plastic-y finish that some new transfers have. What you're left with is a softer, more matte look that feels integrated into the shirt, not just sitting on top of it.
Just cover your design with a Teflon sheet or some parchment paper and press again for 3-5 seconds at the same temperature. That extra few seconds makes a world of difference in the final quality and longevity of your product.
Navigating Tricky Placements
Pressing a design onto the flat front of a t-shirt is straightforward. But what happens when you’re working with hoodies, polos, or zippered bags? Obstacles like thick seams, collars, and zippers get in the way, preventing the heat platen from applying even pressure across the entire transfer. This is a recipe for poor adhesion.
This is exactly why heat-resistant pressing pillows are essential. You slide one of these foam pads inside the garment, which raises the printing area. This clever trick makes the seams and zippers fall away around the edges, giving you the flat, even surface you need for a perfect press.
Pro Tip: Never, ever press directly over a metal or plastic zipper, even if you're using a pillow. The intense heat and pressure can damage your heat platen and will absolutely destroy that section of the transfer. Always position the garment so the zipper hangs completely off the platen.
Common Problems and Quick Fixes
Let's run through a quick checklist for the issues you're most likely to encounter. When a print goes wrong, start here.
Problem: The transfer is peeling up, especially after a wash.
- Likely Culprit: Not enough pressure or heat. The adhesive simply didn't get hot enough or wasn't pressed firmly enough to create a permanent bond with the fabric.
- The Fix: First, try increasing your pressure. If it still happens, bump the temperature up by 5-10 degrees. And whatever you do, don't skip that second press! It’s your best defense against peeling.
Problem: The colors look dull, faded, or burnt.
- Likely Culprit: Too much heat or maybe an issue with the quality of the transfer film itself. Overcooking the ink can scorch it and drain the vibrancy.
- The Fix: Dial your temperature back by 5-10°F and see if that helps. If the dullness persists even with different settings, you might want to test a different brand of DTF film to see if it makes a difference.
Getting a solid grasp of the fundamentals can help you sidestep many of these problems from the get-go. If you're new to the process, understanding DTF printing with our detailed beginner's guide can be a huge help. When you know why each step matters, troubleshooting becomes a lot more intuitive.
Your Top DTF Pressing Questions, Answered
Even after you've got the basics down, you're bound to run into a few specific quirks. It happens to everyone. Let's tackle some of the most common questions that pop up when you're dialing in those perfect heat press settings for DTF.
Can I Just Use a Regular Iron for DTF Transfers?
I see this question a lot, especially from folks just starting out. While technically you could try it for a one-off personal project, using a standard household iron for any serious DTF work is a recipe for disaster.
The problem comes down to consistency. A regular iron has hot spots and cool spots, and there's no way to apply even, measurable pressure. This guesswork almost guarantees your transfers will crack, start peeling after the first wash, or just look plain bad. For professional, durable prints that you can stand behind, a real heat press isn't just a recommendation—it's essential.
Help! Why Are My Colors Fading After I Press Them?
You pull a shirt off the press, and the vibrant colors you saw on the film now look dull and muted. It's a frustrating moment, but the culprit is usually one of two things: too much heat or too much pressure.
Think of it like searing a steak—a little heat is good, but too much burns it. Excessive heat can literally scorch the ink pigments, dulling their brightness. Similarly, extreme pressure can force the ink too far into the fabric's weave, burying the color and making it look less vivid on the surface.
The fix is usually simple. Start by dropping your temperature by 5-10°F or backing off the pressure slightly. Do a quick test on a scrap piece of fabric to see if that brings the vibrancy back.
What's This "Second Press" I Keep Hearing About? Is It Really Necessary?
A second press is exactly what it sounds like: a quick, 3-5 second press after you've peeled off the DTF film. Is it absolutely required? No. Do I recommend it on every single garment? Absolutely.
Honestly, this is the one step that separates a decent print from a truly professional one. It melts the design into the fabric, dramatically improving wash durability. Plus, it knocks down that initial plastic-y shine, giving the transfer a premium matte finish and a much softer feel.
How Can I Be Sure My Heat Press Pressure Is Right?
Figuring out pressure can feel like guesswork since "medium pressure" varies so much from one machine to another. My favorite trick for this is the paper test. It's simple but incredibly effective.
- Get four small strips of regular printer paper.
- Place one in each corner of the bottom platen.
- Lock down the press.
- Now, try to pull each piece of paper out.
If a piece slides out with no effort, your pressure is too low in that spot. If you can't budge it at all without it ripping, it’s too high. You're aiming for a firm, consistent drag on all four corners. When you feel that solid resistance, you've found your sweet spot for perfectly even pressure.
Ready to stop guessing and start pressing? Raccoon Transfers delivers vibrant, durable DTF prints that are ready to go. Just upload your designs, build your gang sheet, and we'll have them on their way to you. Get your custom prints as soon as tomorrow and see the difference for yourself.