
Personalized Oval Stickers: Design, Order, and Apply
You've got the logo, the jars or favor boxes, and an oval layout that looks right on screen. Before you order, there's a less obvious question: will the finished sticker stay readable, scan correctly, and remain attached after someone handles the package? Personalized oval stickers work best when you specify the artwork, material, adhesive, and application together, rather than treating the print as a separate purchase.
What a Personalized Oval Sticker Actually Is
A personalized oval sticker is a pressure-sensitive label with an oval outline, carrying artwork that might change by customer, product, event, or batch. For ordering purposes, separate the printed face material from the surface it will attach to. Calling both the “substrate” without clarification can lead to an unhelpful conversation with your printer.
The oval is a design choice, not a performance specification. Choose it when a horizontal logo, a short product name, or a centered event message fits naturally within the curve. Don't force it onto a text-heavy label because it looks softer than a rectangle.
Define the complete job
Think of the order as connected components:
- Artwork: The logo, wording, variable names, codes, and background.
- Cut shape: The finished outline and its relationship to the printed content.
- Label construction: The face material, ink, adhesive, and any protective finish.
- Application surface: The actual jar, carton, pouch, container, or merchandise receiving the sticker.
You own the message, intended size, quantity, appearance, and use conditions. Your printer should explain the available production construction, tooling, finishing, and application requirements. Ask what's selectable rather than assuming every adhesive or laminate can be substituted.
Production rule: Approve a sticker for a particular application, not simply for looking correct in a proof.
Personalization also needs a controlled handoff. Keep fixed artwork separate from changing names or product details, and identify who checks those changes before printing. For businesses managing repeat orders, Skup's resource on how to scale POD personalization is a useful planning reference alongside the physical label specification.
Setting Up Your Artwork File the Right Way
Start with the printer's template and finished dimensions, not a screenshot of an oval. Ask for the required bleed, safe area, cut-line setup, and export settings before building the final file. Don't borrow those measurements from an unrelated printing service.
Treat the trim line as a production instruction. Ask whether the printer wants a separate vector path, how it should be named, and whether it must remain on its own layer. Make the intended oval explicit rather than expecting the operator to infer its shape from a colored background.
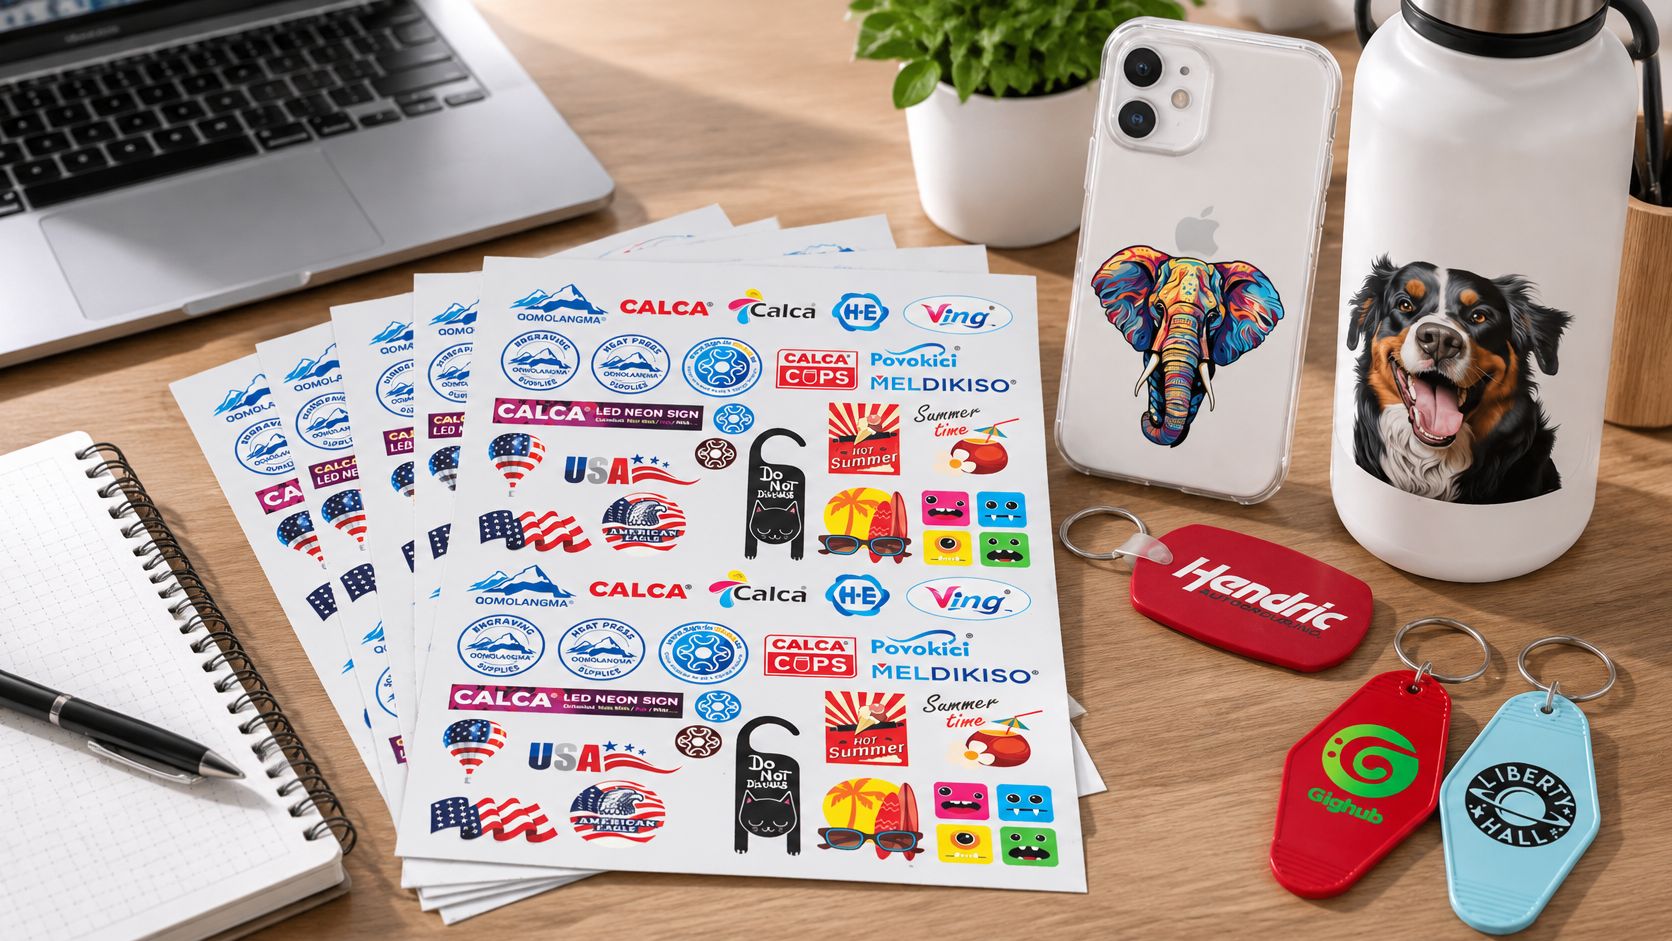
Separate bleed from protected content
Extend background artwork into the specified bleed, but keep essential text inside the approved safe area. On an oval, inspect clearance around the entire curve. A centered rectangular text box doesn't automatically provide comfortable spacing at its corners.
- Fine detail: Request a final-size proof of small lettering and thin borders.
- Color workflow: Ask whether to supply RGB or CMYK and which profile the printer expects.
- Fonts: Confirm whether text should be outlined or supplied with the appropriate font files.
- Raster artwork: Have the printer assess resolution at the intended output size. Enlarging a file isn't a substitute for obtaining better original artwork.
Use the artwork preparation guide to organize the handoff, then confirm requirements for your particular process.
Reserve barcode space before decorating
For GS1 barcodes, build the oval around the barcode at its intended size, preserving its height and keeping artwork and trim clear. GS1 UK's barcode production guidance requires unobstructed side quiet zones and dark bars on a pale background; its guidance specifies 10 mm side quiet zones at a 1.00 mm X-dimension, and recommends at least 7 mm at 0.50 mm.
Those spaces aren't spare room for a tagline. Keep text, graphics, perforations, glue, scores, and cut-outs out of them. Inspect the finished, trimmed sample because lamination, varnish, trimming, or artwork movement can compromise what looked acceptable digitally.
Choosing Materials and Finishes for Your Surface
Choose the construction by describing the application, not by asking for the “most durable” option. A label for a dry carton has a different job from one on a refrigerated bottle. Temporary branding also deserves a different removal specification from permanent product identification.
Use the visual comparison below as a shortlist, not as qualification evidence. Its durability percentages aren't established test results, and material names alone don't prove waterproofing or outdoor suitability.
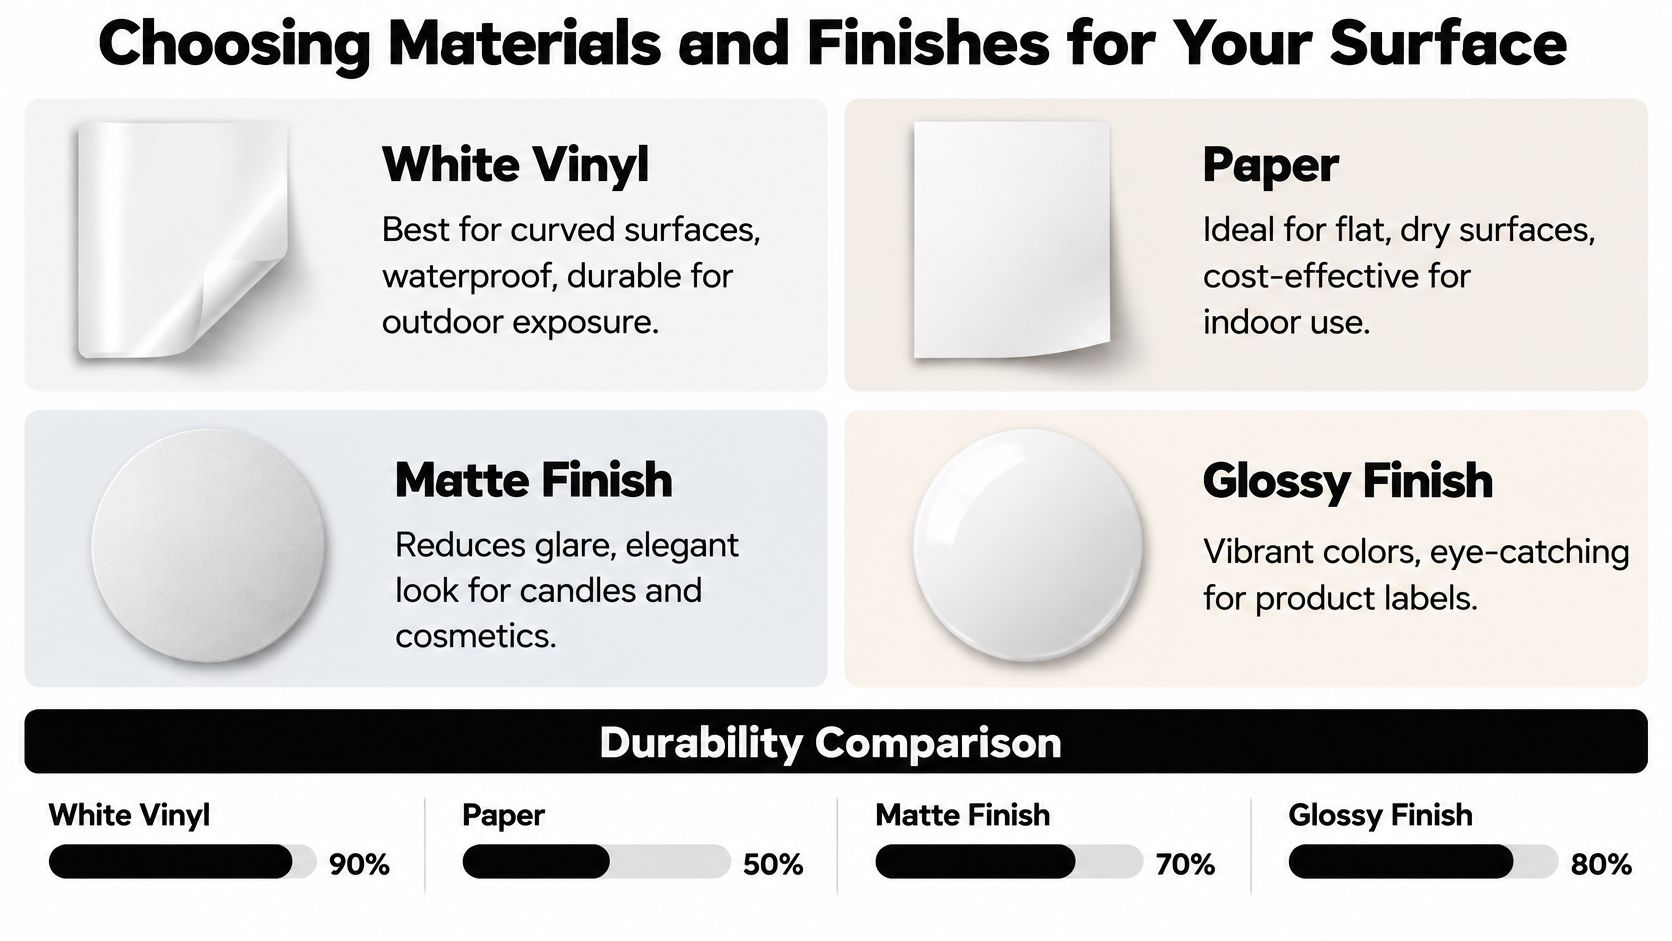
Match the sample to the exposure
| Application condition | Options to discuss | What to validate |
|---|---|---|
| Dry indoor carton | Paper and film constructions | Handling, appearance, and removal |
| Condensation or refrigeration | Moisture-compatible face material and adhesive | Application conditions and edge stability |
| Curved container | A construction suited to the actual curve | Conformability and perimeter contact |
| Temporary promotion | Removable adhesive options | Residue and surface damage at removal |
| Outdoor or oily exposure | A specifically qualified finished system | Print protection and adhesive performance |
Compare white vinyl with paper using production samples on your packaging. For clear or metallic options, request a proof that shows how the container and background affect readability. Compare matte and gloss on the same artwork, rather than choosing from finish names alone.
A transfer is another option for hard-surface decoration. Get UV DTF Transfers by Size provides full-color, adhesive-backed graphics for surfaces including glass, plastic, and metal, without heat or weeding. Its care guidance recommends hand washing, and its disclaimer excludes critical applications and performance guarantees.
Include removal and disposal
Packaging Scotland's discussion of packaging adhesives identifies how adhesives in recovered paper fibers can interfere with repulping and pulp quality. Don't assume a sticker's environmental description applies to the complete package or the facilities available to your customer.
Use DesignStack's SME packaging design tips as a broader planning resource while deciding whether the decoration needs to be permanent. Request substrate and adhesive samples before accepting broad descriptions such as “eco-friendly.”
Sizing, Quantities, and Per-Unit Cost
Choose dimensions with a physical mockup on the item. Measure the available panel, print the proposed oval at actual size, and place it where the finished label will sit. Check the result from the distance at which someone will first encounter it, not just close to your face.
There's no useful universal size recommendation without knowing the message and container. A jar-lid logo and a shelf-facing product label may need very different proportions even when they belong to the same brand. Let the required content establish a workable minimum, then assess the appearance.
Common Oval Sticker Size Tiers and Best Uses
| Oval Size | Best For | Quantity Sweet Spot |
|---|---|---|
| Compact oval fitted to the available panel | Lid branding, initials, short favor messages | Trial quantity until placement is approved |
| Medium oval with a clear information hierarchy | Product identification and packaging branding | Confirmed demand for the current design |
| Large oval checked on the actual object | Merchandise decoration and longer messages | Committed merchandise or event allocation |
| Mixed oval sizes | Multiple products or personalized variants | A quoted mixed-design layout with checked counts |
These are planning categories, not standard dimensions or pricing breakpoints. Ask the printer to quote your actual sizes and quantities instead of assuming that a named size tier carries a predictable price.
Compare usable output, not just the headline rate
Request quotes that separate the production format, design versions, finishing, and delivery. Ask whether mixed artwork can share a gang sheet and how the layout affects the number of usable pieces. A sheet-based quote and an individually finished label quote need a common basis before you can compare them.
- Count by variant: Record required names, products, or event groups separately.
- Allow for validation: Include samples for application checks and approval.
- Question surplus: Don't buy labels for packaging or wording that may change.
- Confirm presentation: Specify whether you need individual handouts, sheets, or another dispensing format.
The wholesale custom sticker printing guide can support that purchasing conversation. Your final comparison should be the cost of approved, usable labels for the job, not the lowest quoted cost per printed piece.
Real-World Use Cases and How to Specify Each One
A candle maker and an event planner can start with the same oval artwork and still need different orders. Treat the following as specification examples to adapt, not as tested recipes. Each starts with what the recipient will do with the finished item.

Products and event favors
For small-batch products, separate decorative branding from the information the package must communicate. On a candle, compare a restrained matte appearance with the actual jar finish. On jam or cosmetics, include expected moisture, handling, and product contact in the sample request rather than copying the candle specification.
Size the oval to the usable panel and order against the current product mix. If ingredients, batch details, or instructions make the layout crowded, move that content to a suitably sized secondary panel rather than shrinking everything.
For wedding and event favors, prioritize guest names, message accuracy, and placement consistency. If the label points guests toward QR wedding photos through Wedding Studio, print a sample with the final destination and test the complete guest interaction. Keep the printed invitation meaningful even before anyone scans.
Seals, drinkware, and giveaways
A packaging seal needs a clear brief about how it should behave when opened. Specify whether tearing the label is acceptable, whether the box should remain reusable, and what removal outcome you expect. Don't use a decorative oval as evidence of tamper protection.
- Branded merchandise: Match dimensions to the intended placement and confirm the recipient's care instructions.
- Tumblers and bottles: Evaluate the actual container and cleaning routine before selecting a construction.
- Promotional giveaways: Decide whether the sticker is intended for a known surface or for recipients to place wherever they choose.
An unknown application surface is a limitation to communicate, not a reason to promise universal adhesion.
For hard-surface branding on glassware, jars, or signage, consider whether an adhesive-backed transfer meets the visual goal better than a conventional face-stock label. Order quantities should follow approved placements and confirmed recipients, with validation samples accounted for separately.
Application Tips and Pre-Press Checks
Follow the instructions for the particular adhesive and surface. Confirm the permitted cleaner, application temperature, pressure, and dwell time with the supplier. Don't improvise with alcohol or heat on an unfamiliar finish.
The graphic below is a general visual aid, not a substitute for product-specific instructions. Its temperature range, waiting period, and heat advice shouldn't be treated as universal requirements.
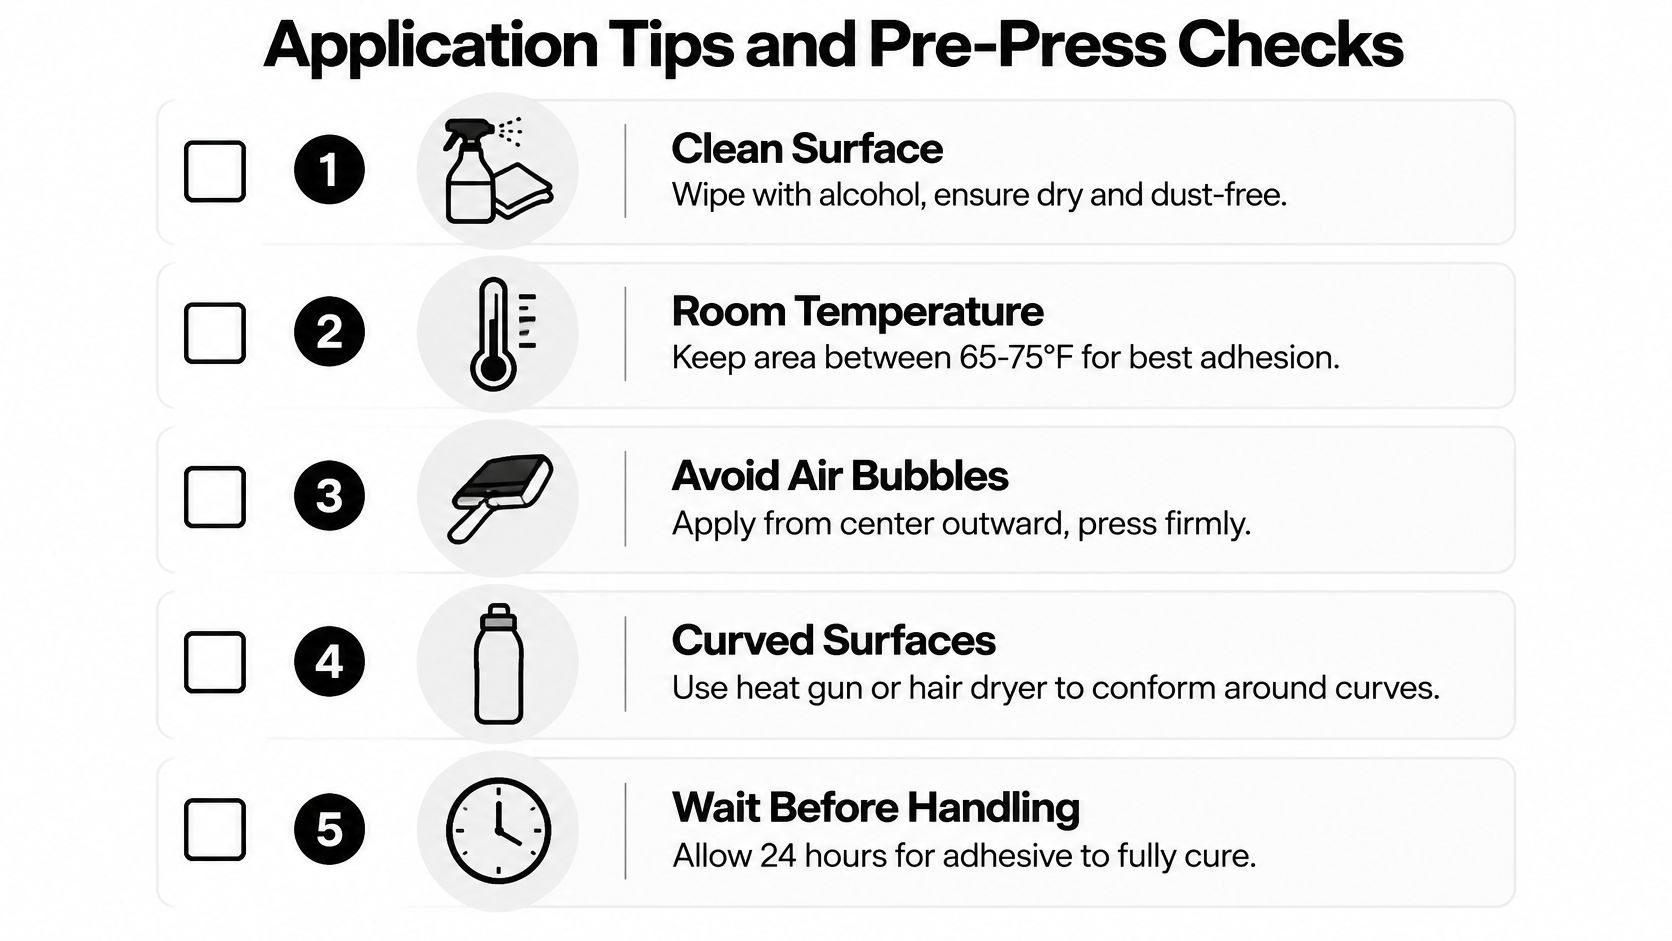
Qualify adhesion on the actual surface
Prepare representative samples using the intended cleaning method, application pressure, and dwell conditions. Condition them for the expected environment, then inspect edge lift, curl, adhesive transfer, and the way the bond fails. For glass applications, use the decals-on-glass guide as a preparation reference alongside the supplier's instructions.
ASTM D6252/D6252M measures 90-degree peel adhesion on a specified substrate, providing a repeatable comparison method. Ask a qualified supplier or testing provider to use a controlled procedure and repeat qualification across production lots rather than judging adhesion from a quick fingernail pull.
Approval standard: Test the finished ink, laminate, adhesive, and application surface together.
Check communication as well as attachment
Accessible-packaging guidance highlights high contrast, tactile markings, and digitally linked readouts as inclusive approaches. For a small oval, prioritize plain language and a clear hierarchy, then assess printed readability at arm's length and in low light. There isn't a defensible universal minimum type size for every combination of typeface, material, and message.
- Production preflight: Confirm the approved bleed, safe area, font handling, and color workflow.
- Finished readability: Inspect the actual printed lettering, not an enlarged screen preview.
- Code validation: Check the protected barcode layout after finishing and test any QR destination.
- Accessible alternatives: Keep essential printed information available; a QR code should supplement it, not replace it.
Position and smooth the sticker using the supplier's recommended method, then leave it undisturbed for the specified dwell period. Inspect the smallest proposed oval on the application surface before releasing the full run.
Ordering Checklist and Common Questions
Send the printer a concise specification with the artwork, finished dimensions, variant counts, application surface, exposure conditions, and expected removal behavior. Include a photograph or sample of the item when the placement is difficult to describe. Ask for written confirmation of anything the quotation leaves ambiguous.
A practical approval sequence
- Confirm the file: Resolve artwork, cut-line, and export questions.
- Confirm the construction: Record the selected material, adhesive, and finish.
- Confirm the order: Check quantities by version, production format, and delivery requirements.
- Approve the proof: Verify wording and placement without treating the screen as a performance test.
- Approve the sample: Sign off on the finished result under the intended use conditions.
Keep the approved sample and specification together. They give both buyer and printer a concrete reference when discussing a repeat order or investigating a change.
Questions worth settling before payment
Can an oval contain a barcode? Yes, provided the oval accommodates the protected barcode layout described earlier. Change the label dimensions if the artwork doesn't fit.
How should adhesion be checked? Use representative finished samples and the controlled qualification routine above, with acceptance criteria agreed before production.
Can paper stickers be made waterproof? Don't accept that conclusion from the face material or coating name alone. Ask the supplier to qualify the complete construction for your intended exposure.
Can text follow the curved edge? Treat perimeter lettering as optional decoration until a finished sample proves it readable. Keep essential information in a clearer position.
The order is ready when the printer can describe exactly what will be produced and you can describe exactly how you'll approve it.
Raccoon Transfers offers custom UV DTF transfers by size and gang sheets for full-color hard-surface decoration. Visit Raccoon Transfers with your oval artwork, intended dimensions, and application details to discuss a suitable transfer format before placing your order.