

Custom T Shirt Printing for Small Orders Made Easy
You've got an event coming up, a small merch drop to test, or a handful of friends asking for matching shirts. You don't need a warehouse full of inventory, but you do need prints that look intentional, survive washing, and don't turn a simple order into an expensive experiment. That's where custom t shirt printing for small orders has changed most: the process now supports one-off pieces and short runs without forcing every buyer into bulk production.
Savings rarely come from finding the cheapest advertised shirt. They come from choosing the right decoration method, grouping artwork intelligently, preparing files correctly, and understanding when a quantity breakpoint justifies ordering a few extra pieces. A bad transparent background or an incorrectly sized logo can cost more than the transfer itself. The workflow below focuses on those practical decisions, from selecting a method to checking the finished garment.
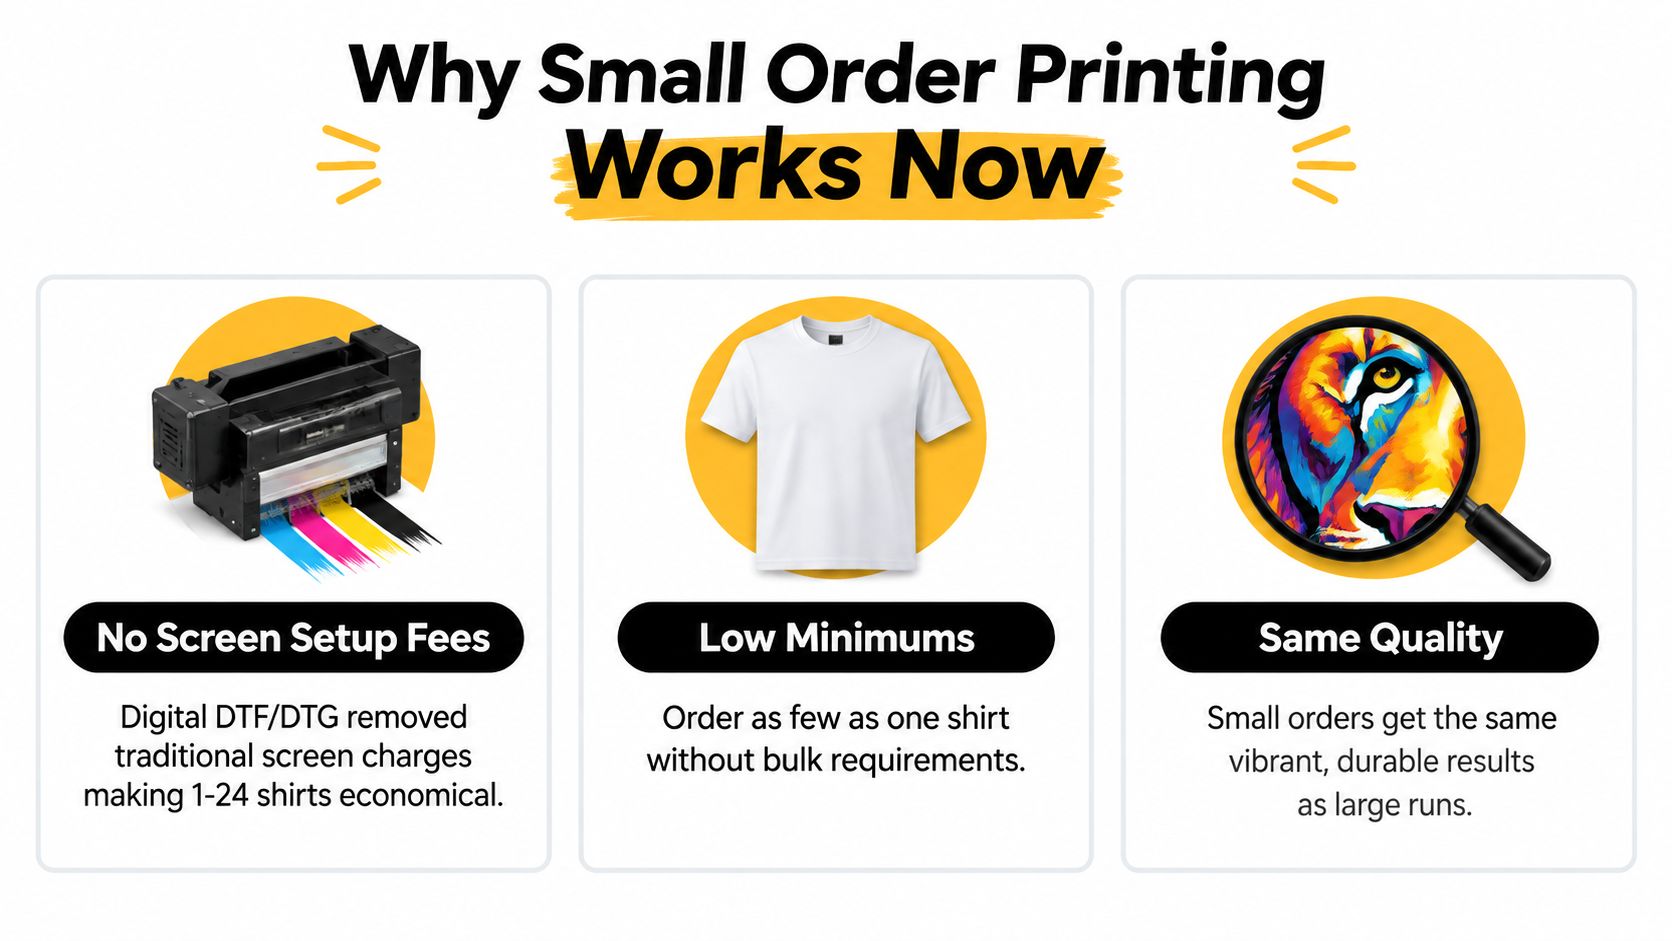
Why Small Order Printing Works Now
A customer might need one shirt for a birthday, twelve shirts for a club, or twenty-five pieces for a first product test. Not long ago, screen preparation and minimums made those jobs awkward. The printer still had to account for setup labor, screens, alignment, and cleanup, even when the customer only wanted a handful of garments.
Digital decoration changed that calculation. Digital methods reduce or eliminate the screen setup costs that traditionally made very small orders inefficient, so single-piece and short-run production can now make financial sense. Grand View Research's custom T-shirt printing market analysis values the market at USD 5.16 billion in 2024 and projects USD 9.82 billion by 2030, with an 11.5% CAGR projected from 2025 to 2030. That growth reflects demand for personalized apparel, not only large uniform programs.
What small means in practice
The buying pattern has also shifted. A 2026 industry dataset reports an average custom T-shirt order size of 15 units, while orders of 50 or more make up only 25% of orders. Another dataset puts the average order at 8.3 shirts, with single-shirt purchases making up about 29% of transactions but 12% of revenue. These figures show why small orders matter to print shops. Customers aren't failing to buy in bulk. They're buying for birthdays, local events, small labels, gifts, and limited tests.
Digital printing also supports a wider range of artwork than traditional limited-color production. Fine details, gradients, photographic elements, and multiple designs can be produced without building a separate screen set for each color. That doesn't mean every file will print well. It means the equipment is flexible enough that good file preparation, rather than a high minimum quantity, becomes the main quality control.
For buyers, the promise is straightforward: you can order a small quantity, keep the design quality high, and avoid carrying unnecessary inventory. To understand how minimums vary between suppliers and methods, use this practical guide to minimum order requirements before requesting a quote.
Choosing the Right Printing Method for Small Quantities
No single method wins every small-order job. The artwork, fabric, quantity, and desired finish matter more than the label on the machine. A full-color illustration behaves differently from a single name, and a polyester performance shirt needs a different approach from a cotton tee.
| Method | Best For | Setup Cost | Fabric Compatibility |
|---|---|---|---|
| DTF and UV-DTF | Full-color apparel transfers, mixed designs, and small apparel runs | Low setup burden for short runs | DTF works across cotton, polyester, blends, leather, and other fabrics. UV-DTF is for hard surfaces |
| DTG | One-off photographic or highly detailed cotton garments | Low setup burden, but garment preparation can matter | Best suited to compatible cotton garments |
| Vinyl | Names, numbers, simple logos, and bold shapes | Low for simple artwork, with cutting and weeding labor | Works on many common apparel fabrics, depending on vinyl type |
| Screen printing | Repeated designs with limited colors and a larger short run | Setup can be inefficient for very small quantities | Broad apparel compatibility, with method and ink affecting the result |
When DTF is the practical choice
DTF transfers are often the most flexible option when you need several designs on one order. A gang sheet lets you nest logos, front graphics, sleeve marks, or different size versions together instead of buying each design as a separate production job. It also avoids the weeding associated with cut vinyl and can handle detailed, full-color art.
DTG makes sense when the order centers on a single photo or illustration printed directly onto a compatible garment. The finish can feel integrated with the fabric, but the garment choice and pretreatment process deserve attention. Vinyl remains useful for a name-and-number order or a clean one-color chest mark. It can be fast for simple shapes, but intricate artwork creates more weeding and layering work.
Screen printing still earns its place when the same simple design repeats across a meaningful short run. It can produce a familiar inked finish, but setup labor is spread across fewer shirts when the quantity is small. A buyer ordering several unrelated designs usually won't benefit from treating each one as a separate screen-printing job.
For graduation apparel, the shirt may be only one part of a coordinated outfit. If your project also includes personalized ceremonial garments, this resource on custom stoles for graduation can help you think through the wider decoration plan.
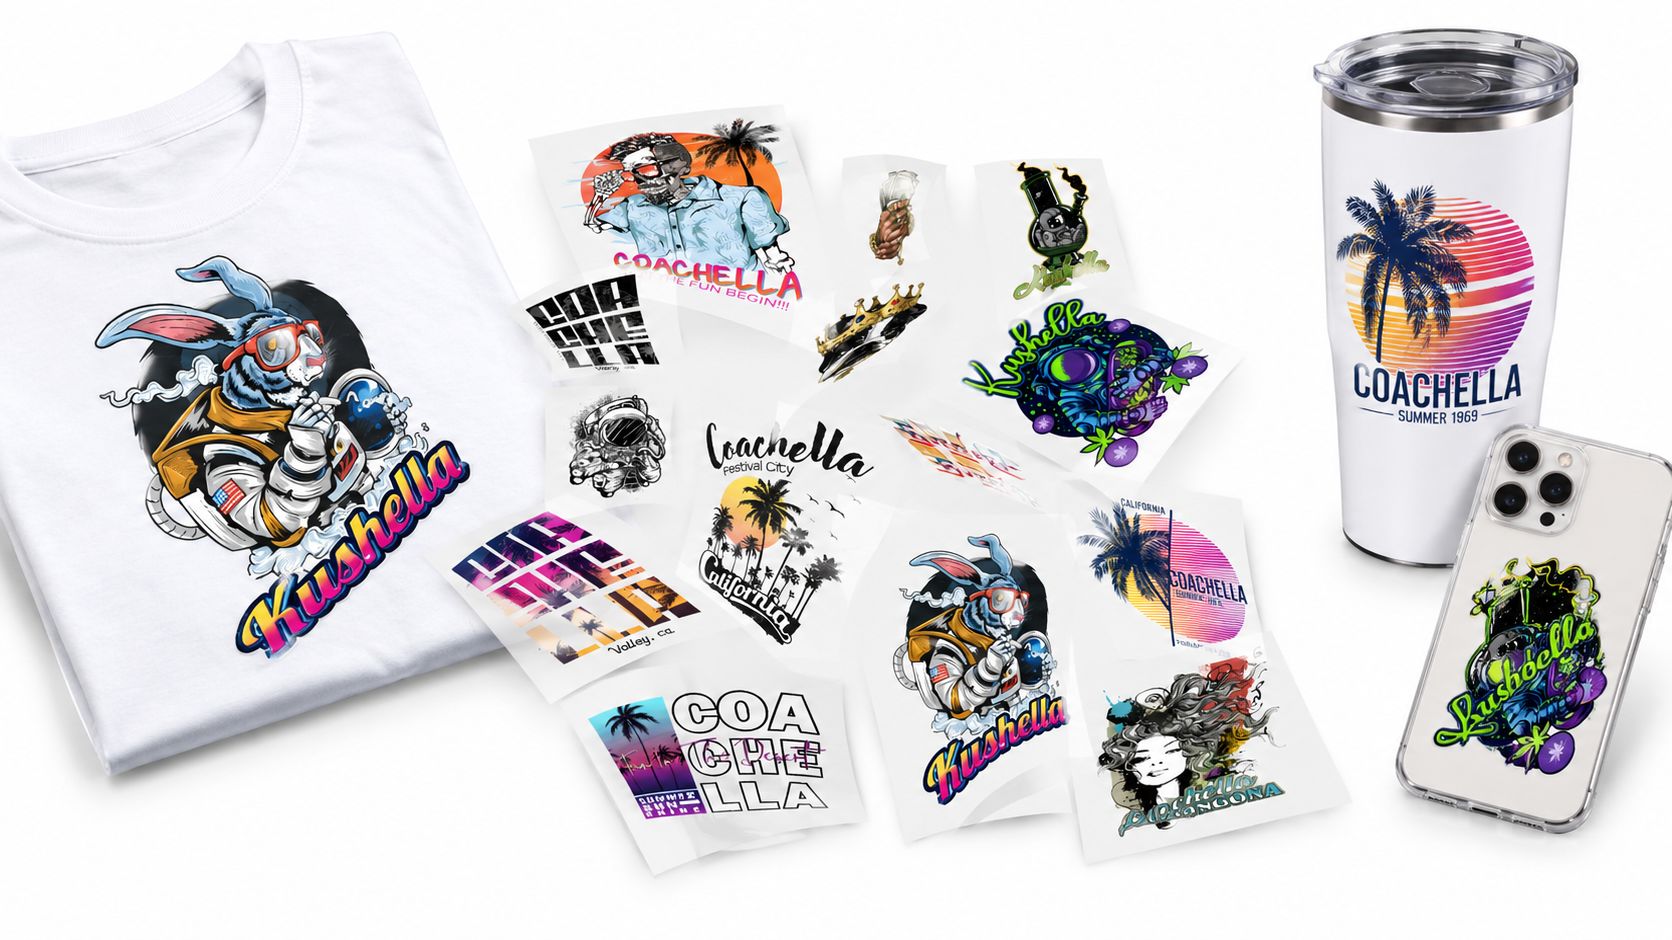
If you want to compare the mechanics in more detail, review this guide to t-shirt printing methods. You can also examine physical examples through the Free DTF UV DTF Sticker Sample Pack, which includes DTF transfers for fabric and UV-DTF stickers for hard surfaces such as tumblers, cups, and phone cases. A $5 shipping fee applies.
Artwork and Gang Sheet Prep That Prevents Reprints
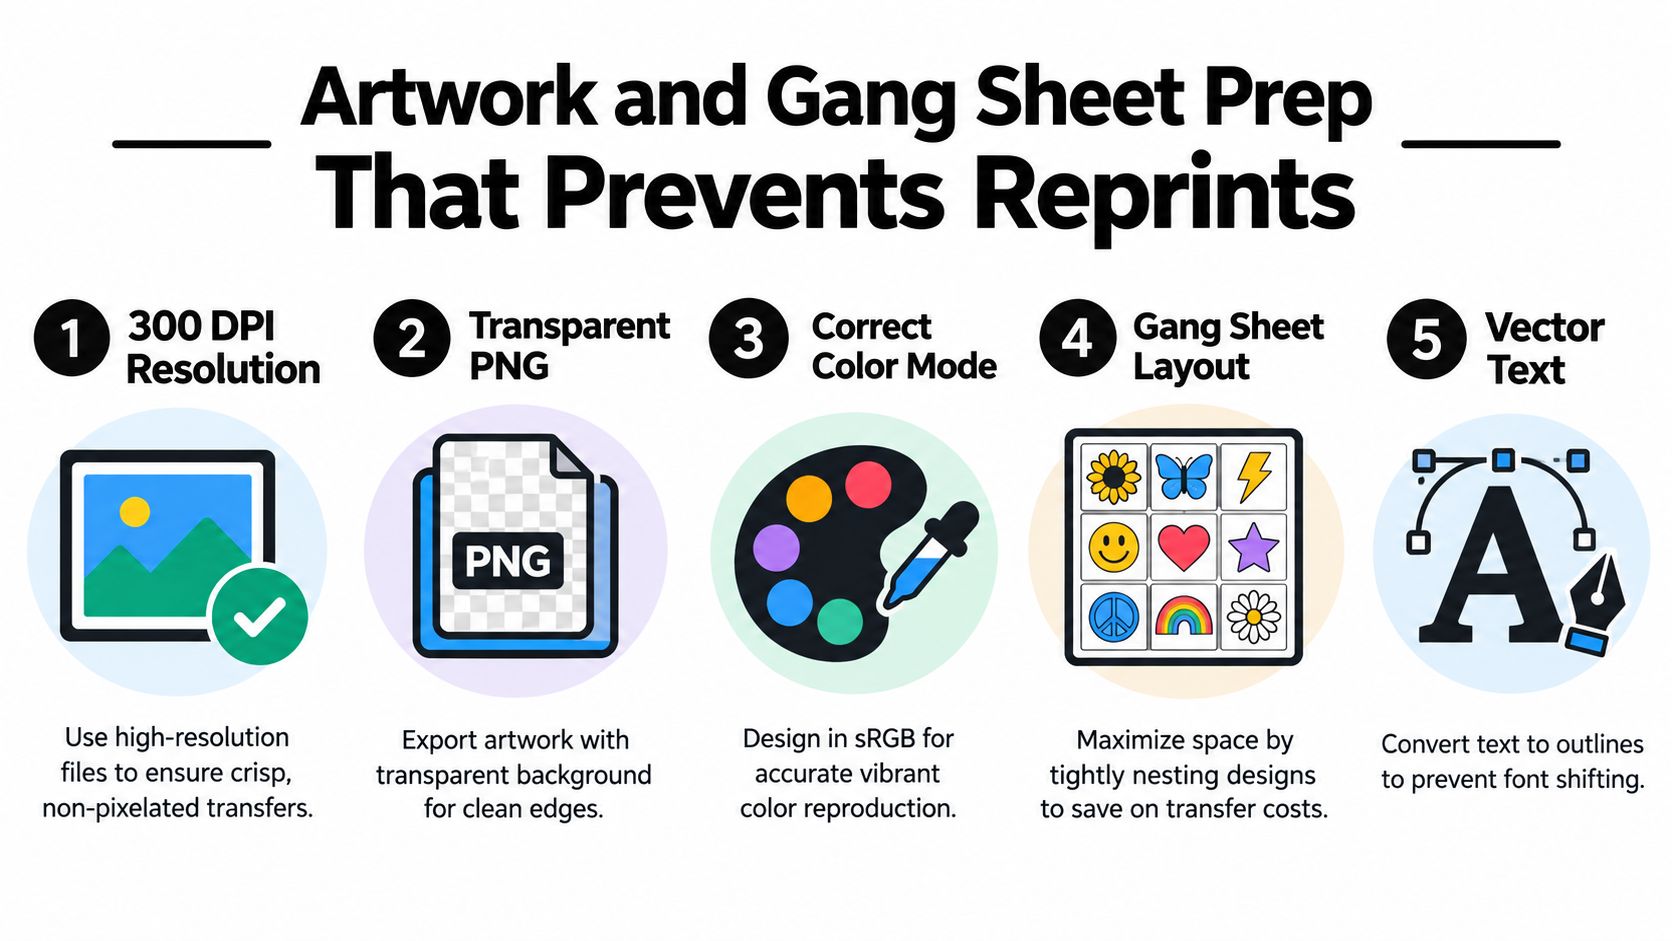
The cheapest print is the one you only have to produce once. Most avoidable failures happen before the transfer reaches the press: a low-resolution file, a background that wasn't transparent, text that changes fonts, or artwork mirrored in the wrong place.
Start with the file, not the shirt.
Prepare the artwork
Use a high-resolution design, preferably 300 DPI at the intended print size, so edges stay crisp instead of becoming visibly pixelated. Export raster artwork as a transparent PNG when the design needs to sit cleanly on the garment. A white background baked into the file can become an unwanted white rectangle around a logo.
Keep the color workflow consistent. Designing in sRGB gives the printer a predictable color reference, although the garment, ink, and production process still influence the final appearance. Bright screen colors don't always translate perfectly to fabric, so avoid judging only from a monitor.
Text deserves special attention. If you send an editable file with a font the printer doesn't have, the typeface can shift or substitute. Convert text to outlines in vector artwork, or provide a flattened high-resolution file after checking every letter at the final size.
File-prep rule: Never mirror a DTF file before uploading it. The transfer workflow handles the orientation for application.
Build a useful gang sheet
A gang sheet isn't just a space-saving collage. It's a production layout, and careless spacing can make cutting difficult or cause one design to interfere with another. Arrange artwork tightly enough to use the sheet efficiently, but leave clear separation around each piece so the transfers can be trimmed and handled safely.
Mix designs by actual need. Put the large front graphic beside smaller left-chest marks, sleeve logos, and replacement pieces. Keep similar shapes aligned when possible, because a clean layout makes cutting faster and reduces the chance of confusing one design with another.
Before submitting, run this checklist:
- Inspect the background: Hide the background layer and confirm that only intended artwork remains.
- Check the edges: Look for halos, stray pixels, thin lines, and gaps that may disappear during printing.
- Confirm the scale: Measure the design at its finished width and height, not just on the artboard.
- Review every word: Zoom in on punctuation, numbers, and small lettering.
- Label the layout: Use a simple naming system for front, back, sleeve, and garment size references.
A clear workflow for arranging multiple designs is covered in how to create a gang sheet. The time spent reviewing the layout is small compared with replacing shirts after a white border, dull color, or missing detail appears.
Ordering Smart and Saving on Small Runs
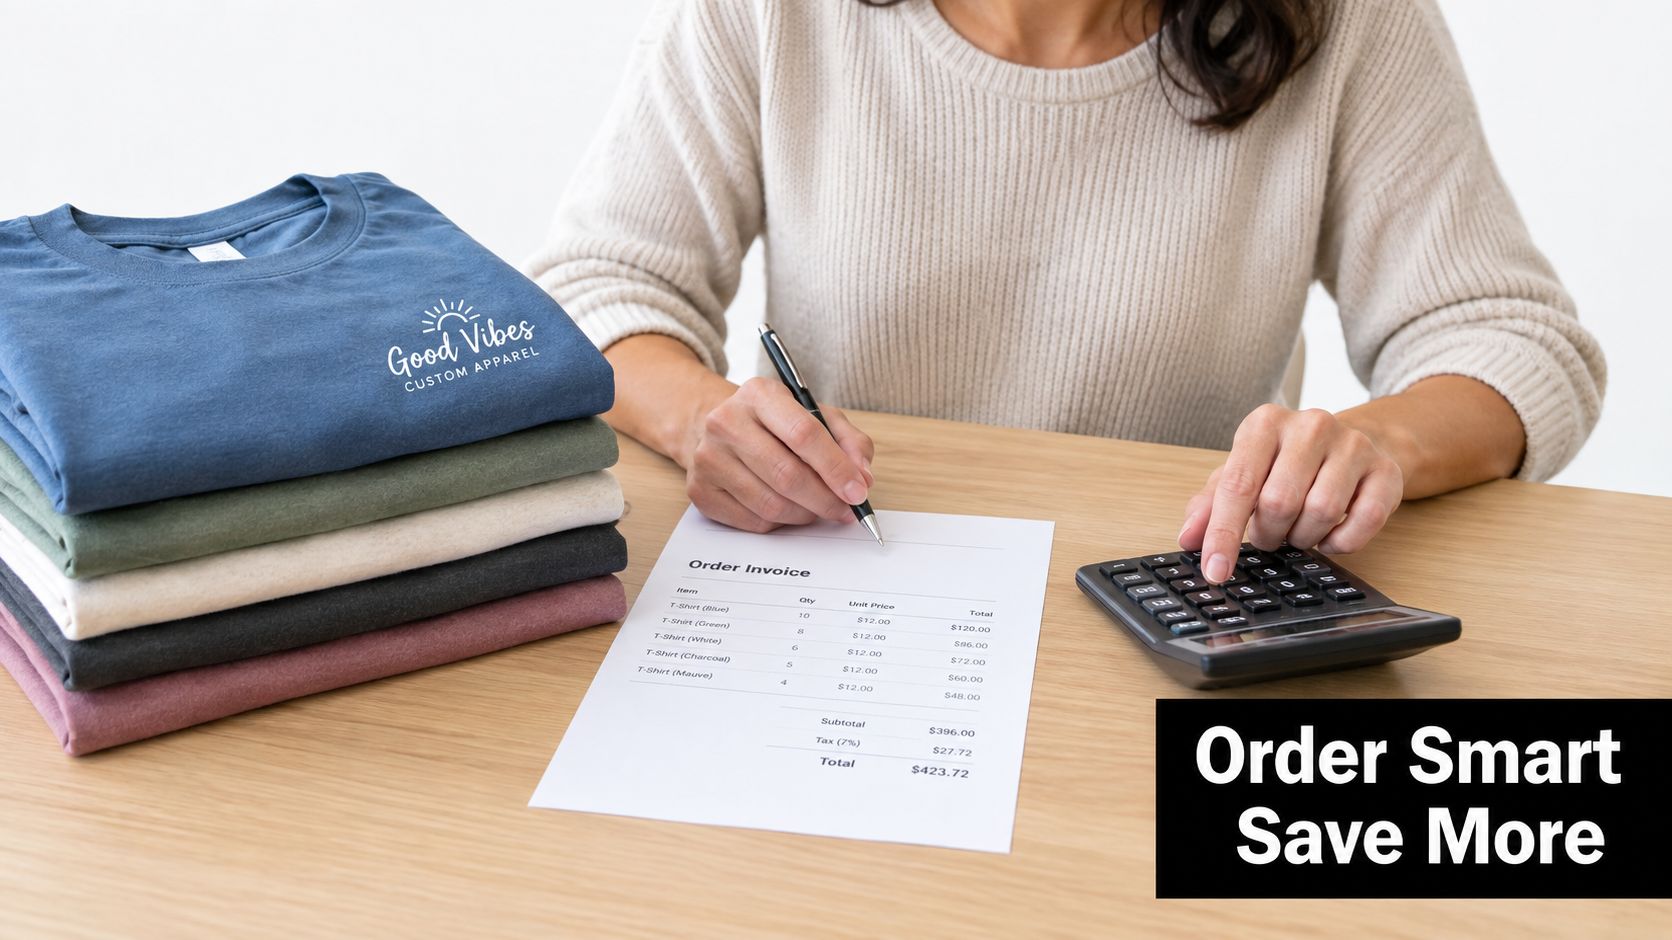
Small-run pricing drops in steps, not smoothly. A single shirt carries more of the artwork, handling, and production effort than a repeated design across several pieces. The important question isn't, “What does one shirt cost?” Ask whether adding a few garments moves the order into a better pricing tier without leaving you with unwanted stock.
A 2026 price index lists median pricing of $34.48 per shirt for 1 to 23 pieces, $24.15 for 24 to 49 pieces, and $20.25 for 50 to 99 pieces. The same index reports median total order values of $320 for the smallest run and $1,374 for 50 to 99 pieces. These are market benchmarks, not a universal tariff, so use them to frame a quote rather than predict the exact total. The custom apparel price index also cautions that design complexity and real-market quoting affect the final number.
Decide whether the next tier is worth it
Suppose you need twelve shirts. Compare the quote for twelve with the quote for the next meaningful breakpoint, such as twenty-five or more. Then calculate the extra cash required, the storage burden, and the likelihood that the additional shirts will sell or get used.
The same index recommends batching designs into the smallest viable quantity tier before comparing unit cost. That works especially well when several products share one gang sheet. A small brand might combine a few front logos, alternate colorways, and size-specific pieces, then order only the garments already supported by customer demand.
Don't forget the blank garment. A reliable basic such as the Gildan Heavy Cotton T-shirt can make sense for a straightforward DTF run because the fit and surface are familiar, but confirm the exact garment color, fabric composition, and size assortment before checkout. The cheapest blank is not economical if customers dislike the fit or if the fabric changes the expected result.
Protect the margin before payment
Build the true unit cost from the quote, not the headline print price. Include the blank, transfer, application labor, packaging, shipping, tax, artwork correction, and a replacement allowance. If you're selling the shirts, compare that total against a realistic selling price before ordering.
Independent apparel guidance places small-batch custom shirts around $8 to $25 per piece for 50 to 200 units, while bespoke or one-off pieces can reach $40 to $120 per piece. ModaKnits' custom clothing cost guidance illustrates why setup effort and rework matter so much in small production. For a one-off, a file correction or mispressed garment can represent a large share of the job's economics.
Ask about turnaround, shipping thresholds, and local pickup before paying. A lower unit price isn't useful if the order misses an event date or shipping erases the apparent savings. Save the approved mockup, garment specification, artwork version, and press instructions together so the next reorder starts from a known process.
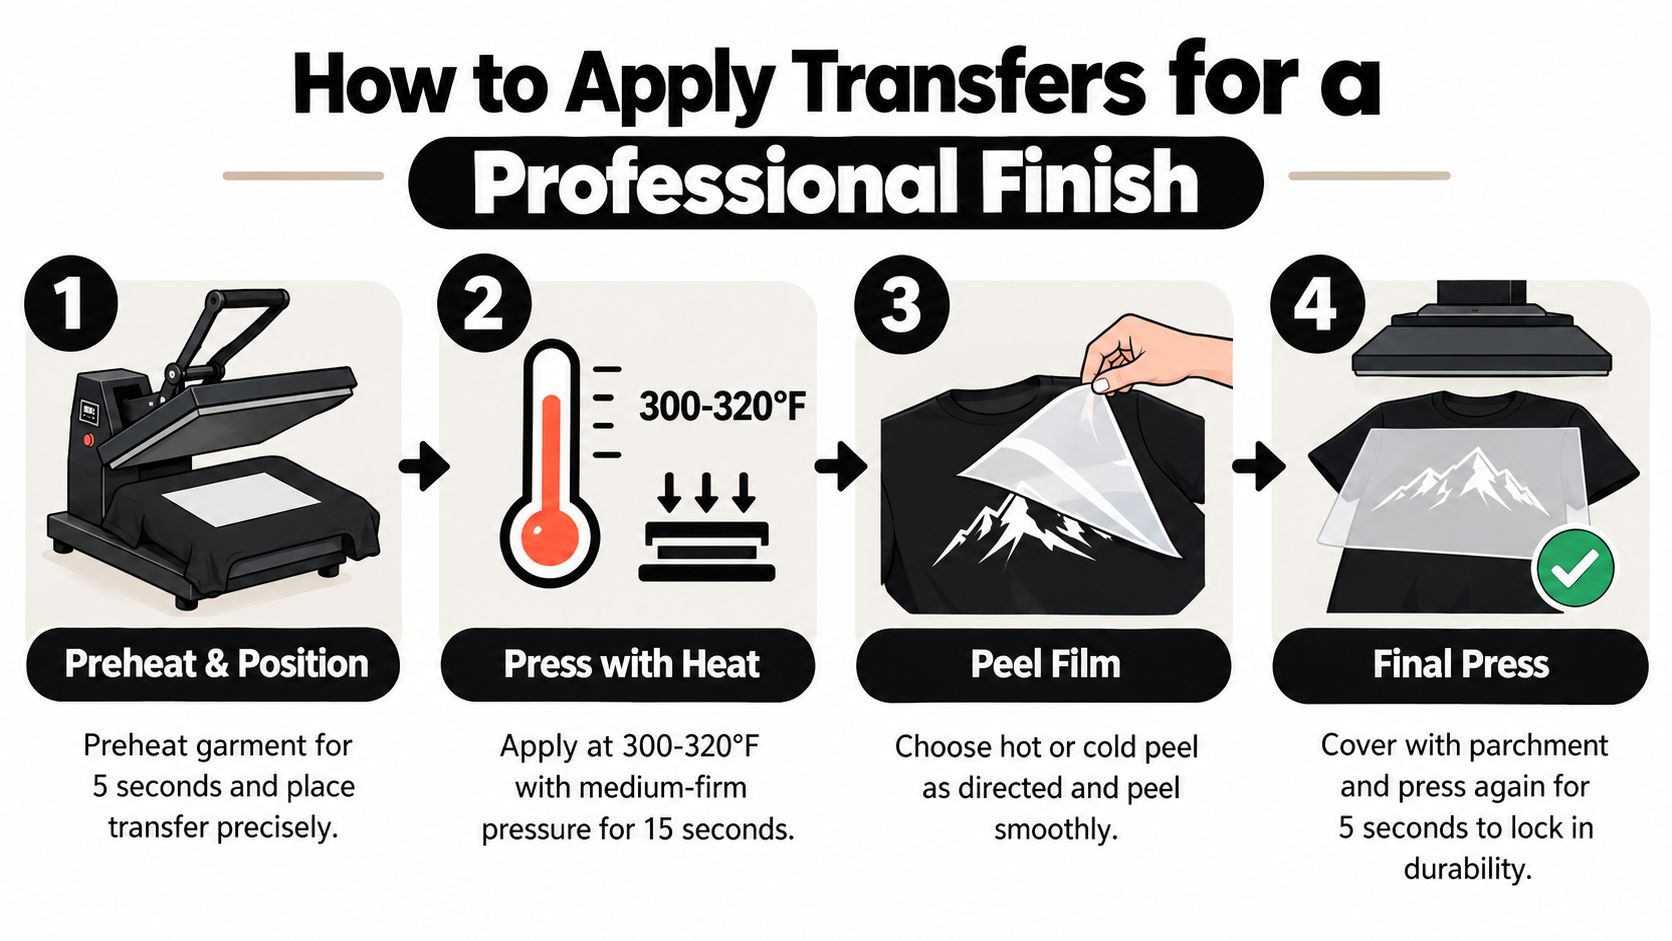
How to Apply Transfers for a Professional Finish
A good transfer can still fail under uneven pressure, incorrect placement, or an overheated press. Treat the first shirt as a controlled application, not a rushed sample. If you're pressing a gang sheet, trim each design carefully and keep the carrier film flat so it doesn't fold onto adhesive areas.
Press the garment in sequence
- Preheat and position. Preheat the garment for 5 seconds to remove moisture and flatten the print area. Lay the shirt on the platen, align the transfer, and check the distance from the collar and side seams before pressing.
- Apply heat and pressure. Use 300 to 320°F, medium-firm pressure, and press for 15 seconds, following the transfer supplier's instructions when they differ. Too little pressure can leave incomplete adhesion. Too much heat or time can affect the garment or dull the finish.
- Peel the film correctly. Some transfers require a hot peel, while others need to cool first. Peel smoothly in the instructed condition, keeping the film low and controlled rather than yanking upward.
- Finish the bond. Cover the design with parchment and press again for 5 seconds. This final press helps settle the surface and supports a durable bond.
Check the feel before moving on
A properly applied DTF transfer should sit smoothly against the fabric, with edges bonded rather than curling. The finish should feel flexible and relatively lightweight, unlike the thicker, stiffer feel common with some layered vinyl applications. If corners lift immediately, stop and diagnose pressure, temperature, timing, or peeling instead of pressing the remaining shirts blindly.
Use a placement guide for repeatability. Mark a visual centerline, keep chest graphics at the same height, and compare each finished shirt against the approved sample. Small inconsistencies stand out when a customer receives several supposedly matching pieces.
Press-floor rule: Record the actual temperature, pressure setting, dwell time, peel condition, garment type, and result on the first successful shirt. That record is more useful than memory when you return to the same design.
For a ready-to-press option organized by finished dimensions, Custom DTF Transfer by Size can fit projects where you want to select a transfer size rather than build the entire production workflow yourself.
Quality Checks and Troubleshooting for Lasting Results
Don't judge a shirt only by how it looks immediately after pressing. Inspect the print under normal light, run a gentle stretch across the garment, and check the edges for lifting, bubbling, pinholes, or an unintended background halo. A clean surface with consistent edge definition usually indicates that the transfer sat flat and received even pressure.
For a test garment, follow the care instructions and observe the result after washing. Turn the shirt inside out, use a gentle cycle, avoid harsh treatment, and let it dry according to the garment and transfer guidance. Care can't fix poor adhesion, but it can help preserve color and reduce unnecessary wear.
Diagnose the failure, not just the symptom
- Lifting edges: Recheck platen contact, pressure, and the required press cycle. A seam, pocket, or uneven surface may have kept the transfer from making full contact.
- Bubbles or raised areas: Look for moisture, wrinkles, or trapped air. Prepress the garment and keep the film flat during placement.
- Dull color: Confirm that the transfer was protected during the final press and that the temperature and dwell time matched the supplier's instructions.
- White borders: Inspect the original file for a hidden background or stray pixels before ordering another transfer.
- Cracked or weak detail: Review the artwork at finished size. Very fine elements may need simplification or enlargement rather than another press attempt.
Keep one approved shirt as a reference. Photograph the front, back, and detail areas, then store the artwork file, garment model, transfer size, press settings, peel method, and wash result in the same project folder. When a small brand reorders, this record eliminates guesswork and makes changes deliberate.
Small-order production becomes reliable when you separate the variables. Test the artwork and garment first, approve the application, then batch only the pieces that need to be made. That process protects cash, reduces reprints, and gives you a repeatable path from one shirt to a consistent short run.
Raccoon Transfers produces DTF and UV-DTF transfers for apparel and hard surfaces, with custom gang sheets and transfers organized by size for small projects. Visit Raccoon Transfers to upload artwork, compare options, and build a short-run workflow that keeps file preparation, pressing, and reordering under control.