
Mastering DTF Transfer Heat Press Settings
The secret to a flawless DTF transfer isn't the printer or the ink—it's dialing in your heat press settings. Getting that perfect balance between temperature, time, and pressure is what separates a professional-looking shirt from a peeling, faded mess.
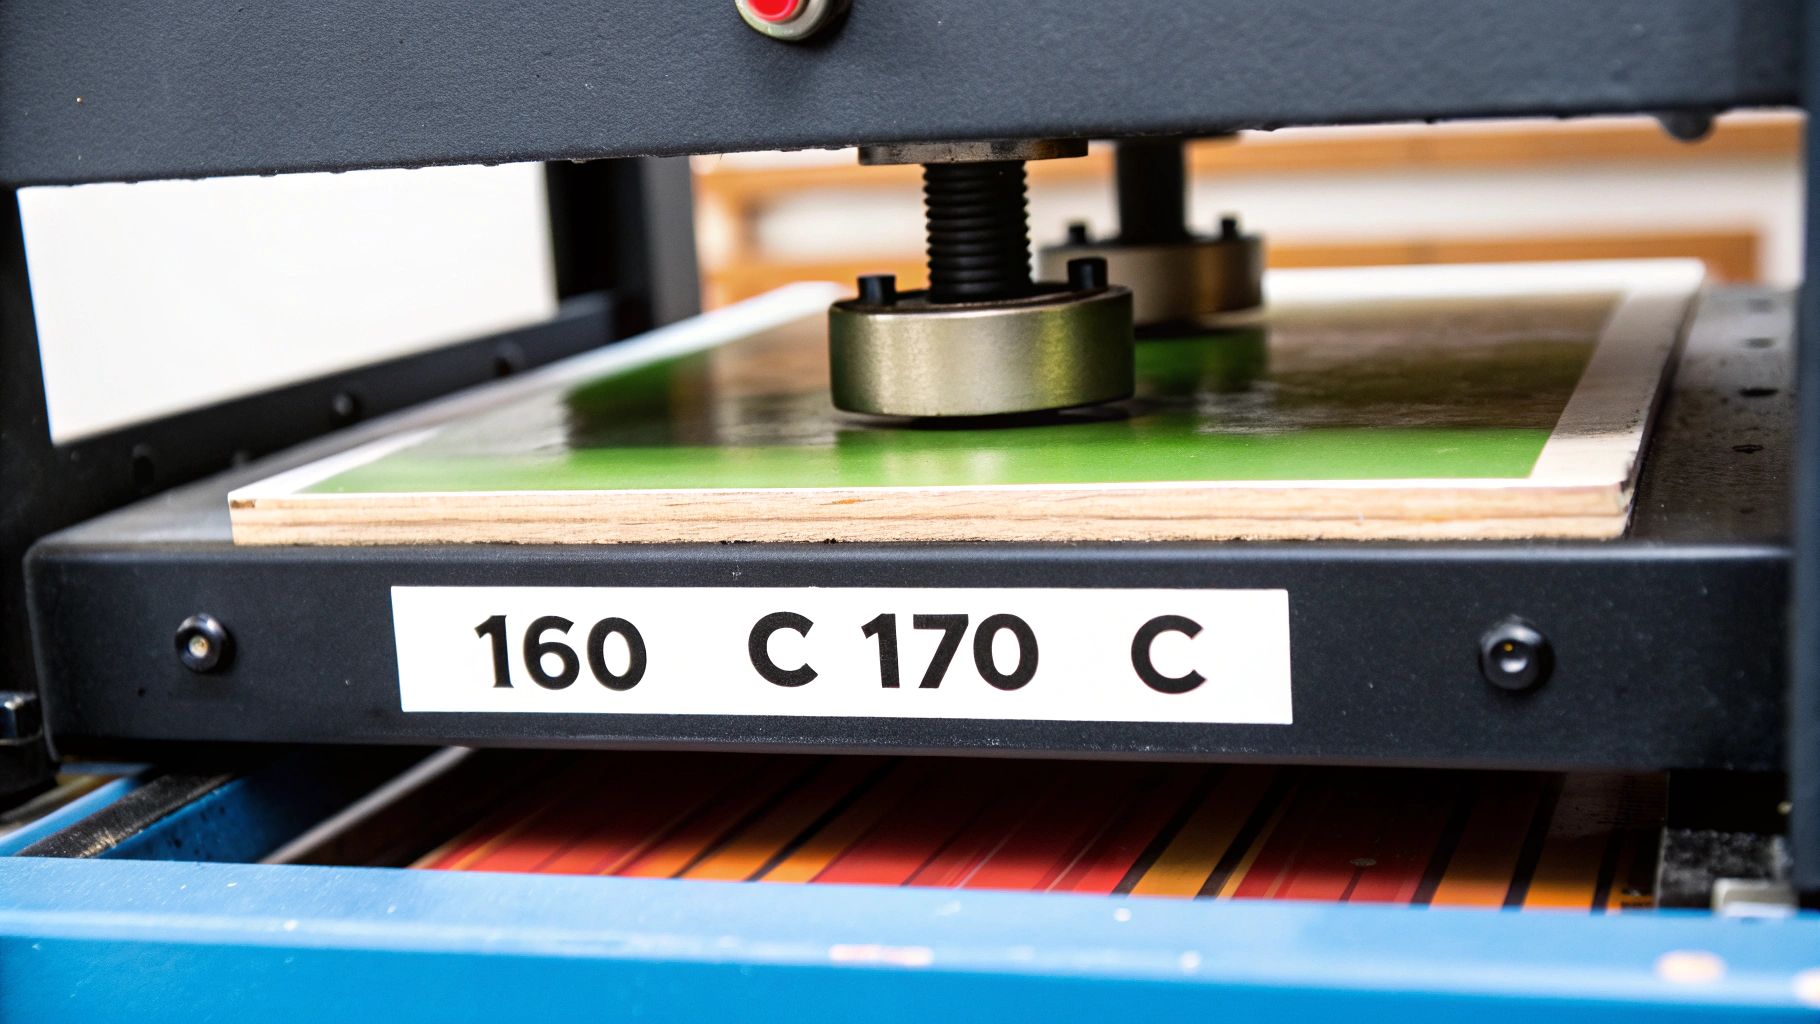
For most of the work you'll do, like on standard cotton or poly-blend tees, a solid starting point is 320-338°F (160-170°C) for about 15-20 seconds with medium to firm pressure. This is the sweet spot where the adhesive melts just right, creating that durable, vibrant finish we're all after.
Your Essential DTF Heat Press Settings Guide
Think of temperature, time, and pressure as the three legs of a stool. If one is off, the whole thing wobbles. They all have to work together perfectly to activate the adhesive powder, bond the ink deep into the fabric fibers, and leave you with a transfer that feels great and can survive the washing machine.
The Big Three: Temperature, Time, and Pressure
Instead of just memorizing numbers, it’s far more useful to understand why each setting matters.
-
Temperature: This is what melts the adhesive powder on the back of your DTF film, turning it into a powerful glue. If you go too low, the transfer just won't stick properly and will lift off. If you crank it too high, you risk scorching delicate fabrics or ending up with a shiny, plastic-like feel.
-
Time: This is how long the heat and pressure get to do their work. The right duration gives that melted adhesive enough time to sink into the fabric's weave. Cut it short, and you get poor adhesion. Let it go too long, and you run into the same problems as having the heat too high.
-
Pressure: This is the non-negotiable part. You need firm, even pressure to ensure every square inch of the design makes solid contact with the garment. Uneven pressure is a classic rookie mistake that leads to parts of the design peeling away after the first wash.
My Go-To Pro Tip: Always, always pre-press your garment for 3-5 seconds. This little step is a game-changer. It gets rid of any hidden moisture and flattens out wrinkles, giving you a perfect canvas for the transfer.
Starting Points for Common Fabrics
Every heat press runs a little different, and various brands of DTF film have their own quirks. But don't worry, there are some very reliable starting points you can count on. The general consensus in the industry is that the sweet spot for temperature is typically between 160°C to 170°C (320°F to 338°F).
Pressing times usually land somewhere between 15 and 30 seconds with medium-to-firm pressure. In fact, one recent survey of DTF pros found that around 78% got their best results using temperatures of 160-165°C for 20-25 seconds. You can dive deeper into the market trends in this DTF printing industry analysis.
To make things even easier, I've put together a quick-reference table with my recommended starting points for the most common fabrics you'll encounter.
Quick Reference DTF Heat Press Settings by Fabric
Here's a handy cheat sheet. Remember to treat these as starting points and always do a test press if you're working with a new material or transfer film.
| Fabric Type | Temperature Range (°C/°F) | Press Time (Seconds) | Pressure Level |
|---|---|---|---|
| 100% Cotton | 160-175°C / 320-350°F | 15-20 | Medium to Firm |
| Polyester | 130-145°C / 265-290°F | 10-15 | Medium |
| 50/50 Cotton/Poly Blends | 145-160°C / 290-320°F | 12-18 | Medium to Firm |
| Tri-Blends | 135-150°C / 275-300°F | 10-15 | Light to Medium |
| Nylon (Pre-test!) | 130-140°C / 265-285°F | 10-12 (2-step press) | Light to Medium |
Keep this chart bookmarked! It will save you a ton of guesswork. As you gain more experience, you'll start to get a feel for how your specific equipment and materials behave, allowing you to fine-tune these settings for truly perfect results every time.
Why Nailing Your Settings is Everything in DTF Printing
Ever wonder why DTF printing has absolutely blown up? A huge part of its success comes down to the nitty-gritty details of dtf transfer heat press settings. The ability to consistently dial in the perfect temperature, time, and pressure is what makes this technology so reliable for creating durable, amazing-looking prints on almost anything you can imagine.
This precision is exactly what gives DTF a massive advantage over older methods like DTG (Direct-to-Garment). DTG often trips up on synthetic fabrics like polyester or slick performance wear, but with the right heat press settings, DTF transfers bond to them flawlessly. This flexibility has opened up a whole new world for custom apparel that used to be a real headache to produce.
The Science Behind a Perfect Press
Think of a DTF transfer as a careful dance between heat, adhesive, and fabric. The temperature's job is to melt the adhesive powder on the back of the transfer until it's a liquid. At the same time, the pressure from the press forces that melted adhesive deep into the fibers of the garment. The timer dictates how long this fusion process gets to work its magic, creating a permanent bond.
If any of these three elements are out of whack, the whole thing falls apart.
- Temperature too low? The adhesive won't melt properly, and you'll get a print that starts peeling after the first wash.
- Pressure is off? You'll get uneven contact, leaving parts of the design looking patchy and unprofessional because they never really stuck.
- Time is too short? The bond doesn't have a chance to fully cure, which leads to cracking and fading down the road.
Getting these settings right isn't just a suggestion; it's the core of what makes a DTF print vibrant, soft to the touch, and tough enough to last. It’s the difference between a cheap-looking transfer and a professional garment that can handle dozens of washes.
Fueling a Multi-Billion Dollar Industry
This level of reliability is a huge reason why demanding businesses, from print-on-demand shops to commercial apparel brands, have adopted DTF so quickly. The global DTF printing market was valued at around USD 2.72 billion and is expected to climb to USD 3.92 billion by 2030. That growth is powered by how perfectly dialed-in heat press settings create incredible adhesion on cotton, polyester, and tricky blends where other printing methods just can't compete. You can read more about the rise of DTF transfers at accio.com.
At the end of the day, your success comes down to mastering your equipment. When you understand the 'why' behind each setting on your heat press, you unlock the ability to produce consistent, top-quality results every single time. For a closer look at the specific numbers for different materials, check out our detailed heat press temperature chart. It's not just about pushing a button; it’s about controlling a process that delivers professional-grade products, press after press.
Tweaking Your Settings for Different Fabrics and Films
There’s no magic set of numbers that works for every single job. The real secret to mastering DTF transfer heat press settings is learning how to read the material in front of you and adjust on the fly. A standard cotton tee is pretty forgiving, but once you start working with polyesters, blends, and other tricky fabrics, a one-size-fits-all approach just won't cut it.
Every fabric responds to heat in its own unique way. If you use the same high heat you'd use on a thick cotton shirt for a delicate polyester garment, you're asking for trouble. This is where your knowledge of the material becomes critical for getting that professional-quality finish. When you're in the business of custom T-shirt printing, nailing these settings is what separates an amateur from a pro.
How to Handle Heat-Sensitive Fabrics
Polyester and its many blends are famous for a frustrating issue called dye migration. This is what happens when your heat press gets hot enough to turn the fabric dye into a gas. That gas then seeps into your transfer, staining your crisp white ink with a faint pink or grey hue. It’s a classic rookie mistake.
Luckily, the fix is straightforward: turn down the heat.
- For 100% Polyester: Drop your temperature into the 265-290°F (130-145°C) range.
- For Blends (50/50, Triblends): A good starting point is around 290-320°F (145-160°C). Do a quick test press to see how it behaves.
Since you're using less heat, you'll likely need to add a few seconds to your press time to make sure the adhesive gets fully activated. It's a bit of a balancing act, but lowering the temperature is hands-down the best way to prevent dye migration and scorching on sensitive synthetic fabrics.
The settings you’d use for a standard Gildan Heavy Cotton T-shirt, for example, are completely different from what a performance polyester jersey needs. If you want to see a specific example, check out our deep dive on pressing the classic Gildan Heavy Cotton T-shirt.
A lower temperature is your best defense against dye migration. If you're ever in doubt, always test on a scrap piece of fabric first to see how the garment reacts to the heat.
Understanding Hot Peel vs. Cold Peel Films
It isn't just the fabric you need to worry about. The type of DTF film you're using is a huge piece of the puzzle. The main difference you'll run into is between hot peel and cold peel films, and each one demands a completely different workflow once that heat press opens up.
Hot Peel Films
Just like the name says, you peel the carrier sheet off the second the press opens while everything is still piping hot. These films are built for speed and are a favorite for anyone doing high-volume production. The press settings are usually pretty standard; the trick is having the confidence to peel immediately and smoothly.
Cold Peel Films
These are the exact opposite. After you press the transfer, you have to let the garment cool down completely before you even think about touching the film. If you try to peel a cold peel film while it’s still warm, you're almost guaranteed to have a failed transfer where parts of the design lift right off the shirt. Patience is key here. Just set the shirt aside for a minute or two until it’s cool to the touch.
Your film supplier should always give you their recommended specs. One of the most common and avoidable mistakes I see is people ignoring these guidelines. Always check what kind of film you're working with before you start pressing—it’ll save you a lot of wasted transfers and headaches.
The Full DTF Pressing and Peeling Workflow
Alright, now that you’ve got the theory down for dialing in your settings, let's walk through the entire process from start to finish. Getting your dtf transfer heat press settings right is about more than just that first press. It’s a complete workflow that guarantees a soft, durable print that looks and feels professional.
The process really breaks down into three key moments: the pre-press, the first press, and the second press. Each step has a specific job. Skipping one might feel like you're saving time, but I can tell you from experience, it’s often the root cause of headaches like peeling prints or that shiny, plastic-like finish nobody wants.
The Three-Step Pressing Method
I like to think of this process like painting a wall. You prime it, you paint it, and then you seal it for a long-lasting finish.
-
The Pre-Press (Priming the Surface): Always, and I mean always, start by pressing the blank garment for 3-5 seconds. This quick step does two crucial things: it zaps any hidden moisture out of the fabric and smooths out all the wrinkles. You’re left with a perfectly flat, dry canvas for your transfer, which makes a massive difference in how well it adheres.
-
The First Press (Applying the Design): Now, lay your DTF transfer right where you want it on the pre-pressed area. Cover it with parchment paper or a thin protective sheet, and press using the settings you’ve figured out for your specific fabric and film type. This is the step that melts the adhesive and bonds the ink to the garment’s fibers.
-
The Second Press (The "Magic" Finish): After you've peeled the film away (we'll get to that in a second), this final press is your secret weapon. Cover the design again with a Teflon sheet or fresh parchment paper and press it for another 5-10 seconds. This is what truly melts the ink into the fabric, taking the print from just sitting on top of the shirt to becoming a part of it. This dramatically improves wash durability and gives you that premium, soft, matte finish.
This quick infographic gives you a great visual of the core steps involved in the initial application.
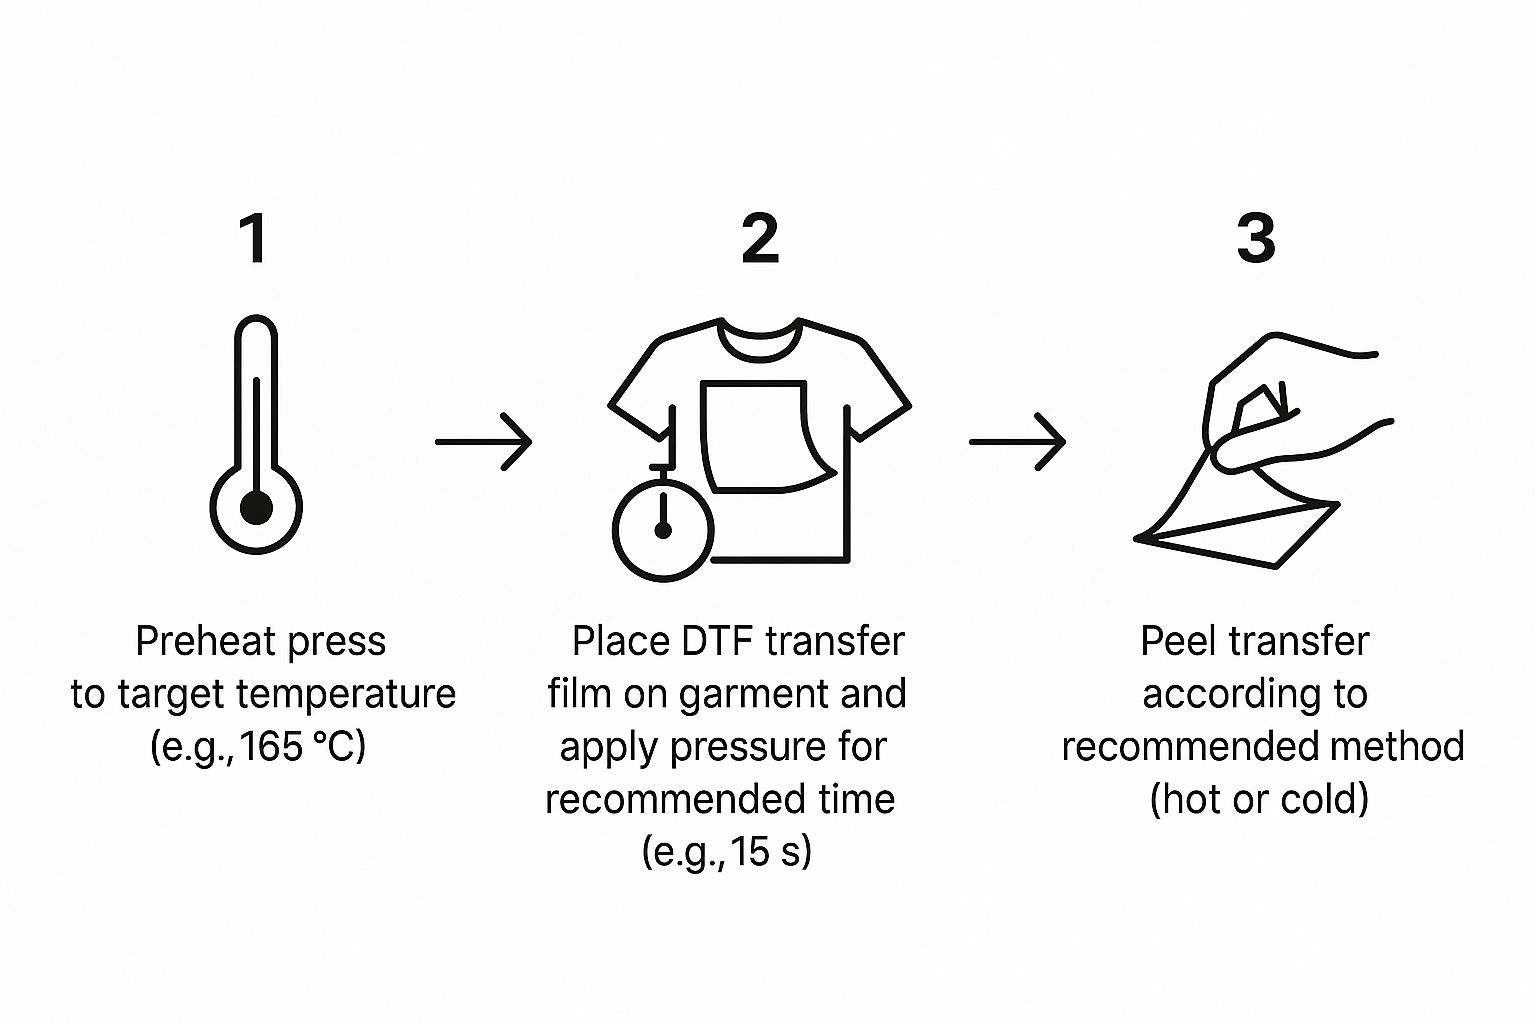
As you can see, temperature, time, and how you peel are all interconnected pieces of the puzzle for a successful transfer.
Hot Peel vs. Cold Peel: The Critical Difference
The moment the heat press platen lifts after that first press is where your film type dictates your very next move. This is the make-or-break difference between hot peel and cold peel films.
Hot Peel: You have to move fast. As soon as that press opens, you need to peel the carrier film away in one smooth, confident motion. If you hesitate, you risk parts of the design cooling down and lifting right off with the film. This method is a lifesaver for high-volume jobs where every second counts.
Cold Peel: Patience is the name of the game here. Once the press is done, take the garment off the platen and set it on a flat, cool surface. You need to let it cool down completely—and I mean completely. Trying to peel it while it’s still even a little bit warm is the number one reason cold peel transfers fail. The design should feel cool to the touch before you even think about peeling.
Pro Tip: For cold peels, I've seen great results from gently rubbing the back of the film with a soft cloth right before peeling. It seems to help ensure every little detail releases cleanly from the carrier sheet and stays on the fabric.
To get a clearer picture, here’s a quick comparison of the two workflows.
Hot Peel vs Cold Peel Process Comparison
| Attribute | Hot Peel Film | Cold Peel Film |
|---|---|---|
| Pressing Workflow | Peel immediately after the heat press opens. Speed is essential. | Remove from press and allow to cool completely before peeling. |
| Cooling Requirement | No cooling time required. The transfer is designed to release while hot. | Must cool to room temperature. Peeling while warm will ruin the print. |
| Typical Use Cases | High-volume production, simpler designs, fabrics that retain heat. | High-detail or intricate designs, heat-sensitive fabrics, achieving a matte finish. |
As you can see, your choice of film directly impacts your entire process.
Mastering this complete workflow will completely transform your results. It's the difference between a cheap-looking transfer that just sits on the shirt and a professional-grade one that feels like it’s part of the fabric itself. For a deeper dive into the application process, our guide on how to use DTF ready-to-press transfers has even more practical tips.
Troubleshooting Common DTF Heat Press Issues
Even when you nail the perfect dtf transfer heat press settings, things can still go wrong. It happens to everyone. The good news is that most issues are simple to fix once you know what you’re looking for.
From a transfer that won’t stick to a print that cracks after one wash, there are usually just a few common culprits. It often boils down to a simple tweak in your pressure, an unseen cold spot on your platen, or skipping a crucial step like the pre-press. Let's walk through these headaches one by one so you can get back to pressing prints you're proud of.
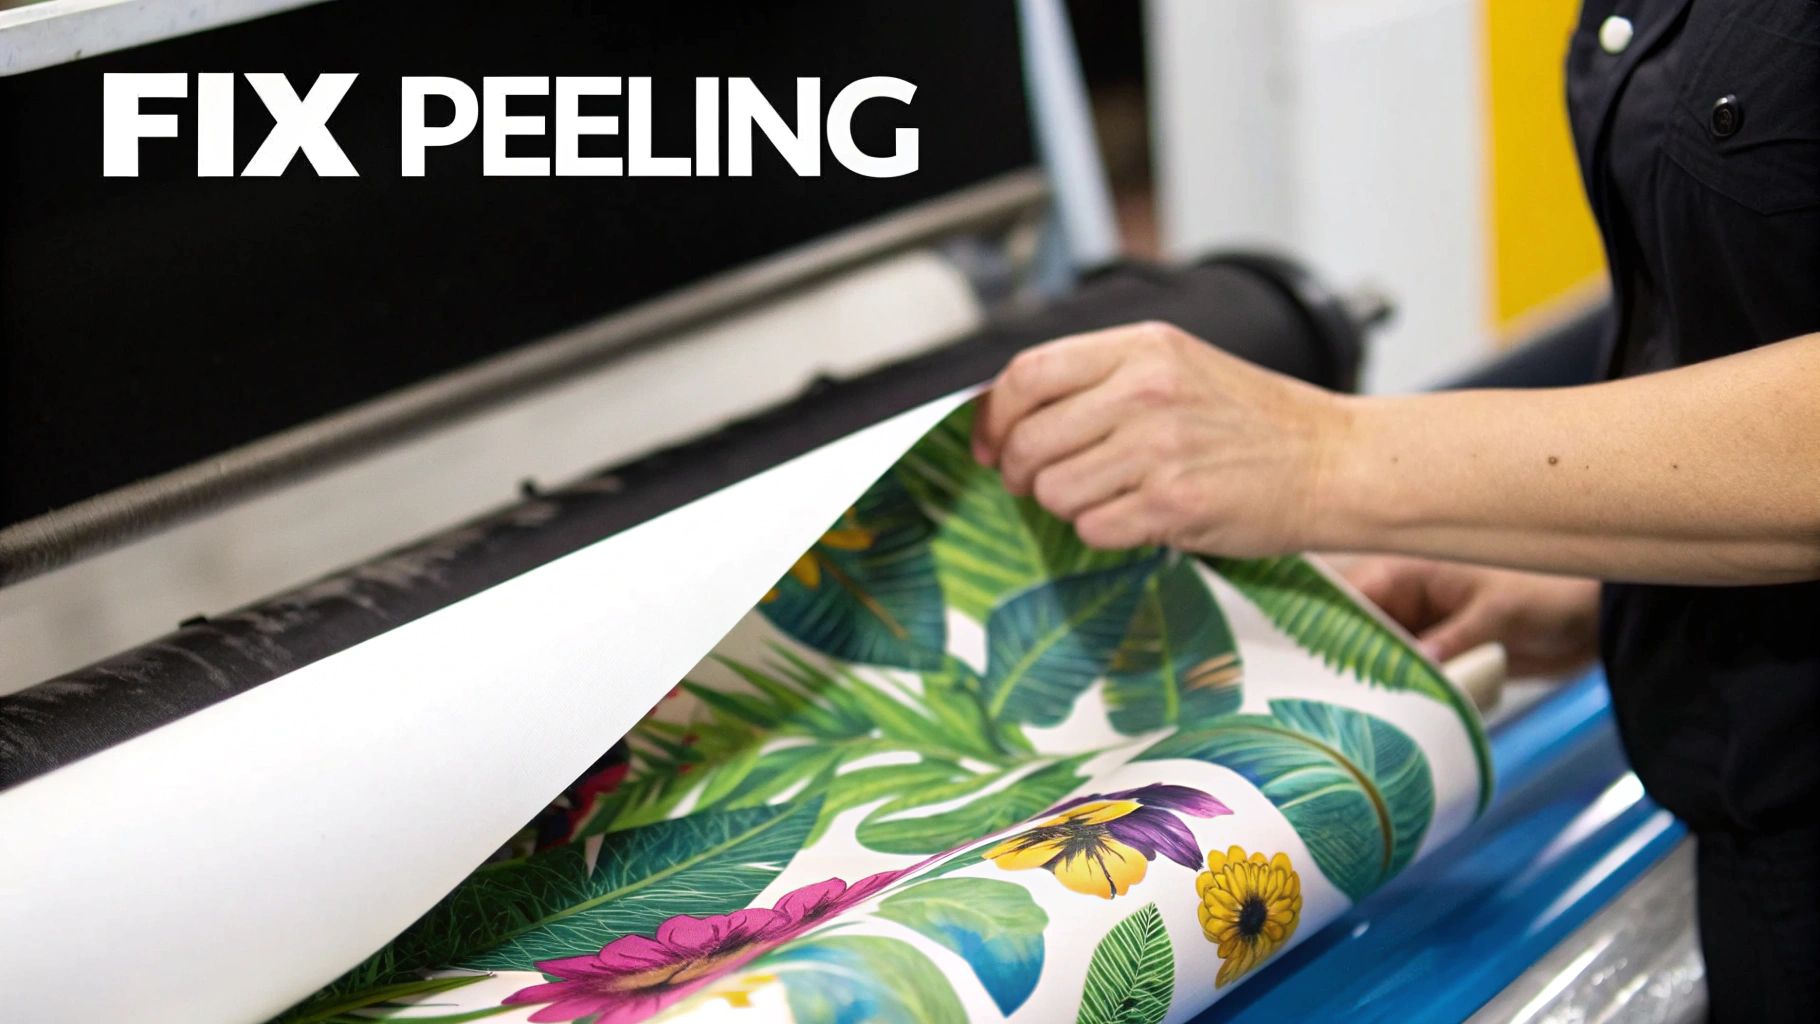
Why Is My DTF Transfer Not Sticking?
This is, without a doubt, the number one problem people run into. When a transfer peels right off with the film, it’s almost always a pressure or temperature issue. The adhesive on the back of the film needs the right combination of heat and force to melt and properly grab onto the fabric fibers.
First thing's first: check your pressure. For a manual press, it needs to be firm. A good rule of thumb is if you can easily pull a slip of paper out from under a corner of your locked-down press, your pressure is way too low.
If the pressure feels right, your heat is the next place to look.
- Is your heat platen lying to you? An infrared heat gun is an indispensable tool for verifying your platen's temperature. It's not uncommon for a press's display to be off, and cheaper models are famous for developing hot and cold spots over time.
- Did you pre-press the garment? Don't skip this! That quick 3-5 second pre-press does more than just flatten the shirt; it evaporates any hidden moisture. Trapped moisture turns into steam during the main press, which is the enemy of good adhesion.
A transfer that lifts at the edges or looks patchy is a classic sign of uneven or insufficient pressure. You need solid, even contact across the entire design for a perfect press.
Fixing Prints That Crack or Fade After Washing
There's nothing more frustrating than a print that looks amazing coming off the press, only to crack and fade after its first trip through the laundry. This is a dead giveaway that the ink and adhesive weren't fully cured into the fabric.
The fix is almost always a proper second press. After you peel the film (whether hot or cold peel), cover the design with a Teflon sheet or a piece of parchment paper and press it again for 5-10 seconds. This final press is what truly locks the design into the garment's fibers, massively boosting its durability and washability. It also gives it that coveted soft-hand feel.
Getting Rid of the 'Plastic Box' Outline
Ever notice a faint, shiny box around your design that perfectly matches the shape of the transfer film? This annoying outline is caused by the adhesive layer extending just a tiny bit beyond the ink.
Here are a few ways to deal with it:
- The Second Press: Again, the second press is your best tool. It helps soften and press the design into the fabric, which makes that faint adhesive edge practically disappear.
- Film Quality Matters: I've found that some lower-quality DTF films are more prone to this. They can have less precise adhesive coating, leaving more of a border.
- Dial Back the Pressure (Slightly): Too much pressure can sometimes squish the melted adhesive outward, creating a more noticeable edge. Try reducing it just a touch, but make sure you still have enough force for a solid bond.
Your DTF Heat Press Settings Questions Answered
Even with the best guides, you're always going to run into specific situations when dialing in your DTF transfer heat press settings. We get questions all the time from printers, both new and seasoned, so I've put together some quick answers to the most common ones.
These are the kinds of practical, on-the-ground problems that can make or break a project. Getting a straight answer helps you build the confidence to tackle any garment or film that lands on your press. Let's get into it.
What Happens If My Heat Press Temperature Is Too High?
Pushing the temperature too high on your heat press is one of the fastest ways to ruin a perfectly good garment. It's a classic rookie mistake, but even pros can get it wrong when rushing.
On lighter fabrics like white cotton, you'll see scorching—that ugly, permanent yellow-brown tint. With polyester or poly-blends, you get dye migration. This is when the dye from the shirt actually bleeds into your transfer, turning your bright whites into a muddy pink or dull grey.
Besides damaging the fabric, excessive heat messes with the transfer itself. It can give the design an unpleasant glossy or rubbery finish and can even weaken the adhesive, which leads to cracking and peeling down the road. It’s always better to start on the lower end of the recommended range and do a quick test press.
Can I Use the Same Settings for All DTF Films?
That’s a hard no. Treating all films the same is a critical error. Your entire process needs to adapt based on whether you're working with a hot peel or a cold peel film.
- Hot peel films are made for efficiency. You peel the backing away immediately—and I mean immediately—after the press opens.
- Cold peel films are the opposite. They must cool down completely before you even think about touching the carrier sheet. If you try to peel a cold peel film while it’s still warm, you'll almost certainly pull up parts of the design, ruining the transfer.
Always, always check the manufacturer’s instructions for the specific film you're using. Honestly, ignoring this simple step is one of the most common—and easily avoidable—mistakes I see people make.
How Do I Know If I'm Using the Right Pressure?
Getting the pressure right is absolutely essential for a transfer that lasts. If it's too light, the adhesive won't bond properly.
For manual presses, the old-school "dollar bill test" still works like a charm. Lock down your press and try to slide a dollar bill under each of the four corners of the platen. You should feel some serious drag. If the bill slides out easily, you need to crank up the pressure.
If you’re running a pneumatic or automatic press, a good starting point is usually somewhere between 40-60 PSI. Don't underestimate this setting; inconsistent or weak pressure is probably the number one reason transfers fail to stick or start peeling off after just a few washes.
Ready to create stunning, durable prints without the guesswork? Raccoon Transfers provides premium, ready-to-press DTF transfers that deliver vibrant colors and a soft-hand feel every time. Explore our DTF transfers and get started today!