
Your Guide to DTF Transfers Ready to Press
Let's cut right to it. DTF transfers ready to press are essentially professional, permanent graphics for fabric that you apply with heat. Think of them as high-end, pre-made designs that arrive on a special film, all set for you to press onto a garment. This means you can skip the massive investment in expensive printing gear.
So, What Are Ready-to-Press DTF Transfers, Really?
Picture this: you have an idea for a t-shirt with a detailed, full-color design. Not too long ago, that meant diving into something like screen printing. You'd be facing a steep learning curve, juggling multiple screens for each color, dealing with messy inks, and a ton of setup time. DTF transfers sidestep all of that.
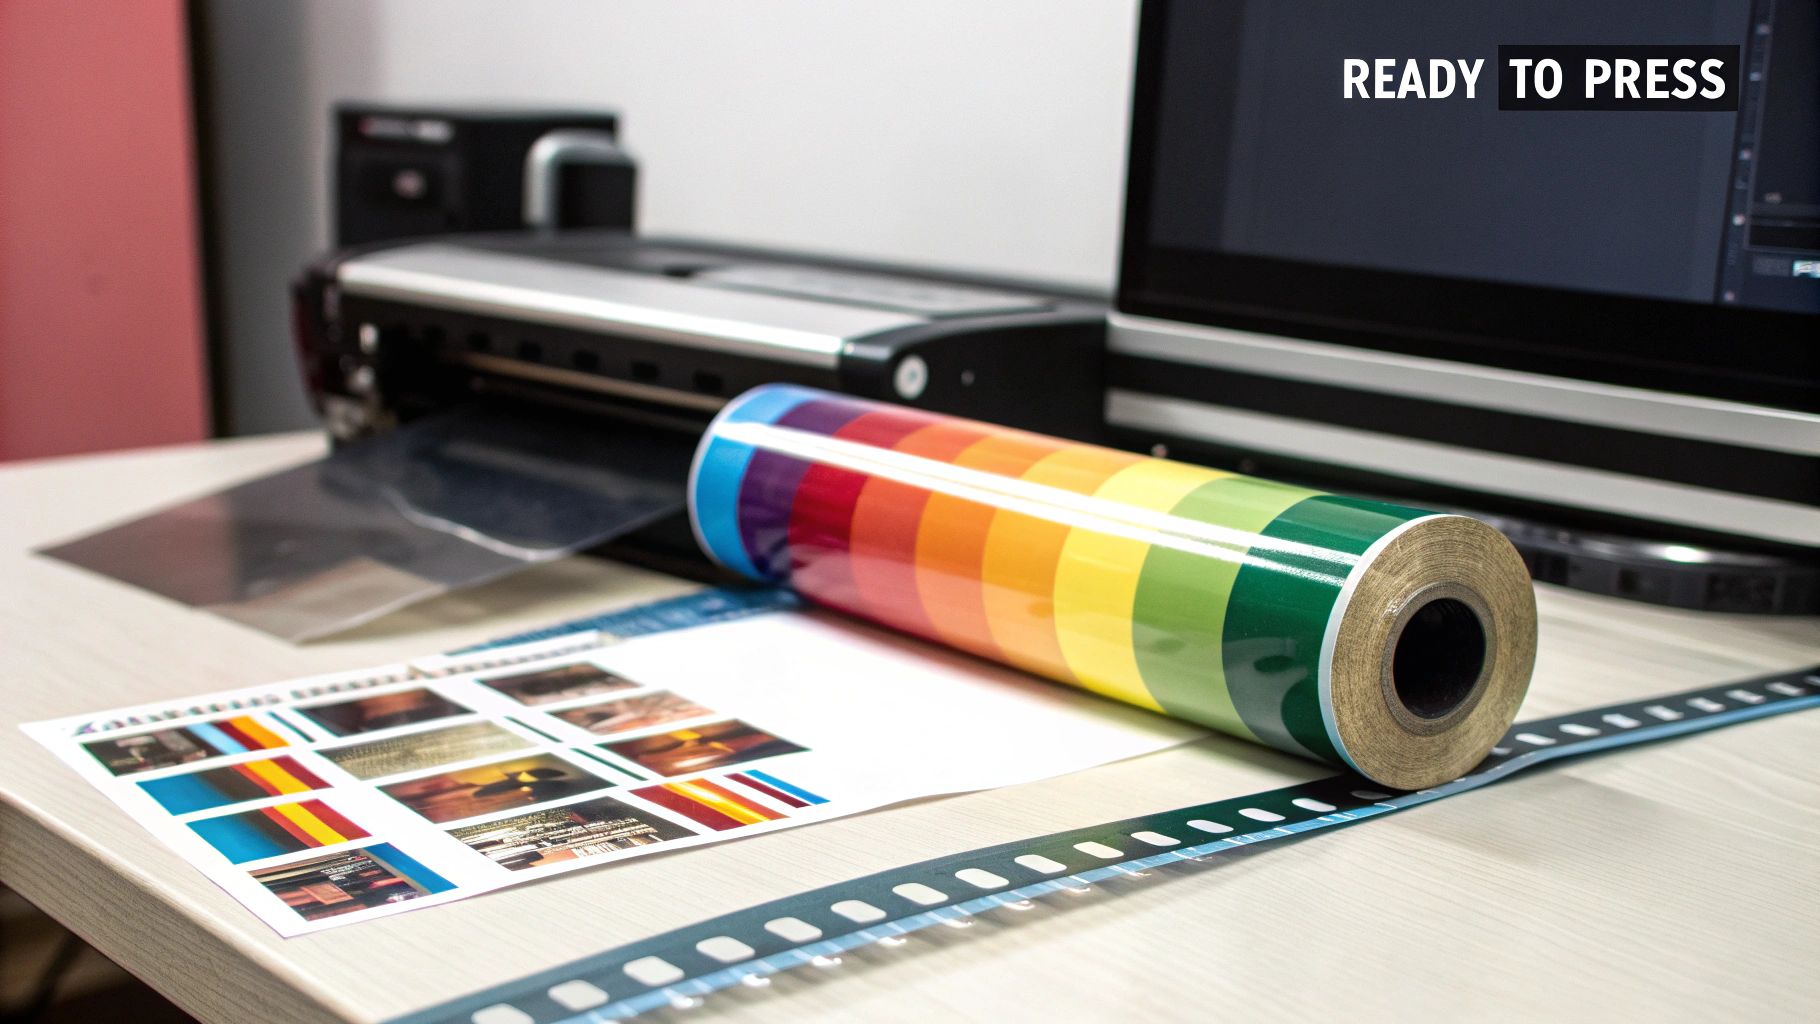
The "ready to press" part is the key. All the tricky, technical work is already done. A professional printer takes your digital file and prints it onto a special film. But this isn't just ink on plastic; it’s a precisely layered system designed for a perfect, lasting application.
A Look Inside the Transfer
Every ready-to-press DTF transfer is a little piece of material science, cleverly built in reverse to apply flawlessly. When that transfer sheet arrives, it’s made of four distinct layers working in harmony:
- Vibrant Color Inks: These aren't your desktop printer inks. They're specially formulated water-based inks that produce rich, detailed designs while staying flexible and tough.
- A White Ink Base: This is the secret to bold graphics. Printed right behind the colors, this opaque white layer acts like a primer, making sure your design pops even on black or dark-colored fabrics.
- Adhesive Powder: Here's where the magic happens. A fine, hot-melt adhesive powder is dusted over the wet ink. When you apply heat, this powder melts and forms a powerful bond, locking the ink permanently into the fabric's fibers.
- The Carrier Film: This is the clear sheet holding it all together. It keeps your design pristine until it's pressed. Once you're done, it peels away cleanly, leaving behind nothing but the soft, beautiful graphic.
The real beauty of this method is simple: you get retail-quality, professional results with almost no upfront cost and zero setup. It’s a game-changer for creators and small businesses wanting to make incredible custom apparel.
This blend of quality and accessibility is causing a huge wave in the custom apparel world. In fact, the global market for Direct to Film printing was valued at around USD 2.72 billion and is expected to grow to nearly USD 3.99 billion by 2030. This surge shows just how many brands and makers are turning to DTF for its incredible versatility and amazing output. You can dive deeper into this trend by checking out the full research on the DTF printing market.
DTF Transfers vs Traditional Methods At a Glance
For anyone new to custom apparel or running a small operation, it can be tough to see the forest for the trees. Here’s a quick breakdown of how ready-to-press DTF transfers stack up against the old guards: screen printing and heat transfer vinyl (HTV).
| Feature | DTF Transfers Ready to Press | Screen Printing | Heat Transfer Vinyl (HTV) |
|---|---|---|---|
| Color Capability | Unlimited colors, gradients, and fine details in one press. | Limited colors per screen; complex designs require more setup and cost. | Limited to solid colors; layering is needed for multi-color designs. |
| Fabric Versatility | Works on cotton, polyester, blends, leather, and more. | Best on cotton and blends; special inks are needed for other materials. | Works on cotton and polyester, but some types have limitations. |
| Feel on Garment | Very soft, lightweight, and flexible. Almost no "hand feel." | Can be thick and heavy, especially with many color layers. | Can feel thick and plastic-like, especially on larger designs. |
| Ease of Use | Extremely easy. Just position the transfer and press. No weeding. | Steep learning curve. Requires skill, space, and cleanup. | Requires weeding (removing excess vinyl), which is time-consuming. |
| Best For | Small to medium batches, full-color photos, and on-demand printing. | Large bulk orders of the same, simple design (100+ units). | Simple, single-color logos, names, and numbers. |
As you can see, while screen printing and HTV have their places, ready-to-press DTF transfers offer a fantastic combination of simplicity, quality, and versatility that's hard to beat.
The Key Benefits of Using DTF Transfers
The explosive growth of DTF transfers ready to press isn’t just some fleeting trend. It's a real solution that directly answers the needs of today's creators and apparel businesses. The single biggest draw? Their unbelievable versatility.
Just think about it: one single transfer type that works flawlessly across a huge spectrum of fabrics. No special inks, no different processes to learn.
You can use the exact same DTF transfer to decorate a classic cotton tee, a sleek polyester jersey, a sturdy canvas tote bag, or even a denim jacket. This completely simplifies your workflow. You don't have to juggle different types of vinyl or stock multiple kinds of supplies, which immediately opens the door to so many more creative products you can offer.
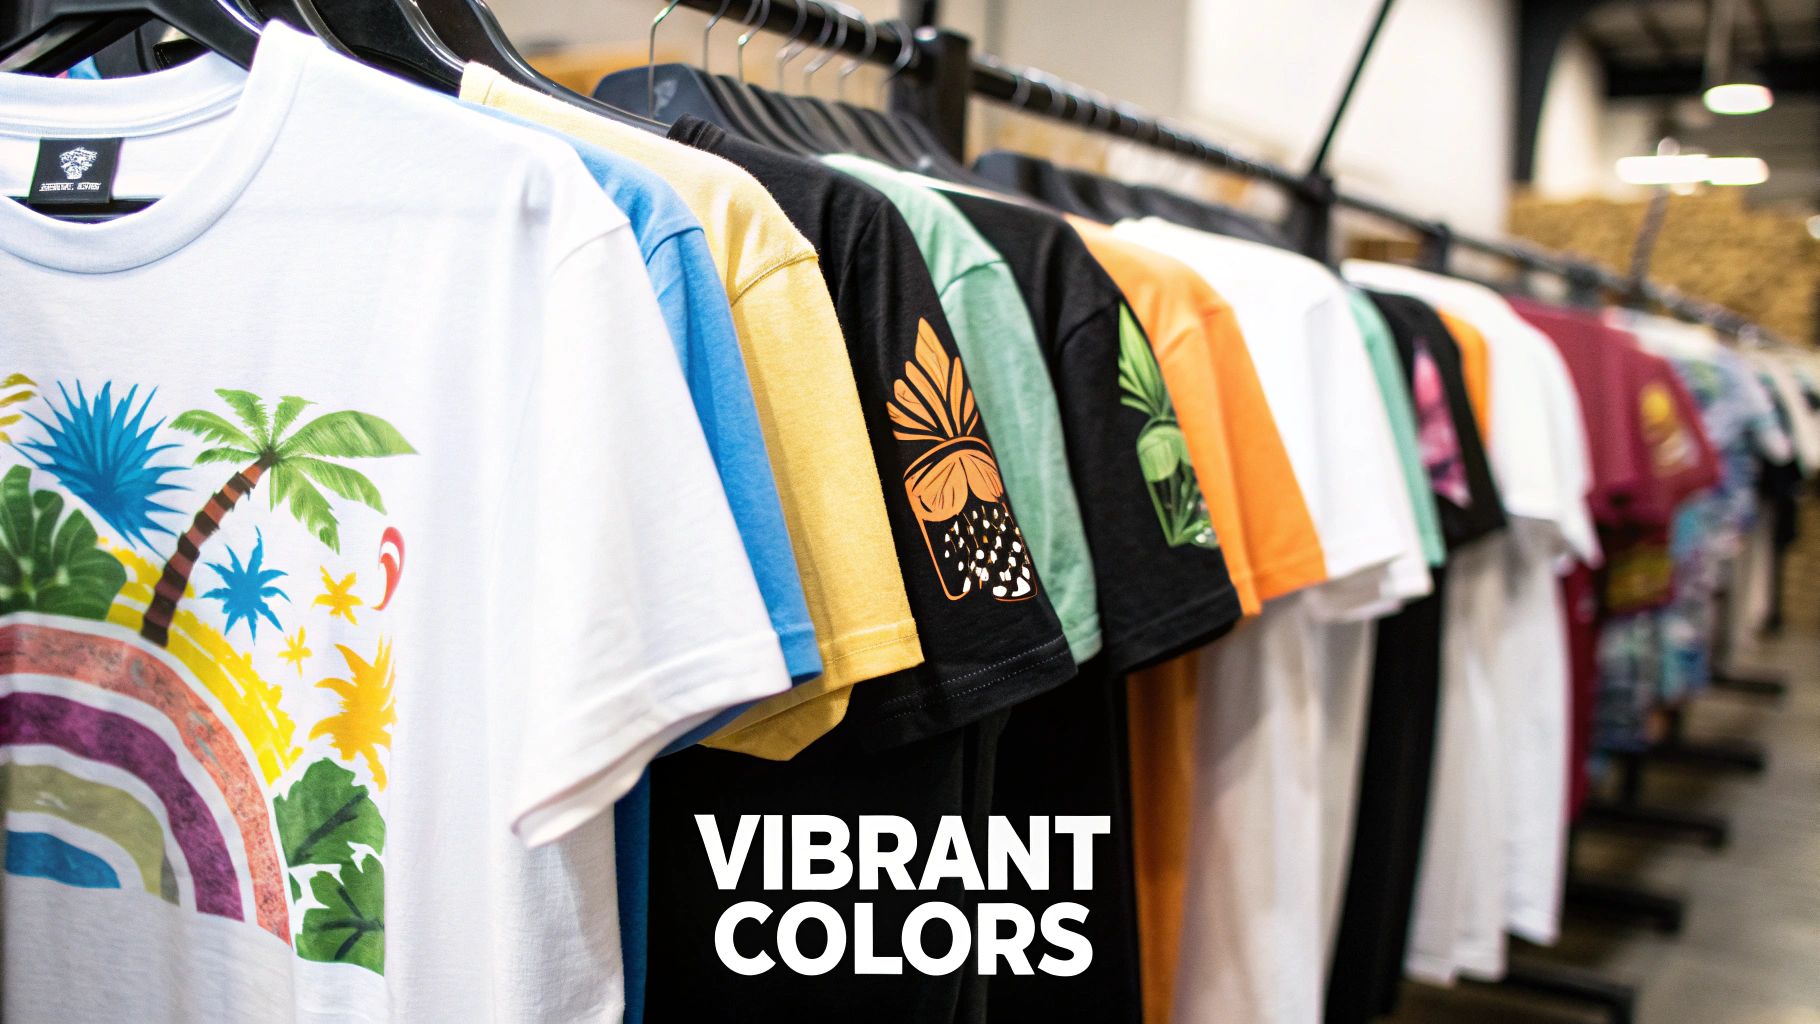
Unmatched Print Quality and Feel
Beyond just working on everything, DTF transfers deliver a visual quality that other methods just can't touch. They're fantastic for printing photorealistic images, super-fine details, and complex color gradients with incredible sharpness. The secret sauce is the white ink underbase, which acts as a primer to make your colors pop, even on black or other dark-colored garments.
And what about the feel? Nobody wants a thick, plastic-y patch on their shirt. A properly pressed DTF design is surprisingly soft and flexible. The ink actually bonds with the fabric fibers, creating a lightweight feel that stretches right along with the garment without cracking or peeling.
Built for Incredible Durability
A beautiful design is worthless if it falls apart in the wash. Thankfully, DTF transfers are built to last. With the right care, they often outlive the shirt they're printed on. The specialized adhesive forms a permanent bond that holds up strong against countless wash cycles and daily wear and tear.
This resilience is a huge selling point. Customers expect their custom gear to stay looking great, and DTF delivers on that promise. The colors and integrity hold up far longer than many older print methods.
This durability gives both you and your customers confidence. If you want to dive deeper into making your prints last as long as possible, you can check out our detailed guide: https://raccoontransfers.com/blogs/guides/how-long-do-dtf-transfers-last-a-guide-to-dtf-durability.
The Smart Economic Choice
For small businesses, startups, or anyone running an on-demand shop, the economics of DTF transfers ready to press are a total game-changer. Forget about setup fees, screen charges, or extra costs for adding more colors. You can order just one transfer or a hundred, and the quality is the same.
This is a major reason the global market grew from $2.72 billion to a projected $2.89 billion in a single year—on-demand printing made it accessible for everyone.
This "pay-as-you-go" model means you can offer a massive variety of designs without the risk and cost of holding a ton of pre-printed inventory. It lets you test new ideas and offer personalization effortlessly, making it the perfect fit for a modern, nimble business.
How to Apply Your DTF Transfers Perfectly
This is where the magic happens. Applying your ready-to-press DTF transfers is the final, satisfying step that turns your idea into a wearable piece of art. The process itself is surprisingly simple, but paying close attention to a few details is what separates an amateur job from a truly professional-looking product.
First things first, and this is a step people often skip: prepare your garment. You need to pre-press your shirt, hoodie, or whatever you're working on for about 5-10 seconds. This does two incredibly important things. It zaps any lingering moisture out of the fabric and irons out every last wrinkle, giving you a perfectly smooth, dry surface for your transfer. Trust me, skipping this can lead to frustrating issues with the transfer not sticking properly.
With your garment prepped, you're ready to go. This handy visual breaks down the core process into three simple actions.
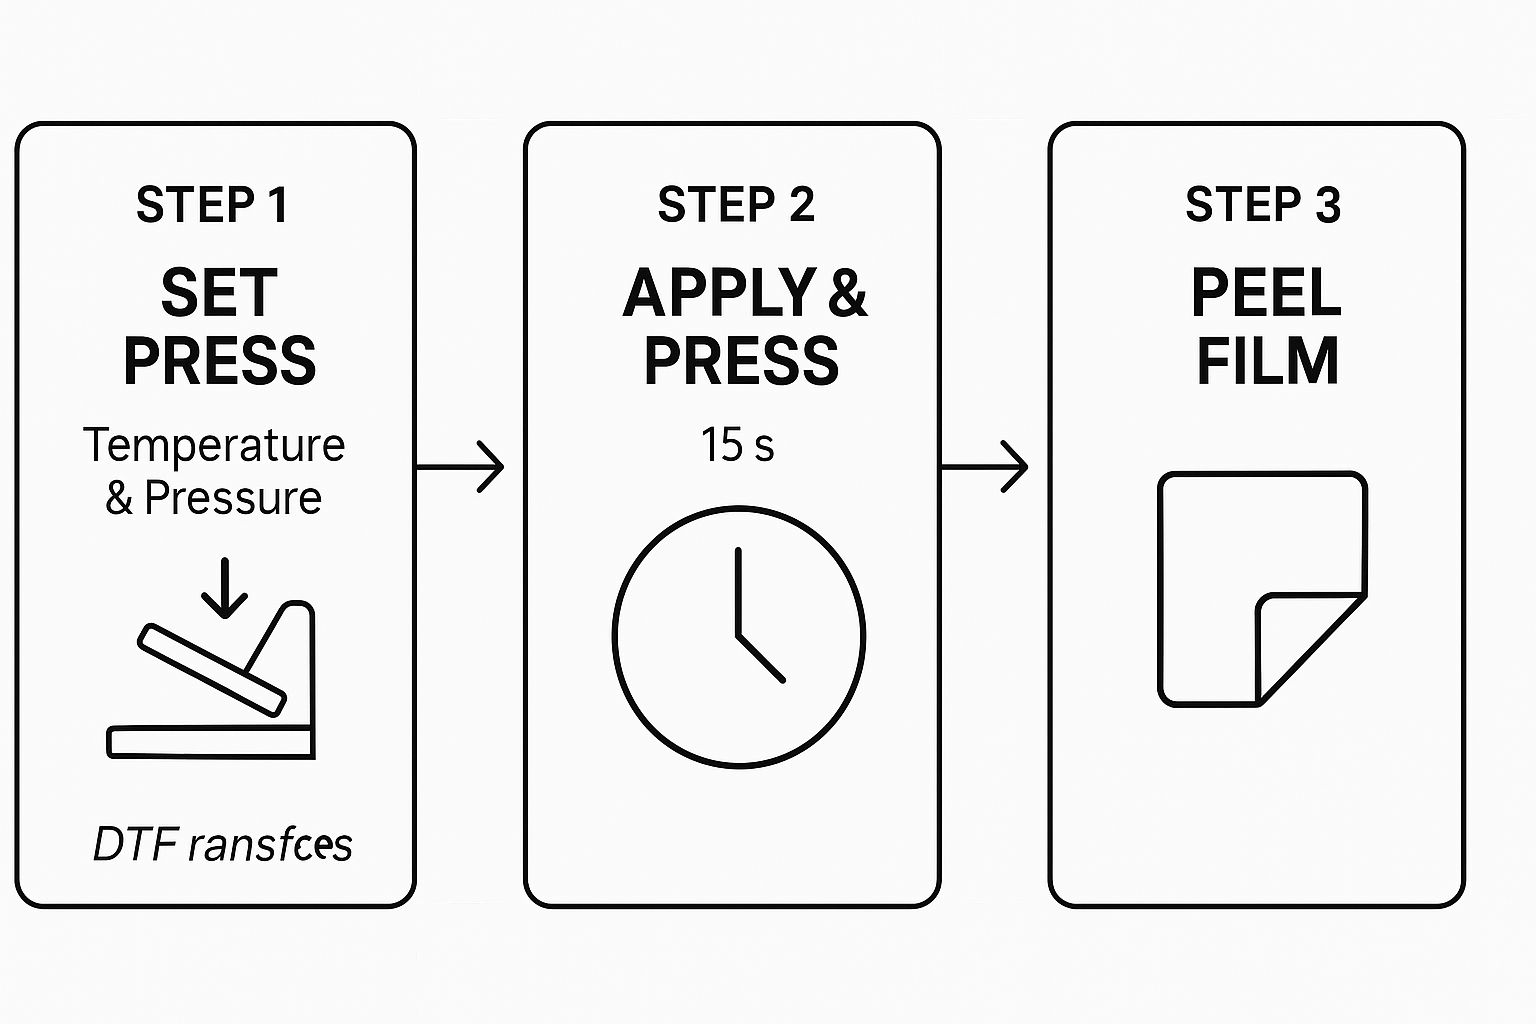
As you can see, it really boils down to getting your settings right, pressing the transfer, and peeling the film. Let's dig into those settings.
Mastering Your Heat Press Settings
Getting a perfect transfer comes down to a trio of settings on your heat press: temperature, pressure, and time. Think of them as the three legs of a stool—if one is off, the whole thing is unstable. Getting them right ensures the adhesive melts perfectly into the fabric for a permanent bond. While you might need to tweak these slightly depending on your material, here’s a solid starting point that works for most projects.
- Temperature: Aim for 290-320°F (143-160°C). Sturdier fabrics like cotton can usually take the heat at the higher end of that range, while you'll want to dial it back for more delicate synthetics like polyester.
- Pressure: You're looking for medium to firm pressure. You need enough force to embed the adhesive into the fabric's weave, but not so much that you squeeze the ink out from the sides. When you lock the handle, it should feel secure and tight.
- Time: A 12-15 second press is the sweet spot for most DTF transfers. That's usually all it takes for the heat to fully activate the adhesive.
After that first press, you have to peel away the clear carrier film. It's crucial to know if you have a "hot peel," "warm peel," or "cold peel" transfer, as this determines your next move. Hot peel means you can rip that film off right away, which is a lifesaver for big batches. Cold peel transfers require you to wait until the garment is completely cool to the touch, which often rewards your patience with a smoother, more matte finish.
Pro Tip: The secret to a commercial-quality finish is the final press. Once the film is off, cover the design with a Teflon sheet or parchment paper and press it again for just 5-7 seconds. This little extra step locks the design in, makes it more durable in the wash, and gives it an amazing soft-hand feel.
Step-by-Step Application Guide
Let's walk through it one more time. Here’s a simple, step-by-step playbook to follow for a flawless application every time.
- Set Your Press: Dial in the right temperature and pressure on your heat press for the specific fabric you're using.
- Pre-Press Garment: Press the blank item for 5-10 seconds to get rid of wrinkles and moisture.
- Position Your Transfer: Lay the DTF transfer onto the garment with the ink side facing down. The clear film makes it easy to see exactly where you're placing it.
- First Press: Press for 12-15 seconds using firm pressure.
- Peel the Film: Peel the carrier film according to the manufacturer's instructions (hot, warm, or cold).
- Final Press: Cover the design with a protective sheet and press for another 5-7 seconds to seal the deal.
While the DTF process is unique, some of the fundamentals overlap with other heat application methods. If you're curious how it compares, check out our guide on using heat transfer paper for more context.
Preparing Your Artwork for the Best Results
A truly fantastic finished product isn’t just about the press. It all starts with two fundamental choices: the fabric you're printing on and, most importantly, the quality of your artwork. Nailing these two things is the real secret behind creating custom apparel that looks professional and pops off the garment.
One of the best things about working with DTF is just how forgiving it is with different materials. You can press your designs onto all the usual suspects—100% cotton, polyester, and poly-cotton blends—without a second thought. This means the vast majority of t-shirts, hoodies, and sweatpants are fair game.
But that's just the beginning. The real magic of DTF is its ability to go beyond the basics. It adheres beautifully to tougher fabrics like denim and canvas, which opens up a whole world of possibilities for custom jackets, tote bags, and hats. It's this kind of flexibility that has made DTF such a popular choice for creators.
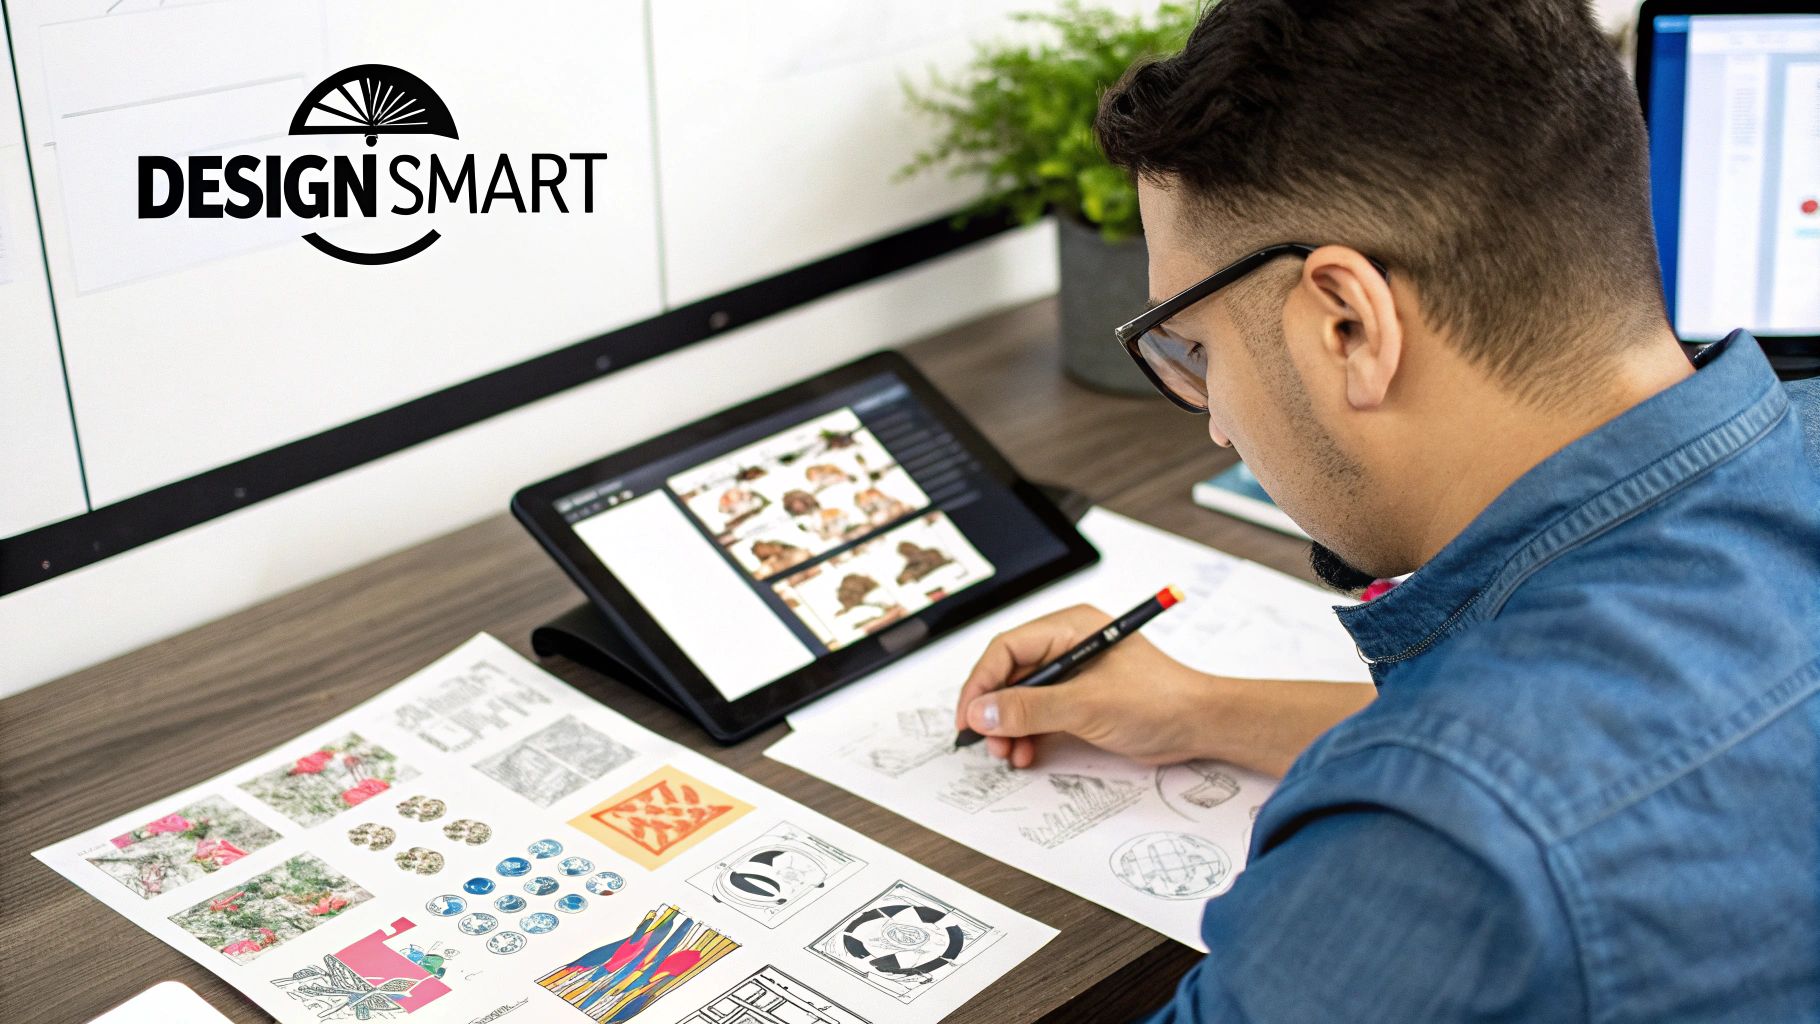
Getting Your Digital Artwork Just Right
Once you've chosen the perfect garment, all eyes are on your digital file. This is the one place where you absolutely can't cut corners. Submitting a high-quality art file is the most critical step you can take to make sure the design on the shirt looks as sharp as the one on your screen.
To get those professional, vibrant results, your artwork needs to hit a few key technical marks:
- High Resolution: Always, always, always use a resolution of 300 DPI (Dots Per Inch). It's best to think of DPI like the pixels in a photograph. An image with low DPI, like something you'd pull from a website, will look fuzzy and pixelated when printed. A 300 DPI file, on the other hand, gives you those clean, crisp lines you're after.
- Transparent Background: Your design must be saved as a PNG with a transparent background. This is what tells the printer to only print the design itself—not a big white or black box around it. It’s essential for a clean, integrated look on the final product.
DTF transfers have really changed the game in garment decoration, solving a lot of the old headaches around color vibrancy and cost-effective production. The proof is in the numbers: the global market was valued at USD 2.72 billion and is expected to hit over USD 3.99 billion by 2030.
Locking in Accurate Colors and Details
Another crucial piece of the puzzle is your file's color mode. Your artwork should be in either RGB or CMYK format. Your computer screen shows you colors in RGB (Red, Green, Blue), but professional printers often work in CMYK (Cyan, Magenta, Yellow, Black). Just being aware of this difference can help you manage expectations for how your digital colors will translate to a physical print.
Little details matter, too. DTF is amazing at capturing fine lines and intricate parts of a design, but if a line is too thin, it might not print or transfer correctly because it can't hold enough adhesive. As a rule of thumb, make sure any important text or linework is thick enough to be seen and pressed properly.
Paying close attention to these artwork details from the start is what sets you up for a flawless press every single time.
How To Troubleshoot Common Application Issues
Even with the best preparation, you’ll eventually hit a snag when applying your dtf transfers ready to press. Don't sweat it. Most of these common issues are surprisingly easy to fix with a few small tweaks. Think of this as your go-to guide for getting back on track and pressing like a pro.
Let's walk through some of the most frequent hiccups. Once you know what's causing the problem, the solution is usually right around the corner.
Transfer Not Sticking to the Garment
This is probably the most common frustration for anyone new to DTF, but the fix is almost always simple. When a transfer refuses to stick, it's typically a problem with one of three things: temperature, pressure, or moisture.
First, take a look at your heat press settings. If the temperature is too low, the adhesive backing on the transfer won't melt and activate properly. In the same way, not enough pressure means the adhesive isn't being forced into the fabric's fibers to form a solid bond.
Here's a quick checklist to run through:
- Check Your Heat: Is your press actually reaching the recommended 290-320°F? A cheap infrared heat gun is a great tool to verify your press’s display is accurate.
- Crank the Pressure: You should be using medium-firm pressure. It should take a bit of muscle to close and lock the press.
- Always Pre-Press: Did you pre-press the shirt for 5-10 seconds? This step is non-negotiable. It releases trapped moisture that can interfere with adhesion by turning into steam.
Parts of the Design Lift With the Film
You've pressed the design, it looks perfect, but as you peel the carrier film away, bits and pieces of your artwork start lifting off with it. This is usually caused by an issue with your peeling technique or not waiting the right amount of time. Every transfer is designed as a hot, warm, or cold peel.
If you have a cold peel transfer, trying to peel it while it's still hot is a recipe for failure—the adhesive simply hasn't had a chance to cool down and grab onto the fabric. On the flip side, letting a hot peel transfer cool for too long can make the film just as stubborn. Always check the instructions that came with your specific transfers.
A great print requires understanding the relationship between the heat, the garment, and the transfer itself. While DTF is a distinct process, knowing about other methods can provide useful context. If you're exploring different decoration techniques, our guide comparing DTF vs DTG printing methods can offer valuable insights.
The Finish Looks Shiny or Feels Plastic-Like
So, you've peeled the film and the transfer looks a little...plasticky. If you see a glossy sheen instead of a smooth, matte finish, don't worry. This is totally normal and has a very simple fix: the final press.
Just cover the design with a Teflon sheet or a piece of parchment paper and press it again for another 5-7 seconds. This quick second press works wonders. It knocks back that initial shine, giving you a professional-grade matte finish, and it also helps press the design deeper into the fabric for a softer feel and better long-term durability. It's a small step that makes a world of difference.
To make things even easier, here's a quick-reference table for solving the most common DTF application problems at a glance.
Common DTF Application Problems and Solutions
| Problem | Possible Cause | Solution |
|---|---|---|
| Transfer won't stick at all | 1. Insufficient pressure. 2. Heat press temperature is too low. 3. Fabric contains too much moisture. |
1. Increase to medium-firm pressure. 2. Confirm press is at 290-320°F. 3. Pre-press garment for 5-10 seconds. |
| Edges or parts of design lift | 1. Peeling a cold peel transfer too soon. 2. Peeling a hot peel transfer too late. 3. Uneven pressure across the platen. |
1. Let the transfer cool completely before peeling. 2. Peel immediately while still hot. 3. Check platen alignment and use a pressing pillow if needed. |
| Design has a shiny, plastic look | This is a normal result after the first press before the final press. | Cover with a Teflon sheet or parchment paper and press for an additional 5-7 seconds to create a matte finish. |
| Dye from the shirt bleeds through | The garment is prone to dye migration (common with polyester). | Use transfers with a dye-blocking layer or lower your pressing temperature and time slightly. Test first! |
Keep this table handy next to your heat press, and you'll be able to solve most issues without missing a beat. With a little practice, these steps will become second nature.
Got Questions About DTF Transfers? We've Got Answers.
Jumping into custom apparel can feel like there's a lot to learn, especially when you want results that look truly professional. Even once you get the hang of how dtf transfers ready to press work, a few questions always seem to pop up. This section tackles the most common ones we hear from creators every day.
Think of this as your go-to guide for clearing up any final uncertainties. Our goal is to give you the confidence to press perfectly, every single time.
How Should I Wash Garments to Make the Transfer Last?
This is probably the most critical question you can ask. After all, a beautifully pressed design deserves care that helps it last. The good news? With the right wash routine, your DTF prints can easily handle 50+ washes and often look great for the entire life of the garment.
To get that kind of durability, just follow these simple rules:
- Turn It Inside Out: Always flip the garment inside out before tossing it in the wash. This simple step protects the design from rubbing against other clothes.
- Wash Cold: Stick to a cold water cycle with a mild detergent. Hot water is harsh on fabrics and can slowly degrade the transfer's adhesive over time.
- Tumble Dry Low: If you use a dryer, keep it on a low heat setting. For the absolute best results, hang it up to air dry. High heat is the main culprit behind a faded or cracked print.
Stick to these steps, and your DTF designs will stay vibrant and soft, wash after wash.
Can I Use a Home Iron Instead of a Heat Press?
We totally get why this question comes up so often, especially if you're just starting and don't have a professional setup. While you can technically use a home iron in a pinch, we do not recommend it for any project where you want lasting, high-quality results.
The problem comes down to one thing: consistency. A heat press provides perfectly even heat and pressure across the entire surface of the transfer, which is essential for the adhesive to cure and bond correctly to the fabric. An iron just can't compete. It has hot and cold spots, it's impossible to apply even pressure, and you can't set a precise temperature. This almost always leads to parts of the design peeling up after the very first wash.
Our Honest Advice: A heat press is the single most important tool for applying ready-to-press DTF transfers. If you're serious about making quality custom apparel that you can be proud of, investing in an affordable, entry-level press will make all the difference.
What Is the Difference Between Hot Peel and Cold Peel?
The terms "hot peel" and "cold peel" simply describe when you remove the clear film carrier after pressing the design. One isn't better than the other; it’s just a difference in the type of adhesive used and what works best for your production flow.
- Hot Peel: Just like it sounds, you peel the film away immediately after the heat press opens, while everything is still hot. This is a huge time-saver for high-volume jobs.
- Cold Peel: You need to let the garment and transfer cool down completely to room temperature before peeling the film. This method is often preferred for the slightly smoother, more matte finish it leaves behind.
The most important thing is to always follow the specific instructions that come with your transfers. Peeling at the wrong temperature is one of the top reasons for a failed application.
Ready to create stunning, durable custom apparel without the hassle? At Raccoon Transfers, we provide top-quality DTF transfers that are vibrant, easy to apply, and built to last. Upload your design and get started today!