

Easy Heat Press Guide: Fast, Repeatable DTF Results
For DTF on cotton, start at 150–165°C for 10–15 seconds with medium-firm pressure. Verify that the platen has reached its real working temperature, then test the setting on a scrap piece before pressing a finished garment.
You've got the design aligned, the shirt is flat, and the timer looks right. Then the transfer lifts at one corner, a section of the print looks dull, or the shirt comes out with a seam imprint that wasn't visible before pressing. Beginners often blame the transfer first, but the press usually reveals a setup problem: uneven force, a platen that isn't ready, or a garment loaded in a way that creates unwanted layers.
The heat press market now extends well beyond hobby crafting. One market summary reports a global heat press machine market of USD 623.4 million in 2023, projected to reach USD 1,045.7 million by 2032, while another snapshot places the market at USD 829.13 million in 2024 and projects USD 1,315.39 million by 2032. The same snapshot identifies textile and apparel printing as 67.27% of application share and garment and fashion as 71.26% of end-use share. Those figures explain why an easy heat press guide needs to focus on repeatability, not just a temperature chart. (Market summary and application data)
Why Most Beginner Heat Presses Fail
A new decorator presses a first batch of shirts using the settings printed on a transfer supplier's instructions. The display reaches the target temperature, the timer finishes, and the shirts look acceptable. After handling, however, the lower edge of several transfers starts to lift. One shirt has a fully bonded center but weak corners. Another has a faint rectangle where the platen pressed harder.
The usual mistake is assuming the screen tells the whole story. A machine can display the correct temperature before the platen has stabilized, and a manual press can feel closed while applying more force in the center than near the edges. If the transfer sits across a seam, pocket, or folded layer, the press may never create the same contact across the design.
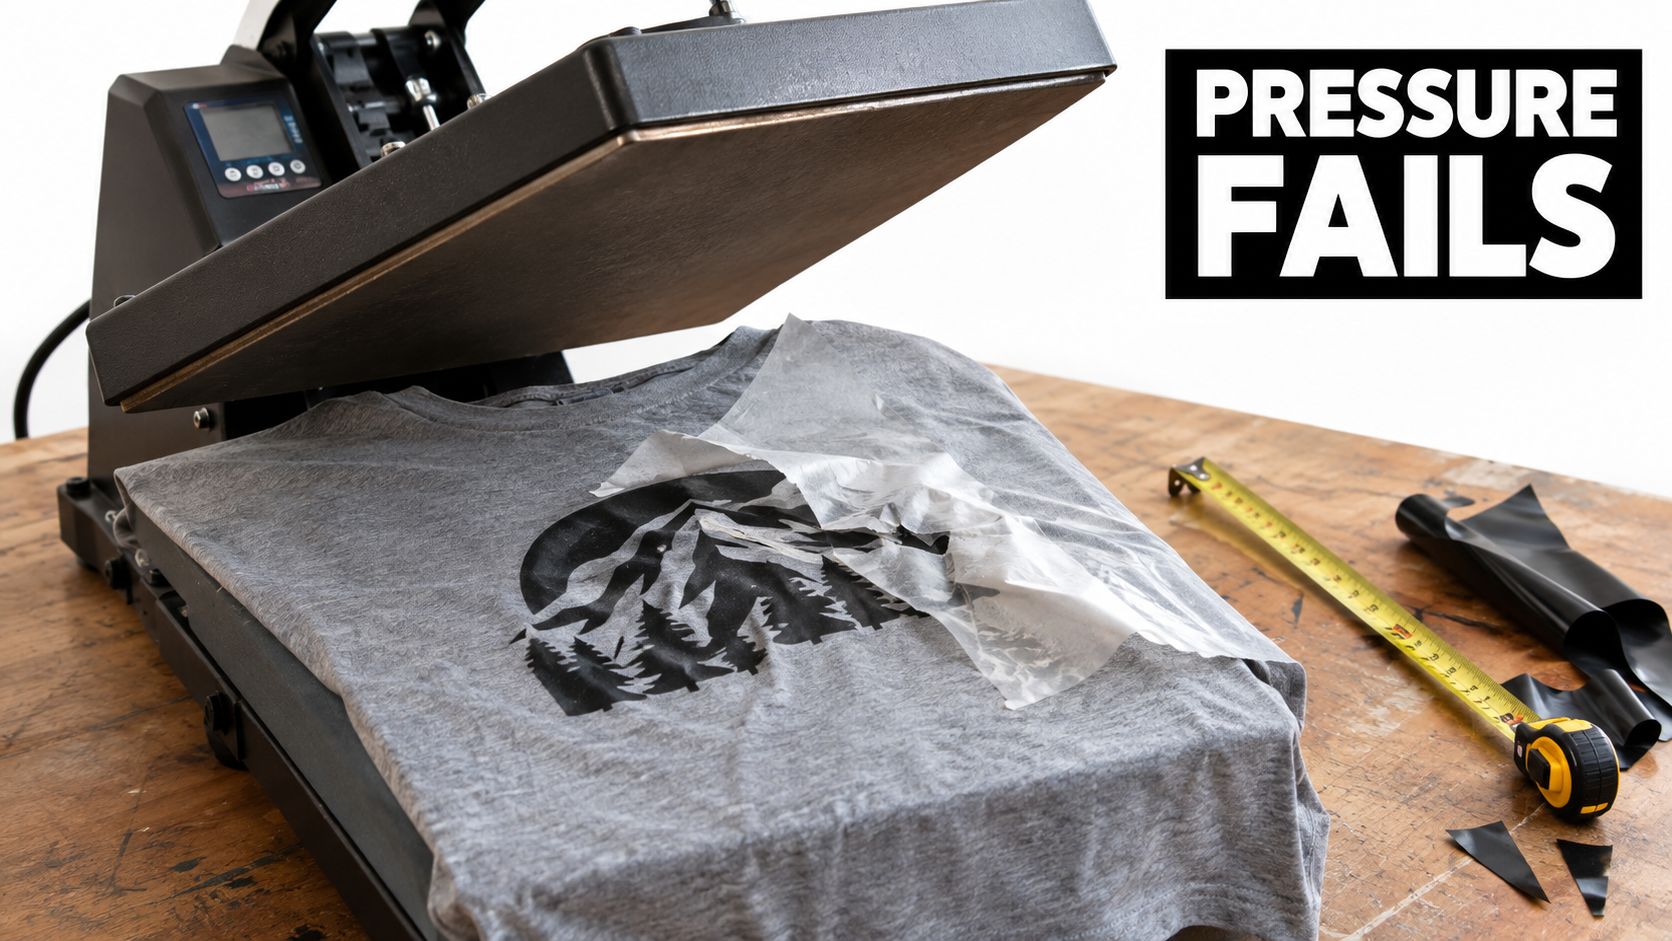
Treat the machine as a tool that needs checking
Temperature, time, and pressure work together. Temperature activates the adhesive, dwell time supplies the thermal energy for bonding, and pressure pushes that adhesive into the fabric weave. A correct temperature cannot compensate for poor contact, just as strong pressure can't rescue a transfer peeled at the wrong stage.
The most common DTF failures include an insufficient pre-press, too little pressure, and peeling before the film system is ready. DTF guidance recommends testing the combination on the actual fabric rather than trusting a universal setting, especially when switching between cotton, polyester, and blends. (DTF setting and failure guidance)
Shop-floor rule: If only one part of the design fails, suspect contact and pressure before changing the whole temperature recipe.
A useful starting point is medium-firm pressure, but that phrase only helps if the platen touches the garment evenly. Make calibration part of the job, not an emergency response after a batch fails. A scrap shirt, a paper-slide check, and a confirmed platen temperature can save more material than repeated adjustments to the timer.
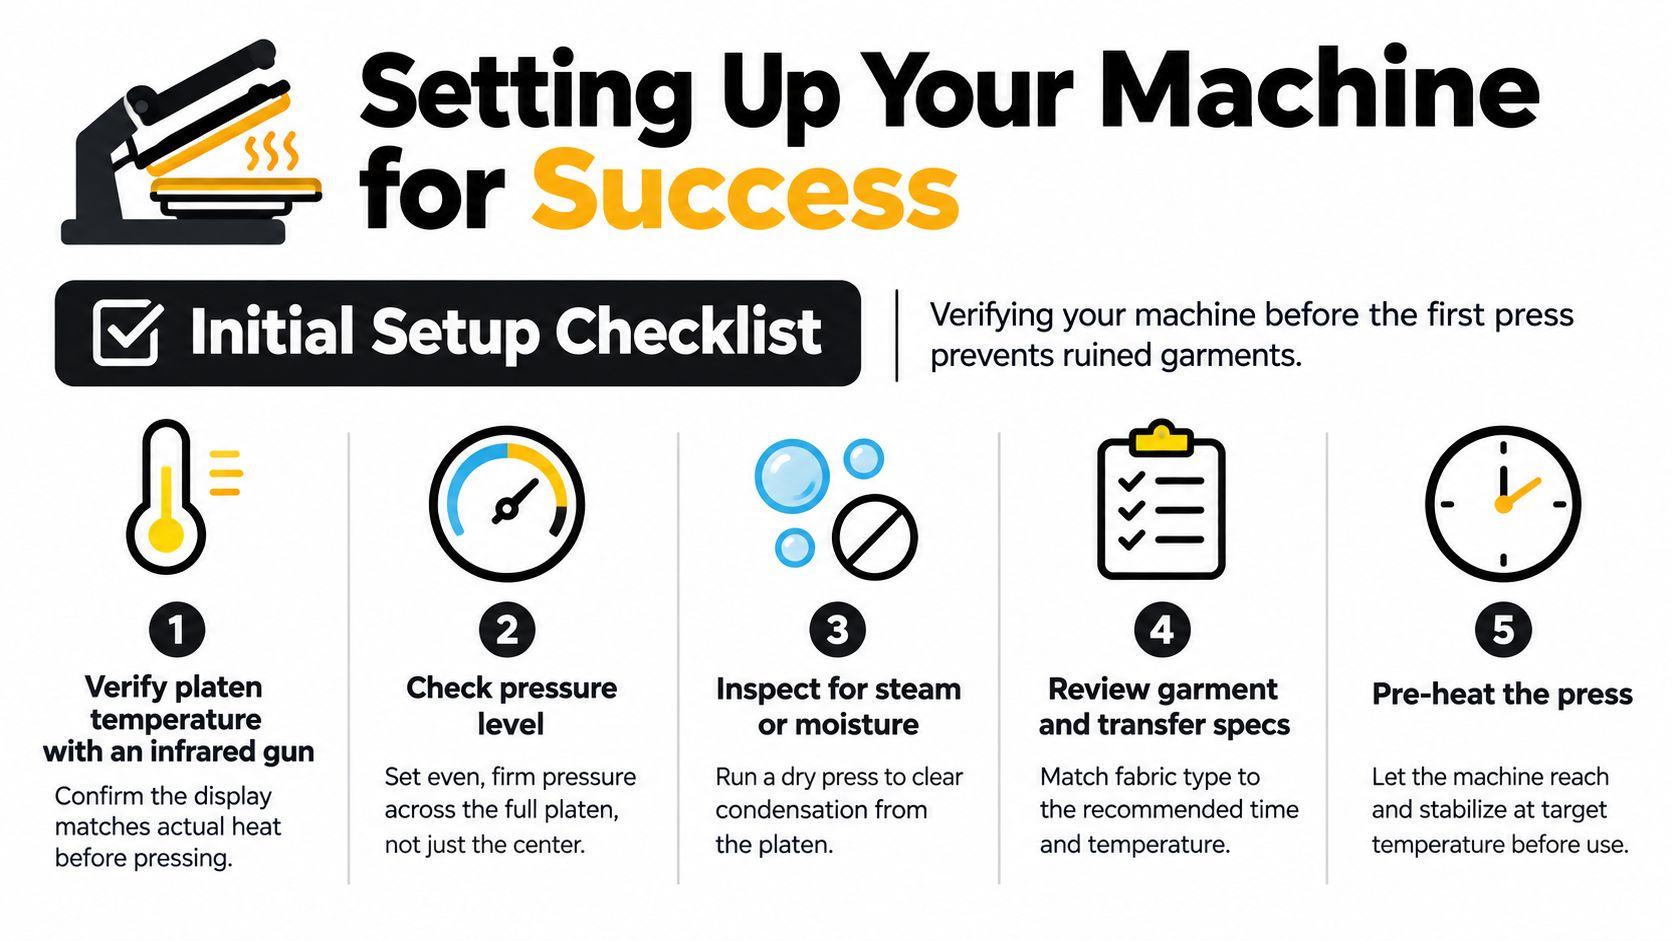
Setting Up Your Machine for Success
The first press should happen only after the machine and the work surface pass a basic inspection. Set the press on a stable, heat-resistant surface, clear the area around the platen, and make sure the lower pad is clean and flat. Fibers, adhesive residue, and wrinkles can create small gaps that become visible as incomplete bonding.
Run a simple contact test
Place a clean sheet of ordinary paper over the lower platen. Close the press with the pressure you intend to use, then try sliding the paper from different areas. It should offer similar resistance across the surface. If it slides freely at one edge but grips tightly in the center, you've found a dead spot or alignment problem.
The test doesn't measure force in a laboratory sense. It tells you whether the upper platen is making consistent contact, which is the condition your transfer needs. Recheck after changing the garment stack, because a thick hoodie and a lightweight shirt alter the closing height.
Confirm heat, dryness, and specifications
Use an infrared thermometer or external pyrometer to compare the actual platen surface with the displayed reading. Check several areas rather than measuring only the center. If the readings vary, allow the machine to stabilize and investigate before pressing production pieces.
Moisture also matters. A short dry press can remove moisture from the garment and reveal wrinkles before the transfer is positioned. Keep the lower platen free of lint, make sure the garment and transfer are dry, and match the fabric to the supplier's instructions. A practical heat press accessories guide can help you choose protective sheets, pillows, and other tools without treating accessories as substitutes for calibration.
Use this opening routine:
- Inspect the platen: Remove lint, residue, and wrinkles from the pressing surface.
- Check actual heat: Compare the display with readings from an external thermometer.
- Test contact: Perform the paper-slide test across the platen.
- Dry the stack: Pre-press the garment briefly when the material and transfer instructions allow it.
- Record the setup: Note the fabric, transfer type, time, temperature, and pressure used.
The machine isn't ready just because the display reaches its target. Confirm the surface, contact, and material before the first finished piece.
Understanding Temperature and Time Settings
Temperature charts are useful starting references, but they aren't interchangeable recipes. DTF, HTV, and sublimation use different bonding or coloring processes, so the same setting can underperform on one material and damage another.
For DTF, a detailed chart lists 150–165°C for 10–15 seconds with medium-firm pressure. Standard HTV is listed around 150°C for 10–15 seconds, while polyester apparel and sublimation on fabric commonly sit around 185–200°C for 45–60 seconds. Sublimation on hard blanks varies widely, with the same guide listing 60–540 seconds for items such as mugs, slate, and glass. (Heat press temperature chart)
Use the substrate to choose the starting point
Cotton DTF work usually begins with the DTF range, then gets adjusted only when the transfer supplier specifies a different process. Polyester requires more caution because excess heat can contribute to scorching or dye migration. Hard blanks need their own profile because ceramic, glass, metal, and slate don't respond like fabric.
| Application | Starting range | Pressure or process note |
|---|---|---|
| DTF on fabric | 150–165°C for 10–15 seconds | Medium-firm pressure, with peel determined by the film system |
| Standard HTV | Around 150°C for 10–15 seconds | Follow the vinyl manufacturer's instructions |
| Sublimation on fabric | 185–200°C for 45–60 seconds | Use a compatible sublimation substrate |
| Sublimation on hard blanks | 185–200°C for 60–540 seconds | The blank and transfer system determine the dwell time |
For a broader comparison of material settings, Dirt Cheap Product's heat press temperature guide is a useful reference, but supplier instructions should take priority when they differ. The chart above gives you a controlled starting point, not permission to press every garment with one universal profile.
Understand the peel instruction
A warm peel means removing the film while it remains warm enough for that transfer system. A cool peel means waiting until the film and garment have cooled before removal. Neither is automatically better. The adhesive and film construction determine which approach is safe, and peeling too early can lift edges even when the temperature and dwell time were correct.
For ready-to-press designs, Custom DTF Transfer by Size: Perfect Prints for Every Project provides transfers in selected sizes for garments and other compatible materials. Use the product instructions for the specific transfer, then verify the result on a scrap section or spare garment before starting a run. Raccoon's DTF transfer heat press settings guide can also serve as a process reference, but it shouldn't replace testing when the fabric, platen, or press design changes.
Executing the DTF Transfer Workflow
A reliable DTF workflow is deliberately boring. The same sequence reduces the temptation to compensate for a weak bond by adding random heat or pressing the shirt repeatedly.
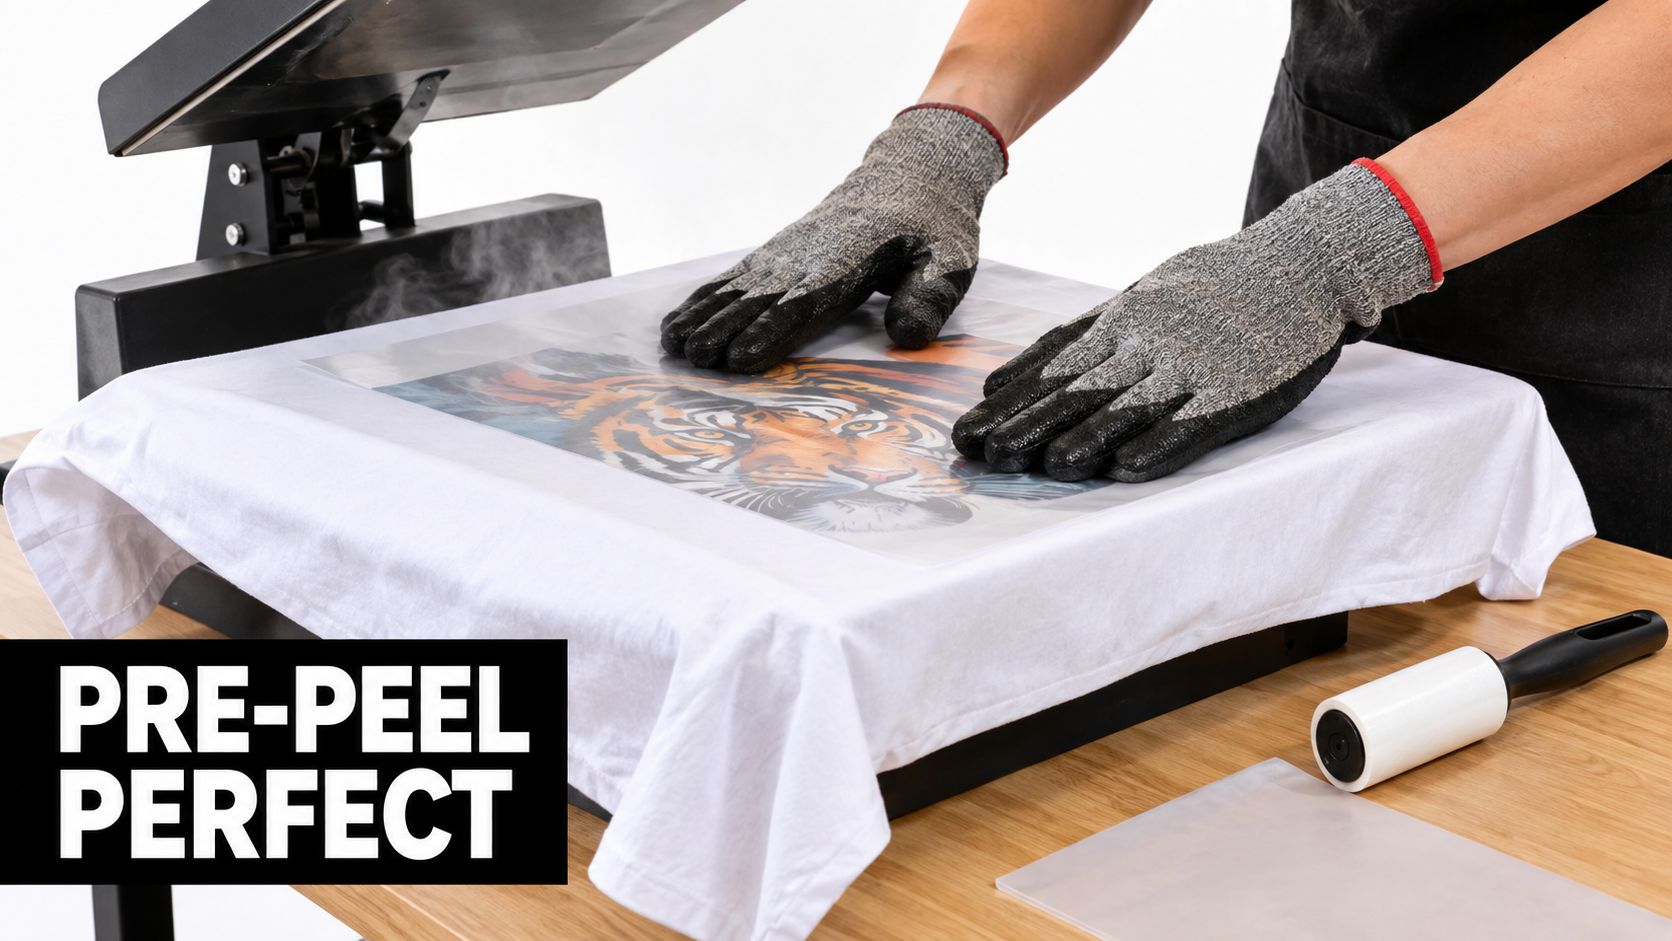
Prepare the garment
Load the shirt so the decoration area lies flat and the fabric isn't stretched. Thread the garment over the lower platen when the press design allows it, keeping the back layer away from the heating area. A short pre-press removes wrinkles and moisture, gives you a clean placement surface, and helps expose seams that could interfere with contact.
Position the transfer with the printed side facing the garment. Check the neckline, side seams, pocket edges, and grain of the shirt before closing the press. If the design must stay fixed while the platen moves, use suitable heat-resistant tape where the transfer instructions allow it.
Press with controlled force
For cotton DTF, begin at 150–165°C for 10–15 seconds with medium-firm pressure. A practical DTF method uses a short pre-press, a main press around 160–170°C for 10–15 seconds, then a peel and a brief re-press through parchment or butcher paper. (DTF pressing methodology)
The slight difference between the broader starting range and a particular workflow is why testing matters. Don't increase pressure until the handle feels extreme, and don't extend the timer just because the center looks perfect. The adhesive needs even mechanical contact, not force concentrated in one area.
Peel and re-press carefully
Follow the film supplier's warm or cool peel instruction. Lift the film smoothly rather than pulling upward sharply. If a section begins to lift, stop, cover the transfer, and return it to the press with the correct pressure instead of forcing the film away.
After the peel, place parchment or butcher paper over the design and re-press briefly according to the transfer instructions. This protects the surface while the remaining adhesive bonds. Keep the garment flat during cooling and avoid judging durability by tugging at the edges immediately.
For readers comparing decoration methods, this workflow also provides useful context for why DTF beats DTG and screen printing. The practical advantage isn't that DTF eliminates technique. It gives you a ready-to-press graphic, but the press still has to deliver correct contact, heat, time, and handling.
Handling Complex Garments and Materials
A flat T-shirt hides mistakes. A hoodie, zipper, pocket, or thick seam exposes them immediately because the garment no longer forms one even plane. The transfer can bridge a raised area, leaving the edges with less contact than the center, or heat can pass through an inside layer and bond parts of the garment together.
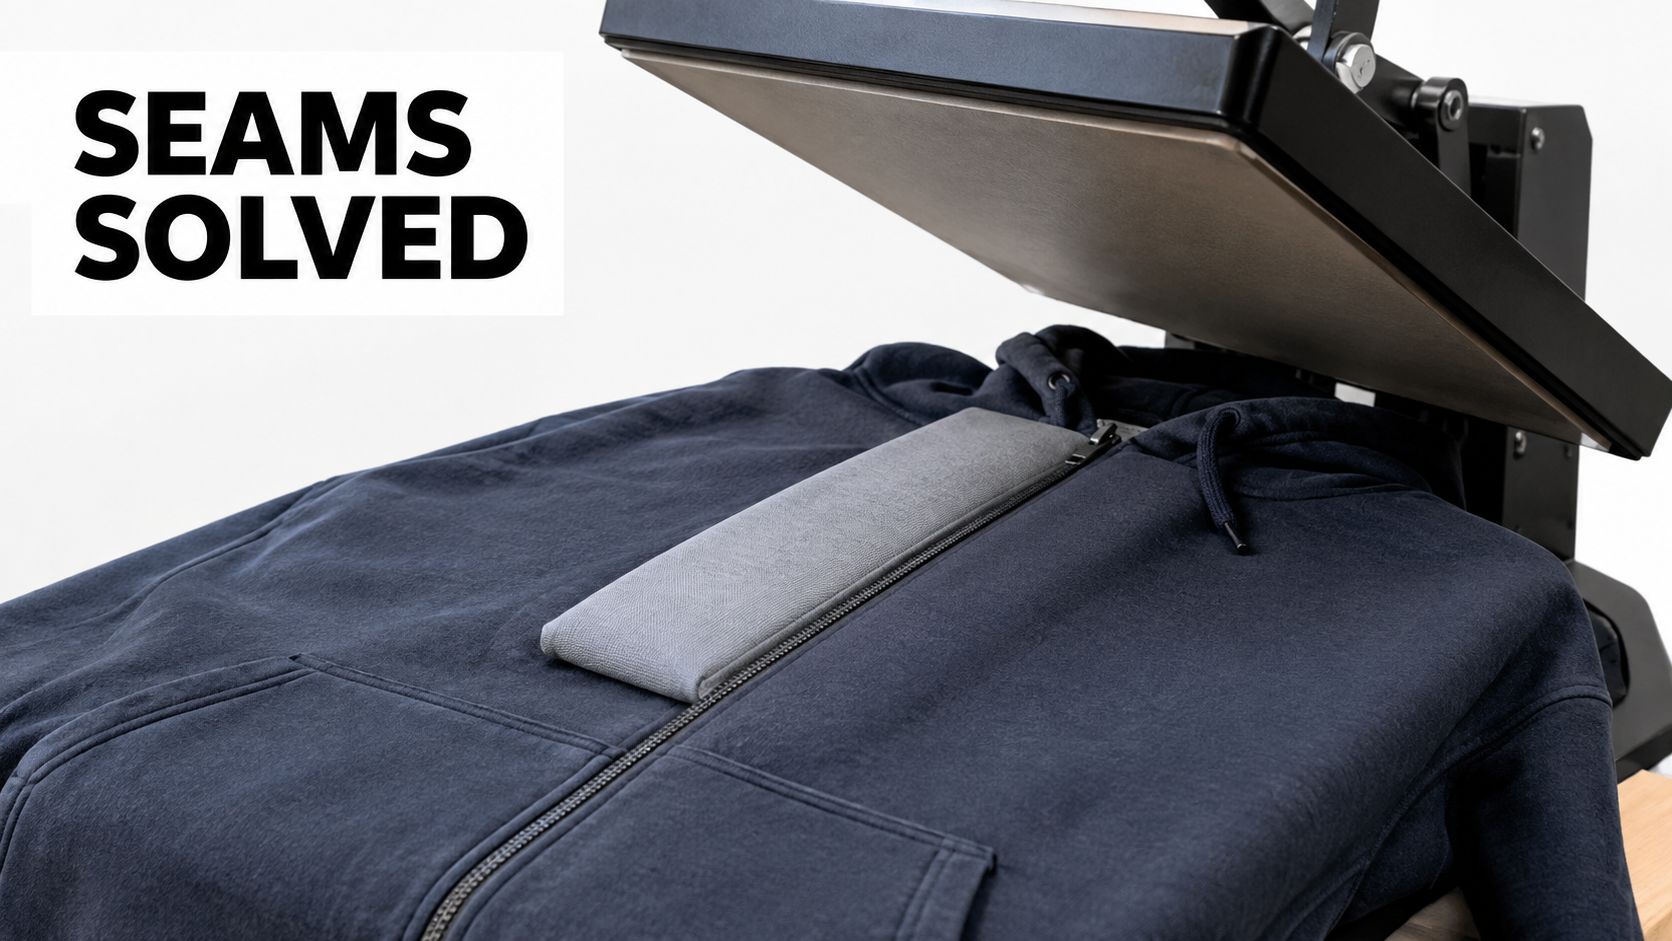
Solve the geometry before changing the settings
A pressing pillow lifts the decoration area above nearby seams and zippers, helping the platen contact the design rather than the raised obstruction. Load the garment over the pillow so the seam or opposite layer can hang below the pressing surface. If the design crosses a pocket or thick construction point, repositioning is often safer than increasing pressure.
Use parchment or another appropriate barrier inside multi-layer garments to isolate the front from the back. This prevents adhesive or heat from affecting the opposite panel. Keep drawstrings, zipper pulls, buttons, and loose fabric outside the pressing zone.
Practical rule: The press can only apply even pressure to the surface you give it. Flatten the geometry before you adjust the recipe.
For hoodies, work around the zipper rather than pressing directly over it. For left-chest placements, inspect the seam near the armhole and shoulder before deciding where the design will sit. For pockets, confirm that the pocket opening and interior layer aren't trapped beneath the transfer.
Material also changes the risk. Cotton, polyester, blends, leather, ceramics, metal, and glass each require compatible transfer systems and different heat behavior. Use a material compatibility chart to confirm suitability, then test a concealed area when the substrate is unfamiliar.
The right response to a difficult garment is often lower-risk positioning, isolation, and a test cycle. More heat won't flatten a zipper, and more pressure can imprint the obstruction into the garment or distort the transfer.
Safety Habits and Final Best Practices
Heat presses combine high heat, electrical power, and moving parts. Keep hands clear while closing the platen, use heat-resistant gloves when handling hot materials, and keep paper, packaging, and other flammable items away from the heating area. Never leave a powered press unattended, and return a portable press to its safety base when it isn't in use.
A repeatable production checklist should include:
- Verify the platen: Confirm actual heat rather than trusting the display alone.
- Check contact: Run the paper-slide test and correct uneven pressure.
- Prepare the garment: Dry the fabric, remove wrinkles, and isolate extra layers.
- Match the recipe: Use the transfer and substrate instructions for temperature, time, pressure, and peel.
- Protect the design: Use parchment or butcher paper during the re-press.
- Inspect the result: Check edges, corners, seams, and the underside before moving to the next piece.
The easiest heat press workflow isn't the one with the fewest steps. It's the one you can repeat without guessing. Calibrate the machine, control the garment geometry, test before production, and change one variable at a time when a result needs improvement.
Raccoon Transfers offers ready-to-press DTF transfers by size for apparel projects, including designs intended for cotton, polyester, blends, leather, and other compatible materials. Visit Raccoon Transfers to choose a transfer format, upload artwork, and press your next garment using a verified, test-first workflow.