

Baseball DTF Transfers How to Size Press and Make Them Last
A youth baseball coach usually doesn't need a thousand identical shirts. The team may need names on the back, numbers in several sizes, a small logo over the heart, and a few extras for late registrations. Then a tournament date moves forward, jerseys arrive in a polyester blend, and the order has to look consistent without tying up money in unused inventory.
That's where baseball DTF transfers earn their place. Direct-to-film printing handles full-color artwork, fine details, short runs, and changing player information without the setup burden associated with older decoration methods. The broader DTF market reflects that shift. One 2025 market review estimated more than 7.2 billion DTF prints in 2024, nearly 30% higher than the prior year, and projected retail value of about US$14 billion by 2027, with an implied annual growth rate near 39.6% (Claight market review).
The practical question isn't whether DTF can produce a colorful baseball graphic. It can. The question is whether you've chosen the right fabric, measured the artwork against the actual jersey, pressed it with enough control, and planned stock around a baseball season that rarely follows a neat calendar.
Introduction to Baseball DTF Transfers and When They Shine
A small league order shows the difference between decoration methods quickly. A coach might start with twelve players, add two after tryouts, and request a replacement jersey when a number changes. A fanwear seller faces the opposite problem, several designs that may sell well at a tournament but become dead stock afterward. In both cases, baseball DTF transfers let the buyer produce artwork as needed instead of committing to a large, uniform run before demand is clear.
Baseball graphics suit DTF because they often combine bold lettering, outlined numbers, mascots, gradients, and multiple colors. A back name and number can sit beside a detailed team mark without requiring separate layers of cut vinyl. A “baseball mom” shirt, a tournament hoodie, and a youth practice top can come from the same general workflow, even though each needs its own size and placement decisions.
DTF became commercially important partly because older methods created friction for short runs, multicolor art, and rapid changes. A market report placed global DTF transfer film value at USD 760.0 million in 2025, compared with USD 382.45 million in 2020, while apparel and fashion represented 71.87% of 2025 market value, or about USD 546.19 million (DTF transfer film market report). The report projected the market could reach USD 1.64 billion by 2032, which illustrates the broader move toward digital, on-demand garment decoration.
Where baseball DTF makes practical sense
DTF is a strong fit when you need:
- Short-run customization: Add names, numbers, or late players without rebuilding a screen setup.
- Full-color graphics: Keep mascot shading, highlights, outlines, and small color accents in one transfer.
- Mixed garment orders: Decorate cotton fan tees, polyester jerseys, and suitable blends through one transfer workflow.
- Fast reorder capability: Save approved artwork and repeat only the designs that sell.
- Small-club flexibility: Serve youth leagues, school programs, travel-ball teams, and tournament sellers without carrying every variation.
It isn't automatically the right choice for every garment. Large-volume, single-color production may favor another process, while polyester garments designed for all-over color may be better suited to sublimation. DTF's advantage appears when customization, design variety, and manageable quantities matter more than maximum efficiency on one repetitive graphic.
Seasonality also affects planning. Independent trend coverage describes baseball DTF demand as concentrated from March through October, while travel ball and indoor leagues extend buying beyond that window (DTF design trend coverage). Stocking should follow confirmed rosters, tournament schedules, and repeatable fan designs, not a vague assumption that every baseball product will sell at the same time.
Choosing Fabrics That Hold Up on the Diamond
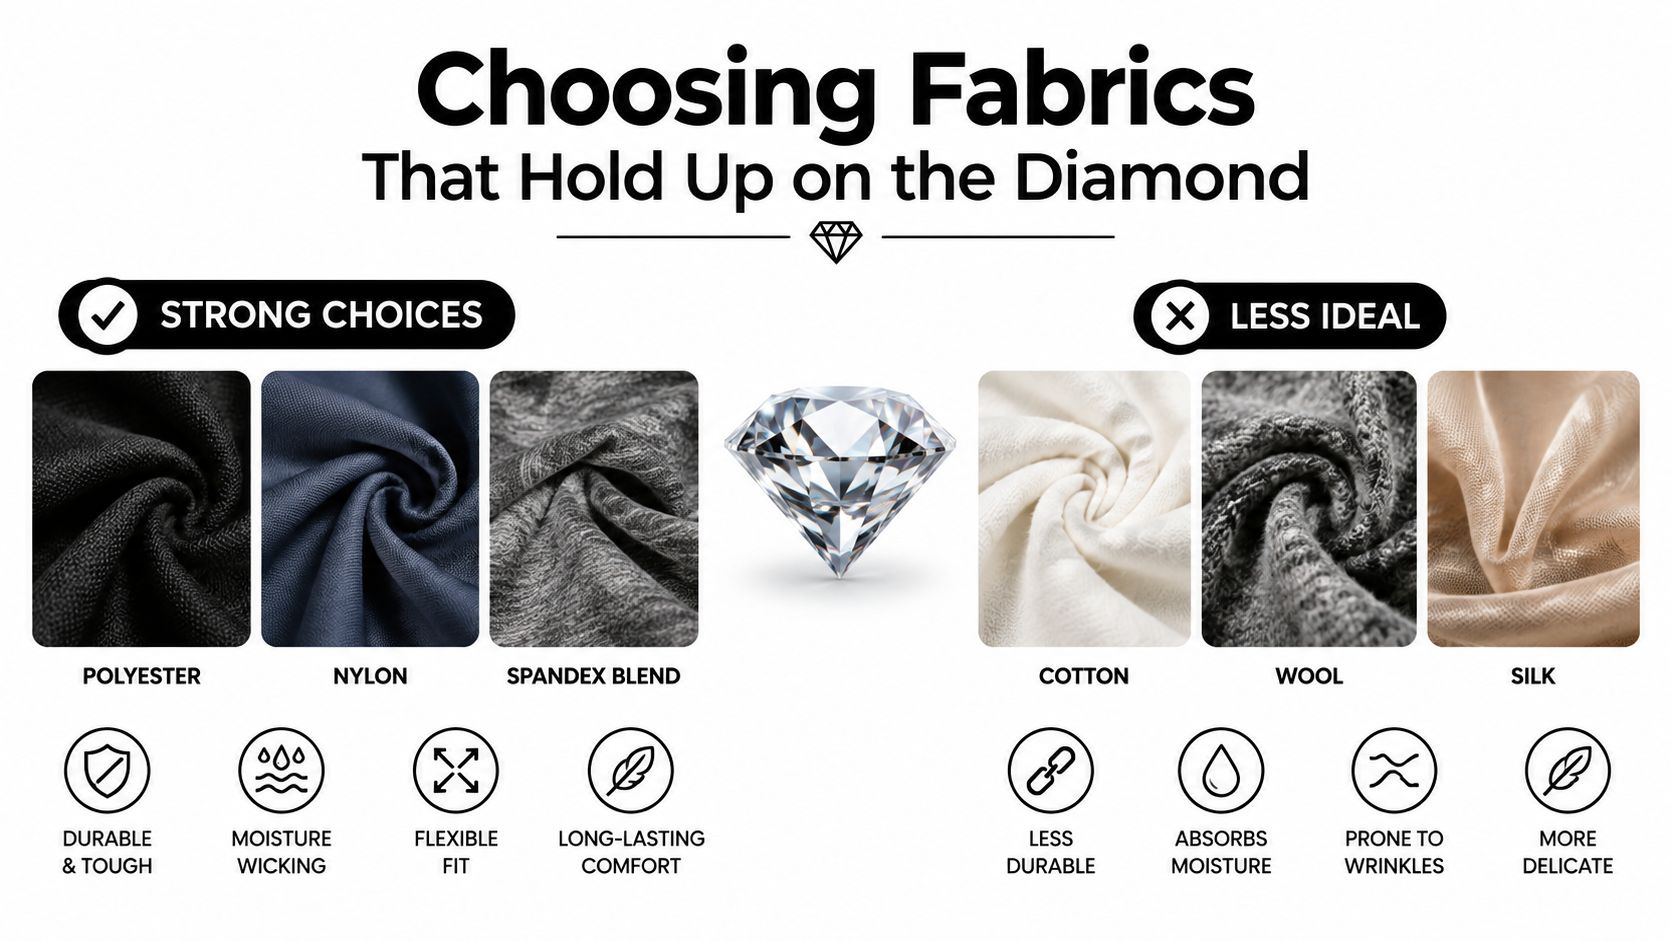
The garment determines much of the result before the press ever closes. Cotton, polyester, and blends each respond differently to heat, stretch, moisture, and surface texture. A transfer that looks excellent on a cotton fan tee can behave differently on a lightweight athletic jersey with a tighter knit and more movement.
Cotton for fanwear and casual team apparel
Cotton gives you a familiar, relatively stable surface. It works well for fan tees, cotton hoodies, spirit wear, and relaxed team shirts where the fabric doesn't stretch aggressively during play. The weave can provide a forgiving base for detailed baseball artwork, especially when the garment is smooth and clean.
The trade-off is moisture and movement. A heavy cotton tee can feel less suitable for active play, and repeated stretching around a fitted torso can put stress on a large transfer. Before pressing, inspect the fabric for lint, seams, ribbing, and any finish that could interfere with contact. For a deeper material comparison, use this practical guide to cotton versus polyester.
Polyester for jerseys and practice tops
Polyester-heavy athletic garments are common because they're lightweight, flexible, and designed for movement. Independent DTF guidance identifies polyester and poly blends as preferred options for sports jerseys, especially where small-run production is important (California DTF FAQ). That doesn't mean every polyester jersey presses identically.
Heat-sensitive fabric can show shine, flattening, scorching, or dye migration if you use excessive heat or leave the press closed too long. The jersey's knit also matters. A smooth, stable surface usually holds fine detail more predictably than a loose mesh or heavily textured performance fabric. Place a test transfer on an inside hem or spare garment before committing to a complete team order.
Blends and unusual uniform cuts
Poly-cotton blends can offer a useful middle ground, but their behavior depends on the actual fiber mix, surface finish, and stretch. A blend may feel stable under the press yet move substantially during wear. Check both the front and back of the garment, since some baseball tops use mesh panels, side inserts, piping, or layered construction.
A youth teeball shirt can have a different cut and fabric feel from a traditional button-front jersey, so reviewing a garment such as the Zero Sports teeball shirt can help you assess the kind of athletic construction you're working with before sizing artwork. For transfer options organized by finished dimensions, Custom DTF Transfer by Size: Perfect Prints for Every Project is another way to match the graphic to the garment rather than forcing one universal size.
Practical rule: Test the exact garment, not just the fiber label. Fabric content tells you what the shirt is made from, but the knit, finish, seams, and dye determine how the press behaves.
Sizing and Placement That Looks Pro on Jerseys and Caps
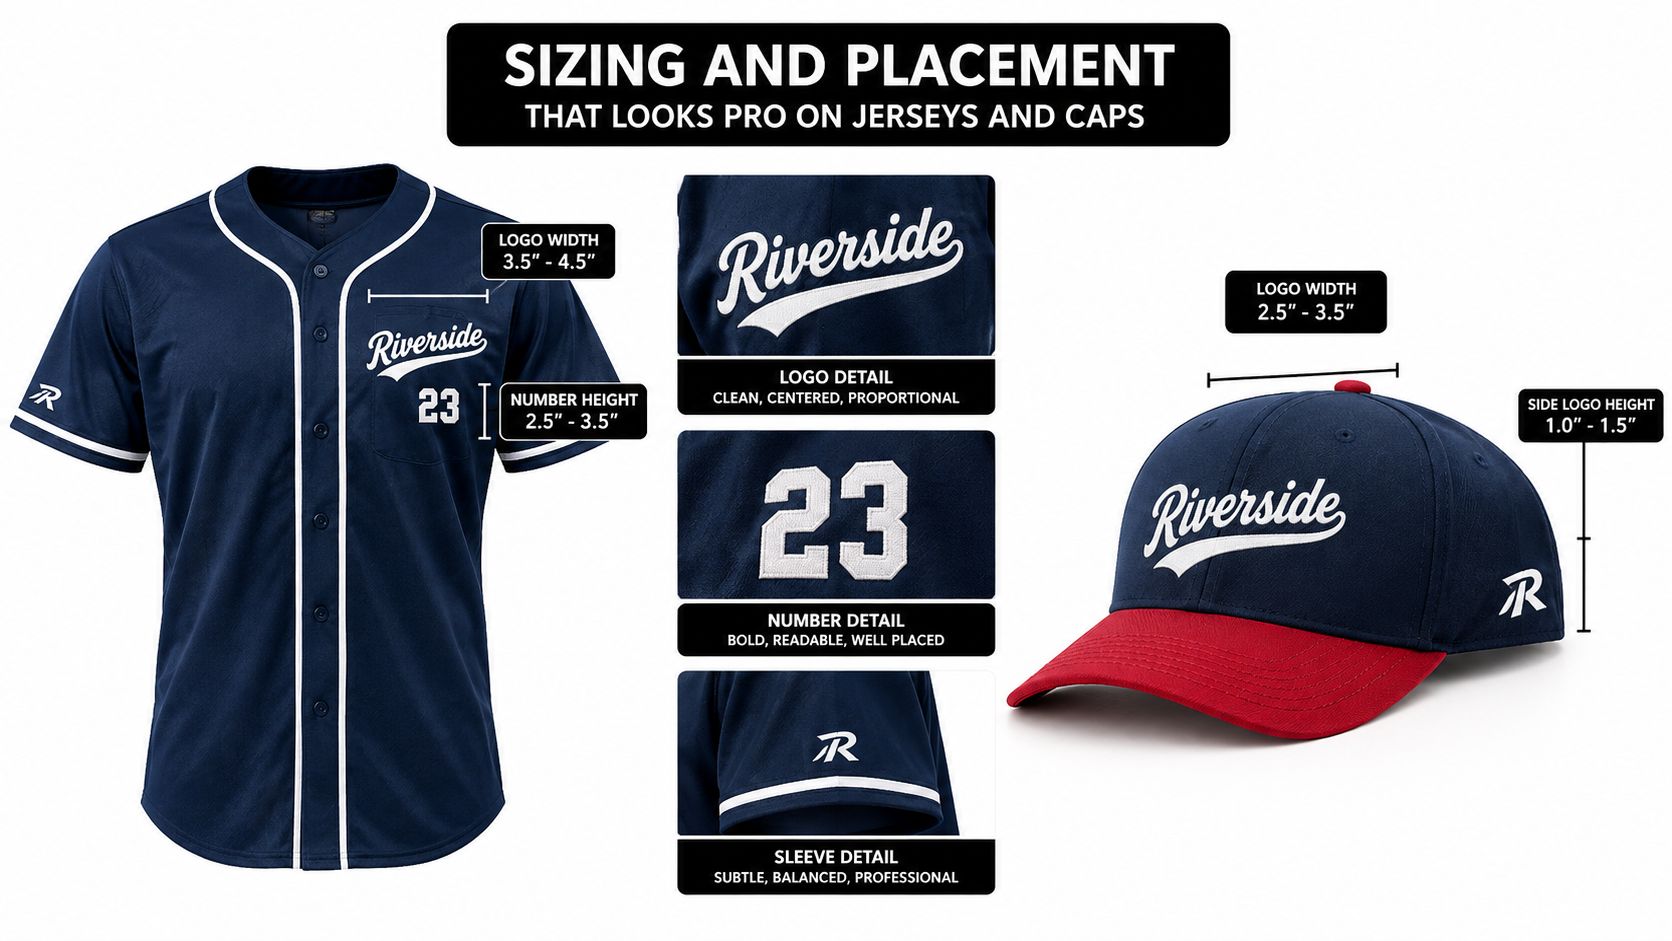
A good transfer can still look amateur if it's oversized, too low, or crowded by buttons and seams. Measure the usable decoration area, not the entire garment panel. Lay the jersey flat, smooth it without stretching, and mark the centerline from the collar or button placket before placing artwork.
Start with a sizing template
Use these as starting measurements, then adjust to the specific cut:
- Left-chest logo: Begin around 3.5 to 4.5 inches wide on adult garments. For youth jerseys, start closer to 3 to 3.75 inches.
- Full front team mark: A range around 9 to 11 inches wide often gives a strong presence without pushing into armholes or side seams.
- Adult back number: Start around 10 to 12 inches tall for a single or double digit number, depending on the jersey panel.
- Youth back number: Begin around 7 to 9 inches tall, then check the actual back width and player height.
- Sleeve patch: A compact 2.5 to 3.5 inch design usually sits more cleanly than a large graphic on a moving sleeve.
- Cap front logo: Start around 2.25 to 3.5 inches wide. The available space changes sharply with crown height, curve, and seam placement.
These are production starting points, not universal laws. A two-digit number needs different visual weight from a single digit, and a wide wordmark may need less height than a compact mascot emblem. Always print a paper mockup at the intended size and place it on the garment before finalizing the gang sheet.
Place around construction, not through it
For a button-front jersey, center the back artwork between the shoulder seams and keep it clear of the collar curve. Don't let the name or number run into a side panel, piping, or mesh insert. On the front, position the chest mark beside the placket rather than across it, and keep the lower edge above the point where the fabric begins to fold while the player bends.
Sleeves require a different check. Stretch the sleeve naturally over the platen, but don't pull it tight. A logo placed across a seam can receive uneven pressure, causing partial bonding or an edge that lifts during wear. If the sleeve is too narrow for a flat press, use a smaller patch or press the garment over a suitable narrow platen.
Caps need their own approval
A cap front isn't a flat jersey panel. The crown curves, the center seam may interrupt the design, and the fabric can include stiff structure that changes pressure. Use a cap press when possible, keep the artwork compact, and avoid placing fine text where the crown transitions sharply into the bill.
For team orders, save separate templates for youth, adult, sleeve, and cap placements. The DTF transfer size guide can support the measurement process, but your actual garment sample remains the final reference.
Gang sheets should group identical sizes and related artwork together. Leave enough space for clean cutting, label player names before printing, and keep a master roster that matches every transfer position. A few minutes of file organization prevents the worst production mistake, pressing the right number on the wrong jersey.
How to Apply Baseball DTF Transfers for a Clean Durable Bond
A durable press begins before the garment reaches the platen. Confirm that the transfer matches the approved artwork, inspect the film for damage, and check that the jersey is clean, dry, and free from loose fibers. If you're working from a gang sheet, cut around each transfer with enough carrier film to handle it without touching the adhesive area.
Artwork preparation matters as much as pressing. Remove unwanted background pixels, check transparent edges at full size, and verify names and numbers against the roster. DTF files generally don't need to be mirrored when the supplier's workflow handles orientation, so follow the transfer provider's file instructions rather than flipping artwork by habit.
Prepare the garment and platen
Lay the jersey flat and use a lint roller where needed. Pre-press briefly to release surface moisture and flatten wrinkles, but use restraint on heat-sensitive polyester. If the garment has buttons, zippers, seams, or thick hems, use a pressing pillow or reposition the garment so the decoration rests on an even surface.
For cotton, a common starting range is 300 to 320°F, with firm, even pressure for roughly 10 to 15 seconds. Polyester often needs a more cautious approach, commonly beginning around 280 to 300°F for approximately 10 to 12 seconds, depending on the transfer manufacturer's instructions and the garment's heat tolerance. These are starting points, not guarantees. The supplier's settings take priority, and an unfamiliar garment needs a test.
Pressing rule: Temperature alone doesn't create a bond. The transfer needs even contact, correct pressure, and enough dwell time for the adhesive to activate without damaging the fabric.
Position, press, and peel deliberately
Place the transfer with the carrier film facing up and use the jersey's centerline, collar, buttons, and seams as reference points. Cover the design with the recommended protective sheet if required by the transfer instructions. Close the press without shifting the garment, and make sure the platen applies pressure across the whole graphic.
Peel according to the transfer's specified method. A hot peel may require removal while the film is still warm, while a cold peel needs the transfer to cool before the carrier comes off. Pull the film low and steadily rather than lifting it sharply upward. If an edge rises with the film, stop, replace the carrier, and repress instead of tearing the design away.
A second press can improve surface contact and finish when the transfer instructions allow it. Use a protective sheet and a short dwell rather than repeating the full initial cycle automatically. On caps, confirm that the design sits smoothly over the curve and that the cap press reaches the center and outer edges evenly.
After pressing, inspect every edge while the garment is still flat. Look for glossy fabric, incomplete adhesion, pinholes, trapped lint, or a number that sits off center. Don't stack hot jerseys tightly, and don't send the order out until the artwork has cooled and the placement has been checked against the roster.
Durability and Care Tips That Survive Sweat and Washing
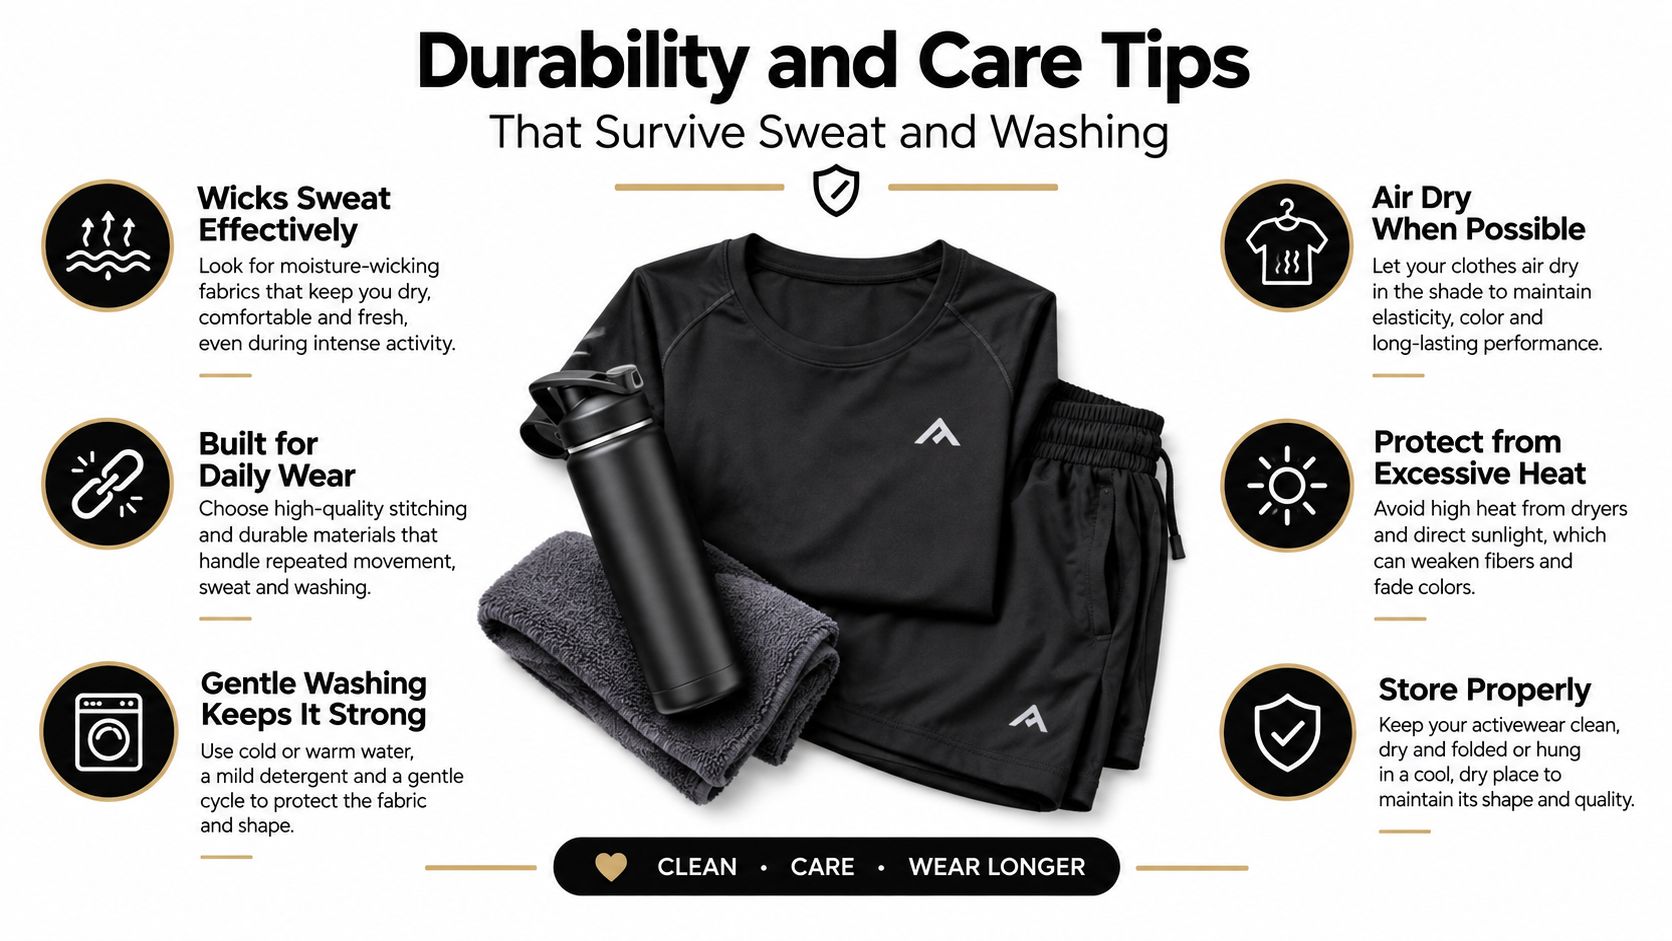
Players create a harsher environment than casual wearers do. A jersey flexes at the shoulders and torso, rubs against protective equipment, absorbs sweat, and goes through laundering after practices and games. DTF can perform well in that setting, but failures usually trace back to a mismatch between material, press conditions, artwork size, or care routine.
Edge lift often points to incomplete contact. Seams, buttons, textured mesh, lint, and insufficient pressure can keep adhesive from bonding across the full perimeter. Cracking usually appears where a large design is repeatedly stretched, especially if the artwork crosses a high-motion area. Dye migration can show up on polyester when heat and time are too aggressive for the garment.
Diagnose the failure instead of guessing
- Peeling at the edges: Check pressure, surface flatness, and whether the transfer crossed a seam.
- Cracking through numbers: Reduce unnecessary stretch, reconsider oversized artwork, and confirm the transfer was fully bonded.
- Color shift on polyester: Test for dye migration and use the supplier's polyester settings.
- Gloss or scorching: Lower the heat exposure and use a protective layer approved for the garment.
- Missing detail: Review the original file, fine-line thickness, and the texture of the fabric.
- Uneven adhesion: Inspect the platen and garment position for buttons, collars, or raised seams.
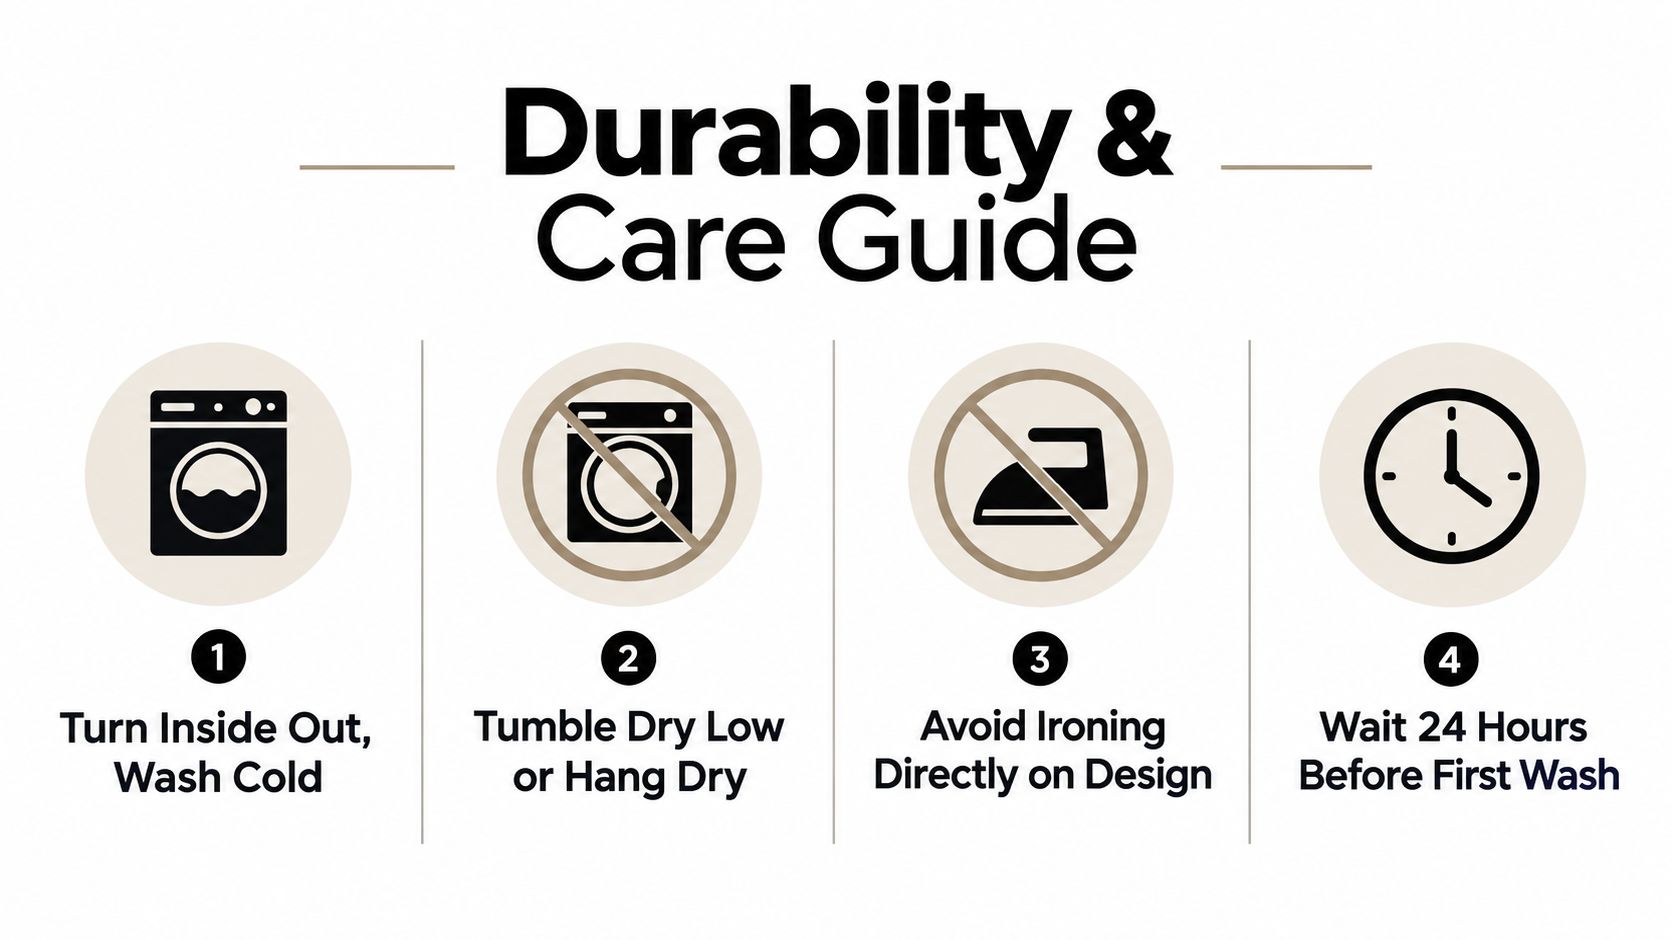
The care instruction should reach parents, coaches, and whoever handles team laundry. Turn garments inside out, wash cold, use a mild detergent, and avoid harsh treatment of the decorated area. Tumble dry on low or hang dry when practical. Don't iron directly over the transfer, and let a newly pressed garment rest before its first wash.
The DTF washing instructions provide a reference for communicating those habits to customers. Storage matters too. Keep decorated jerseys clean and completely dry before folding them for the offseason, and don't store heavy equipment on top of the printed area.
Baseball Fabric and Care Quick Reference
| Fabric Type | Press Consideration | Care Tip |
|---|---|---|
| Cotton | Use an even, stable pressing surface and confirm the garment is dry. | Wash inside out with cold water and avoid direct ironing. |
| Polyester | Test for heat sensitivity and dye migration before the team run. | Use gentle washing and low heat drying. |
| Poly-cotton blend | Check stretch, surface finish, and the exact fiber mix. | Reduce abrasion and avoid high heat. |
| Mesh or textured athletic fabric | Keep the design away from deep texture and seams where possible. | Wash gently and inspect edges after laundering. |
| Structured cap fabric | Use a cap press and confirm the artwork follows the crown curve. | Avoid crushing the decorated front during storage. |
No responsible printer should promise identical performance on every jersey. A transfer bonded to a smooth, stable panel has different working conditions from one pressed over mesh or a raised seam. Test, document the result, and keep the approved garment sample with the production notes for repeat orders.
Designing Numbers Logos and Art That Press Perfectly
Baseball artwork needs to read from a distance and survive close inspection. Start with the number, because a player must be identifiable from the field and the stands. Choose a bold font with open counters, clear distinction between similar characters, and enough stroke weight to remain legible after the design is reduced for youth garments or caps.
Outlines help numbers stand out on dark jerseys, but too many borders can muddy small artwork. Use strong contrast between the base number, outline, and garment. A white underbase can support bright color on dark fabric, while a dark outline can keep light numbers readable against a pale jersey. Check the art in full color and in a simple one-color preview, since weak silhouettes often reveal spacing problems before production.
Build artwork around the decoration area
A mascot that looks sharp at chest size may lose its eyes, whiskers, or interior highlights on a cap. Small text should be treated with suspicion, especially when the crown curves. Remove decorative details that don't contribute to recognition, and keep important lines separated from one another so the adhesive and film don't create a congested patch.
Large back graphics also need restraint. A design that spans seams or wraps toward the side can experience uneven pressure and repeated stress. Keep the main artwork inside the smoothest usable panel, then use a separate sleeve or chest mark for secondary information.
Batch the order before you print
Group player names and numbers by finished size, then arrange the gang sheet to reduce empty space without crowding the transfers. Leave cutting room, add file labels outside the artwork when possible, and compare every name against the final roster. Save the approved layout so a tournament reorder doesn't require rebuilding the entire sheet.
DTF is often preferable to sublimation when the order involves a small run, varied garment colors, or a design that needs to sit on an already finished garment. Sublimation remains a strong consideration for compatible light polyester products and all-over decoration. The right choice depends on the fabric, quantity, artwork, and whether the team needs individual personalization.
Before submitting files, check:
- Names and numbers: Confirm spelling, digit order, and roster status.
- Contrast: View the design against the actual jersey color.
- Scale: Compare a paper proof with youth and adult garments.
- Placement: Keep artwork clear of buttons, seams, collars, and deep mesh.
- Detail: Remove fragile lines and tiny text from cap-sized graphics.
- Batching: Arrange repeat designs efficiently and label the production file.
- Testing: Press one sample before releasing the full team order.
Raccoon Transfers offers ready-to-press custom DTF transfers organized by size, along with custom artwork and gang-sheet ordering for team names, numbers, logos, and repeat fanwear designs. Visit Raccoon Transfers to prepare a baseball order around your actual jerseys, planned quantities, and next reorder date.