
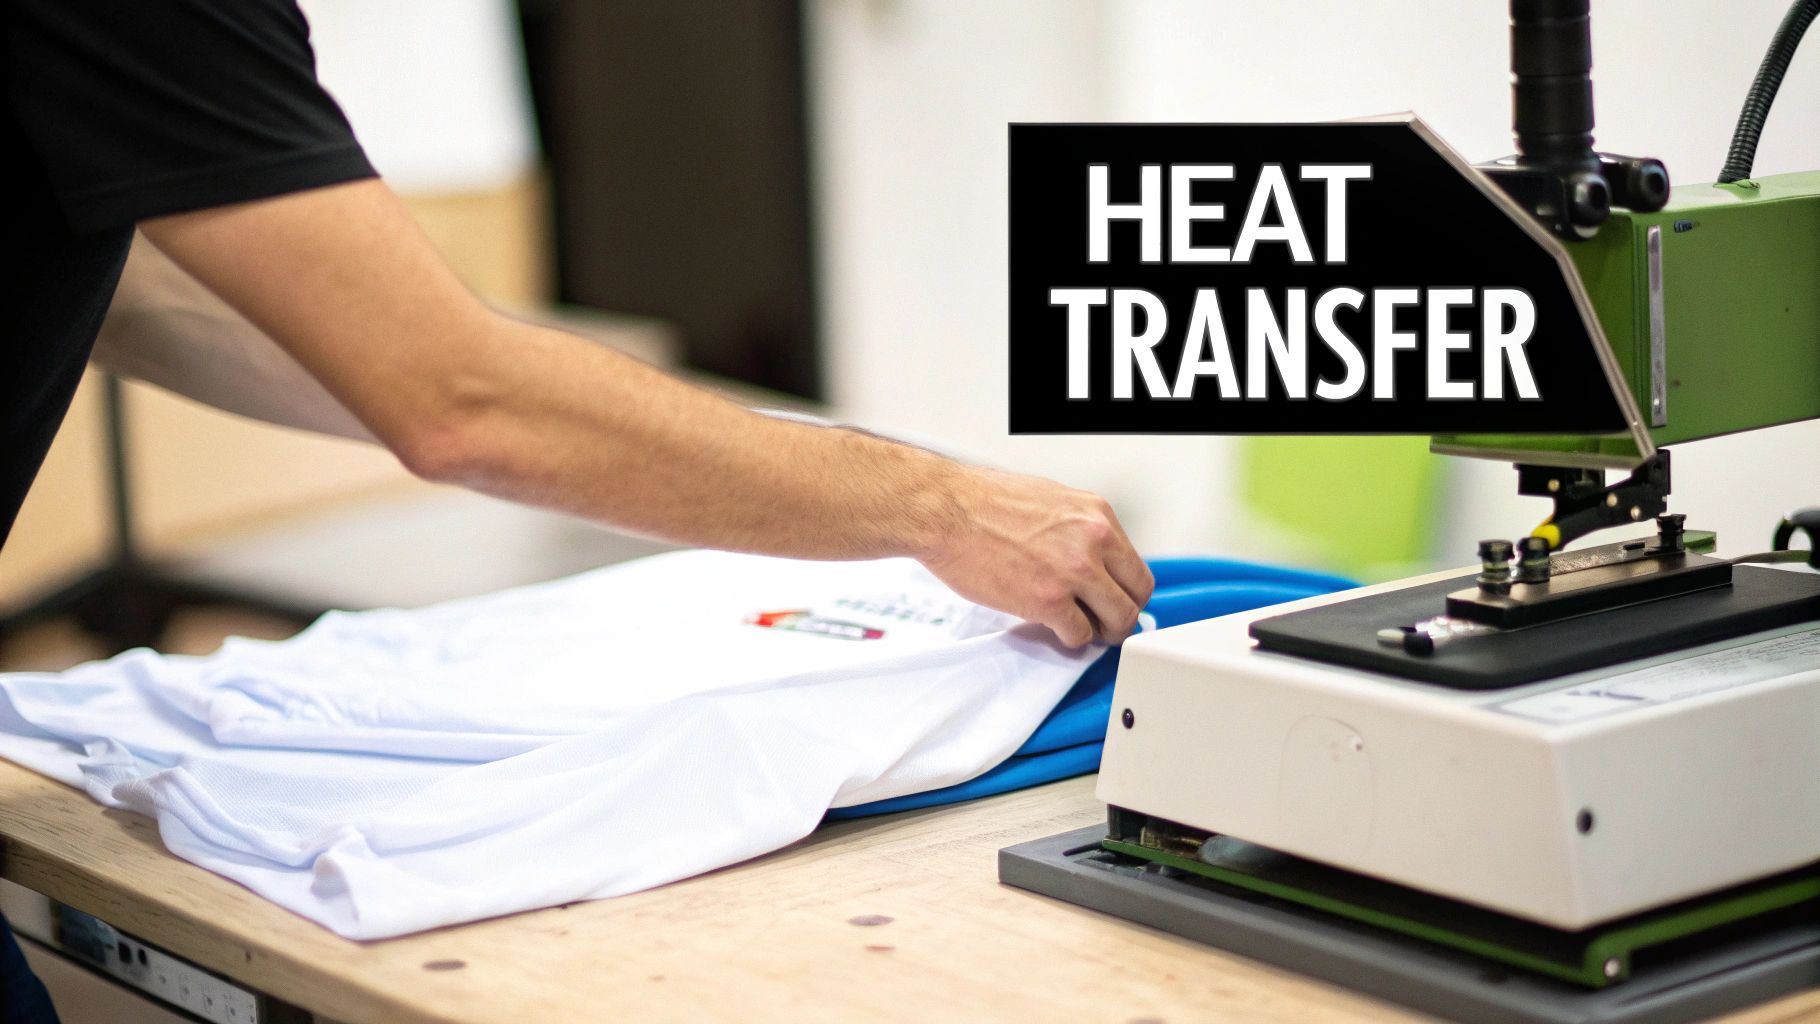
Your Guide to Heat Transfer Printing
At its most basic, heat transfer printing is a clever way to move a design from a special carrier material onto another surface—like a t-shirt or a mug—using, you guessed it, heat and pressure. Think of it as a high-tech, permanent iron-on, capable of bringing incredibly detailed, full-color designs to life on all sorts of items.
What's the Magic Behind Heat Transfer Printing?
The whole process boils down to a simple, elegant idea that relies on three key players: a heat source, your design on a carrier, and the item you want to decorate. The real "magic" is simply the chemistry that happens when these three things come together under the right conditions to create a permanent bond.
Let's say you've got a killer graphic you want on a hoodie. Instead of trying to print ink directly onto the fabric, you first print your design onto a specialized medium, like heat transfer vinyl (HTV) or a sheet of transfer paper. This material acts as a temporary home for the design, holding it perfectly until it's ready for its final destination.
The Key Components
This process is a team effort, and each piece of equipment has a critical job to do. Without them working in harmony, you can't turn a digital file into a professional-looking finished product.
- The Heat Press: This is the heart of the whole operation. It provides consistent, evenly distributed heat and pressure, two things a regular home iron just can't manage reliably.
- The Transfer Medium: This is the carrier—the vinyl or specialty paper that holds your design and ink before it's applied. The type you use depends entirely on the design and the material you're printing on.
- The Substrate: This is just a technical term for the item you're decorating. While t-shirts are the most common canvas, this could be anything from a canvas tote bag to a ceramic mug or even a wooden plaque.
The core principle is beautifully simple: the heat press activates a special adhesive on the back of the transfer medium. At the same time, the pressure physically forces that design to bond with the fibers of the substrate, making it a permanent part of the item.
The popularity of this method is easy to see in the numbers. The global heat transfer printer market was valued at an estimated $2.5 billion in 2025 and is expected to grow to $4.2 billion by 2033. That growth is fueled by a massive demand for customized apparel and one-of-a-kind products.
This level of personalization makes heat transfer printing fantastic for creating unique presents. If you're looking for more ideas on turning personal items into thoughtful presents, you might find some great inspiration in these options for custom photo gifts.
Choosing Your Heat Transfer Material
Now that you've got the basic idea of how heat transfer printing works, it's time for the fun part: picking your material. This is where your design really starts to take shape, and your choice will make all the difference in the final look, feel, and lifespan of your product. The two heavy hitters in this space are Heat Transfer Vinyl (HTV) and Heat Transfer Paper.
For Bold, Durable Graphics: Heat Transfer Vinyl (HTV)
Think of Heat Transfer Vinyl (HTV) as a sheet of high-tech, colorful material with a heat-activated glue on the back. It's less like printing and more like creating a super-durable, custom decal for fabric. You use a vinyl cutter to carve out your letters, logos, or shapes with incredible precision.
HTV is the undisputed champion for crisp, single-color designs. It's the secret behind those sharp team names on sports jerseys and professional-looking company logos on polo shirts. Its biggest strengths are its toughness and the sheer variety of styles available.
- Amazing Finishes: You're not just stuck with basic colors. The options are wild—from standard matte and glossy to flashy glitter, holographic, metallic, and even soft, fuzzy flocked textures.
- Built to Last: When you press it correctly, a quality HTV design can easily outlive the shirt it's on. It stands up to countless washes without cracking or fading.
For Photos and Complex Art: Heat Transfer Paper
So, HTV is perfect for solid graphics, but what happens when you want to print a full-color photograph or a detailed drawing with all sorts of gradients and subtle shades? That's where Heat Transfer Paper shines.
This is a special kind of paper that you can run through a regular inkjet or laser printer. You print your complete image right onto the paper's surface, and then press the whole thing onto your garment. This method has become incredibly popular for a reason. The global market for these materials was valued at USD 1.6 billion in 2025 and is expected to climb to USD 2.27 billion by 2034, all thanks to the growing demand for custom apparel. You can read more about these trends in this heat transfer material market analysis.
Here’s a crucial tip: Transfer paper is made specifically for either light-colored or dark-colored fabrics. If you use paper for light shirts on a black tee, your image will look washed-out and semi-transparent because the dark fabric will show right through.
On the flip side, paper for dark fabrics has a solid white base to make your colors vibrant. The catch? You have to trim away any unprinted parts of the paper perfectly, or you'll end up with a noticeable white box around your design. Getting this choice right is absolutely key to a professional-looking print.
For a deeper dive into material selection, check out our guide on finding the best vinyl for your heat press projects.
Heat Transfer Vinyl vs Heat Transfer Paper
Choosing between HTV and Transfer Paper can feel tricky at first, but it really comes down to your specific design and the garment you're using. Each has its own strengths and is suited for different kinds of projects.
Here's a straightforward comparison to help you decide which one is the right fit for you.
| Feature | Heat Transfer Vinyl (HTV) | Heat Transfer Paper |
|---|---|---|
| Best For | Bold, solid-color graphics, text, and logos. Layering multiple colors. | Full-color photographs, complex illustrations, and designs with gradients. |
| Design Process | Design is cut from colored vinyl sheets and then "weeded" (excess vinyl removed). | The complete image is printed directly onto the paper using a standard printer. |
| Feel on Fabric | Sits on top of the fabric. Can range from a thin layer to a thicker, textured feel. | A very thin film that bonds with the fabric fibers, creating a softer "hand" or feel. |
| Durability | Extremely durable. Resists cracking, peeling, and fading for the life of the garment. | Good durability, but can fade or crack over time with many washes. |
| Fabric Colors | Works equally well on light and dark-colored fabrics. | Requires specific paper for light fabrics (translucent) or dark fabrics (opaque). |
| Equipment Needed | Vinyl cutter, heat press. | Inkjet or laser printer, heat press, and sometimes a cutting tool for trimming. |
Ultimately, there's no single "best" option—just the best option for your project. If you're making team jerseys with numbers and logos, HTV is your go-to. If you want to put a family photo on a t-shirt, transfer paper is the way to go.
Your Step-By-Step Heat Transfer Process
There's nothing quite like seeing your design come to life on a finished garment. The heat transfer process itself is pretty straightforward, but the real secret to a great result is nailing each step. Think of it like baking a cake—follow the recipe, be precise, and you’ll get a perfect finish every time.
Let's walk through the entire workflow, from getting your artwork ready to that satisfying final peel.
Step 1: Prepare and Finalize Your Design
Everything starts at the computer. Before you even think about printing or cutting, your design file needs to be properly prepped. Honestly, this might be the most important part of the whole process, because any mistakes here are going straight onto the final product.
The absolute number one rule? Mirror your image horizontally. You have to flip it. Imagine you're stamping the design onto the shirt—the transfer needs to be a reflection for it to read correctly once it's pressed. This goes for both text and images in almost every heat transfer scenario.
Step 2: Print or Cut Your Transfer
With your design mirrored and saved, you're ready to create the physical transfer. The path you take here depends entirely on the material you're using.
- Heat Transfer Paper: For this method, you'll print your mirrored design directly onto the special paper using a standard inkjet or laser printer.
- Heat Transfer Vinyl (HTV): If you're using vinyl, you'll send the file to a vinyl cutter. The machine then carves out your design from a sheet of colored vinyl with incredible precision.
This infographic does a great job of showing the difference between the two workflows.
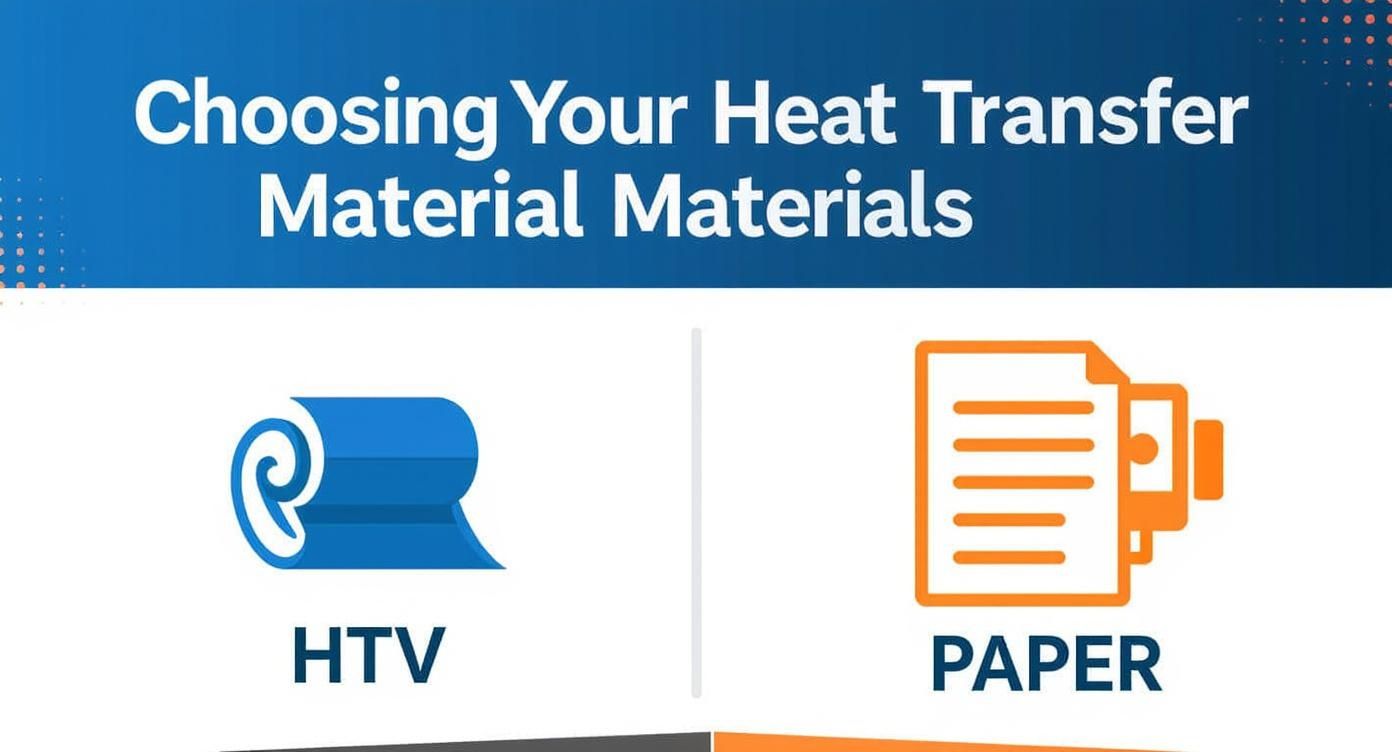
As you can see, one process involves cutting a design from a solid-colored roll (HTV), while the other involves printing a full image onto a sheet (Paper).
If you chose HTV, you’ve got one extra—but critical—task ahead: weeding. This is the hands-on part where you use a sharp tool to meticulously pick away all the excess vinyl that isn't part of your design. When you're done, only your graphic should be left on its clear plastic carrier sheet.
Step 3: Press the Garment and Apply the Design
Time to head over to the heat press. The first thing you'll do is pre-press your garment for about 5-10 seconds. Don't skip this! It zaps any hidden moisture and smooths out wrinkles, giving you a perfectly flat, dry canvas for the transfer to stick to.
Next, lay your transfer down on the garment. Grab a ruler to make sure it's centered and straight—eyeballing it often leads to crooked results. Once you're happy with the placement, it’s time to lock it down and press. There are three key settings you need to get right:
- Temperature: How hot the press needs to be for your specific material.
- Time: How long the press stays clamped down.
- Pressure: How much force is being applied to the garment.
A quick word of warning: These settings are never one-size-fits-all. You must check the manufacturer's instructions for the specific vinyl or paper you're using. Using the wrong settings is the #1 reason transfers fail.
Step 4: Peel and Reveal Your Creation
When the timer beeps, pop open the press. The last step is peeling away the carrier sheet, but hold on—don't just rip it off. Transfers are classified as either a hot peel or a cold peel.
A hot peel means you yank that carrier sheet off immediately while the design is still piping hot. A cold peel, on the other hand, means you need to let the garment and transfer cool down completely before touching it. Peeling at the wrong time can stretch, crack, or lift your design right off the shirt. To get that flawless, professional look, always follow the instructions for your material.
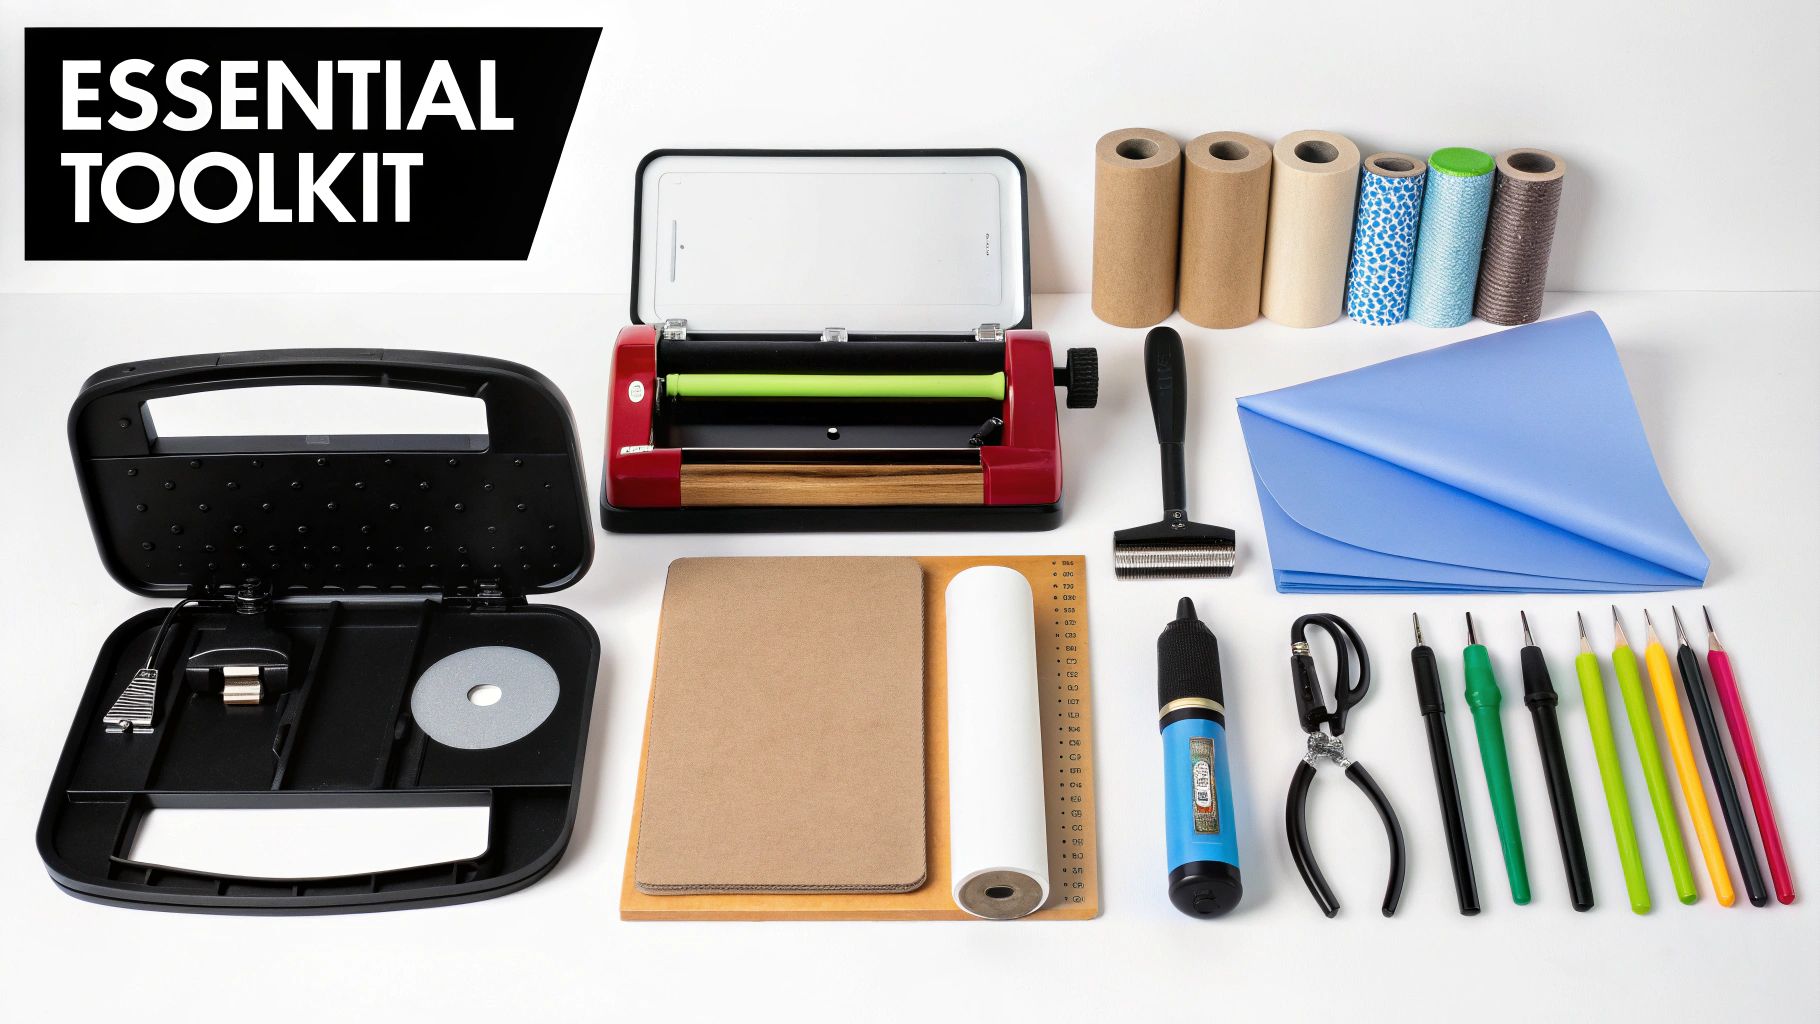
The Essential Heat Transfer Toolkit
Just like any craft, having the right tools is half the battle, and heat transfer printing is no different. Pulling together a solid toolkit is what makes the difference between a frustrating afternoon and a project that looks clean, professional, and was actually fun to make. You don't need a massive workshop, but a few key pieces of gear are absolutely essential for getting great results every time.
The star of the show is, without a doubt, the heat press machine. Think of it as a specialized oven that bakes your design perfectly onto the fabric. It's a massive step up from a home iron, which just can't deliver the consistent heat and even pressure needed to make a design last.
The Heart of Your Setup: The Heat Press
Choosing the right press really boils down to your budget, how much space you have, and the kinds of things you want to make. There are three main styles out there, each with its own pros and cons. Nailing this choice is pretty important, so for a deeper dive, check out our complete guide to the best heat press machine for shirts.
- Clamshell Press: This is the most common type. It opens and closes like a clamshell, which makes it a great space-saver. It's quick and perfect for banging out standard t-shirt orders.
- Swing-Away Press: With this design, the top heated plate swings completely away to the side. This gives you a wide-open, burn-free workspace to line up your garment and transfer perfectly.
- Draw Press: This is a neat hybrid. The bottom plate slides out like a drawer, giving you the easy layout of a swing-away but with a smaller overall footprint.
After the press, your next big decision is driven by the type of transfers you'll be using. If you're going the Heat Transfer Vinyl (HTV) route, a vinyl cutter is a must-have. This machine is like a super-precise robotic X-Acto knife, cutting your designs from vinyl sheets with incredible accuracy.
On the other hand, if you're working with transfer papers, a high-quality inkjet or laser printer becomes your workhorse. The most important thing here is to match your printer to the specific transfer paper you're using. That's the secret to getting those bright, vibrant colors to pop on the final shirt.
Essential Accessories for a Flawless Finish
The big machines get all the glory, but it's often the small, inexpensive accessories that truly perfect the final product. These are the unsung heroes of a great heat transfer setup.
Don’t underestimate the small tools. A sharp weeding tool and a protective Teflon sheet can make the difference between a homemade-looking craft and a professional-grade product that’s ready to sell.
Here are a few accessories you’ll definitely want in your toolbox:
- Weeding Tools: These look a bit like dental picks and are used to pluck away all the tiny, unwanted bits of vinyl from your design after it's been cut.
- Teflon Sheet: This is a non-stick sheet you place between the heated plate and your transfer. It protects both the design and the shirt from scorching and helps distribute the heat evenly.
- Heat-Resistant Tape: A special tape that can withstand high temperatures. You use it to tack your transfer down so it doesn't shift an inch when you close the press.
Heat Transfer vs Other Printing Methods
Trying to pick the right printing method for your project can feel like a tough choice, but it really boils down to what you're trying to accomplish. Heat transfer printing has its own unique sweet spots, especially when you stack it up against other heavy hitters like screen printing and Direct-to-Garment (DTG).
Knowing the key differences is what separates a smart decision from a costly mistake. Each method shines in different situations—heat transfer is a superstar for small, custom jobs with full-color graphics, while screen printing is the undisputed king of large-volume orders with simpler designs.
Comparing Costs and Batch Sizes
The most significant fork in the road is usually cost, particularly how it scales with your order size. Heat transfer printing has almost no setup cost. Seriously. You can print and press a single, one-of-a-kind t-shirt without batting an eye, which makes it perfect for one-offs, prototypes, or small personalized orders.
Screen printing is the polar opposite. The process requires creating a separate screen for every single color in your design. That setup is labor-intensive and expensive upfront. But once the screens are ready? You can crank out hundreds of shirts with incredible speed, making the cost-per-shirt plummet on large orders.
Direct-to-Garment (DTG) printing lands somewhere in between. Think of it as a huge inkjet printer for clothes. It has minimal setup fees like heat transfer, so it’s great for detailed, small-batch runs. However, it’s slower and more expensive per piece than screen printing when you start talking about big quantities.
This fundamental difference is shaping the entire industry. The rising popularity of print-on-demand and personalized apparel is a huge reason the global heat transfer paper market is expected to reach $2.5 billion by 2033. You can dive deeper into this trend in this detailed industry report.
Printing Method Comparison
To make it even clearer, here's a quick side-by-side look at how these three popular methods compare on the factors that matter most.
| Feature | Heat Transfer Printing | DTG Printing | Screen Printing |
|---|---|---|---|
| Best For | Small batches, photos, complex designs, personalization | One-offs, detailed full-color prints, small orders | Large batches (25+), simple logos, 1-4 color designs |
| Setup Cost | Very Low | Low | High |
| Cost-Per-Item | Moderate (consistent) | High (for small runs) | Low (for large runs) |
| Durability | Good to excellent (vinyl is very durable) | Good (washes well, can fade over time) | Excellent (very long-lasting) |
| Feel on Fabric | Sits on top of the fabric | Soft, soaked into the fibers | Thicker layer on top of fabric |
| Color Capability | Unlimited colors, gradients, photorealistic | Unlimited colors, excellent for complex artwork | Limited, each color adds cost and complexity |
As you can see, the "best" method really depends on your specific needs—from the quantity you need to the complexity of your art.
Design Complexity and Durability
The artwork itself is another major consideration. Heat transfer is fantastic for photorealistic images, super-fine details, and smooth color gradients. Because you're printing the design onto a transfer medium first, you can capture a level of detail that’s either impossible or incredibly expensive to achieve with screen printing. DTG is also a champ at handling complex designs, as it prints them right onto the garment.
When it comes to how the print feels and how long it lasts, each method has a distinct personality.
-
Heat Transfer: The design creates a layer that sits on the surface of the fabric. High-quality heat transfer vinyl (HTV) is an absolute workhorse and often outlasts the shirt itself. Transfer papers can be a bit less durable over dozens of wash cycles.
-
Screen Printing: Here, the ink is physically pushed into the fabric fibers. This creates a bond that’s incredibly tough and holds up exceptionally well to washing and wearing, making it a go-to for workwear and band merch.
-
DTG: This ink soaks into the fabric, much like screen printing. The result is a very soft feel you can barely notice, with good durability that might not be quite as bulletproof as a thick, plastisol screen print.
For anyone stuck between the two most common choices for custom apparel, our guide comparing heat transfer vs screen printing offers a much more detailed breakdown. It will help you weigh the pros and cons for your exact project, so you can pick the right technique and get a perfect result.
Got Questions About Heat Transfer Printing? We've Got Answers.
As you start exploring the world of custom apparel, you're going to have questions. It's only natural. Heat transfer printing is a fantastic method, but getting the details right is what separates a homemade-looking shirt from a professional product you can be proud of.
Let's walk through some of the most common questions we hear from people just like you.
How Long Do Heat Transfer Prints Actually Last?
This is the big one, isn't it? The honest answer is it all comes down to two things: the quality of the transfer material and how well you apply it. You can't skimp on one and expect the other to pick up the slack.
When done right, a high-quality Heat Transfer Vinyl (HTV) design can easily handle 50 or more washes. I’ve seen plenty of shirts where the design outlasted the garment itself! Prints from good transfer paper are also pretty tough, though they might show cracking or fading sooner than premium vinyl after many, many trips through the laundry.
Want to make your prints last as long as possible? It’s simple:
- Follow the directions. Stick to the manufacturer's recommended time, temperature, and pressure. They exist for a reason!
- Wash inside out in cold water. This protects the design from rubbing against other clothes.
- Tumble dry on low, or even better, let it hang dry. High heat is the enemy of a happy print.
Can I Just Use My Home Iron Instead of a Heat Press?
I get why people ask this—heat presses seem like a big investment. While you can technically use a home iron for some basic transfer papers, I strongly advise against it for any serious project. An iron is the opposite of what you need for a durable, professional-looking transfer.
A regular iron has two fatal flaws:
- Uneven Heat: An iron's surface is full of hot spots and cooler areas. This means some parts of your design get scorched while others barely get warm enough to stick.
- Inconsistent Pressure: It’s physically impossible to apply the same firm pressure across the entire design with your hands.
A heat press is purpose-built to solve these problems. It delivers perfectly consistent heat from edge to edge and clamps down with uniform pressure, forcing the adhesive deep into the fabric fibers. If you’re serious about quality, investing in a heat press is the single best move you can make. It’s the difference between a design that peels and one that lasts.
What Are the Best Fabrics for Heat Transfer?
Heat transfer printing is incredibly versatile, but the right fabric really depends on the type of transfer you're using. For most everyday projects, you'll get fantastic results with the classics:
- 100% Cotton
- 100% Polyester
- Cotton/Polyester Blends
These fabrics are stable and play nicely with the heat and pressure required. But the technology has come a long way! Today, you can find specialty vinyl for just about anything—super-stretchy vinyl for spandex workout gear or tough stuff designed specifically for nylon jackets and bags.
The golden rule is to always check the manufacturer's specs for your transfer material. They'll tell you exactly which fabrics it was designed to bond with.
Help! Why Is My Vinyl Peeling Off After I Wash It?
There’s nothing more frustrating than seeing your hard work peel away after the first wash. The good news? This is almost always an application issue, which means it’s totally fixable.
When vinyl starts lifting, it usually points back to one of three culprits:
- Not Enough Pressure: The adhesive never got a chance to properly grab onto the fabric fibers.
- Wrong Temperature: The heat was either too low to activate the glue or so high that it destroyed it.
- Not Enough Time: The press wasn't closed long enough for the magic to happen and create a permanent bond.
Always, always double-check the recommended settings for your specific vinyl. One other trick that pros swear by is to pre-press the garment for 5-10 seconds before applying the transfer. This quick step zaps any hidden moisture and smooths out wrinkles, giving you a perfect, clean surface for the best possible adhesion.
Ready to create stunning, durable custom apparel without the guesswork? At Raccoon Transfers, we specialize in premium Direct-to-Film (DTF) transfers that apply perfectly every time. Upload your designs and get vibrant, long-lasting prints shipped right to your door. Visit us at https://raccoontransfers.com to get started