
how do i print on transfer paper: A Quick, Proven Guide
Printing on transfer paper is a fantastic way to create custom gear. At its core, the process is straightforward: you create a design, print it onto special paper with an inkjet printer, and then use heat to apply it to your garment. The most important thing to get right from the start is choosing the correct paper for your fabric color—light or dark—because they work very differently.
Your Quick Guide to Printing on Transfer Paper
So, you're ready to bring those custom apparel ideas to life. Perfect. Printing with transfer paper opens up a massive world of creative possibilities, whether you're making one-off gifts or a small batch of branded merch. But getting that clean, professional-looking result depends on nailing a few key details before you even think about hitting the "print" button.
Think of this as your roadmap. I’m going to walk you through an overview of the whole process so you can start your project with confidence. Getting these fundamentals down now will help you avoid common—and frustrating—mistakes later. Trust me, it saves a lot of wasted paper and blank shirts.
Key Stages of the Process
The journey from a digital file to a wearable piece of art really comes down to a few distinct phases. Each step builds on the one before it, so a solid foundation is everything.
- Design and Prep: This is where your creativity comes in. You’ll finalize your artwork and—this is crucial—mirror the image if you're using paper meant for light-colored fabrics.
- Printing: Next, you'll print your design directly onto the transfer paper. You'll want to make sure your printer settings are dialed in for the best possible color and quality.
- Application: Finally, the magic happens. Using heat and pressure from a household iron or a dedicated heat press, you'll transfer the ink from the paper to the fabric.
The single most critical decision you'll make is choosing between paper for light or dark fabrics. Paper for light fabrics is transparent, so the shirt color shows through in any non-printed areas. Dark fabric paper, on the other hand, has an opaque white background to ensure your colors stay vibrant and true on darker garments.
For a deeper dive into the nuts and bolts of printing itself, this general guide on how to print designs is a great resource that covers the fundamentals.
To give you a quick, at-a-glance look at the process, here's a table summarizing the main points.
Transfer Paper Printing At a Glance
| Phase | Key Action | Critical Tip |
|---|---|---|
| Design & Prep | Finalize your artwork and choose the right paper. | Always mirror your image for light transfer paper. Forgetting this step is the most common mistake and will ruin your project. |
| Printing | Print the design onto the coated side of the paper. | Use your printer's "best" quality setting and select the correct paper type (like "T-Shirt Transfer" or "Photo Paper") for rich colors. |
| Application | Use heat and pressure to transfer the ink. | A heat press provides even pressure and consistent temperature, giving you a much more durable and professional finish than an iron. |
This table should help you keep the most important details front and center as you work.
Before we jump into the detailed step-by-step instructions, it’s really helpful to understand the "why" behind the process. We put together an in-depth guide explaining https://raccoontransfers.com/blogs/guides/how-does-transfer-paper-work, which can help you pick the perfect material for your specific project.
Getting Your Gear Together and Picking the Right Paper
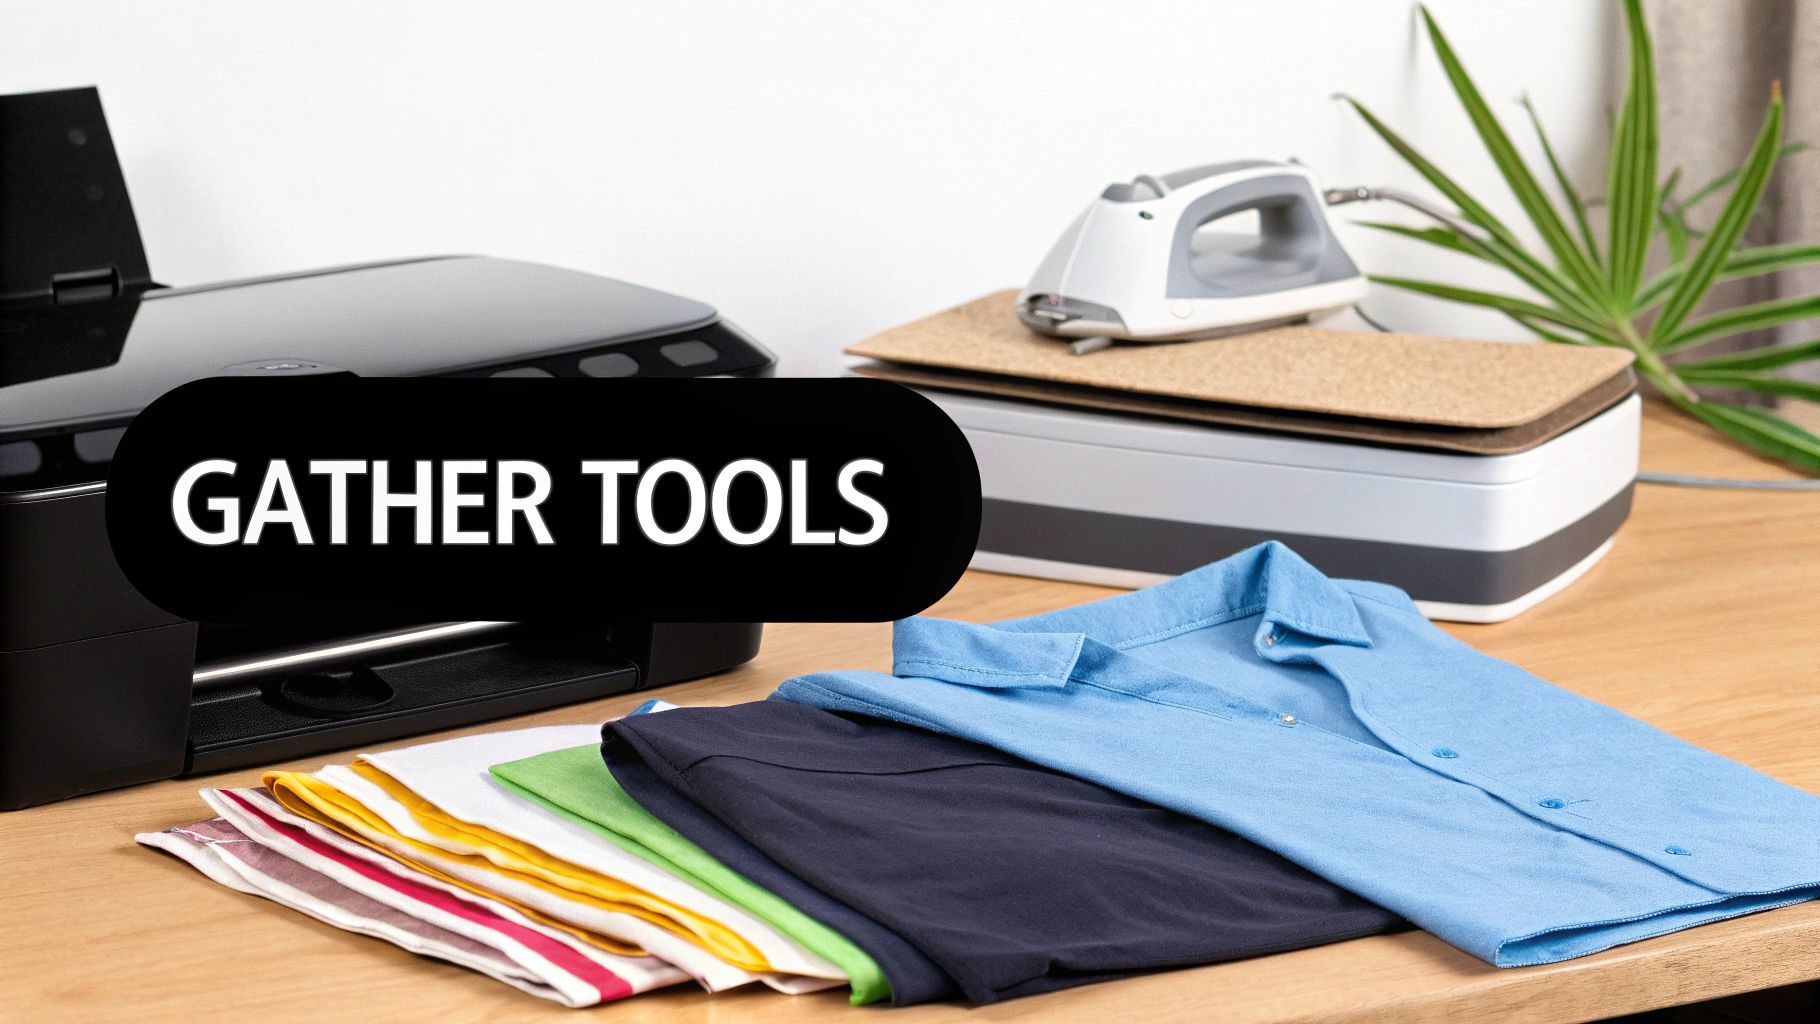
Before you even think about printing, let's get your workspace set up. A little prep work here saves a ton of headaches later. Honestly, it's just like cooking—you get all your ingredients out on the counter before you start.
You don't need a full-blown print shop, just the essentials. You'll need an inkjet printer, your design software, the transfer paper itself, something to press it with (like a heat press or iron), and of course, the shirt or garment you're customizing. These are the core components that will take your design from a digital file to a wearable piece of art.
Getting into custom apparel is a popular move these days. The market for heat transfer paper was already valued at around USD 550 million in 2023, and it's expected to nearly double by 2033. It’s a booming space driven by people wanting unique, personalized gear. If you're curious, you can explore more about this growing market trend to see where things are headed.
Light vs. Dark Fabric Paper: What's the Difference?
This is probably the single most important choice you'll make in the whole process. Picking the wrong paper for your fabric is a surefire way to end up with a mess. It's not just about matching colors; it's about how the paper is fundamentally designed to work.
-
Paper for Light Fabrics: This paper has a transparent polymer coating. When you press it, only the ink transfers over. Any blank space in your design will be clear, letting the light color of the shirt show through. This is exactly why you must mirror your image before printing—you're essentially applying it face-down.
-
Paper for Dark Fabrics: Think of this one more like a high-quality sticker. It has a solid, opaque white background. You print your design onto this white layer, and then you press the whole thing (or whatever shape you cut out) onto the shirt. The white backing makes your colors vibrant and true, even on a black or navy shirt.
A classic rookie mistake is using light transfer paper on a dark shirt. The colors will look muddy and washed out because the dark fabric will show right through the transparent transfer. Always, always match your paper to your garment color.
Getting Your Design Ready for Print
Alright, you've got your transfer paper picked out. Now it's time to jump onto the computer and get your design prepped. This is where the magic really starts, and paying attention to a few small details here will save you a world of headache later.
First things first: resolution is king. You absolutely need to start with a high-quality file. For a crisp, professional-looking transfer that doesn't look like a blurry mess, your design file must be set to 300 DPI (dots per inch). Web images are often 72 DPI, and trust me, that will look pixelated and fuzzy once it's on a shirt.
Don't Forget to Mirror Your Image!
This next part is crucial, especially if you're working with paper for light-colored fabrics. You have to print a mirror image of your design. Why? Because the paper is placed face-down onto the fabric for pressing, so the image needs to be flipped to appear correctly. Skipping this step is probably the most common mistake people make when they're just starting out.
Finding the setting is usually pretty simple:
- In your design software (like Photoshop or Canva), look for an option like "Flip Horizontal" or "Mirror." It's often under an "Edit" or "Arrange" menu.
- In your printer's settings, you might find a checkbox right in the print dialog box labeled "Mirror Image" or "T-shirt Transfer."
My advice? Always flip the design in your software before you even hit print. That way, you can see with your own eyes that it's reversed correctly, rather than crossing your fingers and hoping a hidden printer setting does the job. It just gives you more control.
Nailing the Perfect Printer Settings
You're almost ready to hit "Print," but don't just use the default settings. Diving into your printer’s preferences is what separates an okay transfer from a great one. Every printer's menu looks a little different, but you're generally looking for the same types of options.
You need to tell the printer what it's printing on. Look for a media or paper type setting. If you see an option for "T-Shirt Transfer," that's your golden ticket. If not, don't worry. Choose a setting for a heavier, coated paper like "Photo Paper Glossy" or "Premium Matte Paper." This signals the printer to use more ink, which gives you those deep, vibrant colors you want.
Finally, crank up the print quality. Set it to the highest possible option, which might be called "Best," "High," or "Photo." It will print slower, but it's worth it for the detail and to give the ink a moment to set, preventing ugly smudges. And before you print that final copy, double-check you have the right graphic size for t-shirt designs; proper sizing and placement make all the difference.
Applying Heat for a Flawless and Lasting Transfer
Alright, you've made it to the most satisfying part of the process. Your design is printed and ready to go, and now it's time to bring it to life on fabric. This is where the magic happens, but getting the heat and pressure just right is what separates a homemade-looking shirt from a professional-quality piece.
The demand for custom gear is exploding. In fact, the textile transfer paper market is projected to grow from USD 871.6 billion in 2025 to a massive USD 1,546.3 billion by 2035. You can see the full breakdown of this trend in the textile transfer paper market report. Your project is part of a huge movement, and doing it right sets you apart.
Using a Heat Press for Professional Results
If you're serious about making custom apparel, a heat press is your best friend. It delivers the consistent, even heat and pressure that a regular iron just can't replicate. It’s the key to getting that durable, store-bought feel.
When using a heat press, there are three things you have to nail:
- Temperature: Always set your press to the exact temperature specified on your transfer paper’s instructions. This isn’t a suggestion—it's a requirement for the ink to properly bond.
- Time: Just like temperature, the pressing time is crucial. It’s a science. Use a timer and stick to the recommended duration to prevent scorching the fabric or under-curing the transfer.
- Pressure: You need firm, even pressure across the entire design. Most presses have an adjustment for this, so dial it in correctly. This ensures every bit of your design permanently fuses with the fabric.
To take the guesswork out of it, a good heat press temperature chart is an invaluable resource for different types of fabric and transfers.
Iron-On Application Tips
Don't have a heat press? You can still get a decent result with a standard household iron, you just need to be more careful. First thing's first: ditch the ironing board. It's too soft and will absorb the pressure you need. Instead, find a hard, heat-resistant surface like a wooden countertop or a cutting board on a solid table.
Crank your iron up to its highest heat setting and—this is critical—make sure the steam function is turned off. Steam will ruin the transfer. Press down hard and keep the iron moving over the design, giving extra love to the corners and edges to make sure they stick.
This infographic gives a great overview of the prep work needed before you even get to the heating stage.
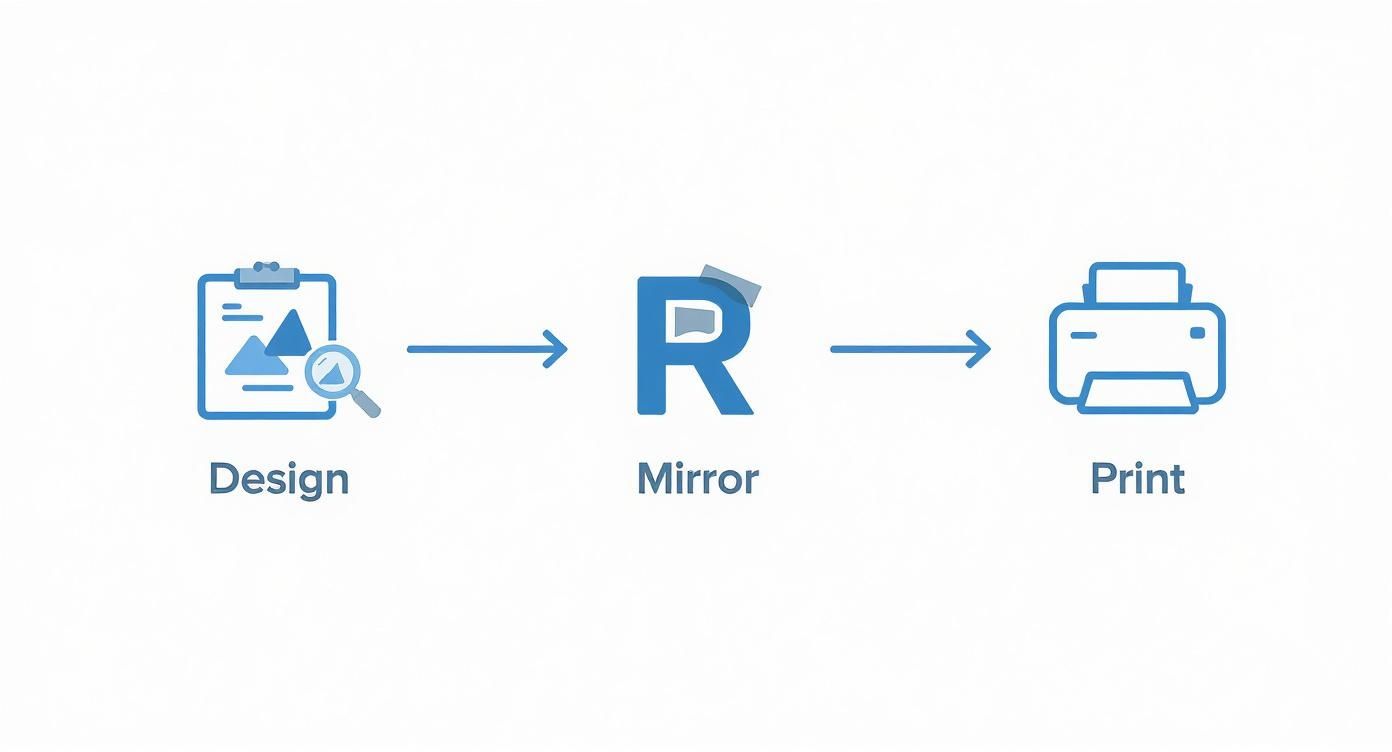
As you can see, mirroring your image before printing is a non-negotiable step to ensure your design isn't backward once you press it.
Hot Peel vs. Cold Peel
One final detail that can make or break your project is knowing when to peel the backing paper off. Your transfer paper will specify one of two methods.
Hot Peel: This means you peel the backing away immediately after lifting the press, while everything is still piping hot. This technique usually leaves the design with a softer, more flexible feel that's integrated into the fabric.
Cold Peel: For this type, you have to exercise some patience. Let the garment and transfer cool down completely before you even think about touching the backing paper. Cold peel transfers often have a glossier, sharper finish.
Following the correct peeling instruction is the secret to a clean transfer that will last through wash after wash without cracking.
Working Through Common Transfer Paper Problems
Even when you follow all the steps to the letter, a project can still go sideways. It’s frustrating, but trust me, it’s a normal part of the learning curve when you’re figuring out how to print on transfer paper. The good news is that most of these headaches are pretty easy to fix once you know what’s causing them.
It's no surprise these questions come up so often. Custom printing is huge right now. The global printing transfer paper market was valued at around USD 3.1 billion in 2024 and is on track to hit USD 4.4 billion by 2031. With so many people getting into this craft, it pays to know how to solve the most common snags. You can dig into the numbers and see the full printing transfer paper market report if you're curious about the trends.
Why Are My Colors Faded or Dull?
This is probably the number one issue people run into: the design looks perfect on the paper but comes out looking washed-out and sad on the shirt. Nine times out of ten, this comes down to either a heat issue or a printer setting.
If your colors just don't pop, one of these is almost certainly the culprit:
- Not Enough Heat: Your heat press or iron simply wasn't hot enough to properly transfer the ink and bond it with the fabric. Go back and double-check the temperature settings recommended for your specific brand of paper.
- Wrong Printer Settings: If you just hit "print" using the default "Plain Paper" setting, your printer isn't putting down enough ink. You need to tell it you’re doing something special. Look for a "T-Shirt Transfer," "Photo Paper," or "Best" quality setting to get those deep, saturated colors.
- Uneven Pressure: This is a big one for anyone using a home iron. If you don't press down firmly and evenly, you'll get patchy spots where the heat didn't fully penetrate, leading to a faded look.
The Fix: The solution is usually simple. Crank up the heat (staying within the paper's recommended range, of course) and make sure your printer is set to a high-quality photo mode. A solid, even press is absolutely key for a vibrant transfer.
Fixing Cracking and Peeling Designs
There's nothing more defeating than pulling a shirt out of the first wash only to find your beautiful design is cracking and peeling off. This almost always means the transfer didn't fully bond with the fabric in the first place.
The cause usually traces back to not enough heat, not enough pressure, or peeling the backing paper off at the wrong time.
To avoid this disaster, make sure you're pressing for the full recommended time and applying strong, consistent pressure over the entire design area. And pay close attention to the instructions: does your paper call for a "hot peel" (removing the backing immediately) or a "cold peel" (letting it cool down first)? Peeling at the wrong temperature is a surefire way to wreck the bond and create a transfer that just won't last.
Tackling Your Top Questions About Transfer Paper
Even after walking through the steps, a few questions always seem to come up, especially for first-timers. Let's clear up those last-minute uncertainties so you can start your project with confidence.
Can I Use My Laser Printer?
This is probably the most common question I hear. The answer is a hard no, at least not with the standard transfer paper you find for DIY projects.
Heat transfer paper is specifically designed to work with the water-based inks from an inkjet printer. These inks soak into a special coating on the paper, which then releases the design onto your fabric when heat is applied.
Laser printers, on the other hand, use a fine plastic powder (toner) and heat to fuse it to the page. If you run an inkjet transfer sheet through a laser printer, not only will it not work, but you also risk melting the coating inside your printer and causing some serious damage.
Which Side of the Paper Do I Print On?
It sounds simple, but getting this wrong means your project is a non-starter. Transfer paper has a printing side and a backing. You always print on the coated side, which is where your design will sit. This side usually feels a bit smoother or looks brighter white.
Thankfully, many brands make it easy by printing their logo or a grid on the backing. If both sides are blank, just do a quick touch test. The side that feels slicker or more "finished" is the one you want.
My Go-To Tip: I always recommend doing a small test print first. Just print a tiny shape in the corner of a sheet. This quick check confirms you've loaded the paper correctly and that your printer settings are dialed in for the best color.
What Kind of Fabric Works Best?
Fabric choice is a big deal. Transfer paper is fantastic for cotton and poly-cotton blends—think t-shirts, hoodies, and tote bags.
However, you'll want to avoid 100% polyester or fabrics with a lot of stretch, like ribbed tanks. The high heat from a press can easily scorch synthetic materials. Plus, the transfer itself doesn't stretch, so it will crack and peel on a stretchy garment almost immediately. Stick with stable, flat fabrics for a result that actually lasts.
Do I Really Need a Heat Press?
For a small, one-off project, a household iron can get the job done. But if you're looking for professional, durable results, a heat press is non-negotiable.
An iron simply can't deliver the consistent, high temperature and heavy, even pressure required to properly bond the transfer to the fabric fibers. A heat press ensures your design is properly cured, making it far more durable and wash-resistant.
If you're looking for professional, durable, and vibrant designs without the hassle of printing yourself, Raccoon Transfers offers premium Direct-to-Film (DTF) transfers that apply perfectly every time. Just upload your artwork, and we'll handle the rest.