
How to Heat Press Flawless Custom Apparel
Getting your heat press set up and running is pretty simple on the surface—you prepare your gear, dial in the right temperature and time, and apply solid pressure. But the real secret to getting that perfect, professional-looking press every single time? It all comes down to matching your settings to your specific transfer and garment material. Having the right tools on hand from the start is what sets you up for success.
Building Your Essential Heat Press Toolkit
Before you even think about plugging in your machine, let's talk about building a solid foundation. Assembling a quality toolkit isn't about buying every gadget you see online. It's about knowing what each tool does and why it's critical for creating consistent, high-quality products you can be proud of.
The heat press is obviously the heart of the whole operation. These machines have become a true staple in the custom apparel world, and you can see that reflected in the global market. The industry is booming, especially in the Asia-Pacific region, which owned a massive 47.78% market share—worth about $375.7 million. That tells you just how vital these machines are to production worldwide.
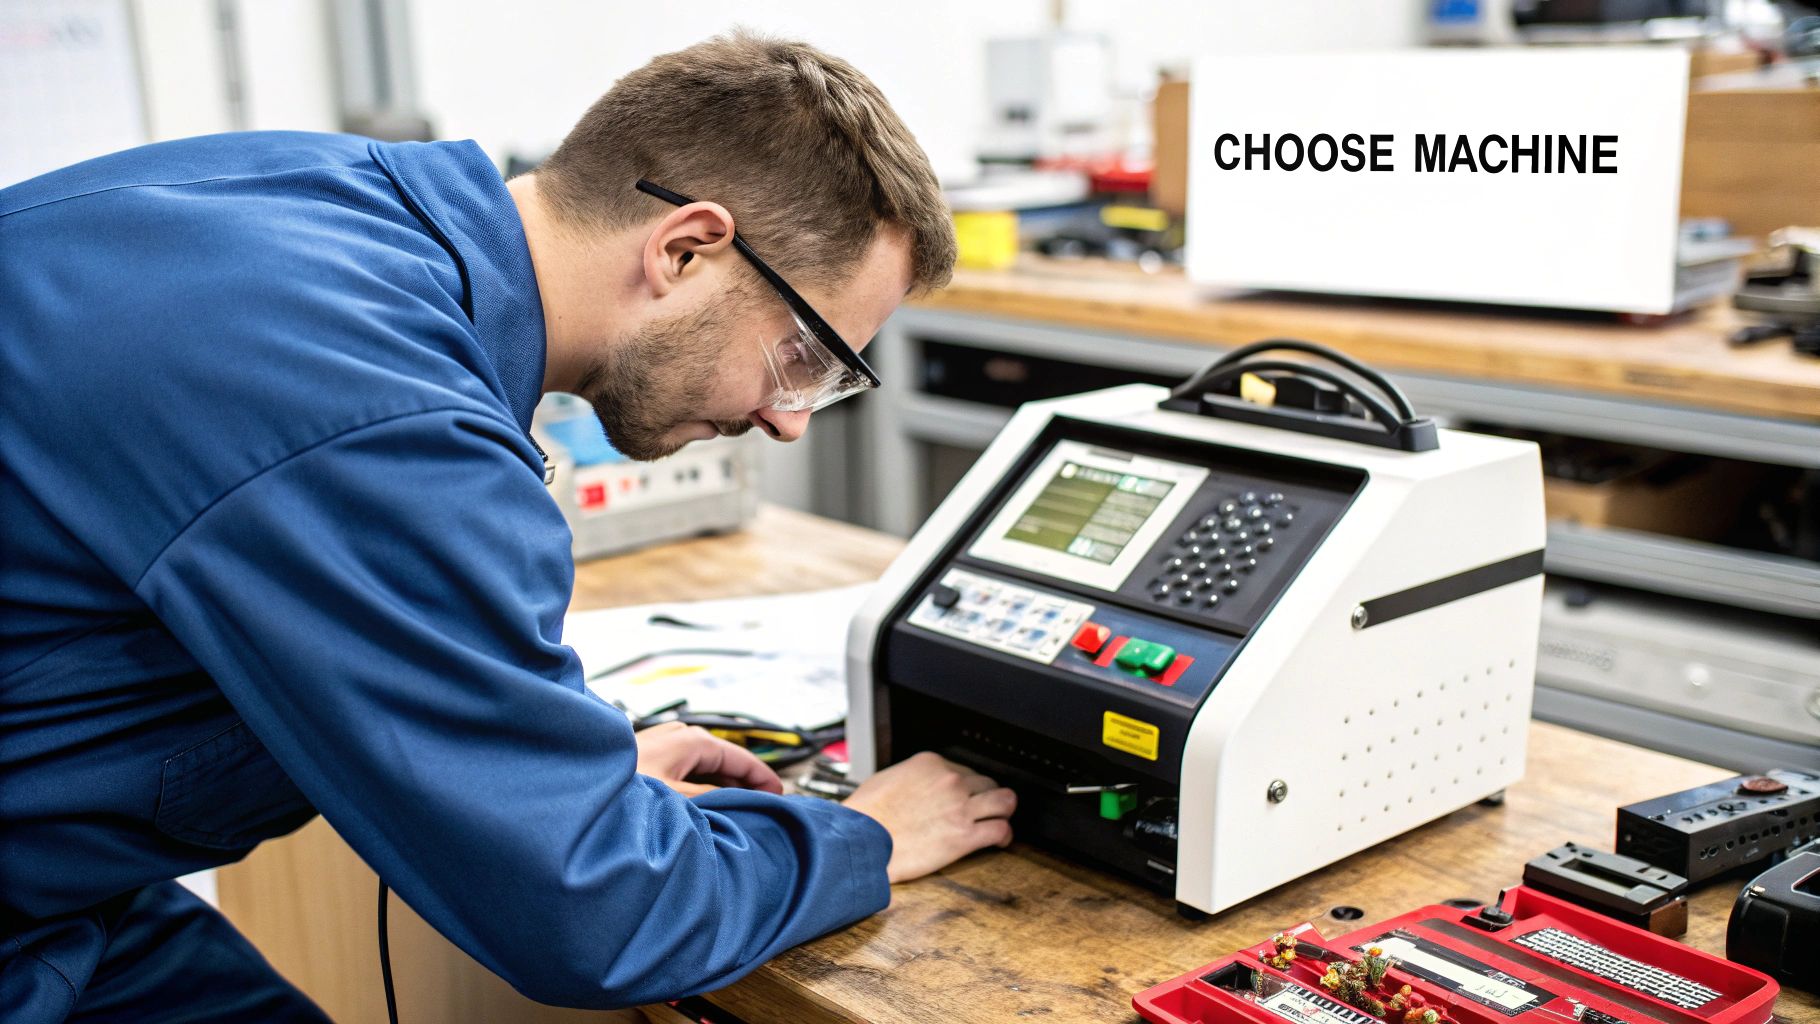
Choosing Your Heat Press
Your first big decision is what kind of press to get. There are three main styles out there, and each one has its pros and cons depending on your workspace and what you plan on making.
- Clamshell Press: This is the one you see most often, and it's usually the most budget-friendly. The top platen opens up and away like a clamshell, which is great for saving space. It’s perfect for t-shirts and other flat items, but I’ve found it can be a little tricky with thicker things like hoodies because the pressure isn't always perfectly even near the hinge.
- Swing-Away Press: Just like it sounds, the top platen swings completely away from the bottom platen. This gives you a wide-open workspace to lay out your garment and transfer without worrying about bumping into a hot surface. The downside? It needs a lot more horizontal room to operate.
- Drawer Press: This is a neat hybrid design. The bottom platen slides out toward you like a drawer, giving you the easy layout of a swing-away but with a smaller footprint that's closer to a clamshell.
The Tools and Gear You Can't Skip
Okay, you've got the press. Now for the accessories. These aren't just "nice-to-haves"—they're the tools that will protect your garments, your press, and your final design from common (and costly) mistakes.
To make it clear, here’s a breakdown of what you absolutely need in your toolkit and why.
Essential Heat Press Equipment and Accessories
| Item | Primary Function | Why It's Critical |
|---|---|---|
| Teflon Sheet or Parchment Paper | Protective Barrier | Prevents ink from getting on your platen and shields fabric from scorching. This is non-negotiable. |
| Heat-Resistant Tape | Secures Transfer | This special tape holds your design perfectly still, preventing "ghosting" or blurry images. Regular tape will melt. |
| Pressing Pillows | Creates an Even Surface | These foam-filled pads raise the application area above seams, zippers, or buttons for perfectly even pressure. |
The difference between a scorch mark and a perfect print often comes down to one simple, inexpensive tool: a protective cover sheet. Never press directly onto a transfer without one.
Think of a Teflon sheet or even simple parchment paper as your insurance policy. It sits between the hot platen and your garment, stopping ink from seeping onto your platen and protecting delicate fabrics from getting that dreaded shiny, scorched look.
Heat-resistant tape is another must-have. I’ve seen countless good prints ruined because the transfer shifted just a millimeter during pressing. This specialty tape can take the heat without leaving sticky gunk behind, ensuring your design stays put.
Finally, pressing pillows are your secret weapon for anything that isn't perfectly flat. Trying to press over seams, zippers, or thick collars? A pillow slides inside the garment and lifts the print area, so the platen makes clean, direct contact only where it needs to.
This entire setup is foundational, no matter if you're working with DTF prints or other transfer types. For those of you also exploring paper-based methods, you might find our specific advice on how to use heat transfer paper helpful for those particular materials.
Getting Your Garments and Transfers Ready for a Perfect Press
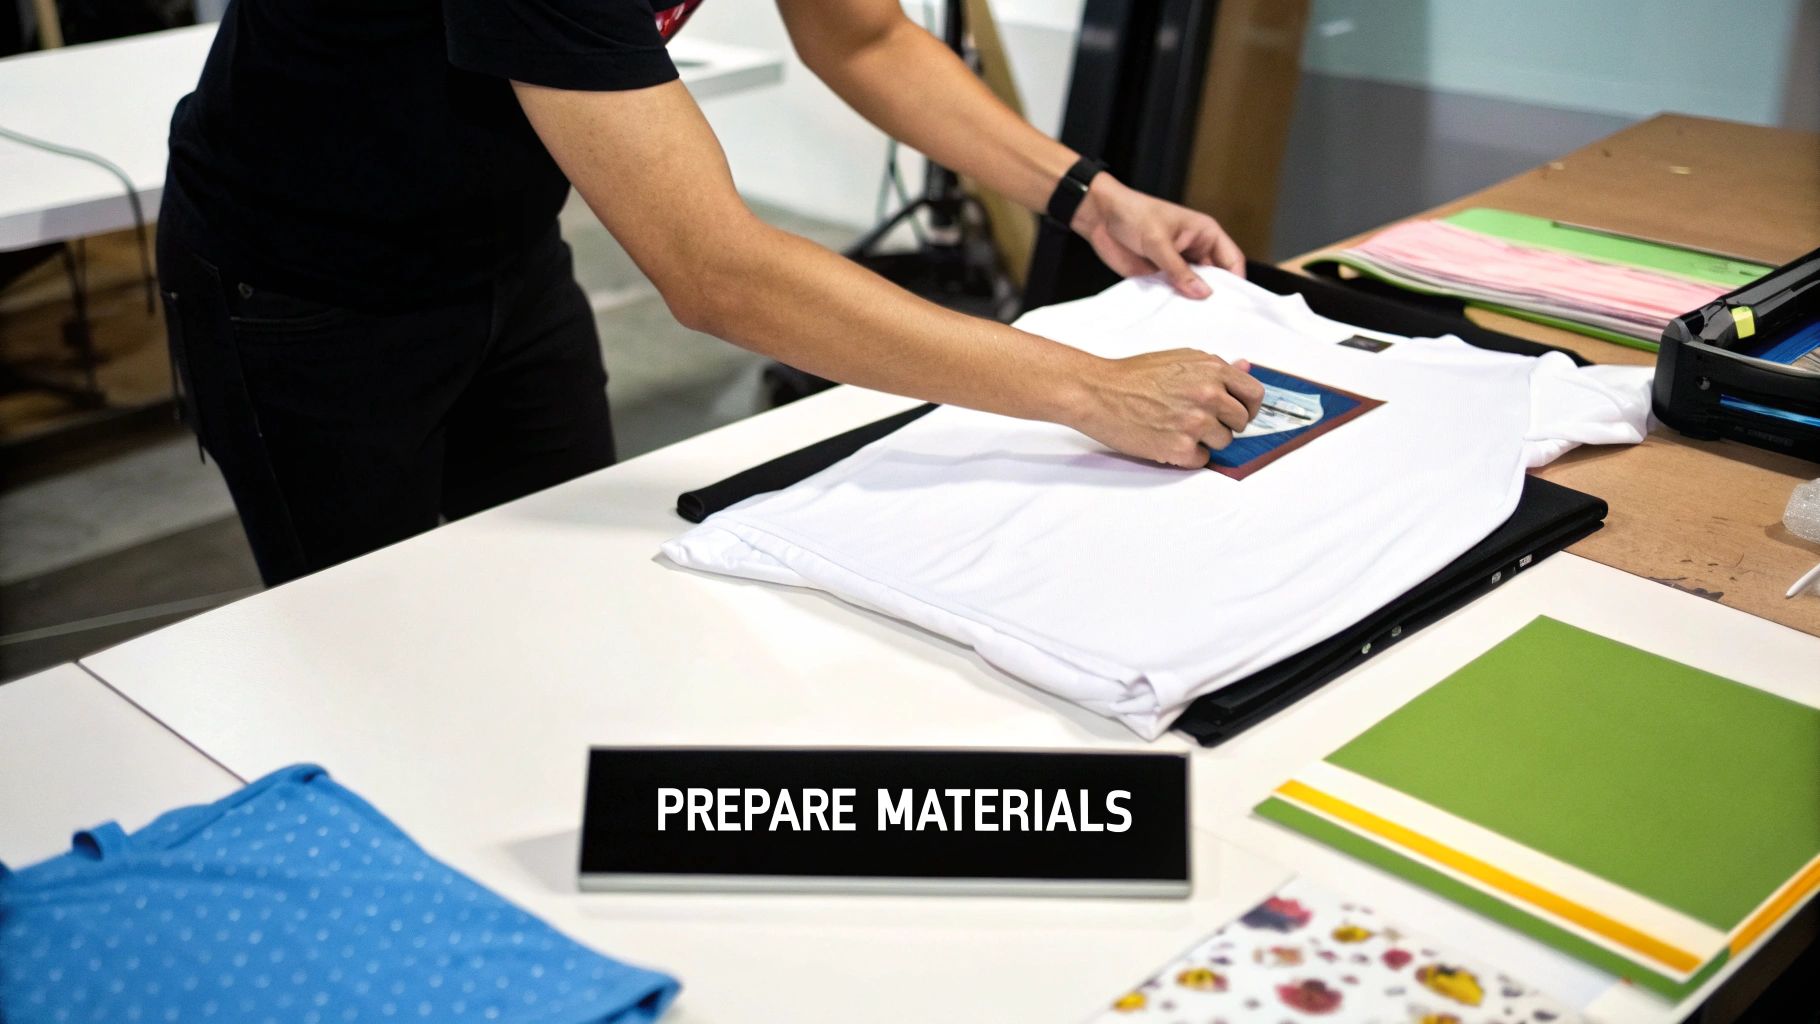
I’ve seen it time and time again: the real difference between a design that looks amateur and one that looks truly professional comes down to the prep work. What you do before the transfer ever touches the garment is what sets the stage for a flawless, durable result you can be proud of.
Your first move, even before you turn on the press, should be to give your transfer a quick but careful once-over. Check for any little printing mistakes, dust specks, or damage from shipping. It’s a lot less painful to find an issue now than after it’s permanently bonded to a perfectly good piece of clothing.
The One Step You Can't Afford to Skip: The Pre-Press
After your transfer passes inspection, it’s time to prep the garment itself. This is where so many people go wrong by skipping the pre-press. Trust me on this—every single fabric, no matter how dry it feels, is holding onto some moisture.
Trapped moisture is the arch-nemesis of a good transfer. When you apply heat, that moisture turns into steam, getting between the adhesive and the fabric fibers. The result? A weak bond that won't last.
The fix is incredibly simple. Just lay your garment on the lower platen and press it for 5-10 seconds at your target temperature. This quick step does two critical things: it zaps every last bit of that hidden moisture and smooths out any wrinkles, creating a perfectly flat canvas. This single action is probably the biggest thing you can do to boost the wash durability and overall quality of your work.
Set Up Your Workspace for Success
Your physical environment makes a huge difference in how smoothly things run. A well-organized space lets you work with confidence and efficiency, which is key to preventing silly, and often costly, mistakes. Think of it as your own little production line.
First things first, make sure your heat press is on a sturdy, stable surface. A wobbly press is not only a safety risk but can also cause uneven pressure, leading to patchy transfers.
Next, think about your workflow. Arrange everything logically so you can fall into a natural rhythm.
- Blanks: Have your stack of t-shirts or hoodies within easy reach.
- Transfers: Keep your inspected transfers nearby on a clean, flat surface.
- Tools: Have your heat-resistant tape, rulers, and cover sheets right where you need them. No one wants to be fumbling for tools with a hot press waiting.
This kind of setup saves a ton of time and mental energy, letting you focus on what matters—getting the placement and press just right. Also, don't forget about ventilation. Some materials can give off fumes when heated, so a well-ventilated room is always a good idea for your comfort and safety.
Nailing That Perfect Placement
Finally, let's talk about placement. A great press on a crooked design is still a failed shirt. While a common guideline is to place the top of the design about three inches below the collar, this isn't a hard-and-fast rule. It can change depending on the shirt size, the customer, and the design's shape.
For consistency, especially on bigger orders, a clear t-shirt alignment tool or even a simple measuring tape is your best friend. Before you lock everything down, take a second to step back and just look at it. Does it seem visually balanced? This final gut check is your last chance to avoid that sinking feeling of placement regret. Getting this right is a huge part of learning how to heat press like you’ve been doing it for years.
Dialing In Your Temperature, Time, and Pressure
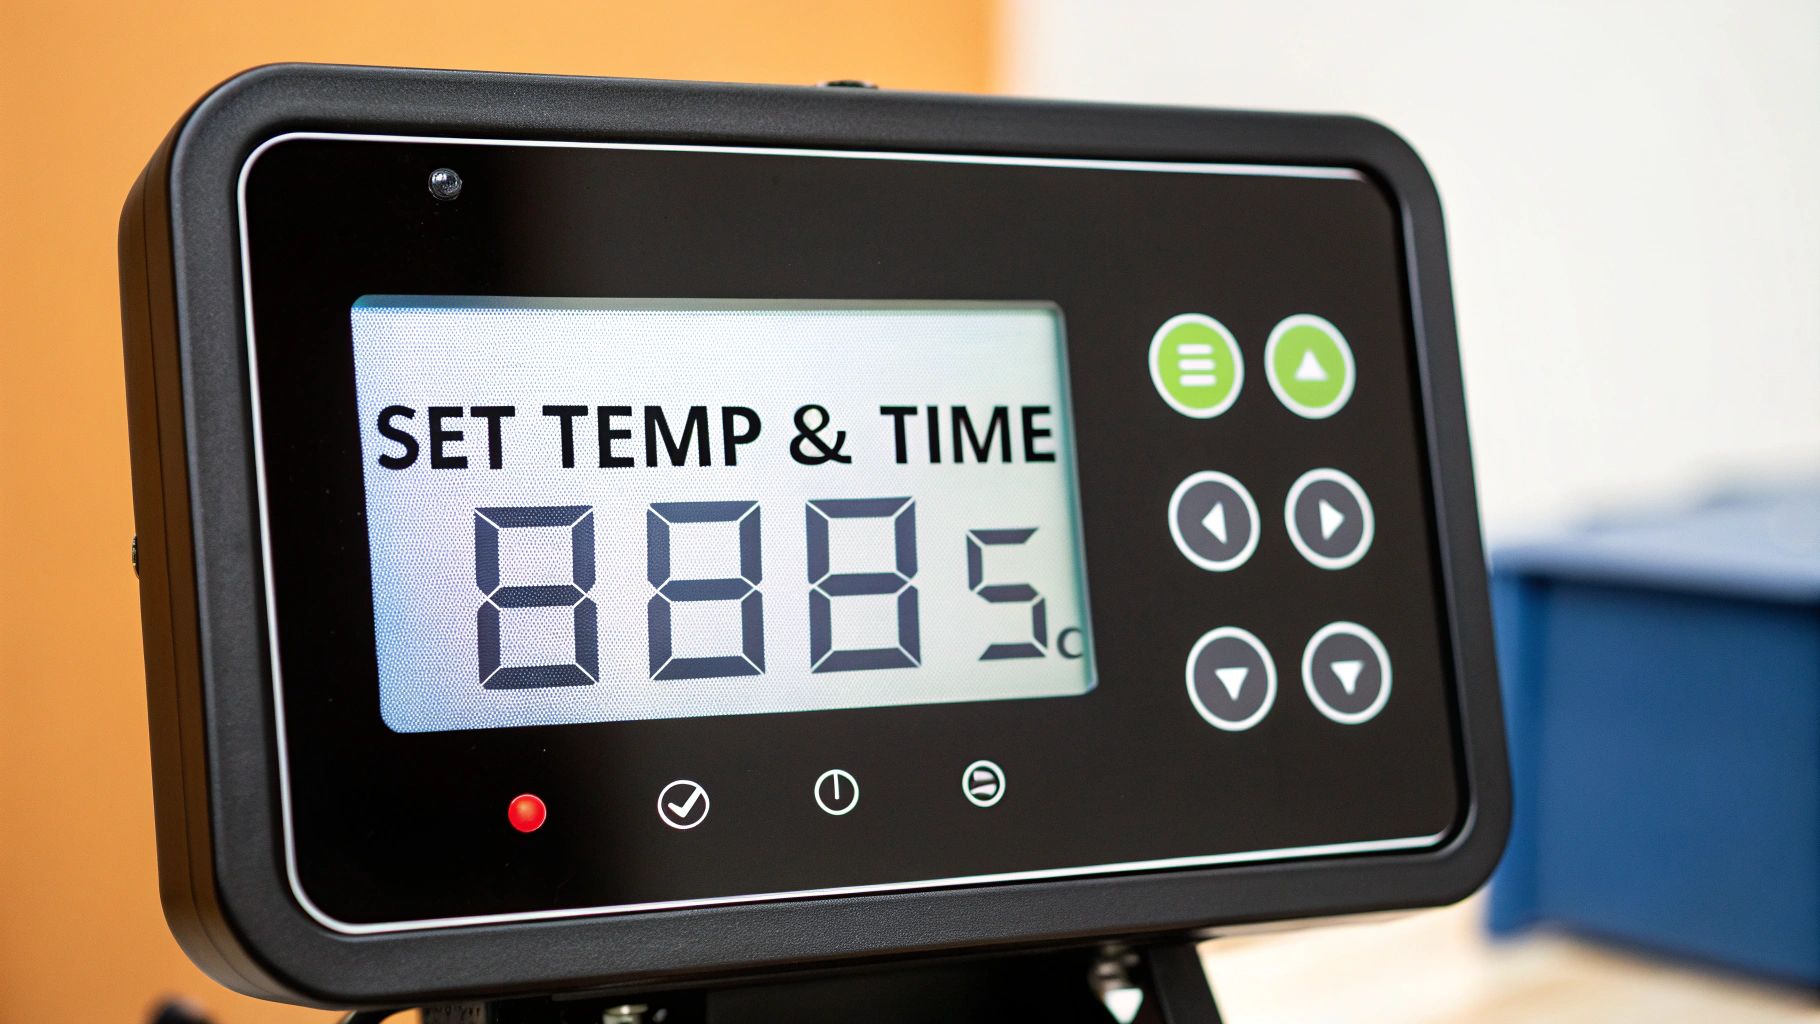
This is where the magic really happens. Getting the perfect combination of temperature, time, and pressure is the secret to unlocking those vibrant, durable designs that keep customers coming back. Think of these three settings as a delicate dance—when one changes, the others often need a slight adjustment to keep everything in sync.
The interplay between these three variables is what separates a professional-grade product from a quick, amateur attempt. It’s a core reason heat pressing has become so popular, offering precise control that leads to consistently great results.
Understanding the Big Three Variables
Before you can master your settings, you need to understand what each variable actually does. It's less about memorizing numbers and more about grasping the science behind the process.
-
Temperature: This is what activates the adhesive on your transfer, allowing it to bond with the fabric's fibers. If the heat is too low, the transfer won't stick properly. Go too high, and you risk scorching the garment or even melting the transfer.
-
Time: This refers to how long the heat and pressure are applied. It needs to be just long enough for the adhesive to fully cure and create a permanent bond. Too short, and it'll peel off after the first wash; too long, and you can damage both the design and the garment itself.
-
Pressure: This is the force that physically embeds the transfer into the fabric's weave. The right pressure ensures a complete, even bond across the entire design, from the center right out to the finest edges.
Your settings aren't just recommendations; they're a recipe. You wouldn't bake a cake at the wrong temperature and expect good results, and the same logic applies here. Consistency is everything.
Starting Points for Different Materials
Every fabric and transfer type has its own sweet spot. While you should always start with the instructions from your transfer supplier, having a solid baseline gives you a huge head start. For most DTF transfers, the settings below are a reliable place to begin.
I've put together this quick-reference chart to give you some go-to starting points.
Recommended Heat Press Settings by Material
| Material / Transfer Type | Temperature Range (°F/°C) | Time (Seconds) | Pressure Level |
|---|---|---|---|
| DTF on 100% Cotton | 300-320°F / 149-160°C | 10-15 seconds | Firm |
| DTF on 100% Polyester | 260-280°F / 127-138°C | 8-12 seconds | Medium |
| DTF on 50/50 Blends | 280-300°F / 138-149°C | 10-12 seconds | Firm to Medium |
| Heat Transfer Vinyl (HTV) | 305-320°F / 152-160°C | 15-20 seconds | Firm |
These are fantastic starting points, but always remember that real-world factors can require small adjustments. For example, a thick, heavy hoodie will soak up more heat than a thin t-shirt, so you might need to add a few degrees or a couple of extra seconds to get the same result.
For a much deeper dive into this, you can check out our complete guide on the best heat press settings for DTF transfers.
Recognizing the Visual Cues
Once you press a design, the result will tell you everything you need to know about your settings. You just have to learn how to read the signs.
Signs of a Perfect Press:
- You can see the fabric's texture slightly showing through the transfer.
- All the edges are sealed down tight, with no lifting or peeling.
- The colors look bright and true to your original design file.
Signs of Trouble:
- Too Much Heat/Time: The garment might look shiny or scorched around the design. The transfer itself could look melted or have an overly plastic sheen.
- Not Enough Heat/Time: The transfer peels off easily, either completely or just around the edges. It simply didn't get enough energy to cure.
- Incorrect Pressure: If you see patchy spots or lifting in the middle of the design, your pressure is likely too low or uneven. If the design is pushed so deep into the fabric that it looks thin, your pressure might be way too high.
How to Perform a Peel Test
The peel test is your final, most important quality check. The "peel" is just removing the carrier film after pressing. Depending on your transfer (hot, warm, or cold peel), timing is critical. For DTF, this is almost always a cold peel, which means you must wait until the garment is completely cool to the touch.
When you're ready, peel the film back slowly and at a low angle. Keep a close eye on the edges of the design. If you see any part of the transfer trying to lift up with the film, stop immediately. Don't force it! This is a clear sign the bond isn't fully set. Just place your protective sheet back over the design and press it again for another 5-7 seconds. This little extra time is usually all it takes to finish the cure.
Bringing Your Design to Life: The Pressing and Peeling Process
Alright, you've got your settings dialed in and your garment is prepped and ready. Now for the fun part—actually pressing the design. This is where all that careful prep work pays off, and you get to see your vision become a reality. The process itself is pretty straightforward, but getting a clean, professional finish comes down to precision.
Nailing the Placement and Prep
First things first, let's talk about alignment. A slightly crooked design can sink the whole project, turning a great shirt into a giveaway. While you might see seasoned pros just eyeballing their placement, there's no shame in using a tool to get it perfect every time. A simple t-shirt alignment tool or even a basic ruler is your best friend here. It takes the guesswork out of centering the transfer and ensures it's perfectly straight.
Once you’re happy with the positioning, lock it down. A couple of small pieces of heat-resistant tape will keep that transfer from shifting. Trust me, this tiny step is your best defense against "ghosting"—that frustrating, blurry shadow you get when a transfer moves even a millimeter as the press closes.
Executing the Perfect Press
Now for the main event. When you're layering everything on your heat press, there’s a specific order to follow to protect both your gear and your garment.
- Garment on the Platen: Start by laying your pre-pressed garment flat on the lower platen. Smooth out any wrinkles in the application area.
- Transfer in Position: Next, place your taped-down transfer onto the garment. Give it one last look to make sure it's exactly where you want it.
- Protective Sheet on Top: Finally, always cover the transfer with a protective sheet. A Teflon sheet or even a piece of parchment paper works great. This vital layer prevents ink from seeping onto your upper platen and shields the garment from direct, scorching heat.
With your sandwich built, go ahead and close the press. Let the machine do its thing. When the timer beeps, open the press smoothly. Now, pause. What you do next is absolutely critical and depends entirely on your transfer type.
The number one reason I see transfers fail is peeling too soon. With DTF transfers from Raccoon Transfers, you're almost always dealing with a cold peel. Patience isn't just a virtue here; it's a requirement for success.
Let the garment and the transfer film cool down completely. I mean cool to the touch. This could take anywhere from 30 to 60 seconds. Rushing this step prevents the adhesive from fully setting into the fabric fibers, which is what creates that permanent bond.
This image breaks down how the key elements of heat, time, and pressure all work in concert during the press cycle.
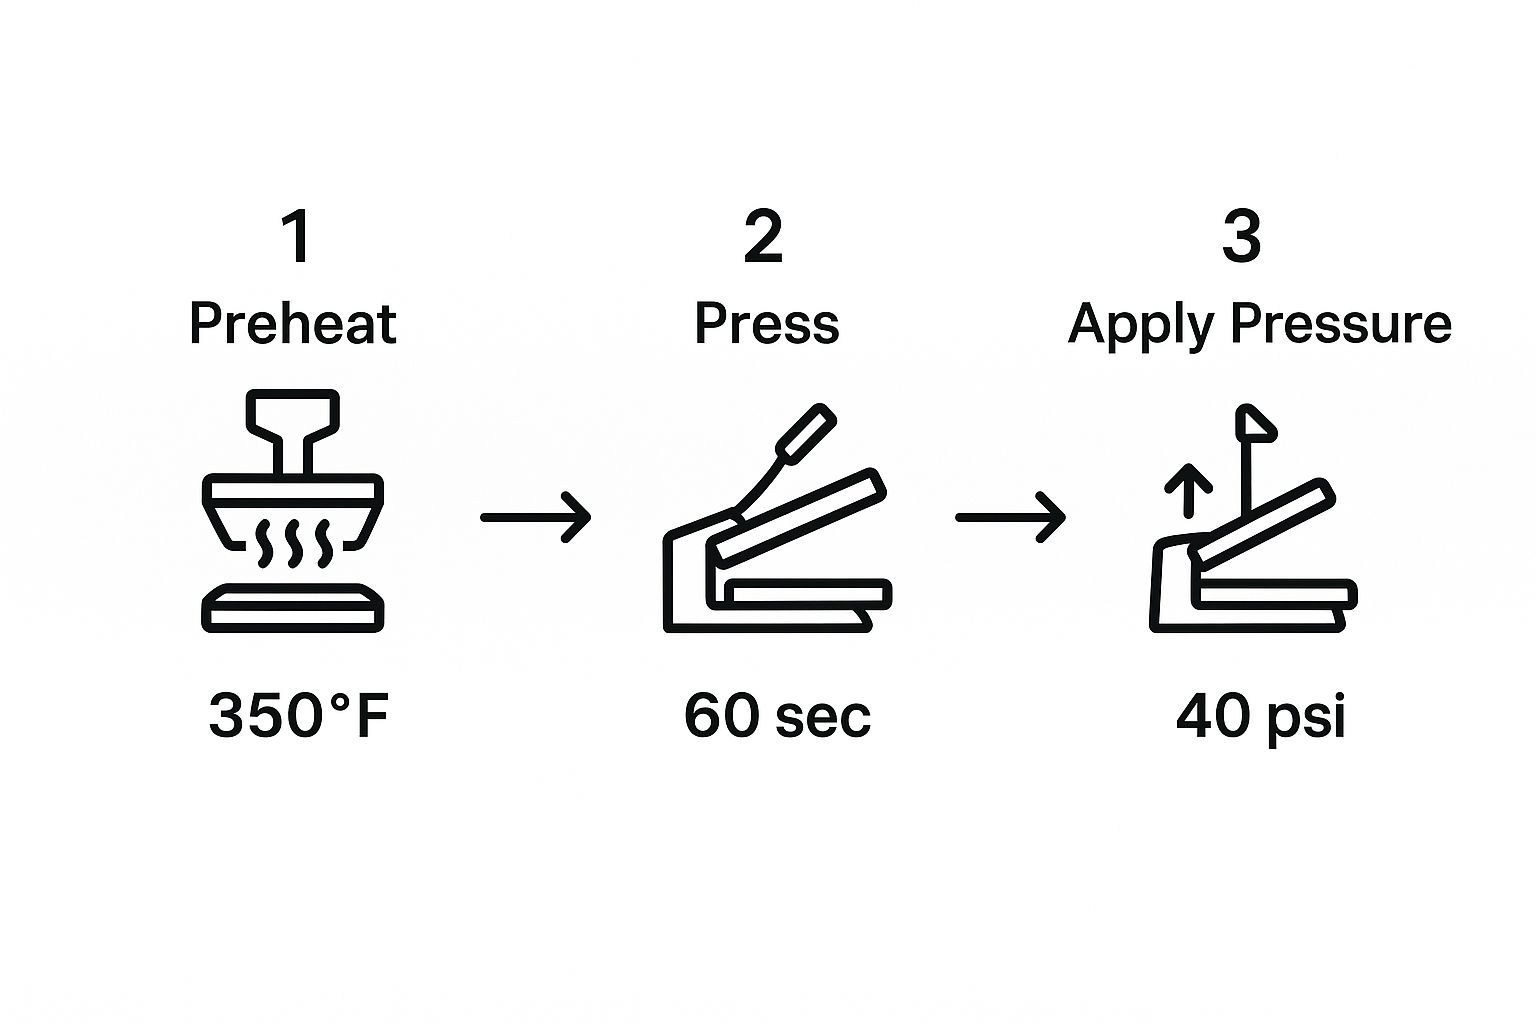
Think of it as the magic triangle—get one side wrong, and the whole thing can collapse.
Mastering the Cold Peel Technique
Once everything is cool, it's peeling time. How you peel is just as important as when you peel.
Start at a corner and peel the film back slowly. The key is to use a low, sharp angle, almost rolling the film back over itself. Whatever you do, don't just yank it straight up; that can stretch the design or, worse, pull it right off the shirt.
Keep a close eye on the design as you go. If you notice any part of it trying to lift up with the film—especially tiny details or fine text—stop immediately.
Don't panic. Just lay the film back down, cover it with your protective sheet, and give it another short press for 5-10 seconds. That extra bit of heat is usually all it needs to finish curing.
After the film is off, you have one last optional, but highly recommended, step for a truly premium finish. Place your protective sheet directly over the exposed design and press it one more time for just 5-7 seconds. This final press melts the design into the fabric, gets rid of any plastic-y shine, and makes it feel incredibly soft. The result is a transfer that doesn't just look professional—it feels like it’s part of the garment itself.
Troubleshooting and Fixing Common Heat Press Problems
Even with the best prep, things go wrong. It happens to everyone. When you're learning the ropes of heat pressing, running into a few hiccups is just part of the game. The real skill is knowing how to figure out why it happened so you can fix it and not make the same mistake twice. Instead of getting frustrated, look at it as a learning experience.
This guide will walk you through the most common issues I see, helping you diagnose the cause and get back to making great-looking products. From transfers that won't stick to colors that look washed out, there's almost always a simple explanation and a straightforward fix.
Why Is My Transfer Peeling or Lifting?
This is, without a doubt, the number one problem people run into, especially when they're starting out. You pull a shirt off the press, it looks perfect, but then after one wash—or sometimes right after it cools—the edges of the design start to lift up. In my experience, nine times out of ten, this comes back to one of the core settings being off.
The most likely culprit is insufficient pressure. If your press isn't clamping down hard enough, the adhesive simply can't get a good grip on the fabric's fibers. For the DTF transfers from Raccoon Transfers, you need to feel that you're applying firm, solid pressure. It shouldn't be a struggle to close, but it shouldn't feel loose, either.
Another common cause is the wrong temperature or time. If your heat platen is too cool or you don't press it for long enough, the adhesive won't fully melt and cure. Go back to the recommended settings for your specific material and, as a first troubleshooting step, try adding a few extra seconds to your press time.
A lifting edge is your transfer’s way of telling you it didn't get enough of something—usually pressure or time. Before you do anything else, check these two variables first. It's often the simplest fix.
Finally, don't forget about the cold peel. With DTF, peeling the film carrier sheet while it's still warm is a surefire way to get lifting. That adhesive needs to cool down completely to lock itself into the garment. Be patient and wait until the film is cool to the touch before you peel.
Solving Faded or Cracked Designs After a Wash
Have you ever had a design look fantastic right off the press, only to have it crack or fade dramatically after its first trip through the laundry? That's a classic sign of an incomplete cure. The bond was strong enough to look good initially, but not durable enough to handle the wear and tear of a wash cycle.
This is almost always a temperature or time issue. The settings you used were probably just enough to get the transfer to stick, but not enough to create that tough, permanent bond that DTF is known for.
To fix this and improve washability, try these steps:
- Increase Dwell Time: Start by adding an extra 3-5 seconds to your press.
- Verify Temperature: Make sure your press is actually reaching the temperature it displays. A cheaper press might say it's at 320°F but only be heating to 280°F in reality. An infrared temperature gun can be a lifesaver here.
- Do a Final Press: This is crucial. After peeling the film, always cover the design with a protective sheet and do a final press for 5-7 seconds. This final blast of heat helps fully cure the ink and makes a huge difference in durability.
Dealing with Garment Scorch Marks or Discoloration
There's nothing more disheartening than seeing a faint, brownish box around your design where the heat platen made contact. That's called scorching, and it happens when the heat is simply too high for the fabric you're working with. Synthetics like polyester are especially prone to it.
The immediate fix is to lower your temperature. Every fabric has a scorch point, and if you're seeing marks, you've gone past it. For 100% polyester, for example, you should be pressing at much lower temperatures (around 260-280°F) than you would for cotton.
A Teflon or parchment paper cover sheet is also your best friend here. This simple barrier helps diffuse the direct heat just enough to prevent scorching while still letting the transfer adhere properly.
Mastering these techniques is key to producing professional work. With the custom apparel market projected to hit $2.1 billion by 2033, getting your quality control dialed in ensures your products will stand out for all the right reasons. You can learn more about this trend in the global heat press market report.
Post-Press Care for Maximum Design Durability
Don't be fooled by the final beep of your heat press—the job isn't quite done yet. What you do after the press is just as critical as the application itself. This is where you lock in the quality and ensure your designs have the staying power to look great, wash after wash.
The golden rule here is patience. You absolutely must wait 24 hours before that first wash. This isn't just a suggestion; it's a non-negotiable step that allows the adhesive to fully cure and permanently bond to the fabric. Washing it too early is the fastest way to ruin a perfectly good transfer.
The First Wash and Beyond
When that 24-hour window has passed, it’s time to think about long-term care. A few simple instructions can make a world of difference. Always, always, always turn the garment inside out before tossing it in the wash. This simple habit shields the design from rubbing against other clothes and the inside of the machine, which is a major cause of wear and tear.
Stick to cold water. Hot water is the enemy of a good transfer, as it can slowly break down the adhesive over time and lead to cracking or peeling. The same logic applies to drying.
- Wash: Always use a cold, gentle cycle with the garment turned inside out.
- Dry: For best results, hang it up to air dry. If you must use a machine, tumble dry on the absolute lowest heat setting.
- Avoid: Keep bleach and fabric softeners far away from your custom apparel. These chemicals are far too harsh and will degrade the transfer.
Taking a moment to explain these care steps to your customers is crucial. It not only protects the integrity of your work but also ensures they stay happy with their purchase. A durable, great-looking design is your best form of advertising.
Following these guidelines is the secret to preserving the bond and vibrancy of the print. It directly impacts the lifespan of the design. For a more detailed breakdown, you can learn more about the longevity of DTF transfers in our dedicated guide.
Your Heat Press Questions, Answered
As you get the hang of heat pressing, you'll naturally run into some specific questions. Moving from a beginner to a pro is all about digging into the little details and understanding the "why" behind each part of the process. Let's go over a few of the most common things people ask.
Is Pre-Pressing Really That Important?
I get this one a lot, and the answer is always a firm yes. It might seem like an extra step, but it's probably the single most important one for making your transfers last. Every fabric, even if it feels bone dry, has moisture trapped in its fibers. When your heat press comes down, that moisture turns to steam and tries to escape, pushing right up against the adhesive on your transfer.
This steam is the enemy of a good bond. It prevents the adhesive from properly melting into the fabric, which is why you see transfers peel or crack after just a few washes. A quick 5-second pre-press heats the fabric, releases that steam, and gives you a perfectly dry surface to work with. Think of it as cheap insurance for a high-quality, durable print.
What Does "Medium" or "Firm" Pressure Actually Feel Like?
This is a great question because it's not something you can easily measure without a fancy auto-press. For most manual presses, it comes down to feel.
I always tell people to think of it like a firm handshake. For firm pressure, you should need to use both hands and a little bit of your body weight to lock the press down. It shouldn't be a massive struggle, but it definitely shouldn't clamp shut with just one hand, either. If it closes too easily, you know your pressure is too light.
Can I Just Use a Regular Iron Instead of a Heat Press?
Technically, you can use an iron for some basic, craft-store iron-on vinyl. But for professional DTF transfers, it's a recipe for disappointment. The main issue is that a standard household iron has incredibly uneven heat. The plate is full of hot and cold spots, and it simply can't deliver the consistent, even temperature a DTF transfer needs to cure properly.
On top of that, you can't generate the heavy, uniform pressure required to bond the adhesive deep into the fabric's weave. Using an iron will almost always lead to peeling edges, cracked designs, and a patchy finish that won't hold up in the wash. A quality heat press is a true investment, but it's what separates a hobby project from a professional, sellable product.
Ready to create stunning, long-lasting custom apparel? The team at Raccoon Transfers provides premium, easy-to-use DTF transfers with next-day shipping to get your project started right away. Explore our DTF transfers today!