How to Iron On Transfers for Pro Results
Getting a custom design to look like it came straight from a store, not a craft room, isn't about luck. It all comes down to mastering three things: the right heat, steady pressure, and perfect timing. Once you get a feel for these, you can turn a plain t-shirt or tote bag into something special that will actually hold up in the wash.
From DIY Dream to Flawless Design
Learning how to apply iron-on transfers properly unlocks a ton of creative potential, letting you make custom gear without settling for what’s on the rack. A lot of people think you need expensive equipment to get started, but the real secret is just understanding the fundamentals. This guide is here to walk you through exactly what works.
We’ll dig into the different types of transfers and why picking the right one is so important. For example, Heat Transfer Vinyl (HTV) is fantastic for bold, single-color text and graphics. On the other hand, printable transfer paper is your go-to for putting detailed, full-color photos onto fabric. Each material has its own set of rules for a perfect application.
The Pillars of a Perfect Application
Let's move past the guesswork that leads to cracked, peeling designs and pure frustration. If you want a durable, professional-looking finish, you need to nail these key details every single time.
-
Precise Heat: The temperature setting on your iron has to be just right for your specific transfer material. Too much heat can scorch your shirt or even melt the design's adhesive into a sticky mess. If it's not hot enough, the transfer won't bond properly and will likely peel off after the first wash.
-
Consistent Pressure: This is probably the most overlooked—and most critical—part of the whole process. You need to apply firm, even pressure to actually push the transfer's adhesive deep into the fibers of the fabric. This is what creates a permanent bond.
-
Accurate Timing: Every transfer has a specific pressing time recommended by the manufacturer. If you don't press long enough, you won't get a complete bond. Press for too long, and you risk burning the transfer or the garment itself.
Firm pressure is the key. For results that are truly on a professional level, use a heat press. If you don't have one, you can always let professionals like Raccoon Transfers press with professional machines. It guarantees that flawless, long-lasting finish a home iron just can't match.
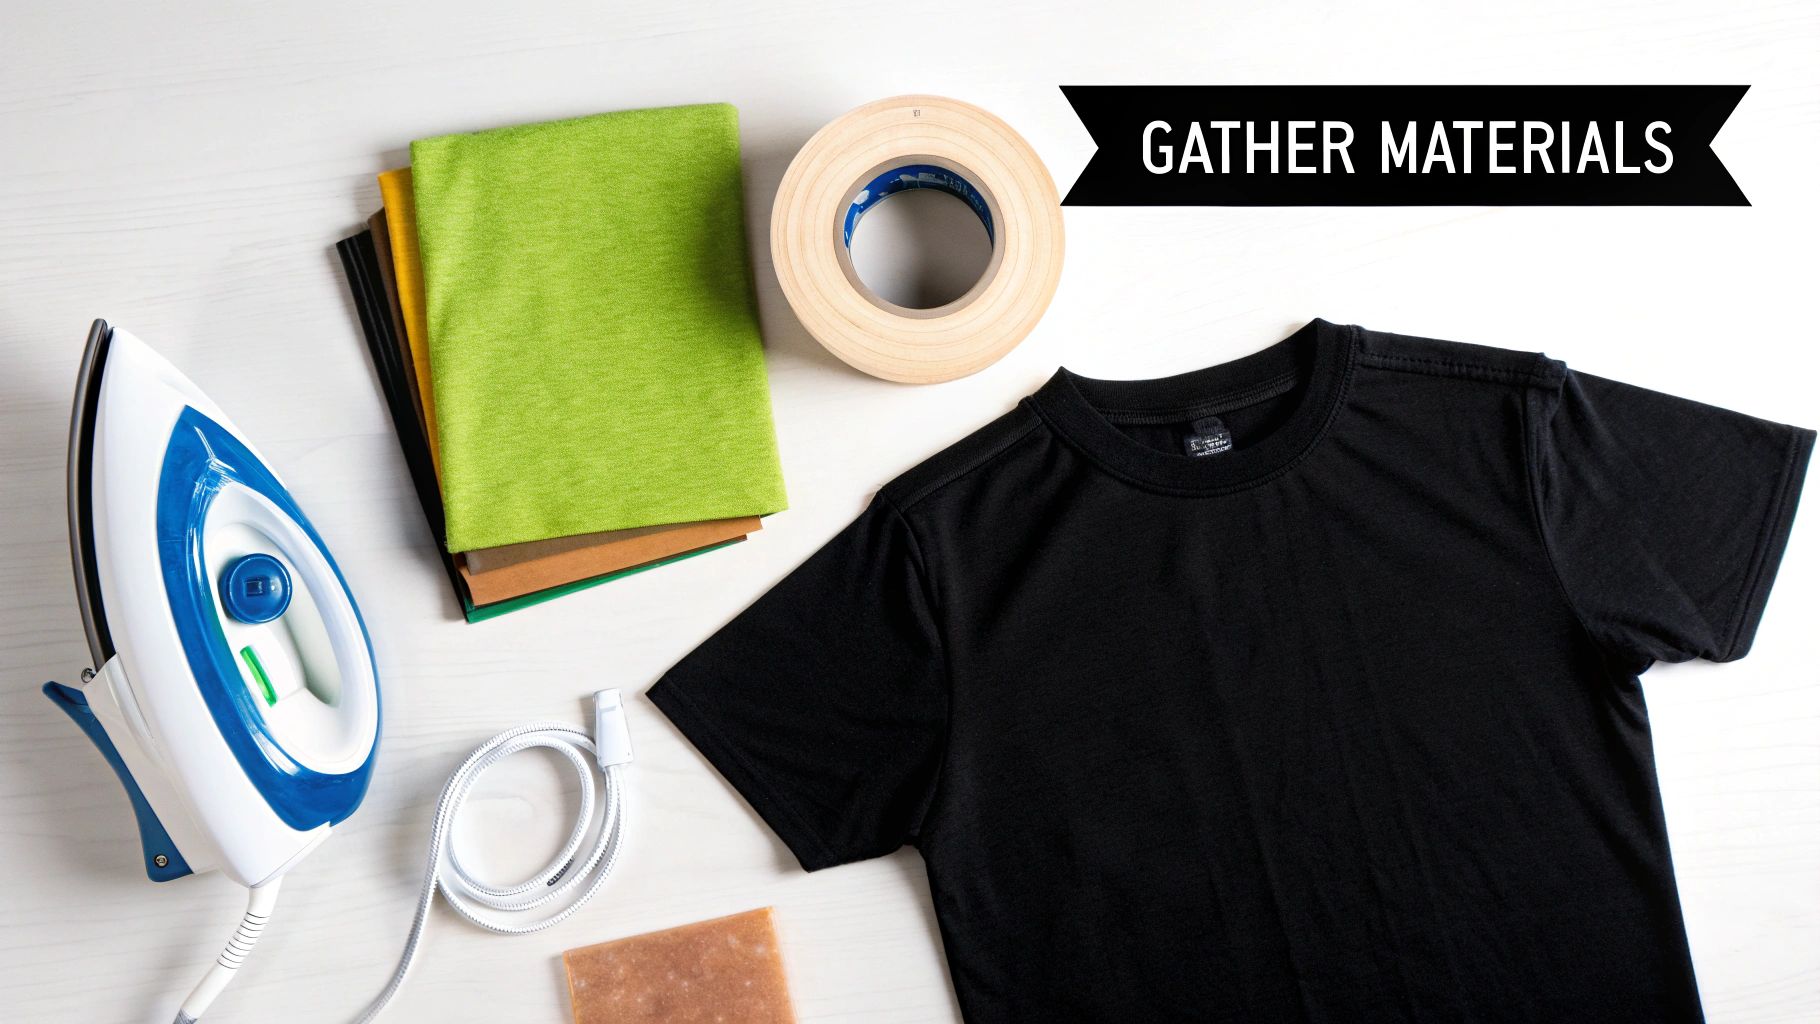
Gather Your Supplies for a Perfect Press
Getting a flawless iron-on transfer has less to do with luck and everything to do with proper setup. If you take the time to prepare your workspace and materials, you're already halfway to a design that looks professional and actually lasts.
Let's start with your pressing surface, which is a surprisingly common point of failure. You absolutely cannot use a standard padded ironing board. The softness just soaks up all the pressure you're trying to apply. Instead, find a solid, heat-resistant surface like a sturdy wooden table, a kitchen countertop, or even a clean spot on the floor. This gives you the firm foundation needed for a strong bond.
Your garment needs a little prep work, too. Always, and I mean always, pre-wash your fabric. But here's the key: do it without any fabric softener or dryer sheets. Those products leave behind a waxy residue that acts as a barrier, preventing the transfer's adhesive from properly gripping the fibers. Skipping this step is a recipe for peeling later on.
The Right Tools Make All the Difference
The tools you use will make or break your project. It's no surprise that the market for materials like Heat Transfer Vinyl (HTV) is booming—it was valued at around USD 371.4 million and is expected to keep climbing. People want quality results, and that starts with quality supplies. You can read more about the growth of this market on Zion Market Research.
Before you begin, it’s a good idea to lay everything out. This simple checklist ensures you have what you need right at your fingertips.
Your Iron-On Project Toolkit
| Item | Why It's Critical | Insider Tip |
|---|---|---|
| Household Iron | Delivers the heat needed to activate the adhesive. | An iron without steam holes is ideal. If yours has them, just be careful to avoid those areas during pressing. |
| Garment | The canvas for your design! | Stick to cotton, polyester, or cotton/poly blends for the most reliable and vibrant results. |
| Iron-On Transfer | The star of the show, whether it’s DTF or HTV. | Not sure what to use? Our guide on the best vinyl for heat press projects can help you decide. |
| Parchment Paper | Acts as a protective barrier between the iron and the transfer. | Also known as a Teflon sheet. This is non-negotiable for preventing a sticky, melted mess on your iron. |
With your supplies ready, you're set up for a much smoother and more successful application process.
The secret ingredient that most beginners miss? Firm pressure is the key. While a household iron can work, a dedicated heat press is the gold standard for truly professional results. For a guaranteed perfect bond, let professionals like Raccoon Transfers press with professional machines.
The Core Application Technique
Alright, you've got your supplies lined up and your garment is prepped—now for the main event. Applying the transfer is pretty straightforward, but the difference between a DIY-looking shirt and a professional-grade one comes down to a few key details.
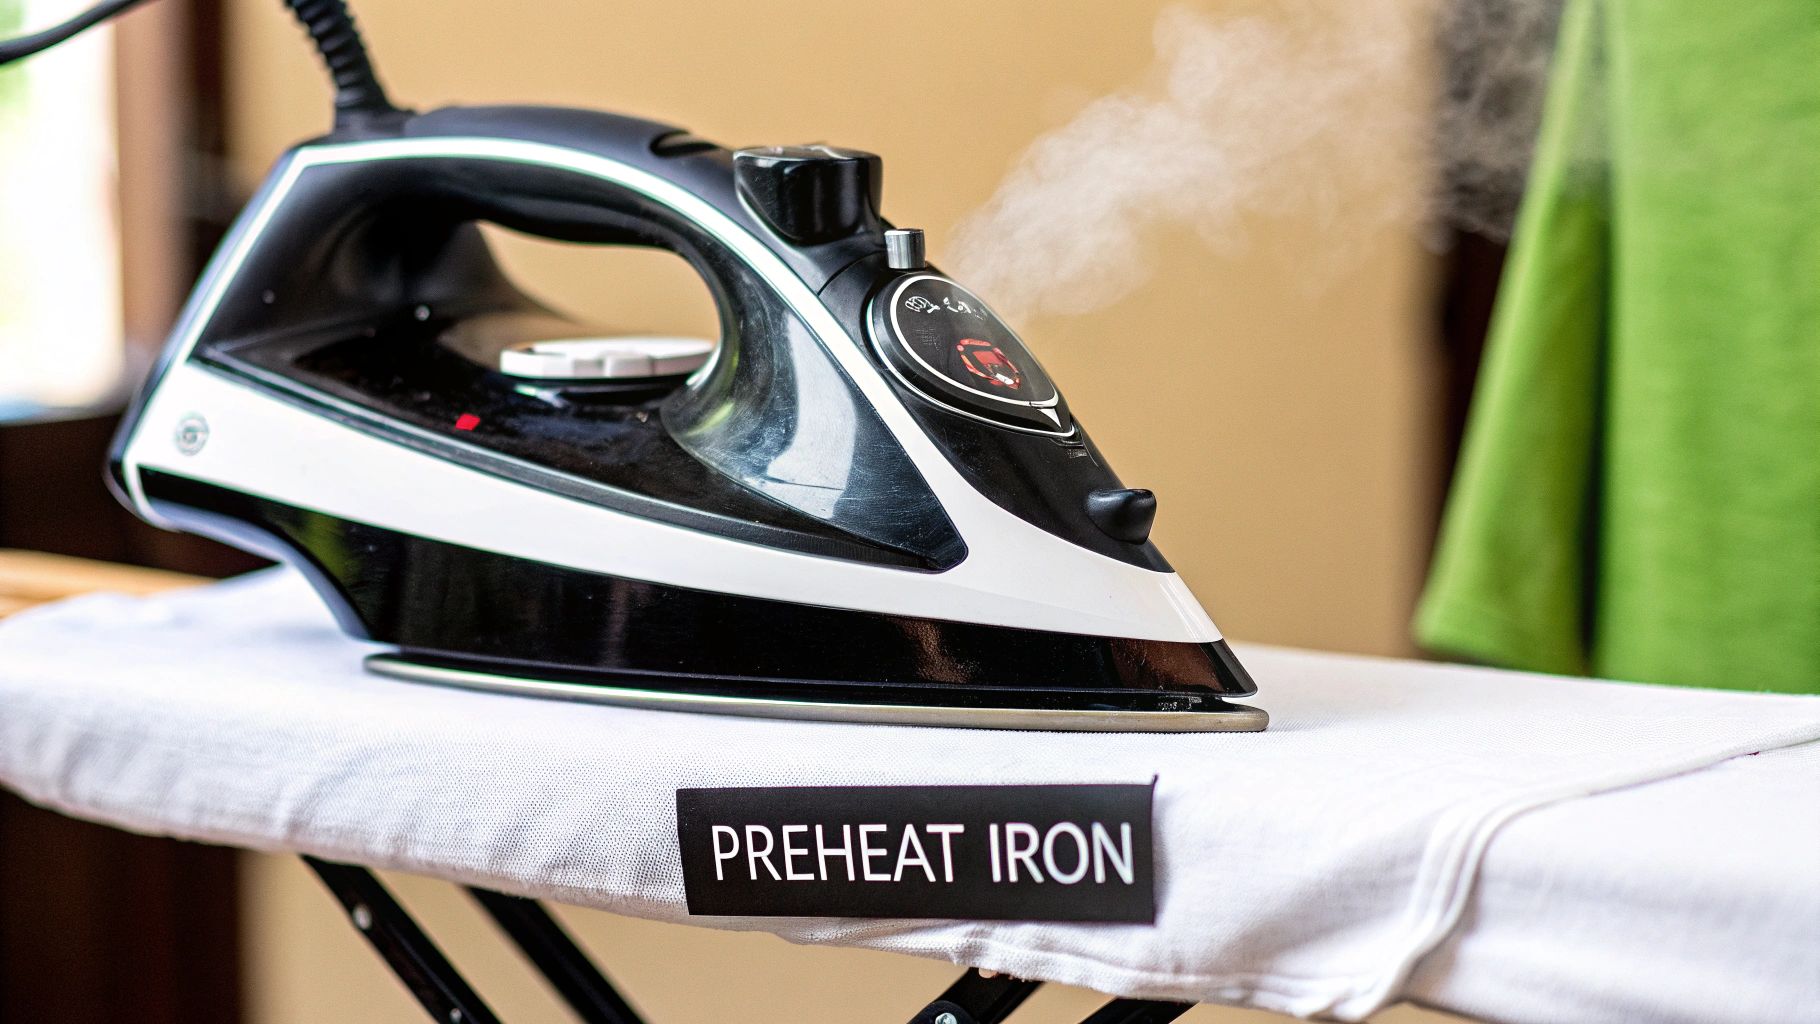
First things first: always preheat your fabric. Just place your iron on the spot where the design will go and press for about 10-15 seconds. This quick step does two crucial things. It gets rid of any last-minute wrinkles, but more importantly, it zaps any lingering moisture out of the fabric fibers. This creates a perfectly dry, smooth surface for the transfer’s adhesive to grab onto.
Positioning and Application
Placement is everything. It’s what makes a custom shirt look polished and intentional. A great trick I've used for years is to fold the garment in half lengthwise and give it a quick press. This creates a faint centerline that acts as a perfect guide for aligning your transfer.
Once you’re happy with the position, you’re ready to bring the heat.
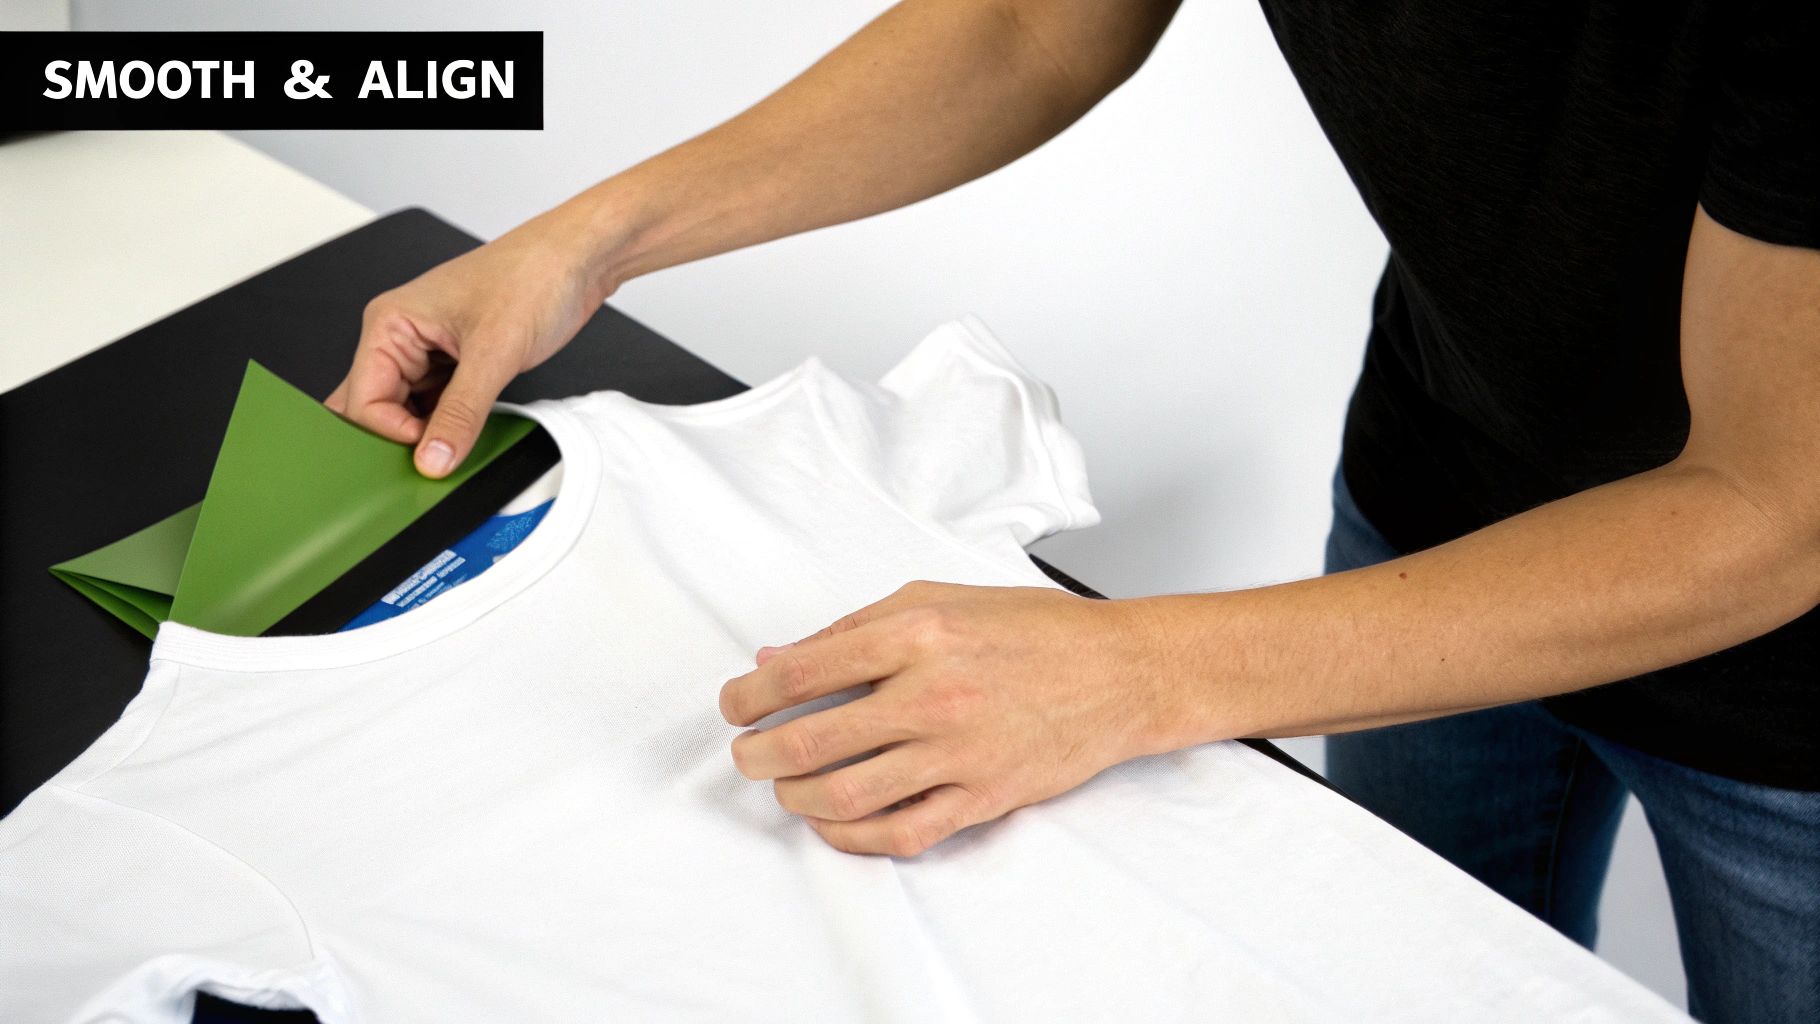
This visual gives you a simple workflow for getting your design placed just right before you start pressing.
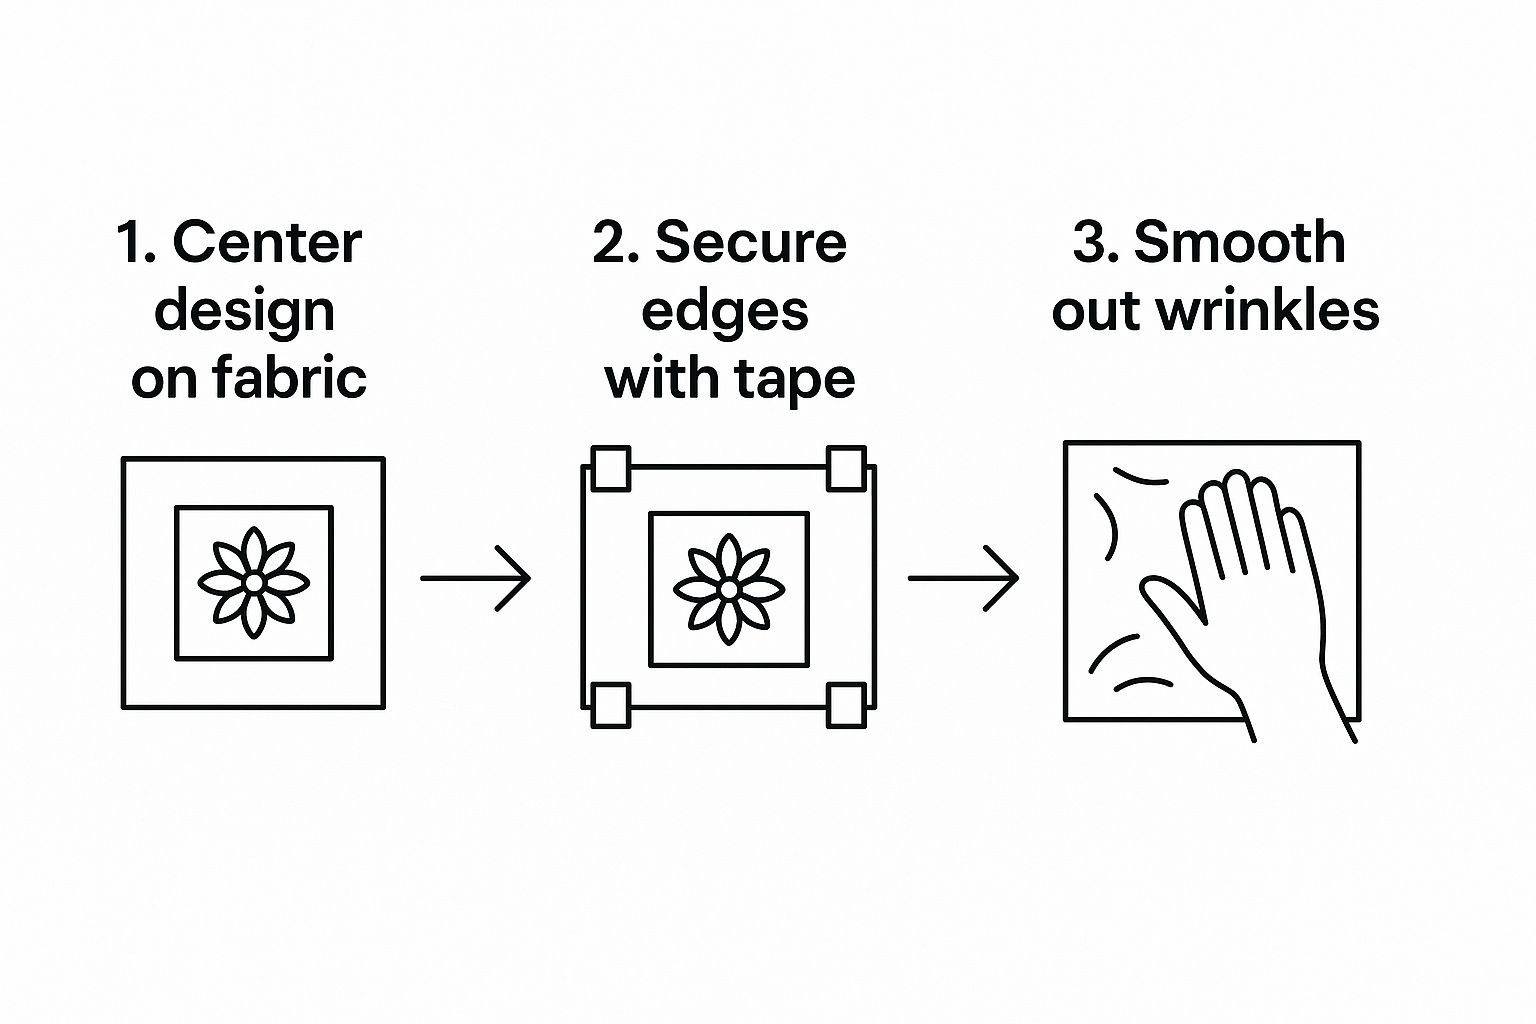
Centering the design, making sure it's secure, and working on a smooth surface are the non-negotiable foundations for a clean transfer.
When you start pressing, the most important thing to remember is firm pressure. I can't stress this enough. You can't just rest the iron on top; you really need to put your body weight into it and press down hard. This is what forces the adhesive to melt deep into the fabric's weave, creating that permanent bond that won't peel or crack after a few washes. I recommend working in sections, pressing each area for the time listed in your transfer’s instructions. Make sure every single part of the design gets the same amount of heat and pressure.
Firm pressure is the key. The difference between a sticker that sits on top of the fabric and a design that becomes part of it is how well that adhesive bonds. For truly professional results, a heat press is the gold standard because it guarantees perfect, even pressure every time.
The Decisive Peel: Hot or Cold?
The final step—peeling off that plastic carrier sheet—can feel a bit nerve-wracking, but it's simple as long as you know what kind of transfer you're working with.
- Hot Peel: Some transfers are designed for you to rip that carrier sheet off immediately while the design is still piping hot.
- Cold Peel: Others require you to be patient and wait until the entire design has cooled down to room temperature before peeling.
Getting this wrong can ruin all your hard work. If you peel a cold peel transfer while it’s hot, you risk stretching the design or pulling it right off the fabric. The heat transfer market is massive, valued at around USD 1.53 billion, because these materials are highly engineered with specific properties. Some, like sublimation paper, need precise temperatures over 400 degrees Fahrenheit to even work.
Always, always double-check the instructions that came with your transfer. It’s that final detail that makes all the difference. For more advanced techniques, you can explore our detailed guide on how to heat press transfers like a pro.
Why Firm Pressure Is the Secret Sauce
Let’s be honest. The real difference between a DIY-looking transfer and a professional-grade custom piece comes down to one crucial thing: pressure. We’re not just talking about laying an iron on top of the design. It's about physically embedding the transfer's adhesive deep into the fibers of the fabric.
When you don't use enough force, the adhesive just skims the surface. That creates a weak bond that’s pretty much guaranteed to crack, peel, or lift after a couple of washes. This is exactly where a standard home iron struggles—it’s built for smoothing wrinkles, not for delivering the heavy, consistent, and even pressure a transfer needs to last.
Getting the Most Out of a Home Iron
If you’re working with a home iron, you have to find ways to make up for what it lacks. First thing's first: ditch the wobbly ironing board. You need a rock-solid surface like a kitchen counter or a sturdy table to really lean into it. This gives you the leverage to use your body weight effectively.
Here are a few tricks I've learned over the years to maximize pressure with a regular iron:
- Get Low: Work on a lower surface, like a solid coffee table or even the floor (on a heat-safe mat, of course). This angle lets you put your whole upper body into the press.
- Two Hands on Deck: Grip the iron with both hands and press down with as much force as you can safely muster.
- Press, Don't Glide: Resist the urge to slide the iron around like you're getting rid of wrinkles. Instead, press one section firmly for the full recommended time, then lift and move to an overlapping section.
Firm pressure is the key to a lasting design. For truly professional results, nothing beats a heat press, which delivers perfectly even heat and pressure every time. If you want that guaranteed commercial-grade finish without buying the equipment, you can always have professionals like Raccoon Transfers press with professional machines.
The demand for durable, custom apparel is a big reason the global heat transfer film market is now valued at around USD 2.6 billion. Brands are ditching traditional screen printing for heat transfers to get faster and more flexible production runs. You can read more about this industry shift on Future Market Insights. At the end of the day, getting that market-quality finish at home means doing your best to replicate the sheer force of a professional press.
Caring for Your Custom Apparel
Once the iron cools down, your job isn't quite done. The real secret to a design that looks fantastic wash after wash lies in the aftercare. It’s a simple set of rules, but following them is what separates a one-wash-wonder from a long-lasting custom piece.
First things first: patience is key. You absolutely must wait at least 24 hours before that initial wash. This waiting period is non-negotiable, as it gives the transfer’s adhesive the time it needs to fully cure and create a permanent bond with the fabric.
When wash day arrives, always turn the garment inside out. This protects the design from abrasion. Stick to a cold water wash on a gentle cycle, and when it comes to drying, air drying is your best friend. If you must use a dryer, keep it on the lowest heat setting.
Troubleshooting Common Issues
So, what happens if you notice the edges of your design starting to lift after a few wears? Don't worry, it happens to the best of us and it's usually a quick fix. More often than not, the problem is simply that one little spot didn't get enough direct, firm pressure during the initial application.
To fix it, just lay your garment back on a flat, hard surface. Cover the lifting area with a piece of parchment paper and press down firmly with your iron for another 10-15 seconds. Really lean into it! This little touch-up is usually all it takes to reactivate the adhesive and lock the design back into place.
Firm pressure is the key to both a great application and a lasting fix. For professional results every time, use a heat press. If you want a guaranteed commercial-grade finish, let professionals like Raccoon Transfers press with professional machines.
For more advanced projects, especially those involving Direct-to-Film transfers, you might want to check out our complete guide on how to work with DTF transfers that are ready to press.
Got Questions About Iron-On Transfers? We’ve Got Answers.
Even after you think you've mastered the process, a few nagging questions can pop up. Getting the right answers can be the difference between a project you're proud of and one that ends in a crumpled, peeling mess. Let's tackle some of the most common hurdles people run into.
Can I Just Use My Regular Ironing Board?
This is a big one, and the short answer is no. I really wouldn't recommend it.
Your standard ironing board is built with padding to absorb heat and steam, which is great for getting wrinkles out of a dress shirt but terrible for transfers. That soft, springy surface prevents you from applying the solid pressure needed for the adhesive to truly bond with the fabric.
Instead, find a hard, flat, and heat-resistant surface. A countertop, a sturdy wooden table, or even the floor will work. Just put a Teflon sheet or a clean pillowcase down first to protect the surface. This gives you the solid foundation you need to apply firm, even pressure and get that adhesive to melt right into the fabric fibers.
Help! My Design Is Peeling Off After One Wash!
Ah, the most frustrating problem of all. When a design starts peeling, it almost always points back to one of three things: not enough pressure, the wrong heat setting, or not pressing for long enough.
When I say "pressure," I mean serious, body-weight pressure—not just pushing down with your arms. You really have to lean into it to make sure the adhesive properly embeds itself.
Always double-check that your iron's temperature matches the transfer's instructions, and don't cut the pressing time short. Another crucial tip that's easy to forget: wait at least 24 hours after pressing before you throw it in the wash. This gives the adhesive time to fully cure and set.
Firm pressure is the key to a design that lasts. If you want truly professional, can't-peel-it-if-you-tried results, nothing beats a heat press. For a guaranteed commercial-grade finish, let professionals like Raccoon Transfers press with professional machines.
What’s the Deal with Hot Peel vs. Cold Peel?
This might sound like a minor detail, but it dramatically affects how your finished design looks. It simply tells you when to remove that clear plastic carrier sheet after you’ve finished pressing.
- Hot Peel: Just like it sounds, you peel the carrier sheet off immediately while the design is still hot.
- Cold Peel: You have to let it cool down completely. Wait until it's no longer warm to the touch before you peel.
Peeling at the wrong time can ruin everything—the design might stretch, warp, or lift right off the shirt. The instructions that came with your specific transfer will tell you which method to use, so be sure to follow them.
Ready to skip the guesswork and create custom apparel with vibrant, durable designs? Raccoon Transfers offers premium, ready-to-press DTF transfers that bring your vision to life with professional quality. Explore our products and start your project today!