
How to Print Iron On Transfers for Perfect Custom Shirts
So, you're ready to bring your digital designs to life on a t-shirt or tote bag? Perfect. The first, and arguably most important, part of the process is figuring out exactly how to print iron on transfers so they look professional and last. It all boils down to picking the right materials from the get-go.
Your Guide to Flawless Iron On Transfers at Home
Getting that pro-level finish from your own desk is totally achievable. The trick is to avoid the common pitfalls that trip up most beginners. This guide will walk you through everything, setting you up for a perfect press on your very first try.
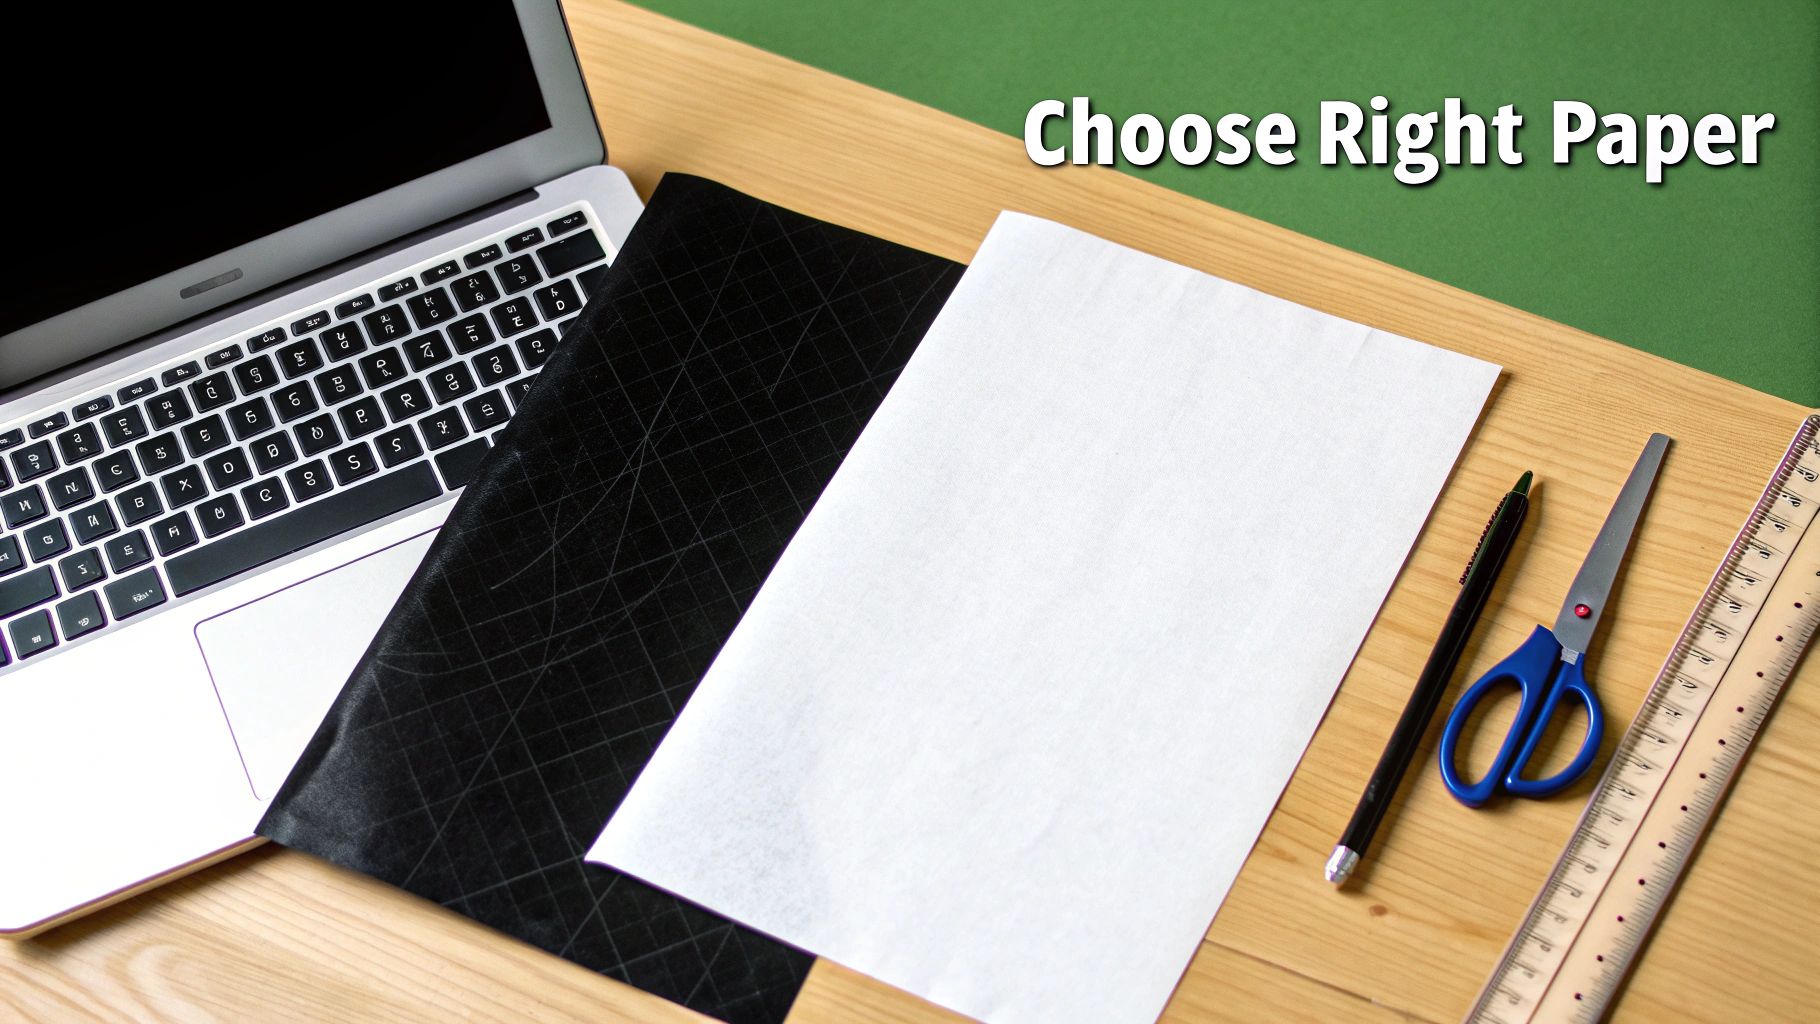
Before you even think about hitting the print button, let’s talk paper. You'll see two main types on the shelf: one for light-colored fabrics and another for darks. This isn't a suggestion; it's a critical choice that directly impacts how vibrant your final design will be.
Choosing the Right Transfer Paper
Here's the simple difference: transfer paper for light fabrics has a transparent film. This means any part of your design you don't print will just be clear, letting the shirt color show through. It's great for designs that blend into the fabric.
On the other hand, paper for dark fabrics has an opaque, white background. This is essential because it creates a solid base for your design's colors, preventing the dark fabric from muting them. Without it, your colors would look muddy and washed out.
Picking the right paper is only half the battle. You also need to make sure it’s compatible with your printer. This is a big deal when considering the choice between a laser vs. inkjet printer, as they use completely different technologies and require specific papers. Always double-check the packaging to make sure your paper and printer are a match.
The secret to a great transfer isn't the heat press; it's the prep work. Nailing the paper and printer combination is the foundation for a design that won’t fade, crack, or peel after the first wash.
It's no surprise that this DIY craft is exploding in popularity. The global market for iron-on transfer sheets is on a massive growth trajectory, expected to jump from $1.21 billion to $2.45 billion by 2033. That's a lot of people making their own custom gear!
Here's a quick reference to help you decide.
Choosing Your Transfer Paper
| Paper Type | Best For | Key Characteristic |
|---|---|---|
| Light Fabric Paper | White, beige, light gray, and pastel-colored shirts | Has a transparent background, so the fabric color shows through in unprinted areas. |
| Dark Fabric Paper | Black, navy, forest green, and other deeply saturated shirts | Has an opaque, white background to ensure colors pop against the dark fabric. |
Ultimately, taking a moment to choose correctly here saves you the headache of a failed transfer later on.
Essential Tools for Success
Before you start, do yourself a favor and get all your tools ready. Having everything organized and within arm's reach makes the whole process feel less chaotic and much more professional.
Here's what you'll need to have on hand:
- Your Transfer Paper: The right kind for your fabric color and printer type.
- A Good Printer: An inkjet or laser printer with plenty of ink. You don't want it running out mid-print.
- Your Garment: Always pre-wash it without fabric softener. This removes any manufacturing chemicals that could interfere with the transfer.
- Scissors or a Craft Knife: For trimming your design as closely as possible.
- Heat Press or Iron: A heat press gives you even pressure and temperature, but a household iron can work if you're careful.
- A Hard, Flat Surface: Do not use an ironing board! It has too much padding. A sturdy table or a piece of wood on the floor works best.
Getting Your Artwork Ready for Transfer
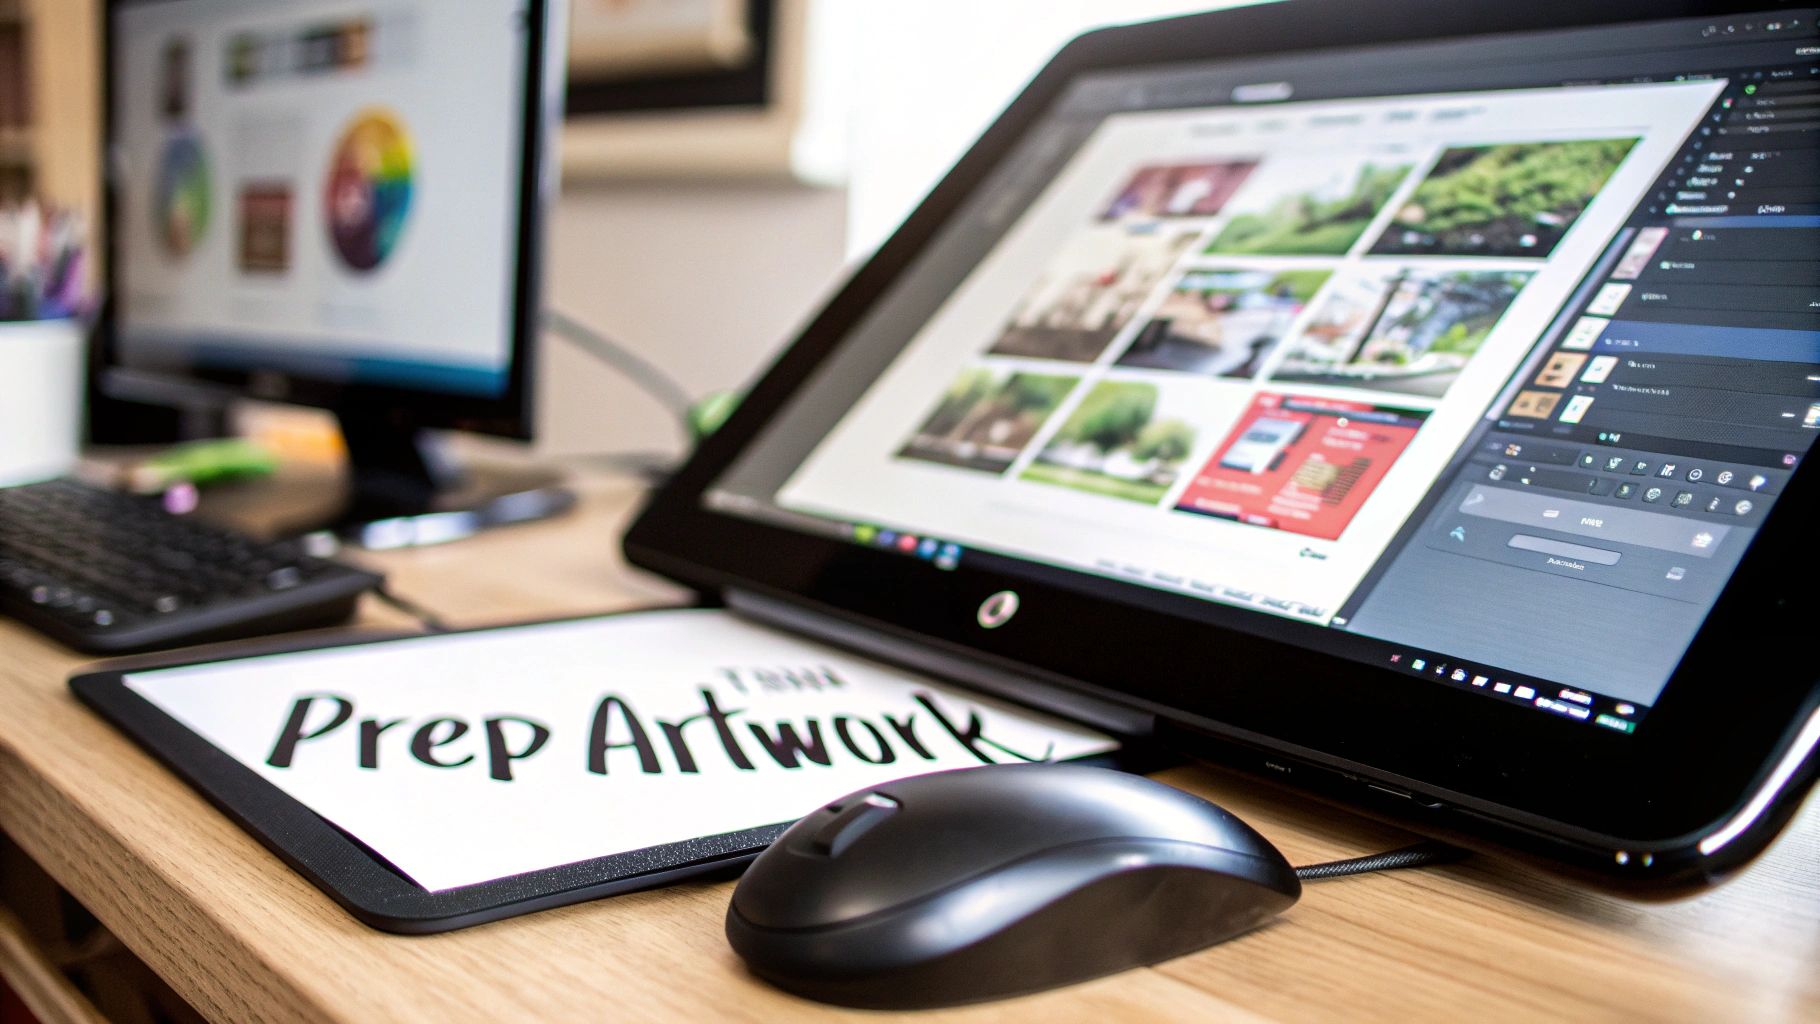
A great-looking transfer starts on your computer, long before the heat press ever warms up. The quality of your final product is a direct reflection of the quality of your digital file. To sidestep a blurry, pixelated mess, you absolutely have to start with high-resolution artwork.
The magic number in the printing world is 300 DPI (dots per inch). Working at this resolution is your best insurance for getting those crisp lines and sharp details you see on professional shirts. Trust me, trying to blow up a low-res image you snagged from the internet is a recipe for a fuzzy, disappointing transfer.
The All-Important Image Flip
If there's one mistake I see beginners make over and over again, it's forgetting to mirror the image. This one tiny step is critical, but whether you do it or not depends entirely on the type of transfer paper you're using.
- For Light Fabric Paper: You must mirror your image before printing. The transfer is placed face-down on the shirt, so flipping it horizontally makes sure the design reads correctly once you peel the paper away.
- For Dark Fabric Paper: Do not mirror the image. This paper is different. You peel the design off a backing sheet and place it face-up on the shirt, so you print it exactly as it should appear.
Getting this wrong is a painful lesson. You'll waste expensive paper and a perfectly good shirt. Always, always double-check your print preview to make sure the orientation is right for your specific paper.
Here's a trick I use to remember: If the paper acts like a sticker where you peel the design from a backing, don't mirror it. If you press the entire sheet of paper directly onto the fabric, you need to mirror it. This little mental check has saved me from a lot of frustration.
Boosting Your Colors and Sizing
Want your design to really pop off the shirt? Try bumping up the color saturation just a bit in your design software. I find that a small increase of 10-15% can counteract any slight dulling from the heat transfer process, leaving you with a much more vibrant final result.
It's also worth thinking about how your design's colors will look on an actual person. A little research into what colors look good on me can help you create designs that are not just eye-catching but genuinely flattering to wear.
Finally, let's talk about size. The right dimensions are key to a professional-looking shirt. A huge design on a small tee looks clumsy, while a tiny logo on a 2XL can get completely lost. Plan your sizing before you hit print for a balanced, polished look. If you need a starting point, check out our guide on the perfect graphic size for a t-shirt.
Printing and Trimming Your Design
Now that your artwork is ready to go, it’s time to get it off the screen and onto paper. This is the moment of truth. Getting the print right is what separates a sharp, professional-looking transfer from a smudged mess. Thankfully, it all comes down to a few simple but crucial details.
First things first, you need to know which side of the transfer paper is the printable side. It’s usually the softer, matte-finished one. The back is often a bit glossy or might have the brand’s logo on it. I’ve seen people waste expensive paper by loading it backward, so it’s always worth a quick double-check.
When you're ready, feed just one sheet at a time into your inkjet printer. The standard paper tray isn't always kind to thicker specialty papers and can cause jams. If your printer has a manual feed slot, use it. It's designed for this exact scenario and gives you a much smoother path.
Dialing in Your Printer Settings
Whatever you do, don't just hit the "Print" button using your everyday document settings. Your printer needs specific instructions to handle transfer paper correctly. You'll want to jump into your printer’s properties menu to find settings that will lay down a rich, saturated layer of ink.
Here are the settings that I've found work best:
- T-Shirt Transfer: If your printer has this setting, use it. It’s the gold standard and automatically optimizes everything for you.
- Photo Quality Paper: No "T-Shirt Transfer" option? No problem. The next best thing is a high-quality photo paper setting. Look for something like "Matte Photo Paper" or "Premium Glossy".
- High Quality: Always crank the print quality up to the maximum. It'll print slower, but the payoff is incredible detail and deep colors.
Getting these settings right is what makes your design pop instead of looking faded and weak. After it prints, just let it be. Give the ink at least 15-20 minutes to dry completely before you even think about touching it. This little bit of patience prevents any smudging. For an even deeper dive, check out our full guide on how to print on transfer paper.
Why a Clean Trim Is Everything
Once your design is printed and bone dry, it's time for the final prep step: trimming. The type of paper you're using dictates how you should approach this. If you’re using paper for dark fabrics, the background is opaque white, so leaving a small, clean border around your design usually looks great.
But for light fabric paper, you have to be meticulous. This paper has a transparent film, and any untrimmed border will show up as a faint, shiny outline on your shirt. A precise, close cut is the secret to making your design look like it was printed directly onto the fabric.
A sharp pair of scissors works perfectly for simple shapes. But if you’re working with a more complex design—think intricate edges or text—a craft knife and a self-healing cutting mat are your best tools. Just carefully trace the outline, and you'll get that clean, professional finish every time.
Bringing Your Design to Life with Heat
This is the magic moment—where your digital artwork physically becomes part of the fabric. The whole process really boils down to three critical variables: heat, pressure, and time. Nail this trio, and you'll get a vibrant, durable transfer that won't crack or peel. It doesn't matter if you're using a basic home iron or a professional heat press; the principles are the same.
This visual guide breaks down the essential steps that lead up to this final, crucial stage.
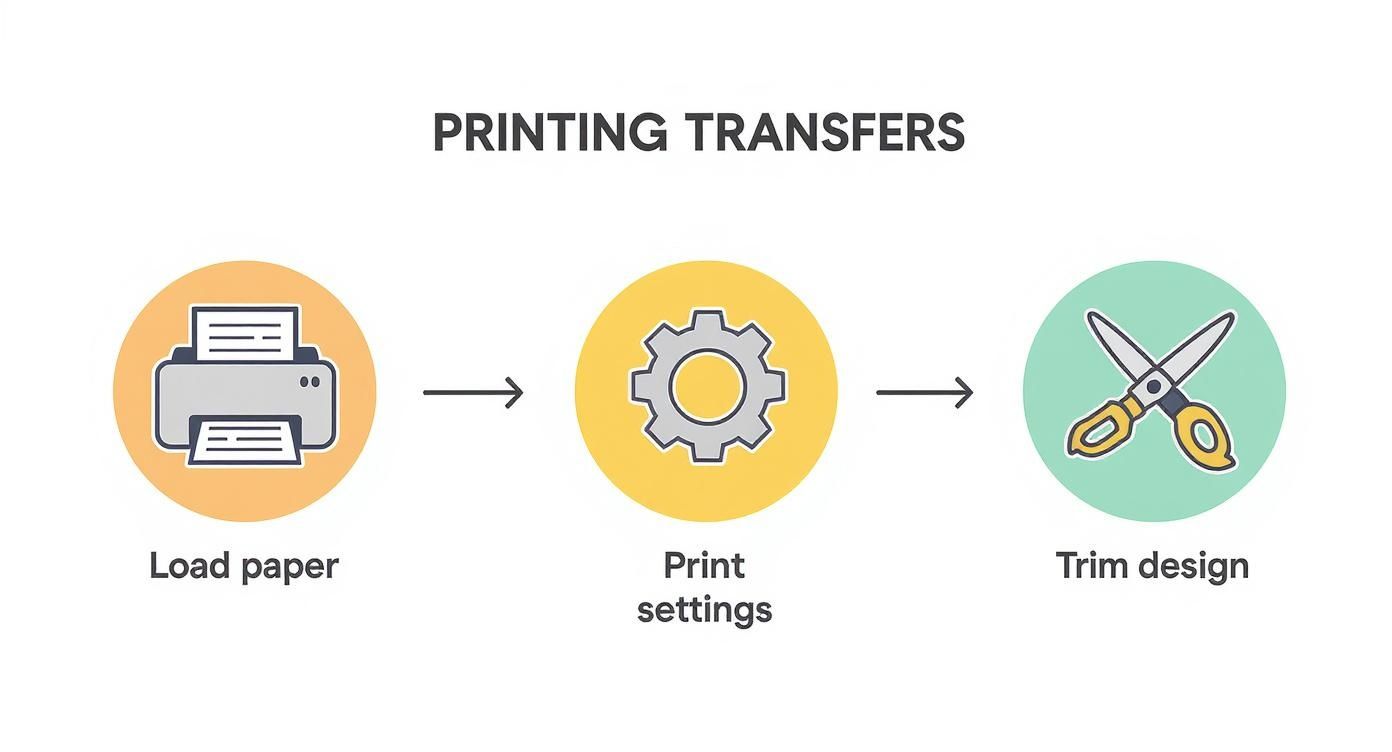
From loading your paper correctly to trimming the design with care, each action sets the stage for a perfect press.
And this isn't just a niche hobby. The demand for high-quality, custom branding in fashion has pushed the global market for heat transfer clothing labels to around $2.5 billion. It’s even expected to hit $4.2 billion by 2033.
Using a Standard Home Iron
You can absolutely get great results with a home iron, but it takes a little finesse. Your main challenge is achieving consistent heat and pressure across the entire design.
First things first: ditch the ironing board. Its padded surface is your enemy here because it gives way under pressure. You need a solid, flat, heat-resistant surface. A wooden cutting board on a sturdy table works great, or even a clean spot on the floor with a pillowcase laid down.
Crank your iron to its highest setting (usually Cotton/Linen) and, most importantly, make sure the steam is turned OFF. Steam will ruin the adhesive. Give the garment a quick 5-10 second press on its own to smooth out wrinkles and chase away any moisture.
Now, place your transfer and get ready to apply some serious pressure. Use your body weight to press down firmly, moving the iron in slow, steady circles. Pay extra attention to the edges, as they're the first place to lift if they don't get enough heat. You'll likely need to keep this up for a solid 60-90 seconds.
Leveling Up with a Heat Press
If you're making shirts regularly or thinking about selling them, a heat press is a worthwhile investment. It eliminates all the guesswork by providing precise temperature, even pressure, and an automatic timer. The results are consistent and professional, every single time.
Start by pre-heating your press to the temperature specified by your transfer paper's manufacturer—this usually falls between 305°F and 330°F. Just like with an iron, always pre-press the garment for a few seconds to create a perfectly flat, dry canvas.
Pro Tip: Always place a Teflon sheet or a piece of parchment paper over your transfer before pressing. This little step protects your design from scorching and keeps any ink from getting on your machine's heat platen.
The right settings are everything and they change depending on the fabric. For a detailed breakdown, our heat press temperature chart is the perfect cheat sheet to help you dial in the exact time, temp, and pressure you need.
The Final Step: Hot Peel vs. Cold Peel
Once the heat is applied, you're not quite done. You still have to peel away the backing paper, and how you do this is critical. Transfer papers are specifically designed for one of three peel methods—get it wrong, and you could ruin the whole shirt.
- Hot Peel: Just as it sounds, you peel the backing off immediately after the press opens, while it's still piping hot. This technique often leaves the design with a softer, more integrated feel.
- Warm Peel: You let it cool for just a few seconds (usually 5-10) before removing the backing.
- Cold Peel: You have to wait until the garment and transfer are completely cool to the touch. If you peel a cold-peel transfer while it's still warm, the design will likely lift right off or stretch out of shape.
Always, always check the instructions that came with your transfer paper. This one detail can make or break your final product.
Keeping Your Design Looking Sharp: Aftercare Tips
You’ve pressed the perfect design, and it looks amazing. But the job isn't quite done yet. How you care for your garment from here on out will determine whether it looks great for a few weeks or for years to come.
The first rule is the simplest, but it’s non-negotiable.
Give it some time to breathe. You need to wait at least 24 hours before that first wash. This isn't just a suggestion—it's a critical window where the adhesive fully cures and locks itself into the fabric's fibers. Rushing this step is the number one cause of peeling and lifting edges.
Your New Laundry Routine
When that 24-hour waiting period is up, a few small tweaks to your washing habits will make all the difference.
Always, always turn the garment inside out before it goes into the wash. This creates a protective barrier for the design, minimizing the friction that can cause it to crack or fade.
Wash on a gentle cycle using cold water. Hot water is the enemy of iron-on transfers; it can reactivate the adhesive and weaken its bond. It’s also a good idea to use a mild detergent and skip the bleach and fabric softeners, as harsh chemicals can break down the transfer material over time.
I always tell people to treat their custom shirts like a nice car. You wouldn't take a scouring pad to a fresh paint job, right? The same principle applies here. Gentle care preserves the finish.
The Dos and Don'ts of Drying and Ironing
If you want your design to last, air-drying is your best friend. Hang it up or lay it flat, but try to keep it out of direct, harsh sunlight. The intense heat from a machine dryer is probably the quickest way to ruin your work, leading to a cracked and peeling mess.
But what if you're in a hurry? If you absolutely have to use a machine, select the lowest heat setting available—or better yet, a tumble-dry cycle with no heat at all. Pull the garment out while it’s still just a little damp and let it finish air-drying from there.
Wrinkles happen, but don't panic. You can still iron the shirt, just never iron directly on the design. Turn the garment inside out, use a low-to-medium heat setting, and press the fabric around the transfer.
Taking these extra few minutes is a small price to pay for a design that lasts. The market for this stuff is huge for a reason—it’s a durable technology when treated right. It grew from $3.3 billion and is expected to reach $5.8 billion by 2035. If you want to dive deeper, you can discover insights into the transfer paper market on futuremarketinsights.com. Following these simple care steps ensures your custom piece lives up to that standard.
Common Questions About Iron-On Transfers
Even when you follow all the steps, things can sometimes go sideways. Learning how to print iron-on transfers is as much about troubleshooting as it is about the process itself. Let's walk through some of the most common hiccups I see and figure out how to fix them.
One of the biggest complaints I hear is, "Why is my transfer cracking after I wash it?" Nine times out of ten, this comes down to one of three culprits: heat, pressure, or time. If you don't apply enough firm, even pressure for the entire recommended duration, the transfer's adhesive just can't grab onto the fabric fibers properly.
The same goes for heat. If your iron or heat press is too cool, you'll get a weak bond right from the start. It’s a delicate dance, and the best way to get the steps right is to follow the instructions from the paper manufacturer down to the letter.
Can I Use Any Printer for Iron-On Transfers?
This is a huge one, and the answer is a hard no. The vast majority of iron-on transfer paper you'll find at craft stores is made specifically for inkjet printers. The way their water-based inks soak into the paper's special coating is key to the whole process.
Whatever you do, don't try to run inkjet paper through a laser printer. I've heard horror stories. Laser printers use intense heat to fuse toner to the page, and that heat will melt the transfer sheet's coating right onto your printer's internal parts. We're talking a potentially machine-killing mistake. Always, always double-check the packaging to make sure it's compatible with your printer.
Why Does My Design Feel Stiff or Plastic-Like?
If your finished shirt feels like it has a thick, plastic patch on it, the issue is usually the type of paper you're using. This is especially common with papers designed for dark fabrics, which need an opaque white layer to make the colors pop.
While you can't get rid of that feeling entirely with opaque paper, you can make a huge difference by meticulously trimming away every last bit of the unprinted background from your design before you press it. The less blank paper you transfer, the better it will feel.
Here's a little trick I've picked up: right after pressing, while the shirt is still warm, give the fabric a gentle stretch in all directions. This helps to slightly break up the solid film of the transfer, allowing it to move more naturally with the fabric and feel a lot softer.
For transfers on light-colored shirts, a stiff feel can actually be a sign of too much heat or pressure. It might mean you've over-baked the adhesive. Try dialing back your settings just a touch on the next one and see if you get a softer result.
What Fabrics Work Best for Iron-On Transfers?
You can technically press a transfer onto almost anything, but for results that last, you'll want to be selective. Your best friends here are going to be cotton, polyester, and cotton/poly blends. These fabrics are champs at handling the high heat needed for a solid application.
That said, there are a few materials you need to be careful with:
- 100% Polyester: It's doable, but polyester scorches easily. You absolutely must use a lower temperature and press for a shorter time to avoid a shiny, or even melted, disaster.
- Stretchy Fabrics (like Lycra or Spandex): Think about it—when the fabric stretches, the transfer can't. This almost always leads to the design cracking and distorting.
- Textured Fabrics (like ribbed knits or waffle weaves): The surface isn't flat, so the transfer can't make full contact. You’ll end up with a patchy, uneven application where the design only sticks to the high points of the fabric's texture.
When in doubt, always do a test press on a hidden spot, like the inside hem. A quick 10-second test can save you from ruining a garment you love. For the most reliable, professional-looking results, stick with a smooth, tightly woven fabric that gives your design a perfect canvas.
Ready to skip the DIY process and get professional, vibrant, and durable transfers delivered to your door? At Raccoon Transfers, we specialize in high-quality Direct-to-Film (DTF) prints that apply beautifully to any fabric. Just upload your art, and we’ll handle the rest. Explore our easy-to-use services at https://raccoontransfers.com.