How to Put Logos on Shirts for a Professional Finish
Putting a logo on a shirt has become incredibly simple, and most of the pros are turning to Direct-to-Film (DTF) transfers and a trusty heat press. The process is straightforward: your logo gets printed onto a special film, and then you press it right onto the garment. The result is a sharp, vibrant finish that's not just durable but also feels soft and flexible, almost like it's part of the fabric itself. It’s no wonder this is the go-to technique for creators and small brands.
Why DTF Transfers Are Such a Game Changer
As you dive into putting logos on shirts, you'll hear about all sorts of methods—screen printing, heat transfer vinyl (HTV), sublimation, you name it. They all have their moments, but Direct-to-Film (DTF) has quickly become a favorite because it just works so well for so many different projects, especially when you're not printing thousands of the same shirt.
Screen printing is great for huge runs, but it gets expensive fast with all the screens needed for multiple colors. DTF, on the other hand, handles unlimited colors in one go. That means a complex, photo-realistic logo is just as easy to print as a simple one-color design. And compared to HTV, which often requires tedious cutting and weeding and can leave a thick, plastic-y feel, DTF transfers are worlds apart in quality and feel.
A Modern Take on Custom Shirts
DTF really shines because it tackles some of the oldest headaches in the custom apparel world. With the global custom T-shirt printing market expected to hit over $6.84 billion by 2025 and nearly double by 2030, digital printing methods are what’s making small-batch and one-off orders not just possible, but profitable. You can read more on custom T-shirt market trends to see just how much this space is growing.
This guide is your complete roadmap to getting that flawless, professional look every single time using the DTF method. We’ll get right into the details, covering:
- Artwork Prep: Getting your digital file perfectly tuned up for printing.
- Heat Press Settings: Nailing the exact time, temperature, and pressure for different fabrics.
- The Application Process: A step-by-step walkthrough, from pre-pressing the shirt to the final peel.
By the time we’re done, you'll understand exactly why DTF is the top choice for creating amazing logo shirts that can stand shoulder-to-shoulder with what you’d find in a retail store.
Comparing Logo Application Methods
Let's quickly break down the most common ways to get a logo on a shirt. This little comparison shows why DTF often comes out on top for its blend of quality, versatility, and ease of use.
| Method | Best For | Color Limit | Feel on Shirt | Durability |
|---|---|---|---|---|
| DTF Transfer | Complex, multi-color logos on any fabric type or color. Small to large runs. | None (Full Color) | Soft, flexible, and lightweight. | Excellent (50+ washes) |
| Screen Printing | Simple logos (1-4 colors) for very large bulk orders (100+ items). | Limited by screens. Each color adds cost. | Thicker, can feel heavy depending on ink. | Excellent (can outlast the shirt) |
| Heat Transfer Vinyl (HTV) | Simple, single-color text or shapes. Good for names/numbers. | Limited to available vinyl colors. | Can feel thick, stiff, and plastic-like. | Good (can crack or peel over time) |
| Sublimation | Full-color, all-over prints on 100% white or light-colored polyester. | None (Full Color) | No feel at all (dyes the fabric). | Permanent (will never fade or crack) |
As you can see, each method has its place. But for anyone wanting to create high-quality, full-color logos on a variety of fabrics without the massive setup costs of screen printing, DTF is a clear winner.
Getting Your Logo Artwork Ready for Perfect Transfers
Before you even plug in your heat press, we need to talk about your digital file. This is where a great shirt starts. A killer transfer can't fix a bad image—what you send to the printer is exactly what you’ll be pressing onto the fabric. Trust me on this: garbage in, garbage out is the absolute rule here.
Your first big decision is whether to use a vector or raster file. Think of a raster image (like a PNG or JPG) as a painting made of tiny, fixed squares called pixels. If you try to blow it up, those pixels just get bigger, making the whole image blurry and jagged. This is exactly why a logo you snagged from a website looks so rough when it's printed on a shirt.
A vector file (like an AI, EPS, or SVG) works completely differently. It’s built from mathematical lines and curves, not pixels. This means you can stretch it to the size of a billboard or shrink it down for a pocket logo, and it will stay perfectly sharp every single time. When you’re putting logos on shirts, vector is always the superior choice. The clean lines are unbeatable.
File Specs for a Pro-Level Print
Now, if you absolutely have to use a raster file like a PNG, there are a couple of rules you just can't break. First, make sure the resolution is at least 300 DPI (dots per inch) at the size you plan to print it. This is the industry standard for a reason; anything less, and you're gambling with a pixelated final product.
Second, your artwork needs a transparent background. This is a non-negotiable. If you don't have one, the printer will just create a big white or black box around your logo. It’s an instant sign of an amateur job. Make sure you’re saving the file as a PNG with the transparency option checked.
Here’s a classic mistake I see all the time: people just use a simple editor to delete the white background and save. This almost always leaves a faint, pixelated "halo" around the design that will absolutely show up on your transfer. Use a real tool like Adobe Photoshop or Canva Pro to get a truly clean, transparent background.
Dialing in Your Colors and Layout
Getting your colors right is just as important. Your computer screen shows colors in RGB (Red, Green, Blue), which is great for digital stuff. But professional printers, including the ones that make DTF transfers, work in a CMYK (Cyan, Magenta, Yellow, Black) color space. If you send an RGB file, you’re likely to get some weird color shifts in the final print. Converting your file to CMYK first gives you a much more accurate preview of what you'll actually get.
If you're printing a bunch of logos on a single gang sheet—which is the best way to save some money—how you arrange them matters.
- Nest Your Designs: Tuck smaller logos, like graphics for a sleeve or tag, into the empty spaces around your big front or back pieces.
- Rotate and Flip: Think of it like a puzzle. Turn your designs around to fit them together snugly and minimize wasted film.
- Keep Spacing Consistent: Leave a small, even gap between each logo. This makes cutting them apart later so much easier and cleaner.
Putting in a little extra time to prep your artwork is the single most important thing you can do. Getting this part right is what separates a vibrant, professional-looking shirt from a dud.
Mastering Your Heat Press for Any Fabric
This is where the magic happens. Your heat press is what turns a great logo transfer into a permanent, professional-looking part of the shirt. Getting this right isn't just about cranking up the heat; it's a careful balance of temperature, time, and pressure that's unique to every fabric you work with.
The settings you’d use for a heavy cotton hoodie would absolutely scorch a delicate polyester performance tee. Nailing the right formula is the secret to making the logo look and feel like it was screen-printed right onto the garment, not just stuck on top. It ensures the adhesive melts perfectly into the fabric fibers for a finish that won't crack, peel, or fade out after a few washes.
Understanding the Core Settings
Before you press your first logo, you need to get a feel for the three pillars of heat application. Each one is critical, and if even one is off, the whole thing can go sideways.
- Temperature: This is the big one. If it's too low, the transfer's adhesive won't fully activate, and you'll get a weak bond that peels right off. Too high, and you risk burning the shirt or messing with the inks in the transfer itself.
- Time: This is simply how long you clamp the press down. You need enough time for the heat to penetrate everything evenly, but not so long that you over-cook the ink or leave a nasty scorch mark on the garment.
- Pressure: This forces the logo into the fabric, making sure every last bit makes perfect contact with the heat platen. The wrong pressure can leave you with parts of the logo lifting or a weird, inconsistent texture.
Getting these three elements working together is what separates an amateur-looking shirt from a professional one. It’s always a good idea to have a comprehensive heat press temperature guide bookmarked as a go-to resource.
Heat Press Settings for Common Fabrics
Here's a quick cheat sheet for the most common apparel materials. Think of these as your starting point—you might need to tweak them slightly depending on your specific garment or press, but they’ll get you in the right ballpark.
| Fabric Type | Temperature Range (°F/°C) | Press Time (Seconds) | Pressure | Peel Type |
|---|---|---|---|---|
| 100% Cotton | 300-320°F / 149-160°C | 10-12 | Medium-Firm | Hot or Cold |
| 50/50 Blends | 280-300°F / 138-149°C | 8-10 | Medium | Hot or Cold |
| 100% Polyester | 260-280°F / 127-138°C | 7-10 | Medium | Cold |
| Tri-Blends | 260-280°F / 127-138°C | 7-10 | Medium | Cold |
Always double-check the instructions from your transfer supplier, but these settings are a reliable foundation for most jobs.
The Settings Breakdown
Let's dig into those fabrics a little more.
100% Cotton
This is your most forgiving fabric and a fantastic place to start if you're new to this. Cotton can take the heat, which really helps that adhesive lock in for a super strong bond.
- Temperature: 300-320°F (149-160°C)
- Time: 10-12 seconds
- Pressure: Medium to firm
50/50 Cotton/Polyester Blends
Blends need a bit more finesse. You have to back the temperature off a bit to keep the polyester fibers from discoloring or getting that dreaded shiny press box.
- Temperature: 280-300°F (138-149°C)
- Time: 8-10 seconds
- Pressure: Medium
100% Polyester
This is the most sensitive material of the bunch. Too much heat will cause it to shrink, melt, or develop a permanent shiny mark. The strategy here is low and slow.
- Temperature: 260-280°F (127-138°C)
- Time: 7-10 seconds
- Pressure: Medium
Pro Tip: Pressure can be a bit subjective. For me, "medium" pressure means you have to use some muscle to lock the handle, but you aren't fighting it. For "firm" pressure, I'm usually using two hands and putting some body weight into it to get it clamped.
The Critical Difference Between Hot and Cold Peel
Finally, look at your transfer instructions. You'll see either "hot peel" or "cold peel." This isn't a suggestion—it's a rule you have to follow, and it makes a huge difference in how your logo turns out.
A hot peel means you rip that carrier film off the second the press opens, while the shirt is still piping hot. This usually gives you a softer, more matte finish because the ink settles right into the fabric fibers as it cools.
A cold peel, on the other hand, means you have to be patient. You wait until both the transfer and the shirt are completely cool to the touch before you even think about removing the film. This process often leaves a slightly glossier, smoother surface. If you peel a cold-peel transfer while it's still warm, you risk pulling the entire logo right off with the film. Always, always follow the peel instructions for your specific transfers.
The Complete Logo Application Process
Alright, you’ve got your artwork sorted and the heat press is ready to go. Now for the fun part—actually putting it all together. This is where your careful prep work really pays off, turning that blank shirt and transfer into a pro-level piece of apparel.
Sticking to a solid workflow here is everything. It’s a series of small but critical actions, and honestly, skipping just one can mean the difference between a logo that looks great for years and one that starts peeling after its first trip through the laundry.
The whole game boils down to three key things you'll be controlling on your press: temperature, pressure, and time.
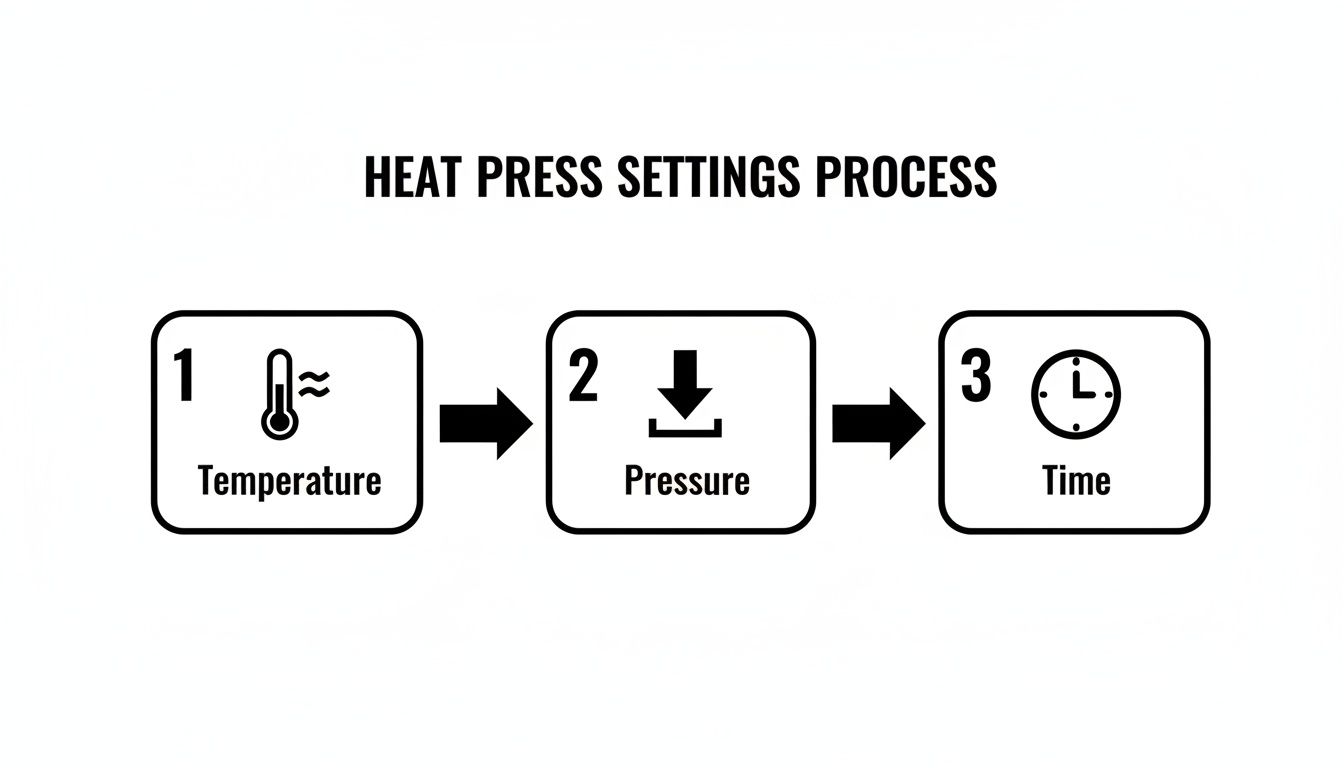
As you can see, these three elements work in concert. Nailing this balance is the fundamental skill you need to master for perfect logo applications.
The Essential Pre-Press Step
Before you even think about laying down your logo, you have to pre-press the shirt. Just lay it flat on the press and clamp it down for 3-5 seconds. This quick press does two really important things: it gets rid of any wrinkles, and more importantly, it zaps any moisture hiding in the fabric fibers.
Moisture is the number one enemy of a good transfer. It turns to steam during the main press, which stops the adhesive from bonding properly. That's what leads to peeling and bubbling later on. Whatever you do, don't skip this.
Perfecting Your Logo Placement
With the shirt prepped, it's time to position your DTF transfer. For a classic left-chest logo, a good starting point is about 3-4 inches down from the collar and centered on that side. If you're doing a big logo in the middle, just line it up with the center of the collar.
Here's a little trick I've used for years: the "four-finger rule." I just place my four fingers together horizontally right below the collar. The bottom of my pinky is almost always the perfect spot for the top of the logo. It’s a fast and consistent way to get alignment right without grabbing a ruler every single time.
The Main Press and Protective Measures
Once the logo is exactly where you want it, cover it with a Teflon sheet or even just a piece of parchment paper. This layer is non-negotiable. It keeps the ink from ever touching your heat platen and shields the shirt from direct, harsh heat—which is a lifesaver for sensitive fabrics like polyester.
Go ahead and press the shirt using the specific time, temperature, and pressure settings you figured out for your fabric. When the timer beeps, open the press smoothly.
The Peel and the Post-Press Finish
What you do next depends on whether you have a hot peel or cold peel transfer. For a hot peel, you’ll pull the clear carrier film off immediately. For a cold peel, you need to let the shirt cool down completely before even thinking about peeling. If you're a bit new to this, we cover the basics in our complete guide on how to use heat transfer paper.
After the carrier film is off, you’re not quite done. You need to do a final post-press. Cover the now-exposed logo again with your Teflon sheet and press for another quick 2-3 seconds. This is the secret to a truly professional finish. It physically locks the design into the fabric, makes it way more durable in the wash, and gives the logo a fantastic matte look that feels like it’s part of the shirt, not just sitting on top of it.
What to Do When Your Logo Application Goes Wrong
Even with the best prep, things can go sideways when you’re pressing a shirt. It’s happened to all of us. Don't sweat it—most of these issues are surprisingly easy to fix once you know what you're looking for. Think of it as part of mastering the craft of custom apparel.
The most common headache? A transfer that just won't stick. You go to peel the film, and the logo lifts right off with it. It’s frustrating, but 9 times out of 10, the root cause is pressure. Your press might say "medium," but if it isn't clamped down with some real force, that adhesive has no chance of properly bonding to the fabric.
Another likely culprit is an inconsistent heat platen. Cheaper presses are especially known for having cold spots, where the center is scorching hot but the edges are lukewarm. An infrared temperature gun is your best friend here; it’ll tell you the truth about your platen's heat distribution.
Solving Sticking and Peeling Issues
If your logo’s edges are curling up or the entire transfer is peeling away, run through this mental checklist before you press another shirt. A few simple tweaks can save you a lot of wasted transfers.
- Crank Up the Pressure: This is always my first move. Give that pressure knob another turn for a much firmer clamp and press a test scrap. A solid, even lockdown is non-negotiable.
- Verify Your Heat: Grab that temp gun and check multiple spots on your platen. If you’re seeing a significant temperature drop in certain areas, you’re fighting a losing battle, and it might be time to think about a higher-quality press.
- Don't Skip the Pre-Press: Seriously, did you pre-press the shirt for at least 5 seconds? Any moisture hiding in the fabric turns to steam, and steam is the number one enemy of a good transfer bond.
Pro Tip: The Dollar Bill Test
To check for even pressure, place a dollar bill at each of the four corners of your lower platen. Clamp the press down and try to pull the bills out. If you can slide one out easily, your pressure is uneven and needs to be adjusted.
Fixing Flaws in the Final Look
Sometimes the transfer sticks perfectly, but the result just looks… off. It might have a glossy, plastic-y sheen, or it feels stiff and looks like a sticker sitting on top of the shirt.
Thankfully, there's a simple trick for this. After you’ve peeled the carrier film, cover the logo with a Teflon sheet or a piece of parchment paper. Press it again for just 2-3 seconds. That’s it.
This final, quick press does wonders. It slightly melts the ink, pushing it deeper into the fabric's weave. You'll immediately notice that unwanted shine disappears, the logo feels much softer, and its durability in the wash skyrockets. It’s the secret sauce for achieving that professional, retail-ready matte finish. When working with heat-sensitive fabrics like polyester, using a flexible heat-resistant silicone pad for this final press can help distribute pressure and prevent any scorching.
Common Questions About Putting Logos on Shirts
When you're starting out with transfers, you're bound to have questions. Everyone does. Getting the right answers upfront can save you a ton of time, materials, and frustration. Let's tackle some of the most common things people ask.
One of the first concerns is always about durability. How do you keep that awesome new logo from cracking or fading after a few trips through the laundry? With DTF, the key is gentle care.
- Always turn the shirt inside out before washing. This little step protects the logo from rubbing against other clothes.
- Stick with a cold water cycle and a mild soap.
- You can tumble dry on low, but honestly, hanging it to dry is the best way to extend its life.
A good DTF transfer that's cared for this way can easily last for 50+ washes without losing its pop.
Can You Layer DTF Transfers?
This question comes up all the time, especially from people who are used to working with heat transfer vinyl (HTV). The answer is a hard no. You can't layer DTF transfers on top of each other.
The ink surface of a DTF transfer just isn't designed for another transfer to stick to it. If you try to press a second design on top of the first, it won't bond properly and will almost certainly start peeling off after a wash or two. If your artwork has overlapping parts, it needs to be printed as a single, combined transfer.
Choosing the Right Apparel
"Will this work on [insert fabric here]?" Yes, probably! DTF is incredibly versatile and works great on cotton, polyester, blends, canvas, denim—you name it. The real trick isn't the fabric, but matching your heat press settings to that specific material.
A classic rookie mistake is using the same high-heat setting for cotton on a polyester shirt. That's a fast track to a melted, scorched mess. Always start with lower heat for synthetics and test on a scrap piece if you're unsure.
If you're looking at a bigger project or thinking about outsourcing, checking out guides on ordering custom logo apparel can give you a different perspective. Sometimes, understanding the professional process helps you decide whether to DIY or go with a pro for your team, event, or brand.
Ready to create stunning, professional-quality logo shirts with ease? Order your premium, ready-to-press transfers from Raccoon Transfers and get next-day shipping. https://raccoontransfers.com