

A Creator's Guide to Ordering DTF Transfers for Custom Apparel
Ordering DTF transfers is the go-to method for creating bright, long-lasting custom apparel, and thankfully, it skips the steep setup costs and headaches of older techniques. The whole process is refreshingly simple: you print your full-color, complex designs onto a special film, and then you just heat-press it onto virtually any fabric.
Why DTF Transfers Are a Game Changer for Your Business
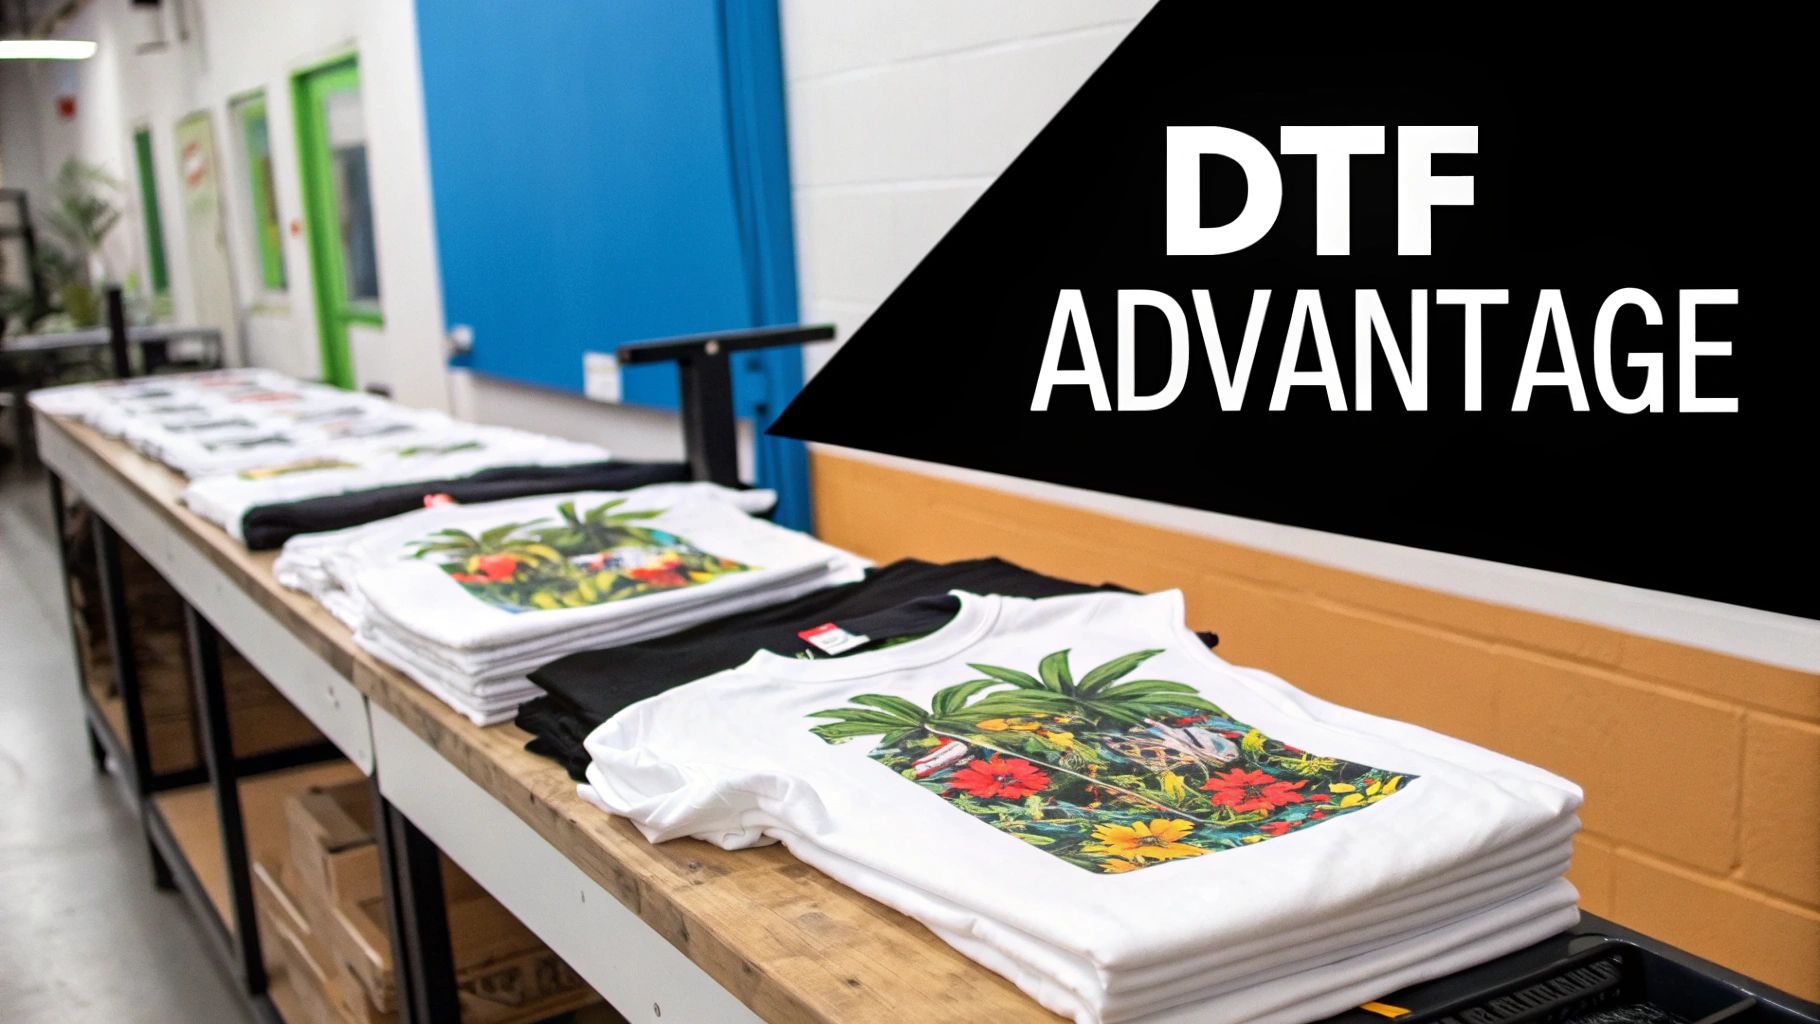
If you've ever been held back by the old ways of printing, you know the struggle. The high minimums and per-color charges for screen printing can make small, vibrant runs a no-go. And let's not even talk about the time-suck that is weeding intricate vinyl designs—it's a real bottleneck when you're trying to grow.
This is exactly where Direct-to-Film (DTF) comes in. It's a powerful alternative that directly tackles these all-too-common frustrations. For a more detailed look at the technology itself, our guide on what is a DTF transfer breaks it all down.
Unlocking Creative Freedom
The biggest win when you start ordering DTF transfers is that all the old limits on color and detail just disappear. You can print designs with photorealistic quality, smooth gradients, and super-fine lines—things that are either impossible with vinyl or wildly expensive with screen printing.
When you work with Raccoon Transfers, you’re tapping into a printing method that truly lets your creativity run wild:
- Unlimited Colors: Stop watering down your art. You can print designs with millions of colors for a single, flat price. No more counting.
- Intricate Details: Tiny text, complex linework, and detailed logos come out incredibly sharp and clear every time.
- Fabric Versatility: Press your designs onto cotton, polyester, blends, canvas, denim—you name it. This opens up a whole new world of products you can offer.
To give you a clearer picture, here's a quick rundown of how DTF from Raccoon Transfers can directly impact your apparel business.
How DTF Transfers from Raccoon Transfers Elevate Your Apparel
| Feature | Benefit for Your Business |
|---|---|
| Full-Color, No-Fee Printing | Create photorealistic designs with unlimited colors and gradients without paying extra per color. This means higher margins and more creative freedom. |
| Fine Detail & Sharp Lines | Reproduce complex logos, small text, and intricate artwork perfectly. Your products will have a professional, high-end finish. |
| No Weeding Required | Forget spending hours picking out tiny pieces of vinyl. DTF transfers arrive ready to press, saving you massive amounts of time and labor. |
| High Durability & Stretch | Our transfers feel soft, stretch with the fabric, and hold up to dozens of washes without cracking or peeling, leading to happier customers. |
| Versatile Fabric Application | Press onto cotton, polyester, 50/50 blends, canvas, and even leather. This lets you expand your product line beyond just standard t-shirts. |
This isn't just a new option; it's a better one for modern businesses that need to be fast, flexible, and creative.
The Smart Choice for Modern Brands
DTF's popularity isn't just a fad; it's a smart business move driven by what the market needs. The global direct-to-film printing market was valued at USD 2.72 billion in 2024 and is still climbing, which shows just how much people want efficient ways to make custom apparel. It's always a good idea to see how it compares to the different types of T-shirt printing out there.
Ordering DTF transfers finally gets rid of the compromise between quality, cost, and complexity. It gives small businesses and independent creators the power to produce retail-quality gear on demand, letting them compete with bigger brands without a huge upfront investment in equipment.
This level of accessibility is perfect for e-commerce stores, promotional product companies, and boutique clothing lines. You can test a new design with a tiny batch or scale up for a massive order without ever changing your process. That kind of agility is what makes a business thrive.
Getting Your Artwork Ready for Perfect DTF Prints
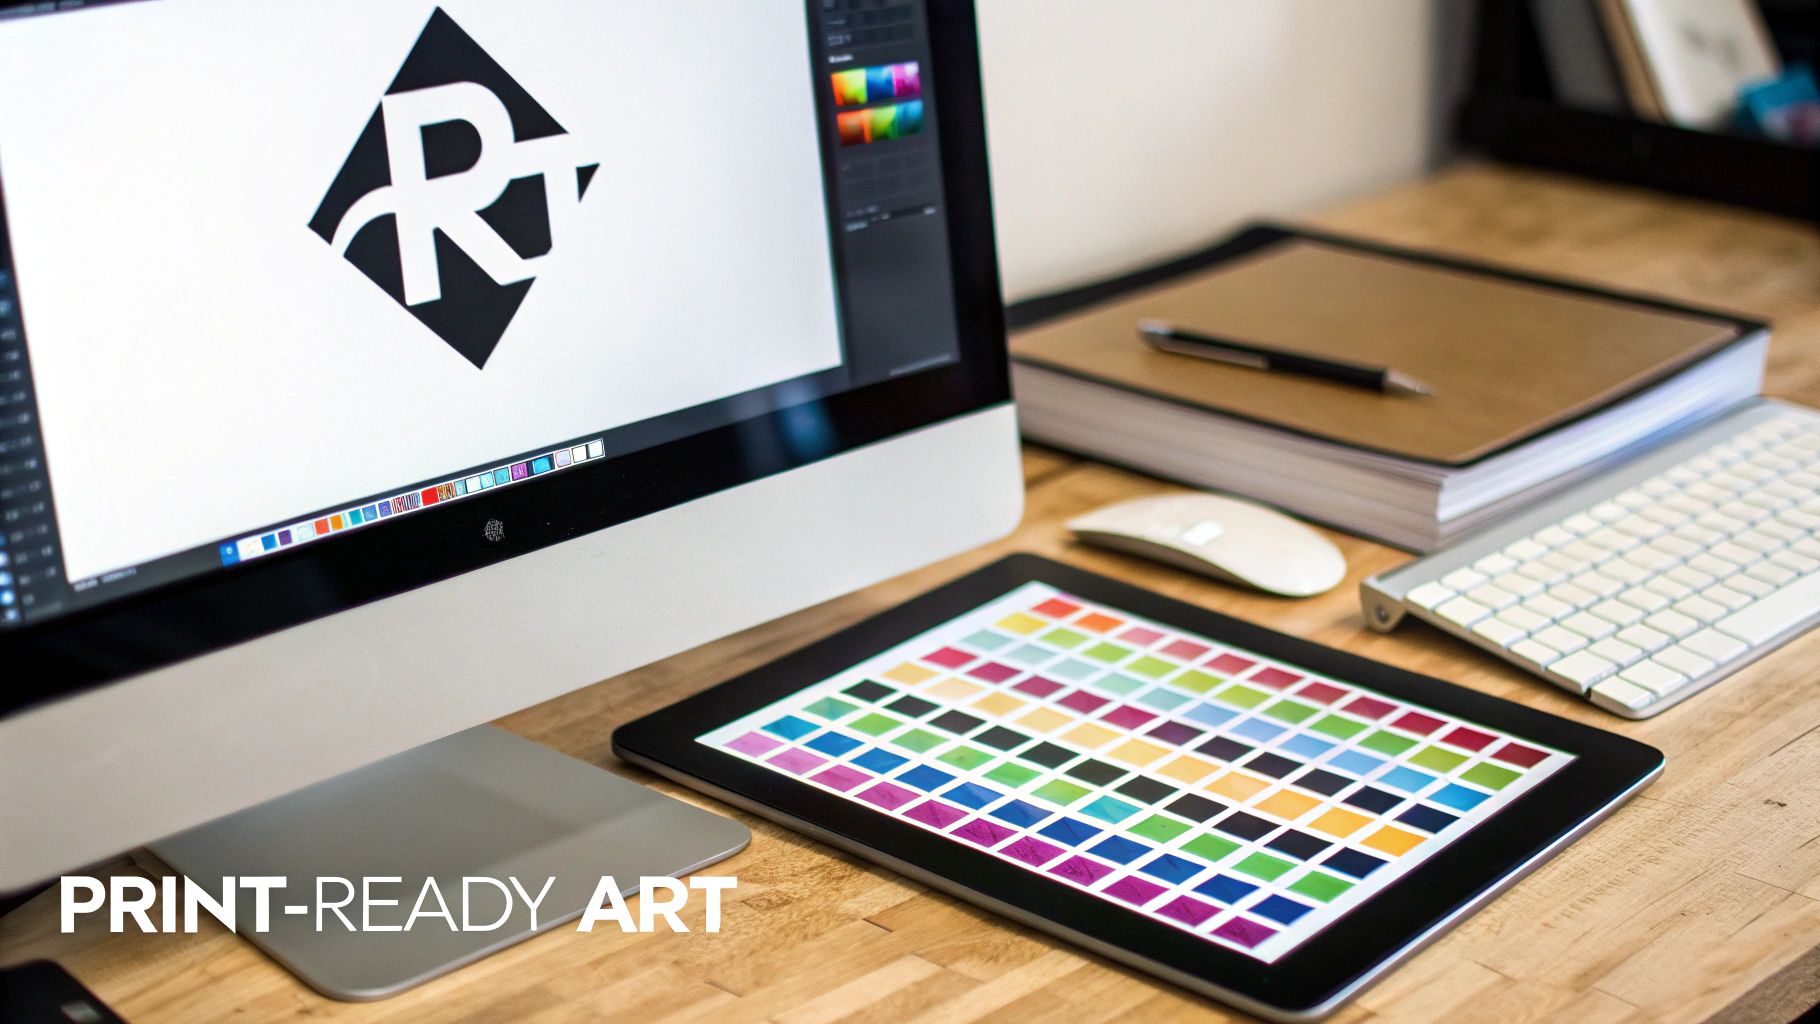
Here's a piece of advice I give everyone: the quality of your finished print is decided long before you ever click "order." It all starts with your digital file. Getting your artwork prepped correctly is the single best way to avoid headaches, reprints, and delays down the line.
You can think of your digital file as the foundation of your transfer. If that foundation is weak or blurry, the final product will be, too. Don't worry, you don't need to be a graphic design wizard. You just need to nail two key things: resolution and background transparency.
The Power of High Resolution
Resolution is all about detail. It's measured in DPI (dots per inch), and for DTF printing, the magic number is 300 DPI. This isn't just a suggestion; it's the industry standard for a reason. Hitting that 300 DPI mark is what gives you those crisp lines, sharp edges, and vibrant colors that make a design pop.
What happens if you use a low-resolution file, like a 72 DPI image you grabbed from a website? It'll look pixelated and fuzzy when printed. We've all seen it: a logo that looks fine on screen but turns into a blocky, muddy mess when blown up to fit a t-shirt. Submitting a high-res file is the simple fix for this common problem.
Not sure about your file? Here's a quick test: zoom in on your design on your computer. If the edges stay clean and sharp, you're good to go. If they start looking blurry and jagged, your resolution is too low. For a deeper dive, check out our guide on choosing the right graphic size for a t-shirt; it's a great resource for matching your file's dimensions with your print goals.
Why a Transparent Background Is a Must
This next part is non-negotiable: your artwork needs a transparent background. If your file has a solid white or colored background, that background will get printed right along with your design. You’ll end up with a big, awkward box around your graphic, which is almost never the intended look.
It really comes down to choosing the right file type.
- PNG: This is your best friend for DTF. It handles high resolution perfectly and, most importantly, supports true background transparency.
- JPG/JPEG: Steer clear of this format. JPEGs can't handle transparency, so they automatically flatten your image and slap a white background on it. That white box will be printed.
When you upload a PNG with a transparent background, our printers know exactly where to lay down the ink and adhesive—only on your design itself. This gives you a clean, professional transfer that looks like it's part of the garment, not just stuck on top.
Once you get in the habit of prepping your designs this way, the rest of the process becomes a breeze. With a folder full of print-ready PNG files, you're all set to start arranging them on a gang sheet and get the most bang for your buck.
Choosing Between Gang Sheets and Single Transfers
How you set up your DTF transfer order can make a huge difference to your bottom line. When you get down to it, you've got two main paths: ordering single images or building a gang sheet. Knowing when to use each is one of the biggest keys to getting the most bang for your buck and cutting down on waste.
A gang sheet is essentially a large canvas of transfer film—our 22" x 60" size is a crowd favorite—where you can arrange as many different designs as you can fit. Think of it like a game of Tetris. Your job is to pack in all your graphics—big, small, and everything in between—with as little empty space as possible. This approach is an absolute game-changer for cost savings, especially when you're dealing with a mix of designs.
When Gang Sheets Make Perfect Sense
Let's say you're dropping a new apparel collection. You need 10 big prints for the backs of hoodies, 15 left-chest logos for some tees, and another 20 small graphics for sleeve hits. If you ordered those as 45 separate transfers, the cost would add up fast.
This is where the gang sheet shines. Using an online builder, you can lay out all 45 of those designs onto one or two large sheets. By packing them in tightly, you're paying for the total area of the film, not a price for each individual graphic. The cost per print plummets.
This strategy is a no-brainer for:
- Bulk Orders: Any time you have a high quantity of designs, even if they're all different.
- Mixed Sizes: Projects that call for a variety of graphic sizes, from massive back pieces to tiny neck tag logos.
- Maximum Value: The goal is to fill every square inch. The more you fit, the more you save.
The whole point of a gang sheet is efficiency. You're buying real estate on the film, and the more designs you can cram onto that real estate, the lower your cost per piece gets. For a deep dive, check out our guide on mastering DTF gang sheets to learn the pros' tricks for perfect layouts.
When to Order Single Transfers
While gang sheets are fantastic for volume, they aren't a one-size-fits-all solution. Sometimes, ordering individual transfers just makes more sense.
For instance, if you only need one massive graphic for the back of a jacket that nearly fills a 22" x 22" space on its own, ordering it as a single transfer is the way to go. There’s no point in paying for a giant sheet if you have nothing else to fill the empty space with.
Stick with single transfers for situations like these:
- Samples and Prototypes: Perfect when you need just one or two prints to test a new design or show a client before committing to a big run.
- Large, Singular Designs: If your artwork is one giant piece, a custom-sized single transfer is the most straightforward and logical option.
- Simple, Low-Quantity Needs: Just need three of the exact same 4" logo? Ordering them as individual transfers is quick, easy, and avoids the hassle of building a sheet for such a small job.
Gang Sheet vs Single Transfer Which Is Right for You
Deciding which route to take really comes down to what your specific project looks like. Sometimes a quick comparison is the best way to see the right path forward.
| Scenario | Best Choice | Why It's a Good Fit |
|---|---|---|
| Launching a 5-design T-shirt line (100+ total prints) | Gang Sheet | You can combine all designs and sizes onto a few sheets, drastically reducing your cost per shirt and boosting your profit margin. |
| Creating a single prototype shirt for a client | Single Transfer | It's the most direct and cost-effective way to get one high-quality sample without paying for unused film space. |
| Printing a huge, one-off banner graphic for an event | Single Transfer | A single, large-format print is priced by its specific dimensions, making it the clear winner for oversized, standalone artwork. |
| Stocking up on your brand's 3 standard logo sizes | Gang Sheet | You can fill an entire sheet with dozens of your most-used logos, ensuring you always have inventory ready for application at the lowest cost. |
Once you get in the habit of thinking about your order volume and design variety, you'll instinctively know which format offers the best value. It's a small shift in thinking that turns you into a much smarter and more efficient buyer.
Finalizing Your Order: Adhesives, Turnaround, and Shipping
Alright, your gang sheets are looking good and the artwork is uploaded. You're on the home stretch! This last part of the process is all about the finishing touches—the small decisions that make a big difference in your final product and when it shows up on your doorstep. Let's get this order across the finish line.
First, you'll need to pick your adhesive. Think of this as the "glue" that holds your design to the fabric. For most of what you'll be printing on—like standard cotton, polyester, and common blends—our universal adhesive is the perfect all-rounder. But if you're working with trickier materials, like slick performance wear or anything with a water-repellent finish, you'll want to select a specialty adhesive to make sure that transfer grabs on and doesn't let go.
Choosing the right adhesive is like picking the right tires for your car. You wouldn't put slicks on a dirt road, right? Mismatching the adhesive to the fabric is a recipe for peeling and poor durability. Always double-check that your choice matches the garment.
How Our Turnaround Times Work
One of the things we're most proud of is our speed. We offer a 24-hour production turnaround on all DTF transfer orders, which is a game-changer when you're on a deadline.
It's really important to know what that means. The 24-hour clock starts ticking the second your order is placed and your artwork gets the green light. This timeline is strictly for production—the time it takes us to print your transfers, apply the powder, cure them, and get them boxed up. Shipping time is a separate thing you'll choose next.
In the world of e-commerce, speed is everything. With global sales hitting USD 1.19 trillion and growing by 8.1% year-over-year, the pressure for quick custom apparel is immense. Online brands need a printing partner who can keep pace, and that's exactly what our 24-hour production is designed for. You can dive deeper into these market trends in this Direct-To-Film Printing Market Analysis.
Picking the Right Shipping for Your Timeline
Once your transfers are printed and packed, the last step is getting them to you. We've got a few options to match your budget and how quickly you need them.
- Standard Shipping: This is your go-to for everyday orders. It's reliable, cost-effective, and perfect when you're not in a huge rush.
- Next-Day Shipping: Got a last-minute job or a client who needs their order yesterday? This is the one you want. It's the fastest way to get your transfers after they leave our shop.
- Free Shipping: Who doesn't love free? We'll cover the shipping on any order over $79.90. This is a fantastic way to cut costs, especially if you're stocking up on transfers for future jobs.
Let's walk through a real-world example. Say you place an order on a Monday morning and choose Next-Day Shipping. Your transfers will be produced and shipped out by Tuesday. With that speedy shipping, you could have the box in your hands as early as Wednesday—plenty of time to press those shirts for a weekend market or fulfill a rush order for your online store. A little planning goes a long way in keeping your business running like a well-oiled machine.
Your Foolproof Guide to Heat Press Application
A perfectly printed transfer is only half the battle. The real magic happens at the heat press. How you apply the design is the final, critical step that makes the difference between a shirt that looks professional and one that peels after the first wash. This is the moment your digital file becomes a tangible, sellable product.
The process itself isn't difficult, but the details are everything. Nailing down a consistent routine is your best defense against common headaches like scorched fabric or a weak bond.
Prep Your Garment and Press
First things first, let's get the garment ready. Before you even think about placing the transfer, lay your shirt or hoodie on the press and give it a quick pre-press for about 5-7 seconds. This little step is a game-changer. It gets rid of any hidden moisture and irons out all the wrinkles, giving you a perfectly flat canvas to work with.
Now, for placement. Carefully position your DTF transfer on the garment. Take a second to measure and make sure it's centered, straight, or exactly where it needs to be. Consistent placement is one of those subtle details that makes a brand look truly professional.
The journey to this point is pretty straightforward, from selecting your materials to getting them shipped right to your door.
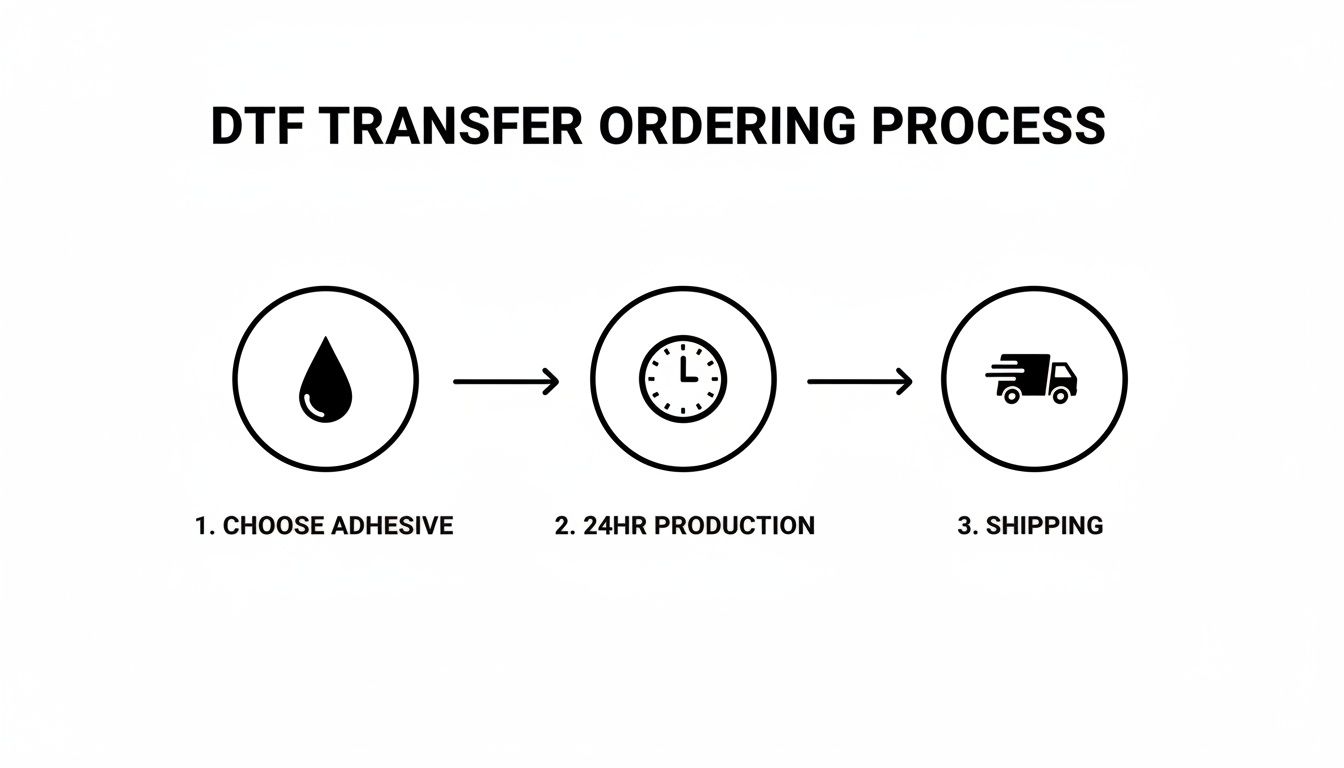
Once your transfers arrive, you're ready for this final, crucial application stage.
The Pressing and Peeling Process
Time for the main event. The settings on your heat press will depend entirely on the fabric you're working with. These are solid starting points that I use for most jobs:
- Cotton: Press at 300-320°F for 10-12 seconds. You'll want medium-to-firm pressure.
- Polyester & Blends: Go a little lower and faster. Try 260-280°F for 8-10 seconds with medium pressure.
After that first press is done, resist the urge to peel the film right away. This is a cold peel transfer, which means you need to let it cool down completely. You can just let it sit for a minute, or if you're in a hurry, gently rubbing a spare cloth over it can speed things up. Once it's cool to the touch, peel the film back smoothly and at a low angle.
Pro Tip: Got seams, zippers, or collars in the way? Use a heat press pillow. It elevates the printing area, ensuring the press can apply perfectly even pressure across the entire design. This prevents the adhesive from failing near those tricky spots.
The Final Press for a Perfect Finish
You might think you're done after peeling, but don't skip this last step. It's what separates the amateurs from the pros.
Place a Teflon sheet or a piece of parchment paper over the now-exposed design and press it one more time. Just 5-7 seconds using the same settings as before is all it takes.
This final press is a workhorse. It pushes the ink deep into the fabric's fibers, locking it in for incredible durability and washability. It also knocks down the shine from the adhesive, giving your print a softer, more matte finish that looks and feels like it’s part of the shirt, not just sitting on top of it. It’s a tiny bit of extra effort for a huge payoff in quality.
Got Questions? We've Got Answers.
Alright, let's talk about the questions that pop up right before you hit that "order" button. It's totally normal to have a few lingering thoughts, and getting them sorted out is the key to ordering with confidence. We've heard them all, so we've put together the answers to the most common ones right here.
Think of this as your quick-reference guide to make sure your DTF project goes off without a hitch.
How Well Do These Transfers Actually Hold Up in the Wash?
This is the big one, right? You want your prints to last. The short answer is: they're incredibly durable. Our premium DTF transfers are lab-rated for 50+ washes without cracking, peeling, or fading. They're built to last.
The secret sauce is the combination of a quality transfer and proper application. That final press isn't just a suggestion; it's what locks the ink into the fabric fibers for good. For best results, tell your customers to wash the garments inside out in cold water and tumble dry on low. That's how you get a print that looks great for years.
Can I Just Use a Home Iron Instead of a Heat Press?
I'm going to be direct here: please don't. While it might seem like a clever workaround, using a home iron is the number one reason for a failed transfer. It comes down to two things a heat press does perfectly that an iron just can't: providing consistent, even heat and heavy, uniform pressure.
An iron has hot spots and applies pressure unevenly, so some parts of your design will bond while others won't. This almost guarantees it will start peeling after the very first wash. A reliable heat press is the most critical piece of equipment for getting professional, sellable results that won't lead to unhappy customers.
How Can I Be Sure My Artwork Is Print-Ready?
You don't need to be a graphic designer to get this right. The golden rule is to start with a high-quality file—ideally a 300 DPI PNG with a transparent background.
Here's a simple trick I use: Open your file and zoom in to 200%. Do the edges look crisp and clean, or are they fuzzy and pixelated? If everything looks sharp, you're good to go. If you're still unsure, just send it our way. We're always happy to take a quick look before you place an order.
What Else Can I Put These Transfers On?
This is where the real fun begins. DTF isn't just for t-shirts. The versatility is a huge advantage, allowing you to print on a whole range of items. You can confidently press our transfers onto:
- Cotton-poly blends
- Tri-blends
- Canvas tote bags
- Denim jackets
- Even certain types of leather
Now, for hard goods like mugs, glass, or metal, our standard apparel transfers won't work. For those projects, you'll need to check out our specialized UV-DTF transfers, which are designed specifically for those non-porous surfaces. It’s a great way to expand your product catalog way beyond basic apparel.
Ready to see your designs come to life with prints that are vibrant, durable, and a breeze to apply? At Raccoon Transfers, we've made the whole process as simple as possible. Build your gang sheet and place your order today!