
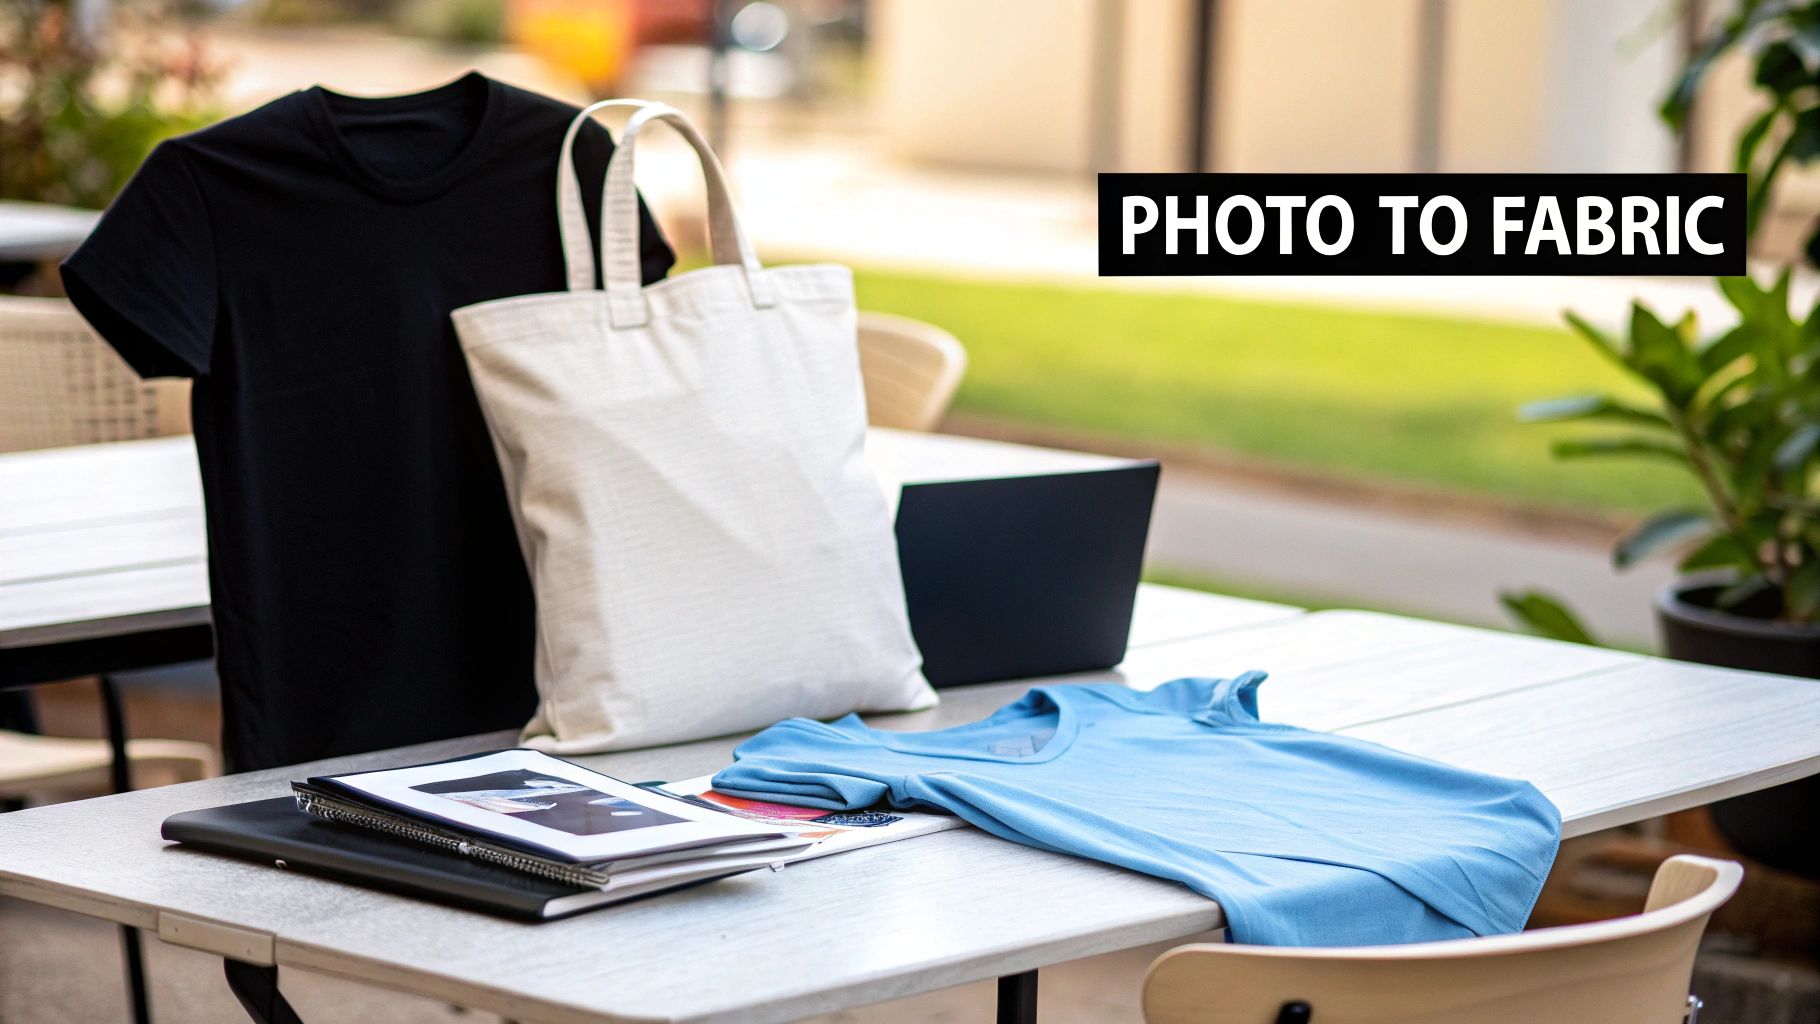
Your Guide to Perfect Prints with Photo to Fabric Transfer Paper
Ready to turn your favorite photos into wearable art or custom decor? Photo to fabric transfer paper is your magic wand. It's a special type of paper that lets you print any digital image on a standard inkjet printer and press it onto fabric using heat. It’s the secret sauce behind countless custom t-shirts, personalized gifts, and unique home decor projects.
Bringing Your Digital Photos to Life on Fabric
Think about transforming a cherished family portrait into a keepsake pillow or slapping your company logo on tote bags for an upcoming event. This is the kind of creative freedom that photo transfer paper unlocks. It acts as a bridge between your digital ideas and physical creations, making it a favorite for everyone from weekend crafters to small business owners.
What’s the big appeal? It’s accessible and surprisingly affordable, especially when you're just making a few items. You don't need a warehouse full of equipment—just your home printer, an iron or a small heat press, and a spark of creativity.
Why This Method Is So Popular
The boom in personalized goods has made this technique more popular than ever. The numbers don't lie: the global printing transfer paper market was valued at USD 12,940.87 million and is expected to hit USD 17,439.83 million by 2032. This growth is driven by indie designers and small brands who need vibrant, full-color designs on all sorts of materials.
Here’s why so many people are turning to transfer paper:
- Cost-Effective: Perfect for small batches without the hefty setup fees of screen printing.
- Super Simple: The process is easy to learn. You can get great results with basic household tools.
- Creative Freedom: It handles complex, multi-colored photos beautifully, letting you print on everything from t-shirts to canvas bags.
The success of your photo transfer hinges on the fabric you choose. Taking a moment for understanding cotton blend fabric can make a huge difference in your final result.
This guide will walk you through everything you need to get professional-looking results right from your own home. Let's start with the most critical first step: picking the right paper for your fabric. For a deeper dive into the basics, check out our guide on what transfer paper is and how it works.
Getting Your Photo Ready for a Flawless Transfer
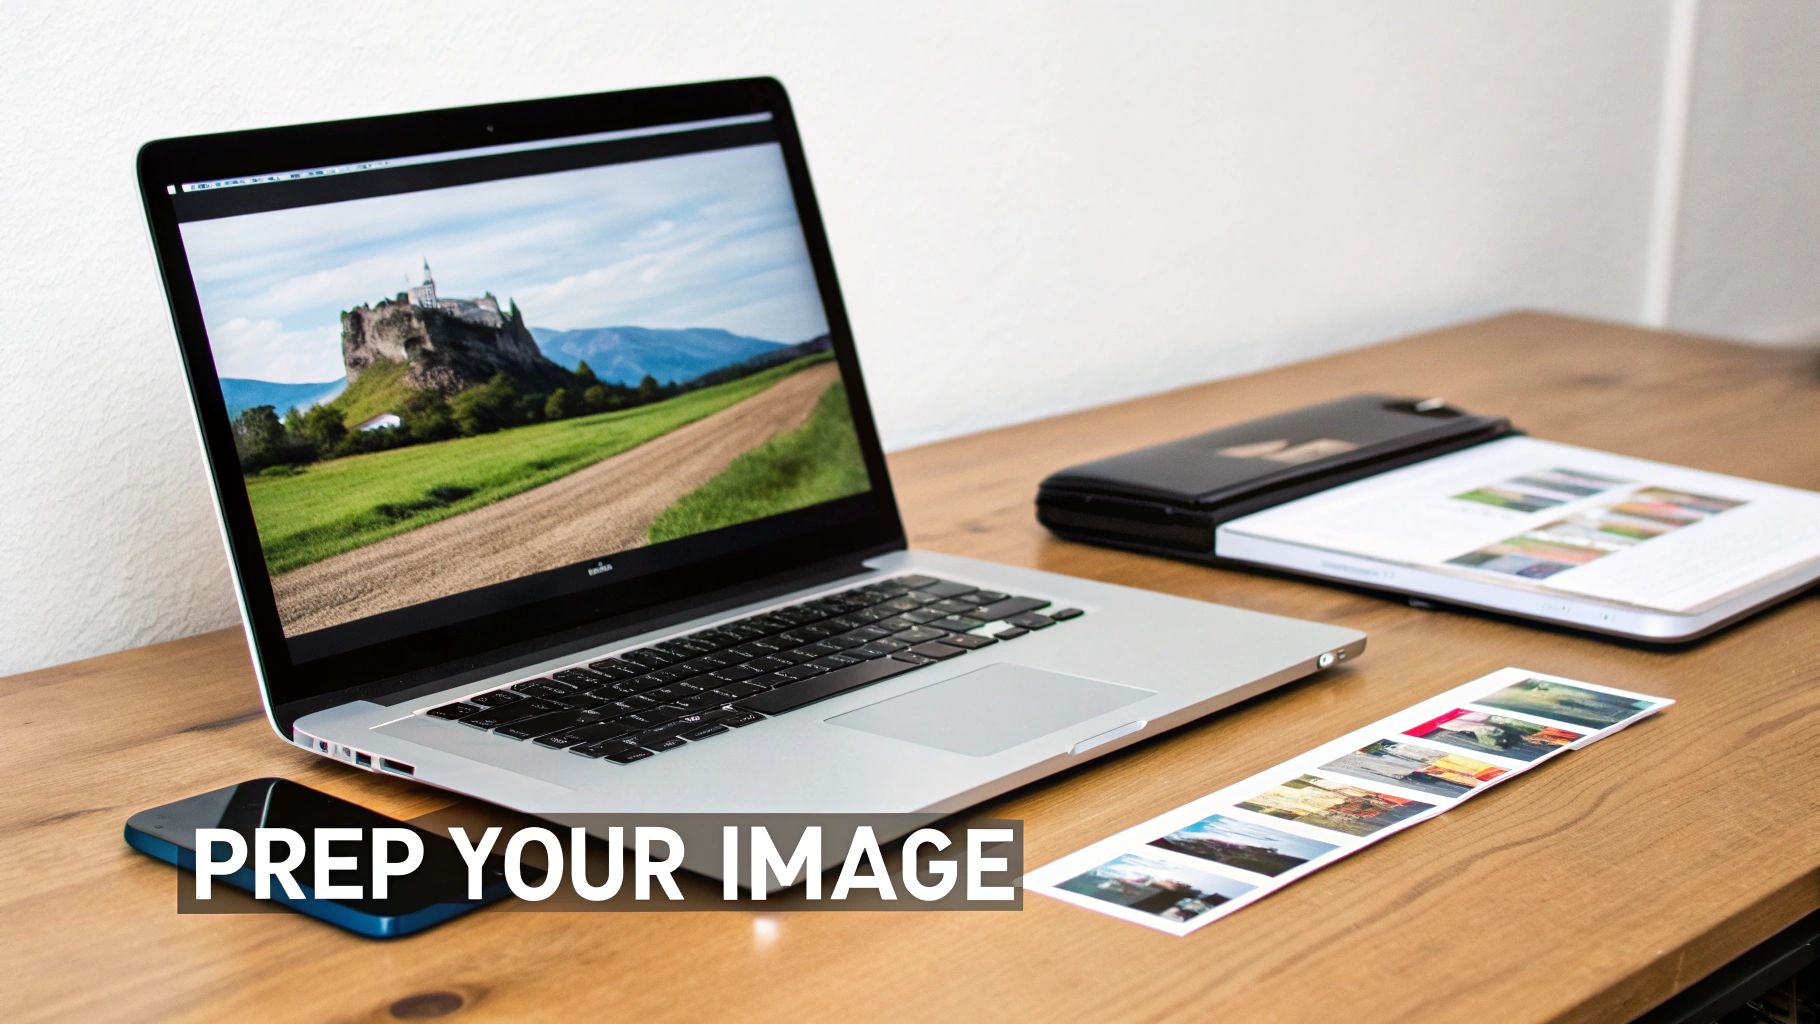
The journey from a digital photo to a beautiful fabric print begins on your computer, long before the printer warms up. I've seen countless projects fall flat simply because the initial digital file wasn't properly prepared. The absolute most important thing to get right is your image resolution.
Think of it this way: your image is made of tiny dots. The more dots you can pack into a single inch, the sharper and more detailed your print will be. We measure this in DPI, or dots per inch. Your phone or computer screen looks great at just 72 DPI, but that's not nearly enough for a quality fabric transfer. Printing a low-resolution image will give you a blurry, pixelated mess.
Your goal should always be 300 DPI at the final size you intend to print. So, if you're planning a 5x7 inch design for a t-shirt, your digital file needs to be at least 1500 x 2100 pixels. This ensures every little detail—from the subtle expressions in a family portrait to the crisp edges of a logo—comes through perfectly.
Fine-Tuning Your Image for the Best Print
With resolution sorted, it's time to think about color and brightness. One thing that trips people up is that images always look brighter on a backlit screen than they will on fabric. A quick adjustment here can save you from a dull, lifeless transfer.
Open your photo in an editing program and give the brightness and contrast a slight bump. You'd be surprised how much this little tweak can make the colors pop and prevent important details in the shadows from disappearing into the fabric.
Pro Tip: Be careful not to oversaturate the colors. A little boost to vibrancy is good, but go too far and you’ll end up with a glowing, unnatural look. The idea is just to compensate for how ink soaks into fabric, not to create a neon sign.
If you're really serious about getting your colors just right, it’s worth digging into color management. Understanding what an ICC profile is and how it works is the key to making what you see on your screen match your final print.
The Rookie Mistake Everyone Makes (and How to Avoid It)
Now for the one step that, when missed, will ruin your entire project: mirroring your image. This is absolutely critical for most photo to fabric transfer paper, especially when working with light fabrics.
Think about it like a stamp. The image on the stamp is backward so that when you press it onto paper, the impression is correct. Transfer paper works exactly the same way. You have to print a mirror image of your design so it appears the right way around after being pressed onto the shirt.
You absolutely must mirror your image if it contains:
- Any kind of text: Names, quotes, or slogans will be completely unreadable if you forget to flip them.
- Logos: Any asymmetrical logo will look wrong.
- Directional photos: A picture of someone pointing to the left will end up pointing right if it isn't mirrored.
Thankfully, this is an easy fix. Most printer software has a "mirror image" or "t-shirt transfer" setting you can simply check. You can also flip the image horizontally yourself in a program like Canva or Photoshop before printing. Trust me, skipping this step is the classic beginner's mistake—don't let it happen to you
Here we go—this is where your digital design makes the jump into the real world. Nailing the printing and trimming stage is what really separates a DIY-looking craft from a truly professional, retail-quality product. And it all starts with getting your printer settings just right.
After you’ve put in all that design prep, just hitting "print" feels like the last little step, but the specific settings you choose here are absolutely crucial. You'll want to open up your printer’s dialog box and get familiar with the paper or media type options. The goal is to tell your printer to lay down a nice, rich layer of ink.
Dialing in Your Printer Settings
Whatever you do, don't just stick with the default "Plain Paper" setting. Look for something more specific like "T-Shirt Transfer," "Photo Paper Matte," or even "Premium Presentation Paper." Selecting one of these tells the printer it's handling a special coated paper, so it adjusts the ink flow to give you that deep saturation and vibrancy you're after.
Next, find the print quality setting. It’s time to crank it all the way up to "High" or "Best." Sure, this will slow down the printing process a bit, but it’s worth it. This setting ensures the ink is applied with precision, preventing any weird banding and creating a solid, flawless image. A lower-quality setting might save a few seconds, but you’ll almost certainly end up with a dull, faded-looking transfer. For a deeper dive, check out our complete guide on how to properly print on transfer paper.
This commitment to quality is what powers the entire customization industry. Heat transfer paper is a cornerstone of a market expected to jump from USD 523.2 million to over USD 696.3 million by 2033. The garment sector alone makes up nearly 78% of this demand, driven by small businesses and home-based creators who depend on getting vibrant, reliable results every single time. You can read more about these market trends in the heat transfer paper industry.
The Art of Precision Trimming
Once your design is printed and the ink has had a few minutes to fully dry, the game shifts from digital settings to physical skill. How you trim your design has a huge impact on the final look, especially when you're working with light-colored fabrics where the polymer film around the image can sometimes show.
Your mission is to cut as close to the edge of the printed design as you possibly can, leaving almost no border. A tight, clean cut is what prevents that giveaway shiny outline that can scream "homemade."
For simple shapes, a sharp pair of scissors or a craft knife with a fresh blade is all you need. Just take your time, go slow around the curves, and focus on keeping a smooth, clean line.
If you're tackling something more intricate—think detailed lettering or complex patterns—an automated cutting machine like a Cricut or Silhouette is a total game-changer. These machines can trace the exact contours of your image with a precision that’s almost impossible to replicate by hand.
This careful, meticulous trimming is what ensures that only your design transfers to the fabric. It’s the key to achieving that seamless, integrated finish that makes your work truly pop.
Mastering the Heat Application Process
This is where the magic happens. You’ve prepped your photo, got a perfect print, and trimmed it just right. Now, it's time to head to the heat press or ironing board to bring it all to life. Getting this part right boils down to a simple but crucial formula: the right temperature, the right pressure, and the right amount of time.
Nailing this trifecta is what makes the photo to fabric transfer paper bond correctly, creating a design that looks great and actually lasts. Honestly, almost every failed transfer I've seen—peeling corners, a faded look after one wash—comes down to getting one of these three things wrong.
The demand for this kind of personalization is huge. The heat transfer paper market is on track to hit USD 805.62 million, and it's all part of a massive shift in digital textile printing. That whole industry is projected to jump from USD 2.0 billion to USD 7.9 billion by 2030. It's wild to see how much precision printing, especially with multi-pass tech (which holds over 61% of the US market), has changed things. If you're curious, you can dig deeper into the future of the heat transfer market to see where this is all heading.
Heat Press vs. Home Iron: A Quick Comparison
Look, you can absolutely use a home iron for a one-off project. It works. But if you want consistent, durable results, a dedicated heat press is in a different league entirely. The biggest advantage? A heat press delivers perfectly even heat and pressure across the whole design, which is something an iron just can't do.
- Heat Press: Gives you precise control over the temperature and applies uniform pressure. This is the secret to a professional-looking finish that won't peel in the wash.
- Home Iron: The heat is often uneven. You'll get hot spots that can scorch the fabric and cool spots where the transfer won't stick properly. Plus, you’re relying on your own strength to apply pressure, and it's nearly impossible to do that evenly.
If you plan on making transfers more than just once or twice, investing in a small, affordable heat press will make a night-and-day difference in the quality of your work.
Before you even think about applying heat, remember these three core prep steps.
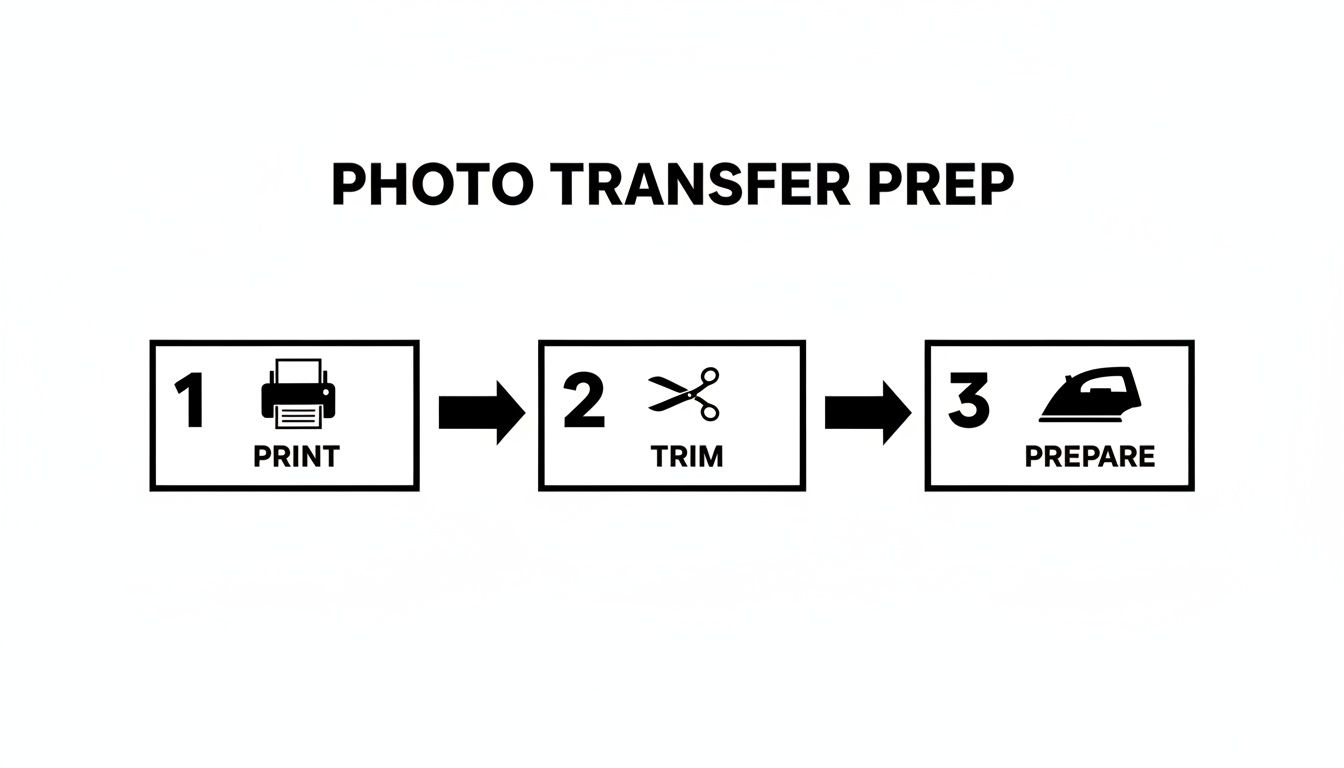
This simple workflow—print, trim, prepare—is the foundation for everything that follows. Don't rush it.
Heat Press Settings for Common Fabrics
To take the guesswork out of it, here are some solid starting points for different materials. Always do a test press if you can, but this chart is a reliable guide.
| Fabric Type | Temperature (°F/°C) | Pressure | Dwell Time (Seconds) |
|---|---|---|---|
| 100% Cotton | 350-375°F / 177-190°C | Medium-Firm | 15-20 |
| 50/50 Cotton/Poly | 330-350°F / 165-177°C | Medium | 12-15 |
| Polyester | 300-320°F / 149-160°C | Light-Medium | 10-12 |
| Tri-Blends | 320-335°F / 160-168°C | Medium | 12-15 |
Remember, these settings can vary slightly based on your specific transfer paper and the thickness of the garment, so always check the manufacturer's instructions first.
Understanding Peel and Cure Times
Once the timer goes off, don't just rip the backing paper off. This next part is just as important. Check the instructions for your specific transfer paper to see if it’s a hot peel (remove the backing right away) or a cold peel (wait for it to cool down completely). Following this direction is key to getting the texture and finish you want.
Once the backing is off, your job isn't quite done. The ink and polymer need time to fully set and bond with the fabric fibers. This is the curing process.
I know it's tempting, but whatever you do, don't wear or wash your new shirt immediately. You need to let it sit undisturbed for at least 24 hours. This step is non-negotiable if you want a design that can handle a washing machine without cracking or peeling. That waiting period lets the transfer fully cure, locking it into the fabric for good.
Tackling Common Transfer Paper Problems
Even when you do everything by the book, you can still hit a few snags with photo to fabric transfer paper. It’s frustrating, but don't sweat it. Most of these issues are common, and once you know what to look for, the fixes are usually pretty simple.
The number one complaint I hear is about designs cracking or peeling after just a wash or two. It’s a gut punch to see your awesome custom shirt fall apart so quickly, but this almost always points back to one thing: the heat application.
Why Is My Design Cracking and Peeling?
If your design is falling apart, it's a dead giveaway that the ink and the transfer's polymer layer didn't properly fuse with the fabric fibers. Think of the transfer's adhesive like a special glue that needs a specific recipe of heat, time, and pressure to work its magic.
When a design fails, it’s almost always because one of those ingredients was off.
Here's a quick checklist of the usual suspects:
- Not Enough Heat: If your iron or heat press was too cool, the adhesive never fully melted into the fabric. Always go back and double-check the temperature recommendations for your specific paper.
- Uneven Pressure: This is the classic problem when using a home iron. It’s tough to apply consistent pressure across the entire design, leaving weak spots that are the first to peel away.
- Cutting the Time Short: Rushing the process is a recipe for disaster. Shaving off even 5-10 seconds can mean the difference between a permanent bond and a temporary one. Let the timer finish!
- Washing It Too Soon: This is a big one. That transfer needs a full 24 hours to cure and permanently set. Tossing it in the wash before then is asking for trouble.
My Colors Look Dull and Faded!
You've got this brilliant, punchy photo on your monitor, but on the shirt, it looks dull and washed out. It’s easy to blame your ink, but the problem usually starts way before you even get to the heat press.
This issue almost always traces back to your printer settings. If you just hit "Print" using the default "Plain Paper" setting, your printer is going to be stingy with the ink. It's not putting down enough color to create a rich, saturated image that will pop on fabric.
The fix is easy: Dive into your printer settings and choose a high-quality option like "Photo Paper Matte," "Premium Presentation Paper," or a specific "T-Shirt Transfer" setting if you have one. This tells the printer to lay down more ink, giving you the deep, vibrant colors you need for a great-looking transfer.
Help! The Transfer Won't Stick at All.
There's nothing more baffling than peeling away the backing paper only to have the entire transfer lift right off with it. This tends to happen most often with tricky synthetic fabrics like polyester or nylon.
These materials can be a little heat-sensitive, and some even have subtle coatings that resist adhesion. So, what do you do?
Your best bet is a three-pronged attack. First, always pre-press your garment for a few seconds. This zaps out any hidden moisture and smooths out wrinkles, giving you a perfect canvas.
Next, make sure you're using the right tool for the job. Check that your transfer paper is actually rated for synthetic fabrics. And finally, get your settings right. Too little heat or not enough firm pressure, and that transfer will never get a good grip on the fabric's fibers.
When to Level Up with Professional DTF Transfers
Doing your own projects with photo to fabric transfer paper is a blast, and it's perfect for one-off gifts or just experimenting. But let's be real—there's a ceiling to what it can do. Knowing when you’ve hit that limit is the key to moving your creations from a fun hobby to something that looks truly professional.
This is where services like Direct-to-Film (DTF) transfers come into the picture. They're a serious upgrade in quality, durability, and what's even possible.
Think about it: if you've ever tried to print on dark polyester, that stretchy spandex for a workout shirt, or something wild like leather, you know that standard transfer paper just doesn't cut it. DTF, on the other hand, is built for this stuff. Its special adhesive creates an incredible bond with pretty much anything—cotton, synthetics, and all the blends in between.
Scaling Up Your Production and Quality
So, you're thinking about starting a small t-shirt brand or maybe you landed an order for a local 5K run. The thought of printing, weeding, and perfectly trimming dozens of transfers at home probably sounds like a nightmare. It is. I’ve been there.
Professional DTF services like Raccoon Transfers take that entire headache away. You just upload your designs, and they arrive at your door ready to press. The time you save is massive, and you get perfect consistency from the first print to the last.
The difference in quality is something you can see and feel right away:
- Built to Last: DTF prints are incredibly flexible. They stretch with the fabric and can handle dozens of washes without cracking or peeling like some DIY transfers do.
- Colors That Pop: The white ink underbase used in DTF makes colors unbelievably vibrant and totally opaque, even on a black shirt.
- Crazy Sharp Details: You can get super fine lines and tiny text that would be an absolute nightmare to try and cut out by hand.
Honestly, if you're aiming for that retail-ready look, DTF is the next logical step. It’s the bridge between a homemade craft and professionally manufactured gear, and you don’t have to sink thousands of dollars into your own equipment.
So, when your projects demand serious durability, vibrant colors on tricky fabrics, or you just need to make more than a handful of items, upgrading to a professional DTF service is the smartest move you can make.
Got Questions? We've Got Answers
Let's tackle some of the most common questions that pop up when you're working with photo-to-fabric transfer paper. Getting these details right can be the difference between a project you love and a frustrating "do-over."
Can I Just Use My Laser Printer with Any Transfer Paper?
This is a big one, and the answer is a hard no. You absolutely have to match the paper to the printer.
Laser and inkjet transfer papers are formulated completely differently to handle the unique heating process of each printer type. Trying to run inkjet paper through a laser printer (or vice versa) won't just ruin your transfer; it can seriously damage your printer's internal components, like the fuser. Always double-check the package to make sure it explicitly says "for laser printers" or "for inkjet printers."
Why Did My Design Crack After Just One Wash?
Ah, the dreaded cracking. It's a classic sign that something went wrong during the heat application phase.
Nine times out of ten, cracking is caused by one of two things: not enough heat or not enough pressure. The transfer needs that combination to properly melt and bond with the fibers of the fabric. If the bond is weak, it'll break down quickly in the wash. Other culprits can be washing the garment too soon—you need to let it cure for at least 24 hours—or using hot water and harsh detergents.
Is Mirroring My Image Really That Important?
Yes, it's non-negotiable for most standard transfer papers, especially those designed for light-colored fabrics.
Think of it this way: you're printing on the back of the design and then flipping it over onto the shirt. If you don't reverse the image first, everything will be backward on the final product.
Forgetting this step is a common pitfall that has ruined countless projects, particularly those with text or logos. Most printing software has a simple checkbox for "mirror image" or "t-shirt transfer" to make it easy. Don't skip it!
Ready to skip the DIY learning curve and get flawless, retail-quality prints every time? Raccoon Transfers delivers professional-grade DTF transfers that are vibrant, durable, and ready to press on any fabric. Explore our easy-to-use custom transfer solutions today!