
A Crafter's Guide to Photo Transfer Paper for Fabric
If you've ever wanted to put a personal photo or custom design on a t-shirt, you've probably come across photo transfer paper. It’s a wonderfully simple way to create custom clothing right from your desktop, using little more than a standard printer and a household iron.
What Is Photo Transfer Paper for Fabric
Think of photo transfer paper for fabric as a kind of high-tech sticker for your clothes—one that becomes part of the fabric itself. It’s a go-to for DIYers, crafters, and even small brands who want to test out designs without dropping a ton of cash on professional equipment. The paper is your medium, carrying a printed design from your computer directly onto a garment.
The magic is in the paper's coating. It’s a special film with a heat-activated adhesive that grabs onto the ink from your inkjet or laser printer. When you press it with a hot iron, that adhesive melts and fuses the ink into the fabric's fibers. Voila! You have a full-color, custom-printed t-shirt, tote bag, or whatever else you can dream up.
It's this ease of use that has made custom apparel so popular. The global transfer paper market was valued at USD 3.3 billion in 2025 and is expected to hit USD 5.8 billion by 2035, driven by everyone from home crafters to small-scale entrepreneurs.
The Two Fundamental Types
Before you start, there's one critical thing to know: there are two distinct types of transfer paper. Choosing the wrong one is the most common mistake people make, and it can ruin your project before you even start.
-
Paper for Light Fabrics: This paper has a transparent film. It's designed for white, cream, or pastel-colored fabrics. Any part of the paper you don't print on will be clear, so the shirt's color shows through. This gives the final design a softer, more blended-in feel.
-
Paper for Dark Fabrics: This version is completely different. It has an opaque, solid white background. You need this for black, navy, red, or any deeply colored fabric. The white layer acts as a primer, ensuring your design's colors look vibrant and true-to-life instead of getting swallowed up by the dark fabric underneath.
Key Takeaway: The color of your fabric determines which paper you need. Light fabric paper is clear. Dark fabric paper has a white base to make your colors pop.
Getting this right is the first step to a great-looking finished product. It’s a simple choice that makes all the difference in turning your digital idea into something you'd be proud to wear. If you want to get into the nitty-gritty of how it all works, our guide on what transfer paper is is a great next step.
Photo Transfer Paper at a Glance
To make it even clearer, here's a quick side-by-side comparison. It's a handy cheat sheet for picking the right paper every time.
| Feature | Paper for Light Fabrics | Paper for Dark Fabrics |
|---|---|---|
| Film Type | Transparent film | Opaque, white film |
| Best For | White, pastels, and very light-colored fabrics | Black, navy, bright colors, and all dark fabrics |
| How It Works | Ink transfers directly; unprinted areas are clear. | The entire white film transfers, creating a base. |
| Mirror Image? | Yes, you must mirror your design before printing. | No, print the design as-is (do not mirror). |
| Final Feel | Softer, more integrated with the fabric. | Thicker feel, similar to a vinyl decal. |
Understanding these basics will help you avoid frustration and get the results you're looking for, whether you're making a one-of-a-kind gift or starting a new project.
Choosing the Right Type of Transfer Paper for Your Project
Picking the right photo transfer paper for fabric is probably the single most important decision you'll make, and it’s where most people go wrong right out of the gate. This isn't just about picking a good brand; it's about matching the paper to your fabric and your printer. Get this part wrong, and you're looking at a ruined shirt and wasted supplies. A little bit of know-how here saves a ton of frustration later.
The first major fork in the road is choosing between paper for light fabrics and paper for dark fabrics. They operate on completely different principles, and mixing them up is a surefire way to get a disappointing result.
Light vs. Dark Fabric Paper
Think of transfer paper for light-colored fabrics as a transparent sticker. The film that carries the ink is see-through, so any part of the design you don't print on just lets the shirt's color peek through. This is perfect for white, cream, or pastel fabrics because the design melts right in, giving it a softer, more integrated look. But if you try using this on a black shirt? Your image will basically vanish. There's no white base for the colors to sit on, so they get lost in the dark material.
On the other hand, transfer paper for dark fabrics is more like a printable white canvas. It has a solid, opaque white background that transfers right along with your design. This layer acts like a primer, making sure your photo’s colors pop, no matter how dark the fabric is underneath. The catch? You have to be meticulous about trimming. Any bit of that white background you don't cut away will show up as a clunky white border around your image.
Pro Tip: When you're using paper for dark fabrics, really complex designs with lots of tiny, separate parts can become a nightmare to cut. You either have to painstakingly trim around every little detail or get creative and build your design into a solid shape, like a circle or square, that's easy to cut out cleanly.
Inkjet vs. Laser Printer Paper
Just as important as your fabric choice is the type of printer you own. Transfer papers are made specifically for either inkjet or laser printers—and no, you can't swap them. This isn't a friendly suggestion; it's a hard rule.
-
Inkjet Transfer Paper: This paper has a special coating designed to grab and hold the wet, liquid-based ink that an inkjet printer sprays on. It keeps the ink from spreading or bleeding, which is key to getting a sharp, colorful transfer.
-
Laser Transfer Paper: This stuff is built tough to handle the intense heat from a laser printer's fuser unit. It's made to work with dry toner, which is essentially a plastic powder that gets melted onto the page. If you put inkjet paper in a laser printer, you risk the coating melting and gumming up the inside of your machine. That’s an expensive mistake.
Using the wrong paper for your printer type always ends badly. An inkjet print on laser paper will look smudged and washed out because the paper isn't made to absorb the ink. A laser design on inkjet paper will probably peel or flake off during printing and, again, could damage your printer. Always, always double-check the package to make sure it matches your machine.
For a deeper dive into the pros and cons, our guide to the best paper for heat transfer can help you sort through all the options.
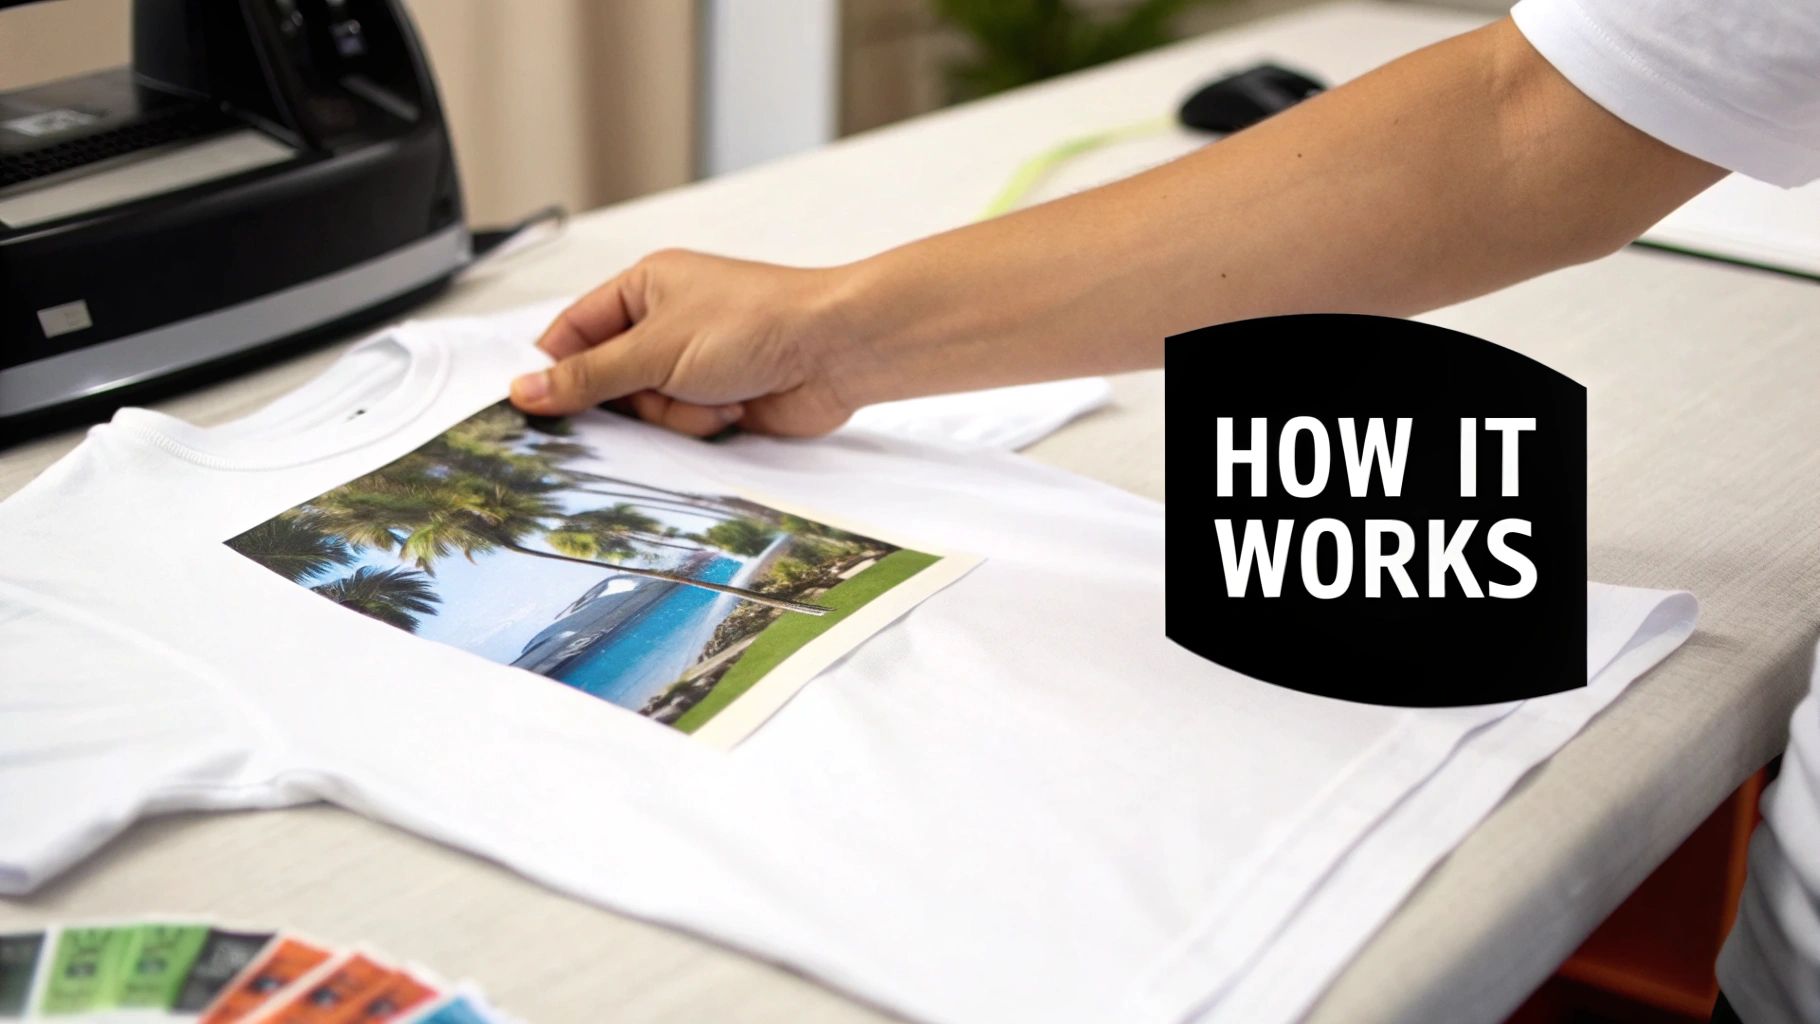
Your Step-by-Step Guide to Applying Photo Transfers
Ready to turn that digital picture into something you can actually wear? It's a fun process, and getting a great result the first time is easier than you think. Let's walk through it, from prepping your image to that final, satisfying press.
First things first, a little prep work goes a long way. This is where most first-timers stumble, but it's simple to get right.
-
Pick and Polish Your Image: Start with a high-resolution photo. If your original image is blurry or pixelated, printing it on a shirt will only make it look worse. Take a minute to crop it, adjust the brightness, or make any other tweaks before moving on.
-
Mirror Your Image (For Light Fabrics Only): This is the #1 most critical—and most forgotten—step. When using transfer paper for light-colored fabrics, you absolutely must flip your image horizontally. If you don't, any words or logos will be a mirror image of what you intended. Look for a "mirror image" or "flip horizontal" checkbox in your printer's settings.
-
Print It Out: Load the transfer paper into your printer, making sure you're printing on the correct side (the coated film side, not the paper backing). Check the instructions that came with your paper. For the best results, bump your printer settings up to the highest quality.
-
Trim Away the Excess: Once it's printed, grab some scissors and carefully cut around the design. For light fabric paper, a tiny border is fine. But for dark fabric paper, you must trim as close to the edge of the design as possible. Any extra material will show up as a white box on your shirt.
This quick visual guide can help you map out your project before you even hit "print."
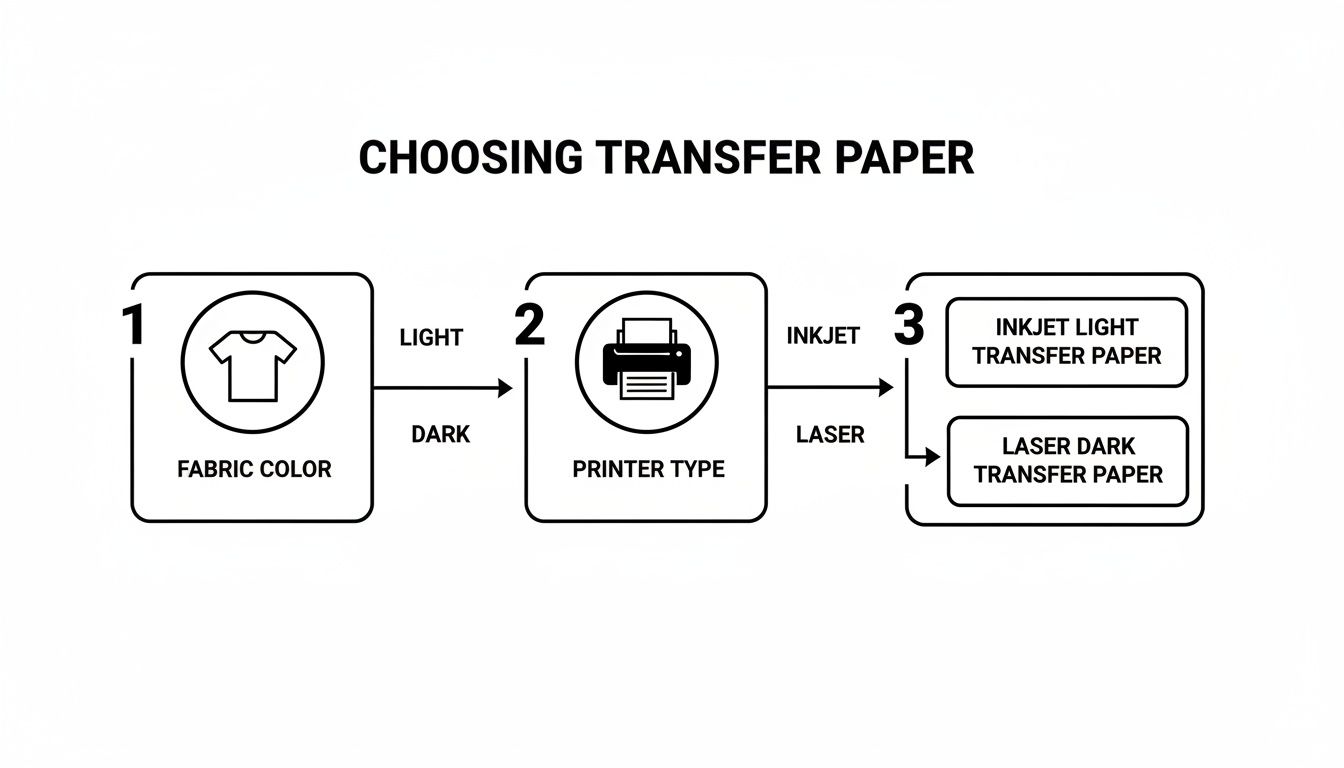
As you can see, your fabric color and printer type are the two big decisions that will guide the rest of the process.
Pressing Your Image the Right Way
With your transfer printed and trimmed, it's time for the magic to happen. You can use a standard household iron, but for the best, most durable results, a heat press is the way to go.
A heat press delivers consistent heat and even pressure across the entire design—two things that are really tough to manage with an iron. Still, for a one-off project, an iron will get the job done if you're careful.
Pro Tip: Always pre-press your shirt for 5-10 seconds before you place the transfer. This quick step removes moisture and wrinkles, giving you a perfectly flat, dry surface for the film to bond to.
Here’s how to nail the application:
- Get the Heat Right: For an iron, crank it up to the highest setting (usually cotton/linen) and make sure the steam is off. For a heat press, check the instructions for your specific paper, but it's typically in the 350-375°F (175-190°C) range.
- Position Your Design: Place the transfer onto the shirt. For light fabric paper, it goes face-down. For dark fabric paper, it goes face-up. Grab a ruler to make sure it's centered and straight.
- Apply Firm, Even Pressure: If you're using an iron, you need to press down hard. Use your body weight and keep the iron moving for the full recommended time (often 60-90 seconds), giving extra attention to the edges. Don't just glide it around like you're ironing a wrinkled shirt.
- Peel with Care: This is another crucial step. Some papers are "hot peel," meaning you peel the backing off right away. Others are "cold peel," where you have to let it cool down completely first. Peeling at the wrong time can stretch or tear your new design, so always follow the instructions.
Following these steps will get you a clean, durable design you'll be excited to show off. For an even more in-depth look, we have a complete guide on https://raccoontransfers.com/blogs/guides/how-to-transfer-photo-to-shirt that breaks down every single detail. If you're curious about other methods, you can also explore this guide on how to put photos on clothing like a pro apparel brand.
What to Do When Your Transfer Goes Wrong
Even seasoned pros run into trouble with photo transfer paper for fabric. We’ve all been there: you peel back the paper, and the design is cracked, or it feels like a stiff, plastic shield on an otherwise soft t-shirt. It’s frustrating, but these problems are almost always fixable once you know what’s causing them.
Let's walk through the most common headaches and how to solve them. Think of this as your field guide to getting that perfect transfer.
The #1 Problem: Peeling and Cracking
This is, without a doubt, the most frequent complaint. More often than not, it boils down to one of three culprits: heat, pressure, or time. The adhesive on that paper needs the right recipe of all three to truly fuse with the fabric. If one of those ingredients is off, you get a weak bond that can't handle a trip through the wash.
- Not Hot Enough: A household iron has to be cranked to its absolute highest setting. And make sure the steam is OFF—water is the enemy here.
- Uneven Pressure: It's tough to get consistent pressure with a handheld iron. You might nail the center of the design, but the edges and corners, where you naturally have less leverage, will be the first to start lifting.
- Rushing the Job: This is a big one. Most papers need a solid 60-90 seconds of constant heat and pressure. Cutting corners here is a surefire way to get a transfer that doesn't last.
The Fix: If you're using a heat press, always double-check the manufacturer's specs for your paper. With an iron, put your body weight into it, keep the iron moving in small circles, and give the edges an extra 20-30 seconds of attention. Don't be shy.
Why Your Colors Look Dull or Faded
Did your bright, punchy design turn out looking a bit sad and washed-out on the shirt? This problem usually starts before you even get to the iron. Your printer settings and ink levels are critical for getting rich, vibrant colors.
The fabric you're using can also be the sneaky culprit. A transfer designed for light fabrics will look muted on anything other than pure white. Even a slightly off-white or heather gray shirt will show through the semi-transparent film, dulling your colors. That opaque white base on paper for darks exists for this exact reason—it creates a blank canvas.
It’s also worth noting that not all transfer paper is created equal. The market for tacky transfer paper, a crucial component here, is ballooning. Projections show it growing from USD 1.225 billion in 2024 to USD 2.37 billion by 2032. With that growth comes a lot of low-quality options. You can dive deeper into these tacky transfer paper market trends to understand how quality can vary.
The Annoying White Outline and Stiff, Boxy Feel
If you see a distinct white border around your design on a dark shirt, or if the whole thing feels thick and plasticky, you’re dealing with an issue specific to paper for darks.
- Sloppy Trimming: This type of paper transfers everything—ink and un-inked film alike. If you don't trim right up to the edge of your design, you'll transfer that unprinted white background right onto your shirt.
- The "Hand-Feel" Problem: This is just a natural limitation of the technology. The opaque film sits on top of the fabric instead of sinking into it. This creates that noticeable layer that feels heavy, especially on larger graphics.
You can fix the outline problem with a pair of scissors and some patience. That stiff feeling, however, is simply the price of admission for getting vibrant colors on dark fabrics with this method.
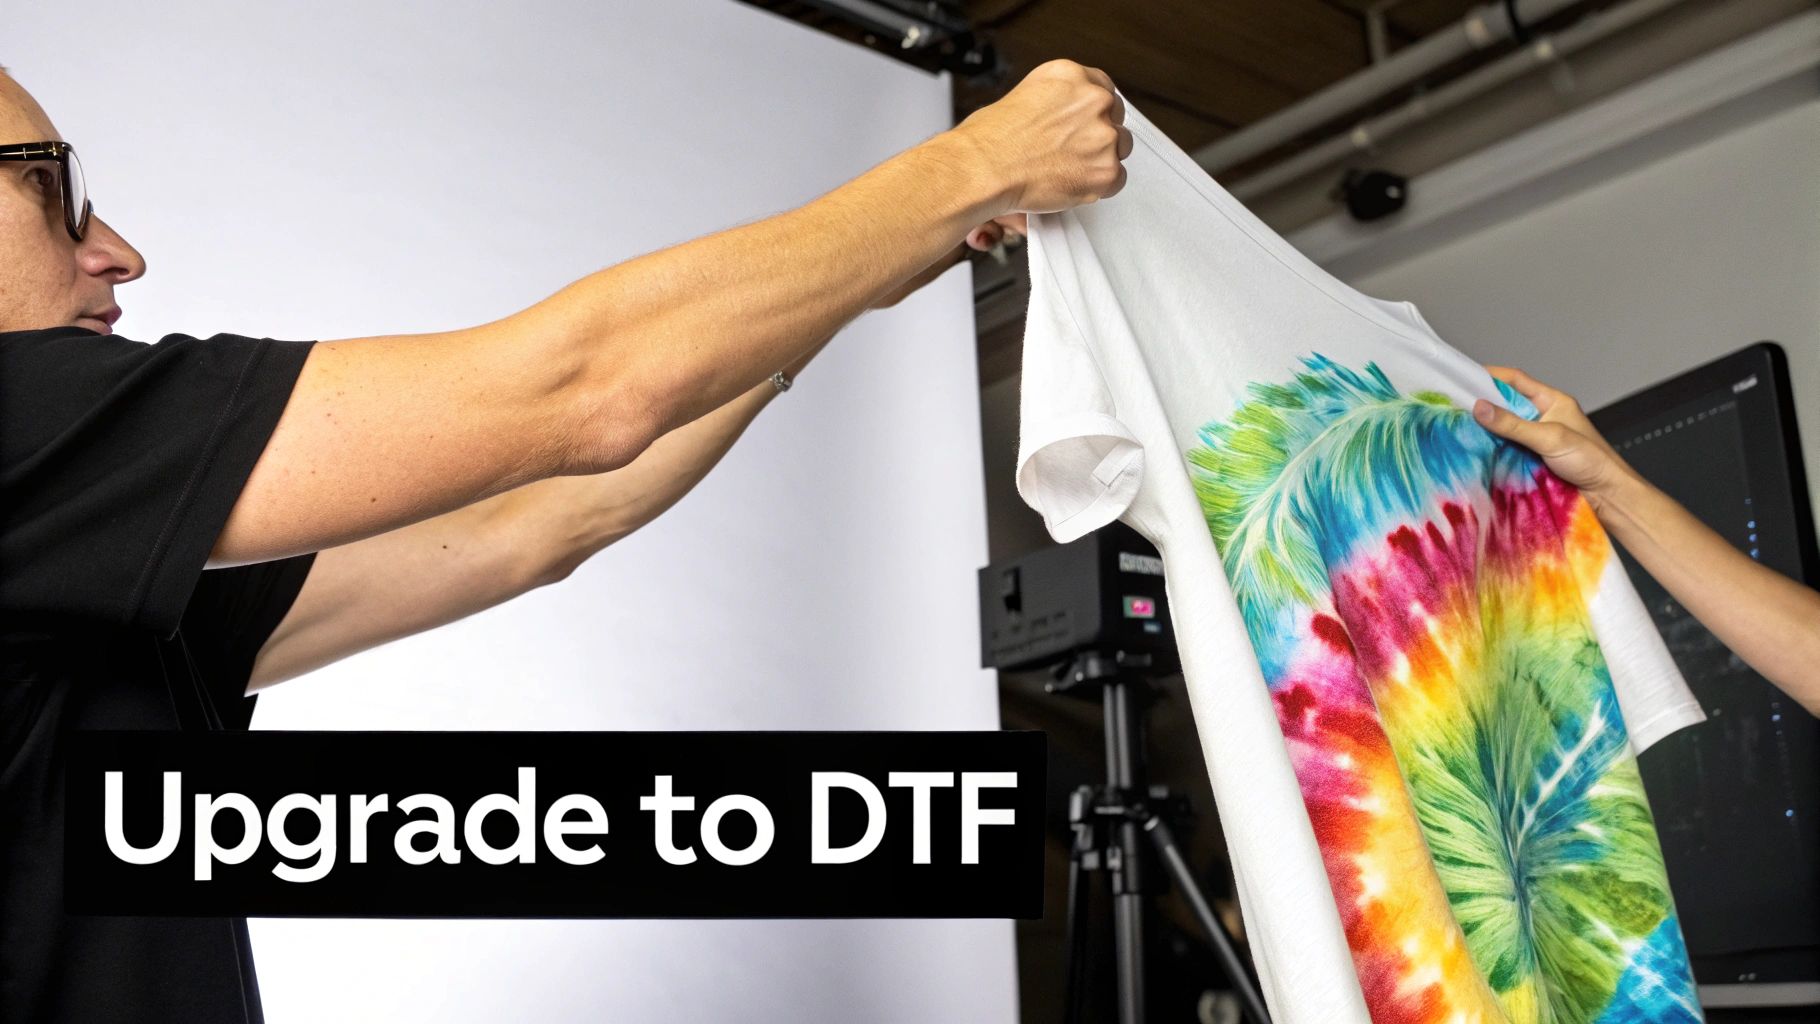
When to Upgrade to Professional DTF Transfers
So, you've gotten the hang of your trusty iron and a stack of photo transfer paper for fabric. You’ve made some cool shirts, but you're starting to run into the classic limitations. That stiff, plastic-like feel. The dreaded cracking after just a few washes. The tedious chore of trimming around every little detail.
These are the growing pains every creator hits. While transfer paper is a fantastic gateway into custom apparel, there comes a point for any serious hobbyist or budding brand when "good enough" just doesn't cut it anymore.
This is exactly where professional-grade solutions like Direct-to-Film (DTF) transfers step in. And let's be clear: this isn't a small step up. It's a leap into a completely different league, solving nearly every frustration you've had with old-school transfer paper. It’s the path to making products that truly look and feel professionally made.
Unlocking Durability and a Softer Feel
Picture a design that feels like it’s actually part of the fabric, not just a sticker sitting on top. That’s the magic of DTF. The process uses a special printer to lay ink onto a transparent film, which is then coated with a powdered adhesive. When you press it, the ink and adhesive bond directly with the fabric fibers, creating a transfer that’s incredibly durable and flexible.
Unlike the rigid film of DIY paper, DTF prints stretch and move with the garment without cracking or peeling. This means your designs can survive dozens of wash cycles—often 50 or more—while staying just as vibrant as day one.
Key Insight: DTF transfers solve the "hand-feel" problem. Because the design is lightweight and integrated into the fabric, it delivers a soft, breathable finish that customers love, elevating your product far beyond a homemade feel.
The Power of Vibrancy Without the Hassle
One of the biggest time-wasters with dark fabric transfer paper is the painstaking trimming needed to avoid that clunky white outline. DTF completely eliminates this step. The adhesive powder only sticks to the printed ink, so only your design transfers to the garment. No background, no border, just pure artwork.
This opens up a whole new world of creative freedom:
- Intricate Details: Fine lines, delicate script, and complex, free-floating elements transfer flawlessly without needing a solid background to hold them together.
- Full-Color Spectrum: DTF handles unlimited colors and gradients, reproducing photo-realistic images with stunning vibrancy and precision.
- Fabric Versatility: Cotton, polyester, blends, denim, and even leather—DTF transfers stick to a massive range of materials that DIY paper simply can't touch.
The demand for better transfer methods is skyrocketing. For example, the dye sublimation printing market, another popular transfer technique, was valued at USD 14.9 billion in 2024 and is projected to hit USD 28.0 billion by 2030. This growth shows the entire industry is moving toward more durable, professional-looking print solutions, and DTF is at the forefront of this shift. You can find more details about this market expansion.
To see the difference in a head-to-head comparison, check out the table below. It breaks down exactly where DTF shines.
Photo Transfer Paper vs Professional DTF Transfers
| Feature | Photo Transfer Paper | Professional DTF Transfers |
|---|---|---|
| Durability | Prone to cracking and peeling after 5-10 washes. | Highly durable, often lasting 50+ washes without fading. |
| Feel (Hand) | Can feel thick, stiff, and plastic-like on the shirt. | Soft, lightweight, and flexible. Moves with the fabric. |
| Color Vibrancy | Good, but can appear faded, especially on dark fabrics. | Excellent. Bright, opaque colors that pop on any color fabric. |
| Fabric Compatibility | Mostly limited to cotton and some poly-blends. | Works on a huge range of fabrics, including cotton, polyester, blends, denim, and leather. |
It's clear that while transfer paper is great for a test run, DTF is the choice for creating a product you'd be proud to sell.
A Scalable Solution for Growing Brands
For a small business, though, the most important benefit might just be scalability. Making one-off shirts with photo transfer paper is manageable. But producing ten, fifty, or a hundred items that all look exactly the same? It's a logistical nightmare.
DTF services like Raccoon Transfers bridge that gap perfectly. You can order pre-made transfers and apply them with a simple heat press, ensuring every single product meets the same professional standard. This consistency is everything when you're trying to build a brand and stand out.
When your hobby starts looking more like a business, upgrading to DTF isn't just an option—it's the next logical step toward quality, efficiency, and happy customers.
Making the Right Choice for Your Brand
Many of us get our start in custom apparel with photo transfer paper for fabric. It's a fantastic gateway—perfect for making a few personal gifts or just playing around with design ideas. It’s that first successful project that often lights the fire.
But when that hobby starts looking more like a business, the initial appeal of transfer paper begins to fade. Those little issues we’ve talked about—the lack of durability, the stiff feel, and the sheer time it takes to make just one shirt—suddenly become major hurdles.
From Craft Project to Quality Brand
The leap from a DIY method to a professional solution is what truly sets a passion project apart from a legitimate brand. Today's customers have high expectations. They want quality that holds up, and a t-shirt that cracks and peels after a couple of trips through the laundry can seriously tarnish your reputation before you've even had a chance to build one.
It’s All About Consistency
Think about your favorite brands. You buy from them because you know exactly what you're going to get. That consistency is the bedrock of their success. With photo transfer paper, relying on a home iron introduces a ton of variables. Was the heat even? Was the pressure right? Did you peel it at the perfect moment? You can end up with two shirts that look and feel completely different.
This is exactly why upgrading to something like DTF (Direct-to-Film) transfers is a game-changer. When you use a heat press and professionally made transfers, you take all the guesswork out of the equation. Every single press is the same. Your 10th shirt will have the same vibrant colors, soft feel, and rugged durability as your 100th. That reliability is what builds trust and keeps customers coming back.
Your brand is a promise. Choosing the right production method is how you keep that promise, turning first-time buyers into loyal fans who are excited to wear your stuff.
Investing in Your Brand's Future
At first glance, the cost of a professional transfer might seem a bit higher than a sheet of DIY paper. But when you look at the bigger picture, it’s a much smarter financial decision for the long haul.
Think about the hidden costs of the DIY route: the materials you waste on botched applications, the time you spend carefully cutting out each design by hand, and the money you lose replacing an item for an unhappy customer. Professional DTF transfers cut through all that. You can produce more, faster, with virtually no mistakes. This efficiency lets you scale up without the growing pains.
For brands using custom products, looking into avenues like UGC Creator Platforms can generate authentic marketing content, making your investment in quality resonate with an even bigger audience. Ultimately, moving to a professional method isn’t just another expense—it's an investment in your brand’s future, setting you up to build a business that lasts.
Common Questions Answered
When you're first getting into custom apparel, you're bound to have questions. Let's tackle some of the most common ones about photo transfer paper for fabric and see how it really compares to a professional option like DTF.
How Many Washes Will Transfer Paper Really Last?
This is the million-dollar question, isn't it? The honest answer is... not many. If you do everything perfectly—apply it just right, wash it inside-out on a cold cycle, and hang it to dry—a top-notch transfer might make it through 5 to 10 washes looking decent. Beyond that, you're almost guaranteed to see cracking, fading, and peeling around the edges.
This is the fundamental trade-off. A DTF transfer, on the other hand, is built for the long haul. It's designed to fuse into the fabric itself and can easily handle 50 or more washes without losing its vibrant color or soft touch. So, for a one-time gag shirt for a party? Transfer paper gets the job done. For a product you intend to sell or a gift you want someone to cherish? DTF is the only real choice.
Can I Use Transfer Paper on Polyester or Stretchy Shirts?
I wouldn't recommend it. Most transfer paper is formulated to stick to natural fibers like cotton. Try it on polyester, and you'll find the adhesive just doesn't grab on properly, often leading to it peeling off right away.
It gets even worse with stretchy fabrics. The transfer is basically a stiff film with zero stretch. The second you pull on that spandex or Lycra blend, the rigid design will crack and split apart.
The Bottom Line: When you're working with synthetics or performance wear, you need something flexible. DTF transfers are designed for this exact challenge, adhering beautifully to everything from 100% polyester to cotton-poly blends and stretchy spandex, all while moving with the fabric.
Isn't Switching to DTF Expensive for Small Batches?
A few years ago, the answer would have been a definite yes. Getting professional-quality prints meant dealing with hefty setup fees and big minimum orders that were impossible for a small creator to justify. Thankfully, that's all changed.
Modern services have made pro-level DTF transfers incredibly accessible. Companies like Raccoon Transfers have no minimums, which is a total game-changer. You can order just one transfer to test a new idea or a small run for a limited drop without breaking the bank.
For a small brand, this opens up a world of possibilities:
- Test new designs without risk. No more guessing if a design will sell before printing a hundred of them.
- Print on demand. Order exactly what you need, when you need it. It's a huge help for managing cash flow.
- Look professional from the start. Your first product can have the same quality and durability as one from a major brand.
Upgrading from transfer paper to DTF isn't just an option anymore; it's a smart, affordable move for anyone serious about building a brand with a reputation for quality.
Ready to make apparel that people will love to wear again and again? It's time to ditch the peeling paper and experience what a professional transfer can do. With Raccoon Transfers, you get brilliant, tough, and simple-to-apply DTF prints with no minimums and next-day shipping. Start your order today and see for yourself how easy it is to create gear that truly lasts.