
A Practical Guide to Screen Printing on Transfer Paper
Screen printing on transfer paper is a fantastic hybrid technique. It gives you that classic, durable finish you get from traditional screen printing but with the incredible flexibility of a heat transfer. The basic idea is simple: you screen print your design with plastisol ink onto a special release paper. Then, you can heat-press that design onto a garment whenever you're ready.
It's the perfect solution for building up an inventory of designs that you can apply to all sorts of products on demand, without having to print a mountain of shirts upfront.
Why Use Screen Printed Transfers?
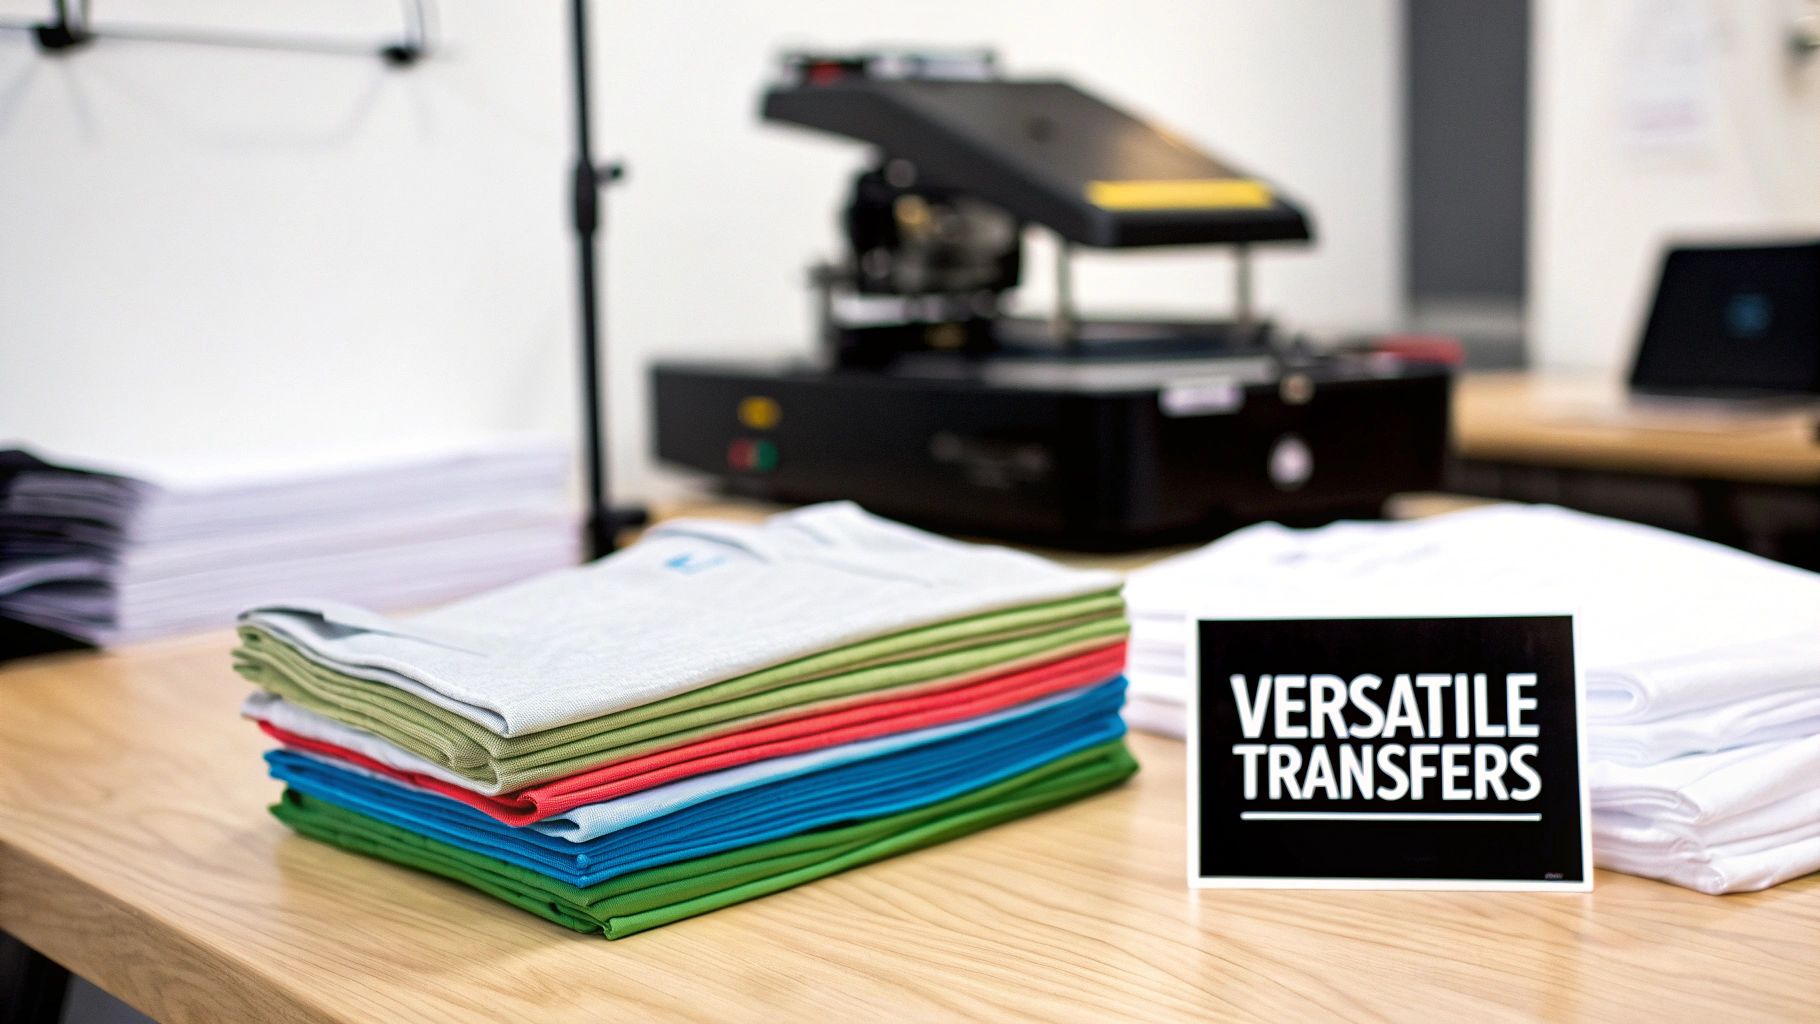
The biggest draw for using screen printed transfers is, without a doubt, the versatility and efficiency it brings to your shop. Think about it. Instead of tying up a screen and a press to print directly onto a specific shirt, you can run off dozens, or even hundreds, of transfers. These can then be stored away and applied to different items as orders roll in.
This "print now, press later" workflow is a total game-changer, especially for smaller businesses or even hobbyists. You completely sidestep the risk of getting stuck with a pile of unpopular t-shirt sizes or colors. It opens the door to offering a much wider range of products—from hoodies and tote bags to hats and aprons—without having to commit your inventory ahead of time.
Maximizing Flexibility and Efficiency
Let's say you're printing merch for a local band's upcoming show. Instead of making a wild guess about how many small, medium, and large shirts they'll sell, you can just produce 100 high-quality transfers of their logo. When you're at the event, you can press that design onto any size or style of shirt a customer wants, right there on the spot. This kind of on-demand fulfillment is a huge advantage, minimizing waste and maximizing your sales.
The benefits go well beyond just smarter inventory management:
- Complex Placements: Trying to print on tricky spots like sleeves, pockets, or inside neck labels can be a real headache. With transfers, it's a breeze.
- Gang Sheets: You can fit multiple smaller designs, like different logos or tagless labels, onto a single sheet of transfer paper. This is a massive money and time saver.
- Batch Production: This method lets you get the messy part—the actual screen printing—done all in one go. After that, you're just dealing with the clean and simple heat press application as orders come in.
This approach essentially decouples the printing process from the final product. It gives you an operational agility that’s tough to match with direct-to-garment screen printing, particularly if you’re juggling fluctuating demand and a diverse product line.
A Growing Market for Quality
The appetite for high-quality custom apparel is only getting bigger, and that's fueling the growth of the technologies that make it possible. The global market for printing transfer paper, which is the backbone of this process, was valued at USD 3.1 billion and is expected to hit USD 4.4 billion by 2031.
This growth shows just how much the textile and promotional product industries rely on transfers to create vibrant, lasting designs. You can check out the full research on the printing transfer paper market to see the trends.
When you master screen printing on transfer paper, you’re doing more than just learning a new skill. You're tapping into a strong, expanding market and adopting a method that gives you the power to produce professional, retail-quality graphics with the efficiency you need to grow.
Choosing Your Inks and Materials
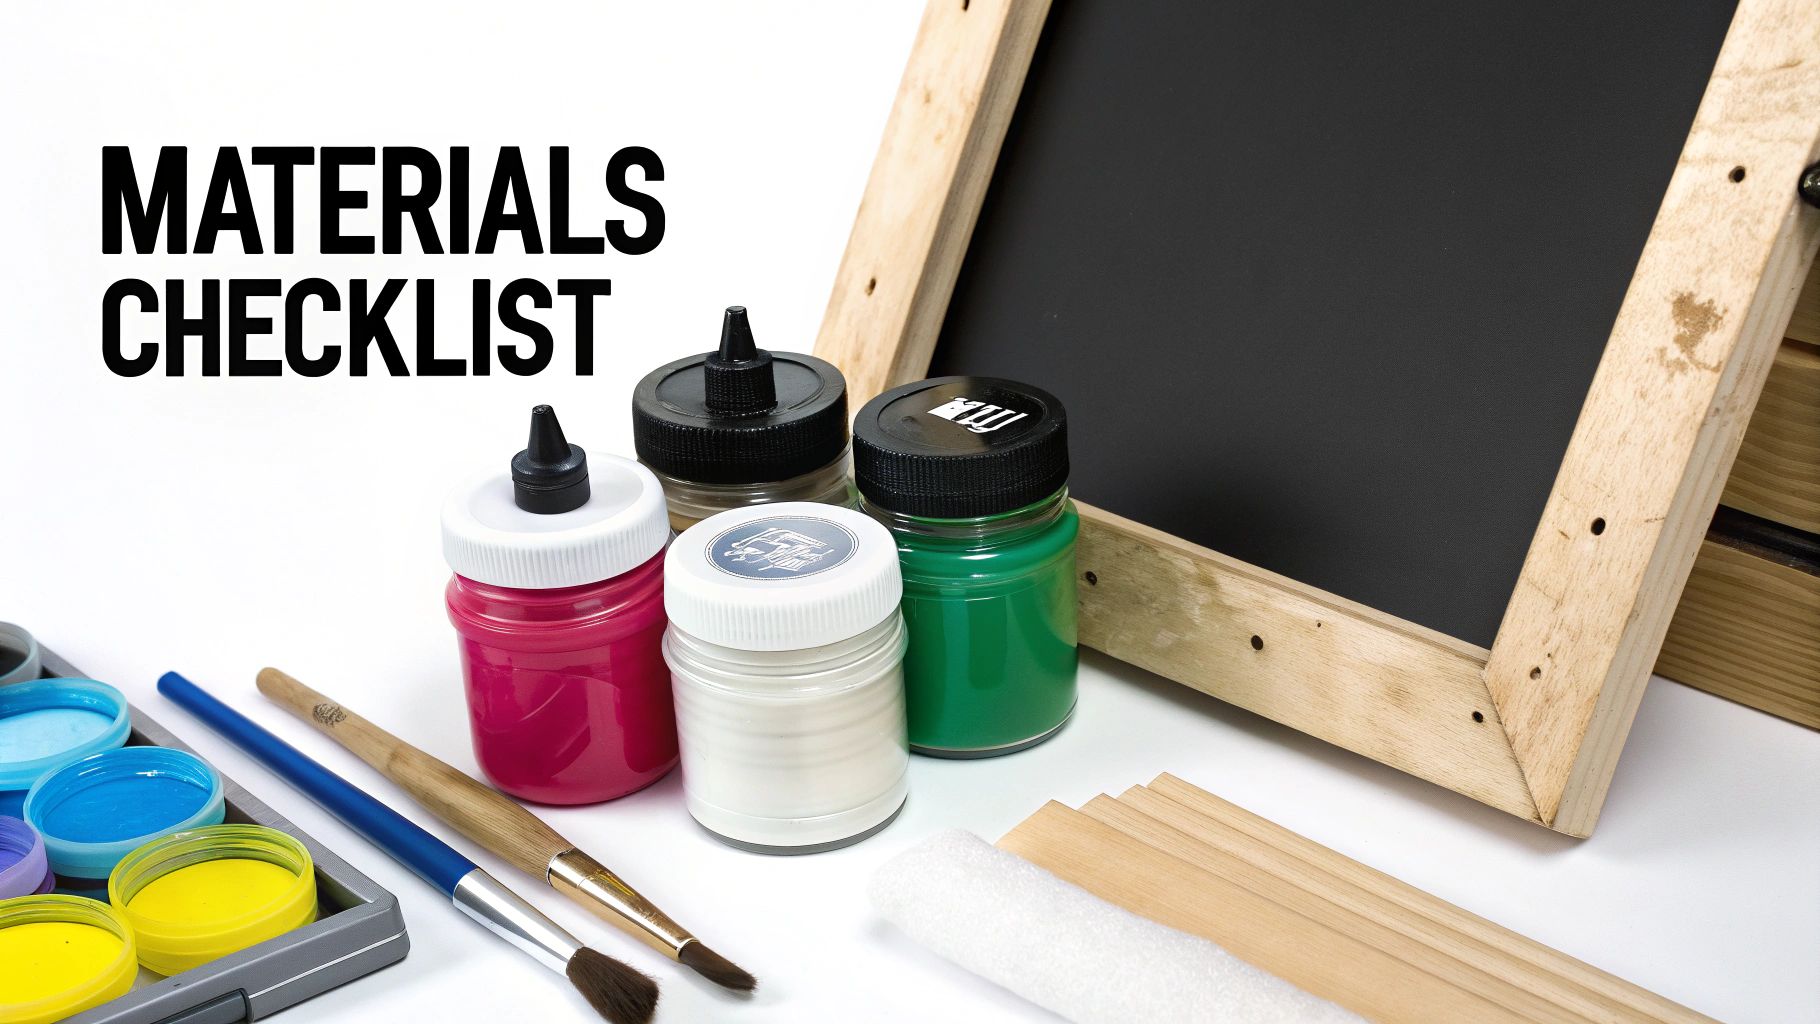
The quality of your screen printed transfers comes down to one thing: the materials you start with. If you get this part right, everything else falls into place, and you’ll end up with professional, durable prints. Let's dig into the essential components and talk about why each choice is so important.
From the ink you lay down to the paper you print on, every decision shapes the final look, feel, and washability of your design.
The Great Ink Debate: Plastisol vs. Water-Based
When it comes to screen printing on transfer paper, there's really no debate at all: plastisol ink is king. It’s a PVC-based ink that doesn’t air-dry; instead, it needs heat (around 320°F / 160°C) to cure. This is its superpower for transfer printing.
Because it stays wet on the screen, you can run hundreds of prints without worrying about it clogging up your mesh. This gives you all the time in the world to print your transfers, apply the adhesive powder, and stack them up. Plus, plastisol is famous for its incredible opacity, so you get punchy, vibrant colors even on the darkest fabrics.
I've seen people try to use water-based inks for transfers, and it's almost always a struggle. They dry in the screen so fast that you need retarders and have to work at a frantic pace, which leads to mistakes and inconsistency. That’s why 99% of all professional screen printed transfers are made with plastisol.
Key Takeaway: Just stick with plastisol ink for transfers. It's user-friendly, stable, and delivers the vibrant results the industry relies on. Trust me, it will save you from a world of frustration.
Selecting the Right Transfer Paper
Not all transfer papers are the same. The one you choose has a huge impact on the final texture of the print and how you apply it.
You've got a few main options:
- Hot-Peel Paper: You peel this one off immediately after pressing, while everything is still hot. This splits the ink film, pushing some of it into the fabric fibers for a softer, more matte finish. It’s my go-to for that popular "vintage" or soft-hand feel.
- Cold-Peel Paper: Just like it sounds, you have to let the transfer cool down completely before peeling the paper. This leaves a smooth, slightly glossy layer of ink sitting on top of the garment. It’s unbeatable for creating super sharp details and really bright colors.
- Dual-Peel Paper: This is a great all-rounder. It lets you decide whether to peel it hot or cold, giving you the flexibility to achieve different finishes with a single paper stock.
So, what’s the right call? It all boils down to the final look you're after. Do you want a soft, integrated print, or a bold, crisp graphic? For a much deeper dive, you can check out our complete guide on the best paper for heat transfer to find the perfect match.
To help you make a quick decision, I’ve put together this simple comparison.
Ink and Transfer Paper Selection Guide
This table breaks down the best pairings for common projects.
| Material | Best For | Key Characteristic | Common Use Case |
|---|---|---|---|
| Plastisol Ink | Almost all transfers | Doesn't air-dry, high opacity | T-shirts, hoodies, team jerseys, brand merchandise |
| Water-Based Ink | Direct-to-garment (Not recommended for transfers) | Soft feel, breathable | Boutique apparel, eco-conscious brands |
| Hot-Peel Paper | Soft, vintage look | Splits ink film for a matte finish | Distressed graphics, fashion apparel |
| Cold-Peel Paper | Sharp detail, vibrant color | Leaves smooth ink layer on fabric | Detailed logos, corporate wear, athletic numbers |
| Dual-Peel Paper | Versatility | Can be peeled hot or cold | Shops wanting to offer multiple finishes |
Choosing the right combination from the start will make your production process so much smoother and ensure your customers love the final product.
The Role of Adhesive Powder
Adhesive powder is the unsung hero in all of this. It’s a fine, granulated thermal glue that you sprinkle over the wet plastisol ink right after printing. If you skip this, your transfer simply won't stick to the shirt permanently.
When you heat-press the transfer, this powder melts and creates an incredibly strong bond between the ink and the fabric. This is what gives screen printed transfers their legendary durability and wash-resistance—they often outlast the garment itself. A design without it will crack and peel off in the first wash.
The growth of the heat transfer market, which is projected to expand from USD 1.6 billion to USD 2.27 billion, is largely thanks to advances in high-quality adhesives. The textile sector, making up 47% of applications, is booming, and techniques like this are what allow e-commerce shops to keep up with demand for custom apparel.
Essential Screen and Squeegee Specs
Finally, let's talk tools. Your screen and squeegee are what control how much ink you're putting down.
- Screen Mesh Count: For standard plastisol transfers, a mesh count between 86-110 (or 34-43T in Europe) is your sweet spot. It lays down a nice, opaque layer of ink without sacrificing too much detail.
- Squeegee Durometer: I almost always reach for a 70-75 durometer squeegee. It’s the perfect workhorse—firm enough to give you a clean print but with enough flex to glide over any minor imperfections.
Getting these fundamentals right is your first real step toward success. As you start buying in larger quantities, it's worth learning about negotiating with suppliers to get better pricing on your go-to materials.
Getting Your Art and Screens Ready
The real magic of a great screen printed transfer happens long before you even think about ink. It all starts with your artwork and how you prepare your screens. Nail these prep steps, and you're setting yourself up for a smooth, professional-looking print run. Skip a detail here, and you'll be troubleshooting problems later.
First things first, let's talk about the digital file. This is the one rule you can't forget: every single design you plan to make into a transfer must be mirrored horizontally. I can't stress this enough. If you forget to flip the art, your final print on the shirt will be backward. It's a simple click in your software, but it's a gut-wrenching mistake to make when you see a whole batch of transfers come out wrong.
Breaking Down Your Design for Screens
Most screen printing jobs involve more than one color, which means you'll need to create color separations. This is where you isolate each color in your design onto its own separate layer, which will then become its own screen.
Imagine you have a three-color design using red, blue, and white. You'll need to create three individual black-and-white files from your original artwork. In each file, the black area shows exactly where that one color of ink will be printed. So, you'll have one file for the red parts, one for the blue, and one for the white. To stay organized, I always name them clearly—something like "Surf_Logo_Red.ai" or "Band_Tour_White.pdf."
While you're working on your separations, it’s also a good time to make sure your design is solid from a technical standpoint. Brushing up on some general graphic design principles for printing can save you a lot of headaches, as they often apply just as much to screen printing as they do to other methods.
For any job with more than one color, adding registration marks is absolutely non-negotiable. These are just small crosshairs or targets that you place in the exact same spot on each color layer. When you're lining up your screens on the press later, these little marks are your best friend—they ensure every color prints exactly where it's supposed to.
From Digital File to Physical Stencil
With your film positives printed and ready, it's time to head to the darkroom and make some screens. This process creates the stencil that your ink will pass through.
-
Coating the Screen: First, you'll need to coat your screen with a light-sensitive emulsion. In a light-safe room, use a scoop coater to apply a thin, even layer to both sides of the screen mesh. You're aiming for a perfectly smooth coat with no drips or thick spots. Let it dry completely in a dark cabinet, with the shirt side of the screen facing down.
-
Placing the Film: Once the screen is bone dry, lay your film positive on the flat side (the side that doesn't touch the squeegee). Make sure the inky side of the film is making direct contact with the emulsion. From this side, your artwork should look correct, not mirrored. A little bit of tape will hold it securely in place.
-
Exposing the Screen: Now for the critical part: exposure. The UV light from your exposure unit will harden the emulsion everywhere except for the areas covered by the black ink on your film. Those covered parts will stay soft and water-soluble, creating your stencil.
The biggest variable here is your exposure time. It's never a one-size-fits-all number. Your time depends on your specific emulsion, the strength of your light source, and how far it is from the screen. Guessing is a recipe for disaster.
The only way to know for sure is to run an exposure test. Use a test strip or a step wedge calculator to expose small sections of a screen for different amounts of time (say, 1 minute, 2 minutes, 3 minutes, etc.). This will show you the "sweet spot" that gives you the sharpest detail without being over or under-exposed.
The Washout and Final Check
After the timer goes off, bring your screen over to the washout booth. A gentle spray of lukewarm water on both sides is all you need to start. You'll quickly see the unexposed parts of your design begin to melt away, revealing the clean lines of your stencil.
You've got a perfectly exposed screen if:
- All the edges of your design look crisp and sharp.
- You haven't lost any tiny details from your artwork.
- The emulsion doesn't feel slimy or soft to the touch (which is a classic sign of under-exposure).
If you're having to blast the screen to get the image to appear, it's likely over-exposed. If the emulsion feels gummy and starts washing out from areas that should be solid, it's under-exposed. Once your stencil is perfectly clear, give it one final rinse and let it dry completely before locking it into your press. This well-made screen is the foundation for every great transfer you'll print.
The Printing and Curing Workflow
Alright, with your screens burned and ready, it's time for the fun part: getting ink on paper. This is where all that prep work pays off. Nailing the press setup, the print itself, applying the adhesive, and getting the cure just right are the final hurdles to creating a top-notch transfer.
This diagram gives you a great visual of how we get from a digital file on a computer to a physical stencil, ready to print.
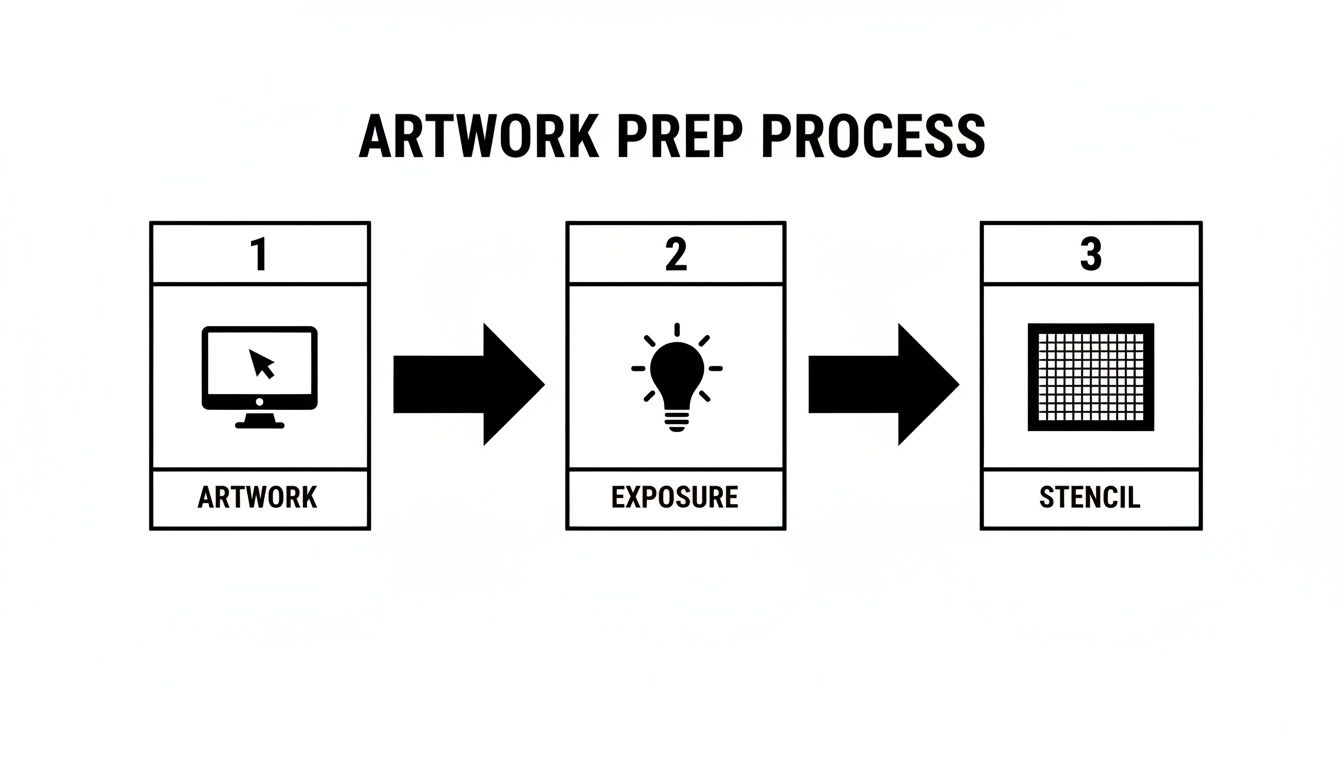
You can see how each step is built on the one before it, which is why a perfectly prepped screen is non-negotiable for a flawless print.
Setting Up Your Press for Success
First things first, let's dial in the press. Before any ink comes near the screen, you have to set your off-contact. This is the tiny gap between the screen mesh and the transfer paper on the platen—I usually aim for about 1/8th of an inch (or 3mm).
Why is this so important? This little gap allows the mesh to snap back up right after your squeegee passes, shearing the ink cleanly onto the paper. If you skip this or get it wrong, you'll end up with a smudged, blurry mess. It’s a small adjustment that makes a massive difference in print quality.
Once the screen is locked in, it's time for registration. Lay a sheet of transfer paper on the platen, bring the screen down, and use your press's micro-registration knobs to line up the design exactly where you want it.
The Perfect Squeegee Stroke
Now that you're set up, it's time to lay down some ink. The goal for a great transfer is a smooth, opaque layer of plastisol, and that all comes down to your squeegee technique.
I always start with a flood stroke. With the screen slightly raised, I gently pull a layer of ink across the design. This fills the stencil with ink before the actual print, guaranteeing a solid, even deposit when it matters.
Next, lower the screen for the print stroke. Using firm, consistent pressure, pull the squeegee across the stencil at roughly a 75-degree angle. You're looking for a single, clean pass. If you find yourself needing to hit it multiple times, your off-contact or pressure is likely off.
Pro Tip: When printing multi-color jobs, you actually print in reverse. The color that appears on top of the final design gets printed first, and your underbase or background color is printed last. This way, the layers stack correctly when you eventually press the transfer onto a shirt.
The Magic of Adhesive Powder
As soon as a sheet comes off the press and the ink is still wet, you need to apply the adhesive powder. This is the critical step that makes a transfer durable and professional, rather than something that just peels off after one wash.
I take the wet print and place it in a shallow tray. Sprinkle the powder generously over the entire inked area—don't be shy, make sure every bit of the design is covered. A little shake helps it settle evenly.
Then, just pick up the paper and give the back a firm tap to knock off all the excess. The powder is formulated to stick only to the wet ink, leaving the rest of the paper clean. You can scoop the extra powder back into your container, so there's zero waste.
This powder is basically a hot-melt glue that activates during the heat press, bonding the ink permanently to the garment's fibers. There are a few different ways you can print heat transfers, but for this method, the adhesive powder is essential.
Gel Curing for Application Readiness
The last step in making the transfer is to "gel" the ink—and I want to be clear, you are not fully curing it yet. The final cure happens in the heat press. Right now, all we need to do is dry the ink and adhesive just enough so the transfers can be stacked and stored without becoming a sticky mess.
For this, you’ll use a flash dryer or a conveyor dryer.
- Using a Flash Dryer: Hover the flash unit about 2-3 inches above the transfer. You're just looking for the ink and powder to get a glossy look and feel dry to the touch, which usually only takes 5-10 seconds.
- Using a Conveyor Dryer: If you're using a conveyor, set it to a lower temperature and a faster belt speed than you would for a full cure. The goal is to get the ink surface to about 200-240°F (93-115°C).
You'll know the transfer is perfectly gelled when you can lightly tap the ink and none of it comes off on your finger. The surface will look a bit shiny but won't feel tacky. Once they’ve cooled down, you can stack them up (I put parchment paper between them) and they're ready for storage or pressing.
Nailing the Heat Press Application
This is where all your hard work pays off—the moment your cured transfer becomes part of the final garment. It might seem simple, but these few seconds under the heat press are what make or break the final product. Get it right, and you have a durable, professional-looking print.
Success comes down to a careful dance between three things: temperature, pressure, and time. When you get this trio working together perfectly, the plastisol ink and adhesive powder fuse into the fabric, creating a bond that's built to last. If any one of them is off, you'll end up with a print that cracks, peels, or just won't stick.
Adjusting Your Settings for Different Garments
There's no universal "set it and forget it" number for your heat press. The ideal combination changes with every fabric you use. A thick cotton hoodie is a world away from a delicate, heat-sensitive polyester jersey, and your settings need to reflect that.
As a general rule, cotton can take the heat, while synthetics like polyester need a gentler touch to avoid scorching or melting the fibers.
The ability to apply designs with heat at around 180-200°C in just a few seconds is a massive driver in the industry, powering 47% of the textile demand in heat transfer markets. This speed is more important than ever, especially as e-commerce fuels the need for on-demand custom printing. If you want to dive deeper into these trends, you can explore more insights on the paper printing market here.
For a much more detailed list, our own heat press temperature chart is a great resource to take the guesswork out of the process for a wide range of materials.
Here’s a quick-start guide I personally stick to in my shop:
- 100% Cotton: This is the most forgiving material. I usually press at 325-350°F (163-177°C) for 10-12 seconds with medium-to-firm pressure.
- Polyester Blends (50/50): To avoid scorching and the dreaded dye migration, I dial the heat back to 300-320°F (149-160°C) and press for just 7-10 seconds with medium pressure.
- 100% Polyester: Tread carefully here. I always start on the low end, around 280-300°F (138-149°C), for 6-8 seconds with light-to-medium pressure.
Pro-Tip: Always pre-press your garment for 3-5 seconds. This quick step removes any lingering moisture and flattens wrinkles, giving the adhesive a perfectly smooth surface to grab onto. It makes a huge difference.
To make things even easier, here is a quick reference table for some of the most common fabrics we see.
Recommended Heat Press Settings by Fabric
| Fabric Type | Temperature Range (°F/°C) | Pressure | Time (Seconds) | Peel Type |
|---|---|---|---|---|
| 100% Cotton | 325-350°F / 163-177°C | Medium-Firm | 10-12 | Hot or Cold |
| 50/50 Cotton/Poly Blend | 300-320°F / 149-160°C | Medium | 7-10 | Hot or Cold |
| 100% Polyester | 280-300°F / 138-149°C | Light-Medium | 6-8 | Cold |
| Tri-Blends | 275-290°F / 135-143°C | Light | 5-7 | Cold |
| Nylon (Test First!) | 270-280°F / 132-138°C | Light | 5-7 | Cold |
Remember, these are starting points. Always test a transfer on a sample garment if you're working with a new fabric or brand to ensure your settings are dialed in perfectly.
Hot Peel vs. Cold Peel: The Finishing Touch
That final moment when you pull the paper backing away has a huge impact on the finished texture of your print. Whether you choose a hot or cold peel is just as important as the press settings themselves.
A hot peel is exactly what it sounds like: you peel the paper off immediately after the press opens, while everything is still hot. You want to pull it back in a swift, smooth motion. This technique actually splits the ink film, letting some of it settle deeper into the fabric. The result is a much softer hand-feel and a classic matte finish—perfect for that vintage, worn-in vibe.
On the other hand, a cold peel demands a bit of patience. You need to let the transfer cool down completely to room temperature before even thinking about touching the paper. This allows the entire ink layer to lift cleanly from the paper and sit on top of the garment. The result is a vibrant, slightly glossy finish with incredibly sharp, crisp edges. This is my go-to for detailed logos and bold graphics that need to pop.
Got Questions About Screen Printed Transfers? Let's Talk.
When you're getting into screen printing on transfer paper, a lot of questions come up. It's totally normal. There are a few key variables in this process, and getting them right is the secret to making prints that look amazing and actually last.
I've been there, so I've put together answers to the most common questions I get. Think of this as your go-to guide for getting past those early hurdles and perfecting your craft.
Hot Peel vs. Cold Peel: What's the Real Difference?
One of the first forks in the road is choosing between hot and cold peel transfer paper. This isn't just a minor detail—it completely changes the final look and feel of your print. It all comes down to timing.
Hot peel paper is all about speed and a specific finish. You rip that backing off immediately after the heat press opens, while the transfer is still smoking hot. This literally splits the ink film, pushing some of it deep into the fabric's fibers. The result? A super soft, integrated print with a classic matte look. It’s my go-to for that vintage, worn-in vibe.
On the other hand, cold peel paper demands patience. You have to let the shirt and the transfer cool down completely before you even think about touching the backing. This lets the entire ink layer lift off the paper in one clean sheet, leaving a smooth, slightly glossy print that sits more on top of the fabric. This is the one you want for razor-sharp details and colors that really pop.
My advice for anyone starting out? Begin with cold peel. It’s generally more forgiving and makes it easier to get a clean, professional-looking print while you're still dialing in your heat press settings.
Can I Use Water-Based Inks for This?
I get this question a lot. While you technically can use water-based inks for transfers, I almost always tell people to steer clear, especially when they're new to the game. Plastisol ink is the undisputed king of screen printed transfers for a few very important reasons.
Plastisol is great because it only cures with heat. That means it stays wet and workable in your screen for as long as you need it to. You can print your whole run, apply your adhesive powder, and stack up your transfers without ever worrying about the screen clogging up on you.
Water-based inks are the complete opposite—they start air-drying almost immediately. This is a recipe for disaster. The ink can dry right in your mesh mid-run, leading to clogged screens, spotty prints, and a whole lot of frustration. For consistency and a stress-free process, plastisol is hands-down the better choice for transfers.
Help! My Transfer is Cracking or Peeling!
There’s nothing worse than pulling a shirt out of the wash only to see your perfect print cracking or peeling off. When this happens, the problem almost always traces back to your heat press application. Getting a permanent bond is a delicate dance between heat, pressure, and time.
If your transfers are failing, one of these is likely the culprit:
- Not Enough Heat: Your press simply wasn't hot enough to fully cure the plastisol and melt the adhesive powder into the shirt.
- Weak Pressure: If you don't apply enough muscle, the adhesive can't be properly forced into the fabric's weave.
- Too Quick on the Press: The press needs enough dwell time for the heat to penetrate through the paper and create that permanent bond.
- You Forgot the Adhesive Powder: This is a big one. Without that thermal adhesive, the ink has almost no sticking power and won't survive a single wash.
Always, always double-check the recommended settings from the manufacturer of your ink, adhesive, and paper. A tiny adjustment to your heat press can be the difference between a print that fails and one that lasts for years.
How Do These Compare to DTF Transfers?
Direct to Film (DTF) has become incredibly popular, but it's a different tool for a different job. Both screen printed transfers and DTF are fantastic, but you need to know when to use each one.
Screen printed transfers are the champion for larger runs (I'd say 25+ pieces) of designs with just a few colors. The setup takes a bit more work, but your cost per print plummets as you increase the quantity, making it way more profitable. You also get that classic, durable screen printed feel that so many people love.
DTF (Direct to Film) is a digital process. Think of it as a specialized printer creating full-color, ready-to-press transfers. It’s perfect for one-off jobs, small batches, or designs with photographic details and tons of colors. There's almost no setup involved, but the cost per transfer stays relatively high, no matter how many you order.
Here’s my rule of thumb: Go with screen printed transfers for bulk orders with limited colors to get the best durability and profit margin. Choose DTF for complex, full-color art, small quantities, or when you need to print just one on demand.
Ready to skip the screen printing setup and get flawless, full-color prints delivered to your door? At Raccoon Transfers, we specialize in high-quality DTF transfers that are ready to press on any garment. Upload your design and experience the easiest way to create professional custom apparel. Get your custom DTF transfers today!