
Choosing the Best T Shirts for Heat Transfer Print
When it comes to picking the best t shirts for heat transfer print, you've got options. These days, with modern Direct-to-Film (DTF) transfers, you can get fantastic results on 100% cotton, cotton/poly blends, and even 100% polyester. The real secret isn't one specific fabric, but finding a shirt with a smooth, tight-knit surface. That’s what gives the transfer’s adhesive a solid foundation to grip onto, resulting in those crisp, vibrant prints that last.
Your Guide to Choosing the Perfect T-Shirt
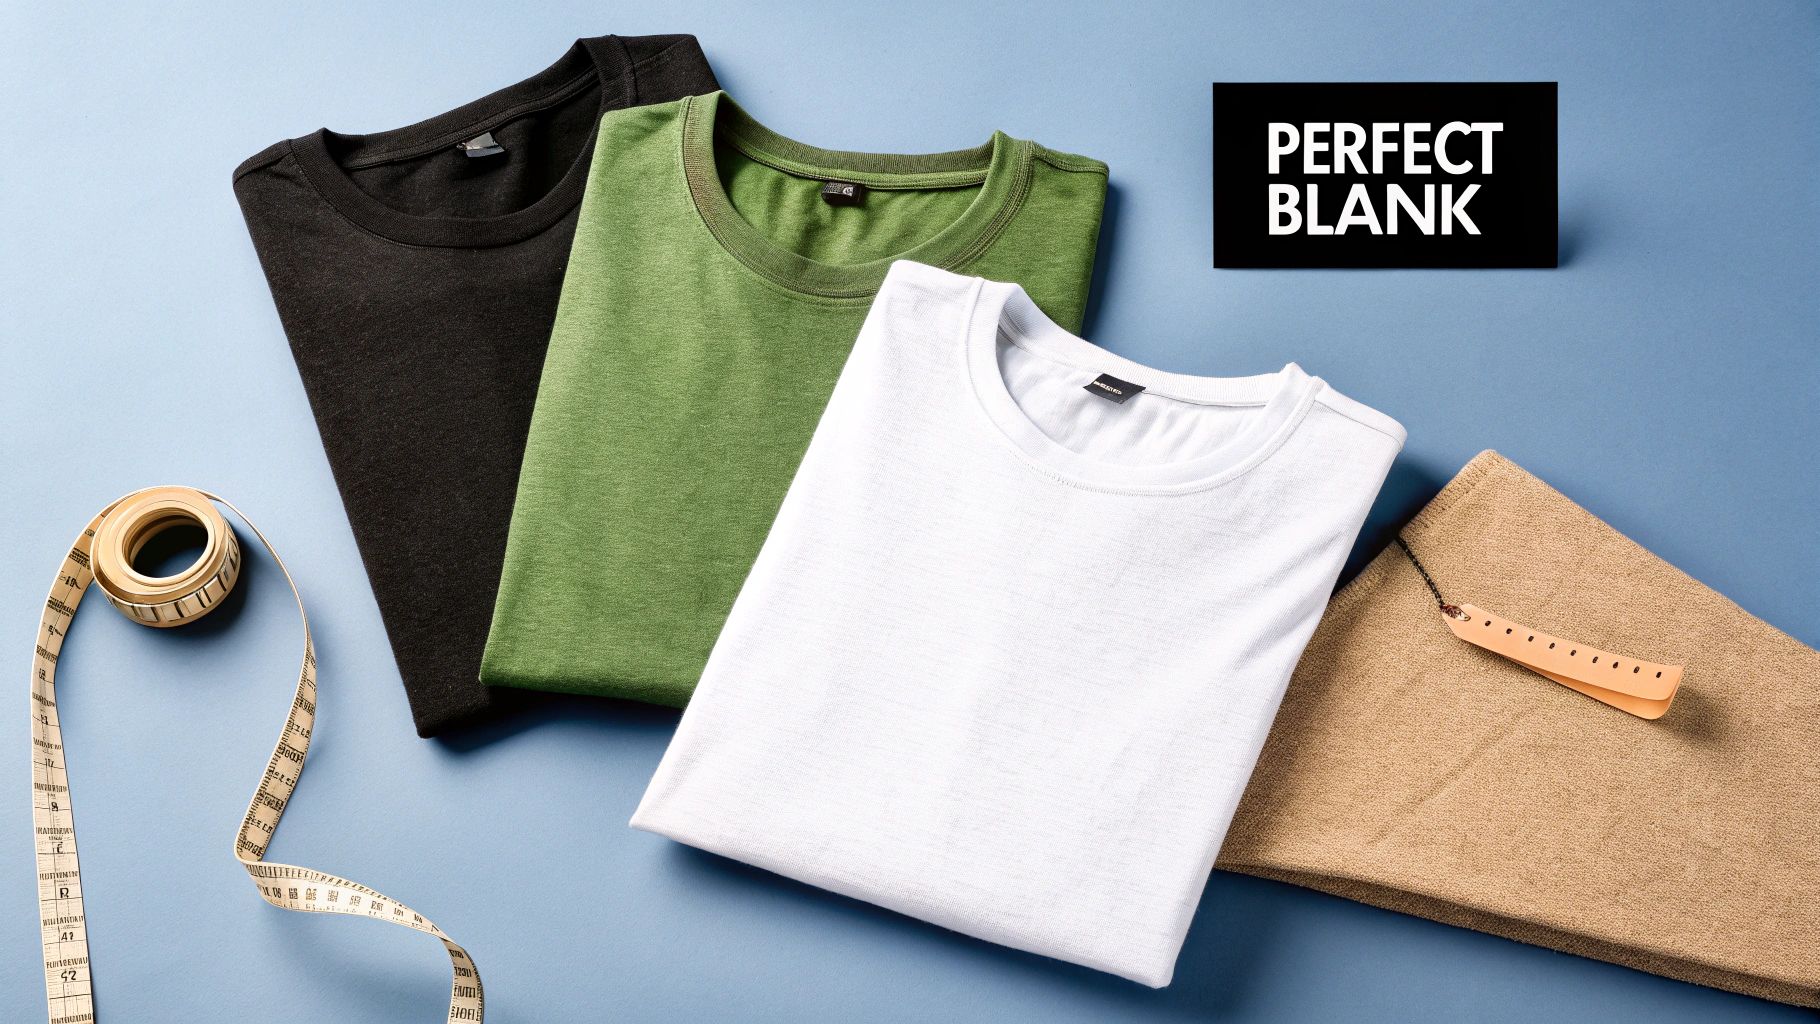
A killer design is only half the battle. The blank garment you choose is the real foundation of any great custom t-shirt. Get this part right, and you're setting yourself up for a professional-looking product that feels amazing and holds up wash after wash. The shirt itself dictates everything from how bright your colors pop to how long the design will stay put.
Thanks to modern printing like DTF, we're not as limited as we used to be. The global heat transfer market for textiles ballooned to $4,214.8 million in 2024 and is expected to hit $6,625.4 million by 2030. That growth is all about the soaring demand for personalized gear, which makes nailing your garment selection more important than ever.
Why Your Blank T-Shirt Matters
Think of your blank t-shirt as the canvas for your art. You wouldn't hand a master painter a cheap, flimsy piece of cardboard, right? The same logic applies here. A poor-quality shirt will sabotage even the best design, leading to common headaches like:
- Dull or Faded Colors: The fabric's texture and how it's made directly impact how it takes the ink from the transfer.
- Cracking and Peeling: If the transfer's adhesive can't get a good grip on the fabric fibers, your design will start to break down after just a few trips through the laundry.
- An Unprofessional Feel: A scratchy, boxy shirt just feels cheap. It completely undermines the quality of your artwork, no matter how cool it is.
Your final product is only as good as its weakest link. A premium transfer on a cheap, poorly-made shirt results in a cheap, poorly-made product. Investing in the right blank is investing in your brand's reputation.
This guide is here to walk you through the nitty-gritty of fabric types, weights, and colors so you can start every project on the perfect canvas. And don't be afraid to experiment! Unique options like blank acid wash long sleeve t-shirts can unlock some seriously cool and creative possibilities. Once you get these fundamentals down, you’ll be able to create custom apparel that people genuinely want to wear.
Quick Guide to T-Shirt Selection for Heat Transfer
Choosing the right shirt depends entirely on your end goal. Are you looking for the brightest possible colors, or is a long-lasting print your top priority? This table breaks down the best choices for common printing objectives.
| Characteristic | Best for Beginners (Easy Application) | Best for Vibrancy (Bright Colors) | Best for Durability (Long-Lasting) |
|---|---|---|---|
| Fabric | Cotton/Poly Blends (50/50 or 60/40) | 100% Ringspun Cotton or 100% Polyester | Tri-Blends or High-Quality Cotton/Poly |
| Knit | Ringspun (smooth and consistent) | Combed and Ringspun (ultra-smooth surface) | Ringspun (tight weave holds transfers well) |
| Weight (GSM) | Mid-weight (160-180 GSM) | Mid-to-Heavyweight (170-200 GSM) | Heavyweight (180-220 GSM) |
| Color | Light Colors (White, Heather Gray, Pastels) | White (for true color) or Poly-rich (for vividness) | Any Color (with high-quality transfers) |
Use this as a starting point. The best way to find your perfect shirt is to test a few different options to see what works best with your specific heat press and transfers.
Getting the Fabric Right: Your Foundation for a Flawless Transfer
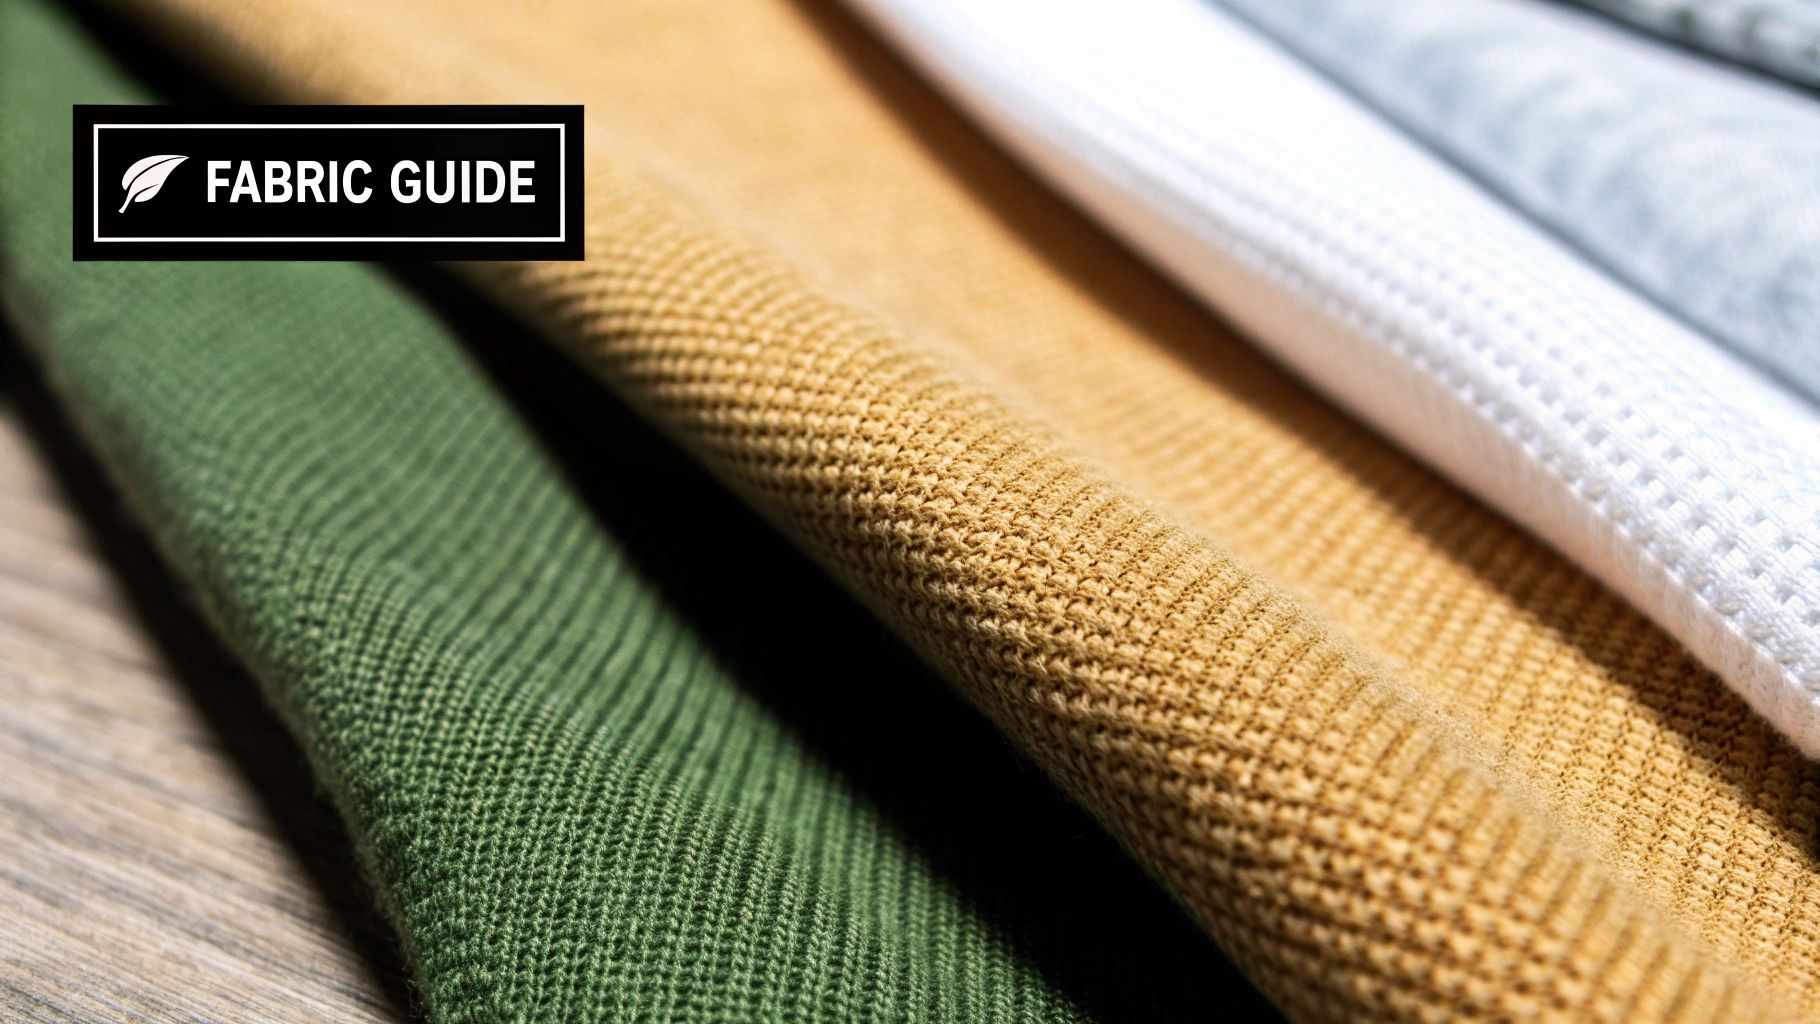
Let's be honest, not all t-shirts are made the same, especially when you're about to hit them with a heat press. The fabric you choose is the single biggest decider in how your transfer will look, feel, and last.
Think of it like trying to paint on different surfaces. A smooth, primed canvas is going to give you a masterpiece. A rough, bumpy wall? Not so much. It's the exact same idea when you're choosing t shirts for heat transfer print. The fabric's weave and material create the surface your transfer’s adhesive has to grab onto. Make the wrong choice, and you're looking at peeling, cracking, or dull colors down the road. But pick the right one, and you’ll create a professional-grade shirt that survives wash after wash.
Let's walk through the go-to options so you can pick the perfect canvas every time.
The Classic: 100% Cotton
There’s a reason cotton is king. Its natural fibers are like tiny sponges, creating an amazing surface for transfer adhesives to bond with. If you want the best of the best, look for ringspun cotton. The spinning process twists and thins the cotton strands to make a much finer, stronger, and smoother yarn. This gives you a far superior printing surface compared to a standard, rougher cotton tee.
- Pros: Everyone loves the soft, breathable feel of cotton. It’s also pretty forgiving and handles the heat from a press without much drama.
- Cons: The one major headache with cotton is shrinkage. A 100% cotton shirt can shrink up quite a bit after a few tumbles in the dryer. Using pre-shrunk cotton definitely helps, but it’s something you always have to keep in mind.
The Powerhouse: 100% Polyester
Polyester is a synthetic workhorse. It's known for being tough, wicking moisture away from the skin, and fighting off wrinkles and shrinking. For heat transfers, polyester can be a secret weapon for making colors look insanely vibrant—they practically jump off the shirt.
But, you have to handle it with care. Polyester is a plastic-based fiber, and too much heat will melt or scorch it, leaving a permanent shiny box around your design. You also have to watch out for "dye migration," where the color from a dark polyester shirt can bleed into your transfer, muddying your beautiful design.
Pro Tip: When pressing on 100% polyester, dial back your heat press. Start with a lower temperature and a shorter press time. A good starting point is somewhere around 270-300°F (132-149°C), which is much safer than the higher temperatures you'd use for cotton.
The Perfect Mix: Cotton-Poly Blends
Want the best of both worlds? Look no further than a cotton/polyester blend. Those popular 50/50 or 60/40 CVC (Chief Value Cotton) shirts are a fantastic middle ground. You get the softness of cotton paired with the durability and shrink-resistance of polyester. This makes them incredibly forgiving and a favorite for printers of all skill levels.
Blends give you a great surface for transfers while dramatically lowering the risk of scorching you get with pure polyester. They also hold their shape much better than 100% cotton through dozens of washes, making them a super reliable choice for custom gear that needs to last.
If you want to go deeper on how different materials stack up, check out our complete guide on t-shirt materials.
The High-End Choice: Tri-Blends and Beyond
Tri-blends—usually a mix of cotton, polyester, and rayon—are all about that premium feel. They’re known for being incredibly soft, lightweight, and having a stylish drape. They give you that high-end, vintage vibe that's so popular right now.
In the past, these fabrics were a nightmare to print on. Thankfully, modern DTF transfers stick to them beautifully, opening up a whole new world for premium apparel. The trick with tri-blends is nailing your temperature control. Rayon, just like polyester, is sensitive to high heat, so you absolutely have to test your settings. Always start with a lower temperature and slowly increase it if needed to get that perfect, long-lasting press.
So, Why Do T-Shirt Weight and Weave Matter So Much?
Once you’ve nailed down the perfect fabric—whether it’s cotton, poly, or a blend—it’s time to look at how the shirt is actually constructed. This is where two of the most overlooked, yet critical, factors come into play: the fabric's weight and its weave. These details shape everything from how the shirt feels and holds up over time to how well it acts as a canvas for your design.
Think of it like this: you wouldn't try to create a masterpiece on a flimsy piece of printer paper. You’d grab a thick, smooth piece of cardstock that gives your art a stable, premium base to shine. The exact same logic applies when you're picking out t shirts for heat transfer print—a well-made shirt is the foundation for a professional, long-lasting design.
Getting a Handle on T-Shirt Weight (GSM)
You've probably seen terms like "lightweight" or "heavyweight" thrown around, but what do they really mean? In the printing world, we measure this using GSM, which stands for Grams per Square Meter. It’s a straightforward way to talk about fabric density—the higher the GSM, the heavier and thicker the shirt.
A higher GSM isn't automatically "better," it just serves a different purpose. Knowing the common ranges helps you match the right shirt to the right job.
-
Lightweight (120-150 GSM): These are your soft, breathable, fashion-fit tees. They drape well and are perfect for summer events or retail brands going for a flowy feel. The downside? Their thinner build can be less durable, and you might feel the texture of the transfer a bit more.
-
Mid-weight (160-190 GSM): This is the sweet spot for the vast majority of heat transfer projects. A shirt around 180 GSM (or 5.3 oz) hits that perfect balance of comfort, durability, and a smooth printing surface. It feels substantial without being bulky.
-
Heavyweight (200+ GSM): These are the workhorses. Built for pure durability, heavyweight tees are thick, rugged, and hold their shape like nothing else. They’re a fantastic choice for workwear, streetwear brands, or any project where you need the final product to be tough as nails. The dense fabric provides an incredibly stable base for transfers.
For most custom apparel printers, a mid-weight 180 GSM shirt is the go-to. It has enough structure to support a heat transfer beautifully, stays comfortable enough for anyone to wear all day, and consistently delivers a professional result.
Getting the weight right ensures the shirt doesn’t just look good on day one, but feels right and holds up for its intended purpose, whether it's a one-off promotional giveaway or a high-end retail piece.
How the Knit Creates the Perfect Canvas
Beyond just the weight, the way the cotton fibers are spun into yarn and knit into fabric makes a world of difference. This is where you run into terms like "ringspun" versus "standard" (or "open-end") cotton, and for printing, this distinction is huge.
Imagine you have two pieces of paper. One is super smooth, almost glossy. The other is rough, like construction paper. If you try to draw a clean line with a fine-point pen, you know which one will give you a crisp, perfect result.
That's the difference between ringspun and standard cotton right there.
-
Standard (Open-End) Cotton: This is the industry standard for basic, budget-friendly tees. The cotton fibers are essentially bundled together with minimal twisting, which leaves you with a slightly rougher texture and more stray fibers sticking out. It's fine for many uses, but that uneven surface can keep a heat transfer from getting a perfect, clean bond. The result can be a slightly less sharp image or a transfer that feels a bit more textured.
-
Ringspun Cotton: With this method, the cotton fibers are continuously twisted and thinned, creating a yarn that is incredibly fine, strong, and smooth. T-shirts made from ringspun cotton have a much tighter, more uniform surface. This ultra-smooth canvas is exactly what you want for a heat transfer. It allows the adhesive to bond cleanly and evenly across the entire design, giving you sharper details and a much softer final feel.
For an even more premium feel, keep an eye out for combed and ringspun cotton. This means the raw cotton was combed to remove any short fibers or impurities before it was spun, resulting in the smoothest possible printing surface.
How Your T-Shirt's Color Shapes the Final Print
Picking a t-shirt color feels like a simple style choice, but it’s actually a critical technical decision that can make or break your design. In the early days of printing, putting a bright yellow sun on a black shirt was a surefire way to get a dull, muddy-looking graphic. The dark fabric would just swallow the ink's vibrancy.
Thankfully, modern heat transfers—especially Direct-to-Film (DTF)—have completely changed the game. The secret? A brilliant little feature called the white underbase.
The White Underbase: Your Design’s Secret Weapon
Think of it like painting a dark wall in your house. You wouldn't slap a coat of bright yellow paint directly onto a navy blue wall and expect it to pop, right? You’d put down a layer of white primer first. That primer creates a clean, neutral canvas, allowing the true color to shine through.
A white underbase in a DTF transfer does the exact same thing for your t-shirt.
- How it Works: Before the printer lays down your colorful design on the transfer film, it first prints a perfectly shaped layer of opaque white ink. This white layer sits directly behind every colored part of your design.
- The Result: When you press the transfer onto a dark shirt, that underbase acts as a solid barrier. It completely blocks the shirt's color from showing through, so your reds stay fiery red and your blues stay brilliant blue—every color looks just as vibrant as it did on your computer screen.
This is a massive leap forward for anyone choosing t shirts for heat transfer print, freeing you from the old rule of only printing on white or light-colored shirts to get a great-looking result.
The white underbase is basically your design's personal bodyguard. It ensures that whether the shirt is black, navy, or neon pink, your artwork's colors are protected and the final print looks exactly how you designed it.
This very capability is a huge driver behind the explosive growth in the heat transfer printer market, which was valued at $2.5 billion in 2025 and is on track to hit $4.2 billion by 2033. The demand for printing any color on any garment is what’s fueling this innovation. You can dive deeper into these trends in this heat transfer printer market research.
Making the Shirt Color Part of Your Design
Now that you can print on any color without fear, you can start using the garment's color as a creative tool. By strategically leaving parts of your design transparent, you can let the shirt’s fabric become an element of the artwork itself. This is a clever design trick known as using negative space.
Instead of covering an area with ink, you just leave it empty. The t-shirt's color shows through, creating a cool, integrated look.
Here’s a real-world example:
Let's say you're designing a logo for a local coffee roaster on a nice, heather brown t-shirt. Instead of printing the word "COFFEE" in a tan color, you could design the letters to be transparent. When you press the transfer, the brown fabric of the shirt itself will form the letters.
You get a sharp, two-tone effect without using a single drop of tan ink. Not only does this look incredibly professional, but it also saves a little money on your transfer cost. Win-win.
A Step-by-Step Guide to a Perfect Heat Press Application
Alright, you've picked out the perfect t-shirt and have your transfers ready to go. This next part is where the magic really happens—the application. Think of it as the final performance where all your prep work pays off. A great press isn't just about heat and pressure; it's a careful process that ensures your design bonds perfectly with the fabric for a professional, long-lasting finish.
This is the moment you bring those custom t-shirts for heat transfer print to life. Let’s walk through the entire process, from getting the shirt ready to that final press that locks everything in.
Step 1: Prepare Your Garment
Before you even think about laying down that transfer, you need to prep the shirt. Fabrics, especially cotton, hold a surprising amount of moisture, even when they feel bone dry to the touch. Pressing a damp shirt is a recipe for a failed transfer, as the trapped moisture turns into steam and gets in the way of the adhesive.
Trust me, this quick prep step is absolutely essential for a professional result.
- Set Your Heat Press: Get your press turned on and set to the right temperature for your specific fabric. Give it a few minutes to heat up completely.
- Pre-Press the T-Shirt: Lay your shirt flat on the press. Cover it with a protective sheet (parchment paper or a Teflon sheet works great) and press it for 5-10 seconds.
- Check the Surface: This simple action does two critical things: it zaps any hidden moisture and smooths out every last wrinkle, leaving you with a perfectly flat and dry canvas to work on.
Step 2: Position and Press Your Transfer
With a dry, wrinkle-free surface, you’re ready to place your design. Take your time here. A crooked design is one of the most frustrating (and common) mistakes. I highly recommend using a T-shirt alignment tool or even just a ruler to make sure your transfer is perfectly centered and straight.
Once you’re happy with the placement, it's time for the main event.
A successful press is a balancing act between three key elements: time, temperature, and pressure. Getting this trio right is the secret to a transfer that looks like it's part of the fabric itself, not just sitting on top.
Always follow the specific instructions that came with your transfers, but the table below is a solid starting point for the most common fabrics you'll be working with.
Recommended Heat Press Settings by Fabric Type
Getting your settings dialed in is crucial. While your transfer supplier will provide the best guidelines, this table offers a reliable set of starting parameters for different t-shirt materials. Use it as a guide and adjust as needed based on your specific equipment and environment.
| Fabric Type | Temperature (°F/°C) | Press Time (Seconds) | Pressure Level | Peel Type (Hot/Cold) |
|---|---|---|---|---|
| 100% Cotton | 300-320°F / 149-160°C | 10-15 seconds | Medium to Firm | Hot or Cold |
| Cotton/Poly Blends | 280-300°F / 138-149°C | 10-12 seconds | Medium | Hot or Cold |
| 100% Polyester | 260-280°F / 127-138°C | 8-10 seconds | Medium | Cold Peel Recommended |
| Tri-Blends | 260-280°F / 127-138°C | 8-10 seconds | Light to Medium | Cold Peel Recommended |
After the time is up, open your press smoothly. If you want to dive deeper into machine settings and techniques, our complete guide on how to properly heat press t-shirts has even more pro tips.
The image below gives you a great visual of how a DTF transfer is built, from the design file to the final print ready for pressing.
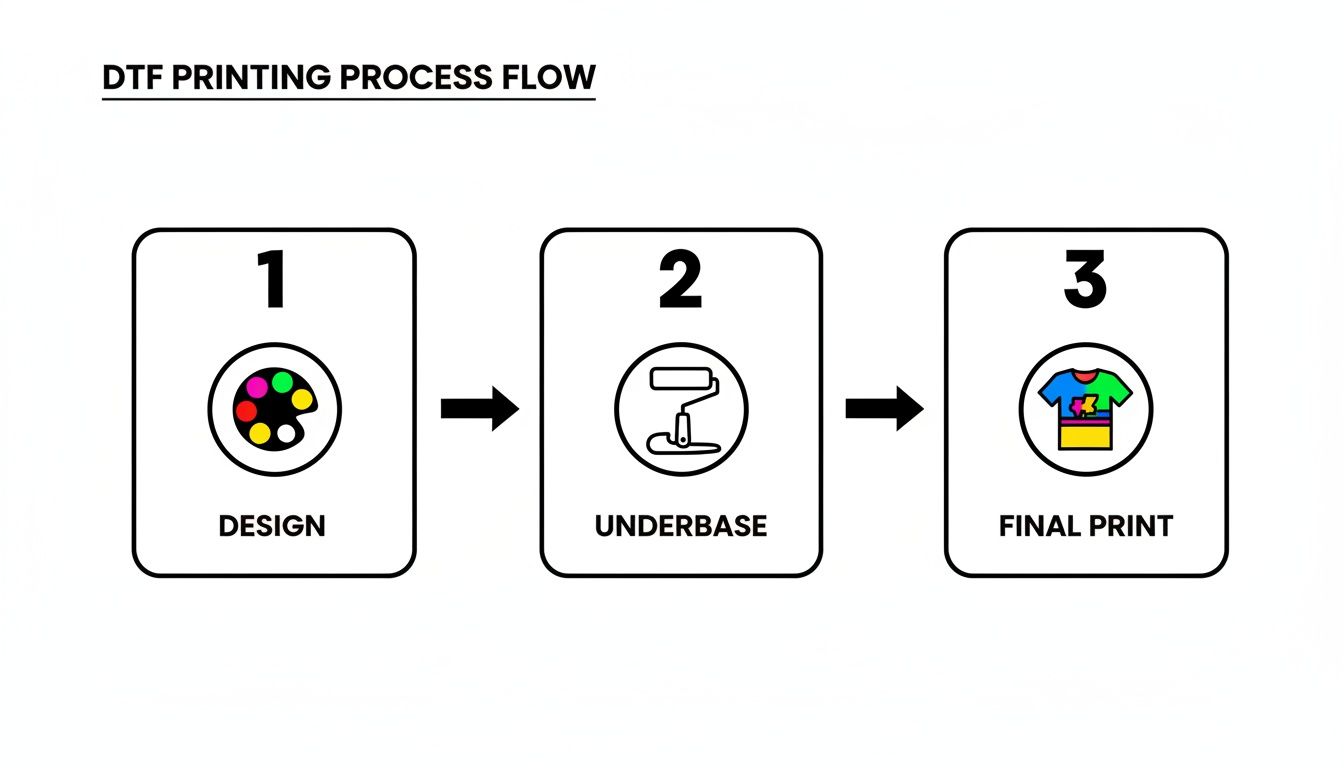
As you can see, that white underbase is the real MVP—it’s what makes your colors pop on any shirt, light or dark.
Step 3: Peel the Film Correctly
Here comes the moment of truth. The "peel" is simply removing the clear carrier film from the design after pressing. Depending on your specific transfers, you'll either do a hot peel or a cold peel. Always, always check your supplier’s instructions first—doing the wrong one can completely ruin an otherwise perfect print.
- Hot Peel: This means you pull the film off immediately after the press opens, while everything is still piping hot. It’s usually a quick, confident, and smooth motion.
- Cold Peel: Just like it sounds, you need to let the shirt and transfer cool down completely before peeling. You can take it off the press and set it on a cool surface or just wave it in the air for a minute. Once it's cool to the touch, you can peel the film away.
Step 4: The Final Finishing Press
Whatever you do, don't skip this final step! After you've peeled the film, the design is on the shirt, but it needs one last press to truly lock it in and give it that soft, professional feel.
This finishing press melts the design just enough to settle it into the fabric's fibers, making it feel less like a sticker and ensuring it holds up wash after wash.
Just place your protective sheet back over the exposed design and press it again for another 5-10 seconds using the same settings as before. This one little move makes a massive difference in the quality and durability of the final product.
Extending the Life of Your Custom Printed T-Shirts
Your job isn’t finished just because the heat press is open. What happens after the sale is just as important. Teaching your customers how to properly care for their new shirts is a massive value-add and ensures your hard work continues to look amazing.
The two biggest enemies of any custom print are high heat and harsh friction. A few simple tweaks to a laundry routine can be the difference between a design that lasts for years and one that cracks after a few washes.
Essential Washing and Care Instructions
The goal here is simple: be gentle on the design while getting the shirt clean. Think of it as protecting your art.
- Give It Time: Always wait at least 24 hours before that first wash. This gives the transfer's adhesive time to fully cure and grab onto the fabric fibers for good. Rushing this step is a common mistake.
- Turn It Inside Out: If you remember only one thing, make it this. Turning the shirt inside out protects the print from getting scraped by zippers, buttons, and the inside of the washing machine. It’s the number one defense against cracking and peeling.
- Go Cold: Stick with cold water. Hot water can slowly weaken the transfer's adhesive over time, causing it to lift. Cold water gets the job done without putting the print at risk.
- Use a Mild Detergent: Stay away from bleach and aggressive stain removers, especially directly on the graphic. These chemicals can fade the vibrant colors and eat away at the adhesive.
For a deeper dive into the dos and don'ts, check out our complete guide on how to properly wash printed t-shirts.
Drying Your Printed Shirts the Right Way
The dryer can be even rougher on a print than the washer. That intense, sustained heat is the fastest way to degrade a transfer.
For maximum durability, your best bet is to simply hang dry the shirt. If you have to use a machine, choose the tumble dry low or air-only setting. And whatever you do, never put a hot iron directly on the design.
The good news is that transfer technology keeps getting better. The market for Heat Transfer Vinyl (HTV), a technology that set the stage for modern methods, is projected to hit $551.96 million by 2034, driven by its incredible wash resistance. Today's DTF transfers take that durability to the next level, offering the kind of scratch-resistant, long-lasting quality that serious brands demand. You can read more about the growth of the heat transfer vinyl market to see where the industry is heading.
T-Shirt Heat Transfer FAQs: Your Questions Answered
When you're diving into the world of custom t-shirts, it's natural to have a few questions. Getting professional results is all about knowing the little details. To help you nail your projects every time, we've rounded up some of the most common questions we hear about choosing and printing t shirts for heat transfer print.
Think of this as your go-to cheat sheet. It’s here to help you sidestep common problems before they happen, whether you’re just starting out or have been pressing shirts for years.
What Is the Absolute Best T-Shirt Fabric for Heat Transfers?
This is the million-dollar question! While 100% cotton is a timeless favorite for its soft feel and fantastic print surface, the "best" fabric really boils down to what you're making. The great thing about modern DTF transfers is that you’ve got stellar options no matter what you choose.
- For Vibrancy and Softness: You just can't beat 100% ringspun cotton. The fibers are finer and knit together more tightly, creating an incredibly smooth canvas for sharp, colorful designs.
- For Durability and Performance: A good cotton/poly blend (like a 60/40 or 50/50) gives you the best of both worlds. You get the soft, breathable feel of cotton with the strength and shrink-resistance of polyester.
- For Athletic Wear: 100% polyester is the champ for its moisture-wicking magic. Just remember it’s sensitive to high heat, so you'll need to press it at a lower temperature to avoid scorching the fabric.
Why Did My Heat Transfer Crack After Washing?
This is a frustrating one, but it almost always comes down to two culprits: the initial press or how it was washed. A heat transfer is bonded to the top of the fabric fibers, so that bond needs to be rock-solid to handle the chaos of a washing machine.
First, double-check that you used the right time, temperature, and pressure settings for your specific transfer and shirt material. A weak press means a weak bond. Second, always wash the shirt inside out in cold water and tumble dry on low. The high heat from a dryer is the number one enemy of transfer adhesive.
Can I Use an Iron Instead of a Heat Press?
Technically, yes. Should you? For anything you want to last, it's a hard no. A heat press is a non-negotiable tool for professional work because it delivers two things an iron simply can't: perfectly even heat and consistent, measurable pressure.
An iron has hot and cold spots and relies entirely on guesswork for pressure. That combination is a recipe for a patchy, uneven bond, which means parts of your design will likely start peeling or cracking after the first wash.
If you’re serious about making quality shirts that people will love to wear, a heat press is one of the best investments you can make.
Does a T-Shirt's Weight (GSM) Really Matter?
Yes, it makes a huge difference! The shirt’s weight, measured in Grams per Square Meter (GSM), directly impacts its feel, durability, and even how the final print looks. A super lightweight, flimsy shirt (under 150 GSM) might not have enough structure, making the transfer feel stiff or heavy in comparison.
For most jobs, a solid mid-weight shirt (160-190 GSM) is the sweet spot. It feels substantial and provides a stable base for the transfer, but it’s still comfortable and breathable for everyday wear.
Ready to create stunning, long-lasting custom apparel? At Raccoon Transfers, we provide premium, easy-to-use DTF transfers that bring your designs to life on any fabric. Start building your custom gang sheet today!