
How to wash printed t shirts: Tips for clean, vibrant graphic tees
How To Wash Printed T-Shirts
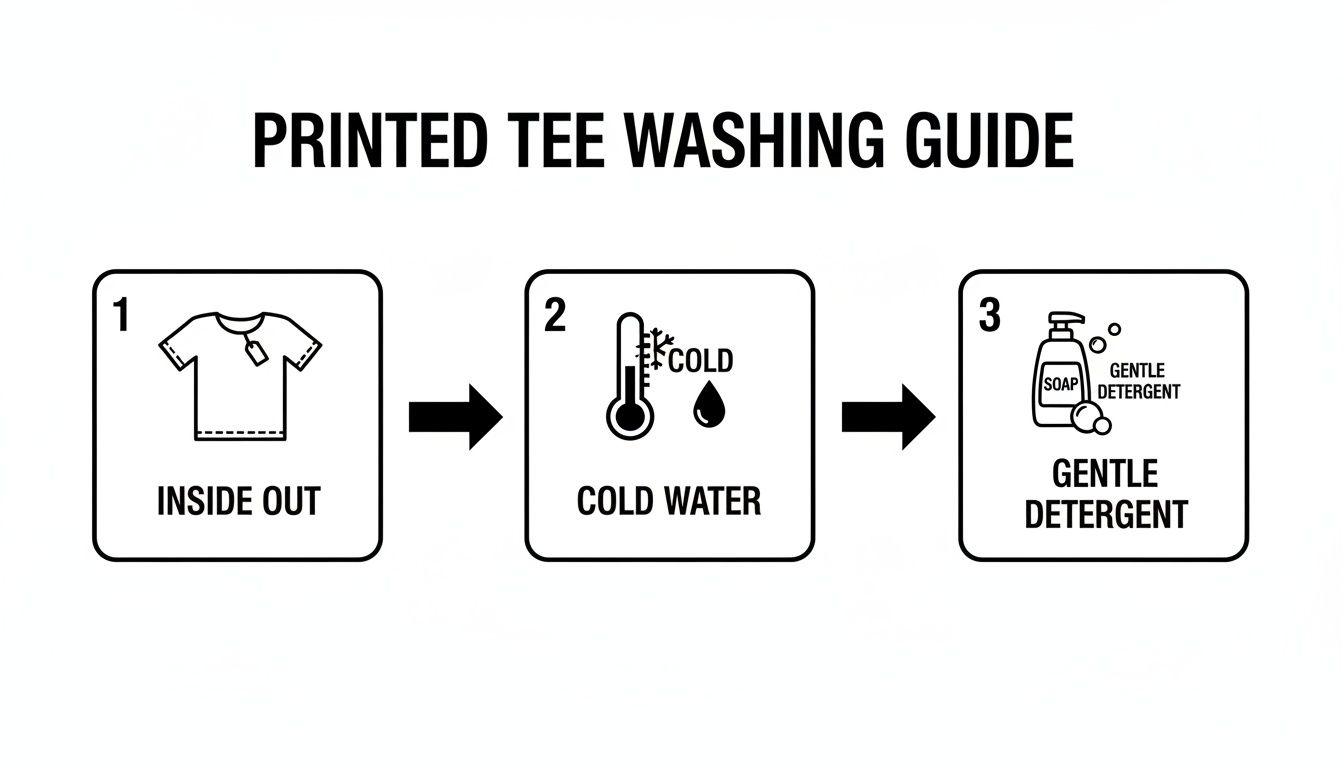
We’ve all pulled out a beloved graphic tee only to discover the print is cracked or peeling. Thankfully, protecting that design isn’t rocket science—it boils down to a few simple habits: turn the shirt inside out, wash in cold water, pick a gentle detergent, and skip the high-heat cycle.
Why Proper Washing Is Your Best Defense
Keeping your printed tees looking fresh isn’t just about sentiment. The global t-shirt market was valued at over $169 billion in 2021, so every cracked print or faded logo represents real waste.
Adopting smart laundry routines guards against damage across every print type—from classic screen prints to modern DTF transfers. These steps counteract the heat and friction that break down inks and vinyl adhesives.
Key Pillars Of T-Shirt Care
Understanding why each move matters makes it easier to stick to the routine. Here’s what actually protects your graphics:
- Turning Shirts Inside Out: Creates a buffer between the print and other fabrics—or the drum. Think of it as armor for your design.
- Using Cold Water: Studies show water above 40°C can degrade inks up to 50% faster. Staying below 30°C keeps colours sharp and adhesives stable.
- Choosing Gentle Detergents: Harsh chemicals like bleach eat away pigment. Opt for mild, color-safe formulas that clean without attacking the print.
- Avoiding High-Heat Drying: The intense heat of a tumble dryer can melt, crack, or peel your design—especially vinyl and DTF transfers. Air-drying is always the safer route.
Quick Guide for Washing Printed Tees
Here’s a snapshot of the essential do’s and don’ts to keep prints vibrant:
| Action | Best Practice (Do) | What to Avoid (Don't) |
|---|---|---|
| Turn Shirts Inside Out | Wash with the print facing inward to reduce abrasion | Leaving tees face-out in the washer |
| Use Cold Water | Keep temperature under 30°C for lasting colour | Hot or warm cycles above 40°C |
| Choose Gentle Detergents | Pick color-safe, low-chemical formulas | Detergents with bleach or harsh enzymes |
| Air-Dry Whenever Possible | Hang or lay flat away from direct heat | High-heat tumble drying or direct sun |
Applying these simple rules will extend the life of your printed tees—no special tools required.
Different fabric blends also influence how well a shirt holds up over time. For a deeper look at how various t-shirt materials affect durability and print quality, check out our detailed guide.
Pre-Wash Prep That Protects Your Prints
What you do before your shirt even hits the water can make or break the life of its design. Think of it this way: spending just a couple of minutes on prep is a small investment that pays off big time, keeping your favorite tees from cracking, fading, or peeling. Getting into these habits is the secret to making your printed apparel last.
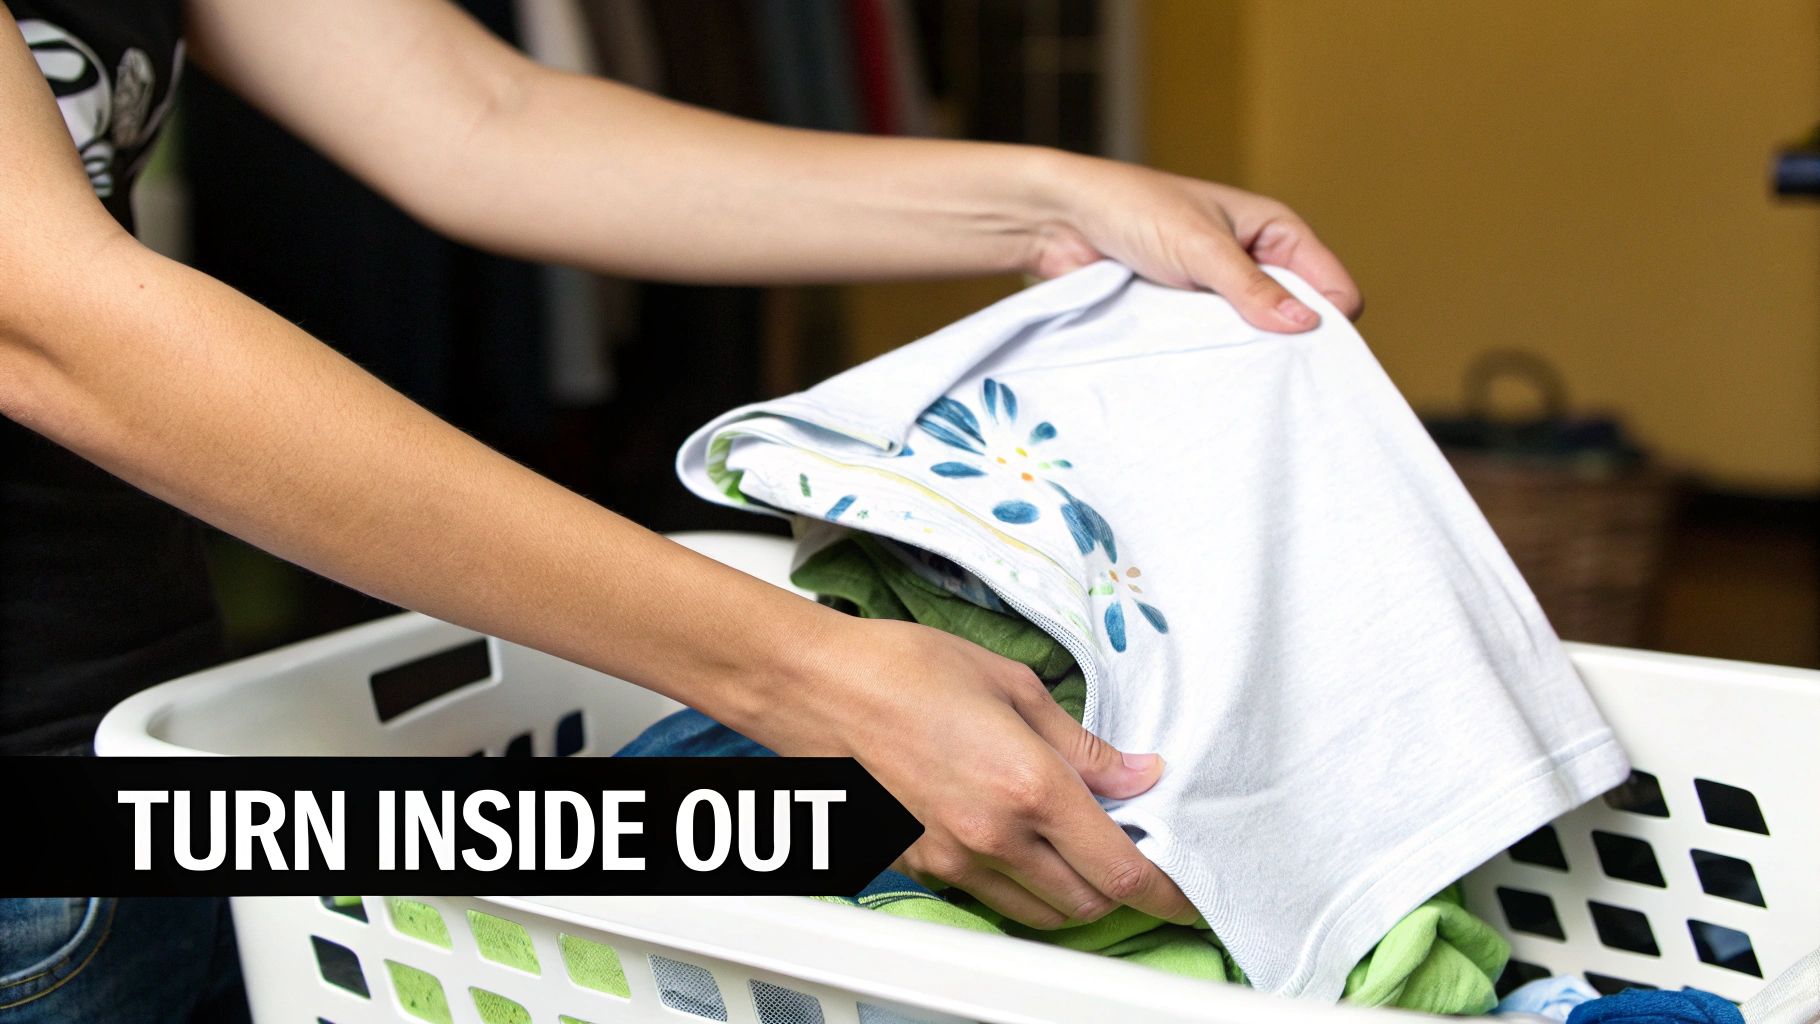
If you only do one thing, make it this: turn every printed shirt inside out. Seriously. This simple, free step is your number one defense against the harsh, tumbling world of a washing machine. It shields the graphic from rubbing up against other clothes, zippers, and the washing drum itself, dramatically cutting down on the friction that causes damage.
Sort Your Laundry Strategically
Good sorting goes way beyond just separating your lights and darks. If you want to give your printed tees the best shot, you need to think about fabric weight and texture. Tossing a soft cotton t-shirt in with a load of heavy denim or coarse towels is a recipe for disaster. That high-friction environment acts like sandpaper on the print, leading to premature damage.
Try sorting your loads like this:
- Lightweights Together: Keep all your t-shirts, thin long-sleeves, and other soft, lightweight items in their own group.
- Heavyweights Separate: Wash your jeans, hoodies, towels, and anything else with a rough texture or heavy feel in a different load.
- Watch Out for Zippers: Be especially mindful of jackets and pants with zippers or metal buttons. These are notorious for snagging and scratching delicate prints in the wash.
Sorting by fabric type is less about color and more about preventing physical abuse to the garment. It minimizes the mechanical stress that so often gets blamed on poor print quality, helping your graphics stay vibrant for years.
Decode the Care Label
Don't ignore that little tag! Those tiny symbols are the manufacturer's direct instructions on how to care for that specific shirt. While most tees are straightforward, some prints—especially specialty ones like foil, glitter, or puff ink—might have very specific needs. A quick glance at the label can save you from a laundry tragedy.
Handle Stains Before Washing
Spilled something? The key is to treat the stain before it goes through a wash cycle, which can set it permanently. But be careful. Dabbing an aggressive stain remover directly onto a graphic can easily damage the ink, causing it to dissolve or fade.
The better way is to apply a small amount of a gentle, bleach-free stain remover to the fabric around the design. Work it in with your fingers or a soft cloth, let it sit for about 10 minutes, and then wash as usual. This targeted approach gets the stain out without putting the print at risk.
Mastering Your Washing Machine Settings
Alright, now that your shirts are prepped and sorted, it’s time to tackle the washing machine itself. This is where you can really make or break the life of your printed tees. Don't look at all those dials and buttons as a confusing mess; think of them as a toolkit for protecting your favorite graphics.
The most critical decision you'll make here is the water temperature. My advice? Always opt for cold water. Hot water is the number one enemy of printed apparel. It can shrink cotton, which warps and stretches the design right along with it. Even worse, it can soften the adhesives in vinyl and DTF prints, which is a fast track to peeling and cracking.
Why Temperature Matters So Much
The difference between a hot and cold wash is honestly pretty dramatic. It’s been shown time and again that a gentle cycle with cold water is the secret to keeping prints vibrant. Some research indicates that hot water (60°C or higher) can fade a direct-to-garment print by as much as 60% in just 10 washes. Compare that to only a 10% fade in cold water, and the choice is obvious.
This isn't just a color issue, either. For DTF prints, which sit on top of the fabric like a decal, high heat directly attacks the adhesive that bonds the design to the shirt. It's a quick way to ruin a perfectly good transfer. If you're working with DTF, I highly recommend diving into our complete guide to DTF washing instructions for more specifics.
Selecting the Right Detergent and Cycle
The soap you use is just as important as the water temperature. You want to clean the shirt without chemically stripping the print.
- Choose a Mild Detergent: I always tell people to look for formulas labeled "gentle," "color-safe," or "free and clear." They don't have the harsh stuff that eats away at colors.
- Avoid Bleach at All Costs: Chlorine bleach is basically a corrosive acid to ink. It will absolutely destroy plastisol inks, which are used on about 80% of all commercially screen-printed shirts.
- Skip the Fabric Softener: It might seem like a good idea, but liquid softeners and dryer sheets leave behind a waxy residue. Over time, that film builds up on the print, making it look dull and faded.
A gentle cycle is your print's best friend. Look for settings like 'Delicate,' 'Hand Wash,' or 'Permanent Press' on your machine. These use slower spin speeds and less agitation, which means less physical stress on the fabric and the graphic.
When you put it all together—turning the shirt inside out, using a cold and delicate cycle, and choosing a mild detergent—you create the perfect, low-stress laundry day for your tees. This isn't a complicated secret; it's just the simple, repeatable formula for keeping your favorite shirts looking brand new for years, not just a few months.
The Right Way to Dry and Iron Printed Tees
You can do everything right in the wash cycle and still end up ruining a great t-shirt in those last few steps. When it comes to printed apparel, high heat is the number one enemy. It's what causes those cool graphics to crack, peel, and fade way too soon. Nailing the drying and ironing process is non-negotiable if you want your shirts to last.
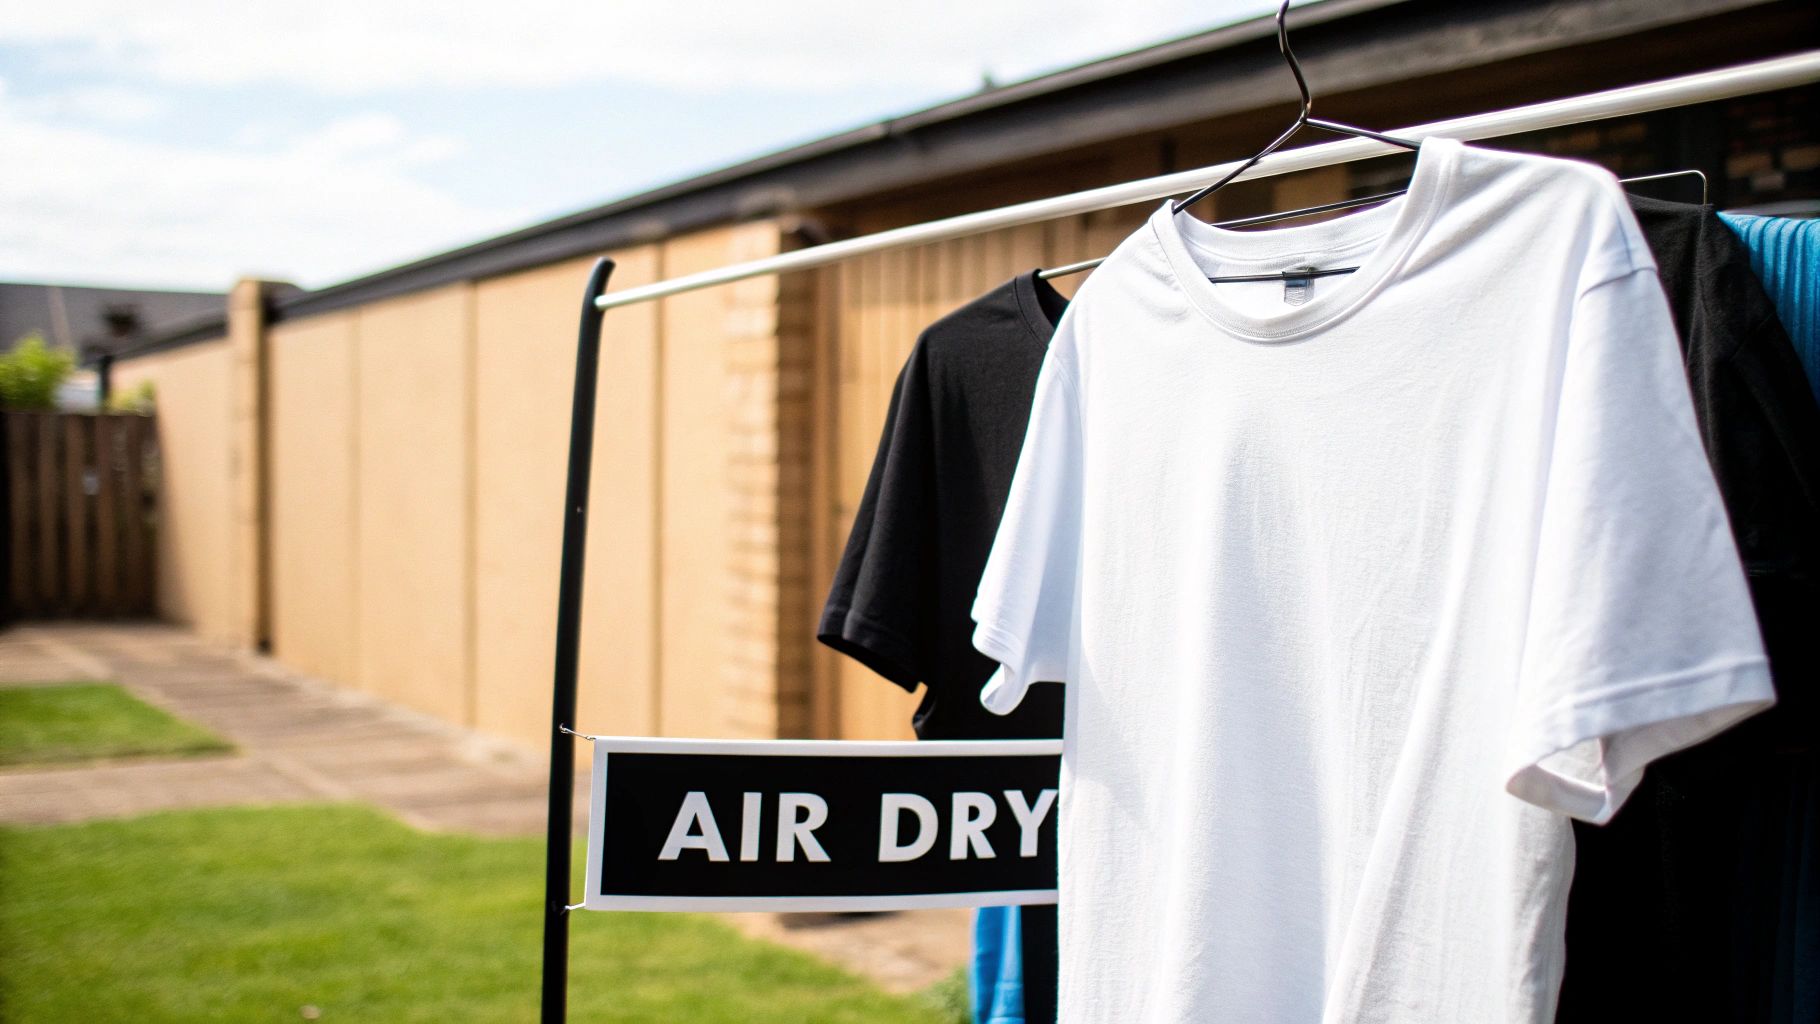
The absolute best way to dry your shirts? Air-drying. It’s foolproof. Taking the machine's heat out of the equation completely eliminates the risk of damaging the print.
If you absolutely have to use a machine dryer, always go for the lowest heat setting you can find. Even better, use the no-heat "air fluff" cycle. This gentle approach is much kinder to the adhesives and inks used in DTF, vinyl, and screen prints, helping them stay intact.
Best Practices for Drying
When you air-dry, even how you hang the shirt makes a difference. Clamping clothespins onto the shoulder seams is a common mistake—the weight of the wet fabric can stretch the material and leave those annoying little bumps.
Here are a couple of better ways to do it:
- Hang from the Bottom: Fold the t-shirt over the clothesline at its bottom hem. This lets the shirt's weight distribute evenly and keeps the collar from getting stretched out.
- Lay It Flat: For a shirt that's particularly heavy or a design you want to be extra careful with, laying it flat on a clean towel is the safest bet. It puts zero stress on the seams and fabric.
It takes an astounding 2,700 liters of water to produce a single cotton t-shirt. By choosing to air-dry your tees 95% of the time, you're not just cutting down on your energy bill. You can actually extend the life of that shirt from around 50 washes to over 200. That's a huge return on the resources used to make it. You can find more insights like this in reports on sustainable textile practices on indexbox.io.
How to Iron a Printed Tee Without Ruining It
Ironing a graphic tee feels like a high-stakes operation, but it’s actually pretty simple if you stick to one golden rule: never apply direct heat to the print. The concentrated heat from an iron will melt plastisol ink, vinyl, and DTF transfers almost instantly, leaving you with a sticky, ruined mess.
To get those wrinkles out safely, the first thing you should always do is turn the t-shirt inside out.
Set your iron to a low or medium heat and press the fabric from the back. This warms the material just enough to smooth out the wrinkles without ever letting the hot plate touch the graphic on the other side.
For a shirt that’s extra wrinkled, you can place a thin piece of cotton fabric—like a spare pillowcase or a clean dish towel—over the area as an extra buffer. Do this while the shirt is still inside out. This little trick provides another layer of protection and is great for more delicate or detailed designs. And if you're making your own custom apparel, you'll find similar tips in our guide on how to iron on transfers.
Taking Care of Your T-Shirt Collection for the Long Haul
Keeping your printed tees looking sharp isn't just about how you wash them. What you do between wears plays a huge role in whether they last for a season or for years. A little bit of thought into storage and handling goes a long way.
Think about it: a printed tee can spend 99% of its life just sitting in your closet. Getting that part right is just as important as the wash cycle.
Why You Should Fold, Not Hang, Your Tees
I know it’s tempting to hang everything, but for most t-shirts, it’s a slow-motion disaster waiting to happen. Gravity is not your friend here. Over time, the weight of the fabric pulls on the shoulders and collar, leaving you with those weird, pointy "hanger bumps" and a stretched-out neckline.
Folding is almost always the better choice. It lets the shirt rest without any tension, helping it keep its original shape.
When you neatly fold your shirts and stack them in a drawer or on a shelf, you're not just preventing stretching. You’re also shielding them from dust and sunlight, which are notorious for fading vibrant colors and crisp graphics. Plus, no more accidental snags from those pesky wire hangers next to them.
My Two Cents: If you absolutely must hang a tee (maybe it's a special one you want to see), please don't use a thin wire hanger. Go for a wide, padded, or velvet-flocked hanger. These distribute the weight much more evenly and minimize the damage.
Tackling Everyday Wear and Tear
Even with the best care, life happens. You'll eventually run into a couple of common issues: pilling and the first signs of a cracking print. The good news is, you can manage both if you act quickly.
-
Those Annoying Fabric Pills: You know those little fuzzballs that pop up in high-friction spots, like under the arms? That's pilling. It’s just broken fibers getting tangled up. Don’t pick at them! Grab a fabric shaver or a sweater comb. A quick, gentle pass will shear them right off without hurting the shirt.
-
The First Sign of a Cracking Print: The moment you spot a tiny crack in a vinyl or plastisol graphic, make a new rule for that shirt: no more machine drying. Ever. Heat is the number one enemy of these prints. While you can't undo the crack, switching to air-drying will stop it from spreading and flaking off.
A Little Extra TLC for Special Prints
Not all prints are created equal. Some of the cooler, more unique designs are also the most delicate. If you've got tees with special effects, they need a bit more attention.
- Foil & Glitter Prints: That awesome metallic or sparkly finish is basically bonded to the shirt with an adhesive. High heat and rough tumbling can make it flake right off. Your best bet is to hand wash these. If you must use a machine, turn the shirt inside out, put it in a mesh laundry bag, and run it on the most delicate cycle you've got. Air-dry only.
- Puff Ink Prints: That cool, raised 3D texture is a result of the ink expanding with heat during production. More heat from your dryer can cause it to flatten, crack, or even melt. Treat these tees like you would a delicate knit sweater—wash cold and lay them flat to dry to keep that puffiness alive.
Mastering these little details is what separates basic laundry from true garment care. By avoiding overwashing, storing your shirts properly, and giving special prints the respect they deserve, you’ve got all the tools you need to keep your collection looking brand new.
Got T-Shirt Care Questions? We've Got Answers.
Even if you’ve got your laundry routine down pat, printed tees can throw a few curveballs your way. When you're trying to figure out the best way to wash a printed T-shirt, a few common dilemmas always seem to crop up. Let’s tackle some of the most frequent questions we get about keeping those graphics looking sharp.
Getting these little details right is what separates a shirt that looks great for years from one that's faded and cracked after just a few washes.
Is It Really Better to Hand Wash My Printed T-Shirts?
Honestly? Yes. While a gentle machine cycle is a solid choice, hand washing is the gold standard for protecting your most delicate or favorite shirts. It’s the gentlest method possible, eliminating the friction and tumbling that a machine creates. This is especially true for tees with specialty prints like foil, glitter, or those cool puff ink designs that can be a bit more fragile.
If you want to give it a try, it's easier than it sounds:
- Fill a clean sink or a basin with cold water.
- Add just a small squirt of mild, color-safe detergent and give it a quick swish.
- Turn your shirt inside-out, pop it in the water, and gently move it around for a minute or so.
- Now for the easy part: just let it soak for 15-30 minutes. The soaking does most of the heavy lifting.
- Drain the soapy water and rinse the shirt with fresh, cold water until the suds are gone.
- Gently squeeze out the extra water. Whatever you do, never wring or twist the fabric! That’s a fast track to stretching the shirt and wrecking the graphic. Then, just lay it flat or hang it up to air dry.
Help! My T-Shirt Print Is Already Cracking. What Now?
Okay, let's be real—once a print starts to crack, there's no magic wand to make it look brand new again. But you can absolutely stop the damage in its tracks. The number one enemy of printed graphics is the high heat from a machine dryer, which essentially cooks the inks and adhesives until they become brittle.
The most important thing you can do is to stop machine drying that shirt, effective immediately. From this point forward, it’s an air-dry-only garment. This is why prevention is so crucial—always washing in cold water and skipping the dryer is the best way to keep this from happening to your other printed apparel.
If a small piece of the design is actually peeling off, you can try a little patch-up job. Place a sheet of parchment paper over the peeling spot and press it for just a few seconds with a warm iron (seriously, not hot). Sometimes, this can re-bond the transfer to the fabric, but think of it as a temporary fix, not a permanent solution.
How Do I Get a Stain Out Without Ruining the Graphic?
Tackling a stain on a printed tee requires a bit of finesse. The trick is to act fast and be gentle. The moment a spill happens, grab a clean cloth and blot the area. Don't rub it! Rubbing just grinds the stain deeper into the fabric fibers, making your job ten times harder.
Your strategy for a set-in stain really depends on where it is.
-
If the stain is on the fabric, away from the print: You're in luck. Apply a small amount of a gentle, bleach-free stain remover directly to the spot. You can work it in with your fingers or a super-soft brush, let it sit for about 10 minutes, and then wash the shirt like you normally would.
-
If the stain is on the print itself: This is the tricky one. Avoid aggressive spot treatments and stain pens, as their chemicals can dissolve the ink. Your safest bet is to soak the entire shirt in a cold water solution with a little mild detergent. It's a much gentler approach that can often lift the stain without damaging the design underneath.
At Raccoon Transfers, we make vibrant, tough DTF transfers that are built to handle proper care and keep your custom shirts looking incredible. We design our prints for longevity so you can wear them with confidence, wash after wash.