
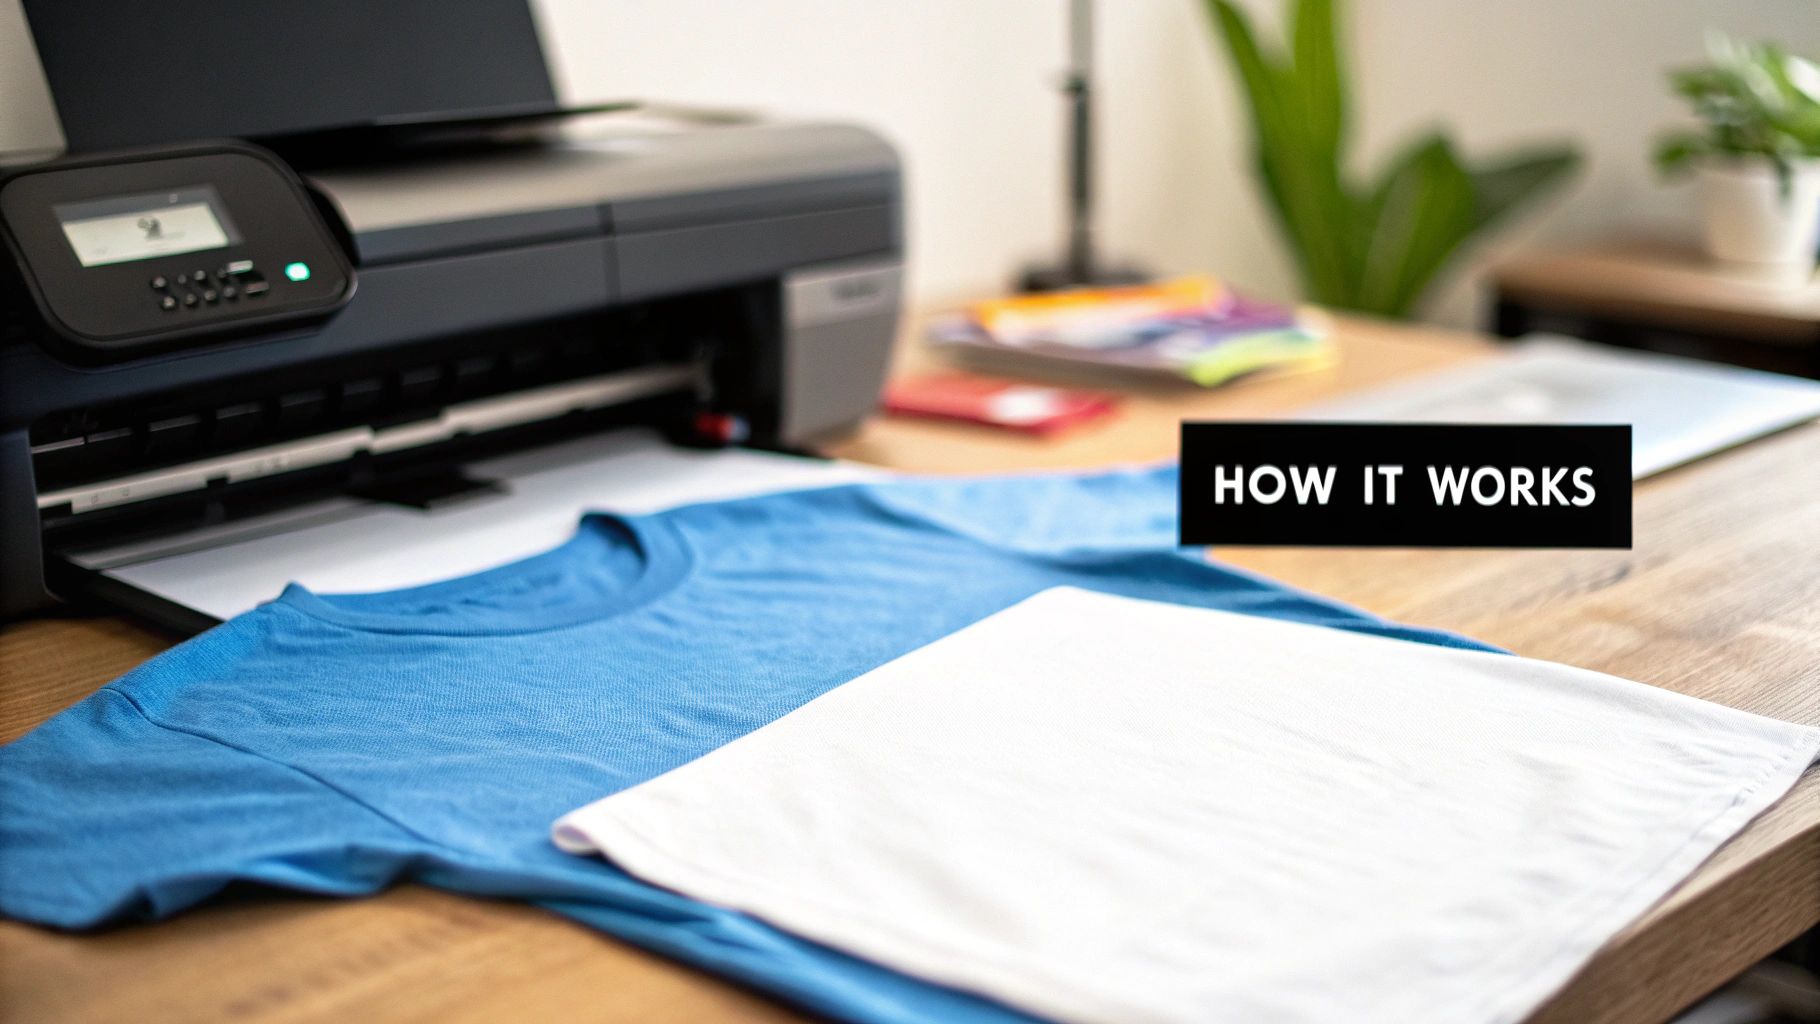
A Crafter's Guide to Thermal Transfer Papers
Think of thermal transfer papers as the secret sauce for getting your digital designs onto physical products. They are essentially specialized sheets that use heat and pressure to transfer ink or toner from the paper onto a t-shirt, bag, or another surface. It’s the go-to method for turning a cool idea on your screen into something you can actually wear or sell.
Decoding Thermal Transfer Papers
At its heart, a thermal transfer paper is a carrier sheet with a special coating that reacts to heat. If you ever used iron-on patches as a kid, this is the modern, customizable version of that. Instead of a pre-made design, you print your own custom graphics directly onto the paper using a standard inkjet or laser printer. It's a pretty straightforward concept, but getting professional results depends on a neat little chemical reaction.
When you print your design, the ink sits on top of this special coating. The magic happens when you introduce heat and pressure from a heat press. This melts the coating, causing the ink or toner to permanently bond with the fibers of the fabric. Just like that, you’ve created a custom piece. This accessibility is what makes it such a fantastic starting point for hobbyists and small brands.
The Basic Mechanics of a Transfer
The whole process boils down to three key players working together. If you get how these three parts interact, you're well on your way to making great-looking products every time.
- The Paper: This isn't your everyday printer paper. It has a polymer film on one side that’s engineered to release the printed design when it gets hot enough.
- The Ink or Toner: Your printer lays down the design onto that polymer film. The kind of printer you have—inkjet or laser—dictates the exact type of transfer paper you’ll need to buy.
- The Heat Press: This is the game-changer. A heat press delivers the even, consistent heat and pressure that a regular home iron just can't. This is what ensures your design sticks smoothly and permanently without any peeling corners.
The magic is in the coating. This heat-sensitive layer is what allows your printed image to lift off the paper and fuse with the fabric, creating a durable, wearable piece of art. Without it, you'd just have a regular piece of printed paper.
What you’re really doing is creating a custom decal that becomes part of the material. This is why thermal transfer paper is such a popular entry into the world of custom apparel. With just a few key pieces of equipment, you can start turning out vibrant, full-color designs right from your home or workshop, paving the way for more advanced printing methods down the line.
Choosing the Right Type of Transfer Paper
Getting into custom printing is exciting, but let’s be honest—all the different paper options can feel a little overwhelming at first. Picking the right transfer paper isn't just a small detail; it's the most critical decision you'll make for getting a project right. It’s like a chef choosing the right kind of flour. You wouldn't use cake flour to make a rustic sourdough loaf, right? Same principle here.
The first, and most important, choice comes down to one simple question: do you have an inkjet printer or a laser printer? This isn't just a suggestion; it's a hard rule based on how each machine works.
The Great Divide: Inkjet vs. Laser Paper
Inkjet printers work by spraying tiny droplets of wet ink. To handle this, inkjet transfer paper has a special porous coating that acts like a sponge, absorbing the liquid ink and holding the design perfectly until it's ready to be pressed. This is what gives you those rich, deeply saturated colors.
Laser printers are a completely different beast. They use a fine powder called toner, which is fused onto the paper's surface using heat. So, laser transfer paper has a smoother, less absorbent finish that allows the toner to sit right on top. Mix them up, and you've got a mess. Inkjet ink will just smear and slide off laser paper, while laser toner won't stick properly to the absorbent surface of an inkjet sheet.
Key Takeaway: Always match your paper to your printer. Inkjet printer? You need inkjet transfer paper. Laser printer? Laser transfer paper. No shortcuts, no exceptions—not if you want a design that looks good and actually lasts.
The demand for personalized gear is exploding. The global transfer paper market, valued at a massive USD 3.3 billion in 2025, is on track to hit USD 5.8 billion by 2035. Textiles, especially custom apparel, are the biggest driver, making up about 47% of all heat transfer paper use. It just goes to show how big the on-demand printing world has become.
To help you decide which path is right for your setup, here’s a quick breakdown of how these two paper types stack up.
Inkjet vs Laser Transfer Paper Comparison
This table highlights the key differences to help you choose the best option for your projects.
| Feature | Inkjet Transfer Paper | Laser Transfer Paper |
|---|---|---|
| Printer Type | Designed exclusively for inkjet printers. | Designed exclusively for laser printers. |
| Color Vibrancy | Excellent. The ink absorption leads to very rich, deep colors. | Good, but can sometimes appear less saturated than inkjet. |
| Initial Cost | Generally lower cost for both the printer and the paper. | Higher upfront cost for the printer, but toner can be more economical. |
| Durability | Good, but can be prone to fading or cracking over time. | Typically more durable and resistant to fading with repeated washes. |
| Best For | Hobbyists, small businesses, and projects with vibrant colors. | Higher-volume production and designs needing maximum durability. |
Ultimately, both have their place. Inkjet is fantastic for getting started and for projects where color intensity is king, while laser is a workhorse for durability and speed.
Light Fabrics vs. Dark Fabrics: A Crucial Choice
Okay, you’ve matched the paper to your printer. What’s next? The color of your shirt. This is a classic rookie mistake, but it's an easy one to avoid. Transfer papers are made specifically for either light-colored or dark-colored garments.
-
Paper for Light Fabrics: This paper has a transparent background. When you press the design, only the colored ink transfers over, and the clear film basically disappears into the white or light-colored fabric. Try this on a black shirt, and your design will be almost invisible because the ink itself is see-through.
-
Paper for Dark Fabrics: This paper is a game-changer. It has a solid white, opaque background. You print your design onto this white layer, and the whole thing—white backing included—gets transferred onto the shirt. That white base makes your colors pop brilliantly against the dark fabric. The only catch? You have to trim your design carefully, or any unprinted areas will show up as a white patch.
For a deeper look at which papers work with which materials, be sure to check out our detailed guide on the best paper for heat transfer.
Specialty Papers for Unique Projects
Once you nail the basics, a whole new world of specialty thermal transfer papers opens up for those really creative ideas. If you're working with something other than a standard cotton tee, you’ll probably need one of these.
Here are a few popular options you might run into:
- Stretchable Papers: Perfect for athletic apparel or anything with a lot of spandex. This paper has a flexible film that stretches right along with the fabric, so your design won't crack under pressure.
- Papers for Hard Surfaces: Want to put a design on a mug, ceramic plate, or a piece of wood? You’ll need a specialty paper designed for these tough, non-fabric substrates.
- Glitter or Metallic Papers: These are just plain fun. The paper itself has a glittery or metallic finish that becomes part of your design, giving it some extra pop and texture.
Getting the paper right is the foundation of a great print. By understanding the core differences between printer types, fabric colors, and specialty options, you'll be able to pick the perfect material every single time, ensuring your designs look sharp, professional, and built to last.
Your Step-by-Step Guide to a Perfect Transfer
There's something magical about taking a design from your screen and turning it into a vibrant, wearable piece of art. Using thermal transfer papers is surprisingly straightforward once you get the hang of it, and the results can look incredibly professional. Let's walk through the entire process, step-by-step, to make sure you nail it every single time.
This little flowchart is a great way to visualize the first two choices you'll make before any project even begins.
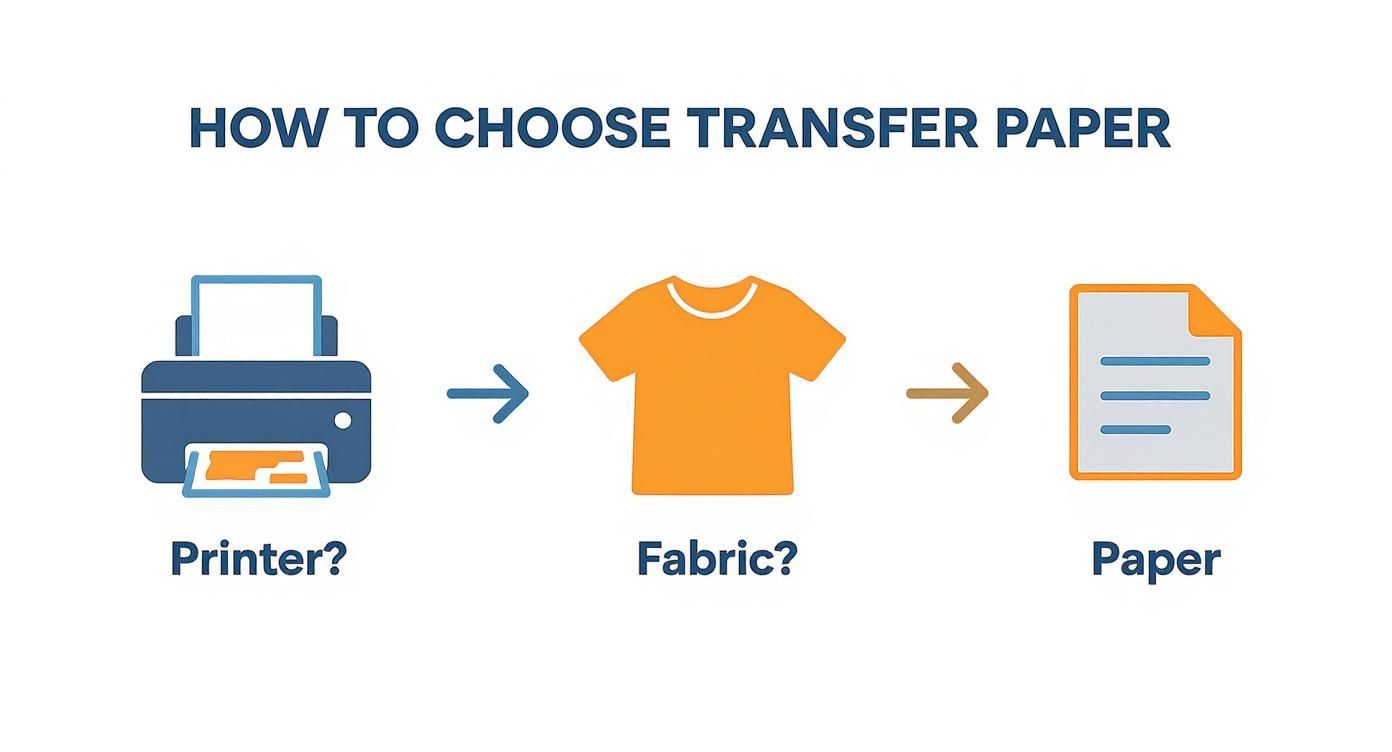
As you can see, it all starts with your printer and your garment. Those two things will point you directly to the right kind of paper for the job.
Step 1: Prep Your Design and Printer
Before you even touch the printer, your design file needs to be in top shape. You'll want to work with a high-resolution image—at least 300 DPI (dots per inch) is the industry standard for a reason. Anything less, and your finished product will look pixelated and blurry.
Now for one of the most important (and most often forgotten) pre-press steps: mirroring your image. If your design has any text or isn't perfectly symmetrical, you have to flip it horizontally in your software. When you press it, the design will reverse again, appearing correctly on the fabric. Trust me, nothing's worse than finishing a press only to realize all your text is backward.
Finally, let's dial in those printer settings. Don't just hit "Print" and hope for the best. Dive into your printer's properties and crank the quality up to the highest setting. You should also tell the printer what it's printing on by selecting an option like "Matte Photo Paper" or another specialty paper type. This tells it to lay down plenty of ink for deep, rich colors. For a deeper dive, check out our guide on how to print onto transfer paper.
Step 2: Print and Trim
With your settings perfected, go ahead and print your mirrored design onto the coated side of the transfer paper. The instructions will tell you which side is which, but it's usually the brighter, smoother one. Give the ink a few minutes to dry completely to avoid any smudging.
Next, it’s time to get trimming. Grab a sharp pair of scissors or a craft knife, especially if you're working with paper for dark fabrics. You want to carefully cut away all the unprinted white space around your design.
Why is trimming so important? Even the blank parts of the paper have a polymer coating. If you don't trim it off, that clear film will transfer right onto your shirt, leaving a very obvious and unprofessional-looking "box" or halo around your awesome design.
Step 3: Master the Heat Press
This is where it all comes together. For truly professional results, a heat press is a must-have. It delivers two things a home iron just can't: even heat and consistent pressure.
First up, pre-press your garment for about 5-10 seconds. This quick step zaps any moisture and smooths out wrinkles, giving you a perfect canvas for the transfer to stick to.
Now, place your trimmed transfer paper with the design facing down onto the garment. Cover it with a protective sheet (Teflon or parchment paper works great) to protect both the transfer and your press. Time to press. The exact settings will depend on your paper, but here’s a solid starting point:
- Temperature: 350-375°F (175-190°C)
- Time: 15-25 seconds
- Pressure: Medium to firm
Always, always check the instructions that came with your paper for the manufacturer's specific recommendations. The wrong settings can leave you with a faded, cracked, or peeling mess.
Step 4: Peel and Finish
When the timer beeps, open the press. The final move is peeling the backing paper away, but how and when you do it is critical and depends entirely on your paper type.
- Hot Peel: This means exactly what it sounds like. You peel the backing away immediately while it's still piping hot. If you hesitate, the paper might stick or the transfer could be ruined.
- Cold Peel: With these, you have to exercise some patience. Let the garment and transfer cool down completely before you even think about touching the backing. Peeling it warm can stretch or lift the design right off.
Whichever method you use, peel the paper back in one smooth, confident motion. And that's it—your custom piece is done! To make it last, wait at least 24 hours before its first wash, and always turn it inside out and use cold water.
The Good, The Bad, and The Realistic: Pros and Cons of Thermal Transfer Printing
To really get the hang of any tool, you need to be honest about what it does well and where it falls short. Thermal transfer printing is a fantastic gateway into the world of custom apparel, but knowing its strengths and weaknesses is key. This clear-eyed view helps you set the right expectations, make better products, and decide if it's the right call for your specific project.
Let's talk about the good stuff first. The biggest win for thermal transfer papers is, without a doubt, how easy and cheap they are to get started with. If you've already got a decent inkjet or laser printer at home or in your office, you're practically halfway there. Just add a heat press and the right paper, and you can start cranking out full-color, custom designs right away.
Why It's a Great Place to Start
The barrier to entry is so low, which makes it the perfect launchpad for all kinds of creators.
- Low Startup Cost: You can pull together a solid setup for just a few hundred dollars. That's a tiny fraction of what you'd spend on screen printing or direct-to-garment (DTG) gear.
- Full-Color Freedom: Forget being stuck with single-color layers like with cutting vinyl. You can print intricate, photo-quality images with millions of colors in one simple press.
- Perfect for On-Demand: This method shines when you're making one-offs or small runs. Need a single shirt with a totally unique design? No problem. It's perfect for custom orders or just testing out a new concept without any complex setup.
- Quick and Simple: The process is pretty straightforward to learn. Once you dial in your time, temperature, and pressure, you can go from a blank shirt to a finished product in a matter of minutes.
This ease of access has sparked a massive industry. The global market for thermal paper, which includes these transfer papers, was valued around USD 3.45 billion in 2019 and is expected to hit USD 5.85 billion by 2027. That growth shows just how vital this technology is for everything from retail receipts to the custom apparel world, all driven by the need for quick, on-demand printing. You can dig into the findings on the thermal paper market for a deeper dive.
The Honest Limitations
Okay, now for the reality check. While thermal transfer paper is a brilliant starting point, it has some real drawbacks you need to know about, especially if your goal is to build a professional-grade product line.
The biggest issues come down to how the final design feels and how well it holds up over time.
The "hand" of a design—what it feels like on the fabric—is a huge deal. Because transfer paper essentially lays down a polymer film on top of the shirt, the design can feel stiff or like a plastic patch. This is especially true for papers designed for dark-colored garments.
For any brand trying to sell premium, soft-feeling apparel, that stiff hand can be a total dealbreaker. Durability is the other big concern. A perfectly applied transfer can last a decent while, but it's just not as tough as screen printing or DTF. After a bunch of trips through the washer and dryer, designs made with thermal transfer papers are known to crack, fade, or even start peeling.
This is the fundamental trade-off of thermal transfer. You get incredible convenience and affordability, but you sacrifice the professional feel and rock-solid durability that come with more advanced methods. It's a fantastic solution for hobbyists, personal one-off projects, or promotional giveaways. But for a brand that's growing and needs to stake its reputation on quality and longevity, these limitations are a clear sign that it's probably time to look for the next step up.
Comparing Transfer Paper to DTF Transfers
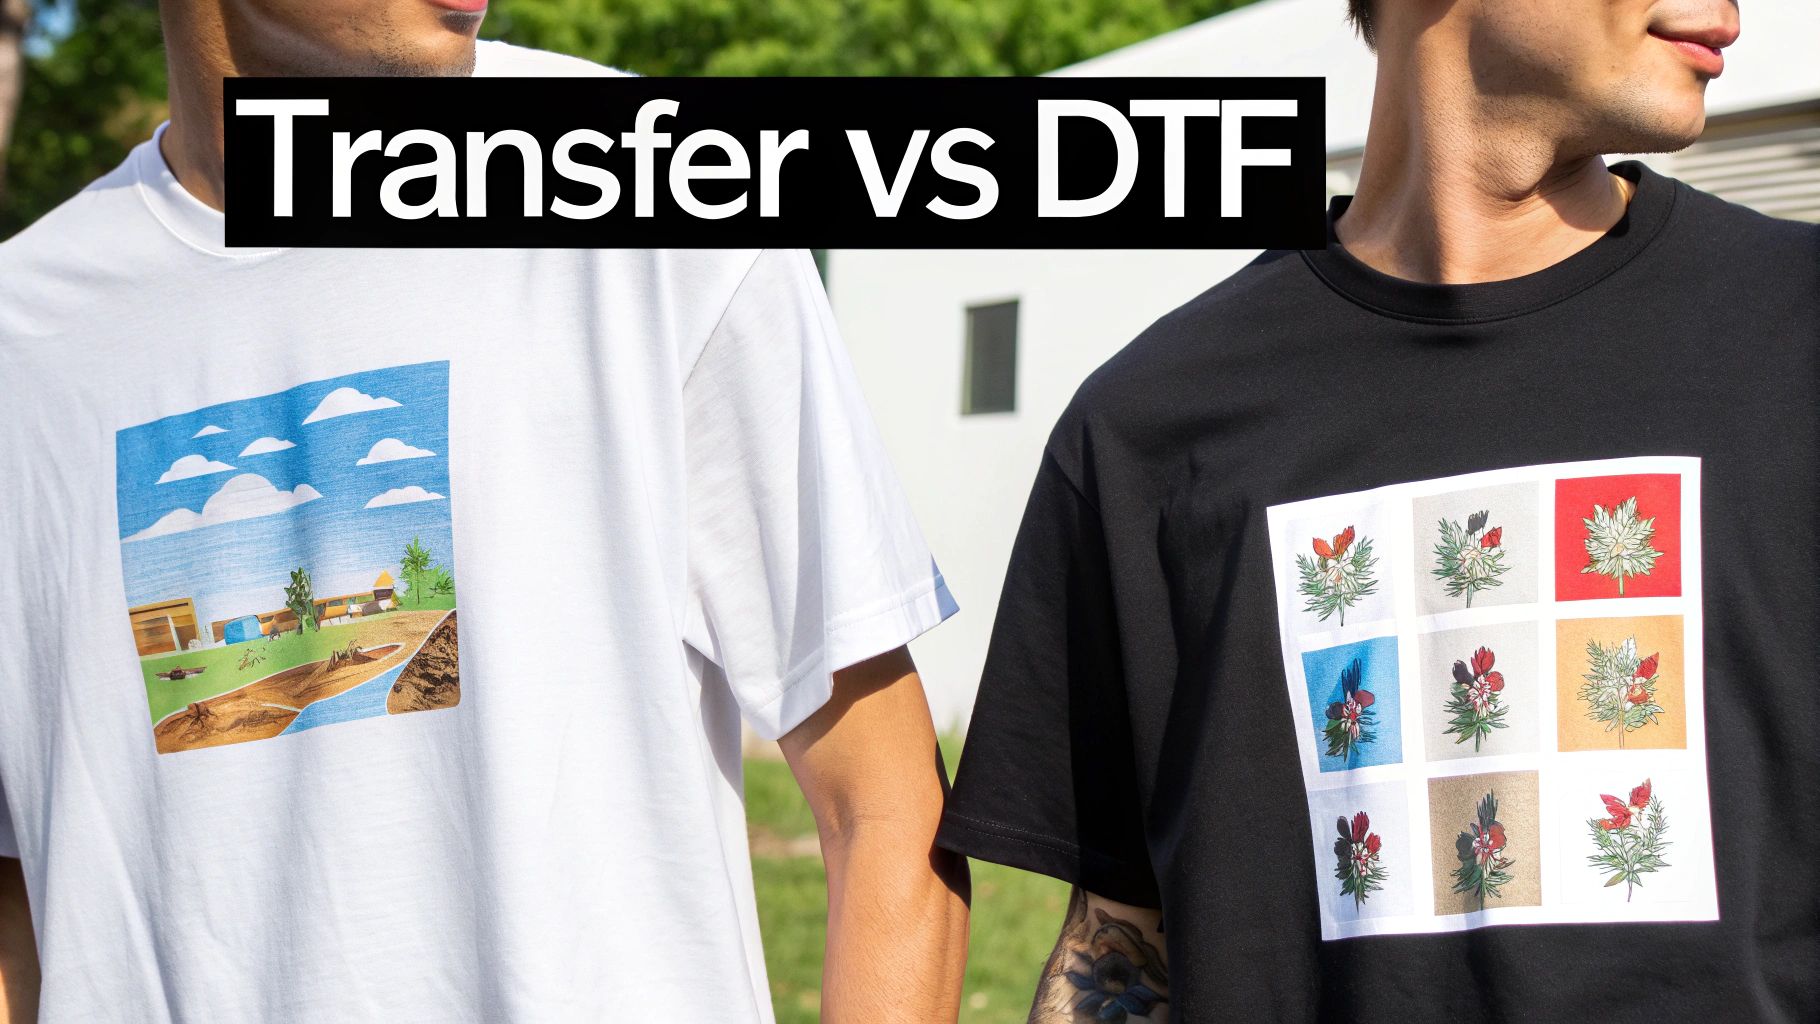
When your side hustle starts to feel like a real business, you'll inevitably look for ways to make your products stand out. This is where the conversation naturally shifts from thermal transfer papers to a more professional solution like Direct-to-Film (DTF) transfers. This isn't a knock against transfer paper; it's just about recognizing when your brand is ready to graduate to the next level of quality and durability.
Think of thermal transfer paper as your first car. It’s affordable, gets the job done, and teaches you the ropes. But as your ambitions grow, you start looking for something with better performance and a more polished finish. That’s DTF—it’s the logical upgrade for a brand that's serious about scaling.
The global thermal transfer market was valued at around USD 1.59 billion in 2024, which shows just how vital this technology is, especially in industrial sectors like retail and logistics. You can dig into more of the market statistics on thermal transfer technology here. For apparel, though, the game has changed.
Durability and Feel: A Side-by-Side Look
The biggest differences between these two methods come down to what your customers notice immediately: how the design feels and how it holds up over time. A graphic made with traditional thermal transfer paper sits on top of the fabric as a separate layer. This often creates a stiff, sometimes plastic-like feel, known in the industry as a heavy "hand."
DTF transfers, by contrast, are engineered for a much softer touch. The ink is printed onto a special film and backed with an adhesive powder before being pressed. This process allows the design to bond more deeply with the fabric's fibers, making it incredibly flexible—it feels like it’s part of the shirt itself.
DTF solves the two biggest complaints about traditional transfer paper: the stiff, plastic "hand" and that tell-tale polymer border. What you get is a soft, durable, edge-free design that rivals professional screen printing.
This superior feel has a direct impact on durability. Because the DTF design moves with the fabric, it can stretch without cracking and survive dozens of washes without fading or peeling. A well-made transfer paper design is decent, but a DTF transfer is built to last. We cover the entire process in our guide, "What is a DTF transfer?".
Production Speed and Weeding Woes
For a growing business, efficiency is everything. When you use thermal transfer paper for dark garments, you have to painstakingly trim around every detail of your design to avoid leaving behind a clunky white background. This "weeding" process is tedious and becomes a massive bottleneck as your orders pile up.
DTF eliminates weeding completely. You just press the entire transfer, peel the film, and you're done. Only the ink and adhesive stick to the shirt, giving you perfectly clean edges every time, no matter how complex the design. This simple change can massively accelerate your production, freeing you up to handle more orders.
To put it all in perspective, here’s a quick breakdown of how these two methods stack up.
Thermal Transfer Paper vs DTF Transfers at a Glance
| Feature | Thermal Transfer Paper | DTF Transfers |
|---|---|---|
| Feel (Hand) | Can be stiff and feel like a layer on top of the fabric. | Very soft, flexible, and feels like part of the fabric. |
| Durability | Good, but can crack or fade with repeated washing. | Excellent; highly resistant to cracking, fading, and peeling. |
| Weeding | Required, especially for dark fabrics, which is time-intensive. | No weeding needed; only the design transfers to the garment. |
| Vibrancy | Good color, but can appear less vivid on darks. | Brilliant, opaque colors that pop on any color fabric. |
| Best For | Hobbyists, prototypes, and low-volume, low-cost projects. | Growing brands, professional apparel, and high-volume orders. |
In the end, thermal transfer paper is a fantastic starting point. It's a low-cost way to learn the fundamentals of heat pressing and custom apparel. But when you’re ready to offer products defined by their professional quality, soft feel, and long-lasting durability, upgrading to DTF transfers is the clear path forward.
Troubleshooting Common Transfer Paper Headaches
Even when you follow the steps perfectly, you can still run into a few snags with thermal transfer papers. Don't worry, it happens to everyone. Let's walk through some of the most common issues and how to fix them, so you can save yourself some frustration and wasted materials.
One of the biggest heartbreaks is seeing your design crack or start peeling after only a wash or two. Nine times out of ten, this problem comes down to the application itself. If the design didn't get enough heat, enough pressure, or enough time, it simply never fused properly with the fabric.
It's also worth checking if you used the right paper for your shirt's material. Always double-check the manufacturer's instructions and consider pre-washing your garments to get rid of any sizing or chemicals that could block a good bond.
Can I Get Away With Using a Home Iron?
It’s a question everyone asks starting out: "Can I just use my regular iron?" While you can do it for a one-off project you're not too attached to, it's really not the best tool for the job if you want professional, lasting results.
The secret to a durable transfer is perfectly even heat and pressure. A heat press delivers that consistently across your entire design. A home iron, on the other hand, is a minefield of hot spots, cool spots, and steam holes, which almost guarantees a patchy transfer with peeling edges.
Even a small, budget-friendly heat press will make a world of difference in your quality.
How Do I Avoid That Stiff, Plastic Feel?
You know the feeling—that thick, stiff patch on a shirt. That's what we call the "hand" of the design, and a soft hand is a sign of quality. To get a much softer result, start by trimming away every bit of unprinted paper around your design. The less blank polymer film you press, the better.
Using a higher-quality, thinner transfer paper also helps immensely. But if you're chasing that ultimate retail-quality feel where the ink feels like it's part of the fabric, you'll want to look at modern printing methods like DTF transfers.
And if you're thinking about selling your creations, figuring out your costs and profit is key. There's a lot that goes into figuring out how to price handmade items to make sure you're actually building a business.
When you're ready to leave the limitations of transfer paper behind and deliver the kind of quality that builds a brand, Raccoon Transfers is your next step. Our Direct-to-Film (DTF) transfers offer that soft feel, amazing durability, and eye-popping color that will make your products stand out. Explore our DTF solutions today!