
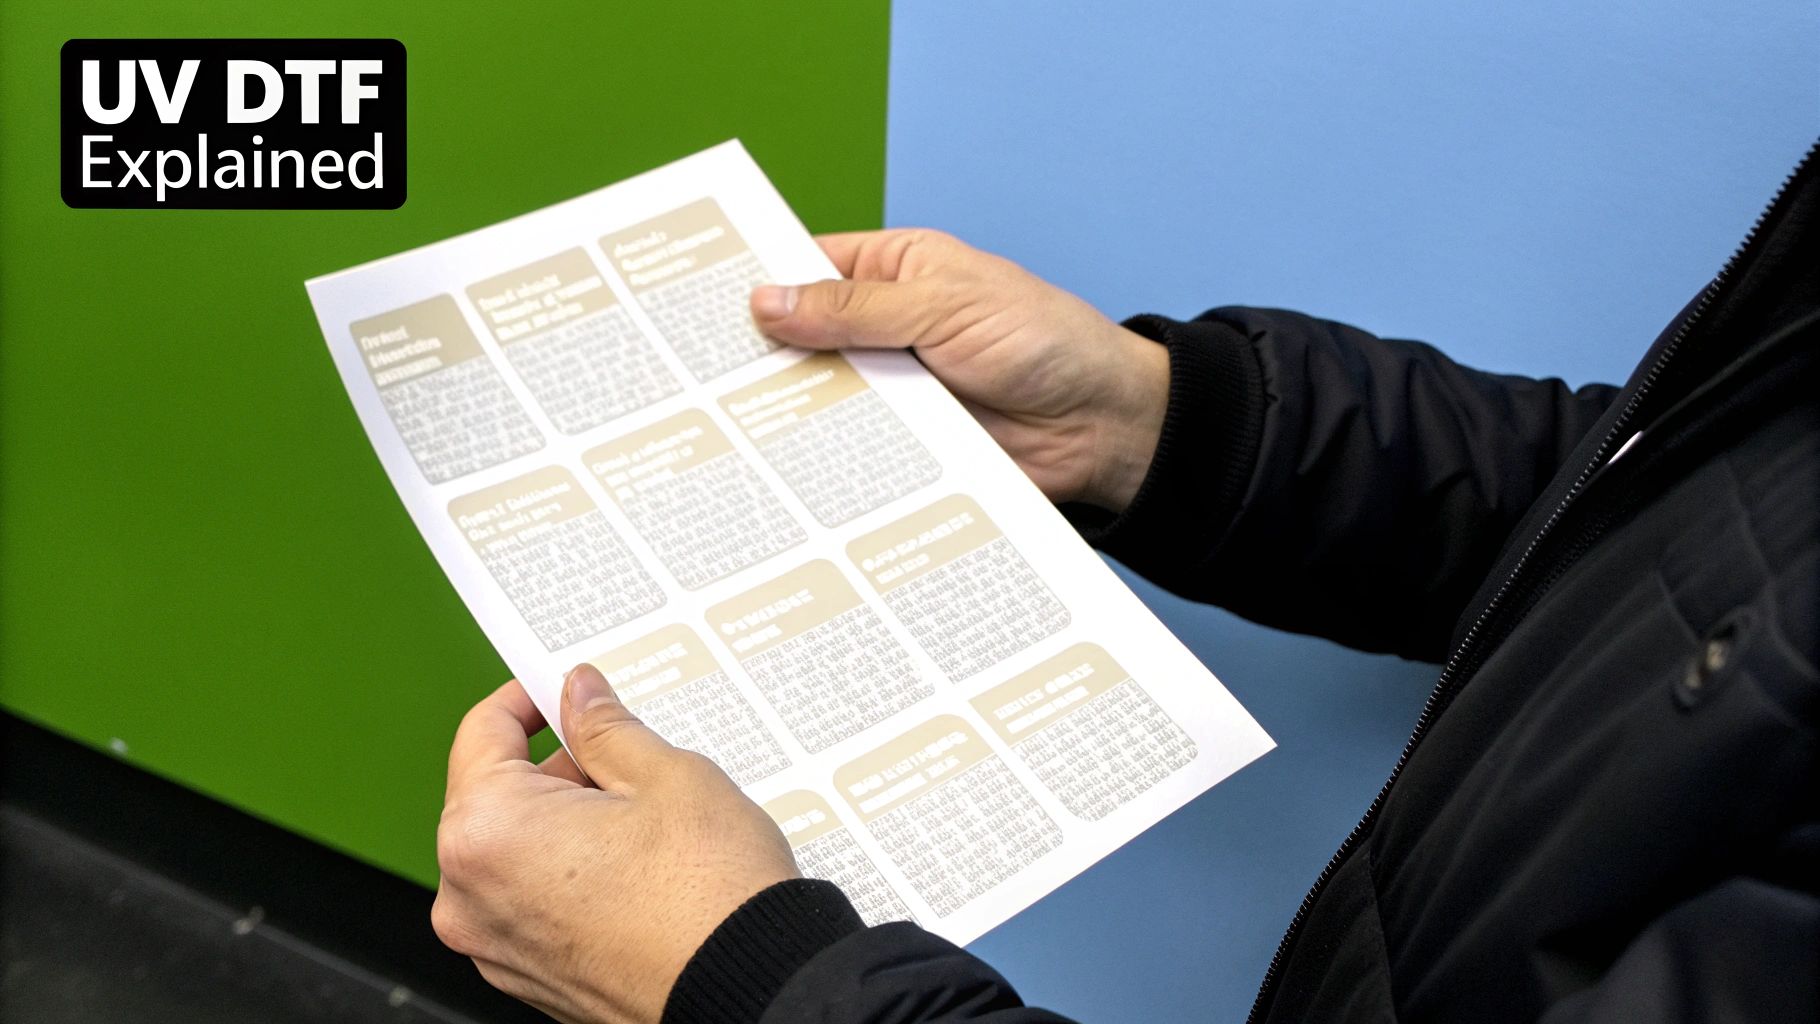
Your Guide to Durable UV DTF Stickers
You've probably seen them on custom mugs, phone cases, or even tumblers—crisp, vibrant designs that look like they were printed directly onto the item. These are likely UV DTF stickers, a special kind of transfer that lets you apply durable, high-quality graphics to hard surfaces without any heat or water.
Think of them less like a traditional sticker and more like a premium, permanent tattoo for your products. They offer a simple peel-and-stick application but leave behind a professional, slightly raised finish that’s built to last. This makes them a fantastic solution for customizing items where regular stickers just don't cut it.
What Are UV DTF Stickers and How Do They Work?
Let's get one thing straight: a UV DTF sticker isn't really a "sticker" in the way you might think. It's a multi-layered transfer designed to carry a precisely printed graphic. It’s more like a clever "design sandwich," where layers of ink, varnish, and adhesive are held together by a carrier film just long enough to get the design where it needs to go.
When you peel away the backing, you’re not left with a sticky piece of vinyl. The design itself—the cured ink and adhesive—is what lifts off, ready to be pressed onto your item. This process is why the final result looks so clean and seamless, without the tell-tale clear background or "halo" effect you often see with vinyl decals.
The Magic of Instant Curing
The "UV" part of the name is the key. It stands for ultraviolet. During the printing process, specialized inks are laid down on a release film and then immediately zapped with a powerful UV light. This instantly hardens, or "cures," the ink, which is what gives the final design its impressive durability and that cool, slightly raised texture you can feel.
The real game-changer here is that the entire process is heat-free. The UV light does all the heavy lifting, locking the design into a tough, resilient layer that's waterproof, scratch-resistant, and ready for transfer right away.
Because there's no heat press involved, you can apply these designs to materials that would normally warp or melt, like certain plastics or coated surfaces. This opens up a huge range of creative possibilities. The printing industry has taken notice, with analyses pointing to rapid growth in UV DTF technology, all driven by its ability to create tough, high-contrast designs on a massive variety of surfaces. For more on these kinds of innovations, check out the latest on the inkjet ink market from sources like Ink World Magazine.
UV DTF Stickers vs Traditional Stickers
It’s easy to mix up UV DTF stickers with other customization methods, but once you know what to look for, the differences are obvious. Here’s a quick rundown of how UV DTF stacks up against the familiar paper or vinyl sticker.
| Feature | UV DTF Stickers | Traditional Vinyl Stickers |
|---|---|---|
| Application | Peel-and-stick transfer; no background film | Single-layer peel-and-stick |
| Durability | Highly durable, waterproof, scratch-resistant | Varies; can peel or fade over time |
| Finish | Slightly raised, textured, no "halo" effect | Flat; often has a clear or white border |
| Ideal Surfaces | Hard, non-porous surfaces (glass, metal, etc.) | Most smooth surfaces |
| Heat Required? | No | No |
Essentially, while traditional stickers are great for temporary or light-duty use, UV DTF transfers offer a permanent, professional-grade solution that looks and feels like part of the product itself.
How Are They Different from Other Transfers?
Let's clarify a couple of other common points of confusion:
- Compared to Vinyl Decals: A standard vinyl decal is cut from a single sheet of colored material. The design is limited by the colors of vinyl available, or it's printed onto a white or clear background. UV DTF stickers, on the other hand, are full-color printed designs that transfer only the ink, leaving no background behind.
- Compared to Waterslide Decals: Waterslides are notoriously delicate. They have to be soaked in water to release the design from the backing paper and almost always need a sealant or top coat to protect them. UV DTF stickers are far more resilient and only need firm pressure to apply—no water, no fuss, and no sealing required.
This unique combination of a dead-simple application and an incredibly tough result is what makes UV DTF stickers a truly superior choice for permanent branding and high-end personalization projects.
How Are UV DTF Stickers Actually Made?
Ever wonder what goes into making one of these amazing UV DTF stickers? It’s not just a simple print job. The process is a fascinating, multi-step dance of specialized films, inks, and UV light, all orchestrated by a dedicated UV DTF printer. Think of it as building a graphic in reverse to get that perfect, durable finish.
It all starts with what’s known as the "A film," which is a special carrier sheet. This is the foundation where the magic begins.
The Reverse Printing Method
The printer builds the design layer by layer, but it does so backward. This reverse-layering technique is the secret sauce behind the sticker's vibrant look and incredible durability. Here's how it unfolds:
- The Varnish Coat: First up is a layer of clear varnish. This isn't just for looks; it provides that glossy, slightly raised 3D texture and acts as a tough, protective shield for the final design.
- The Color Layer: Next, the printer lays down the CMYK (Cyan, Magenta, Yellow, Black) inks right on top of the varnish. This is where your artwork springs to life in full color.
- The White Ink Base: Finally, a solid, opaque layer of white ink is applied. This base is a real workhorse. It makes the colors brilliant on any surface—even dark ones—and it also serves as the foundation that the adhesive will bond to.
As each layer is printed, powerful UV lamps flash-cure the ink instantly. This process locks in every sharp detail and brilliant hue, preventing any smudging and ensuring a crisp, flawless result every time.
The real genius here is combining the "direct-to-film" approach with instant UV curing. This completely eliminates the tedious weeding of vinyl or the long drying times of other methods, making production incredibly fast and efficient.
This straightforward workflow is how a digital idea becomes a physical transfer, ready for application.
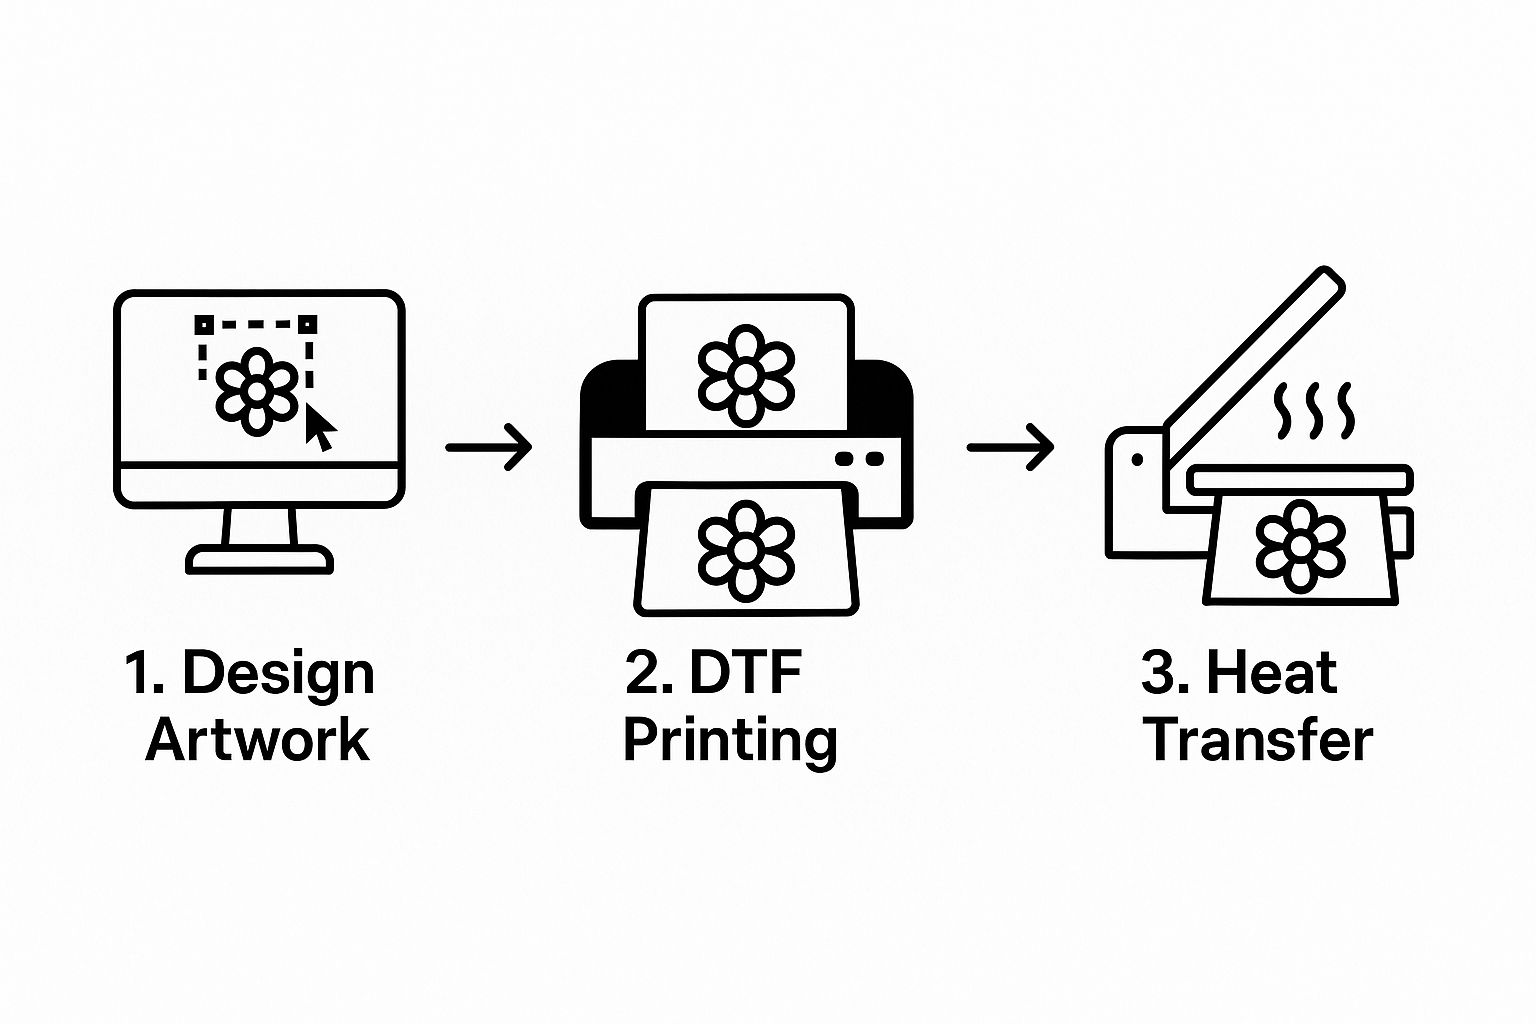
As you can see, turning a design file into a ready-to-use transfer is a refined, three-stage process that hinges on this specialized printing technology.
Lamination: The Final Step
Once all the ink is printed and cured on the A film, there's one last crucial step. The printed sheet runs through a laminator, which carefully applies a second sheet called the "B film." This B film is coated with the powerful adhesive that will make the sticker stick to your final product.
The two films are pressed together with firm pressure, which bonds the adhesive from the B film directly onto the back of the printed ink layers. The result is a finished sheet of UV DTF stickers.
When you're ready to use one, you just peel the design from the A film. The varnish, ink, and adhesive all lift off as one perfectly registered piece, ready to be pressed onto its new surface. To see how this stacks up against other methods, you can explore our comparative study on UV DTF vs traditional UV printing. It’s this technology that makes achieving a premium, durable look on hard goods so straightforward.
Why Choose UV DTF Stickers for Your Projects?
When you're looking for the right way to customize products, the sheer number of options can be dizzying. Yet, time and again, UV DTF stickers rise to the top for a few very good reasons. They deliver a professional-grade finish but with a surprisingly simple, peel-and-stick application, making them a fantastic choice for both seasoned businesses and weekend DIYers.
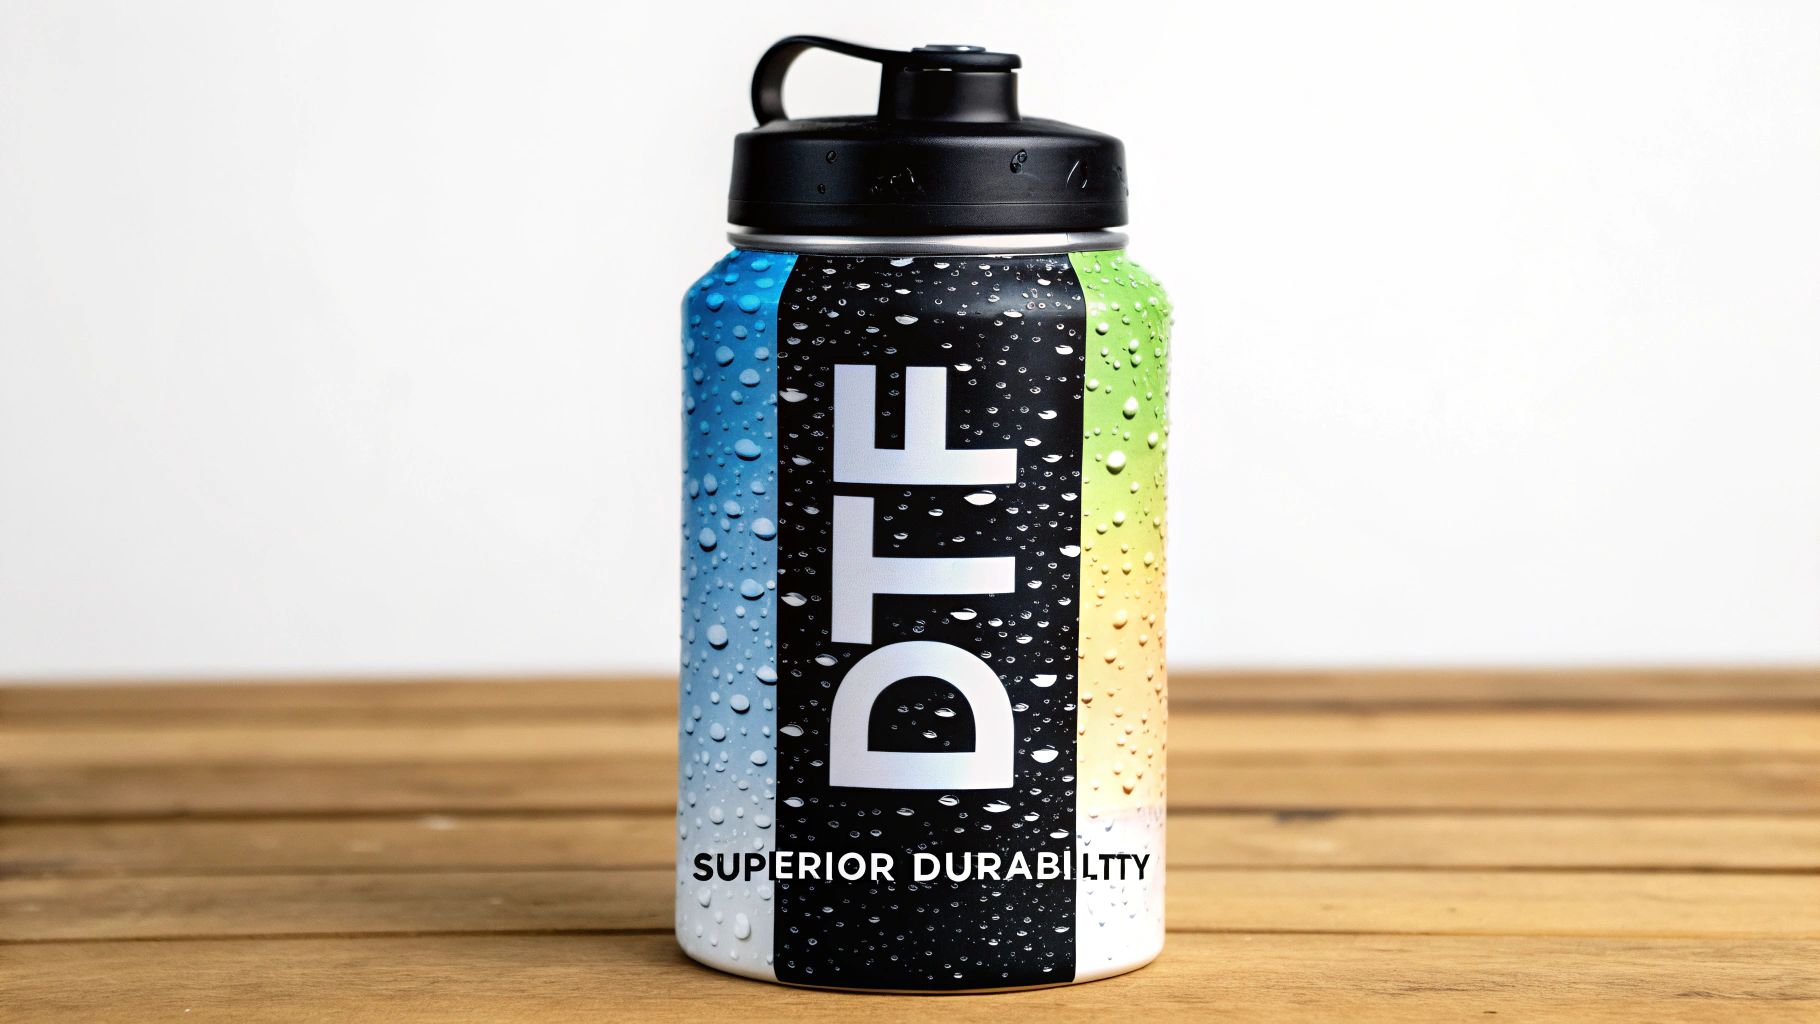
The first thing that wins most people over is their incredible durability. We’ve all seen standard paper or vinyl stickers that start peeling, fading, or washing away after a few weeks. These are different. The UV-cured ink and adhesive create a powerful bond, resulting in a design that is waterproof, scratch-resistant, and won't fade in the sun. That custom logo on a tumbler will easily handle daily hand-washings, and branded gear will stand up to the scuffs of everyday work.
Stick Them Almost Anywhere
One of the biggest advantages of UV DTF stickers is their amazing ability to stick to a huge variety of materials. Many other customization methods are picky, only working on certain types of surfaces. These transfers, however, work on just about any hard, non-porous object you can think of.
Just imagine the possibilities:
- Glass and Ceramics: Perfect for adding logos to coffee mugs, pint glasses, or candle jars.
- Metal: A go-to for customizing water bottles, laptops, and signs.
- Plastics: Great for personalizing phone cases or promotional keychains.
- Treated Wood: An excellent choice for adding a finishing touch to plaques, gift boxes, and other decor.
This versatility means you can keep your branding consistent across a whole line of different products without needing to invest in separate equipment for each one. The best part? No heat is required for application. This is huge because it opens the door to customizing heat-sensitive materials that you couldn't touch with a heat press. You can find out more by exploring UV DTF printing innovations in the customization landscape.
Eye-Catching Looks and a Premium Feel
UV DTF stickers don't just hold up well; they look and feel fantastic. The printing process captures photorealistic detail with a full spectrum of color, making your designs pop with incredible vibrancy and clarity. Thanks to a base layer of white ink, the colors stay bright and true, even when applied to dark or clear surfaces.
But the real secret sauce is the varnish layer. It's printed first and acts as a clear coat, giving the final design a glossy, slightly raised 3D texture you can actually feel. This adds a premium touch that makes your products look and feel professionally finished.
There’s a reason the broader digital printing market was valued at USD 31.3 billion globally. UV-curable inks are a major part of that growth, prized for their toughness and brilliant results. For anyone wanting a durable, versatile, and visually impressive way to customize their gear, UV DTF stickers are a clear winner.
Creative Ways to Use Your UV DTF Stickers
Okay, we've covered the "what" and the "how." Now for the fun part: what can you actually do with these things? This is where the real magic of UV DTF stickers happens—when you see them transform an ordinary object into something special. Whether you're trying to make your small business look more professional or just want to put your own spin on your gear, these transfers deliver a polished look on an incredible variety of items.
The secret sauce is their versatility. Since you don't need a heat press, you can customize things that would melt, warp, or just plain wouldn't work with traditional methods. This flexibility opens up a whole new world of creative projects for businesses and hobbyists alike.
Elevate Your Brand and Business
In business, your brand is your reputation, and every little detail counts. UV DTF stickers let you put a crisp, permanent logo on almost any promotional product or piece of packaging. The result is a high-end, cohesive look that feels like it was printed directly onto the surface.
Think about these possibilities for your business:
- Promotional Items: Forget flimsy, forgettable swag. You can apply your logo to durable items people actually use, like metal water bottles, glass coffee mugs, plastic phone grips, or even premium tech gadgets. The tough finish means your brand will stick around for the long haul.
- Product Packaging: A little touch of class can make your product fly off the shelves. Imagine a glossy, slightly raised logo on your boxes, glass jars, or metal tins—it immediately signals quality.
- Branded Equipment: Need to label company gear? Slap your logo on laptops, tools, or other equipment. The scratch-resistant surface will keep it looking professional, even after daily wear and tear.
Spark Your Personal Creativity
For all the crafters and DIY enthusiasts out there, UV DTF stickers are a game-changer. They give you the power to create truly one-of-a-kind items that show off your personality, turning everyday objects into custom art pieces. The best part? The application is dead simple, but the finished product looks like it came from a professional print shop.
The real fun begins when you realize you can permanently customize almost anything you own. It’s like having an industrial printing press in the palm of your hand, ready to bring your digital designs to life on physical objects.
Here are just a few ideas to get the wheels turning:
- Custom Drinkware: Put your own intricate designs or monograms on tumblers, wine glasses, and mugs. With proper hand-washing, they'll stay put and won't peel off.
- Sports Equipment: Customize helmets, baseball bats, skateboards, or even fishing rods with your name, number, or a cool graphic.
- Home Decor: Create stylish, uniform labels for your kitchen canisters, design a set of custom coasters, or add an artistic touch to picture frames and vases.
- Unique Gifts: Move beyond generic presents. Design a personalized gift for a wedding, birthday, or holiday that’s not only thoughtful but also impressively durable.
How to Apply Your Sticker for a Perfect Finish
The real magic of UV DTF stickers isn't just their durability—it's how easily you can get a professional-looking result without any special equipment. All you need is a clean surface and a steady hand. If you follow these steps, you’ll end up with a flawless, bubble-free design that looks like it was printed right onto your item.
The best way to think about it is like applying a high-quality temporary tattoo. You're simply transferring the ink and adhesive from the carrier film to your product. While the process is straightforward, proper surface preparation is absolutely essential for creating a bond that will last.
This guide will walk you through everything, from prepping your item to the final reveal.
A Step-by-Step Application Guide
-
Clean the Surface Thoroughly: Before you do anything else, wipe down the application area with a bit of rubbing alcohol and a lint-free cloth. The surface has to be completely free of dust, oils, or even fingerprints. A pristine base is the secret to maximum adhesion.
-
Peel Back the Carrier Film: Gently separate the clear film with your design on it from the solid white backing paper. As you peel, the entire printed design should come away cleanly with the clear film.
-
Position Your Design: This is the part where you want to take your time. Carefully align the sticker exactly where you want it to go. Once that adhesive makes contact with the surface, it’s pretty much permanent, so getting the placement right on the first try is key.
-
Apply Firm, Even Pressure: Start from one edge and smooth the sticker down, working your way to the other side. Use your fingers or a small squeegee to rub firmly over the entire design. Give extra attention to the edges and any small, intricate parts to push out any trapped air bubbles.
-
Slowly Remove the Film: Begin peeling the clear carrier film off, pulling it back at a sharp angle. Go slowly and keep an eye on the design to make sure every last piece has stuck to the surface.
Pro-Tip: If a tiny part of the design starts to lift off with the film, just lay that section back down. Give that specific spot another firm press with your finger before you continue peeling.
This simple, no-tool method is what makes UV DTF stickers so great for personalizing gear or branding products. A few minutes of careful work is all it takes to get a tough, high-quality finish that's built to last.
Keeping Your Customized Items Looking New
So, you’ve applied your design, and it looks absolutely brilliant. Now what? The next step is all about making sure that professional-grade finish actually lasts. Taking proper care is pretty simple, but it’s the key to protecting your hard work and keeping the colors on your UV DTF stickers looking as vibrant as day one.
The durability of these transfers is one of their best features, but just like any high-quality finish, a little care goes a long way. The biggest things to avoid are harsh chemicals and rough, abrasive scrubbing, both of which can wear down the design over time. It’s a bit like protecting the paint job on a new car—gentle cleaning is always the best approach.
Simple Care for Long-Lasting Results
When it comes to items you’ll be washing often, like mugs, tumblers, and water bottles, the rules are easy to remember. The number one rule? Always hand-wash your customized products. Dishwashers are the enemy here; the combination of high heat, powerful water jets, and aggressive detergents is a recipe for disaster. It can slowly break down the adhesive and cause your design to fade, crack, or peel off entirely.
To keep your items in top shape, just follow these tips:
- Wash with a soft sponge and a bit of mild soap. Steer clear of steel wool or the abrasive side of a scrubby sponge, as they can easily scratch the glossy, protective varnish.
- Don't let it soak. A quick wash and rinse is all it takes to get things clean without weakening the bond.
- Pat the item dry with a soft towel or simply let it air dry. Rubbing it aggressively can lift the edges of the transfer.
By sticking to these simple guidelines, you can dramatically extend the life of your custom creations. If you're curious about the science behind what makes these transfers so tough, you can learn more about DTF durability and what to expect from your prints.
Getting to the Bottom of UV DTF Stickers
When you discover a tool as versatile as UV DTF stickers, it's natural to have a few questions. Getting a handle on their unique quirks is the secret to using them confidently and getting fantastic results every time. Let's tackle some of the most common things people wonder about.
We'll clear up the big questions, from just how permanent they really are to whether you can slap them on your favorite t-shirt. Knowing these details will help you sidestep common pitfalls and make smart choices for your projects.
Are UV DTF Stickers Permanent?
The best way to describe them is semi-permanent. A UV DTF sticker forms an incredibly stubborn bond with whatever you stick it on. This bond holds up amazingly well against water, scratches, and sunlight, which is why they’re perfect for items that get a lot of wear and tear, like water bottles or phone cases.
But don't mistake "permanent" for "indestructible." While they are built to last for years with proper care, you can get them off. It just takes a bit of elbow grease, usually involving a solvent like rubbing alcohol and a scraper to peel the design away. Be warned, though—this can sometimes damage the surface underneath, so think of them as a one-and-done application, not something you can easily reposition.
Can I Put UV DTF Stickers on T-Shirts?
This question comes up all the time, and the answer is a hard no. UV DTF stickers are made specifically for hard, smooth, non-porous surfaces. Their adhesive is formulated to grab onto materials like glass, metal, hard plastic, and sealed wood.
They simply won’t stick to soft, flexible things like t-shirts, hoodies, or any other fabric. If you try to put one on a shirt, it will almost certainly crack, flake, and peel off right away, especially after a single trip through the wash.
For putting designs on clothing, you’re looking for a completely different animal: traditional Direct to Film (DTF) transfers. These use a special heat-activated adhesive that gets melted into the fabric with a heat press, creating a bond that’s both durable and flexible enough for apparel.
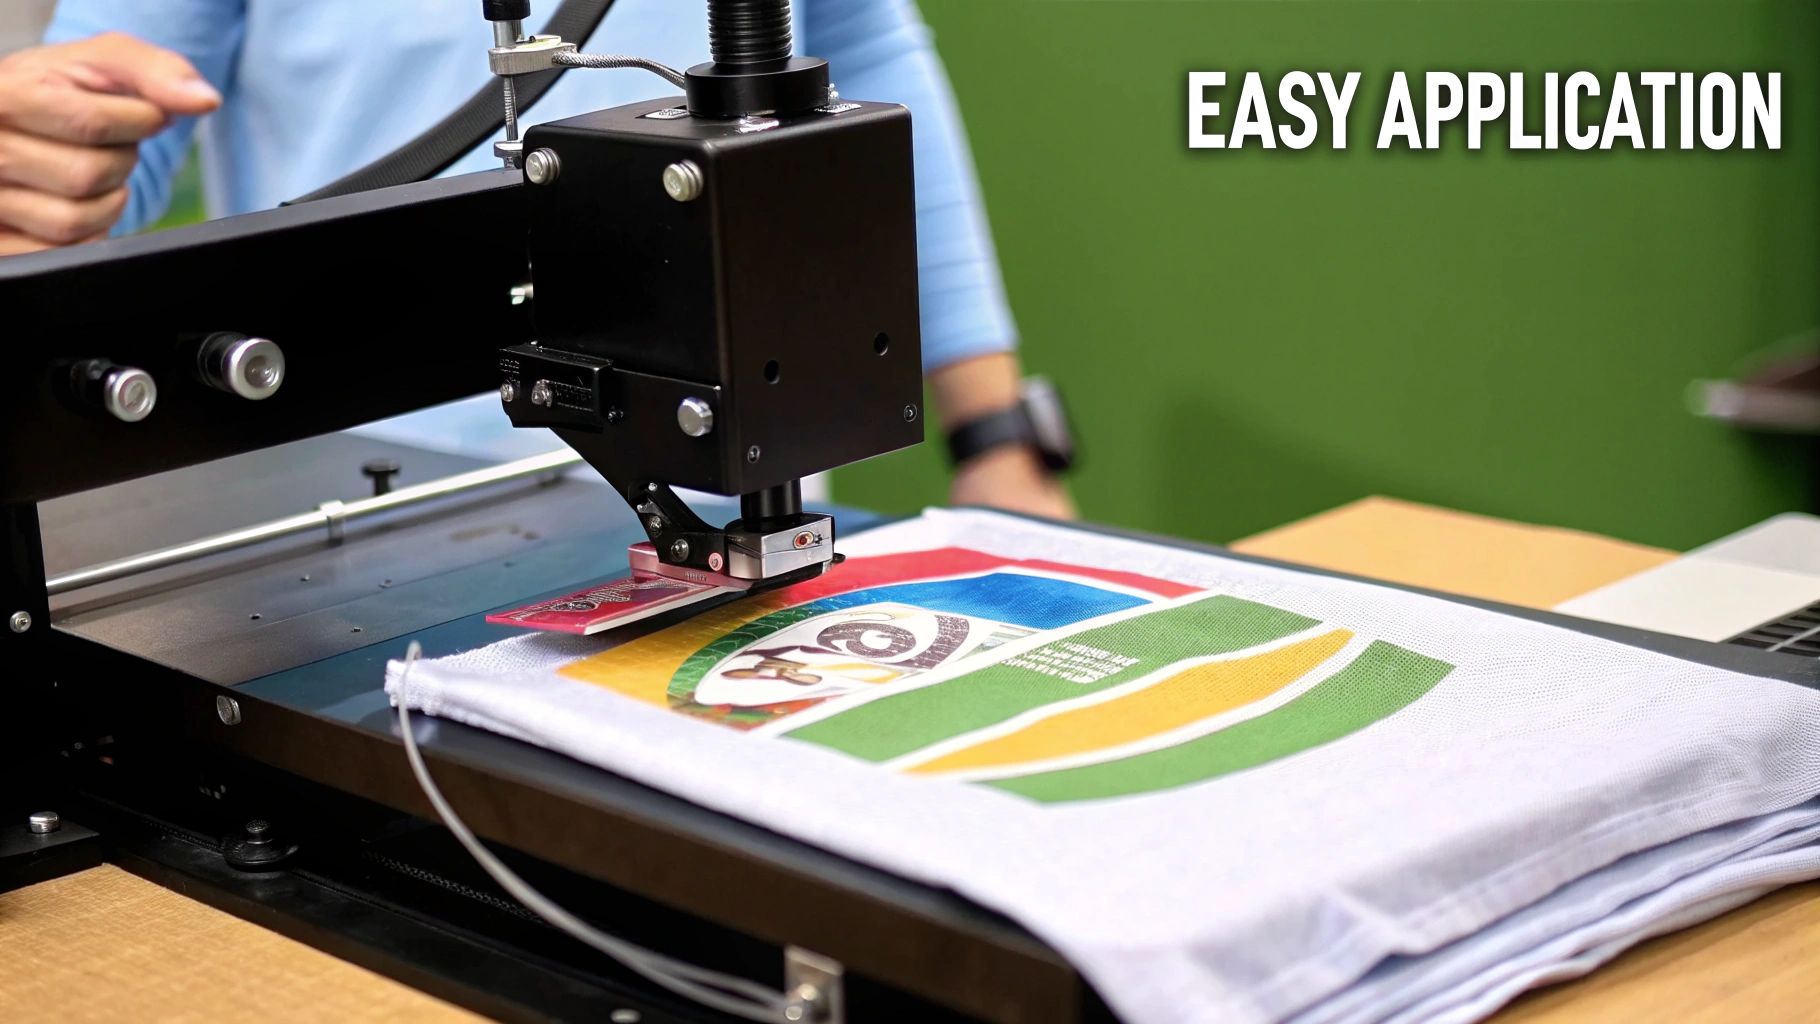
Do I Need a Heat Press to Apply Them?
Nope! And honestly, that’s one of their biggest selling points. Unlike so many other professional transfer methods, applying a UV DTF sticker is a completely heat-free process. You can put away the heat press and any other special tools.
All it takes is firm, even pressure from your own two hands. This is what makes it possible to customize items that would melt or get damaged by heat. While a small squeegee can help you press down evenly and squeeze out any air bubbles, especially on bigger designs, just your finger is often enough to get a flawless finish. It’s this simple, tool-free application that makes them so accessible.
Ready to bring your own high-quality, durable designs to life on nearly any hard surface? At Raccoon Transfers, we specialize in producing premium UV DTF stickers with next-day shipping. Start creating your custom transfers today!