
A Guide to DTF Ready to Press Transfers
Ever wondered how small shops create those incredibly detailed, full-color t-shirts without a giant factory setup? Chances are, they're using DTF ready to press transfers.
Simply put, these are professionally pre-printed designs on a special film, ready for you to apply to a garment with a heat press. Think of them as the ultimate "heat-and-peel" solution for custom apparel. They arrive at your door completely finished, letting you skip all the messy parts like dealing with inks, weeding vinyl, or setting up screens.
Unlocking Professional Prints Without the Hassle
Let's say you want to print a complex, colorful logo on a dozen t-shirts. In the past, this was a real headache. Screen printing would demand a separate, costly screen for every single color. Heat transfer vinyl (HTV) would mean you’d be stuck weeding tiny, intricate pieces for hours. And while Direct-to-Garment (DTG) printing is great for detail, it often falls short on dark or polyester fabrics without expensive pre-treatment.
DTF ready-to-press transfers elegantly sidestep all these issues by changing the game entirely. The design isn't printed on the shirt itself; it's first printed onto a special clear film, and that's where the real magic happens.
The Core Components of a DTF Transfer
When you get a ready-to-press transfer, you're holding a perfectly constructed "graphic sandwich," engineered for vibrant color and lasting durability.
- The PET Film: This is the clear carrier sheet holding your design. It's built to handle the high heat from the press without warping or shrinking.
- The Ink Layer: A specialized printer puts down your design using vibrant, water-based CMYK inks. Right after, a critical layer of bright white ink is added. This white base is the secret sauce that makes colors pop, even on a black t-shirt.
- The Adhesive Powder: While the ink is still wet, a fine polyurethane (TPU) powder is sprinkled over it, sticking only to the printed areas. This powder is then melted, creating a smooth, flexible adhesive backing that feels almost like a thin layer of plastic.
This adhesive is the key to the whole process. It just sits there until you bring the heat. Once you press it, the adhesive melts and permanently fuses the ink deep into the fabric's fibers. This is why DTF prints feel so soft and can stretch with the fabric, becoming part of the garment instead of sitting on top like a stiff, old-school decal.
To help you get a clearer picture, here’s a quick breakdown of what makes DTF transfers so effective for creators of all sizes.
DTF Transfers At a Glance
| Feature | Description | Benefit for Users |
|---|---|---|
| Full-Color, No Limits | Designs are digitally printed with unlimited colors, gradients, and fine details. | Create photorealistic and complex graphics without extra setup fees for each color. |
| White Ink Underbase | A layer of white ink is printed beneath the colors. | Ensures designs look bright and opaque on any color fabric, including black. |
| Powdered Adhesive | A hot-melt powder is applied only to the inked areas of the design. | Creates a strong, durable bond with the fabric that is also flexible and stretchable. |
| Pre-Made & Ready | The transfers arrive fully printed, powdered, and cured. | No printing, weeding, or masking needed. Just place the design and press. |
| Material Versatility | Works on cotton, polyester, blends, canvas, denim, and more. | One transfer type can be used to decorate a huge range of products. |
Essentially, the system gives you all the benefits of high-end printing without the massive investment or steep learning curve.
Key Takeaway: The power of DTF ready to press transfers is that all the hard work is done before the transfer ever gets to you. The printing, color layering, and adhesive application are all handled. You just get the fun part: pressing a perfect graphic in seconds.
This incredible accessibility has blown the doors wide open for everyone from Etsy shop owners and emerging brands to big promotional companies. You can produce a single, one-off custom piece just as easily as you can a run of hundreds. It’s the perfect blend of professional quality and DIY simplicity.
How We Make the Perfect DTF Print
Every single DTF ready to press transfer we ship out is born from a surprisingly sophisticated, multi-layered process. It's not like other methods where ink goes straight onto a shirt. With DTF, all the magic happens on a special clear film first, and that’s the secret to its incredible detail and versatility.
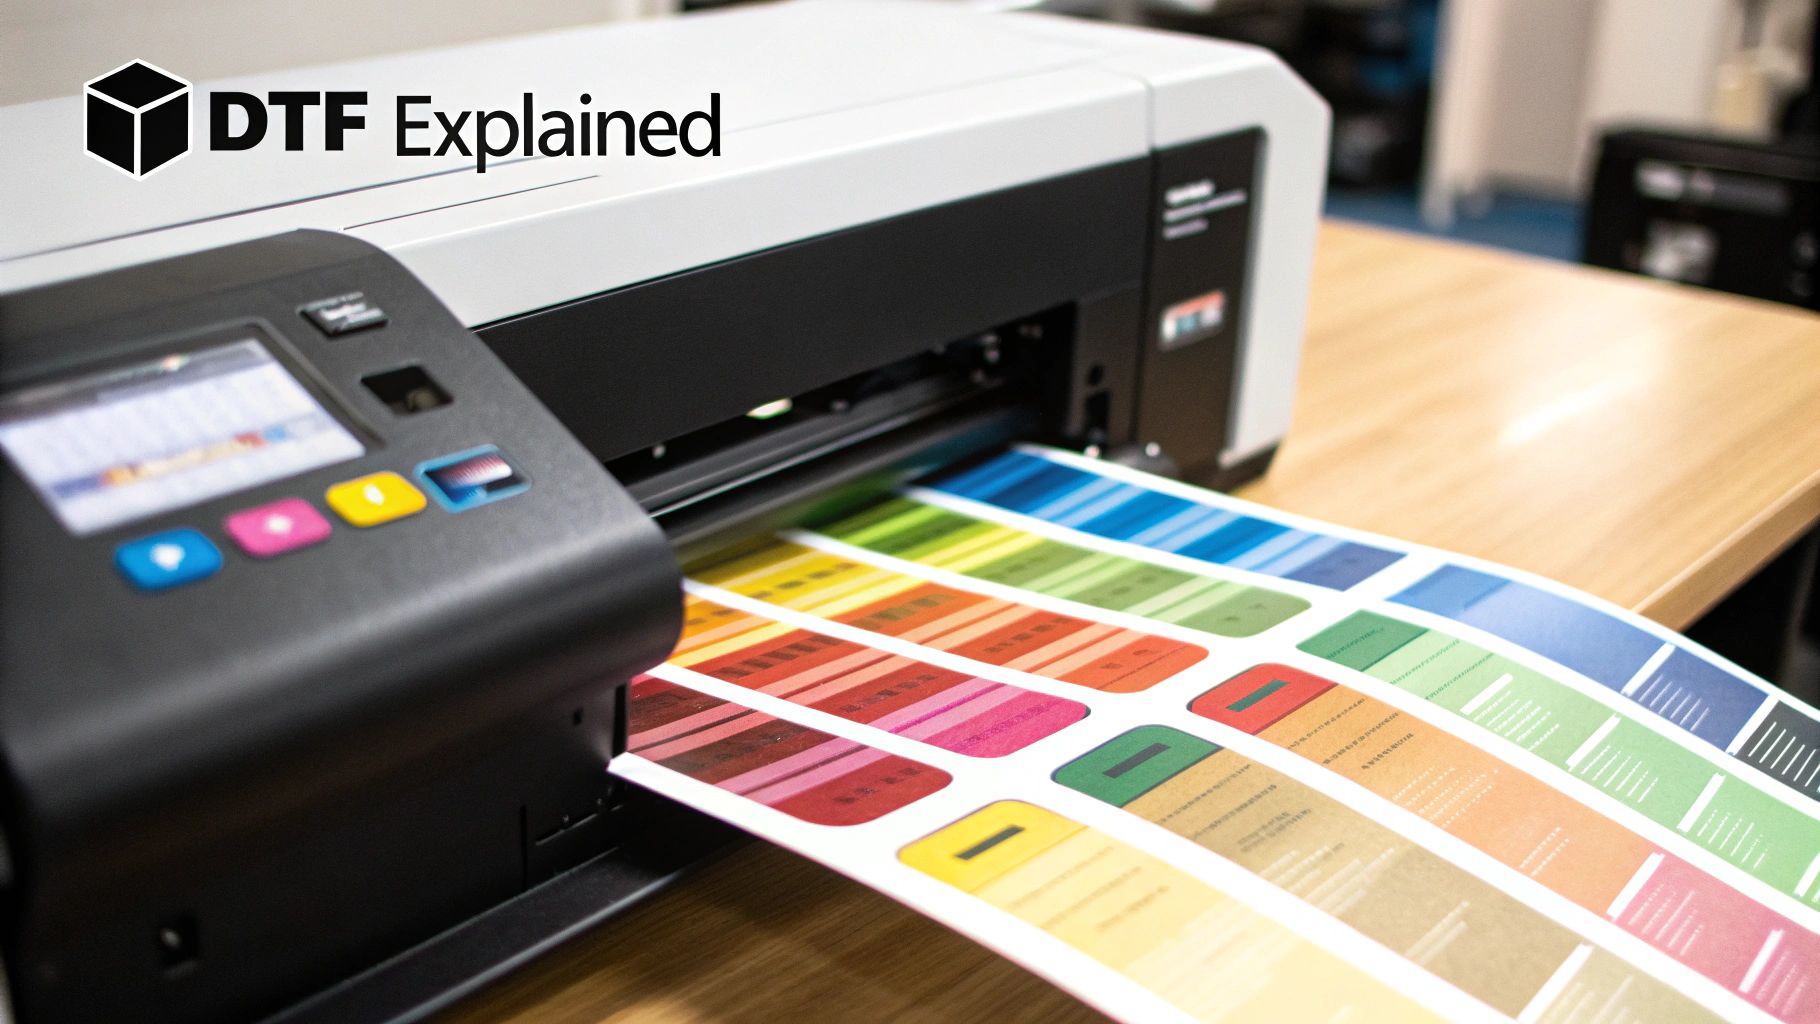
Step 1: Printing on the Film
Think of our setup as a highly advanced inkjet printer, but instead of paper, it uses a roll of clear PET film. This isn't your average plastic sheet; it's specifically engineered to stay perfectly flat under heat and release the design cleanly when you press it.
The process kicks off as the printer precisely lays down your design's colors onto this film. It uses the classic CMYK (Cyan, Magenta, Yellow, and Black) color model, which lets us mix millions of different shades. This is how we can nail photorealistic images, smooth gradients, and tiny details that would be a nightmare to achieve with screen printing or vinyl.
Step 2: The All-Important White Underbase
Right after the color layer goes down, the printer immediately follows up with the real hero of the show: a layer of brilliant, opaque white ink. This white ink is printed directly on top of the entire colored design.
You can think of it like putting primer on a wall before you paint. This white underbase does two critical jobs:
- Makes Colors Pop: It creates a solid, bright foundation so the shirt's color doesn't bleed through and make your design look dull. Without it, even the brightest red would look muddy on a black t-shirt.
- Creates a Base for the Glue: This white layer is also the perfect surface for the adhesive powder to grab onto, making sure your entire graphic transfers cleanly.
This color-then-white layering is the core reason DTF ready to press transfers look so fantastic on any fabric, no matter the color.
Step 3: Adding the "Magic" Adhesive Powder
While the ink is still wet, the printed film moves on to what might be the most crucial step of all. Here, we coat the film with a fine, granular powder. This isn't just dust; it's a specially formulated hot-melt adhesive called thermoplastic polyurethane (TPU).
This powder is designed to stick only to the wet ink. Any extra powder that falls on the clear, unprinted parts of the film is shaken off, leaving the adhesive only where your design is. This precision is what prevents you from getting that fuzzy, glue-like border around your finished press. It’s incredibly exact, covering every last speck of ink.
From there, the coated film glides through a heat tunnel. The goal here isn't to fully cook the transfer but to gently melt the powder. This turns it from a sandy texture into a smooth, rubbery sheet that seals in the ink. At this point, the design becomes one solid, stable graphic.
This heat-activated adhesive powder is what makes the transfer "ready to press." It just sits there, completely inert, until you hit it with the heat and pressure from your press. That's what triggers the permanent bond with the fabric's fibers.
So, by the time a transfer arrives at your workshop, all the tricky stuff is done. We’ve handled the printing, the white ink, the powdering, and the curing. All you have to do is the final, satisfying step: bring it to life with your heat press.
Why Creators Are Making the Switch to DTF
There's a reason so many creators and small businesses are flocking to dtf ready to press transfers: they just work. This technology elegantly sidesteps the headaches and limitations that have plagued custom apparel for years, giving you a powerful mix of quality, flexibility, and pure efficiency that other methods just can't touch.
Forget about sinking thousands into bulky equipment or wrestling with complicated design software. You get to focus on what you actually enjoy—creating awesome designs. The industry numbers tell the same story. The global DTF printing market hit roughly USD 2.72 billion in 2024 and is on track to reach USD 3.92 billion by 2030, all thanks to the growing demand for easy, on-demand customization.
This isn't just a fleeting trend. It’s a fundamental shift driven by real-world advantages that help everyone from solo entrepreneurs to established brands get ahead.
Unmatched Material Versatility
One of the biggest frustrations with older print methods was always the "what if." Direct-to-Garment (DTG) printing, for instance, really only loves 100% cotton. Sublimation? That’s for light-colored polyester only. You were forced to limit your product line or juggle several different, often complicated, printing setups.
DTF transfers blow those walls down. The unique heat-activated adhesive doesn't care what you press it on; it bonds beautifully to a massive range of materials.
- Cotton and Polyester: From a basic 100% cotton tee to slick 100% poly performance gear, DTF handles them both flawlessly.
- Blended Fabrics: Those popular tri-blends and 50/50 cotton/poly shirts are no challenge at all. The colors stay vibrant.
- Tough Stuff: You can even press these transfers onto rugged materials like denim, canvas, leather, and certain types of treated wood.
This means you can use the very same transfer to decorate a cotton hoodie, a polyester tote bag, and a denim jacket. It simplifies your inventory and opens up a whole new world of creative products you can offer.
Full Color Freedom Without the Penalties
In the screen printing world, every color is a new cost. Each one needs its own screen, a separate setup, and more money out of your pocket. A stunning, photorealistic design with tons of colors and smooth gradients could quickly become a logistical and financial nightmare.
DTF works more like a high-end office printer. It takes your digital file and prints every single color—and every shade in between—in one clean pass. The best part? There are no per-color fees or hidden setup charges.
A design with two colors costs the same to produce as a design with two hundred colors. This empowers creators to offer intricate, photorealistic graphics without worrying about a complex pricing structure or simplifying their art.
This is a complete game-changer. You no longer have to water down your artistic vision just to make a project affordable or practical to produce. Go wild with color!
Durability That Lasts Wash After Wash
A killer design means nothing if it cracks, peels, or fades away after a few trips through the laundry. Thankfully, DTF transfers are built to last.
When pressed, the specialized adhesive melts and fuses directly into the garment's fibers. This creates a bond that's not only incredibly strong but also surprisingly flexible.
Instead of sitting on top of the fabric like a stiff, plastic sticker, a DTF design stretches and moves right along with the garment. The result is a print that’s soft to the touch and can easily stand up to 50 or more washes without losing its pop. That’s the kind of quality that builds a great reputation and keeps customers coming back.
Scalability for Every Stage of Business
Finally, ordering dtf ready to press transfers is incredibly efficient and scales perfectly with your needs. You can completely skip the expensive printers, messy inks, and tedious jobs like weeding vinyl. It’s a workflow that fits any business model.
- One-Off Custom Jobs: Need a single shirt for a birthday gift? Easy.
- Small Batch Runs: Dropping a limited-edition design for your brand? Order the exact number you need, no more, no less.
- Large Production Orders: Fulfilling a big order for a corporate client? DTF delivers consistent quality at speed.
By letting a dedicated print provider handle the production, you free up your time, slash your overhead costs, and can scale your business up or down at a moment's notice. For creators looking to grow, exploring resources like UGC Creator Platforms can be just as valuable as perfecting your production methods. This kind of agility is what lets you pounce on opportunities and adapt to whatever the market throws at you.
How DTF Stacks Up Against Other Printing Methods
It’s one thing to understand what DTF ready-to-press transfers are, but the real "aha!" moment comes when you see how they perform against the other big names in the custom apparel world. To really figure out the best way to get your designs onto a shirt, you have to know the pros and cons of each method.
So, let's put DTF in the ring with three other heavy-hitters: classic Screen Printing, Heat Transfer Vinyl (HTV), and its digital cousin, Direct-to-Garment (DTG). Each one has its time and place, but you'll quickly see how DTF manages to solve some of the biggest headaches associated with the others.
DTF vs Screen Printing
For decades, screen printing has been the go-to for big t-shirt runs. It works by pushing ink through a mesh screen onto the fabric. The results are super durable and vibrant, but the setup is a real beast. You have to create a separate screen for every single color in your design, which makes it incredibly time-consuming and expensive for small batches or complex, photorealistic art.
DTF completely flips that script. Since it’s a digital process, it prints every color at once. A design with 20 colors costs the exact same to produce as one with a single color. For small shops or brands wanting to offer intricate designs without ordering hundreds of units, DTF is a game-changer.
DTF vs Heat Transfer Vinyl (HTV)
HTV is the method of cutting a design from a sheet of vinyl and pressing it onto a garment. It's a favorite for crafters and perfect for simple, one-color jobs like putting names and numbers on team jerseys. But if you’ve ever spent an afternoon "weeding"—the painstaking process of picking out all the tiny, unwanted bits of vinyl from a detailed design—you know its limits all too well.
DTF transfers eliminate that tedious work entirely. Your design arrives perfectly printed and ready to press, turning what could be an hour of weeding into a simple 15-second press. Plus, DTF prints are much softer and more flexible than the thick, plastic-like feel of many vinyls, giving you a far more professional-looking and feeling shirt.
DTF vs Direct to Garment (DTG)
Think of DTG as a giant inkjet printer for t-shirts. It's fantastic at creating incredibly detailed, full-color images that have almost no feel to them, as the ink dyes the fabric fibers directly. The catch? DTG has a huge weakness: it really only works well on 100% cotton and struggles on polyester or dark fabrics without expensive and messy pre-treatment.
DTF, on the other hand, couldn’t care less about the material. It works beautifully on cotton, polyester, blends, and even hard-to-print items. The brilliant white ink underbase means your colors stay bright and true, no matter what color the garment is. If you want to dive deeper, check out our detailed guide comparing DTF vs DTG printing.
To pull it all together, let's look at a quick head-to-head comparison.
DTF vs Other Printing Methods
This table breaks down how each method fares across the most important factors.
| Method | Vibrancy & Detail | Fabric Compatibility | Durability | Best For |
|---|---|---|---|---|
| DTF Transfers | Excellent. Full color, photorealistic with fine lines. | Excellent. Cotton, polyester, blends, leather, wood. | Excellent. Very high wash resistance and stretchability. | Small-to-large runs with complex, multi-color designs on various materials. |
| Screen Printing | Excellent. Bright, opaque colors but limited detail. | Good. Works best on cotton but can be adapted for others. | Excellent. The industry standard for high durability. | Very large bulk orders (100+) of designs with few colors. |
| HTV Vinyl | Good. Bold colors but poor for gradients or photos. | Good. Wide variety of vinyl for different fabrics. | Good. Can be durable but may crack over time. | Simple, single-color text or shapes and personalization (names/numbers). |
| DTG Printing | Excellent. Unlimited colors with an ultra-soft feel. | Poor. Primarily for light-colored, 100% cotton garments. | Fair to Good. Can fade faster than other methods. | One-off prints and detailed photos on white or light cotton shirts. |
The Bottom Line: DTF takes the full-color freedom of DTG, combines it with fabric versatility that beats even screen printing, and gets rid of all the manual labor of HTV. It’s a powerful "best of all worlds" solution for today’s creators.
How to Apply DTF Transfers for Flawless Results
Alright, you've got your custom transfer, the heat press is warming up, and a blank garment is ready and waiting. This is where the magic really happens. Applying DTF ready-to-press transfers is a pretty simple process, but getting it perfect every single time comes down to the details. Think of it less like a complicated craft and more like following a great recipe for professional-looking apparel.
Nailing this part isn't just about making a shirt; it's about creating a product that looks amazing and is built to last. A great press means your design will feel soft, stretch right along with the fabric, and hold up through wash after wash. Let's walk through it step-by-step, so your very first press is as good as your hundredth.
Step 1: Prepare Your Workspace and Garment
Before you even think about laying down that transfer, the first move is to prep your garment. This is a critical step because it gets rid of two major enemies of a perfect press: moisture and wrinkles. A shirt might feel dry to the touch, but it can still hold onto humidity from the air, which turns into steam under the press and can mess with the adhesive's bond.
First, set your heat press to the right temperature—usually somewhere around 300-325°F (150-165°C). Place your garment on the press and give it a quick "pre-press" for about 5-10 seconds. This smooths out any creases and zaps any hidden moisture, leaving you with a perfectly flat, dry canvas for your design.
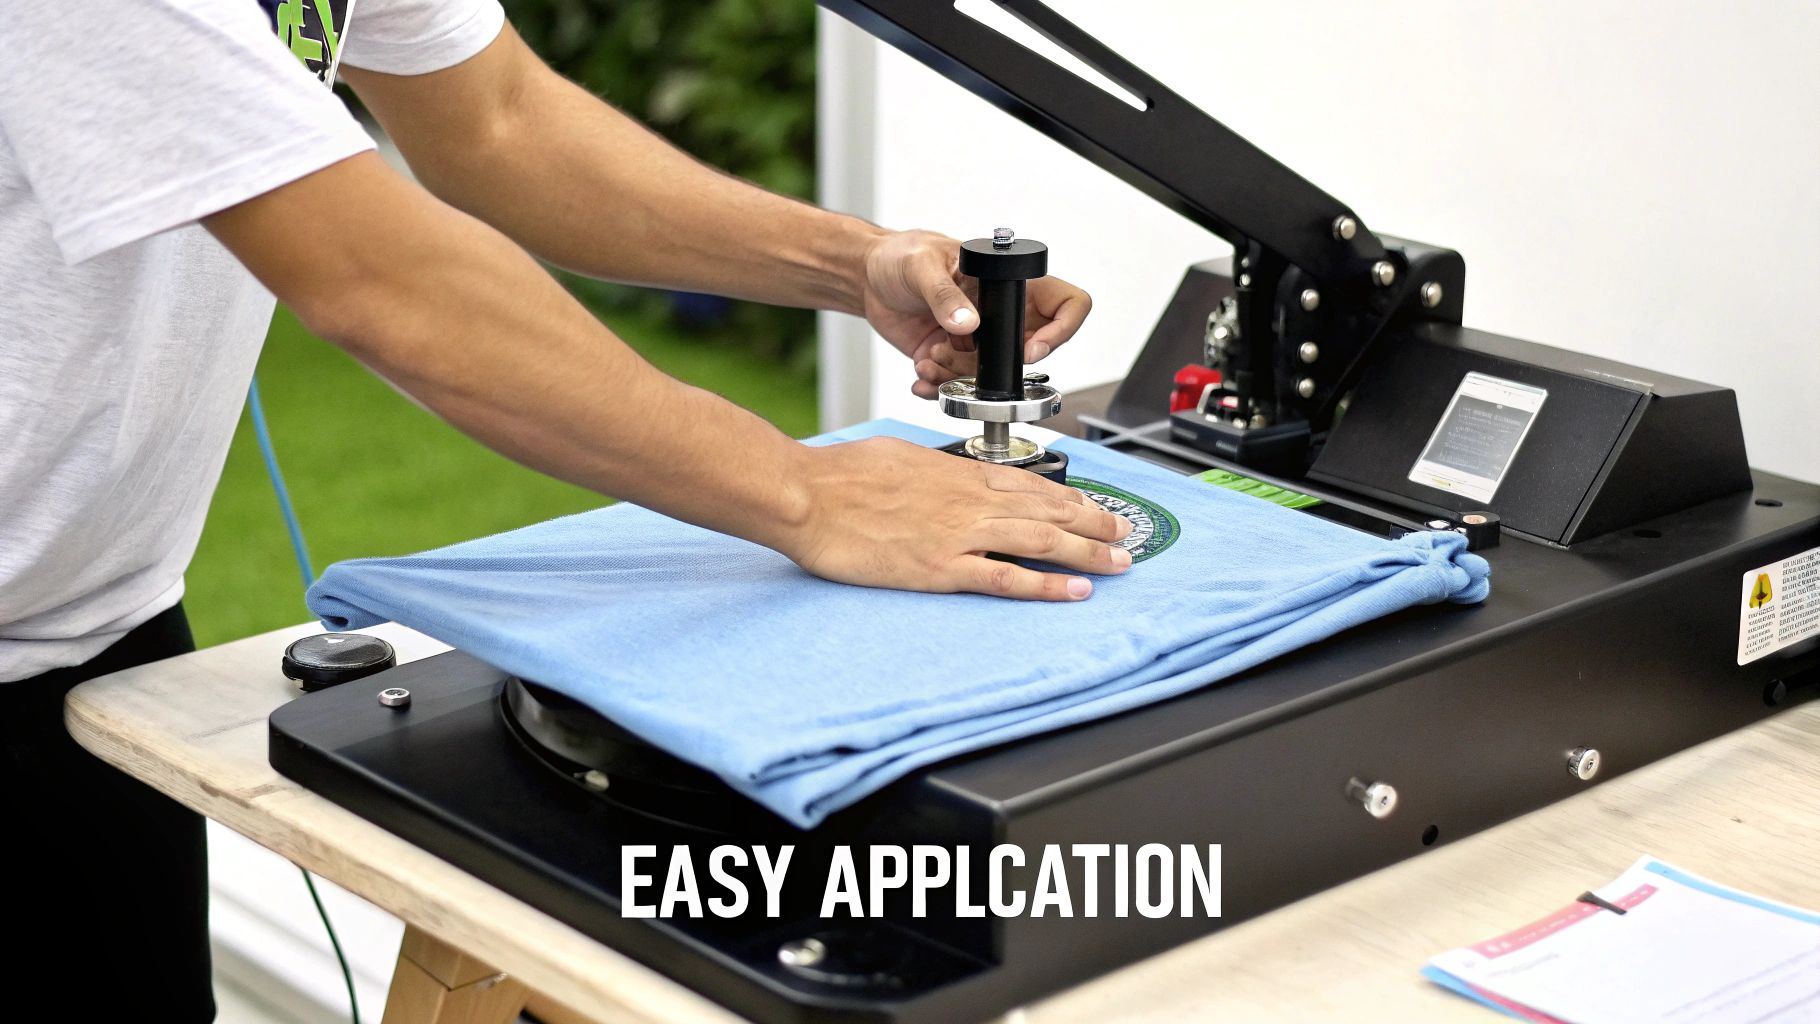
Step 2: Position and Press the Transfer
With your garment prepped, it's time to place your DTF transfer. Carefully lay the film on the shirt with the design facing down. If you're worried about it shifting, you can use a bit of heat-resistant tape to lock it in place. I always recommend placing a Teflon sheet or a piece of parchment paper over the transfer for extra protection and an even cleaner press.
Now for the main event.
- Close the Press: Lock it down with medium to firm pressure.
- Set the Timer: Press for the recommended time, which is typically between 10-15 seconds.
- Open and Wait: Once the timer dings, open the press carefully.
The image below gives you a great visual reminder of the key settings you'll need for a standard DTF transfer. It’s all about hitting that sweet spot of temperature, time, and pressure.

This simple workflow is the core of it all. When you get that combination of heat, time, and pressure just right, the adhesive activates and creates a permanent bond.
Step 3: Execute the Cold Peel and Final Press
After that first press, don't rush to peel the film off! This is probably the most crucial part of the entire process. Move the garment to a cool, flat surface and just let it chill out completely. These are "cold peel" transfers, meaning the adhesive needs to fully set and cool down before the film is removed. If you peel it while it’s still warm, you risk pulling up parts of the design or getting a patchy, uneven finish.
Pro Tip: Before you peel, gently rub the film with a soft cloth for a few seconds. This little trick helps ensure every last bit of the design has released from the film and stuck firmly to the fabric.
Once the garment is completely cool to the touch, start peeling the film from a corner. Pull it back low and slow, at a steady, consistent angle. It should come off cleanly, leaving your vibrant, perfect design behind.
For the finishing touch, we do one last press. Place your Teflon sheet or parchment paper directly over the exposed design and press it again for another 5-7 seconds. This final step really locks the ink into the fabric's fibers, making it more durable and giving it a beautiful, soft matte finish.
If you want to dive deeper into machine settings and techniques, our comprehensive guide on how to use a heat press is packed with more great info.
Creative Ideas for Your DTF Transfers
Sure, t-shirts are a great place to start, but thinking of DTF ready-to-press transfers as just a t-shirt tool is like seeing an oven and only thinking about pizza. The real magic of this technology is its incredible versatility, letting you turn all sorts of everyday items into custom, high-value products.
Let's look past the obvious and tap into the amazing creative potential just waiting to be unlocked.
The classic apparel choices are popular for a good reason. You can create custom hoodies with huge, bold back graphics for a local band, or print stunning full-color logos on tote bags for a farmers' market. Small brands can finally get professional-looking hats with complex designs that used to be impossible with embroidery or clunky vinyl.
Pushing the Creative Boundaries
This is where it gets really interesting. Since DTF transfers stick to so many different materials, you can start customizing items that were once off-limits for easy decoration.
- Custom Kicks: Apply vibrant, detailed designs to canvas shoes for a truly one-of-a-kind look.
- Denim & Outerwear: Add intricate graphics to the back of a denim jacket or even press them onto leather patches for that high-end, boutique feel.
- Personalized Accessories: Think custom logos on canvas backpacks, detailed patterns on aprons, or unique branding on fabric-covered notebooks.
This flexibility is a huge part of why personalized fashion is booming. In fact, the T-shirts segment still dominates the DTF market, accounting for roughly 41% of the revenue in 2024, thanks to the world's love for unique graphic tees. For a deeper dive, you can find more insights on the custom apparel market's growth over at KBV Research.
The big takeaway is simple: if you can safely apply heat to it, you can probably decorate it with a DTF transfer. This opens up a world of possibilities for building a diverse product line or just making some awesome personal projects.
Designing for Impact
To make your stuff really pop, don't be afraid to experiment with your artwork. You're not stuck with simple logos and text.
Think bigger. We're talking full-color photographs, complex line art, or beautiful watercolor-style graphics. For some truly mind-bending design ideas, you can even explore AI image style transfer to give your DTF creations a unique artistic edge.
Whether you're starting a full-blown clothing line, making merch for an event, or just crafting personalized gifts, the adaptability of these transfers gives you the power to bring almost any creative vision to life. The only real limit is your own imagination.
Got Questions? We’ve Got Answers.
Jumping into something new always brings up a few questions, and that's a good thing! It means you're thinking like a pro. Let's walk through some of the most common things people ask about DTF ready to press transfers to make sure you feel totally confident.
What Gear Do I Actually Need?
This is one of the best parts—you don't need a whole print shop. Forget about printers, messy inks, or complicated software.
The one non-negotiable piece of equipment you'll need is a good heat press. I can't stress this enough: a regular home iron just won't cut it. It can't deliver the consistent heat and even pressure needed to properly fuse the transfer to the fabric for a lasting bond.
How Long Will These Prints Really Last?
Durability is where DTF really pulls ahead of the pack. When you press a transfer correctly, it essentially becomes one with the fabric. It stretches and flexes without cracking or peeling, which is a huge deal for apparel. These prints are made to be worn and washed.
On average, a well-applied DTF print will easily handle 50-60 washes before you notice any serious fading. Little tricks like washing your garments inside out can help them look great for even longer.
If you want to dive deeper into the nitty-gritty of longevity, check out our guide on how long DTF transfers last.
What’s the Best File Format for My Artwork?
For a print that looks incredibly sharp and professional, your artwork file is everything. Think high-resolution.
We always recommend sending your designs in either a vector format (like AI, EPS, or SVG) or a high-quality raster format (like a PNG or TIFF) with a transparent background. The gold standard for resolution is 300 DPI (dots per inch). This ensures every line is crisp and there's no pixelation in sight.
Will These Work on Black or Dark-Colored Shirts?
You bet! This is one of the areas where DTF technology is a total game-changer. Every design, no matter how colorful, gets printed on top of a solid layer of white ink.
Think of this white underbase as a primer on a dark wall. It makes sure your colors pop with full opacity and vibrancy, even on the deepest black or navy fabrics.
Ready to see your designs come to life with incredible quality and almost zero hassle? At Raccoon Transfers, we're all about making it easy to get professional-grade custom prints for your next big idea.