
Your Guide to the Perfect DTF Transfer Zone
So, what exactly is the DTF transfer zone? Think of it as the prime real estate on a garment—the specific spot where heat, pressure, and your design all come together perfectly to create a print that lasts. It’s more than just where the design looks good; it's the combination of ideal conditions that ensures your transfer becomes one with the fabric, preventing any peeling, cracking, or fading down the line. Nailing this zone is the secret to getting those professional-quality results every single time.
Finding the Sweet Spot for Your Designs
Applying a DTF transfer is a bit like landing an airplane. The pilot can't just drop the plane anywhere; they have to hit the designated touchdown zone for a smooth, safe landing. The DTF transfer zone is that touchdown zone for your design. It's the perfectly flat, smooth area on a garment where your heat press can do its job without any interference from seams, zippers, collars, or pockets.
Ignoring this zone is probably the single biggest reason why prints fail. Let's say you have an awesome Raccoon Transfers design and you press it too close to a thick collar seam. That seam creates an uneven surface, which means your heat press can't apply consistent pressure across the entire transfer. You'll end up with weak spots where the adhesive didn't fully bond, and those are the first places to start peeling after a wash.
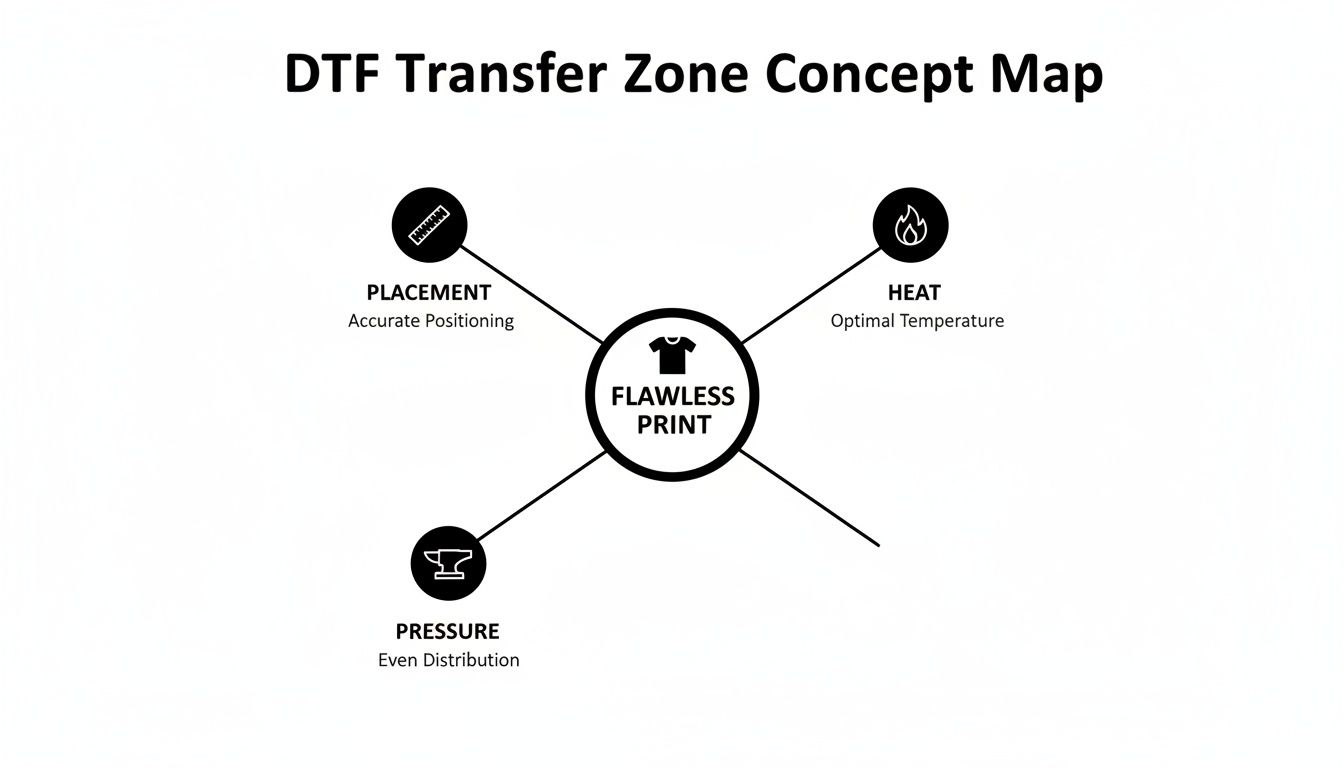
The 3 Keys to a Perfect Press
To really master the transfer zone, you need to get a handle on three critical elements. Think of it like a three-legged stool—if one leg is off, the whole thing comes crashing down.
- Placement: This is about where your transfer physically sits on the garment. Sure, it needs to be centered and straight, but more importantly, it has to be on a surface that’s completely flat and smooth so the heat press can make uniform contact.
- Heat: Your entire design needs to hit the right temperature to activate the adhesive. If your heat press has cold spots, or if part of the garment is raised and doesn't get full heat, the transfer simply won't stick correctly.
- Pressure: This is the force that physically embeds the transfer's adhesive into the fabric fibers. Any little bump from a seam, button, or even a stubborn wrinkle within that zone will compromise the pressure and result in a weak bond.
Getting this trifecta right is non-negotiable, whether you’re a hobbyist making a one-off tee or a growing brand churning out hundreds of them. The Direct-to-Film market is absolutely exploding, with some analysts projecting it will hit USD 4.56 billion by 2032. This boom is happening because DTF works so well on everything from cotton and poly blends to leather. As you can learn more about the growth of DTF printing, you'll see why mastering these fundamentals is so crucial for anyone serious about quality.
A great DTF print is all about preparation, not luck. The transfer zone isn't just a location—it's a carefully prepped environment where your design can permanently bond with the fabric and truly shine.
How to Map Your Garment for Perfect Placement
Nailing the perfect DTF transfer zone isn't about luck—it's about precision. Think of your garment as a piece of real estate. You need to survey the landscape and map out the perfect spot before you build. This simple shift in mindset is what separates amateur results from a professional-quality finish, every single time.
Before you even think about turning on your heat press, take a good look at the garment. Every seam, collar, pocket, and zipper is an obstacle. These are the hills and valleys that get in the way of the flat, even surface your transfer needs to bond correctly. Placing a design too close to these areas is the number one cause of failed adhesion because it kills the consistent pressure needed for a great press.
Your job is to find the largest, smoothest, and flattest area available for your design. That’s your prime real estate.
Mastering T-Shirt Placement
For a standard t-shirt, the go-to spot is the center chest. But what does "center" really mean? Here’s a simple, repeatable method to get it right across a whole batch of shirts.
- Find the Vertical Centerline: Fold the shirt in half vertically, matching up the shoulder seams. A quick, light press with your hand creates a temporary crease that marks the exact middle. Easy.
- Establish the Top Edge: The top of your design should usually sit about 2 to 3 inches below the bottom of the collar. I recommend using a t-shirt ruler or just a standard measuring tape to keep it consistent.
- Position and Press: Line up the center of your Raccoon Transfers design with that vertical crease. Make sure it’s sitting at the right height from the collar, double-check that it’s straight, and you’re ready to press.
This quick mapping trick gets rid of crooked logos and off-center graphics for good.
The goal is to create a pressing surface that is completely uniform. Any interruption—a seam, a button, a thick fold—prevents the adhesive from making full, consistent contact with the fabric fibers, which is the root cause of most peeling issues.
Getting placement right is the foundation that allows heat and pressure to do their jobs properly, giving you that durable, fantastic-looking print.
A Quick Guide to Standard Placements
To make things even easier, here's a quick-reference chart for some of the most common garment types. Use these as a starting point to map your transfer zone quickly and confidently.
| Garment Type | Placement Area | Standard Distance from Collar/Top Seam | Common Size Range |
|---|---|---|---|
| Adult T-Shirt | Center Chest | 2-3 inches | 9" - 12" wide |
| Youth T-Shirt | Center Chest | 1.5-2 inches | 7" - 9" wide |
| Hoodie (Front) | Above Pocket | 3-4 inches | 10" - 12" wide |
| Left Chest Logo | Heart Side | 3-4 inches down, 4-6 inches over | 3" - 4.5" wide |
| Long Sleeve | Upper Arm | 3-4 inches from shoulder seam | 3" - 4" wide |
| Full Back | Upper Back | 4-5 inches | 11" - 12.5" wide |
Remember, these are guidelines, not hard rules. Always use your best judgment based on the specific garment and design you're working with.
Adapting to Different Garments
While t-shirts are pretty straightforward, other items need a bit more strategy. Hoodies, with their bulky seams and front pockets, are a classic example.
- Hoodies: For a big chest graphic, you have to position the entire design above the pocket seam. If any part of the transfer touches that thick seam, you’ll get a massive pressure drop and a failed press in that spot.
- Sleeves: On long sleeves, a popular spot is about 3 to 4 inches down from the shoulder seam. The trick here is to make sure the design is centered between the front and back creases of the sleeve for a straight application.
- Hats: The transfer zone on a hat is tiny and curved, which is why a dedicated hat press is a must-have. Your design has to fit completely within the flat area of the front panel, staying clear of the bill and side seams.
There's a reason this matters so much. The DTF market was valued at USD 2.72 billion in 2024 and is projected to hit USD 3.92 billion by 2030, with North America holding a massive 38% market share. That growth is fueled by brands and creators who need consistent, professional merchandise where perfect placement is non-negotiable. By mastering these simple techniques, you're tapping directly into that demand for quality.
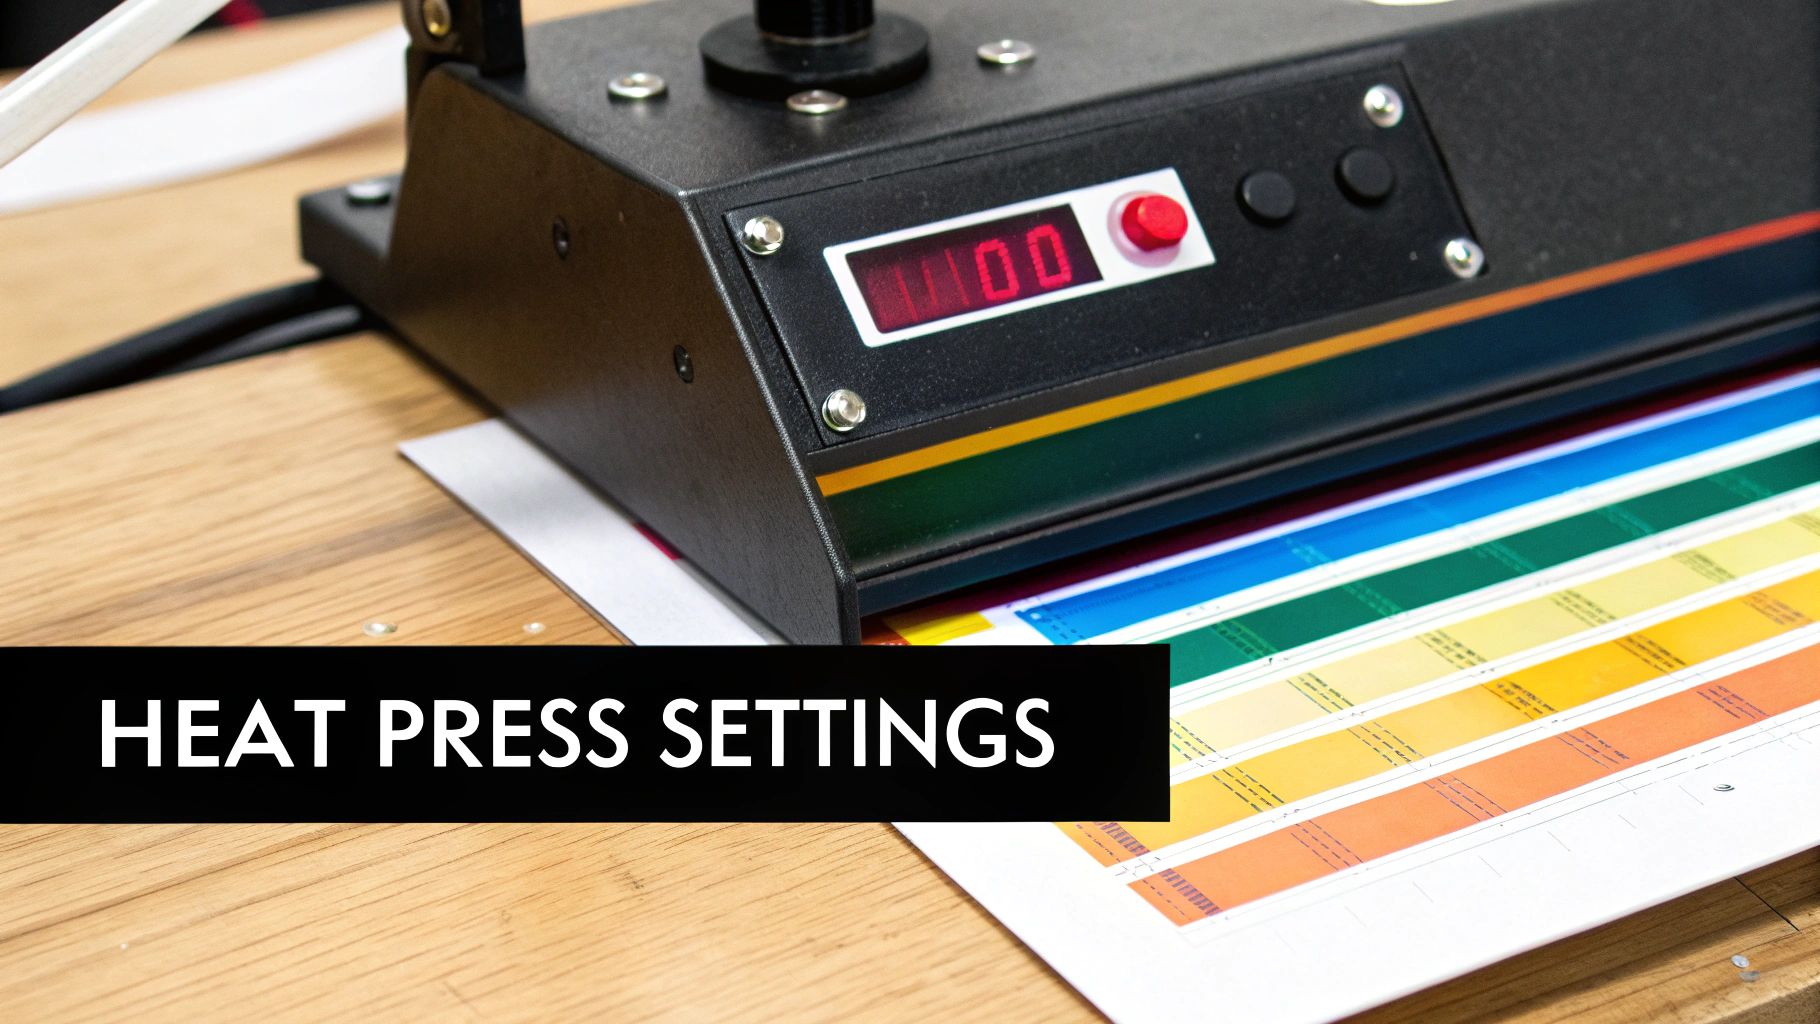
Calibrating Your Heat Press for a Flawless Bond
So, you've carefully mapped out your DTF transfer zone. Now comes the moment of truth: the heat press. Think of your press as the engine of your whole operation. It’s what transforms that DTF film into a vibrant, durable print that feels like it’s part of the fabric.
Getting this right isn't just about turning it on and hoping for the best. It's about mastering the "big three" of heat pressing: temperature, pressure, and time. When all three are in sync, you get a perfect bond. But if even one is slightly off, the whole print can fail. Too cool, and the adhesive won't melt properly. Too hot, and you'll scorch that brand-new polyester tee. It’s a bit of a science, but it's one you can easily get the hang of.
Temperature: The Unsung Hero of Adhesion
Here’s a little secret from the trenches: the temperature on your heat press display is often more of a suggestion than a hard fact. Many presses, especially older or budget models, have "cold spots" where the platen just doesn't heat up evenly. This is a classic culprit for prints that peel in one corner but stick perfectly everywhere else.
This is why you have to verify the actual surface temperature yourself. The best tool for the job is a simple infrared temperature gun. Point it at different spots on the hot platen—check the center, each of the four corners, and a few places along the edges. You might be shocked to find a 10-15°F difference between the reading on your display and the reality on the platen. Once you know where your press runs hot or cold, you can adjust your settings to make sure the entire DTF transfer zone gets the consistent heat it needs.
We've tested all our Raccoon Transfers extensively, and here are the best starting points for temperature:
- Cotton & Cotton Blends: 300-320°F (149-160°C)
- Polyester & Synthetics: 260-280°F (127-138°C)
Always treat these as a starting point. Your machine is unique, so you may need to tweak things. For a deeper dive, check out our guide on heat press settings for DTF, where we cover a ton more materials.
Setting the Perfect Pressure
Pressure is what physically pushes the melted DTF adhesive deep into the garment's fibers. Too light, and you'll get a weak bond that peels after the first wash. Too heavy, and the adhesive can squish out from the edges of your design, leaving a messy, unprofessional outline. What you're aiming for is firm, even pressure across the board.
If your press has a numerical pressure gauge, 40-60 PSI (medium-firm) is usually the sweet spot. If not, don't worry—the old-school "dollar bill test" works great. Just slide a dollar bill under one corner of your cold, closed press, leaving half of it sticking out. Now, try to pull it out. You should feel solid resistance, but still be able to slide it out with a good tug. Do this on all four corners to make sure your pressure is balanced.
A successful DTF application hinges on creating a completely uniform environment within the transfer zone. Correct calibration ensures that every square inch of your design receives the exact heat and pressure it needs to bond permanently with the fabric.
The Non-Negotiable Pre-Press
Last but not least, never skip the pre-press. Seriously. Pressing the blank shirt for just 5-10 seconds before you place your transfer is a game-changer. It does two critical things: first, it zaps any hidden moisture out of the fabric, and second, it flattens out any wrinkles. Both moisture and wrinkles are enemies of a good bond, so this quick step is your final quality check.
Since it hit the scene around 2020, DTF has truly changed the game for custom apparel. Its ability to handle complex designs on tricky fabrics like polyester (a market growing at a 7.27% CAGR) is unmatched. When you dial in your calibration, you tap into DTF’s massive efficiency—we’re talking up to 35% time savings over older methods. This is why DTF has grabbed a 31% market share in industrial and home décor. Mastering these simple calibration steps ensures your work meets the pro-level standards the market now demands.
Of course. Here is the rewritten section with a more natural, human-written tone.
Troubleshooting Common DTF Transfer Zone Issues
We’ve all been there. You follow the instructions to the letter, but the final transfer just doesn't look right. It’s frustrating, but don’t toss that shirt in the reject pile just yet. Most of the time, the problem lies somewhere within the DTF transfer zone—a simple hiccup with heat, pressure, or placement that threw a wrench in the works.
The trick is to stop thinking of it as a failure and start thinking like a detective. Every misprint tells a story, offering clues about what went wrong. By learning to read those clues, you can pinpoint the exact cause and nail it on the next try.
Think of it as your garment giving you direct feedback. Once you understand what it's saying, you'll be able to get flawless results with your Raccoon Transfers every single time. Let's dig into the most common issues and how to solve them.
Diagnosing Peeling or Lifting Edges
One of the most frequent complaints is a design whose edges start peeling up, either right after the cold peel or, even worse, after the first wash. This is almost always a dead giveaway that the edges didn't get enough heat or pressure.
When a transfer is placed too close to a thick seam, a collar, or a hem, the surface becomes uneven. The heat press platen can't make full, firm contact across the entire design, leaving the edges without the pressure needed for the adhesive to properly bond to the fabric fibers.
- Uneven Pressure: If a bulky seam is inside your transfer zone, it props up the heat press platen. This slight lift prevents the edges of your transfer from getting the firm pressure they need.
- Heat Press Cold Spots: Not all heat presses heat perfectly evenly. Many have cooler spots, especially around the outer edges. If your transfer's peeling edge was in one of these spots, the adhesive simply didn't get hot enough to activate.
The fix is usually pretty simple: either move the transfer to a completely flat part of the garment or grab a heat press pillow. These foam-filled pads are lifesavers—they let seams and collars sink down, creating a flat, even surface so the entire design gets the solid contact it needs.
A successful bond is an all-or-nothing game. If even a small part of the design doesn't get the right combination of heat and pressure, it becomes the weak link that can compromise the entire transfer.
Solving Cracking and Fading After Washing
It's a real heartbreaker: the print looks incredible right off the press, but after one wash, it’s a cracked and faded mess. This tells you the initial bond wasn't strong enough, which usually points back to one of two culprits: not enough heat or not enough pressure.
If your temperature was too low, the adhesive never fully melted and cured into the fabric. It created a brittle, surface-level bond that just can't handle the stretching and tumbling of a wash cycle. The same thing happens with light pressure—the adhesive sits on top of the fibers instead of being pushed into them.
To fix this, start by checking your heat press with an infrared temperature gun. Don't just trust the digital readout; they can be off. Once you confirm your temp is accurate, crank up the pressure. A perfectly pressed transfer from Raccoon Transfers should feel soft and flexible, like it's part of the fabric—not like a stiff sticker.
The DTF Application Troubleshooting Matrix
When a press goes wrong, you want answers fast. This quick-reference table will help you diagnose the issue based on the symptoms and get you back on track without the guesswork.
| Symptom / Problem | Likely Cause (Transfer Zone Error) | How to Fix It |
|---|---|---|
| Edges Are Peeling | Uneven pressure from seams; transfer too close to the edge of the heat platen. | Reposition the transfer on a flatter area or use a heat press pillow to even out the surface. |
| Cracking After Wash | Insufficient heat or pressure; adhesive didn't fully cure and bond with the fabric. | Verify your press's temperature with an IR gun and increase your pressure to a firm setting. |
| Glossy or Shiny Finish | Excessive heat or pressure; the adhesive was pushed out from under the design. | Reduce your temperature by 5-10°F or lighten your pressure slightly. Perform a test press. |
| Fabric Discoloration | Temperature is too high for the material, causing dye migration or scorching. | Lower the temperature significantly, especially for polyester and synthetic blends (aim for 260-280°F). |
Think of this chart as your first-aid kit for DTF. By matching what you see on the garment to the likely cause, you can confidently make the right adjustments and save your next print from the same fate.
How to Adapt the Transfer Zone for Different Materials
Getting the hang of the DTF transfer zone on a simple cotton t-shirt is a great first step. But the true magic of DTF printing lies in its incredible versatility. To really broaden your product line, you’ll need to learn how to adapt your technique for all kinds of different materials.
Let’s be clear: each fabric is a unique beast when it comes to heat and pressure. This means the ideal transfer zone is definitely not a one-size-fits-all deal. It's a bit like cooking; you wouldn't use the same oven temperature for a delicate cake as you would for a hearty roast. Same idea here. A rugged cotton canvas can take a lot of heat, but those same settings would absolutely melt a heat-sensitive polyester shirt. Fine-tuning your approach is the secret to getting that perfect, durable bond on any surface.
Working with Polyester and Synthetics
Polyester is everywhere in the apparel world, but it can be a real headache to work with. Its biggest flaw? A low tolerance for heat. This can lead to two very common, very frustrating problems: scorching and dye migration.
- Scorching: This is that dreaded shiny or discolored mark the heat press leaves behind when it's too hot. Unfortunately, it's permanent.
- Dye Migration: This is a sneaky one. The heat turns the fabric's dye into a gas, which then seeps into your transfer, staining it. A crisp white design can end up looking faded and tinted pink or gray.
The fix is simple: turn down the heat. For most 100% polyester garments, you’ll want to be in the 260-280°F (127-138°C) range. That’s a whole lot cooler than what you’d use for cotton. Always start on the low end of that range and do a quick test press on a hidden spot or a scrap piece of fabric first. To dive deeper into the differences, check out our guide on cotton vs. polyester applications.
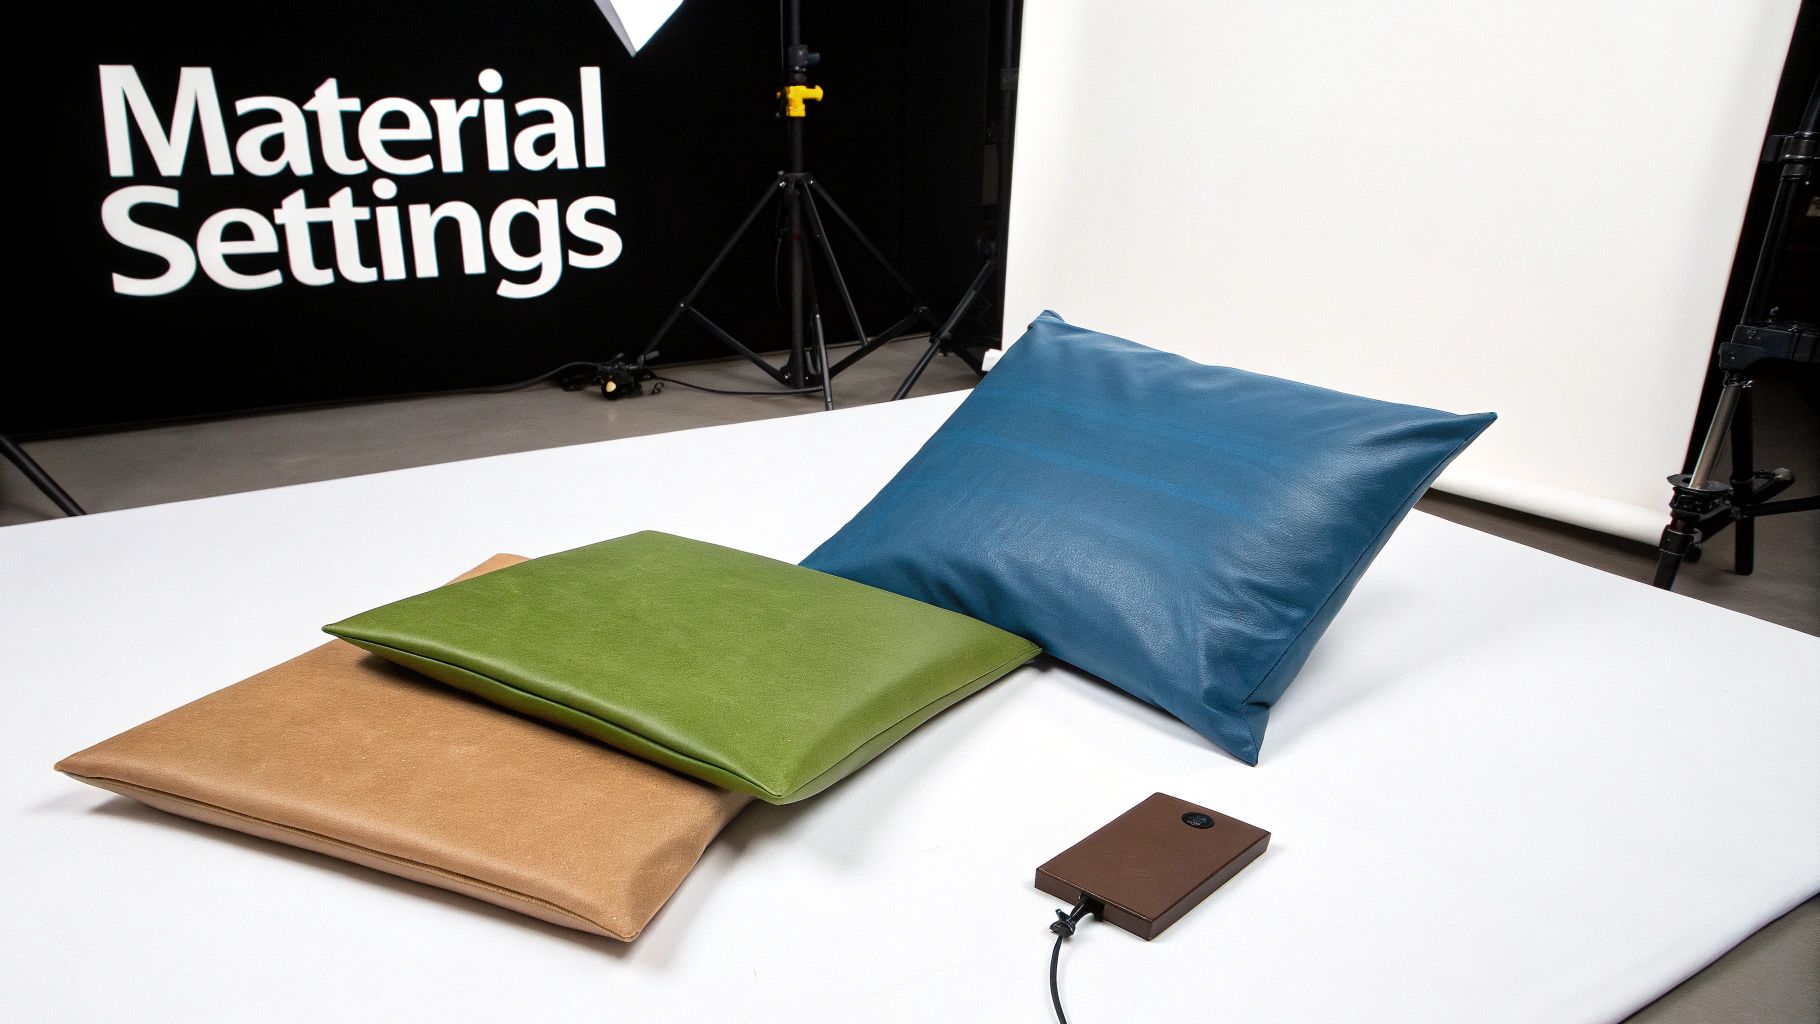
Tackling Tricky Surfaces Like Hoodies and Blends
What about items with seams, zippers, or buttons? Think hoodies, jackets, or polos. These raised areas make it impossible for your heat press to apply even pressure across the entire design, which is a recipe for poor adhesion.
This is exactly why heat press pillows and cushions are non-negotiable tools for any serious printer. You place these heat-resistant foam pads inside the garment, right under your transfer area. The pillow lets the bulky seams and zippers sink in, pushing your print area up to create a firm, flat surface.
By using a pressing pillow, you are artificially creating a perfect DTF transfer zone on an otherwise imperfect surface. This simple tool is a non-negotiable for achieving professional results on items like hoodies, jackets, and polos.
Stretchy fabrics that contain spandex or Lycra need their own special handling, too. The number one rule is to not stretch the material when you load it onto your heat press. If you press the design while the fabric is stretched out, it will look all puckered and distorted when the garment relaxes back to its normal size. Just lay it flat on the platen, no tension needed.
Once you understand how different materials react to heat and pressure, you can confidently adjust your DTF transfer zone for any project that comes your way. This know-how is what separates the amateurs from the pros, letting you move beyond basic tees and apply your Raccoon Transfers to a much wider world of profitable products.
Getting the Most Out of Your Gang Sheets
A smart workflow is a profitable workflow. And when it comes to DTF, that process doesn't start at the heat press—it starts with how you build your gang sheet. Think of your gang sheet as a game of Tetris. The goal is to fit as many of your designs onto one sheet as possible, cutting down on waste and getting the most bang for your buck.
But this is about more than just cramming designs together. A well-organized gang sheet takes the final DTF transfer zone into account for every single design. Planning your layout from the start will make cutting and pressing faster, smoother, and far more accurate down the line.
Layouts with a Purpose
First thing's first: gather up all the designs for your project. Instead of just plopping a single big chest logo on a sheet, see where you can fill in the gaps. Got room for some left-chest logos? Sleeve hits? What about some neck tags? Every square inch of that film costs money, so make it work for you.
When you arrange your designs, be sure to leave enough space to easily cut them apart later. A classic rookie mistake is packing graphics so tight that you need the steady hands of a surgeon just to separate them.
- Create a Cutting Buffer: I always recommend leaving at least 0.25 inches between each design. It’s a small detail that gives you a clean, stress-free path for your scissors or rotary cutter.
- Think in Straight Lines: Whenever you can, line up the edges of your designs. This creates long, straight cutting lanes, which are way faster to get through than a jagged, winding maze.
This little bit of forethought turns your gang sheet from a simple collection of images into a practical production map.
Grouping Your Designs for a Faster Pressing Session
Beyond just spacing, think about the final garments when you’re laying things out. Let's say you have a big order with both cotton and polyester shirts. It makes a world of sense to group the designs for each fabric type together.
I like to think of a gang sheet as the blueprint for my entire pressing session. When you organize it by fabric or placement, you can set your press once and knock out a whole batch of similar items without constantly fiddling with the settings.
For instance, you could put all the polyester designs—which need a lower temp press around 270°F—on the top half of the sheet. The bottom half can be for your cotton graphics, which need a hotter press, closer to 320°F. This simple move lets you cut the sheet in half, press all the poly items, and then just change the temp once for the cotton batch.
You can even take it a step further. Group all the left-chest logos in one corner or put all the sleeve designs in a row. This kind of planning makes a real difference when you’re standing at the heat press, reducing mistakes and making the whole process feel less chaotic. If you're new to building them, our complete guide on DTF gang sheets has a ton more tips to help you master the layout.
When you treat the gang sheet as the first step of your application process, you’re connecting your digital file directly to the physical DTF transfer zone. That foresight saves you film, but more importantly, it saves you time—and that's what really makes your business more efficient and profitable.
Got Questions? We’ve Got Answers.
Even the most detailed guide can't cover every single question that pops up when you're in the middle of a project. So, let's tackle some of the most common ones we hear from our Raccoon Transfers family. Think of this as your go-to cheat sheet for getting things just right.
Can I Get Away With Using a Home Iron?
Look, we get it. Sometimes you just want to get a project done without investing in new gear. And for a one-off, personal craft project, a home iron might work in a pinch. But for anything you want to sell or have last, a heat press is non-negotiable.
The problem with an iron is that it’s all over the place with heat and pressure. It has hot spots and cold spots, which means part of your design might stick while another part peels right off. You also can't get that firm, even pressure across the entire dtf transfer zone needed for the adhesive to truly bond with the fabric. A heat press is your ticket to professional, durable prints that survive the wash.
Why Do I Really Have to Wait for a Cold Peel?
Patience is a virtue, especially with DTF. The cold peel isn't just a suggestion; it’s a make-or-break step. When you let the transfer cool down completely, you're giving the heat-activated adhesive the time it needs to harden and lock itself onto the fabric fibers for good.
If you peel too soon while it's still warm, you're yanking the ink away before it's fully set. The result? A cracked, incomplete, or totally ruined design. A few minutes of waiting is the secret to a print that’s sharp, clean, and feels fantastic.
How Should I Store My Extra Raccoon Transfers?
Proper storage is key to making sure your transfers are ready to go when you are. The adhesive powder is sensitive to moisture and heat, so you'll want to protect it.
- Keep 'em Dry: Find a cool, dry spot away from sunlight. The plastic sleeve they arrive in or any airtight container is perfect.
- Keep 'em Flat: Don't roll or fold your transfers. Laying them flat prevents any creases or curling that could mess up your press later.
Follow these two simple rules, and your transfers will be in perfect condition, even if you don't use them for a few months.
How Do I Know If My Pressure Is Right?
Figuring out pressure without a gauge can feel like a guessing game, but there's a simple trick to it. With Raccoon Transfers, you're looking for firm and even pressure.
Try this: close your press without a shirt in it. You should feel some solid resistance and need a little muscle to lock it down, but you shouldn't have to wrestle with it. If it snaps shut with zero effort, your pressure is too light. If you feel like you're about to break the handle, it's way too heavy. Find that happy medium, and you’re golden.
Ready to turn your ideas into amazing custom gear? Raccoon Transfers delivers vibrant, tough, and super easy-to-use DTF prints, and we'll have them on their way to you in just 24 hours.