

Gang Sheet Builder: How to Pack Designs and Save Money
You've got a folder full of PNGs, a small apparel order to fulfill, and no obvious way to fit every design onto one piece of film. Printing each transfer separately leaves empty space around every image, while manually arranging them in a graphics program creates new risks: incorrect sizing, missing bleed, inconsistent gaps, and a layout nobody can reliably reproduce for the next order.
A gang sheet builder solves more than the space problem. Used correctly, it becomes the control point for artwork preparation, sheet economics, cutting, quality control, and repeat orders. The useful question isn't only, “How do I pack more designs onto this sheet?” It's, “How do I build a layout that remains profitable and easy to produce after the order leaves my screen?”
What a Gang Sheet Builder Actually Does
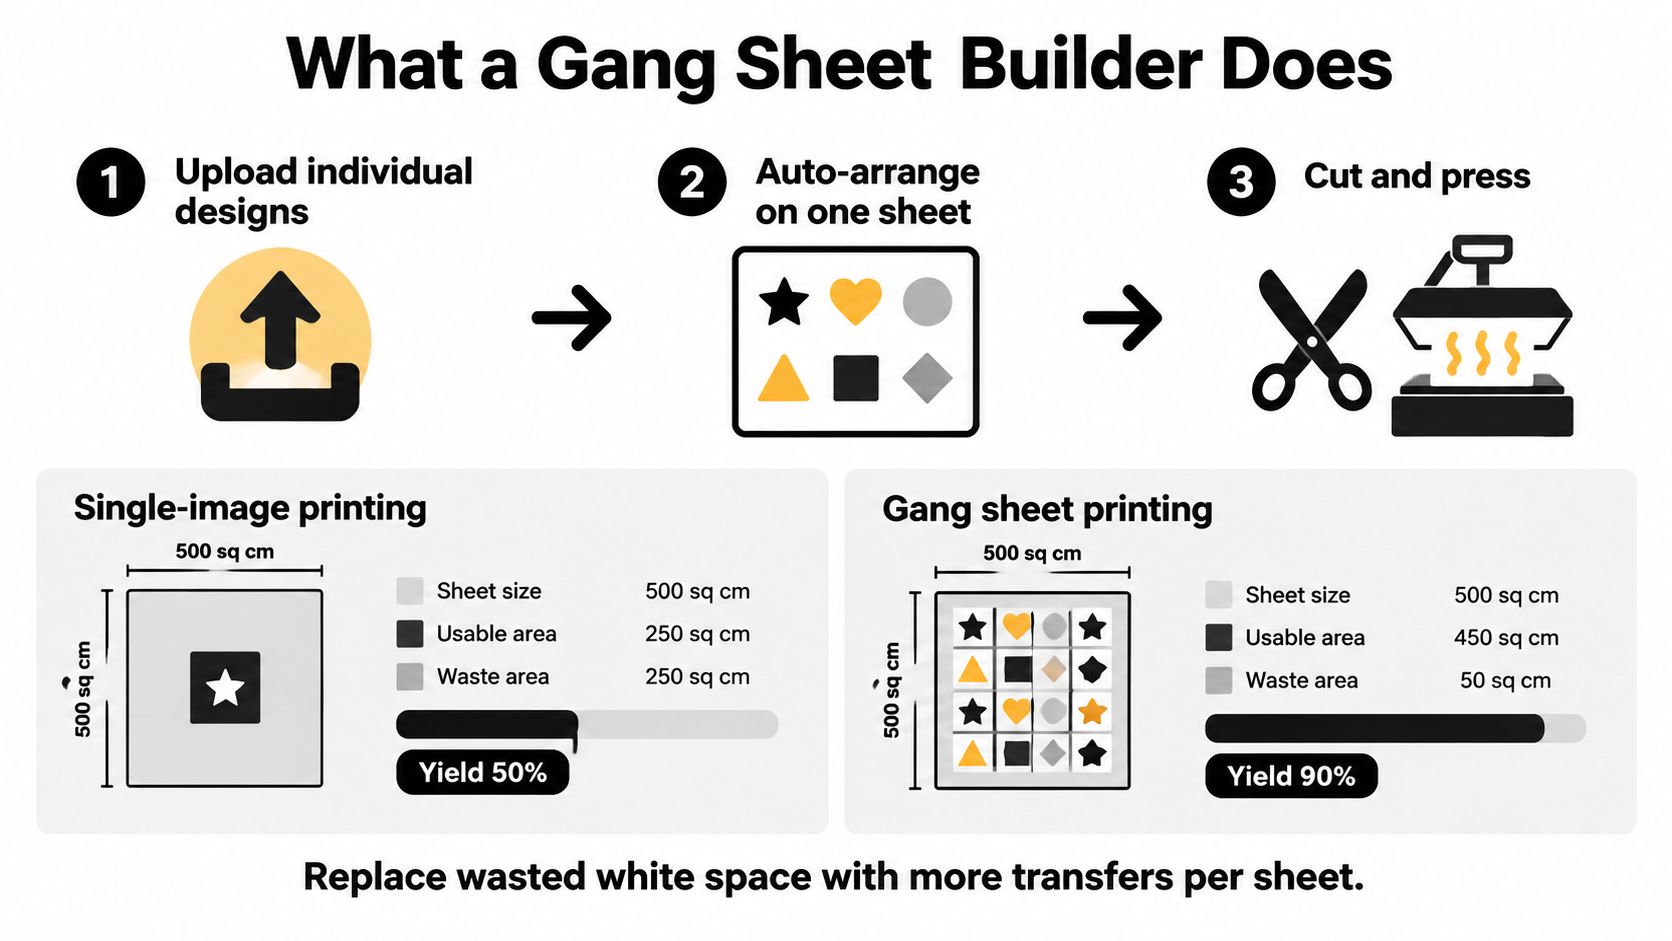
A gang sheet builder combines multiple individual transfer designs on one printable sheet. Instead of sending one logo, name, or graphic through the workflow with unused film around it, you define a sheet size, place the artwork within that area, and export a production-ready layout.
The process starts with the parent sheet. You set its width and length, establish the measurement scale, and confirm the final size of every design. The builder then uses the available printable area to position the artwork, often with rotation options that help fill rectangular gaps. Imposition-style planning tools follow the same basic logic: define the sheet, trim size, bleed, and gap, then calculate how many pieces can fit within those constraints. Digital City Printing's imposition calculator illustrates why these inputs matter before production begins.
The layout is a production decision
A canvas preview can look acceptable while still producing bad transfers. Artwork that's too close to another design can complicate cutting. A missing bleed can expose an edge after trimming. Incorrect scale can turn a correctly designed chest print into an unusable oversized graphic.
A reliable workflow checks these items in order:
- Set the sheet dimensions to match the film width and length available from your printer.
- Place artwork at its final transfer size, not at whatever size happens to look comfortable on the screen.
- Apply spacing and edge rules so each design can be cut without damaging its neighbor.
- Review the cut path and transparency before exporting.
- Save the finished layout with the job information attached to it.
Practical rule: The builder is where material usage, cut accuracy, and reorder consistency get decided. Treat it like prepress software, not a decorative drag-and-drop canvas.
The sheet costs the same whether it carries a sparse collection of transfers or a dense, organized batch. That makes layout one of the few controllable variables in the job. A good gang sheet builder gives you a repeatable place to control that variable before film, powder, pressing time, and labor are committed.
Preparing Your Artwork Before You Upload
Artwork preparation determines whether a gang sheet builder can optimize your files or has to compensate for problems that should have been fixed earlier. Start with the file at 300 DPI at its final print size. A small image enlarged inside the builder may occupy more pixels, but it won't recover detail that wasn't present in the original.
Use a transparent background for apparel artwork. A white rectangle baked into a PNG can print as part of the design, even when the screen preview makes it look like a clean background. Check the file against a checkerboard background before uploading, especially when the artwork contains white lettering or light outlines.
Color handling also needs a clear rule. Many workflows use RGB or convert through a printer-specific profile, so confirm the expected color space with the transfer provider rather than assuming that a CMYK file will behave the same way on every system. A file that looks correct in one application can shift when another system interprets its embedded profile differently.
A practical file standard
Use filenames that identify the design, garment target, size, and quantity. brand-logo_adult-chest_10in_qty-6.png is easier to audit than final-final-v3.png, particularly when a customer reorders a design several weeks later.
| Prep Requirement | What to Do | Shortcut That Breaks It |
|---|---|---|
| Resolution | Build at 300 DPI at the final placed size. | Upscale a small JPEG and expect sharper edges. |
| Transparency | Remove the background and inspect the alpha channel. | Leave a flattened white layer behind the design. |
| Color mode | Follow the printer's RGB or profile requirements. | Export in an unverified color space because it looks fine on screen. |
| File naming | Include design name, garment type, size, and quantity. | Use vague names that force you to open every file to identify it. |
| Master files | Keep a working PSD or AI file separate from the approved upload PNG. | Edit the production export and lose the approved version. |
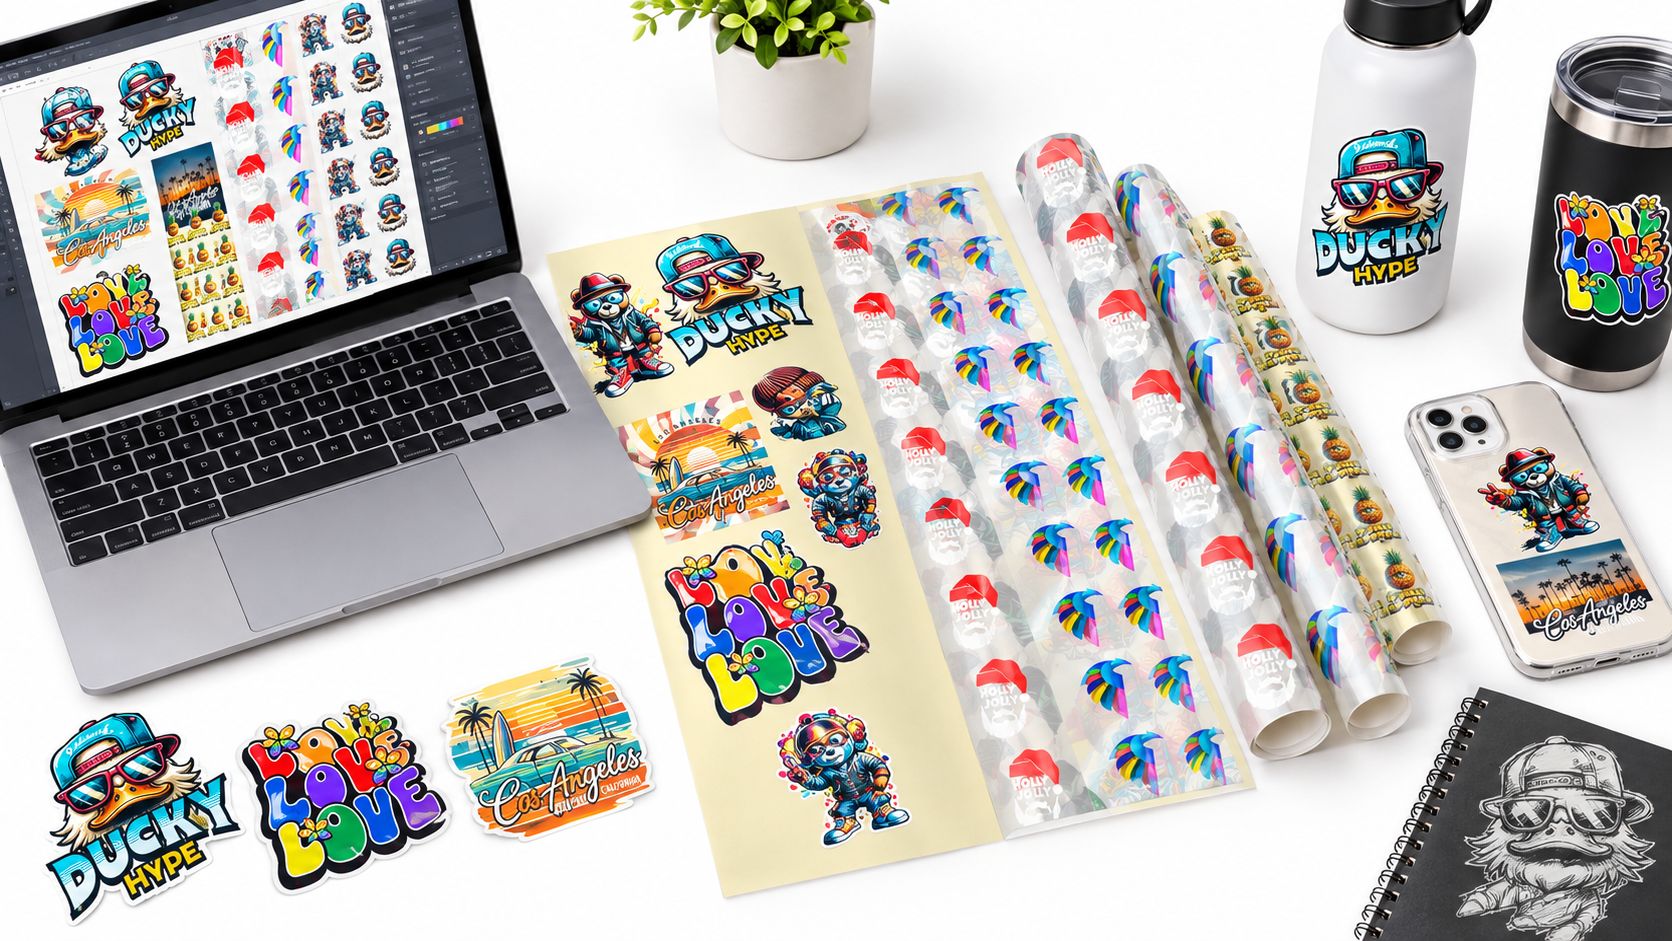
For hard-surface applications, Upload Your Own UV DTF Gang Sheets accepts PNG, PDF, and AI files according to its listed upload guidance, and its product information describes UV DTF gang sheets for smooth surfaces such as glass, acrylic, plastic, and metal. Keep a master folder for each design, with the editable source file, approved upload file, and any customer approval reference stored together.
This preparation step is cheap insurance. Fixing a filename or transparency issue before layout takes minutes. Finding the error after printing can consume film, labor, and the delivery window.
Arranging Designs for Maximum Yield
Yield is the share of the total sheet area occupied by usable artwork. The builder can calculate placement, but the operator still controls the rules that determine whether a dense layout remains practical to cut and press.
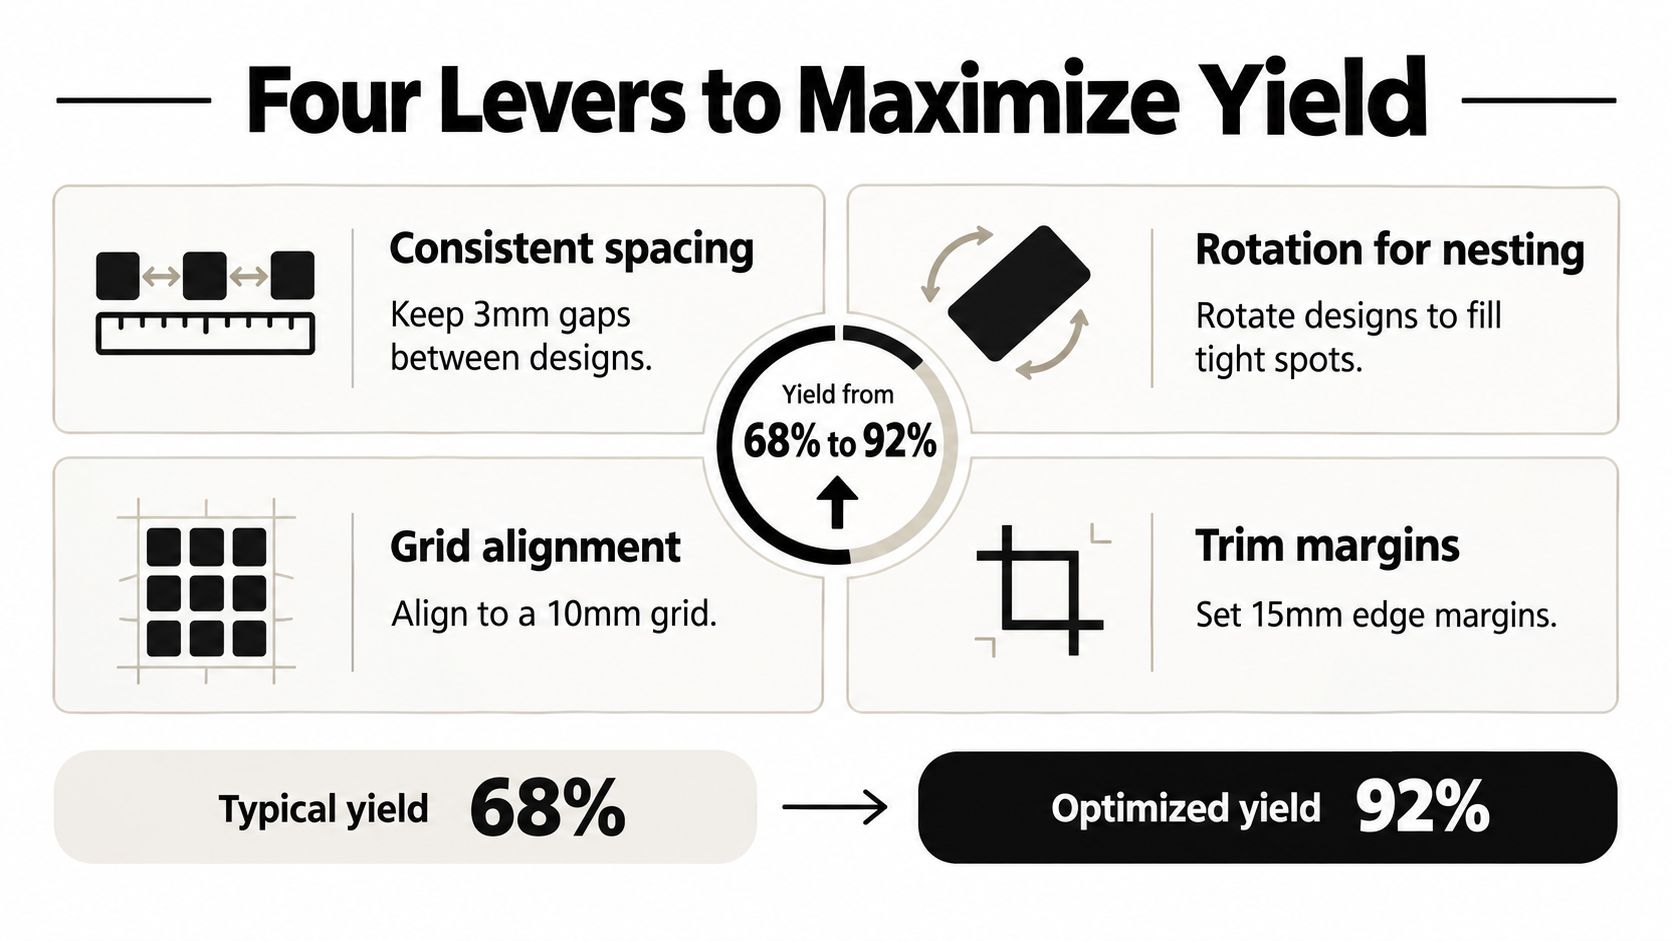
Start with consistent spacing. A narrow, even gutter gives the cutter a predictable path and prevents neighboring designs from touching. The correct gap depends on the printer and cutting method, so use the provider's requirement rather than copying a setting from another workflow.
Next, rotate artwork that has no directional requirement. A square chest print may fit in several orientations, while a vertical name or directional logo may not. Rotation is most useful when a design leaves a narrow rectangular gap that another design can occupy.
Pack by production purpose
Sort the artwork before arranging it. Group adult chest prints together, keep youth placements in their own batch, and separate designs that need different handling or pressing instructions. A random mix may use the film well but create confusion at the cutting table.
Bleed deserves its own check. Edge-to-edge artwork needs enough allowance for trimming, and the builder must preserve that space when designs sit near one another or near the sheet edge. Trimming into the visible art is not a yield gain. It's a reject.
The gang sheet creation guide can help new operators understand the basic construction process, but production decisions still need to reflect your own cutting speed and order mix.
Optimize without creating a labor problem
Print-planning benchmarks commonly place standard n-up layouts around 60% to 75%, gang runs around 75% to 90%, and automated nested layouts around 85% to 95%, as summarized by PDFPress's paper-savings guidance. These are planning ranges, not a promise for every DTF order. Grain direction, finishing constraints, edge margins, artwork shapes, and cutting requirements can reduce the usable result.
Aggressive nesting can save material while making weeding and cutting slower. For small apparel runs, the highest theoretical yield isn't always the best operating point. A slightly more open layout may produce faster sorting, cleaner cuts, and fewer mistaken placements.
How Layout Choices Drive Your Cost Per Transfer
The basic calculation is straightforward:
Sheet price ÷ number of usable transfers = cost per transfer.
That equation only works when the transfer count is accurate and the sheet price includes the material you're buying. Efficiency means used area divided by total sheet area. Empty zones, unprintable margins, and oversized artwork reduce the number of transfers you can recover from the sheet.
A practical comparison looks like this:
| Metric | Loose Layout | Packed Layout |
|---|---|---|
| Sheet price | Same sheet price | Same sheet price |
| Layout efficiency | 40% | 75% |
| Transfers placed | 60 | 112 |
| Cost per transfer | Sheet price ÷ 60 | Sheet price ÷ 112 |
| Main trade-off | Faster visual arrangement, more unused area | More planning, more usable placements |
The scenario above uses the planning figures supplied for this comparison, including a $22 sheet, 60 transfers at 40% efficiency, and 112 transfers at 75% efficiency. The sheet cost remains fixed, so the packed version lowers the mathematical cost per transfer by spreading that same price across more placements. It doesn't automatically lower the total job cost if the extra density creates more cutting labor, sorting time, rejects, or reprints.
What the percentage leaves out
A tight layout can still lose money when the operator has to untangle mixed sizes, identify unlabelled transfers, or redo a sheet after a last-minute addition. Labor minutes, reject rate, packaging, shipping or pickup steps, and artwork preparation belong in the cost model, not just the film calculation. TechBullion's workflow discussion for small apparel brands highlights this broader operational framing.
If the efficiency figure isn't recorded on the job ticket, the claimed saving is only an assumption.
Use guidance on reducing printing costs as a prompt to inspect the full production chain. The operator controls placement, but the business controls whether the resulting transfers move through cutting, pressing, packing, and reordering without avoidable friction.
Export Settings and File Requirements
A file that looks clean on screen still needs to meet the printer's production requirements. For most apparel gang-sheet workflows, use a PNG with a transparent background unless the provider specifies another format. Avoid sending a JPEG when transparency matters, and don't assume that PDF layers, native AI files, or PSD files will be interpreted correctly by an upload system.
Resolution must be measured at the final placed size. A 300 DPI setting applied to a low-resolution file doesn't create missing detail. It only changes the file's metadata or enlarges its pixels, depending on the software. Open the design at actual size before export and inspect fine text, thin outlines, and small gaps.
Confirm the expected color space with the provider. Many DTF workflows process RGB artwork through their own conversion path, so an unverified CMYK export can create a result that differs from the approved screen proof. For a deeper explanation of how profiles affect color conversion, review this guide to what an ICC file does.
Export and preflight controls
Use a filename that carries the production information:
- Garment type: Adult, youth, hoodie, or another defined target.
- Placement size: Include the final width or height used in the builder.
- Quantity: Record how many transfers the sheet should contain.
- Version: Increment the layout version when artwork or spacing changes.
If the file is large, reduce its weight without damaging its alpha channel or edge detail. Guidance on catalog-level image compression settings is useful when upload limits or storage become a problem.
Before sending the order, open every placed file at 100% zoom. Inspect stray pixels, confirm transparency against a checkerboard, verify the cut path follows the visible artwork, and compare each item against the job ticket. Don't trust a thumbnail preview to reveal a one-pixel edge or a flattened background.
Workflow Mistakes That Quietly Kill Your Savings
A dense sheet can still be an inefficient job. The failures that cost the most often happen around the layout rather than inside it.
Order hygiene
Mixing youth and adult placements creates sorting risk. Splitting an order across sheets because last-minute additions were added without a capacity check creates another avoidable cost. Minimum quantity rules per design can also change whether a supposedly efficient layout is acceptable to the printer.
Treat the job ticket as the authority. It should identify the customer order, garment targets, design names, sizes, quantities, and any special pressing notes. If the sheet and ticket don't match one to one, stop before ordering.
Quality control gaps
The builder preview is not a substitute for opening each file. A preview can show the overall arrangement while hiding a missing transparency layer, an incorrect scale, or an artwork version that doesn't match the approved customer proof.
Run a short preflight:
- Match the inventory: Every listed transfer appears on the sheet.
- Check the quantity: Count each repeated design against the order.
- Verify placement type: Separate gang-built artwork from designs intended for single placement.
- Inspect the edges: Confirm spacing, bleed, and cut paths.
- Lock the version: Save the layout with a clear revision name.
Reorder discipline
The same logo printed separately for several customers is a process problem, not bad luck. Keep recurring artwork in a library folder, with approved exports and standard placement sizes. At a regular review point, audit the library for repeat designs and identify batches that can be grouped without mixing incompatible garment targets.
The gang sheet builder becomes an operational system. The sheet itself may be efficient, but the repeatable library, job ticket, and QC routine determine whether the business captures that efficiency again.
From Upload to Press Your Repeatable Checklist
Print this run sheet and use it for the next small batch. Each checkpoint has a decision rule, a common failure, and a reason it matters.
- Confirm artwork inventory and garment targets. Every design must have a final size, garment category, and quantity. The common failure is starting layout before the order is complete, which forces costly additions or a second sheet.
- Set spacing and margins. Apply the printer's gutter, bleed, and edge requirements before placing artwork. The first-time mistake is tightening every gap until cutting becomes slow or inaccurate.
- Arrange for useful yield. Rotate non-directional designs, group compatible placements, and use the builder's nesting tools as a starting point. The decision rule is simple: accept density only when the sheet remains easy to cut and sort.
- Export the print file. Use the approved format, final-size resolution, correct color handling, and a job-specific filename. A vague export name is the first thing that breaks during a reorder.
- Run preflight QC. Open the proof at 100%, inspect transparency and edges, count designs, and compare the layout with the job ticket. Skipping this check shifts a correctable screen error into a material and scheduling problem.
- Save the versioned layout. Store the final file with the artwork library and job ticket. This is the integration point that decides whether the builder pays back over time. A versioned layout library turns a repeat order into a controlled revision instead of a fresh reconstruction.
A gang sheet builder saves money when it reduces both unused film and repeated decision-making. If the layout file, artwork library, and job ticket stay connected, the next batch becomes faster to verify and harder to misproduce.
Raccoon Transfers lets you upload custom artwork, consolidate designs into gang sheets, and order DTF or UV DTF transfers for apparel and smooth hard surfaces. Use the workflow above to prepare a clean, repeatable layout, then visit Raccoon Transfers to submit your next production-ready sheet.