
Heat Sublimation Transfer A Complete Guide for Creators
Ever wondered how they get those incredibly vibrant, photo-quality designs on things like performance t-shirts, mugs, and mousepads? The kind of print you can't even feel? Chances are, it's heat sublimation transfer.
This isn't your average iron-on. It’s a fascinating process where solid ink turns directly into a gas, completely bypassing the liquid stage. When this gas meets a polymer-based surface under heat and pressure, it permanently bonds with the material at a molecular level.
The result is a stunning, full-color design that won't crack, peel, or fade over time because the ink has literally become part of the item.
Unlocking Vibrant and Permanent Designs
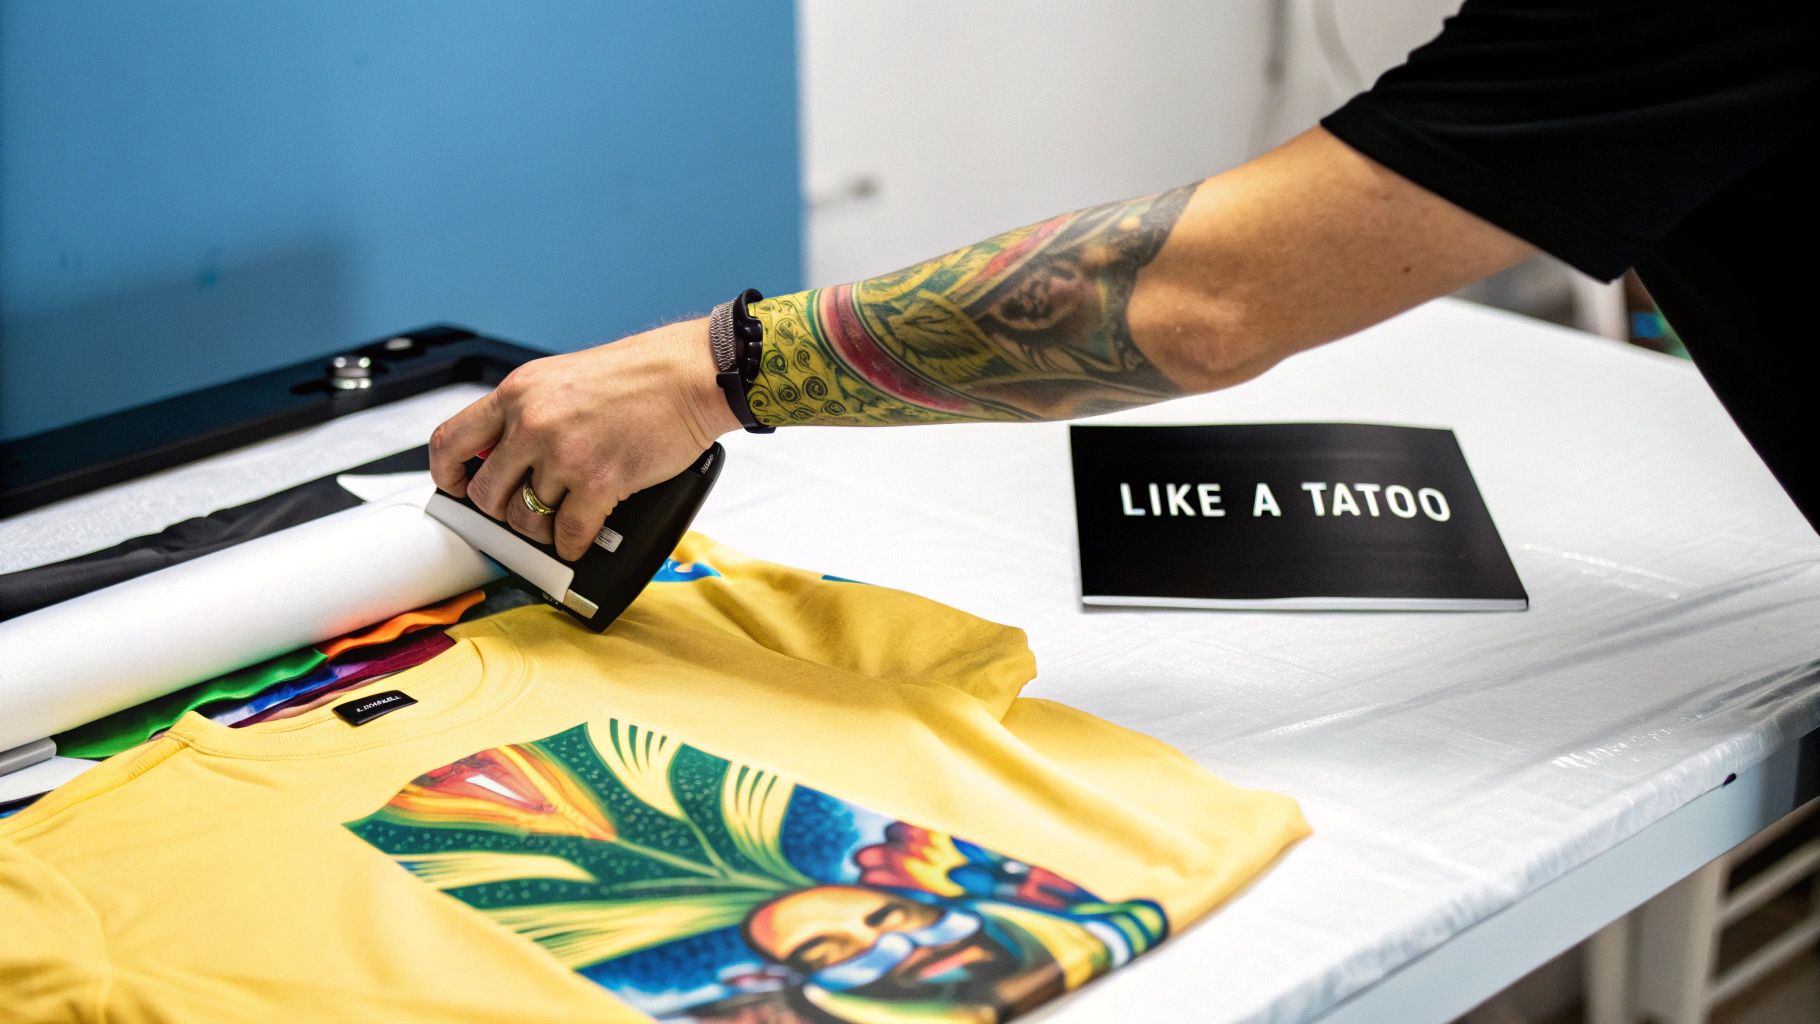
Think of it like a high-tech tattoo for your products. Instead of a layer of ink sitting on top of the surface, sublimation infuses the color into the fibers or coating. It's a bit of everyday science magic, and it’s surprisingly accessible for small brands and dedicated hobbyists.
The magic happens with a special kind of dye. When heated to the right temperature, it transforms into a vapor. This ink vapor then permeates the surface of polyester fabrics or polymer-coated items, creating a seamless, untouchable design that feels just like the original material.
Why Sublimation Stands Out
This unique bonding process is what gives sublimation its reputation for incredible quality and longevity. You really notice the difference.
- Zero-Feel Finish: Because the ink becomes one with the fabric, the final print has absolutely no texture or "hand." This makes it perfect for apparel where comfort is key.
- Incredible Vibrancy: Sublimation produces brilliant, photorealistic colors that truly pop. It looks especially stunning on white or light-colored surfaces.
- Unmatched Durability: The infused design is extremely resistant to fading from washing or sun exposure. Your creations are built to last.
The core idea is simple: solid ink becomes a gas and permanently dyes the material. This molecular fusion is what makes heat sublimation transfer so powerful for creating professional, long-lasting products.
If you're just dipping your toes into the world of custom printing, getting a handle on the basics of what is sublimation printing on fabric and how it works is a great starting point.
While sublimation is a game-changer for polyester goods, it’s just one tool in the modern printer’s toolkit. To see how it stacks up against other popular methods, you might want to check out our guide comparing https://raccoontransfers.com/blogs/guides/sublimation-and-heat-transfer. Here at Raccoon Transfers, we specialize in advanced options like DTF that provide incredible versatility, especially where sublimation has its limits.
The Science Behind Sublimation: How It Actually Works
At its core, heat sublimation transfer is a neat bit of chemistry that turns solid ink directly into a gas, completely skipping the liquid phase. It sounds like magic, but it’s this instant transformation that allows for such incredibly vibrant, permanent designs. The whole process relies on a perfect trio of components working in concert.
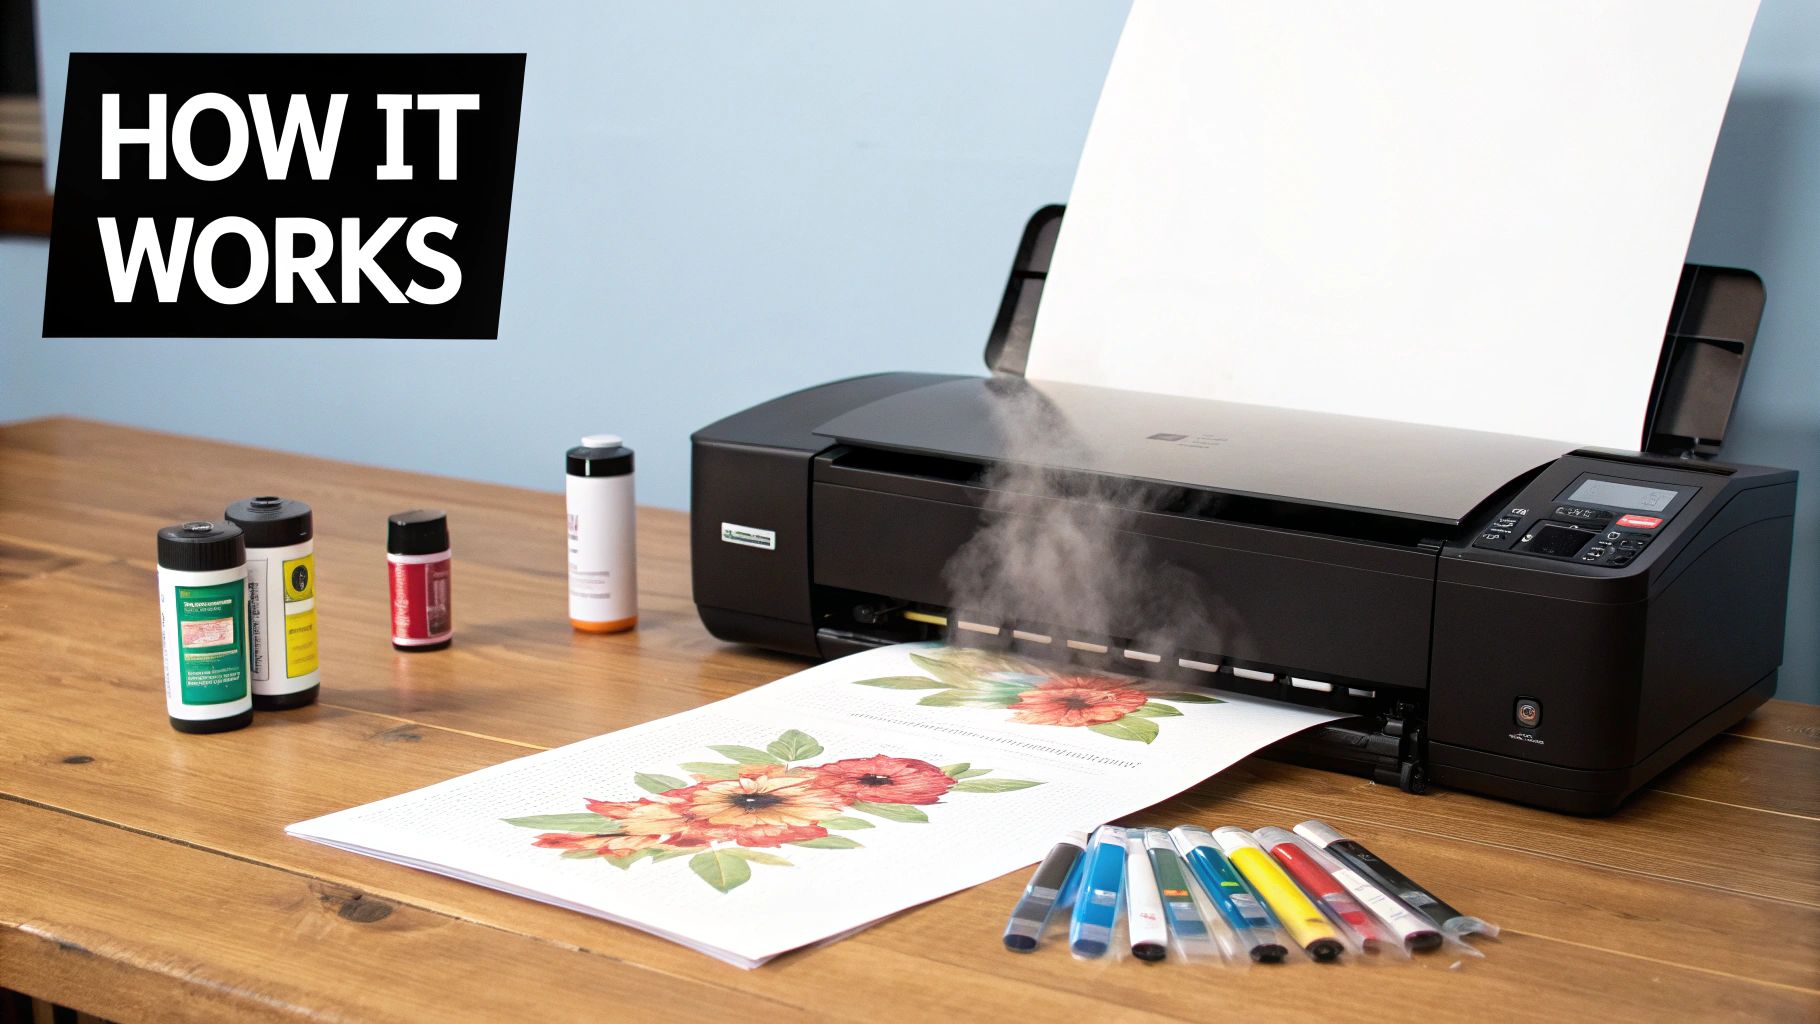
First, you have sublimation ink, which is packed with special solid dye particles. This isn't your typical liquid ink from an office printer. Then there's sublimation paper, a special carrier sheet built to hold onto these solid dyes and then release them cleanly once the heat is on.
The Key Players in the Process
The final, and arguably most important, piece of the puzzle is the heat press. This machine is the catalyst for the entire reaction, applying the exact temperature and pressure needed to kickstart the sublimation process.
- Sublimation Ink: Solid dyes specifically engineered to turn into a gas under high heat.
- Sublimation Paper: Coated paper that holds your printed design, keeping the solid ink in place until transfer.
- Heat Press: The workhorse that provides the controlled heat (usually 380-400°F) and firm, even pressure.
This simple but effective process is fueling some serious growth. The global market for sublimation printing equipment is on track to hit US$2.7 billion by 2025 and is projected to climb to US$4.1 billion by 2032. Interestingly, the fastest-growing segment is heat presses, which have become a go-to for home-based businesses wanting to decorate everything from t-shirts to coffee mugs with professional, consistent results. You can dig into the full market analysis to see all the trends shaping the industry.
From Solid to Gas: The Transfer Magic
So, what’s actually happening when you press that design? Once the heat press clamps down, it blasts the sublimation paper with intense heat and pressure. This burst of energy causes the solid dyes on the paper to instantly vaporize into a gas.
This ink-infused gas is then driven directly into the surface of your product. If you're working with a polyester-based fabric, the heat has a secondary effect: it causes the synthetic fibers to open up, almost like pores on your skin. The gaseous ink immediately permeates these open fibers.
Think of it like infusing a sponge with colored steam. The steam doesn't just coat the surface; it sinks deep inside and becomes a part of the sponge's very structure. That's a great way to picture what's happening with a heat sublimation transfer.
As soon as you release the press and the item begins to cool, the ink solidifies again, now permanently trapped inside the polymer fibers. The fibers themselves close back up, locking the color in for good.
This is why a truly sublimated design has absolutely no texture or "hand" feel. The ink isn't just a layer sitting on top of the material—it has become part of the material. This molecular bond is the secret to the incredible durability and stunning vibrancy that makes sublimation a top choice for high-quality apparel and personalized products.
Your Step-By-Step Sublimation Transfer Workflow
Knowing the science behind sublimation is great, but the real magic happens when you put it into practice. The process is precise and methodical, but it's surprisingly straightforward once you get the hang of it. I like to think of it as a simple four-part recipe for creating those stunning, permanent designs.
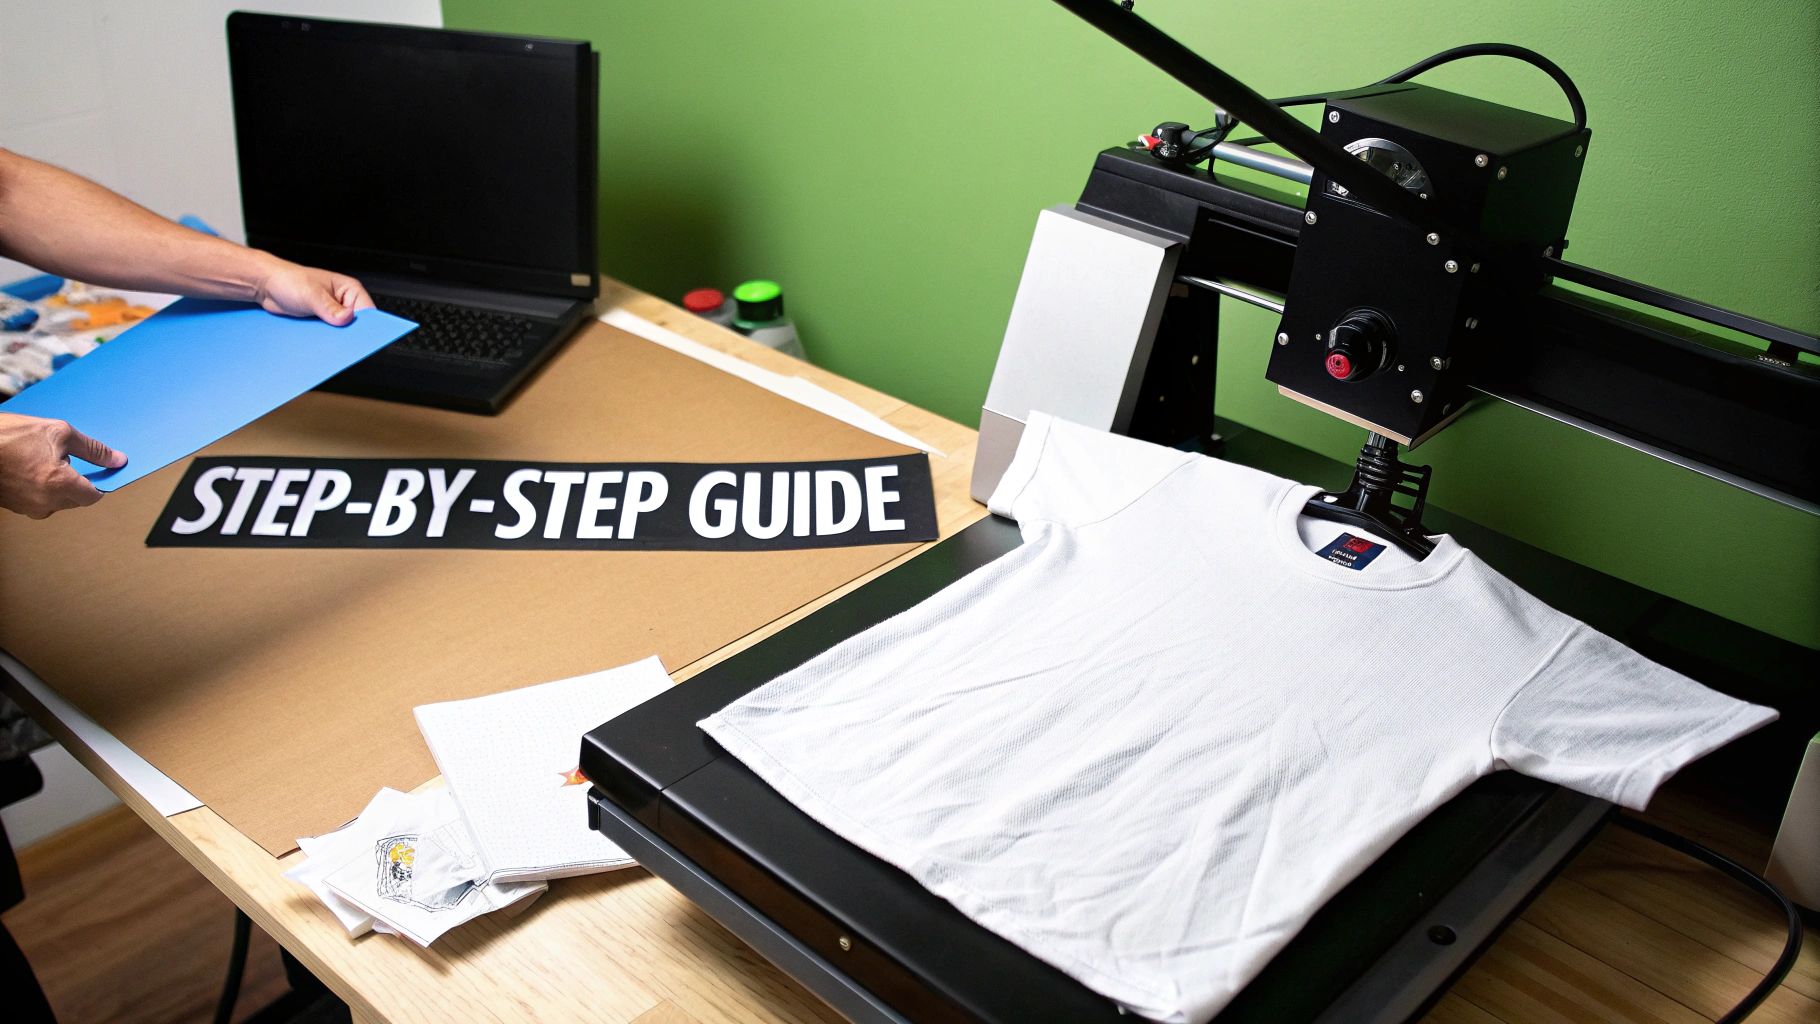
This workflow is your blueprint for turning a digital idea into a real, high-quality product. Every stage here is critical if you want to get that vibrant, professional finish sublimation is famous for.
Step 1: Design and Print
It all begins with your digital artwork. Once your design is finalized, you’ll print it onto special sublimation paper with a printer that's filled with sublimation inks. Pro tip: always mirror your image before printing, especially if there's text involved. If you forget, it will read backward on the final product.
After it comes out of the printer, give the ink a moment to dry completely. This small pause is a lifesaver—it prevents smudges and keeps your final image sharp.
Step 2: Prepare Your Product
Now it’s time to get your blank item, or "substrate," ready. Whether it’s a polyester tee or a polymer-coated mug, a little prep work goes a long way in preventing simple mistakes.
- Clean the Surface: I always use a lint roller on fabrics or a quick alcohol wipe on hard surfaces. You'd be amazed how a tiny speck of lint can vaporize and leave a little blue or dark dot on your otherwise perfect print.
- Pre-press Garments: For any apparel, give the item a quick press for about 5-10 seconds. This irons out wrinkles and, more importantly, removes any moisture that could mess with the ink transfer.
Once it's prepped, place your printed design face-down onto the substrate. Use a few pieces of heat-resistant tape to secure it. This is non-negotiable; it stops the paper from shifting during pressing, which is what causes those blurry, "ghosted" images you want to avoid.
Step 3: Apply Heat and Pressure
With your design taped down, you're ready for the main event. You’ll make what we call a "sublimation sandwich" by placing protective paper (often called blowout paper) both under and on top of your item. This keeps any excess ink from staining your heat press.
As a rule of thumb, settings for polyester fabric are usually around 400°F (204°C) for 45-60 seconds with medium pressure. But always, always check the specific recommendations from your blank and paper manufacturer—those settings can vary.
When you close the press, the heat and pressure work together to kick off sublimation. The solid ink on the paper turns directly into a gas, which then bonds permanently with the fibers of your item.
Step 4: The Big Reveal
When that timer beeps, carefully open the press. Put on some heat-resistant gloves before you grab the item and move it to a safe place to cool. Now for the best part: peeling back the transfer paper to reveal a brilliant, permanent design that’s now part of the product itself.
2. Choosing Your Canvas: Compatible Materials and Surfaces
The real magic of sublimation hinges on its unique chemical reaction, and knowing which materials work with the process is the secret to getting those jaw-dropping, professional results. This isn't a one-size-fits-all printing method; it’s very specific about the surfaces it can bond with.
At its core, sublimation is a perfect match between special ink and polymers. When the ink turns to gas, it needs those synthetic fibers to grab onto and become a permanent part of the material. This is why 100% white or light-colored polyester is the undisputed champion for apparel. It’s the ideal canvas for the most vibrant, true-to-life colors you can get.
Working with Fabric Blends
So, what happens when you don't have pure polyester? Good news—you can absolutely work with blends. The key is just to know what to expect.
If you sublimate on a 50/50 cotton-poly blend, for instance, the ink will only bond with the polyester half. The dye simply has nothing to stick to on the cotton fibers.
This creates a much softer, more faded design that has a cool "vintage" or retro vibe. For a lot of brands, this isn't a flaw; it's the entire point! It’s a great stylistic choice for a less saturated, lived-in look. To see how different fabrics affect print quality, check out our guide to the best t-shirt materials for printing.
Expanding to Hard Goods
Sublimation’s creative potential goes way beyond fabric. A massive world of hard-surface products opens up once you understand one simple requirement: they need a special coating.
Sublimation ink can't bond directly with raw materials like ceramic, metal, or wood. These items must have a special polymer coating applied during manufacturing. This coating acts as the bridge, giving the gaseous ink a surface to infuse into and make permanent.
This is exactly what makes an ordinary coffee mug a "sublimation-ready" mug. This technology has created a huge market for personalized gifts and promotional products. It's no wonder the global market for materials like heat transfer paper is projected to hit USD 1.6 billion by 2025, with textiles making up 47% of that demand.
Here’s a quick-reference table to help you choose the right materials.
Sublimation Compatibility Guide
| Substrate Material | Sublimation Compatibility | Expected Result |
|---|---|---|
| 100% Polyester (White/Light) | Excellent | Full, vibrant, and permanent color. |
| Polyester Blends (e.g., 50/50) | Good | Faded, "vintage" look. Ink only bonds to poly fibers. |
| Polymer-Coated Hard Goods | Excellent | Sharp, permanent image on mugs, metal, etc. |
| 100% Cotton | Not Compatible | Ink will not bond and will wash out almost completely. |
| Dark-Colored Polyester | Not Recommended | Ink is translucent; colors will not be visible. |
To avoid frustration and wasted materials, always make sure your blank product is specifically labeled "sublimation-ready." That little label confirms it has the polymer coating you need for a perfect, lasting design.
Here are some of the most common hard goods you'll find:
- Ceramic Mugs: A classic for a reason. They're perfect for custom photos and logos.
- Phone Cases: A huge market for personalized tech accessories.
- Mousepads: Their soft polyester top surface is ideal for sublimation.
- Aluminum Panels: The go-to for creating stunning, high-definition photo art that pops.
Sublimation vs DTF and UV-DTF Transfers
Heat sublimation transfer is a game-changer for creating stunning, permanent designs on polyester, but it’s not the only way to get your ideas onto a product. To really nail your project, you need to know how sublimation stacks up against other popular methods. For small brands and hobbyists especially, this often comes down to what you're printing on and the final look you're after.
This is where technologies like Direct-to-Film (DTF) and UV-DTF enter the picture. They don't replace sublimation; instead, they fill in the gaps where sublimation can't go. Each has its own strengths, making them valuable tools for different jobs.
Material Versatility and Color Vibrancy
The biggest deal-breaker is the material you want to use. Sublimation has a very specific requirement: it needs polymers to work its magic. The ink chemically bonds with polyester fibers, which is why it looks absolutely brilliant on 100% polyester. On poly-blends, you'll get a faded, vintage look, and on natural fibers like cotton, it just won’t work at all.
DTF transfers, on the other hand, are the crowd-pleasers. They work on just about anything you can fit under a heat press, including:
- Cotton (any color!)
- Polyester and poly-blends
- Leather
- Denim
- Nylon
The secret is that DTF isn't dyeing the fabric. It’s a heat-applied transfer that sits on top of the material, kind of like a super-thin, flexible screen print but with endless colors and sharp details. If that sounds like what you need, dive deeper into our guide on what a DTF transfer is and see it in action.
Color on dark items is another huge difference. Sublimation ink is transparent, so it simply disappears on black or dark-colored fabrics. DTF gets around this by printing a layer of white ink first, creating a bright base that makes your colors pop on any background.
Comparing Feel and Application
The way a design feels on the final product—what we call the "hand"—is also a major point of comparison. Sublimation's biggest claim to fame is that it has zero feel. The ink literally becomes one with the fabric, so you can't feel it at all. This is perfect for athletic apparel, where you don't want anything interfering with the fabric's performance.
DTF transfers have a soft, pliable feel. You can feel the design, but today's DTF technology creates such a lightweight layer that it's still incredibly durable and comfortable to wear.
When it comes to hard goods, the conversation shifts to UV-DTF. While you can sublimate on polymer-coated items like mugs and metal plates, UV-DTF is a "peel and stick" solution for almost any hard surface that doesn't require a heat press. Think glass, wood, plastics, and more—it opens up a whole new world of customization.
The global market for dye sublimation printing hit nearly $15 billion in 2024 and is still growing, thanks to the demand for custom apparel. But as DTF technology becomes more accessible, it's quickly catching up by offering a versatile solution for a much wider range of materials.
This simple decision tree really breaks it down for you.
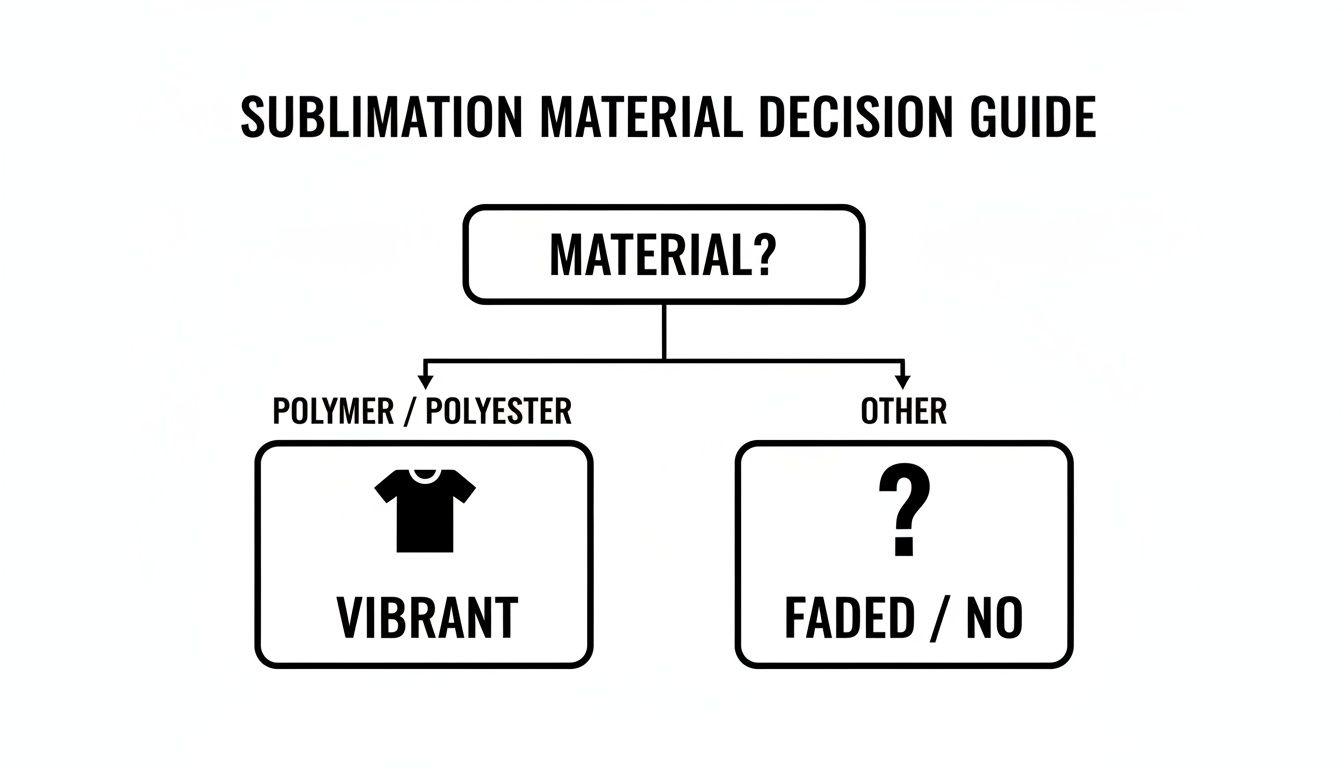
As you can see, it all comes back to one core principle: for that signature vibrant, permanent finish, sublimation needs a polymer-based material.
Transfer Technology Showdown Sublimation vs DTF vs UV-DTF
Choosing the right transfer method can feel tricky, but this head-to-head comparison breaks down the key differences to help you decide which technology is the best fit for your next project.
| Feature | Heat Sublimation Transfer | Direct-to-Film (DTF) | UV Direct-to-Film (UV-DTF) |
|---|---|---|---|
| Best For | White/light polyester apparel, polymer-coated hard goods (mugs, mousepads) | Cotton, polyester, blends, denim, leather (any color apparel) | Hard, non-porous surfaces (glass, metal, plastic, wood) |
| Material Compatibility | Polyester or polymer-coated items only. | Extremely wide range of fabrics, including natural and synthetic. | Almost any hard surface; not suitable for apparel. |
| Color Limitations | Does not work on dark colors; no white ink. | Prints full color, including a white base for dark fabrics. | Prints full color with a white base; some can do varnish effects. |
| Feel or "Hand" | Zero feel; ink is infused directly into the material. | Soft, flexible feel that sits on top of the fabric. | A raised, slightly glossy decal-like feel on the surface. |
| Application Process | Requires a heat press (380-400°F). | Requires a heat press (300-320°F). | "Peel and stick" decal; no heat required. |
| Durability | Extremely durable and permanent; will not crack, peel, or fade. | Very durable, washes well, but can eventually crack with heavy wear. | Highly durable and scratch-resistant for hard goods. |
Ultimately, the best choice really depends on what you're making. Sublimation is unmatched for polyester activewear, while DTF gives you the freedom to print on anything from cotton t-shirts to denim jackets. And for customizing hard goods without a heat press, UV-DTF is the clear winner.
Troubleshooting Common Sublimation Problems
Even when you do everything right, sublimation can sometimes throw you a curveball. Don't worry, it happens to everyone. Most of the time, the fix is surprisingly simple once you know what to look for. Let's walk through the most common headaches and how to solve them so you can get back to making great products.
One of the most maddening issues is ghosting. This is when your final print looks a little blurry or has a faint, shadowy duplicate of the image right next to it. It’s the result of your sublimation paper shifting, even just a tiny bit, while the press is hot or as you're taking the item out.
The solution is your best friend in the workshop: heat-resistant tape. Before pressing, always use a few small pieces to tape your printed design securely onto the blank. This locks it in place and prevents any movement when you open or close the press.
Dealing With Faded Colors or Lines
Ever had a print come out looking washed out and dull, nothing like the vibrant design on your monitor? Or maybe you've seen thin, noticeable lines running across the image? These are two different problems with different causes.
Dull or incorrect colors usually point to an issue with your settings. Most often, the culprit is the ICC profile—that little file that tells your printer how to accurately reproduce the colors you see on screen. Without the right one, it's just guessing.
Banding, on the other hand, is almost always a printer maintenance issue, usually caused by clogged print head nozzles.
- Faded Colors: First, check your heat press. Is it set to the right temperature (typically 380-400°F)? Are you pressing for the correct amount of time? If those are correct, your next step is to ensure you have the proper ICC profile installed and selected in your print settings.
- Banding: This is usually an easy fix. Just run a nozzle check from your printer's maintenance menu. If you see broken lines, run a head cleaning cycle (sometimes it takes a couple of tries) to clear out any dried ink.
A perfect print needs a perfectly clean surface. Before you press anything, take a moment to run a lint roller over fabrics or wipe down hard goods with an alcohol swab. A single speck of dust or lint can vaporize and leave a permanent blue or dark dot on your final product.
Learning to spot and solve these common issues is what separates the beginners from the pros. By being meticulous with your prep work—from taping down designs to cleaning your blanks—you'll save yourself a lot of wasted materials and frustration down the line.
Answering Your Top Questions About Sublimation
Let's tackle some of the most common questions that pop up when people first start exploring sublimation. Getting these basics right is the key to avoiding frustration and wasted materials.
Can I Just Use My Regular Clothes Iron for This?
I get this question all the time, and the short answer is no. A standard home iron just won't cut it for sublimation, and here's why: they create hotspots and deliver very uneven pressure.
Sublimation needs a very specific, consistent high heat and firm, even pressure across the entire design. Without that, the ink won't turn to gas properly, leading to faded spots, blotchy colors, and a generally unprofessional look. You really need a dedicated heat press to get those vibrant, permanent results you're after.
Why Won't My Design Show Up on a Black T-Shirt?
Think of sublimation ink as being transparent, almost like a watercolor. When you apply it to a white or very light-colored fabric, you're essentially dyeing a blank canvas, and the colors pop beautifully.
But if you try to put that same transparent ink onto a dark or black shirt, the fabric’s color completely overpowers it. It's like trying to draw on black construction paper with a yellow highlighter—the color just disappears. For amazing, bright designs on dark garments, you'll want to look into DTF transfers instead.
The secret to prints that last wash after wash is all about the right recipe. You need a high-polyester fabric (or a polymer-coated hard good) paired with a quality heat press dialed into the perfect temperature, time, and pressure. Nail that combination, and your prints will be incredibly durable.
How Well Do Sublimation Prints Hold Up in the Wash?
When you do it right, sublimation is one of the most durable decoration methods out there. The print is literally indestructible.
Because the ink becomes a part of the fabric's fibers—it's not just sitting on top like a sticker—it will not crack, peel, or fade. You can wash it dozens and dozens of times, and it will look as good as the day you made it.
While getting your sublimation technique down is a huge win, many creators are always looking for ways to grow their skills and business. If you're interested in expanding your content creation abilities beyond just product making, you can find a variety of valuable resources, including specialized UGC creator courses.