
Heat Transfer Printing T Shirts A Practical Guide
When you think about making custom t-shirts, you're probably imagining a design that pops with color, feels great to wear, and doesn't crack after a few washes. That's exactly what modern heat transfer printing delivers. The big star of the show right now is Direct-to-Film (DTF), a method that's shaking up the industry by producing incredibly vibrant, durable designs that feel surprisingly soft on almost any kind of fabric.
Why Heat Transfer Is Dominating the Custom T-Shirt Scene
Let's get straight to it. Modern heat transfer printing has become a go-to for everyone from solo creators to established brands, and for good reason. It’s not just about ironing on a design anymore; today’s technology is sophisticated and delivers professional results.
At its heart, the process is a perfect blend of three things: a high-quality transfer, a reliable heat press, and the t-shirt itself. When you get these three elements right, you create a finished product that looks and feels like it came from a high-end retail store.
The DTF Revolution
The arrival of Direct-to-Film (DTF) transfers truly changed the game. This technique allows for stunning, photorealistic designs with a limitless color palette—something that used to be incredibly difficult or expensive to achieve.
Sure, old-school methods like heat transfer vinyl (HTV) are still great for simple, one-color text or bold logos. But for intricate, multi-color artwork, DTF is in a league of its own. If you're weighing your options, diving into a comparison of heat transfer vs screen printing can give you a clearer picture of where the industry is heading.
Key Advantages for Your Projects
For anyone making custom apparel, the benefits of using modern heat transfers are tangible and immediate.
- Print on Almost Anything: We're talking about putting detailed, full-color designs on cotton, polyester, blends, and even tricky materials like leather or nylon. There are virtually no fabric limitations.
- A Softer, More Durable Finish: DTF transfers are impressively soft and flexible. They bond with the fabric, so they stretch and move without feeling like a stiff, plastic patch on top of the shirt.
- Smart Economics for Any Order Size: Whether you're making a single, one-of-a-kind shirt or a batch of 100, DTF is cost-effective. You skip the hefty setup fees associated with other methods, making it perfect for any scale.
Modern Heat Transfer Methods at a Glance
With a few different options out there, it helps to see how they stack up. Here’s a quick comparison to help you choose the right transfer for your next project.
| Method | Best For | Fabric Compatibility | Feel on Shirt |
|---|---|---|---|
| Direct-to-Film (DTF) | Complex, multi-color designs; photorealistic images | Cotton, polyester, blends, leather, nylon | Very soft, flexible, and integrated with the fabric |
| Heat Transfer Vinyl (HTV) | Simple text, logos, and single-color graphics | Cotton, polyester, blends | Can feel thicker, more like a layer on top |
| Sublimation | All-over prints on 100% white or light polyester | Polyester only | No feel at all; dye becomes part of the fabric |
Ultimately, the right method depends on your design and the fabric you're using, but DTF has opened up a whole new world of creative possibilities.
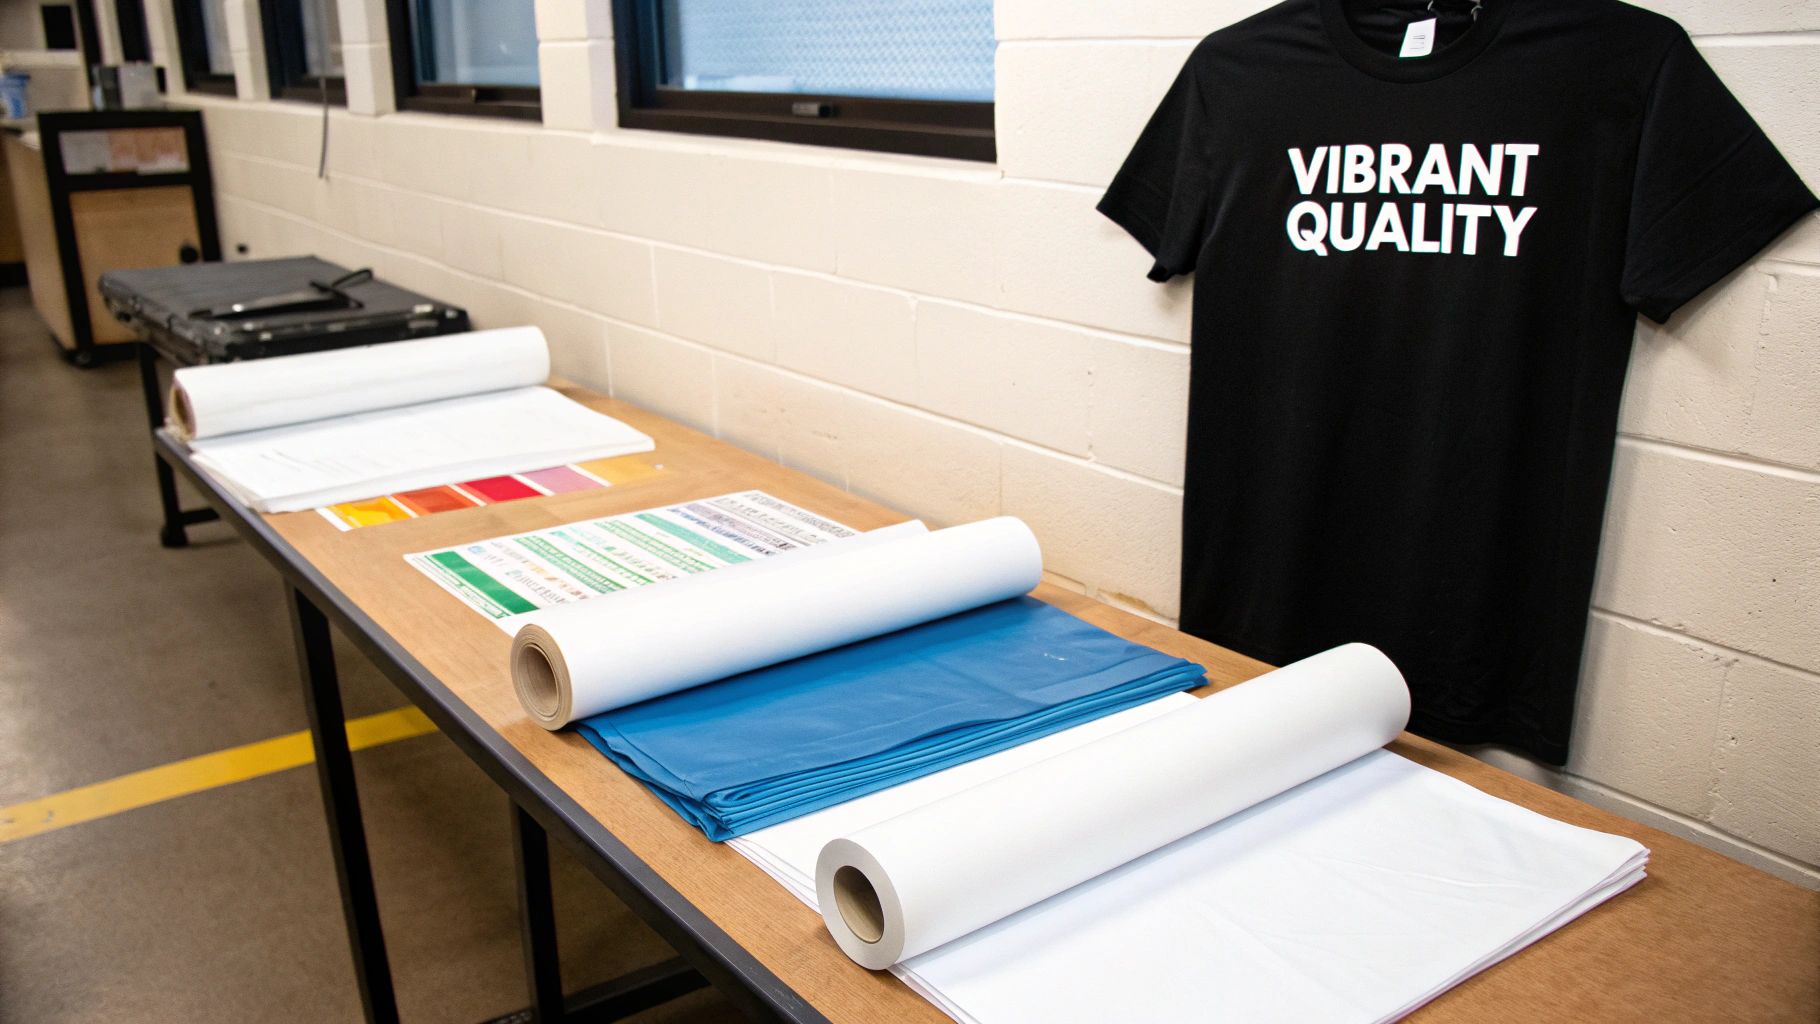
Getting Your Gear and Materials Ready
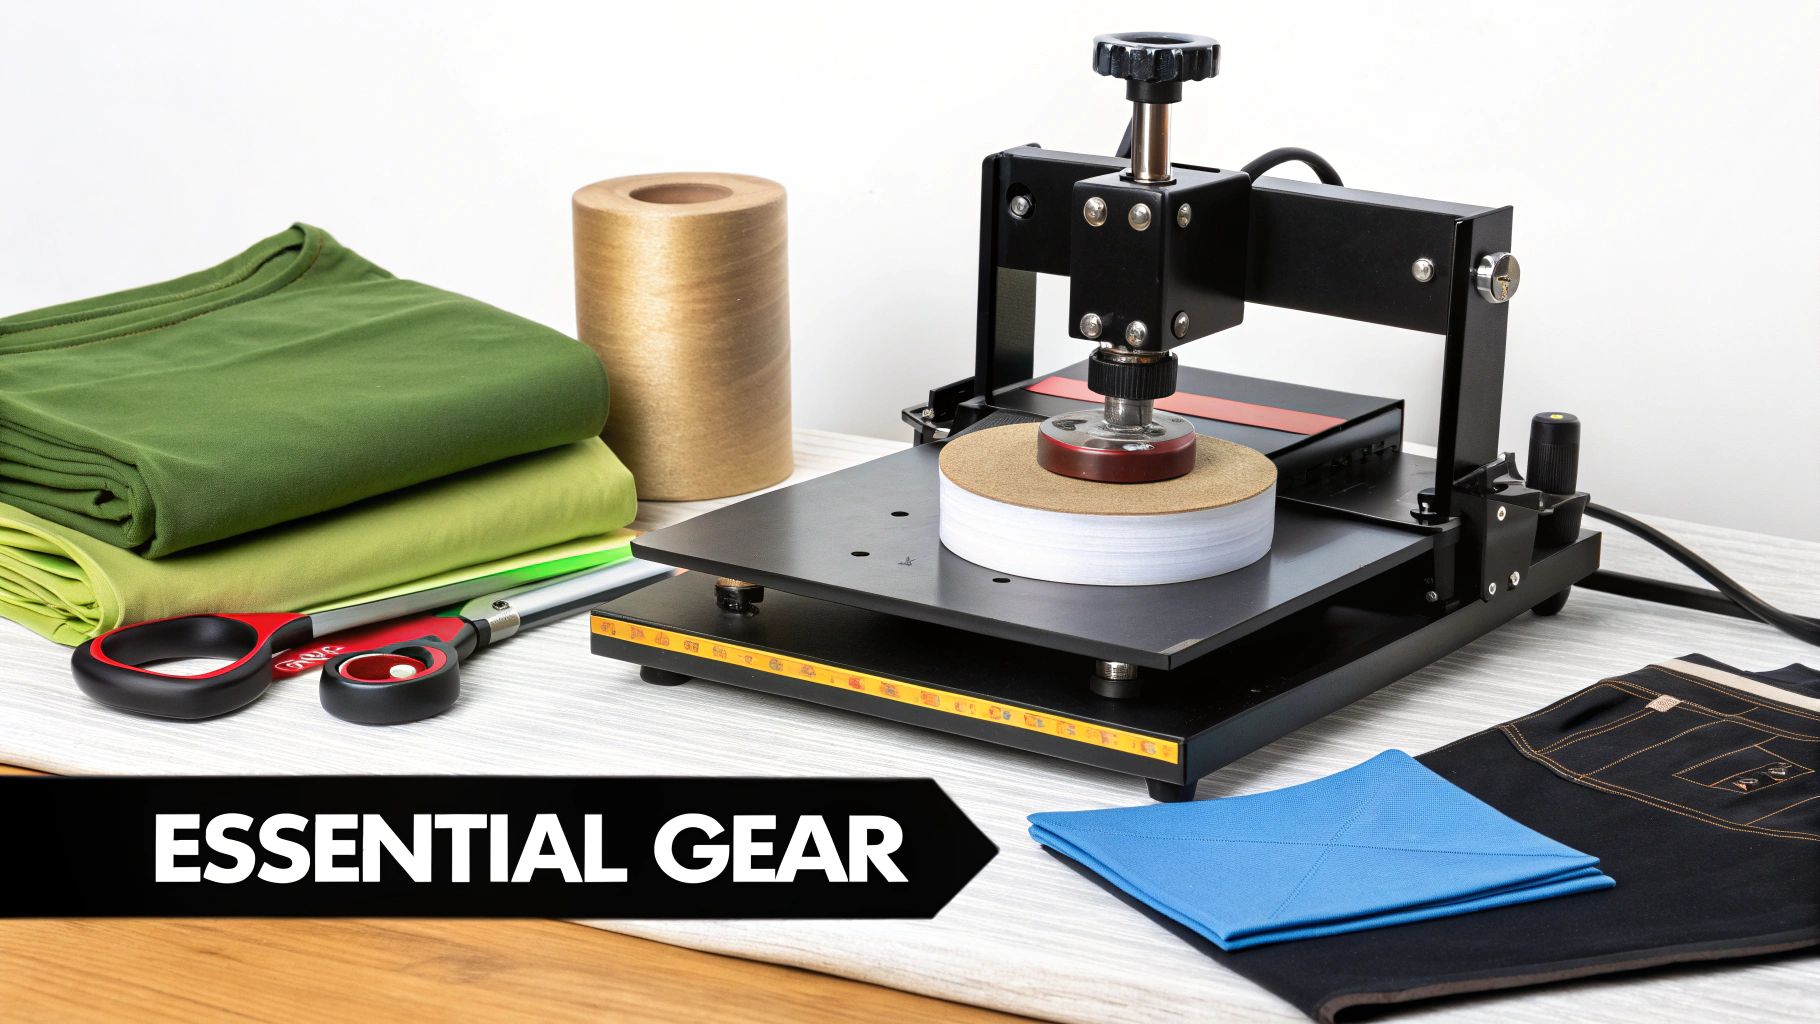
Before you can even think about pressing a design, you need to gather the right gear. Honestly, your final print will only be as good as the tools you start with. Making the right choices here will save you a ton of headaches and wasted materials later on. The secret to amazing heat transfer printing t shirts lies in how a few key components work together.
The single most important piece of equipment is your heat press. I know it's tempting to try and get by with a home iron, but it just won't cut it. An iron can't provide the consistent, even heat and pressure needed for a transfer that looks professional and actually lasts. If you're serious about this, a quality heat press is non-negotiable. For a deep dive into what to look for, check out our guide on the best heat press machine for shirts.
Pro Tip: When you're shopping for a press, make sure it has a digital timer and temperature display. This eliminates all the guesswork and lets you replicate your results perfectly every time—a must-have for consistency.
Picking the Right Transfers and T-Shirts
With your press sorted, it’s time to think about the actual transfers and the shirts you’ll be printing on. The right choice here really comes down to what your artwork looks like.
- Direct-to-Film (DTF): This is your best bet for detailed photos, complex illustrations, or any design with a lot of different colors. DTF is super versatile and works great on cotton, polyester, and even blends.
- Heat Transfer Vinyl (HTV): Perfect for simpler stuff like text, logos, or graphics with just a few solid colors. It gives you a bold, slightly raised finish that really pops.
The shirt's fabric makes a huge difference, too. A 100% cotton tee is a classic, reliable canvas for printing. Polyester blends are also fantastic and hold up well. Just be careful with tri-blends—their heat sensitivity can make them a bit tricky, so it's always smart to test a small, hidden spot first.
Paying attention to these details is what separates the pros from the amateurs, especially in a booming market. The global custom t-shirt printing industry is exploding, with some estimates projecting it to hit $9 billion by 2025. This incredible growth is all about people wanting unique, well-made apparel. You can learn more about the latest trends in custom t-shirt printing on futuremarketinsights.com.
And don't forget the little things! A Teflon sheet is essential for protecting your press and your shirt, and a roll of heat-resistant tape will be your best friend for keeping transfers perfectly aligned.
Prepping Your Artwork For A Perfect Press
A show-stopping T-shirt begins long before you fire up the heat press. Honestly, getting your design file right is the single most important part of the whole process, especially when you're heat transfer printing t shirts. The old saying "garbage in, garbage out" has never been more true.
The absolute first thing to check is your resolution. Your artwork needs to be at least 300 DPI (dots per inch) at the actual size you want it printed. If you go lower, you're just asking for a blurry, pixelated mess that screams amateur. Nailing this ensures every line is crisp and every detail pops right off the fabric.
File Format and Color
When it comes to the file itself, think PNG with a transparent background. This is non-negotiable. Why? Because it tells the printer only to print your design, not the space around it. If you send a JPEG with a white background, you’re going to get a clunky white box printed right onto your shirt along with your art.
Here’s another tip I learned the hard way: always design in a CMYK color profile, or at least preview your colors that way. Even though you’ll probably upload an RGB file like a PNG, CMYK gives you a much truer sense of how the colors will look when they’re actual ink on a transfer. This quick check can save you from a lot of color-matching headaches later.
A common pitfall is designing with super-fine, wispy lines. They might look slick on your monitor, but those delicate details often don't survive the printing and pressing process. They can get lost or fail to adhere properly, so it's always safer to keep your lines reasonably bold.
Getting these fundamentals down is the key to prints you can be proud of. For a deeper dive, these Artwork Submission Tips are a fantastic resource. Mastering these simple prep steps is what separates a flawless, professional-looking shirt from a costly mistake.
Mastering The Heat Press Process
This is where the magic really happens—turning your digital design into something you can actually wear. With your artwork ready to go and your transfers in hand, the heat press is the final hurdle to creating those professional heat transfer printing t shirts. Honestly, getting this part right comes down to precision, a bit of patience, and knowing a few key techniques.
Before you even think about placing your transfer, you need to do a "pre-press." Don't skip this. It’s not just about getting wrinkles out; its real job is to zap any moisture hiding in the t-shirt’s fibers. If you leave moisture in, it turns to steam under the heat, and that’s a surefire way to get a transfer that won't stick properly. A quick 5-10 second press is all you need for a perfectly dry canvas.
Positioning And The Golden Triangle
Alright, shirt’s prepped. Now, let's talk placement. This is what separates a homemade-looking shirt from a professional one. The most common mistake I see is people placing the design way too low. A solid rule of thumb is to position the top of your design about three inches down from the collar. If you want dead-on accuracy every time, a T-square ruler is your best friend.
Once the transfer is exactly where you want it, it’s time to dial in the "golden triangle" of heat pressing. These three variables have to work together perfectly.
- Temperature: You have to follow the manufacturer's specs for your specific transfers. If the press is too cool, the adhesive never fully activates. Too hot, and you can scorch the shirt or even damage the ink.
- Time: This is your "dwell time"—how long the press is clamped down. Just like with temperature, a few seconds too short or too long can completely ruin the outcome.
- Pressure: The press must apply firm and, most importantly, even pressure across the entire design. Inconsistent pressure is the number one cause of peeling edges and patchy spots.
Getting your artwork print-ready is what sets the stage for success here, as this infographic shows.
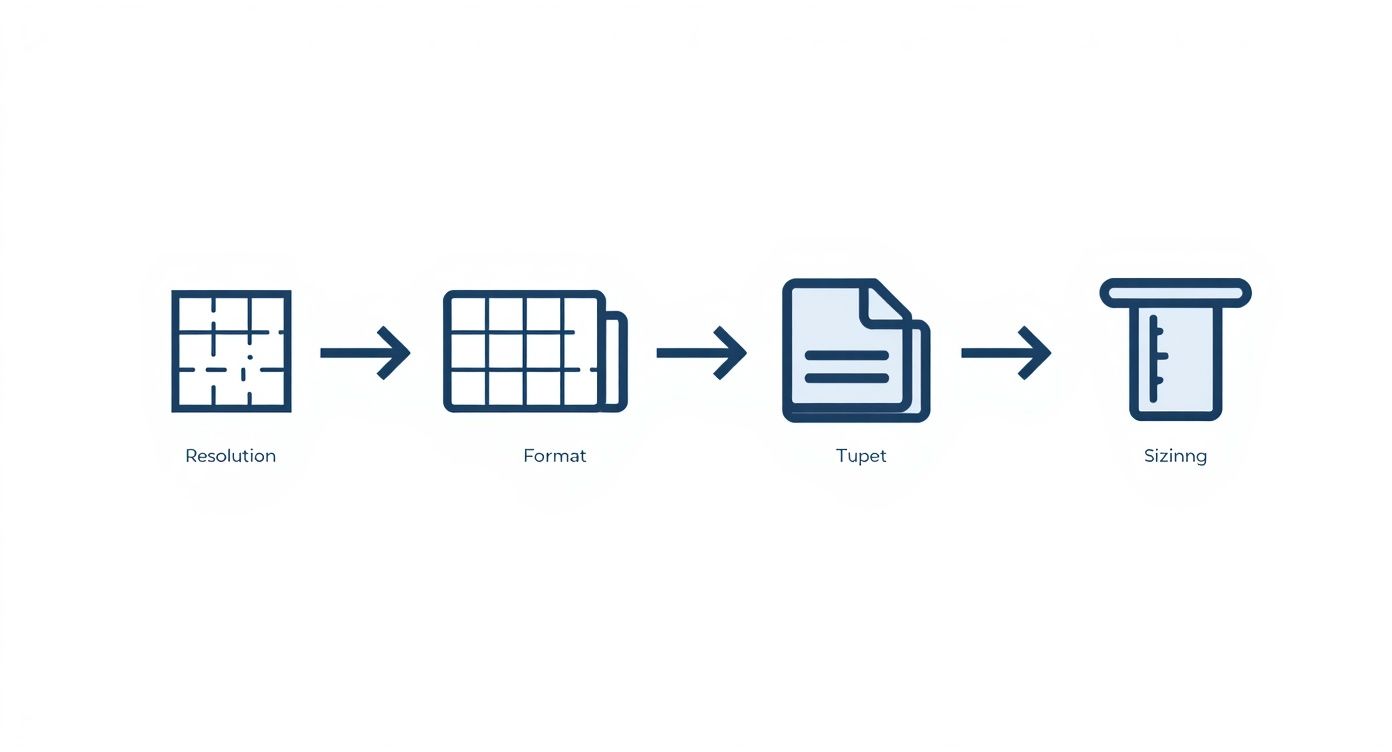
Think of it this way: the resolution, format, and sizing you chose earlier directly determine the quality of the physical transfer you’re about to press onto the shirt.
The Critical Moment: The Peel
The timer goes off, you lift the press, and now you’ve reached the final, make-or-break moment—the peel. Every transfer is either a warm peel or a cold peel, and you absolutely must know which one you have. A warm peel means you pull the backing film off almost immediately. For a cold peel, you have to wait until the shirt is completely cool to the touch.
Peeling at the wrong temperature is one of the most common—and most frustrating—mistakes you can make. If you try to cold peel a warm-peel transfer, you risk pulling the entire design right off with the film. On the flip side, peeling a cold-peel transfer while it's still warm can leave you with a distorted, sticky mess. Always, always double-check the instructions.
Making Your Designs Last Wash After Wash
A killer print is more than just bright colors—it's about creating something that lasts. The final steps you take after the main press are what really give your custom t-shirts that professional-grade durability and premium feel. Honestly, it's these little details that separate the hobbyist prints from retail-quality gear.
One of the most important finishing touches I've learned is the "post-press." Once you've done the initial application and peeled the film, just place a sheet of parchment paper or a Teflon sheet over the design. Then, press it again for a quick 5-10 seconds. It’s a simple move, but it does so much—it really helps lock the ink into the fabric, softens the hand-feel of the transfer, and seriously improves its washability.
The Right Way to Care for a Custom T-Shirt
To head off problems like cracking or peeling down the road, you've got to give your customers clear care instructions. I always include a small card or a note with my orders. It’s a professional touch that saves everyone a headache.
Here are the simple rules I tell my customers to follow:
- Turn it Inside Out: Before it goes in the wash, flip the garment inside out. This protects the print from rubbing against other clothes.
- Stick to Cold Water: Hot water is a transfer's worst enemy. It can mess with the adhesive and fade the colors. Cold water is always the safest bet.
- Skip the High-Heat Dryer: Tumble dry on a low setting. Even better? Hang it up to air dry. High heat can absolutely destroy a perfectly good print.
I’ve found that most peeling designs aren't caused by a bad transfer, but by how the shirt is washed and dried. By teaching your customers how to care for their gear, you're not just helping them—you're protecting your brand's reputation for quality.
When it comes down to it, most durability issues are prevented before the shirt ever sees a washing machine. A perfect press—getting the time, temperature, and pressure right from the start—is your best defense. These finishing and aftercare steps are what will ensure you're creating a product that not only looks incredible but also stands the test of time.
Common Questions About Heat Transfer Printing
Even when you feel like you've got everything dialed in, questions will inevitably pop up when you're mastering heat transfer printing t shirts. Getting the right answers fast can mean the difference between a perfect run and a pile of wasted materials. Let's walk through some of the most common snags people run into.
A transfer that refuses to stick is probably the biggest headache. Nine times out of ten, the culprit is pressure, temperature, or moisture. Always, always check the specific instructions that came with your transfers, but also make sure your press is locked down with firm, even pressure. Another classic mistake is skipping the pre-press—that quick step evaporates hidden moisture and can completely save your print from failing to adhere.
Hot Peel vs Cold Peel Explained
Another point of confusion that trips up a lot of people is the whole "hot peel" versus "cold peel" thing. It’s actually pretty simple: it just tells you when to pull off the clear backing film after pressing.
- Hot Peel: The film needs to come off immediately after the press opens, while everything is still piping hot.
- Cold Peel: You have to let the garment and the transfer cool down completely to the touch before you even think about peeling the film.
Messing this up will absolutely ruin your shirt. If you let a hot-peel transfer cool down, it'll probably take the design right off with the film. On the flip side, peeling a cold-peel transfer too early results in a distorted, gummy mess. Stick to your supplier's guidelines like glue. For a more detailed look, our guide on what is heat transfer printing really breaks down these core concepts.
Finally, I get asked all the time if a standard home iron can be used instead of a heat press. If you're serious about your projects, the answer is a hard no. Irons just can't deliver the consistent, even heat and pressure needed for a professional, long-lasting bond. You’ll almost always end up with prints that crack and peel after just one wash.
Once you’ve pressed the perfect shirt, you need to show it off. Learning about taking good product shots will help your amazing designs get the attention they deserve online.