
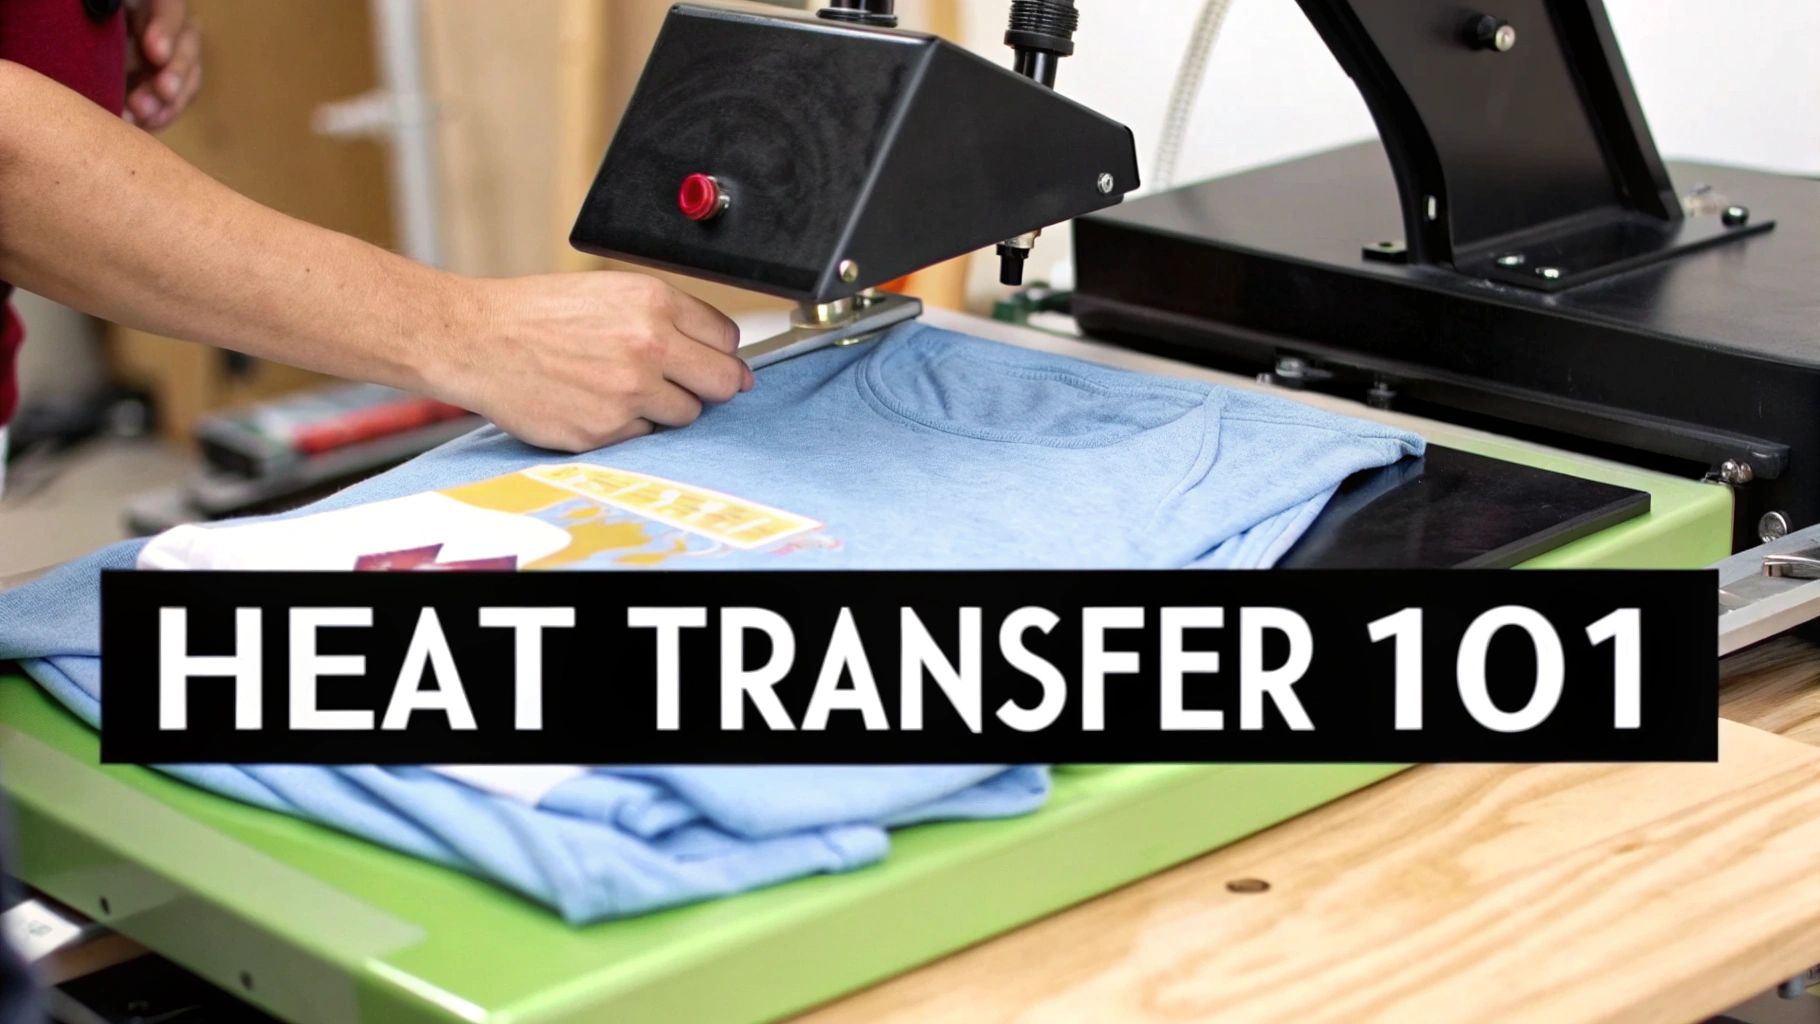
Your Guide to Flawless Heat Transfer Sheets
Ever wondered how those vibrant, custom designs get onto t-shirts and stay there? The magic behind it is often heat transfer sheets. Think of them as special papers that carry a printed design, which then gets bonded onto fabric using heat and pressure. It's like a high-tech, super-durable sticker for your clothes.
From Blank Fabric to Bold Designs
The world of custom apparel has absolutely exploded, and heat transfer technology is right at the heart of it. This is the stuff that connects a cool idea on a computer screen to a real-world product you can wear. It’s what lets a hobbyist make a one-of-a-kind gift or a small business crank out branded merch.
This guide is here to pull back the curtain on the whole process. We’ll show you that bringing your ideas to life is way simpler than you might think. All you really need is the right kind of sheet, your design, and a heat source—which can be anything from a regular home iron to a more professional heat press.
The Power of Personalization
The real appeal here is the massive demand for custom everything. Nobody wants the same off-the-shelf stuff anymore. People want gear that screams them—their personality, their brand, their message. Heat transfer sheets make it possible for anyone to meet that demand without breaking the bank.
This method has become a go-to for creators for a few solid reasons:
- Low Barrier to Entry: You don't need a huge industrial setup. The basic tools are affordable and easy to find, making it perfect for getting started.
- Endless Creative Freedom: If you can design it on a screen, you can probably put it on a shirt. We're talking everything from detailed logos to full-color photos.
- On-Demand Production: Forget massive print runs. You can make just one item if you want, which is ideal for custom orders or trying out a new design idea.
At its core, working with heat transfer sheets is all about transformation. You're taking an ordinary object—a plain t-shirt, a canvas tote—and turning it into something with real character and meaning. It's an amazing tool for both self-expression and small business.
What You Will Learn in This Guide
Think of this guide as your roadmap. We’ll walk you through everything you need to know to feel confident and ready to start creating. We'll break down the different types of heat transfer sheets and explain which ones work best for certain projects.
You'll get a step-by-step look at the application process, learn how to pick the right material for your fabric, and even get tips for fixing common mistakes. By the time you're done, you'll have the know-how to make custom items that not only look fantastic but also hold up in the wash.
Choosing Your Creative Material
When you first get into custom apparel, you quickly realize that "heat transfer sheet" isn't a one-size-fits-all term. The material you pick is the very foundation of your design, and it’s going to dictate the final look, feel, and longevity of your creation. Think of it like a chef choosing between different types of flour—each one yields a completely different result.
Your choice really boils down to two main players in the heat transfer world. One is the workhorse for bold, graphic designs with sharp, distinct colors. The other is the artist's choice, perfect for capturing the tiny details in photographs or artwork with subtle gradients.
Understanding what makes each one tick is the key to bringing your vision to life without any unwelcome surprises. Let's break them down.
Heat Transfer Vinyl (HTV): The Standard for Bold Designs
Heat Transfer Vinyl, or HTV as everyone calls it, is your go-to for projects needing solid, vibrant colors. It comes as a thin sheet of polyurethane on a clear plastic carrier. The process is straightforward: you cut your design out of the vinyl (usually with a machine like a Cricut or Silhouette), "weed" away the excess material, and press it onto your fabric.
HTV is the undisputed champion for things like logos, text, and single-color graphics. The color you see on the roll is exactly the color you'll get on the shirt, which makes it incredibly reliable for matching brand colors or creating simple, powerful designs.
But the real fun with HTV is the sheer variety. You're not just stuck with basic colors. The options are practically endless, letting you match any creative vibe you can think of:
- Standard Matte & Glossy: These are your staples for a clean, professional look on everyday apparel.
- Glitter & Holographic: When you need some serious pop and sparkle, these are perfect for statement pieces or special occasions.
- Metallic & Foil: These give your designs a premium, reflective sheen that looks just like real metal.
- Flock: This one has a soft, fuzzy texture—almost like suede—that adds a unique, tactile feel to your designs.
The biggest selling point for HTV is its durability. When applied correctly, it literally fuses with the fabric, creating a tough design that can handle dozens of washes without cracking, peeling, or fading. For a deeper dive, check out our guide on finding the https://raccoontransfers.com/blogs/guides/best-vinyl-for-heat-press.
Printable Transfer Paper: For Full-Color Freedom
So, what happens when your design is a full-color photograph or a complex illustration with tons of gradients? That’s where Printable Transfer Paper steps in. Instead of being a pre-colored material, this is a special paper with a heat-activated adhesive that you can run through a regular inkjet printer.
You print your design right onto the paper, cut it out, and press it onto your garment. This method blows the doors wide open for unlimited color possibilities, making it the only practical choice for photorealistic images or intricate, multi-hued artwork.
But there’s a critical detail you need to know: this paper comes in two distinct types. One is for light fabrics, and the other is for darks. Paper for light-colored shirts has a transparent background, so any "white" in your design is simply clear, letting the fabric color show through. Paper for dark fabrics, on the other hand, has an opaque white base to make sure your colors look bright and aren't swallowed up by the dark material.
Choosing the right one is non-negotiable if you want a professional-looking result. The growing demand for these materials really speaks for itself. The market for heat transfer paper and vinyl was valued at around USD 1.6 billion not long ago and is expected to climb to USD 2.27 billion by 2034. It's clear that creators everywhere depend on these heat transfer sheets to get the job done.
Comparing Heat Transfer Vinyl (HTV) and Printable Transfer Paper
Deciding between HTV and printable paper can be tough, as each has its own unique strengths. The table below breaks down the key differences to help you figure out which material is the right tool for your specific project.
| Feature | Heat Transfer Vinyl (HTV) | Printable Transfer Paper |
|---|---|---|
| Best For | Solid colors, text, logos, bold graphics | Full-color photos, complex illustrations, gradients |
| Color Source | Pre-colored material (what you see is what you get) | Printed from an inkjet printer (unlimited colors) |
| Equipment Needed | Vinyl cutter (e.g., Cricut), heat press/iron | Inkjet printer, scissors/cutter, heat press/iron |
| Feel on Fabric | Smooth, plastic-like layer on top of the fabric | Thinner, more flexible feel; can be slightly stiff |
| Durability | Excellent; highly resistant to washing and fading | Good, but can be prone to cracking/fading over time |
| Application | Cut, weed excess vinyl, then press | Print, cut around the design, then press |
Ultimately, there's no single "best" option—only the best option for your design. For bold, durable, and clean-cut graphics, HTV is your workhorse. For capturing every last color in a detailed photograph or piece of art, printable paper gives you the freedom you need.
The Complete Application Playbook
You've picked out your materials, and now it's time for the fun part—bringing your design to life. This is where a digital concept on your screen becomes a real, tangible piece of art you can wear. Getting that professional-quality finish isn’t about luck; it's about following a reliable process.
Think of it like following a recipe. You might have the best ingredients, but if you skip a step or get the oven temperature wrong, you won't get the cake you were hoping for. The same logic applies directly to heat transfer sheets.
Let’s walk through the four main stages. I'll give you the key details you need to nail your very first project.
Step 1: Prepare Your Design
Before you even think about touching the transfer material, your design file has to be prepped. For Heat Transfer Vinyl (HTV), this means working with a vector format like an SVG. Vector files give your cutting machine the clean lines it needs to make sharp, precise cuts.
If you're using printable transfer paper, a high-resolution image file like a PNG or JPEG is what you'll need. Don't skimp on quality here. A low-res image will look blurry and pixelated when printed, so always aim for 300 DPI (dots per inch) to get crisp results.
Critical Pro Tip: For almost all HTV and every light-fabric transfer paper, you absolutely must mirror or flip your image horizontally before cutting or printing. If you forget this step, any words or asymmetrical parts of your design will be backward on the finished shirt.
Step 2: Cut and Weed Your Material
With the design file ready, it's time to cut it out. How you do this depends entirely on which type of heat transfer sheet you're working with.
- For Heat Transfer Vinyl (HTV): You'll need a digital cutting machine, like a Cricut or Silhouette. Place the vinyl sheet onto the cutting mat with the shiny carrier side facing down, then send your mirrored design to the machine.
- For Printable Transfer Paper: No special cutter needed here! Once your design is printed, a sharp pair of scissors or a craft knife will do the trick. Just be sure to cut close to the edge of your design to prevent a visible border from showing up on the fabric.
After cutting HTV, you have to do a little something called weeding. This just means using a small, sharp tool to remove all the bits of vinyl that aren't part of your design. When you're done, only your design will be left on the clear, sticky carrier sheet.
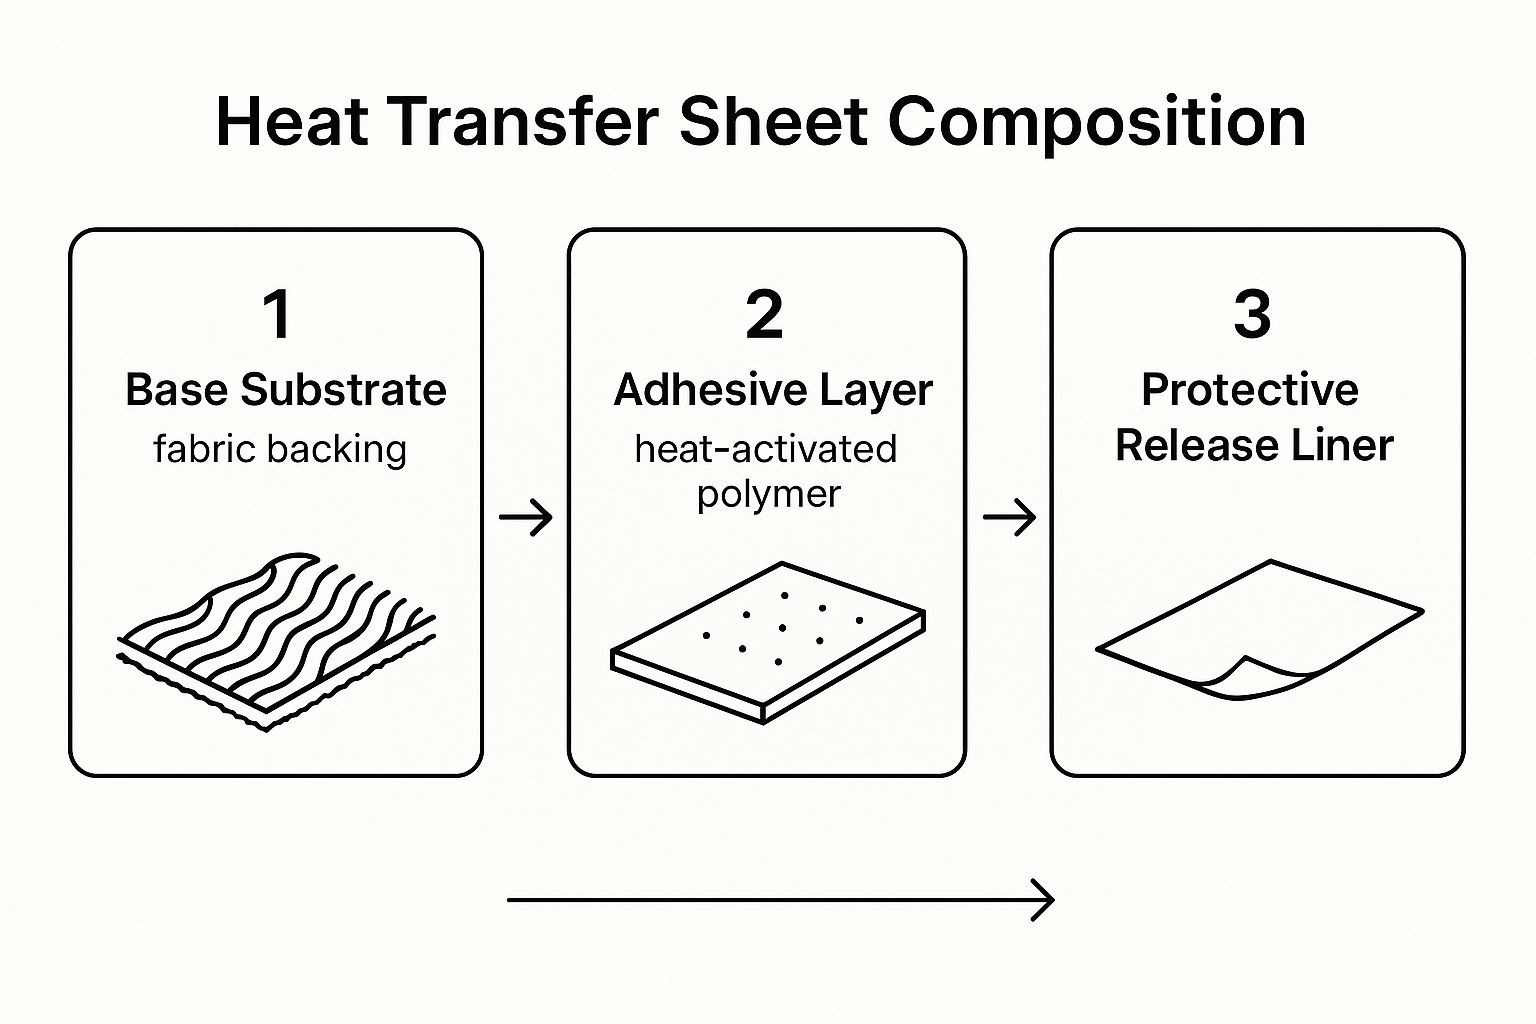
This image gives you a great visual breakdown of how the layers work together. You can see the heat-activated adhesive sitting between the base material and a protective liner, which is what you'll peel away later.
Step 3: Apply Heat and Pressure
This is the moment of truth, where your design permanently bonds with the fabric. Whether you're using a home iron or a dedicated heat press, the core principles—time, temperature, and pressure—are always the same.
First things first, always pre-press your garment for 5-10 seconds. This is a crucial, often-skipped step that removes moisture and smooths out wrinkles, giving you a perfect canvas for your transfer.
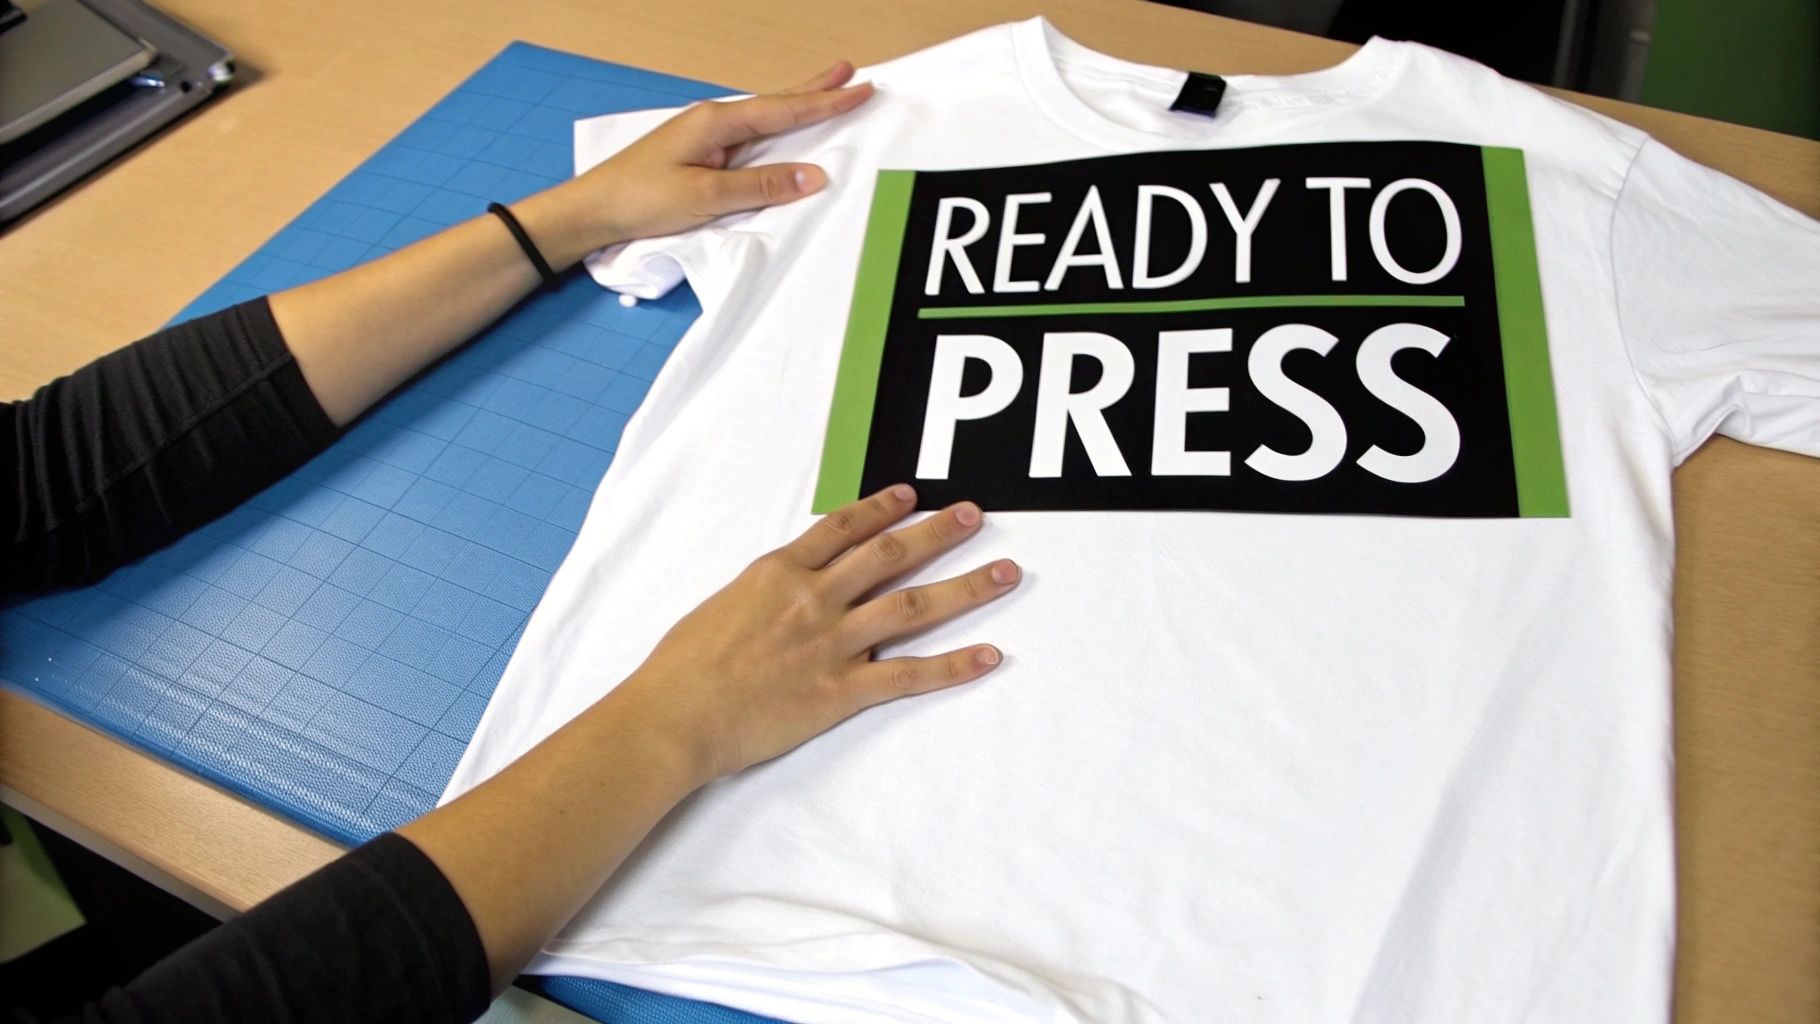
Next, position your design. For HTV, the sticky carrier sheet makes this easy. For transfer paper, you'll place it design-side down. Then, cover it with a Teflon sheet or a piece of parchment paper. This protects both your design and your heat source.
Now, it's time to apply the heat:
- With a Home Iron: Turn it to the cotton setting and make sure the steam is off. Press down with firm, even pressure over the entire design for the recommended time (usually 15-30 seconds). It helps to move the iron around slightly to distribute the heat evenly.
- With a Heat Press: For consistent, pro-level results, a heat press is the way to go. It allows you to dial in the exact temperature, time, and pressure your material needs. That precision is what makes a design last. For a complete walkthrough, our guide explains exactly how to heat press for great results every single time.
Step 4: The Final Peel
The last thing to do is remove the carrier sheet (for HTV) or the paper backing. But wait! You need to know if your material is a "hot peel," "warm peel," or "cold peel."
- Hot Peel: You pull the backing off immediately after pressing.
- Warm Peel: You wait about 10-15 seconds for things to cool down a bit.
- Cold Peel: You have to let the garment cool completely to the touch before peeling.
Always, always check the instructions that came with your specific heat transfer sheets. Peeling at the wrong temperature can completely ruin an otherwise perfect design. Once it’s peeled, your custom piece is finished! Just give it 24 hours before its first wash, and it'll be ready to wear.
Matching the Sheet to Your Project
Choosing the right heat transfer sheets is about more than just picking a design you like. The real secret to creating a custom product that looks professional and actually lasts is matching the transfer material to the item you're decorating.
Think of it like this: you wouldn't put street-racing tires on a rugged off-road truck. The same idea applies here. The perfect sheet for a soft, cotton baby onesie is worlds apart from what you’d need for a stretchy, polyester athletic jersey. Nailing this choice from the get-go is the single best way to avoid frustrating mistakes, wasted materials, and designs that crack after one wash.
Fabric Compatibility Is Key
The number one thing you have to consider is the fabric you're pressing onto. Different materials react to heat in very different ways, and not every transfer sheet is made to bond with every type of fiber. A mismatch can lead to a weak bond that peels off, or worse, you could end up melting or scorching the garment itself.
Here’s a quick guide to pairing transfers with common fabrics:
- Cotton and Cotton Blends: These are the workhorses of custom apparel. They’re super forgiving and work well with almost all types of heat transfer sheets, from standard HTV to printable papers. Their stable, non-stretchy weave makes for a great canvas.
- Polyester: This synthetic is everywhere in sportswear. It requires a specific transfer material designed to stick to it. If you use standard HTV, it likely won't bond correctly, so always look for products explicitly labeled for polyester.
- Stretchy Blends (Lycra/Spandex): For clothes that need to move with the body, like leggings or compression shirts, you absolutely must use a stretchable transfer material. A standard sheet will just crack and flake off the first time the fabric is stretched.
The goal is to make the design feel like it's part of the fabric, not just a sticker sitting on top. Choosing a sheet that’s chemically and physically compatible with the garment’s fibers is how you get a finished product that moves, feels, and lasts the way it should.
Design Complexity and Durability
Next up, think about the design itself and how the product is going to be used. A decorative tote bag that’s handled gently has completely different needs than a kid's soccer jersey that will see tons of action and frequent, aggressive washing.
Ask yourself these two questions to narrow down your options:
- How detailed is my design? If you have intricate lettering or super-fine lines, you'll get the best results from a high-quality vinyl that can be cut with precision. For big, solid blocks of color, you have more options, but you'll want to pay attention to the "hand"—or how the design feels on the shirt.
- How much wear and tear will it get? Durability is everything for high-use items like sportswear or work uniforms. For these, you’ll need a premium, high-performance material known for standing up to the washing machine. On the other hand, for a one-off novelty item, a standard-grade sheet is probably all you need.
The huge demand for custom apparel is driving this need for better solutions. The global transfer paper market, which includes both heat transfer sheets and vinyl, recently hit a value of USD 3.3 billion and is expected to grow to USD 5.8 billion by 2035. This boom is all thanks to people wanting vibrant, reliable designs on every kind of textile. You can read more about this growing market over at Future Market Insights.
Ultimately, picking the right sheet is about setting your project up for a win. For those really complex, multi-color designs that need to look amazing on any fabric, many creators are now turning to newer technologies. You might want to check out our guide on DTF transfers that are ready to press, which offer incredible detail and serious durability.
Of course. Here is the rewritten section with a more natural, human-expert tone.
Fixing Common Heat Transfer Mistakes
Even those of us who have been doing this for years run into a snag every now and then. There's nothing more frustrating than a heat transfer project that just won't cooperate. But don't toss that t-shirt just yet—most of these issues are surprisingly easy to fix once you know what to look for.
Think of these little hiccups not as failures, but as part of the learning curve. Every mistake is a lesson in disguise, helping you fine-tune your process for the next project. Let's walk through some of the most common problems and figure out how to get you back on track.
Why Is My Design Not Sticking?
This is the big one. You do everything right, you press your design, you go to peel back the carrier sheet, and... half the design comes right off with it. It’s a classic problem, and it almost always points back to one of three things: heat, pressure, or time.
More often than not, the culprit is one of these:
- Not Enough Pressure: If you’re working with a standard home iron, it’s incredibly difficult to get the consistent 8-10 pounds of even pressure needed to create a permanent bond. Even with a dedicated heat press, if your pressure is set too light, the adhesive just won't sink into the fabric fibers. You need to apply firm, steady pressure over the entire design.
- The Wrong Temperature: Too cool, and the adhesive on your heat transfer sheets never fully activates. Too hot, and you can scorch the adhesive, making it brittle and useless. Always, always double-check the temperature recommendations for the specific material you're using.
- A Bad Material Match: Trying to press standard vinyl onto a stretchy, 100% polyester athletic shirt? It's not going to work. You have to make sure the heat transfer material is compatible with the fabric you’re pressing it onto.
Solving Peeling After Washing
So, you finished your project and it looked perfect. You admired your handiwork, and then you threw it in the wash. Now it's peeling and cracking. This is a classic sign of a weak initial bond.
A design that looks perfect right after pressing can still fail later if the bond isn't truly set. The initial press might be just enough to make it stick, but not enough to fuse it permanently with the fabric fibers for long-term durability.
The key to preventing this is to nail your application technique from the start. A heat press is your best friend here because it delivers consistent, reliable heat and pressure. And a pro tip: always let the garment cure for at least 24 hours before its first wash. When you do wash it, turn it inside out and use cold water. That'll give your design the longest life possible.
Other Common Transfer Problems and Quick Fixes
Beyond sticking and peeling, a few other issues can pop up. Here’s a quick troubleshooting guide to help you figure out what’s going on.
| Problem | Likely Cause | Solution |
|---|---|---|
| Scorched or Melted Fabric | The heat is way too high for that particular fabric. | Dial back the temperature on your press or iron. Always do a quick test on a hidden spot, especially with delicate materials like polyester or rayon. |
| Uneven or "Bubbly" Finish | There’s moisture trapped in the garment, which turns into steam when you press it. | Always pre-press your shirt or bag for 5-10 seconds before applying the transfer. This simple step zaps any hidden moisture and gives you a perfectly flat surface to work with. |
| Faded or Dull Colors | You're probably using the wrong kind of transfer paper, like paper for light fabrics on a dark shirt. | Make sure you grab transfer paper made specifically for dark fabrics. This type has a solid white base that ensures your colors look bright and vibrant, not muddy. |
By methodically working through your settings—temperature, pressure, and time—and checking your materials, you can solve just about any problem you run into. Getting these fundamentals right is the key to making every project a success.
How Heat Transfer Is Fueling the Customization Boom
What you're learning about heat transfer sheets isn't just a craft—it's your entry into the massive customization economy. This is a global trend that's being embraced by everyone from solo Etsy sellers to major retail brands. At its core, this technology gives creators a powerful, affordable way to bring ideas to life.
The hunger for personalized gear is exploding. People want products that scream "this is me," and heat transfer is one of the key engines making it all happen. It’s perfect for on-demand production, which means you can create items as they’re ordered without sinking a ton of money into inventory you might not sell. This model is a game-changer for small businesses and extends far beyond apparel, opening up cool possibilities for creating personalized home decor gifts and other one-of-a-kind items.
The Ever-Growing Market for Personalization
The numbers don't lie—this trend has serious economic muscle. The global market for transfer sheets was recently valued at around USD 1.2 billion. It’s projected to more than double to USD 2.8 billion by 2033.
That's a compound annual growth rate (CAGR) of about 9.7%, which points to strong, steady demand for custom printing solutions for years to come. You can dive deeper into the data in this transfer sheets market report.
This growth isn't just about selling more t-shirts. It signals a major shift in how we shop, with people choosing products that tell a story over generic, mass-produced goods. Your skill with heat transfer sheets puts you right in the middle of this exciting industry.
When you master heat transfer, you're not just decorating a shirt. You're becoming part of a creative economy that celebrates individuality, craftsmanship, and the power of making things on demand.
What’s Next for Heat Transfer Technology?
The future of customization looks incredibly bright, with constant innovations making the process even more amazing. We're seeing a big push for more sustainable materials and eco-friendly inks, which helps reduce the environmental footprint of creating custom products.
There are also some fantastic new materials hitting the scene:
- Ultra-Stretchable Vinyls: These are perfect for modern performance wear, designed to stretch and move with the fabric without cracking or peeling.
- Specialty Effect Sheets: Think glow-in-the-dark, reflective finishes, and even 3D puff vinyls that add awesome texture and pop to any design.
- Advanced Printing Methods: Technologies like Direct-to-Film (DTF) are bringing professional-quality, full-color transfers into the hands of more creators than ever.
All these developments mean your creative playground is constantly getting bigger. As the technology gets better, so do your opportunities to create stunning, durable, and truly unique products.
Your Heat Transfer Questions Answered
Working with heat transfer sheets can feel like a science experiment, but most issues boil down to just a few key details. Let's tackle the most common questions head-on to help you troubleshoot problems and get those amazing results you're after.
Think of this as your go-to cheat sheet. We'll cover everything from equipment choices to making your designs last, putting all the essential info right where you need it.
Can I Use a Regular Iron Instead of a Heat Press?
Yes, you can definitely use a standard home iron, especially when you're just starting out with printable transfer paper. It’s a great way to dip your toes in the water without buying more gear right away.
That said, a dedicated heat press is a total game-changer for getting consistent, durable results. It provides perfectly even pressure and precise temperature across the entire design—something an iron just can't do. This is especially critical for getting a strong, long-lasting bond with Heat Transfer Vinyl (HTV). If you want professional-looking shirts that survive the wash cycle, a heat press is the way to go.
The biggest difference is control. An iron has hot spots and relies on your muscle for pressure. A press guarantees a flawless, even application every single time, which seriously boosts the quality and lifespan of your work.
Why Is My Design Peeling Off After Washing?
This is a classic—and super frustrating—problem. The culprit is almost always one of three things: not enough heat, not enough pressure, or not enough time during the initial press. For the design's adhesive to properly fuse with the fabric fibers, all three of these have to be just right.
First, double-check that your heat press or iron is set to the correct temperature for the specific material you're using. Don't just guess! Then, make sure you're applying firm, even pressure for the full recommended time. To give your designs the longest possible life, always wash the garment inside-out in cold water and skip the high-heat dryer.
What Is the Difference Between Sheets for Light and Dark Fabrics?
This is a really important one for anyone using printable heat transfer sheets.
- Sheets for Light Fabrics have a transparent film. This means any part of your design that is white will just be clear, letting the color of the light-colored shirt show through. You always need to mirror your image before printing on these.
- Sheets for Dark Fabrics have an opaque, white background. This solid base ensures your colors pop and look true on a dark garment instead of getting muted or lost. You do not mirror the image when using this type of paper.
Picking the right paper is the key to getting vibrant, professional-looking designs, no matter what color shirt you're using.
Ready to create stunning, durable designs with ease? Raccoon Transfers offers premium, ready-to-press DTF transfers that work on any fabric, delivering vibrant colors and incredible detail. Upload your art and get started today at https://raccoontransfers.com.