
How to Design a Clothing Line from Scratch
Launching a clothing line is a journey with a few distinct stages. You’ll start by branding your vision, then move into creating production-ready designs and tech packs. After that, it’s all about sourcing materials, finding a manufacturer, and finally, crafting a launch strategy that gets people excited.
But let's be clear: killer sketches aren't enough. The real secret is building a strong business foundation before you even think about the clothes.
Defining Your Brand Before You Design Anything
Before you pick up a pencil or look at a single fabric swatch, you need to build a rock-solid brand identity. This is the single most critical step. I'm not just talking about a cool logo or a clever name—this is the soul of your business. It’s the story you're telling, the values you represent, and the connection you build with the people who wear your clothes.
Without this foundation, your designs are just pieces of fabric without a point of view. This is where you move from a fuzzy idea to a sharp, focused concept. It's about answering the big "why." In a market flooded with options, why should anyone care about your brand? Your unique perspective is the answer.
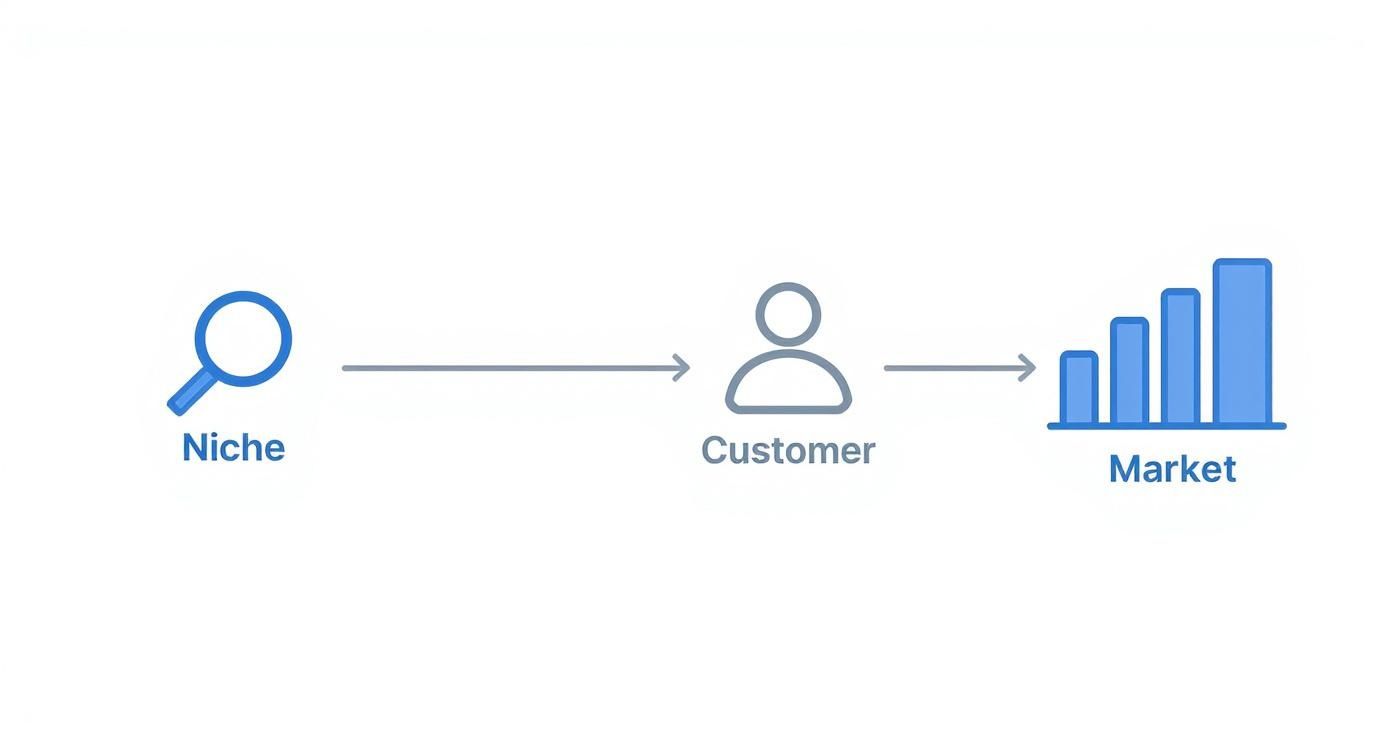
Pinpoint Your Niche and Ideal Customer
Here’s a hard truth: if you try to appeal to everyone, you’ll end up appealing to no one. Your first job is to carve out your specific corner of the market. This could be anything—sustainable activewear for city-dwelling yogis, or maybe vintage-inspired formalwear for a Gen Z crowd. Follow your passion here; choose a niche that you genuinely live and breathe.
Once you know your niche, you have to get laser-focused on your ideal customer. Don't just stick to basic demographics like age and location. Dig deeper. Ask the real questions:
- What do they value? Are they all about sustainability, or do they prioritize fine craftsmanship or a good deal?
- Where do they hang out online? Are they scrolling TikTok, reading niche fashion blogs, or following specific influencers?
- What are their aspirations? What kind of life are they trying to build for themselves?
- What are their frustrations? What’s missing from the clothes they see in stores right now?
Give this person a name, a job, a story. Make them real. This customer persona will become your North Star, guiding every single decision you make, from the cut of a jacket down to the texture of a button.
Analyze the Market and Your Competition
Okay, you know your niche and your customer. Now it’s time to scope out the competition. Find 3-5 direct competitors who are already talking to your audience. Break down what they’re doing—what are their strengths? What are their weaknesses? Maybe their price point is way too high, their quality is all over the place, or their branding just feels phony.
This isn't about copying what everyone else is doing. It’s about finding the gaps in the market. Your unique selling proposition (USP) lives in those gaps.
It also helps to understand the bigger picture. Knowing the global apparel market is valued at roughly $1.84 trillion shows you the sheer scale of this industry. And with the average U.S. household spending about $1,944 a year on clothes, it's clear people are always buying. This creates real opportunities for new brands that bring something fresh to the table.
To help you get started, use the questions below to build out your strategic framework. This is the heavy lifting you do now so everything else falls into place later.
Core Elements of Your Brand Foundation
Use these questions to build the strategic framework for your clothing line before you start designing.
| Element | Description | Example Question to Answer |
|---|---|---|
| Brand Mission | The "why" behind your brand. What is your core purpose beyond making money? | What problem are we solving or what value are we creating for our customers? |
| Vision Statement | The long-term impact you want your brand to have on the world or the industry. | What does the future look like if our brand is wildly successful? |
| Core Values | The guiding principles that dictate your brand's behavior and decisions. | What are 3-5 non-negotiable beliefs that will guide our product and marketing choices? |
| Target Audience | A detailed profile of your ideal customer, including their psychographics. | Who is the one person we are designing for, and what does their daily life look like? |
| Brand Voice | The personality and tone your brand uses in all communication. | If our brand were a person, how would they speak? Witty, inspiring, minimalist, bold? |
| Positioning | Where your brand fits in the market relative to competitors. | How are we different, and why should our ideal customer choose us over anyone else? |
Spending quality time on these elements isn't just a "nice-to-have"—it's a non-negotiable. It truly shapes your entire business. To see how these abstract ideas become a tangible identity, it’s worth understanding how naming strategy becomes language.
Of course, many amazing designers start out on a shoestring budget. If that's you, check out our guide on how to start a clothing brand with no money, where a strong brand foundation becomes your most valuable asset.
You’ve got a killer brand concept, a clear mission, and you know exactly who you're designing for. Fantastic. Now comes the fun part: turning that vision into actual, wearable clothing. This is where your big ideas get down to brass tacks, moving from mood boards and inspiration to the technical blueprints a factory needs to bring your line to life.
This is arguably the most exciting stage. It's where you take all the research, all the "why" behind your brand, and start answering the "what." What’s the silhouette going to be? What fabric will make it feel just right? How will the seams be finished? Every single choice has to connect back to the brand foundation you’ve already worked so hard to build.
Think of it like this: your market strategy is the foundation upon which every design decision is built.
This process shows that great design isn't just about a sudden flash of creativity. It's about making strategic choices based on a real understanding of where you fit in the market.
From Sketch to Technical Flat
A creative sketch is where the magic begins. It captures the vibe, the flow, and the overall aesthetic of a garment. But here’s a hard truth: a manufacturer can’t work from a stylized drawing. For that, you need what’s called a technical flat.
A technical flat is a clean, two-dimensional, black-and-white drawing of your garment as if it were laid out on a table. It has zero artistic flair because its job is to communicate purely technical information: seam lines, stitch types, pocket placement, hardware, and exact proportions. You can create these in design software like Adobe Illustrator or even Procreate on an iPad.
- Front and Back Views: These are non-negotiable. For more complex designs, like a jacket with unique side panels, you'll need side views, too.
- Stitching Details: Get specific. Use different line styles (dashed, solid, zig-zag) to show exactly what kind of stitching goes where.
- Proportions Matter: Your flat must be drawn to scale. This is how the pattern maker will understand the intended fit and dimensions.
A creative sketch sells the idea. The technical flat is the architectural drawing that gets it built.
The Anatomy of a Bulletproof Tech Pack
If the flat is the drawing, the tech pack is the entire instruction manual. Honestly, this is the single most important document you will create in the design phase. I’ve seen it time and time again: a sloppy or incomplete tech pack is the number one reason for production errors, blown budgets, and soured relationships with factories.
A solid tech pack leaves nothing to the imagination. It’s a detailed, multi-page document that acts as a contract between you and your manufacturer, spelling out every last detail required to make your garment perfectly.
A great tech pack is your insurance policy against production mistakes. The more detail you include, the less risk you assume. It forces you to think through every element of your design before a single yard of fabric is cut.
So, what exactly goes into one of these critical documents? It’s a whole lot more than just a drawing and a few measurements.
Key Components of an Effective Tech Pack
A professional tech pack is usually a multi-page PDF, with each section serving a distinct purpose to give the factory a complete picture.
1. Cover Sheet and Summary
This is page one, the quick overview. It should feature your technical flat, the style name or number (e.g., "The Essential Crew - 001"), the season, date, and your contact info. Add a brief, one-sentence description of the garment.
2. Bill of Materials (BOM)
The BOM is an itemized list of every single thing needed to construct the garment. Leave no stone unturned.
- Main Fabric: Specify composition (100% organic cotton), weight (180 GSM), and the exact color (use a Pantone TCX code for universal reference).
- Contrast Fabric: If you're using a different material for collars or cuffs, list it here with the same level of detail.
- Trims: This is everything else. Buttons, zippers, drawcords, sewing thread—list them all with sizes, materials, and colors.
- Labels: Don't forget to call out the main brand label, the care/content label, and the size label.
3. Construction and Stitching Details
This section gets into the nitty-gritty. You’ll use close-up diagrams—called "callouts"—from your flat to show exactly how the garment is sewn. For a t-shirt, you might specify a double-needle coverstitch for the hem and sleeves or a specific seam allowance for the ribbed neckband. Crystal-clear instructions here prevent a factory from defaulting to a cheaper or incorrect stitch.
4. Graded Spec Sheet
This is your measurement bible. The spec sheet provides the key "points of measure" (POMs) for your sample size (let’s say, a Medium). Crucially, it then shows how those measurements should "grade" up and down for the rest of your size run (XS, S, L, XL). This is what ensures a consistent fit for all your customers.
Mastering the tech pack is what separates the hobbyists from the serious brand owners. It’s the professional bridge that carries your creative spark into the world as a real, physical product.
Sourcing Materials and Perfecting Your Prototypes
You’ve done the hard work and now you have a bulletproof tech pack. This is the moment your idea stops being just an idea and becomes a real, manufacturable blueprint. Now comes the fun part: bringing it to life. This is where you make good on your brand's promise of quality, starting with the very threads of your garments.
Let’s be real—the right materials separate a good design from a product people actually want to buy and wear. Think about it. The soft feel of a perfect tee, the way a dress drapes, the satisfying pull of a sturdy zipper. These details create the experience that makes your price point feel worth it. It's a constant balancing act between your vision, the quality you're aiming for, and your budget.
Navigating the World of Fabric Sourcing
For a new designer, sourcing fabric can feel like stepping into a whole new world with its own language. It’s easy to get lost. The best way to start is by tying your material choices directly back to your brand identity. Are you all about sustainability? Then you'll be hunting down suppliers for organic cotton, recycled poly, or Tencel. Is luxury your game? Then you're looking for high-end silks and wools.
You've got a few different paths you can take to find your fabrics, and each has its ups and downs:
- Fabric Wholesalers: These guys buy huge amounts from mills and sell it in smaller chunks. They're a fantastic starting point because they usually have lower Minimum Order Quantities (MOQs), which is just the smallest amount of fabric you have to buy.
- Textile Mills: Going straight to the source where the fabric is made often gets you a better price per yard. The catch? Their MOQs can be massive—we're talking thousands of yards—which is just not feasible for most startups.
- Fabric Agents: Think of agents as your well-connected industry insider. They can hook you up with mills and suppliers to find unique stuff, but they take a commission or mark up the fabric price for their service.
- Online Marketplaces: These days, websites connect designers directly with suppliers all over the world. It’s incredibly convenient, but you can’t touch the fabric first. Always order swatches before you commit to buying a full roll.
Knowing your materials is a skill in itself. For example, if you're launching a t-shirt, you need to understand the difference between a jersey, interlock, or rib knit. It’s worth diving into a good guide on various t-shirt materials to get your bearings before you start spending money on swatches.
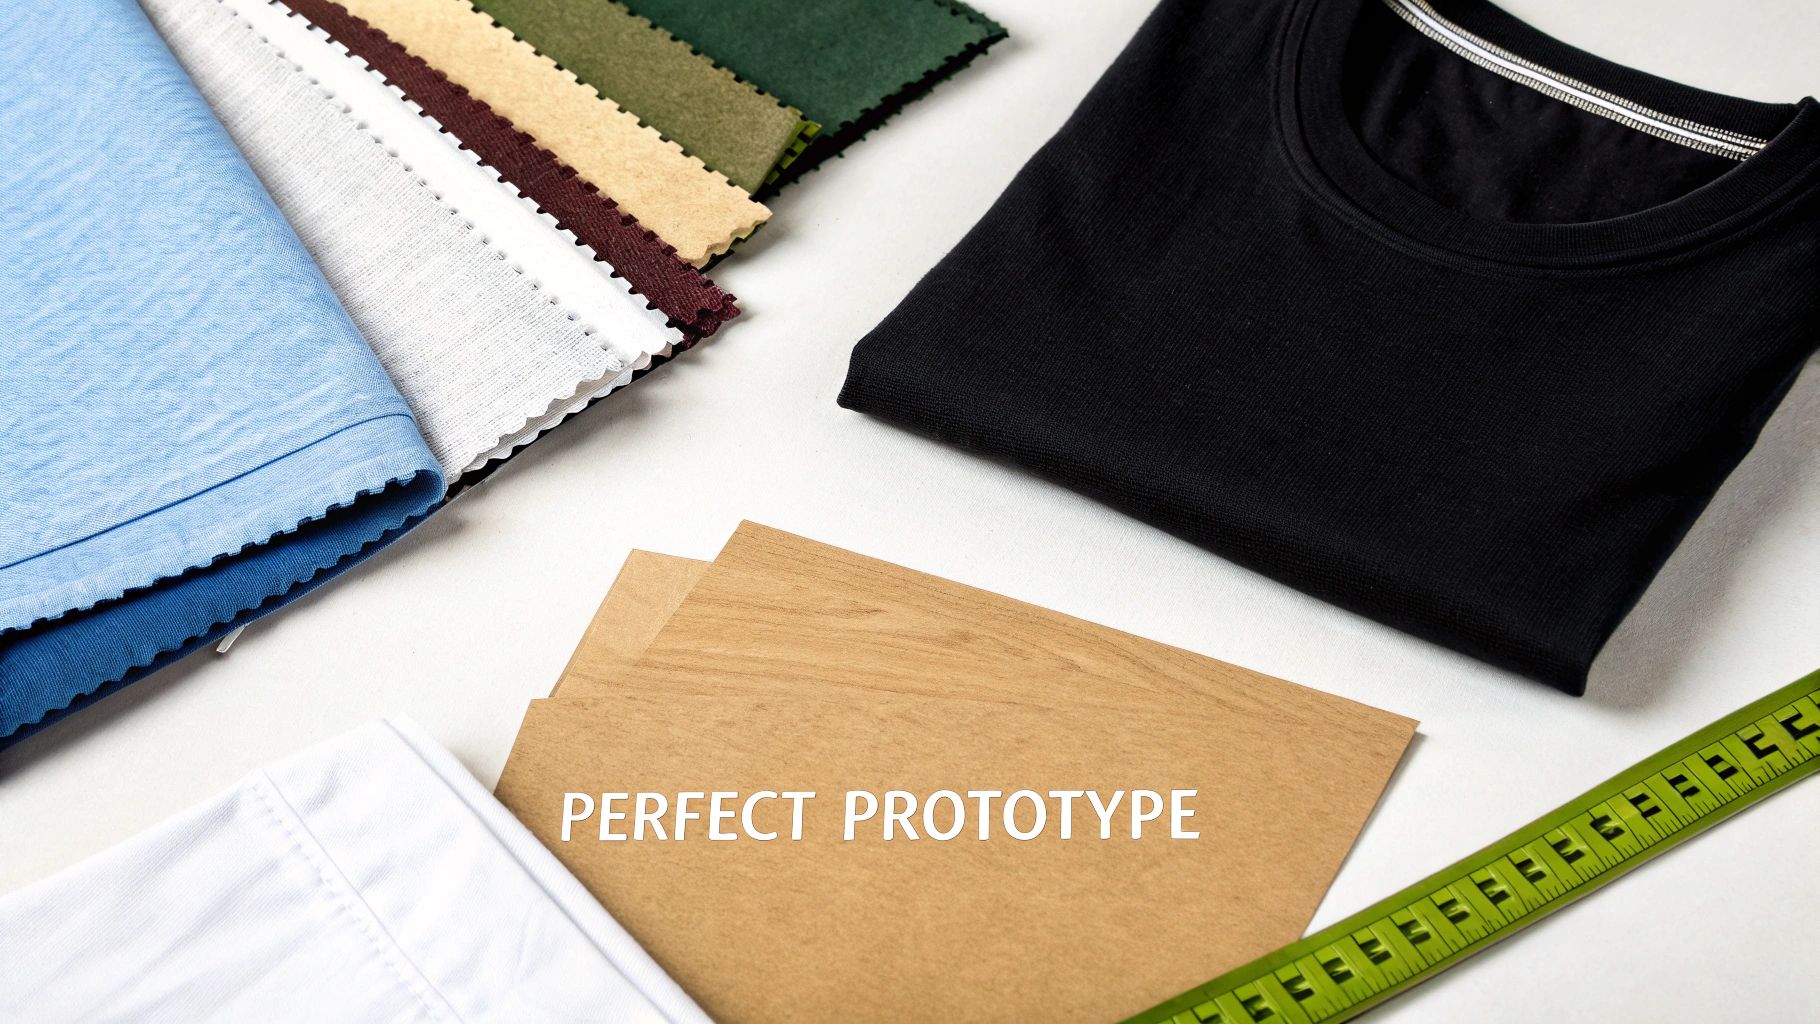
From Tech Pack to Physical Prototype
Okay, you've got your fabrics and trims sorted. It's time to make your first physical sample, or what we call a prototype. This is where your tech pack truly gets put to the test. You’ll need to find a pattern maker and a sample room (or a full-service factory that handles sampling) to partner with.
The pattern maker is the magician who turns your flat drawings into a physical pattern. Those pieces then go to a sample sewer, who stitches together your very first prototype. Spoiler alert: it's almost never perfect on the first go. That's totally normal. The whole point is to have a 3D starting point that you can refine.
The prototyping phase is a back-and-forth conversation between you and your production partners. The goal isn't perfection on the first try; it's getting closer with every single revision. Clear, constructive feedback is your best friend here.
Conducting a Productive Fit Session
The fit session is where you put on your critic's hat. This isn't just a casual try-on; it's a technical deep-dive. You’ll get the garment on a fit model—someone whose measurements match your target sample size—and scrutinize every single detail.
Get your phone out and take pictures of everything. Jot down detailed notes. You're looking for things like:
- Balance and Drape: Does the garment hang right? Or is it pulling, twisting, or creating weird folds?
- Fit and Proportions: Are the shoulders hitting the right spot? Is the sleeve too long? Is it baggy in the back but tight across the chest?
- Construction: Are the seams straight and flat? Is the stitching clean? Does the zipper work without catching?
Your feedback needs to be crystal clear. Don't just say, "the sleeves are weird." Instead, say, "the sleeves are 1 inch too long, and we need to reduce the bicep by half an inch to remove this excess fabric." Use pins to show exactly where the changes need to happen. This visual feedback, along with updated specs in your tech pack, ensures the next sample is a huge leap forward. It might take two, three, or even more rounds, but this is the work that results in a product you can be proud of.
7. Getting It Made: Production and Pricing
You’ve got a perfected sample in your hands. That’s a huge milestone! Now, it's time to shift gears from pure creativity to the business of making clothes. This is the stage where you figure out how to actually produce your designs and price them so your brand can thrive.
Honestly, your choices here are just as critical as the design itself. Getting your production and pricing strategy right from the start sets the foundation for whether you can scale, make a profit, and stick around for the long haul.
Finding the Right Manufacturing Partner
So, where do you get your clothes made? For most indie brands, it boils down to two main paths: local (domestic) or overseas. Each has its pros and cons, and the right choice really depends on your budget, how many pieces you're making, and how much control you want over the process.
For your first collection, I almost always recommend starting local. Domestic factories are used to working with new designers and usually have much lower Minimum Order Quantities (MOQs). This is a lifesaver. It means you don’t have to sink all your cash into thousands of units before you've even sold one.
Working with a factory in your own country also makes communication a million times easier. You can actually visit the facility, see your garments being made, and build a real relationship with the people sewing your clothes. The cost per piece will likely be higher, but the lower risk and hands-on learning experience are invaluable for your first run.
As your brand grows, manufacturing overseas becomes a more viable option. Factories in countries with major textile industries can offer much lower prices per garment, but they expect big orders to match. You’ll also be dealing with longer shipping times, customs, and potential language barriers. Most successful brands start local, prove their concept, and then explore overseas partners once they have steady sales.
One of the biggest mistakes new designers make is going overseas immediately to chase a lower unit cost. They end up with a garage full of inventory they can't sell. Start small and local—it minimizes your financial risk and teaches you an incredible amount about how manufacturing really works.
A Modern Approach for Startups: DTF Transfers
Traditional cut-and-sew isn't the only game in town. New production methods have opened up amazing opportunities for startups, and one of the best is Direct-to-Film (DTF) transfers. Think of it as a next-generation iron-on, but with professional, durable quality. You print your designs onto a special film, and then a heat press permanently applies them to blank garments.
This is a game-changer for a few key reasons:
- Tiny Minimums: You can order just a handful of transfers. This lets you make products on-demand as orders come in, instead of guessing how many of each size to stock.
- Seriously Cost-Effective: For small or medium runs, DTF avoids the massive setup fees that come with other methods like screen printing.
- Total Design Freedom: Unlimited colors, gradients, super-fine details—it’s all possible. You don't have to simplify your art to fit the production method.
This kind of flexibility is perfect when you're figuring out how to design a clothing line on a tight budget. You can test a bunch of different designs without committing a ton of money upfront.
Nailing Your Numbers: Costing and Pricing
With production figured out, let's talk money. Profit doesn't happen by accident; you have to plan for it. The very first thing you need to do is calculate your Cost of Goods Sold (COGS). This is the exact, all-in cost to produce a single, finished garment.
Your COGS needs to include every last detail:
- Fabric: The cost of your main material, broken down per garment.
- Trims: The price of every button, zipper, label, and bit of thread.
- Labor: This is your "Cut, Make, Trim" (CMT) cost—what the factory charges to actually assemble the garment.
- Packaging: Don't forget hangtags, poly bags, and anything else you use to package the item.
- Inbound Shipping: The cost to get the finished products from your factory to your doorstep.
Once you have a solid COGS number, you can set your wholesale and retail prices. The industry-standard formula is called the keystone markup. It’s pretty simple: your wholesale price should be at least double your COGS, and your retail price should be at least double your wholesale price.
For example, if your t-shirt has a COGS of $15, you’d set the wholesale price around $30. The retail price (or MSRP) would then be $60 or more. If you want to really get this right, check out our in-depth guide on how to price custom shirts. This formula ensures you have enough margin to pay for marketing, website fees, and all the other costs of running a business—while still making a profit.
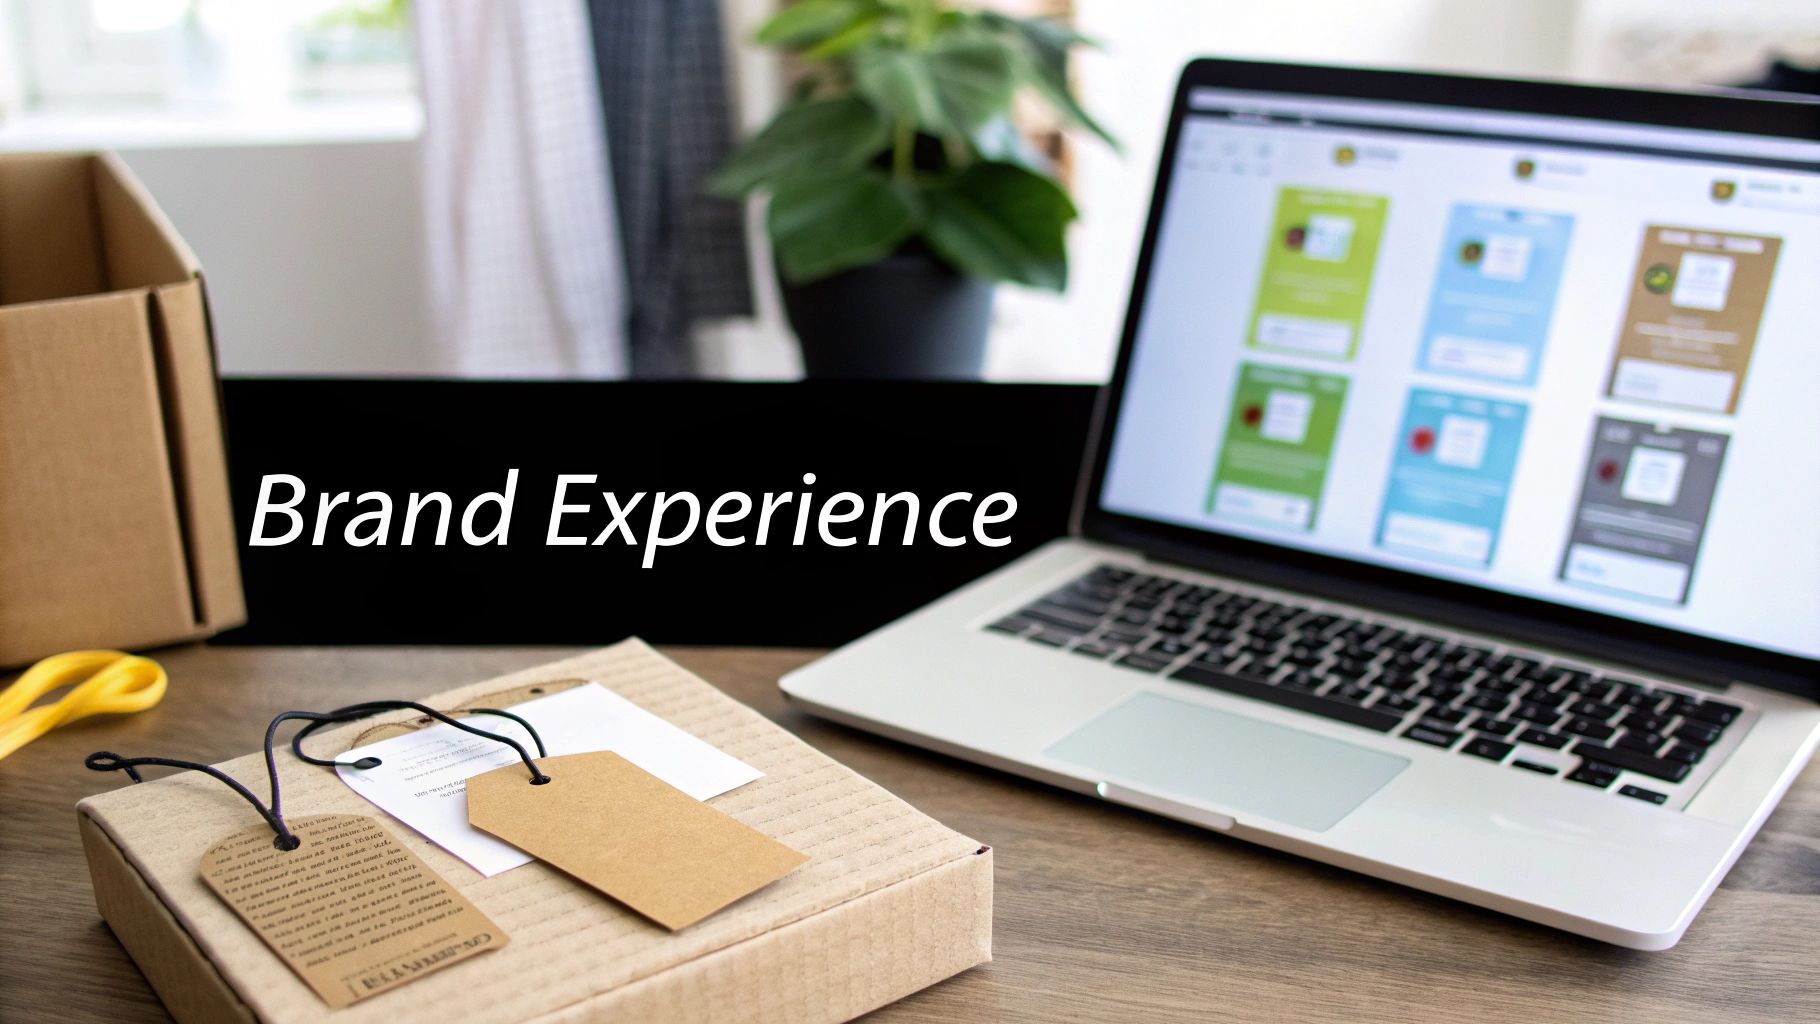
Building Your Brand Experience for a Successful Launch
Your designs are locked in, and production is sorted. That’s a huge milestone, but remember this: people don't just buy clothes; they buy into a brand. The final, and arguably most critical, piece of the puzzle is creating a memorable brand experience that turns a first-time buyer into a loyal advocate.
This is where you weave in the details that make your brand feel intentional and special. From the hangtags on the garments to the box that lands on their doorstep, every single touchpoint is a chance to tell your story and show your customer you’re serious about what you do.
Crafting the Unboxing Experience
Ever received a package that felt like a gift, even though you paid for it? That’s the magic of a great unboxing experience. It’s your first physical handshake with your customer, and it sets the tone for everything that follows.
The good news is you don’t need a massive budget to pull this off. Simple, thoughtful elements can elevate the entire moment.
- Custom Labels and Hangtags: These are non-negotiable. A clean, woven label in the neck and a custom hangtag with your logo instantly make a piece feel more premium and legitimate.
- Thoughtful Packaging: Ditch the generic poly mailer. Consider wrapping the garment in branded tissue paper. A small, printed thank-you card or even a cool branded sticker can make a massive impact for just a few cents.
- Eco-Conscious Choices: If sustainability is part of your brand DNA, prove it here. Use recycled mailers or compostable bags, and call it out on your packaging or thank-you note. Customers who care about this stuff will notice.
These little details show you’ve thought through the entire journey, not just the product. It’s what separates a real brand from a side hustle.
Managing Small-Batch Fulfillment
With your packaging ready, you need a solid plan for getting orders out the door. For a new brand, you're realistically looking at two paths for fulfillment.
1. In-House Fulfillment
This is the DIY route. You store the inventory, pack every order, and ship them yourself. The huge advantage here is total control—you can ensure every package is perfect and even add personal touches. The downside? It’s a time-suck, and as you grow, your living room can quickly become a chaotic warehouse.
2. Third-Party Logistics (3PL)
A 3PL is a company that handles warehousing, picking, packing, and shipping for you. You send them your inventory, and they fulfill orders as they come in. While it costs more, it frees you up to focus on what you do best: design and marketing. It's a fantastic option once your order volume becomes too much to handle solo.
Setting Up Your Digital Storefront
Your brand experience doesn't start when the box arrives; it starts online. The shift to e-commerce is undeniable. By 2025, global online fashion sales are projected to hit somewhere between $880–$975 billion, making up over 45–48% of all fashion retail. A killer digital presence isn't optional—it's essential.
For new founders, digging into the best e-commerce platforms for small businesses is a crucial first step. You need a platform that’s easy to manage but looks professional and can grow with you.
Your website isn't just a shop; it's your digital flagship store. High-quality product photography, compelling descriptions, and a clear brand story are what build trust and convince people to click "buy."
Your Pre-Launch Marketing Checklist
A strong launch doesn't just happen—it's the result of deliberate, strategic planning. In the weeks leading up to your grand opening, you need a game plan to make sure all your hard work gets the attention it deserves.
Here's a breakdown of the essential marketing tasks you should be focused on before you go live.
Your Pre-Launch Marketing Checklist
| Task Category | Specific Action | Recommended Timeline |
|---|---|---|
| Website & E-commerce | Finalize product pages with high-res photos and killer descriptions. Test the entire checkout process yourself—buy something! | 1-2 Weeks Before Launch |
| Social Media | Start teasing behind-the-scenes content. Plan out your launch week posts and get them scheduled in advance. | 2-3 Weeks Before Launch |
| Email Marketing | Set up a "coming soon" landing page to capture emails. Plan to send a pre-launch email to subscribers offering early access or a launch-day discount. | 4 Weeks Before Launch |
| Content Creation | Shoot lifestyle photos of your collection in action. Write a blog post or press release to announce the brand's arrival. | 3-4 Weeks Before Launch |
| Logistics | Make sure all your packaging materials are on hand and ready to go. Confirm your shipping process, whether it's you or a 3PL. | 1 Week Before Launch |
| Launch Day | Flip the switch and make your website live. Announce it everywhere—all social channels, email blast. Be ready to engage with every comment and question. | Launch Day |
By focusing on the complete brand experience, from that first Instagram ad to the moment they unbox their purchase, you’re doing more than just selling clothes. You’re building a brand that people connect with, remember, and want to be a part of.
So, you’ve done the creative work—you’ve nailed down your brand, sketched your designs, and mapped out a launch. But now the real questions start popping up. Let's get into the nitty-gritty stuff that every new founder asks.
Getting straight answers to these questions is the difference between a smooth launch and a series of expensive, frustrating lessons. Think of this as a quick, honest FAQ session to get you over those initial hurdles.
How Much Money Do I Actually Need to Start?
This is the million-dollar question, isn't it? The real answer is, it truly depends on your business model.
If you’re taking a leaner approach using print-on-demand or modern methods like DTF transfers, you can genuinely get started for under $2,000. That budget typically covers your business registration, a simple website, and some basic branding, all without you having to buy a mountain of inventory upfront.
But if your vision involves a more traditional cut-and-sew collection—say, 3-5 distinct styles—the startup costs jump significantly. You’re realistically looking at a budget of $10,000 to $15,000. That money goes into sourcing quality fabrics, paying for professional pattern making, getting multiple rounds of samples just right, and funding that first small production run.
What are the Biggest Rookie Mistakes to Avoid?
I see new designers trip over the same hurdles time and time again. One of the biggest is wildly underestimating how much things cost and how long they take. Trust me: production always costs more and takes longer than your most conservative estimate.
Another classic mistake is ordering way too much inventory right out of the gate. The math on bulk orders looks so tempting—a lower cost per unit feels like a win. But it’s a huge gamble. Getting stuck with dead stock can kill your cash flow and your brand. Start small, see what sells, and then scale up.
And please, don't just focus on the product. So many incredible designs fail because the founder forgot they also need to build a brand story and a marketing plan. A perfect t-shirt is just a t-shirt if no one knows it exists.
A detailed, bulletproof tech pack is non-negotiable. Vague instructions lead to miscommunication with manufacturers, resulting in costly production errors and wasted samples that can sink a new brand before it even starts.
Should I Work with a Factory Here or Overseas?
Choosing between local and overseas manufacturing is a huge decision, and there’s no single right answer. It all comes down to what you’re prioritizing.
Here’s a quick breakdown to help you think it through:
-
Local Manufacturing: This is all about control and speed. Communication is a breeze, turnaround times are much faster, and you can usually get away with lower minimum order quantities (MOQs). Being able to pop into the factory to check on quality is an incredible advantage for your first run. The catch? The cost per garment is almost always higher.
-
Overseas Manufacturing: The big draw here is the lower cost, especially as you start producing more. But that comes with a lot of strings attached. You'll face higher MOQs, potential language and time zone barriers, much longer lead times for production and shipping, and the headache of customs.
For anyone just starting out, I almost always recommend manufacturing locally if you can swing it. It’s the safer bet. You’ll learn the ropes of production with less risk before you even think about taking your manufacturing international.
Ready to bring your designs to life without the risk of massive inventory orders? Raccoon Transfers specializes in high-quality, durable DTF transfers perfect for startups and small brands. Test your designs, launch new products, and scale at your own pace. Explore our solutions at https://raccoontransfers.com.