
How to Heat Press T Shirts A Pro's Guide
Learning how to heat press a t-shirt really comes down to getting three things right: time, temperature, and pressure. It’s that simple trio that stands between a blank shirt and a professional, long-lasting print. The whole process is pretty straightforward—you’ll pre-press the shirt, place your transfer, and apply heat using just the right settings.
Your Guide to a Perfect T-Shirt Press
Ready to turn those blank tees into wearable art? This guide walks you through the same techniques the pros use to get a perfect press every single time. We're moving past the basic instruction manual to give you a real-world look at the workflow, from prepping the fabric to that final, satisfying peel.
This is more than just a hobby; it’s a gateway into a booming industry. The custom t-shirt market was valued at a massive USD 6.46 billion in 2024 and is expected to hit nearly USD 15.89 billion by 2033. That explosive growth is all thanks to people wanting unique, personalized clothing.
The Foundational Workflow
Of course, before you can press anything, you need a great design. If you're looking for inspiration or a quick way to generate graphics, tools like an AI T-Shirt Design Generator can be incredibly helpful. Once you have your artwork printed on a DTF transfer, it's time to get hands-on.
The journey from a plain shirt to a finished product isn't complicated, but every stage matters. Getting each one right is what ensures your design not only looks fantastic but also holds up in the wash. This is the heart of heat transfer printing, a super versatile method for creating all kinds of custom gear.
Key Takeaway: A great press is all about following a consistent process. From my experience, the biggest mistakes people make are skipping the pre-press or just guessing on the settings. Those little details make all the difference.
To help you get started on the right foot, I've created a quick cheat sheet with the must-know settings for a standard cotton tee. Think of it as your quick-glance guide before you press.
Heat Pressing At-a-Glance Cheat Sheet
| Parameter | Recommended Setting | Critical Tip |
|---|---|---|
| Temperature | 300-320°F (149-160°C) | Always verify with your specific transfer's instructions. |
| Time | 10-15 seconds | Start on the lower end; you can always add a second or two if needed. |
| Pressure | Medium to Firm (6-8 on a dial) | Ensure even pressure across the entire design for a clean application. |
| Peel | Cold Peel | Let the transfer cool completely to the touch before removing the film. |
This table covers the essentials, but the full workflow involves a bit more. Let's break down the main phases you'll go through. Getting these right turns a good press into a great one.
Here’s a look at the key stages:
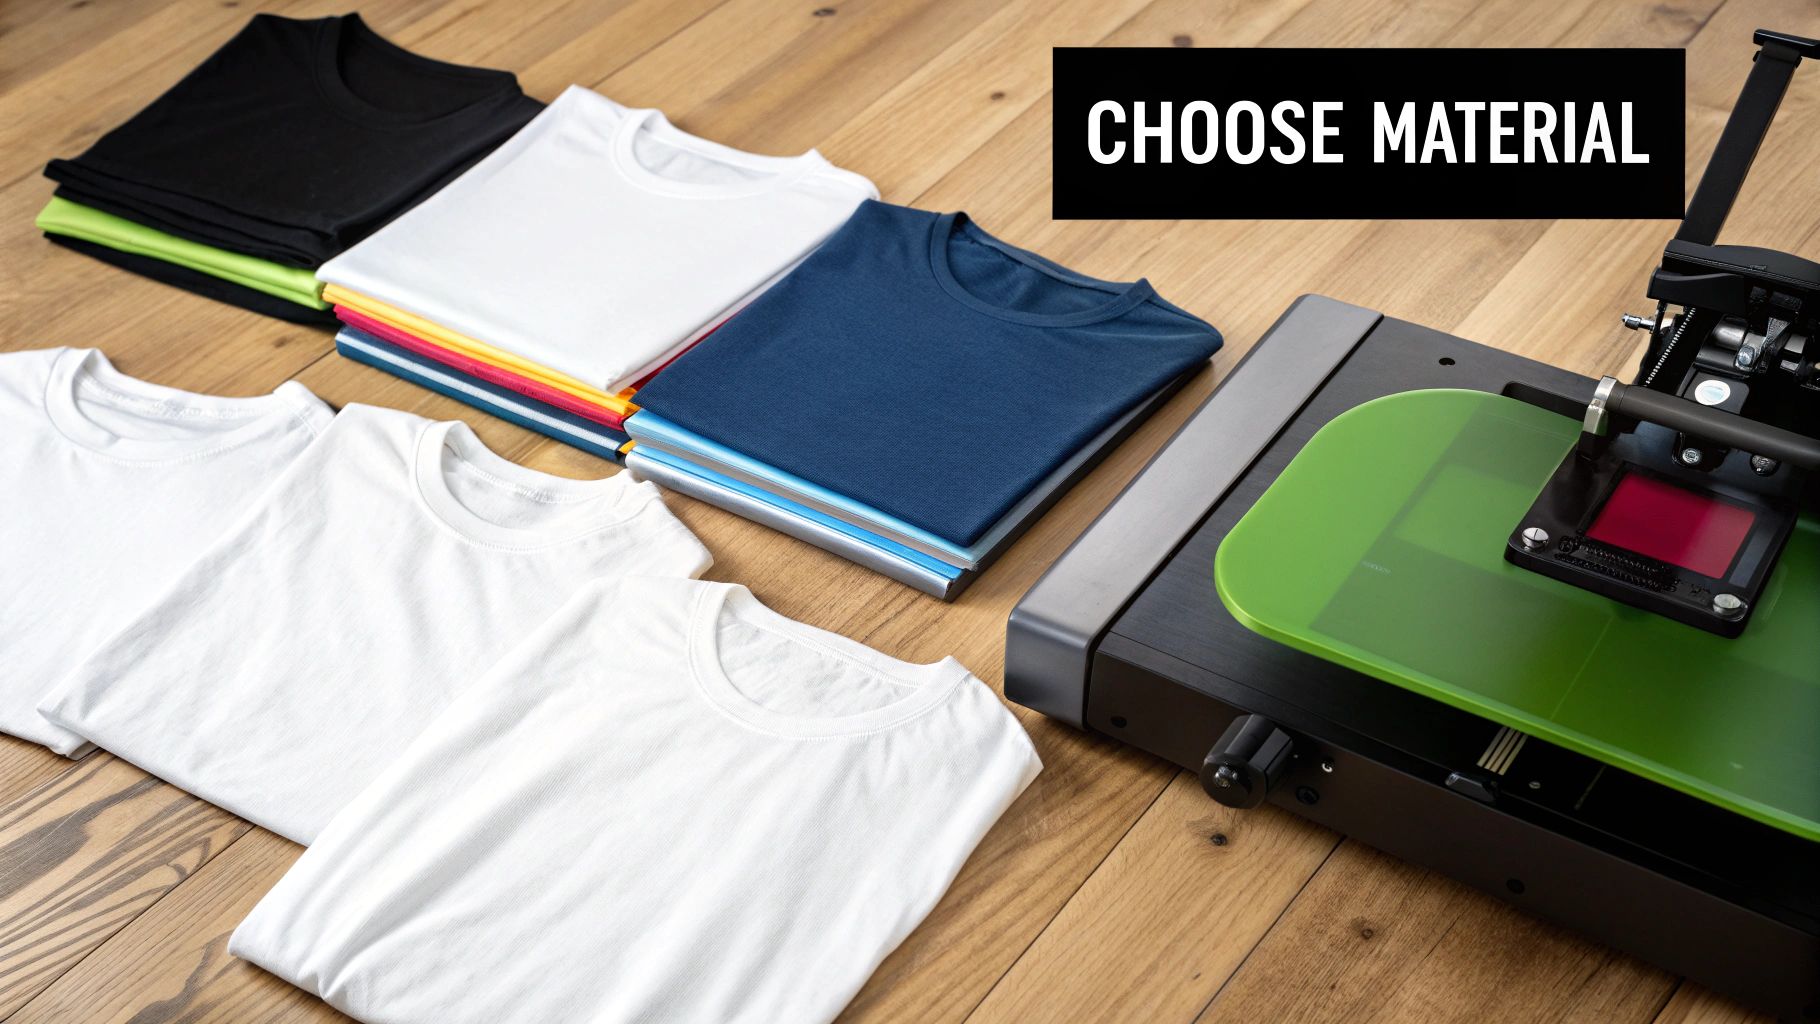
- Preparation: This is all about getting your station ready. You'll gather your supplies, make sure your workspace is clean, and most importantly, prep the shirt by removing any moisture and wrinkles.
- Application: Now for the main event. This is where you'll carefully align the transfer, lock in the correct settings on your heat press, and perform the actual press.
- Finishing: The job isn't done when the timer beeps. The final steps—letting it cool properly, peeling the film correctly, and doing a quick finishing press—are what lock in the design for maximum durability and give it that perfect soft-hand feel.
Setting Up Your Workspace and Tools
A fantastic t-shirt begins long before the timer on your heat press starts. A well-organized workspace isn't just about being tidy; it’s about safety, efficiency, and getting consistent results every single time. When you create a dedicated area for your projects, you avoid costly mistakes and make the whole process much smoother—especially when you're juggling multiple orders.
Think of your setup as mission control. Everything you need should be within arm's reach so you’re not scrambling for a tool mid-press. Planning your station is the first real step to a successful press. For some great tips that apply perfectly here, check out this guide on setting up an efficient craft workspace.
Choosing Your Core Equipment
Your heat press is the heart of your entire operation. It's no surprise that the global market for these machines is booming, with sales projected to jump from $1.2 billion in 2024 to an incredible $2.3 billion by 2033. This explosion shows just how vital this tool has become for anyone serious about custom apparel.
When it comes to picking a press, you’ll generally be looking at two main styles:
- Clamshell Press: Just like the name suggests, this design opens and closes like a clam. They are fantastic space-savers, which makes them a popular choice for smaller workshops or home-based businesses. The only potential downside is that the limited workspace can make lining up your transfers a bit trickier.
- Swing-Away Press: With this style, the top platen swings completely away from the bottom one. This gives you a wide-open, unobstructed view of your workspace, making it much easier to place your garment and transfer without worrying about accidentally burning your knuckles.
If you want to dig deeper into finding the right machine for you, take a look at our guide on selecting the best heat press machine for shirts.
Gathering Your Essential Supplies
Beyond the press itself, a handful of supplies are non-negotiable if you're aiming for that professional, store-quality finish. Having these ready to go ensures every project goes off without a hitch.
A common rookie mistake is thinking the press is all you need. In my experience, forgetting a Teflon sheet or misplacing your heat tape is what leads to scorched shirts and crooked designs. Keep these supplies stocked and organized.
Here are the must-haves for your toolkit:
- High-Quality DTF Transfers: The final print is only as good as the transfer you start with. Using premium Raccoon Transfers is your best bet for vibrant colors and wash-after-wash durability.
- Teflon Sheet or Cover: This is your shirt's best friend. It’s a protective sheet that prevents ink from sticking to your heat platen and shields the garment from the harsh, direct heat that can cause scorching.
- Heat-Resistant Tape: This stuff is crucial. It holds your DTF transfer perfectly in place on the shirt, so you never have to worry about it shifting when you close the press.
- Heat Press Pillow: This is a foam-filled, heat-resistant cushion you place inside the shirt. It’s a lifesaver for creating a flat, even surface when you’re pressing over seams, zippers, or thick collars.
Dialing in Your Heat Press Settings
Alright, this is where the real magic happens. Getting your heat press settings just right is the key to making your Raccoon Transfers DTF designs look vibrant, feel soft, and last for ages. I like to think of temperature, time, and pressure as a recipe—if one ingredient is off, the final dish just won't be quite right.
Getting these settings dialed in ensures the transfer's adhesive creates a rock-solid bond with the shirt's fibers. That bond is what keeps the design from cracking or peeling after it's been through the wash a dozen times.
Temperature and Time: The Dynamic Duo
Temperature is probably the most important setting to get right. For our DTF transfers on a standard 100% cotton shirt, you’re looking for a sweet spot between 300-320°F (149-160°C). That range is just hot enough to cure the adhesive perfectly without scorching the cotton.
But remember, not all fabrics are created equal. Materials like polyester are much more sensitive to heat. If you're pressing on polyester or poly-blends, you'll want to drop that temperature down to around 275-300°F (135-149°C). This helps you avoid any melting or those dreaded shiny press marks.
Pro Tip: Don't just take your machine's word for it. From my experience, the temperature on the digital display isn't always what the platen is actually putting out. Grab an infrared temperature gun and check a few spots. It's not uncommon to find it’s 10-15°F off from what the screen says.
Once your heat is set, it’s all about timing. Most DTF applications are quick, usually needing just 10 to 15 seconds. If you press for too long, you can actually overcook the transfer, which can dull the colors and even damage the fabric. If you want to get really granular on how different materials respond to heat, check out our heat press temperature guide.
Getting a Feel for the Right Pressure
Pressure can be the trickiest setting to master because it's so subjective. You'll see instructions that say "medium" or "firm" pressure, but what does that really feel like? It all comes down to the force your press uses to create that even bond.
Here’s a quick breakdown of what I mean:
- Light Pressure: The press closes with almost zero resistance. You’ll rarely, if ever, use this for DTF.
- Medium Pressure: You feel solid resistance as you close the handle. It takes a confident push to lock it, but you're not wrestling with it.
- Firm Pressure: This is a two-hander. You’ll need to put some real effort into clamping it down, applying significant force to embed the adhesive into the fabric weave.
For Raccoon Transfers on most tees, you’re shooting for medium-to-firm pressure. The best way to know if you've nailed it? After you press, look closely at the transfer. You should be able to see the texture of the shirt’s fabric slightly pressed into it. That's the visual cue you're looking for—it tells you the bond is perfect and that print isn't going anywhere.
Time to Press: A Step-by-Step Guide
Alright, you've got your heat press dialed in and your Raccoon Transfers are ready to go. This is where the magic happens. Let's walk through the entire process, from prepping the shirt to that incredibly satisfying final peel.
The reliability of this process has come a long way, largely thanks to Direct-to-Film printing. By 2025, DTF had really taken over as a go-to heat transfer method. Its ability to work on so many different fabrics—not just cotton—along with its incredible color and durability, made it a game-changer. If you're interested in the nitty-gritty, you can discover more insights about the heat press market and see where things are headed.
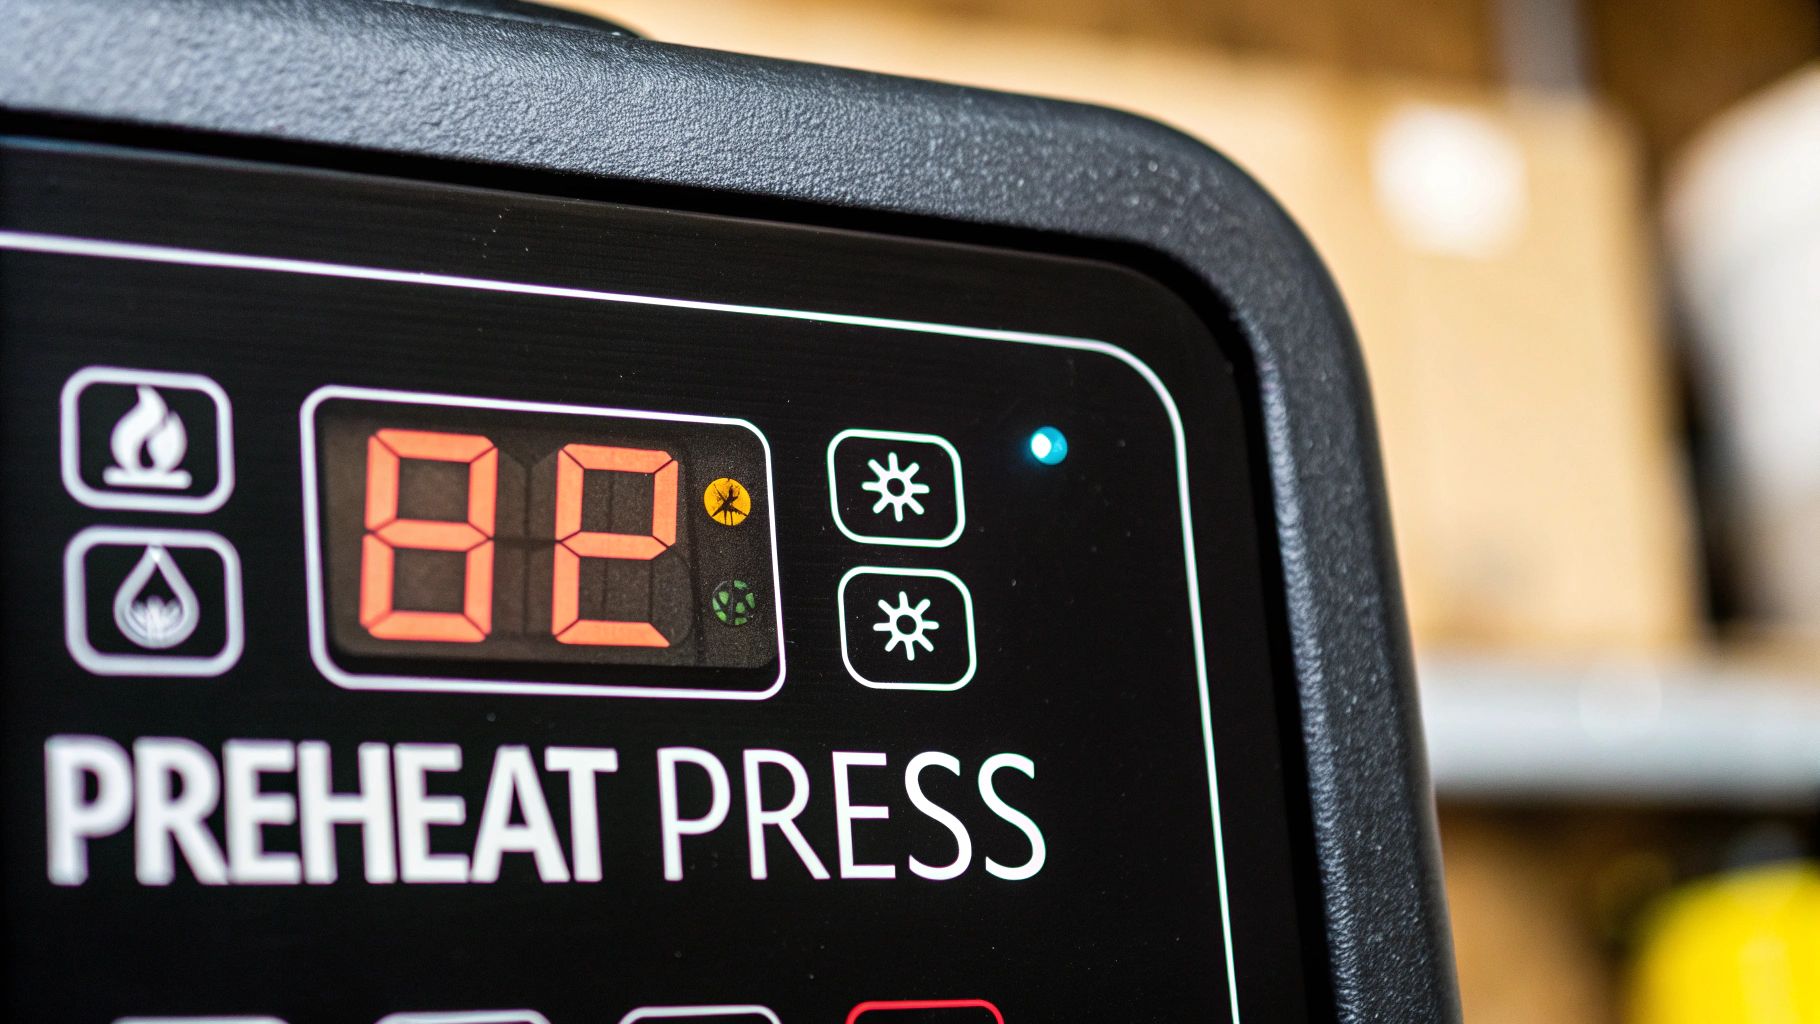
Don't Skip the Pre-Press
This is the most common mistake I see people make. Every single t-shirt, even one fresh out of the bag, has wrinkles and holds a bit of moisture. A quick pre-press is your best defense against a failed transfer.
Just lay your shirt flat on the press and give it a quick hit for about 5-7 seconds. This does two crucial things: it gets rid of any moisture that could mess with the transfer's adhesive, and it gives you a perfectly smooth canvas to work on.
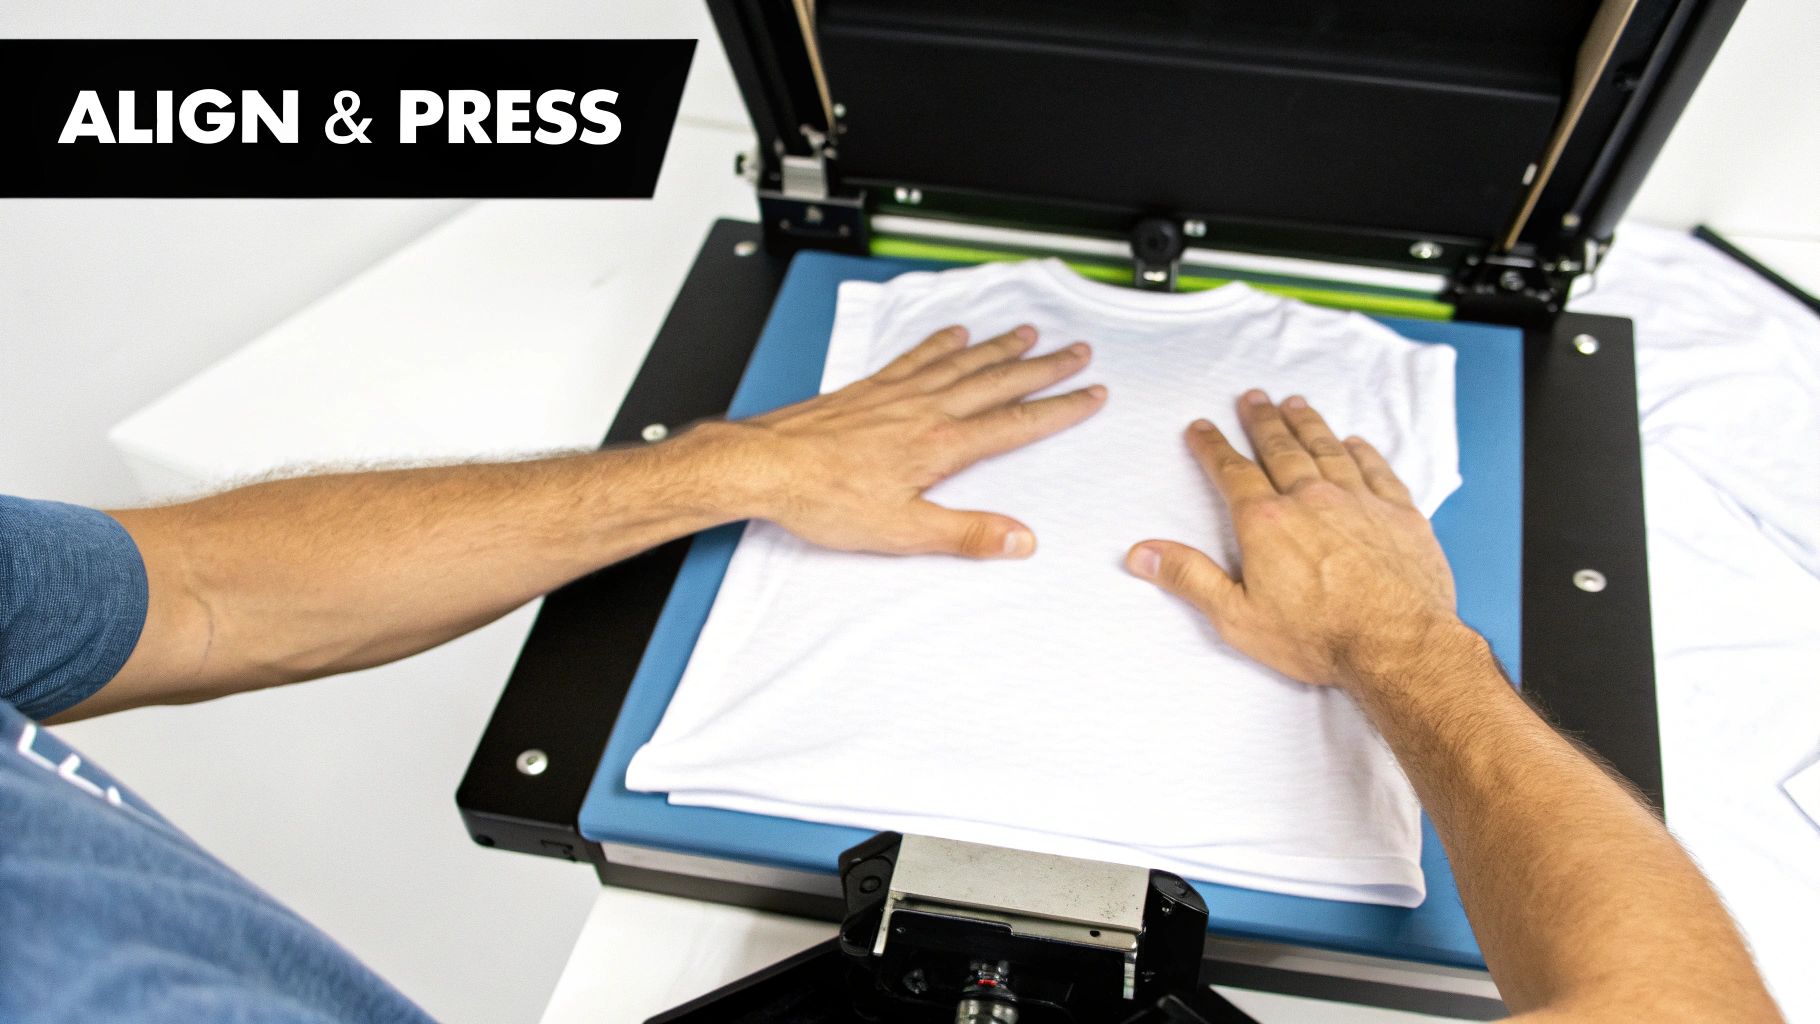
Getting Your Transfer Lined Up
Great alignment is what makes a shirt look professional instead of something you just slapped together. Centering a design can feel a bit tricky at first, but I have a simple trick that works every time. Fold the shirt in half vertically and give it a very light press to create a subtle centerline.
You can do the same thing with your Raccoon Transfers print. Gently fold the film in half (be careful not to crease the actual design) to find its center. Now, all you have to do is line up those two center marks. For placing it vertically, a good rule of thumb is to position the top of your design about three inches down from the collar—roughly the width of four fingers.
This infographic gives you a quick visual of the main steps in the process.
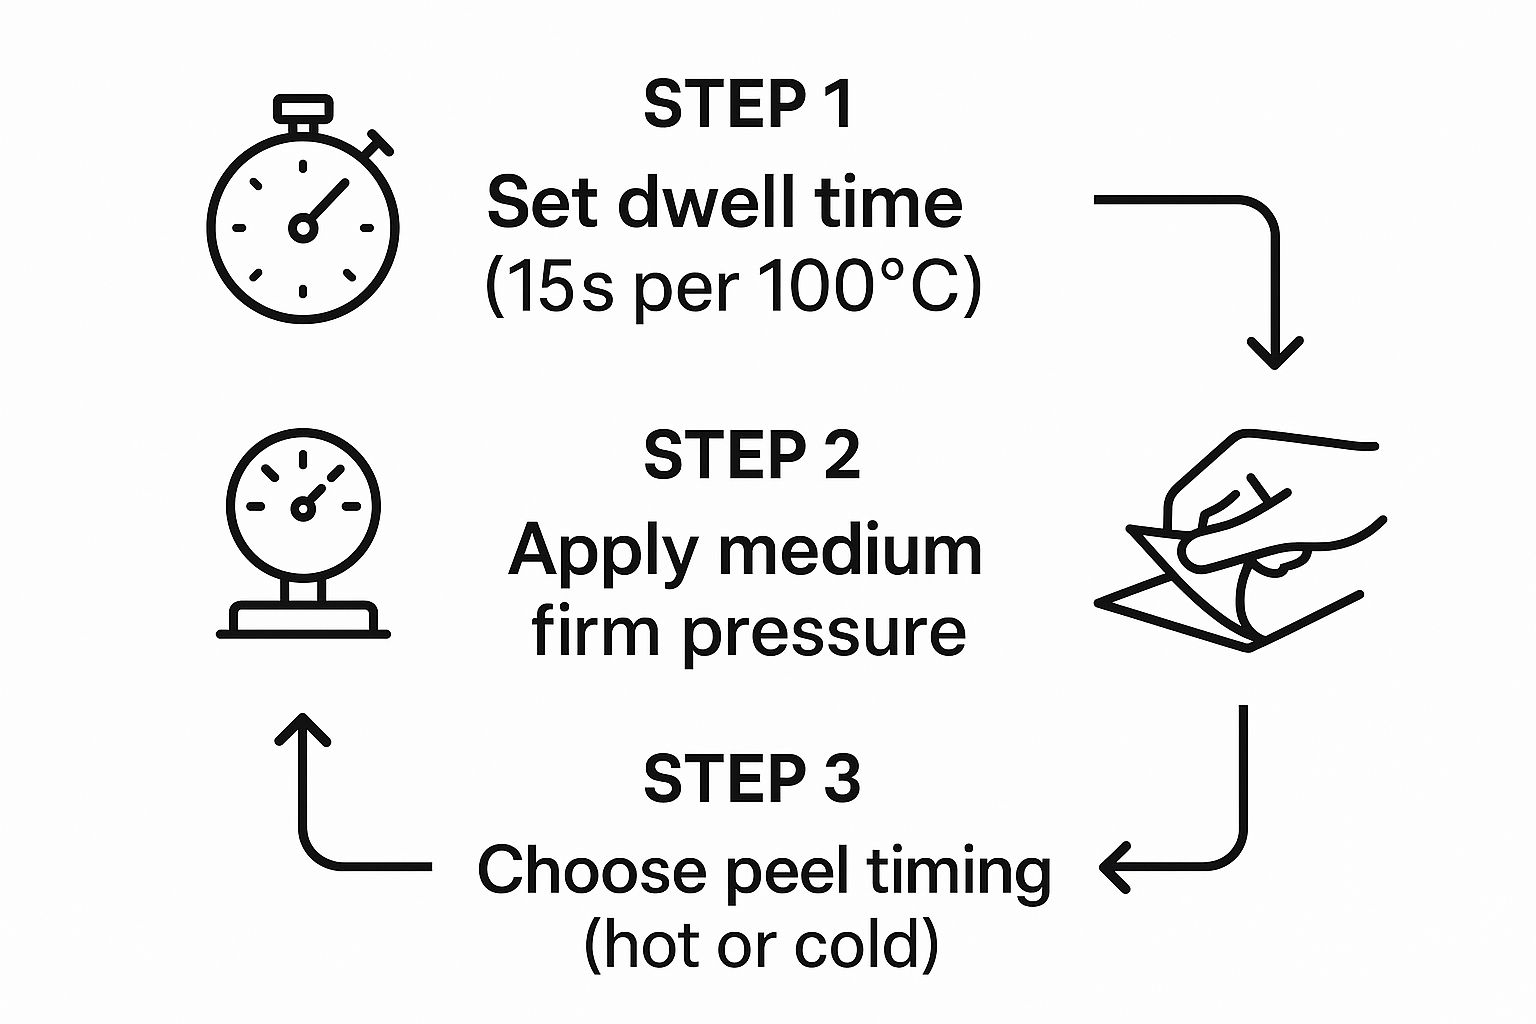
It’s a great little cheat sheet for remembering how time, pressure, and the peel all work together to give you that perfect result.
The Main Event and the Cool Down
Once you're happy with the placement, use a couple of small pieces of heat-resistant tape to hold the transfer in place. This prevents it from shifting when you close the press. Lay a Teflon sheet over the top to protect everything, then lock it down with firm pressure and let the timer run.
When you hear that beep, open the press and carefully slide the shirt out. And now for the hard part: waiting. Raccoon Transfers are a cold peel transfer. This is critical. The shirt and the film must cool down completely before you even think about peeling. Peeling it warm will absolutely ruin your hard work.
The Peel and the Finishing Touch
Once the garment is completely cool to the touch, you're ready. Start at a corner and peel the film back. The key is to pull it low and slow, almost doubling it back on itself at a sharp angle. You'll see the design stay perfectly on the fabric as the film releases.
Pro Tip: Don't stop there. For a truly professional, soft-hand feel and maximum durability, do one last finishing press. Cover the design with your Teflon sheet again and press for another 5-7 seconds. This final step really embeds the ink into the fabric's fibers, making it feel less like a sticker and improving how well it holds up in the wash.
Troubleshooting Common Heat Pressing Problems
Even with the best prep, things can go wrong at the press. Don't sweat it. Most of these hiccups are common rites of passage in the t-shirt game, and thankfully, they usually have simple fixes. Think of this as your field guide to diagnosing and solving those frustrating press-time puzzles.
When a transfer goes sideways, it almost always comes back to one of the big three: temperature, time, or pressure. Nailing that trifecta is the secret sauce for a perfect press every single time. Let's walk through the most common issues you'll run into.
Why Aren't My Transfers Sticking?
This is the big one. You press the shirt, go to peel the film, and the design decides to come right off with it. It’s a frustrating moment, but the solution is usually right in front of you.
Nine times out of ten, the problem is pressure. The adhesive on the back of your Raccoon Transfers DTF transfer needs to be pushed firmly into the fabric's weave to create a solid bond. If your pressure is too light, the transfer simply can't get a good grip.
The other common mistake is peeling too soon. Our transfers are a cold peel, which is a crucial detail. The adhesive needs time to cool down and harden onto the fabric. Be patient and wait until the film is completely cool to the touch before you even think about peeling it back.
Help! My Design Is Peeling After One Wash!
Getting that dreaded message from a customer—complete with a photo of a cracked or peeling design—is a feeling no one wants. This problem almost always points to an incomplete cure during the press.
If your heat is too low or your press time is too short, the adhesive never fully melts and bonds with the garment. It might look perfect right off the press, but that weak bond will fail the first time it meets a washing machine. For cotton and similar fabrics, make sure you're hitting that 300-320°F sweet spot.
A Pro Tip From the Trenches: I never skip the finishing press. It's a game-changer for durability. After your cold peel, cover the design with a Teflon sheet or parchment paper and hit it again for another 5-7 seconds. This extra step melts the ink into the fibers, giving it a softer feel and massively improving washability.
Oh No, I Scorched the Shirt!
Seeing that faint yellowish box around your design on a crisp white shirt is a heart-sinking moment. Scorch marks are a dead giveaway that your temperature is too high for the material. Cotton can take a beating, but more delicate fabrics like polyester will burn if you're not careful.
Here's how to avoid scorching your garments:
- Dial Down the Heat: For polyester or sensitive blends, try dropping the temp into the 275-300°F range.
- Use a Protective Cover: A Teflon sheet or even a thin piece of parchment paper can work wonders. It acts as a buffer, distributing the heat more gently and protecting the fabric from direct contact with the hot platen.
- Don't Add Extra Time: More time doesn't equal a better press. Stick to the recommended time, as lingering too long is a surefire way to burn the fabric.
Every presser runs into issues, but being able to quickly diagnose the problem is what separates the pros. Here’s a quick-glance table for those moments you need a fast answer.
Common Issues and Quick Fixes
| Problem | Likely Cause | Solution |
|---|---|---|
| Transfer won't stick | Not enough pressure. | Increase to firm/heavy pressure. Ensure platen is level. |
| Design lifts during peel | Peeling while the film is still warm. | Let the transfer cool completely to the touch before peeling. |
| Cracking after washing | Heat was too low or time was too short. | Verify press is at 300-320°F. Add a 5-7 second finishing press. |
| Scorched marks on fabric | Temperature is too high for the material. | Lower heat to 275-300°F for polys/blends. Always use a cover sheet. |
| Uneven or patchy transfer | Uneven pressure from the heat press. | Check your press for cold spots. Ensure no seams or zippers are on the platen. |
Remember, these aren't failures—they're learning experiences. Each misstep teaches you more about the relationship between your transfers, your machine, and your garments. Keep these fixes in your back pocket, and you'll be pressing with confidence in no time.
Answering Your Top T-Shirt Pressing Questions
As you get the hang of heat pressing, you're going to run into questions. It's just part of the process. Every shirt, transfer, and heat press has its own little quirks. I've put together some of the most common questions I hear from both newcomers and seasoned pros to give you some quick answers that will help you dial in your technique.
Think of this as your cheat sheet for those "what do I do now?" moments. Nailing these details is often the difference between a good shirt and a great one.
What’s the Best Fabric to Use for Heat Pressing?
Everyone loves a classic 100% cotton tee or a soft cotton/poly blend. They're the workhorses of the custom apparel world for a reason—they feel great and give you consistent results. But you're definitely not limited to just those. One of the best things about using our Raccoon Transfers DTF prints is just how versatile they are.
These transfers stick beautifully to a whole range of fabrics, opening up a ton of possibilities:
- 100% Polyester: A must-have for performance gear and athletic apparel.
- Tri-Blends: If you're going for that super-soft, vintage vibe, these are perfect.
- Nylon and other synthetics: This lets you expand into things like custom jackets and bags.
The single most important thing is to check the specific instructions for your transfer. And whenever you're trying a new fabric, do a test press on a small scrap piece first. Trust me, that one little test can save you a lot of frustration and a perfectly good garment.
Should I Be Pre-Washing My Shirts?
This one trips a lot of people up, but the answer is almost always no. Brand new shirts come from the factory with sizing chemicals, and while it might seem like you should wash them out, these can actually interfere with the transfer's adhesive.
That quick 5-7 second pre-press you do before placing your design is all you need. It zaps any moisture and flattens the fabric for a perfect application. Washing a new shirt can actually cause problems by adding lint, leftover fabric softener, or moisture back into the fabric, which are all enemies of a good press.
The only time you might consider it is if you're trying to intentionally pre-shrink a 100% cotton shirt. Just know that washing can change the fabric's texture a bit, which might affect how your final print looks and feels.
How Do I Stop That Square Outline From Showing Up?
Ugh, the dreaded press box. We've all been there. That faint square outline left behind by your heat platen is usually a dead giveaway that you're using too much pressure, especially on tricky fabrics like polyester or dark cottons.
Your first move should be to back off the pressure a bit. You're looking for firm, even contact, not trying to crush the shirt into oblivion. Another game-changing trick is to use a heat press pillow. When you slide a pillow inside the shirt, it raises the print area. This ensures only the design gets the firm pressure it needs, while the edges of the platen barely touch the surrounding fabric, completely eliminating that boxy mark.
What Are the Right Care Instructions for These Shirts?
To make sure all your hard work lasts, giving your customers the right care instructions is key. You want those shirts to look fantastic for a long, long time. Just have them follow these simple rules.
- Wash the shirt inside out in cold water.
- Tumble dry on a low setting—or even better, hang it up to dry.
- Steer clear of bleach and fabric softeners, which can eat away at the transfer's adhesive.
- Never, ever iron directly on the design itself.
Following these steps protects the design from the heat and friction of the laundry cycle, keeping it vibrant and intact through dozens of washes.
Ready to create some seriously impressive custom apparel? Raccoon Transfers delivers top-quality, easy-to-use DTF transfers with next-day shipping. Start building your gang sheet today!