
How to Print an Iron On Transfer Like a Pro
Before you can bring your design to life, you need to gather your tools. It’s a simple but crucial step. Getting your setup right from the start is the difference between a custom shirt you’ll love for years and one that cracks and fades after the first wash.
Gathering Your Gear for a Flawless Transfer
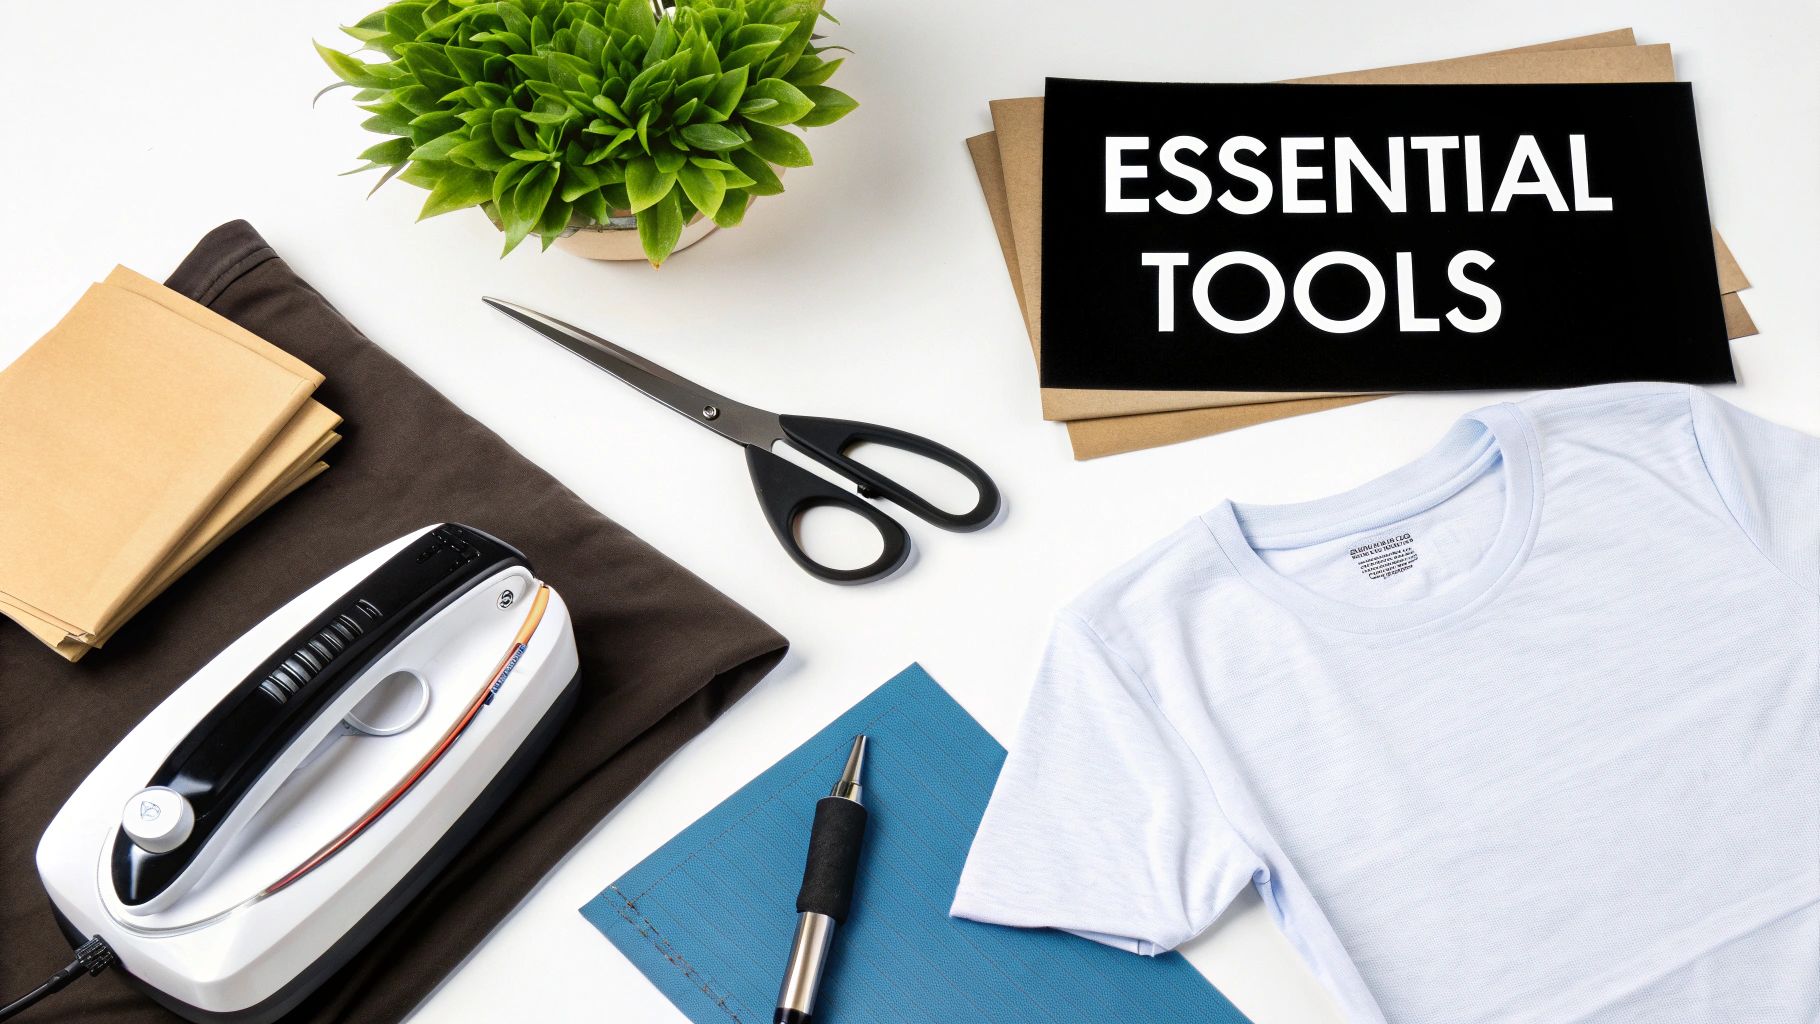
The secret to a polished, professional-looking iron-on design isn't just about how you press it—it all begins with your supply list. Having the right gear ready to go makes the entire process smoother and helps you sidestep those common mistakes that can completely ruin a project.
Think of this as your mission prep. Getting everything in order now means you can focus on the creative part later without any frustrating interruptions.
To make it easy, here's a quick checklist of everything you'll need.
Your Iron On Project Supply Checklist
| Item | Recommendation | Why It Matters |
|---|---|---|
| Heat Transfer Paper | Specific to your fabric color (light vs. dark) | This is non-negotiable. Using the wrong paper will ruin the color and opacity of your final design. |
| Inkjet Printer | Any standard home inkjet printer | Most transfer papers are designed for standard inkjet ink. A laser printer won't work unless you have laser-specific paper. |
| Heat Source | Heat Press (recommended) or Household Iron | A heat press provides the consistent heat and even pressure needed for a durable, professional-quality transfer. |
| Cutting Tool | Scissors or a cutting machine (e.g., Cricut) | Clean, precise cuts are essential for a clean look, especially if your design doesn't have a border. |
| Garment | Pre-washed Cotton or Cotton/Poly Blend | These fabrics hold transfers well. Pre-washing removes any sizing chemicals that could interfere with adhesion. |
| Protective Sheet | Parchment Paper or a Teflon Sheet | Protects your garment from scorch marks and prevents the transfer from sticking to your iron or heat press. |
With these items laid out, you're ready to tackle the most important choice on that list: the paper itself.
Choosing the Right Transfer Paper
Honestly, this is the most critical decision you'll make. The right heat transfer paper is the foundation of a great-looking result. Picking the wrong one can completely throw off your design’s vibrancy and opacity.
There are two main types, and they are definitely not interchangeable:
- Paper for Light Fabrics: This paper has a transparent polymer film. The ink soaks in and shows through, which is perfect for white or pastel-colored shirts. The fabric's light color acts as the background.
- Paper for Dark Fabrics: This version is completely different. It has a solid white, opaque backing. You print your design on top, and this white background transfers along with the ink. This is what makes your colors pop on black, navy, or any other dark garment. If you used this on a white shirt, you’d end up with a noticeable white box around your image.
The quality and type of transfer paper are a big deal. In fact, the demand for high-resolution prints on apparel is a major driver behind the custom textile market, which was valued at $3.3 billion and is expected to climb to $5.8 billion.
Printer, Heat Source, and Other Essentials
Next up, your printer. For these kinds of DIY projects, a basic inkjet printer with standard ink is all you need. The vast majority of consumer-grade transfer papers are specifically made for inkjet technology. Don't try to use a laser printer unless you've purchased specialty laser transfer paper—it just won't work.
Your heat source is the other key player. While a household iron can get the job done for small, one-off designs, a dedicated heat press is a true game-changer if you plan on making more than a few items. A heat press delivers two things an iron can't: perfectly consistent temperature and completely even pressure. Those two factors are the secret to a transfer that lasts.
Pro Tip: For an in-depth look at picking the perfect paper, check out our complete guide on selecting the best paper for heat transfer.
Finally, don't forget the small but mighty accessories:
- A sharp pair of scissors or a cutting machine like a Cricut for trimming your design precisely.
- Parchment paper or a Teflon sheet to go between the transfer and your heat source.
- Your garment of choice—something made from cotton or a cotton/poly blend will give you the best results.
Prepping Your Design for a Perfect Print
A great iron-on transfer starts long before you ever touch the printer. Honestly, the quality of your digital file is probably the single biggest thing that separates a crisp, professional-looking shirt from a blurry, homemade mess. Taking a few minutes to get your design print-ready ensures what you see on the screen is what you get on the fabric.
This prep phase is your chance to sidestep all those common beginner mistakes, especially the dreaded pixelated print. It all boils down to your image resolution.
Nail Your Image Resolution
Ever tried to blow up a small photo and watched it turn into a blocky disaster? The exact same thing happens with iron-on designs. For a sharp, clean print that doesn't look fuzzy, your image needs to have a high resolution, which we measure in DPI (Dots Per Inch).
For anything you're printing on fabric, you should always aim for a resolution of 300 DPI at the final print size. If you pull a low-resolution image off a website—which is often just 72 DPI—it's going to look jagged and cheap when you print it. A good rule of thumb? Always start with the biggest, highest-quality version of your design you can get your hands on.
Crucial Takeaway: You can always shrink a high-resolution image without losing quality, but you can never successfully enlarge a low-resolution one. Starting with 300 DPI is non-negotiable for a professional result.
The Most Important Step: Mirror Your Image
Alright, this next part is so simple, but it's the one thing everyone forgets their first time. I know I did. For almost all transfer papers made for light-colored fabrics, you absolutely must mirror your image before printing. That just means flipping it horizontally.
So, why is this a deal-breaker? When you apply the transfer, you place the paper face-down on the shirt. If you don't flip the design first, any words or logos will be completely backward on your final product. Imagine spending all that time on a cool "Hello World" shirt only to have it read "dlroW olleH." It's a classic mistake.
Luckily, it's an easy fix. Most design programs and even your printer’s settings have a simple "mirror image" or "flip horizontal" checkbox. Just find it and tick it before you print. You'll thank yourself later.
Choosing Your Design Software
You don't need to be a graphic design pro to get your file ready. Plenty of simple tools can help you resize, check the resolution, and mirror your design.
- Free Online Editors: Tools like Canva or Photopea are fantastic for these basic edits. They run right in your browser and are super intuitive, perfect for quickly resizing and flipping your design.
- Professional Software: If you're building a design from the ground up or need more control over colors, programs like Adobe Photoshop or Illustrator are the way to go.
No matter which tool you use, the checklist is the same: lock in your final size, confirm the resolution is at least 300 DPI, and triple-check that you've mirrored it. Once that's done, your file is ready to go.
From Digital File to Physical Transfer
Alright, your design is polished and ready to go. Now comes the exciting part: turning that digital artwork on your screen into something you can actually hold and press onto a shirt.
This is where the magic happens, but it's also where things can go wrong. Getting the printing and cutting right is absolutely critical for the color, sharpness, and overall quality of your final product.
Dialing in Your Printer Settings
First things first, don't just hit the 'print' button and hope for the best. Your standard printer settings are meant for plain old paper, not for this special material. To get those vibrant, punchy colors you're picturing, you need to make a few quick adjustments.
Think of your transfer paper as if it were high-end photo paper. When the print dialog box pops up, look for the paper or media type setting. You'll want to choose an option like "Glossy Photo Paper," "Specialty Paper," or, if you're lucky, your printer might even have a "T-Shirt Transfer" setting.
Making this one change tells your printer to use more ink, which is the secret to deep, saturated colors that pop. While you're there, crank the print quality up to "High" or "Best." This will give you the sharpest possible details and help you avoid that washed-out, faded look that standard settings often produce.
Next up is loading the paper itself. It sounds simple, but this is a common slip-up that can waste expensive paper. Every brand has a specific side you're meant to print on, while the back is just a carrier sheet, often marked with a logo or grid. You have to know how your printer feeds paper to make sure the ink lands on the correct, coated surface.
Pro Tip: Not sure which way to load the paper? Grab a regular sheet of copy paper and draw a big "X" on one side. Pop it in your printer tray, print a test page, and see which side the ink appears on. Now you know for sure.
The Art of Cutting Your Transfer
Once your design is printed, give the ink a moment to dry completely. Then, it's time to cut it out. How you do this really depends on how complicated your design is and what tools you have on hand.
- Scissors for Simplicity: If you're working with basic shapes—circles, squares, or anything with a clean, simple outline—a good, sharp pair of scissors will do the job just fine. The trick is to use long, smooth cuts to avoid any choppy or jagged edges.
- Cutting Machine for Complexity: For designs with tiny details, fine text, or intricate cutouts, a cutting machine is a game-changer. Something like a Cricut or Silhouette gives you a level of precision that's just not possible by hand.
You also have to decide whether to leave a border or not. Leaving a small, consistent border (about 1/8 inch) around the design can look really clean and professional, almost like a sticker. It's also way more forgiving to cut. On the other hand, cutting right up to the edge of the ink makes the design look more integrated into the fabric, but it demands a very steady hand or a machine. For a deeper dive, check out our complete guide on how to print on transfer paper for more tips.
The rise of DIY customization isn't just a small hobby, either. It's part of a huge trend. The global market for heat transfer paper and vinyl was valued at a massive $1.6 billion and is expected to climb to $2.27 billion. That kind of growth just shows how many people are turning to these affordable, high-quality transfer methods for their projects. Learn more about the heat transfer paper market growth.
Mastering The Art Of Heat Application
Alright, this is where the magic happens. You’ve done all the prep work—designing, printing, and cutting—and now it's time to bring your creation to life. This final step, applying the heat, is what permanently fuses your design to the fabric. It’s the difference between a custom shirt that looks amazing and one that peels after the first wash.
The core principle is the same whether you're using a basic household iron or a professional heat press. You need the right combination of heat, pressure, and time. Nail this trifecta, and you’ll create a bond that can stand up to whatever life throws at it.
This simple visual flow shows how each step leads directly to the final application, getting your project ready for this critical stage.
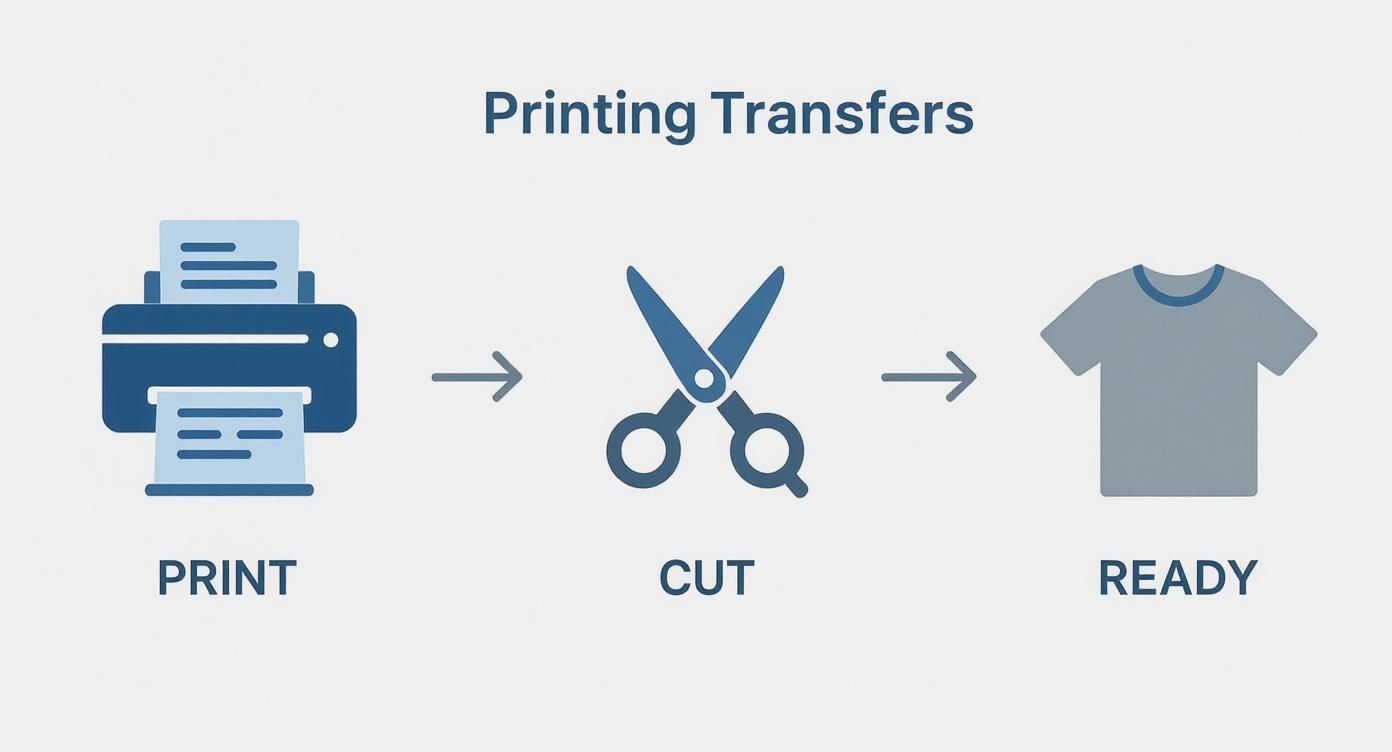
As you can see, the process is pretty straightforward, but the final heat application is where your attention to detail really pays off.
Choosing Your Heat Source: A Head-to-Head Comparison
Before diving into the "how," let's look at the "what." The tool you use for applying heat makes a significant difference in both the process and the final result. Here’s a quick breakdown to help you decide between a household iron and a dedicated heat press.
| Feature | Household Iron | Heat Press |
|---|---|---|
| Heat Consistency | Uneven; hot spots are common | Consistent, even heat across the entire plate |
| Pressure Control | Manual; relies on your body weight and can be inconsistent | Precise and adjustable; delivers even pressure |
| Temperature Control | Vague settings (e.g., "Cotton") | Exact digital temperature control |
| Time Control | Manual timing required | Built-in automatic timer |
| Best For | Occasional hobbyists, small one-off projects | Small business, frequent use, professional results |
While an iron can certainly work for a quick project, a heat press offers the kind of precision and reliability that ensures professional-grade, durable results every single time.
If You're Using a Household Iron
Working with a standard home iron requires a bit of finesse, but you can get great results if you know the tricks. First, crank your iron up to its highest setting, which is usually for Cotton or Linen. The absolute golden rule here is to turn the steam OFF. Steam is moisture, and moisture is the number one enemy of a good transfer adhesive.
Next, find a suitable surface. Your wobbly ironing board isn't going to cut it. You need a hard, flat, and heat-resistant surface like a sturdy table or even the floor. Just lay down a thin towel or a Teflon sheet first.
When it's time to press, put some muscle into it! Use your body weight to apply firm, consistent pressure. Don't slide the iron around like you're just getting rid of wrinkles. Instead, press down hard on one section for about 15-20 seconds before moving to an adjacent, slightly overlapping area. Give extra love to the edges of your design—they’re the first place to peel if they don't get enough heat and pressure.
For Those Using a Heat Press
A heat press is a game-changer because it eliminates all the guesswork. You get precise control over every variable, which is exactly why the pros rely on them. Your exact settings for time, temp, and pressure will depend on the transfer paper and fabric you're using.
Pro Tip: Always pre-press your garment for 5-10 seconds before placing the transfer. This quick step zaps any hidden moisture and smooths out wrinkles, giving you a perfect canvas for your design.
For a standard cotton or poly-blend shirt, a good starting point is a temperature between 300°F and 330°F with medium-firm pressure. But don't just guess! The specs can vary wildly between materials, so your best bet is to always refer to a detailed heat press temperature chart to get it right.
The Critical Peel: Hot vs. Cold
Once the pressing is done, you have one last, crucial move: peeling off the backing paper. Don't just rip it off! Your transfer paper's instructions will tell you if it’s a "hot peel" or a "cold peel," and ignoring this can ruin all your hard work.
-
Hot Peel: This means you peel the backing away immediately after lifting the press, while everything is still screaming hot. This method often leaves a softer, more integrated finish because the ink stretches a bit with the fabric fibers.
-
Cold Peel: Just like it sounds, you need to wait for the garment and transfer to cool down completely before you even think about touching the backing. A cold peel typically results in a glossier, sharper finish and can make colors appear more vibrant.
This isn't a suggestion—it's a rule. Trying to hot-peel a cold-peel paper will likely pull your entire design right off the shirt. Nailing this final instruction is the last piece of the puzzle for a perfect, long-lasting custom garment.
You've put in the work and created a fantastic custom shirt. Now, how do you keep it looking just as vibrant as the day you made it? Proper care is everything when it comes to making your iron-on designs last.
The first rule is the most important one: wait at least 24 hours before that first wash. I know it's tempting, but this waiting period is non-negotiable. It gives the adhesive time to fully cure and really grab onto the fabric fibers. Rushing this step is the single fastest way to see your design peel or crack.
How to Wash Your Iron-On Apparel
When it’s finally time to toss it in the laundry, a few small tweaks to your routine will make a world of difference.
- Turn It Inside Out: This is a simple but crucial habit. Turning the garment inside out creates a protective barrier for your design, shielding it from the friction of other clothes and the inside of the washing machine.
- Keep It Cool: Hot water is the enemy of iron-on transfers. It can weaken the adhesive and cause the colors to fade over time. Always opt for a cold water wash on a gentle or delicate cycle.
- Go Mild on the Detergent: Stick with a mild, color-safe detergent. Harsh chemicals, and especially bleach, can degrade the transfer material and strip the color right out of your design.
And for those inevitable "oops" moments with spills or stains, understanding how various stain remoovers work can be a lifesaver, helping you treat the spot without destroying your print.
Pro Tip: My go-to mantra for washing custom gear is simple: inside out, cold water, gentle cycle. That's the core formula for preventing peeling and keeping colors bright.
The Right Way to Dry Your Custom Garment
Drying is just as critical as washing. The high, concentrated heat from a standard dryer can wreak havoc on your transfer, causing it to melt, warp, or crack.
The absolute best method? Air-dry it. Hang it up or lay it flat and let nature do the work. It’s the gentlest approach and completely eliminates the risk of heat damage.
If you absolutely must use a machine, be sure to set it to tumble dry low or, even better, the no-heat air-fluff setting. High heat is a definite no-go.
There's a reason so many people are getting into DIY apparel—it's a massive trend. The global market for iron-on transfer sheets hit $1.21 billion and is expected to climb past $2.19 billion. That's a whole lot of people making their own custom gear, and taking proper care of those creations is what sets the pros apart from the amateurs.
Got Questions About Iron On Transfers? We've Got Answers
Even when you follow all the steps, you might run into a few snags. That's completely normal! Getting a handle on these common little issues is what separates the beginners from the pros. Let's walk through some of the questions I hear all the time.
Think of this as your go-to troubleshooting guide. Understanding why these problems happen is the best way to make sure they don't happen again.
Why Is My Transfer Cracking or Peeling?
This is, without a doubt, the most common frustration. When a design starts to lift or crack after a wash, the culprit is almost always the application process. The adhesive on the transfer simply didn't get the chance to properly bond with the fabric.
It usually boils down to one of three things: not enough heat, not enough pressure, or not enough time.
If you're using a home iron, you have to crank it to the absolute hottest setting (and make sure the steam is off). Don't be gentle—put some real body weight into it and press down firmly and evenly. For those with a heat press, this might mean bumping up your temperature or adding a few more seconds to your press time.
Pro Tip: Give it time to cure! Always wait a full 24 to 48 hours after pressing before you even think about washing the item. This waiting period is non-negotiable; it's when the adhesive truly hardens and locks into the fabric for good.
Can I Really Use an Iron On Transfer On Any Fabric?
Not exactly. While they're pretty flexible, iron-on transfers definitely play favorites. For the best results that actually last, you'll want to use fabrics that can take the heat without scorching or, worse, melting.
Here are the top contenders:
- 100% Cotton: This is the gold standard. Cotton is a champ with high heat, and its fibers give the transfer's adhesive something substantial to grab onto.
- Polyester: Another solid choice. You might just need to dial back the heat a little compared to what you'd use for cotton.
- Cotton/Poly Blends: These are often the perfect middle ground, giving you the best of both worlds.
Steer clear of delicate synthetics like nylon, rayon, or spandex. They just can't handle the high temperatures required for a good transfer and are very likely to melt. I also recommend giving your garment a quick pre-wash (hold the fabric softener!) to get rid of any residues from the factory that could mess with the bond.
Is Mirroring My Image Actually Necessary?
For most transfer papers, especially the ones for light-colored fabrics, the answer is a huge YES. You absolutely have to mirror your image.
Think about it: you're placing the transfer paper design-side down onto the shirt. If you don't flip the image in your design software first, any text or logos will come out completely backward. It's a classic rookie mistake, but one that's super easy to avoid.
The only real exception is with certain specialty papers, like some types made for dark fabrics. These are often applied face-up, so you wouldn't mirror the image. The takeaway is simple: read the instructions that came with your specific pack of transfer paper. They will always tell you exactly what to do.
Ready to skip the guesswork and get flawless, professional results every time? At Raccoon Transfers, we specialize in high-quality, durable DTF transfers that are easy to apply and built to last. Upload your design and create your custom transfers today!