
How to Print onto Transfer Paper: A Step-by-Step Guide
Before you can bring your design to life, you need to get your gear in order. This isn't just about having the tools; it's about having the right tools for the job. Getting your setup squared away from the start is the secret to a flawless finish that looks professional and lasts.
Getting Your Transfer Printing Gear Ready
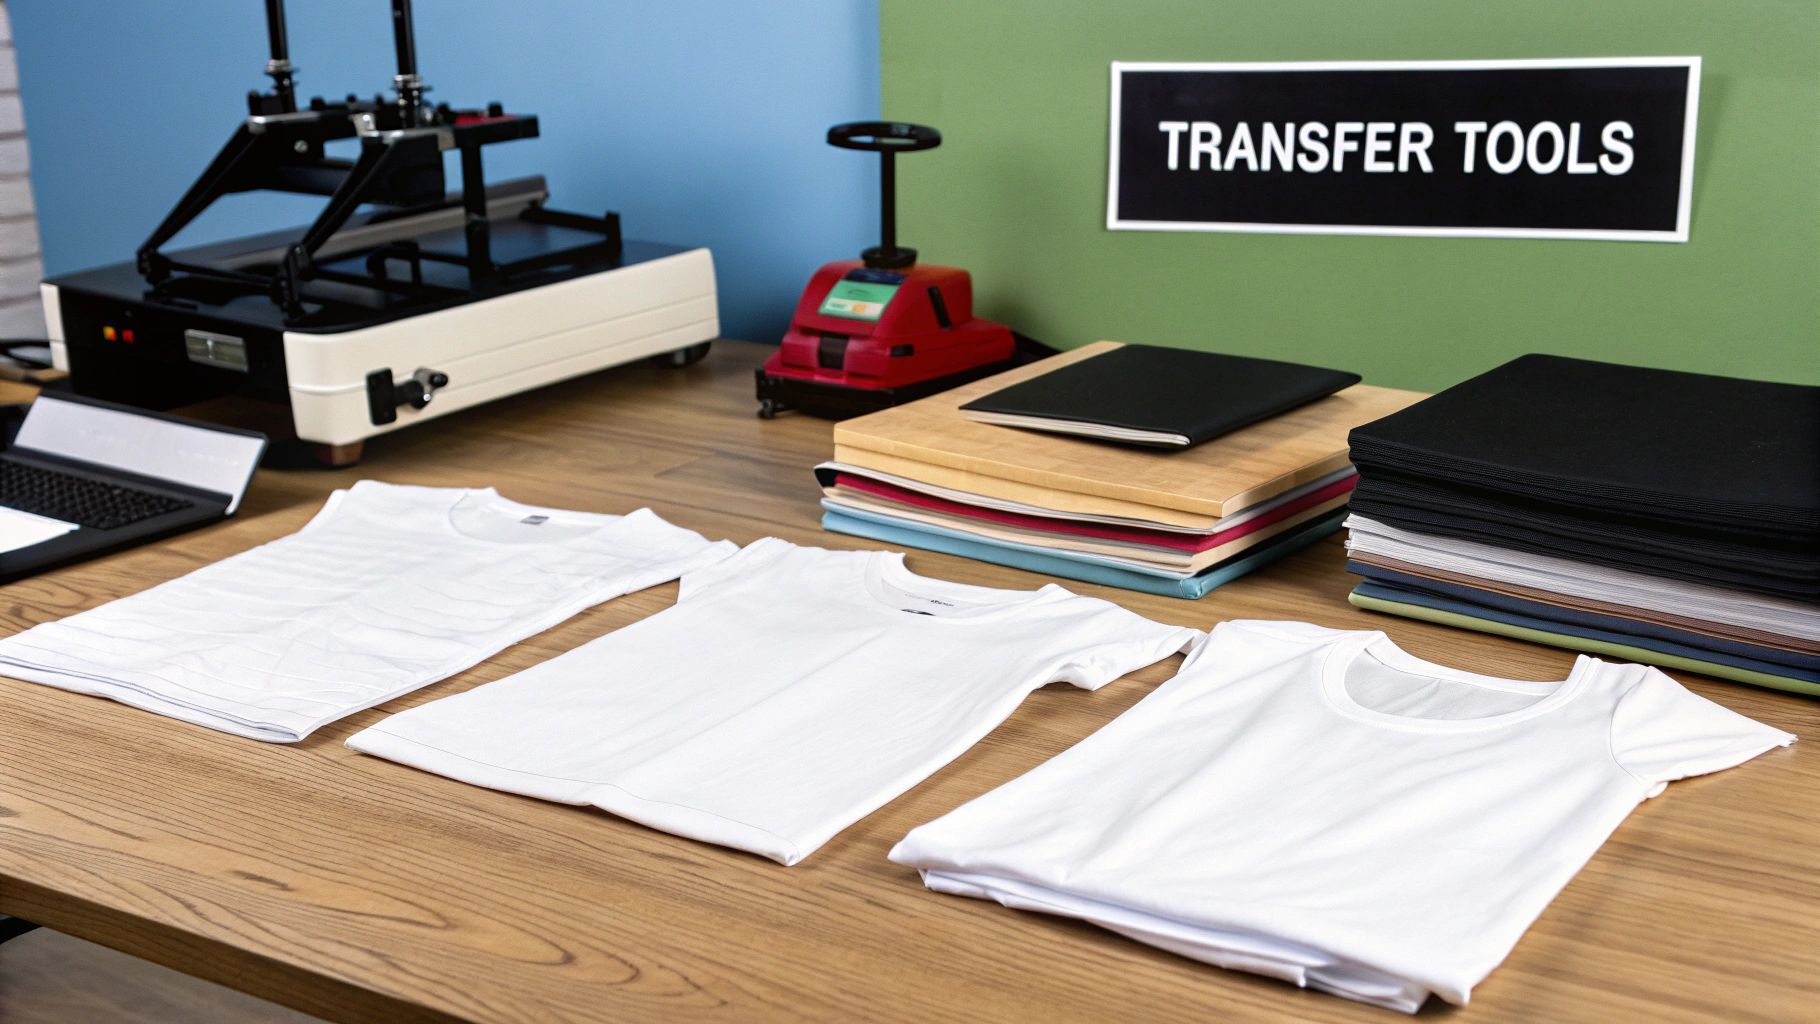
Think of this part as your pre-flight check. If you get the foundation right, the rest of the process is so much easier. The single most important decision you'll make here is picking the correct transfer paper—it’s not a one-size-fits-all product. Your choice hinges on two key things: the color of your fabric and the type of printer you're using.
Choosing The Right Transfer Paper
Picking the right paper is crucial for getting a vibrant, professional-looking print. The wrong choice can lead to a faded, muddy design or a stiff, plastic-like feel. This table breaks down the main options to help you decide.
| Paper Type | Best For | Key Characteristic | Printer Compatibility |
|---|---|---|---|
| Light Transfer Paper | White, pastel, and light-colored fabrics | The film is clear, so any unprinted areas are transparent, allowing the fabric color to show through. | Inkjet or Laser |
| Dark Transfer Paper | Black, navy, and other dark-colored fabrics | Has an opaque white background to ensure your design's colors pop and don't get lost in the dark garment. | Inkjet or Laser |
| Inkjet Paper | Inkjet printers | Specially coated to absorb liquid ink from an inkjet printer for sharp, bleed-free images. | Inkjet Only |
| Laser Paper | Laser printers | Formulated to handle the high heat of a laser printer and allow toner to fuse to its surface. | Laser Only |
Ultimately, you need paper that matches both your fabric color and your printer type. Using inkjet paper in a laser printer, for example, is a recipe for a smudged mess and could even damage your machine.
The demand for custom apparel has made this a massive industry. The heat transfer paper and vinyl market is currently valued at around USD 1.6 billion and is still growing. It all comes down to that special coating of wax and pigment on the paper, which needs a temperature of about 400°F (204°C) to properly bond with the fabric fibers.
Pro Tip: Always pre-wash your shirt or garment without any fabric softener. New clothes often have sizing chemicals on them that can completely block the transfer from adhering correctly. A quick wash gets rid of them.
Once you’ve sorted out your paper, the next major player is your heat source. A standard household iron can work in a pinch for a small, one-off project, but it's tough to get the consistent temperature and even pressure you need for a durable, professional-looking transfer.
If you're planning to make more than a few shirts, investing in a quality heat press is a total game-changer. It gives you precise control over heat and pressure, which is the key to prints that don't peel or crack after the first wash. If you're ready to make that leap, check out our guide on choosing the best heat press machine for shirts to find one that fits your needs and budget.
Prepping Your Design for a Perfect Transfer
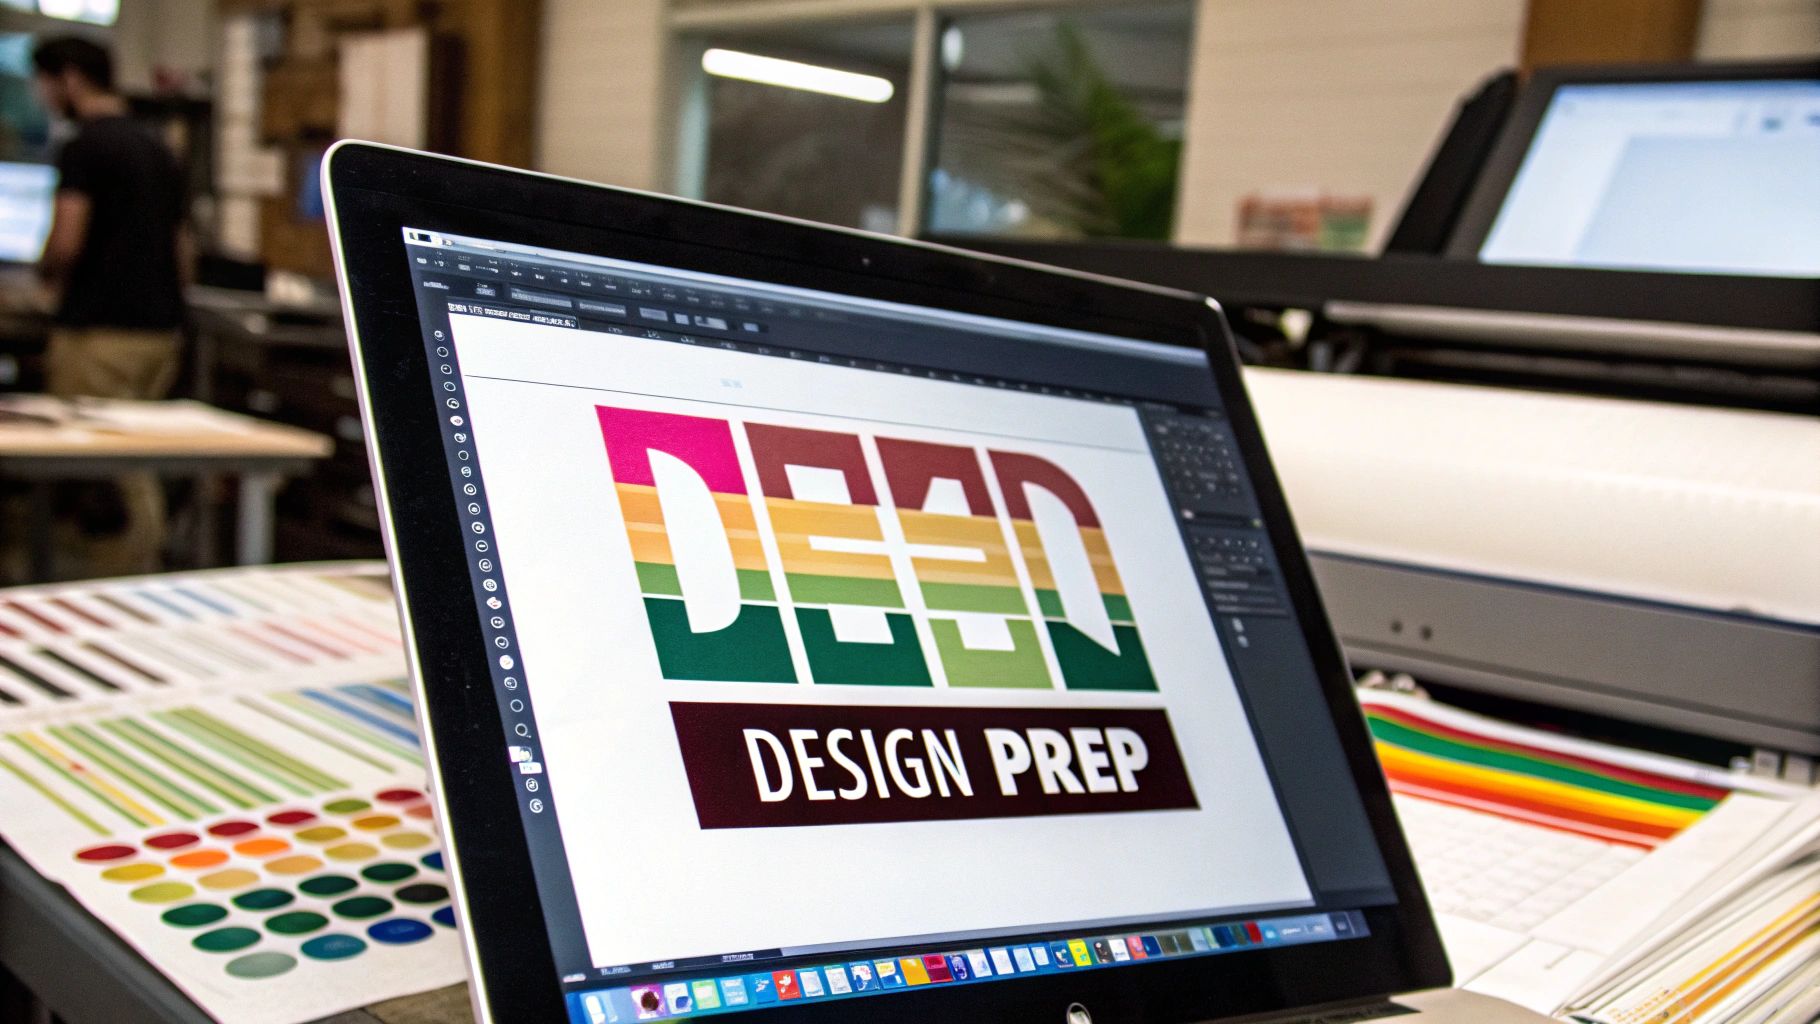
A great-looking shirt starts on your computer screen. Before you get anywhere near the printer, getting your digital file just right is the single most important thing you can do to make sure your final transfer is crisp and professional, not fuzzy and disappointing.
The first thing to nail down is image quality. A low-resolution graphic might look okay on your monitor, but it will turn into a pixelated mess once it’s printed on a shirt. For the best results, you'll want your design file set to 300 DPI (dots per inch). This is the gold standard for high-quality printing and ensures all those fine details you worked on will actually show up.
To Mirror or Not to Mirror
This is probably the most common mistake I see people make. Whether you flip your image horizontally comes down to one simple thing: the type of transfer paper you're using.
- For Light Fabric Paper: Always mirror your image. This paper uses a clear film, so the design is applied face-down. Flipping it makes sure that any text or asymmetrical elements read correctly once it's on the garment.
- For Dark Fabric Paper: Do not mirror your image. This paper has a solid white, opaque background. You’ll print the design, peel it off the backing, and place it right-side-up onto the fabric.
Getting this wrong is a quick way to waste a good transfer and a perfectly good shirt. Always, always double-check your paper’s instructions.
A great design idea is only the beginning. Before prepping it for transfer, you need to create the visual content itself. For a broader look at general content creation principles, you can find valuable insights that apply to all kinds of visual projects.
A couple of final thoughts on your design itself. From experience, bold and highly saturated colors transfer much more vibrantly than soft pastels, which can sometimes look washed out on fabric. Sizing is also critical—a graphic that’s too big or too small can throw off the whole look of the shirt.
If you're stuck on dimensions, check out our guide for choosing the right https://raccoontransfers.com/blogs/guides/graphic-size-for-t-shirt. It'll help you find that sweet spot.
Nailing Your Printer Settings for Transfer Paper
If you just hit "print" with your printer's default settings, you're setting yourself up for disappointment. Those settings are meant for plain old copy paper, and they just don't work for the special coating on heat transfer sheets. Getting this next part right is what turns a sharp digital design into a vibrant, professional-looking print that actually lasts on the fabric.
Media Type is Everything
The single most important change you need to make is the media or paper type. It’s usually tucked away in the printer dialogue box, but finding it is crucial. This setting tells your printer exactly what kind of material it's handling.
Pro Tip: When you select a premium paper type, you're telling the printer to slow down and lay down more ink. That's the secret to getting those deep, saturated colors that really make a design pop on a t-shirt.
I've found that one of these options almost always gives the best results:
- Matte Photo Paper: This is my go-to. Its thickness is similar to most transfer papers, so the printer handles it perfectly, resulting in a slower, more precise print job.
- T-Shirt Transfer: Some newer printers actually have a dedicated setting for this. If yours does, you're in luck—use it.
- Other Coated Paper / Premium Paper: If you can't find the first two, these are solid fallbacks.
Crank Up the Quality
Next up is print quality. You want to switch this from 'Standard' to 'High' or 'Best'. Yes, it will print slower, but that's exactly what you want. A slower print speed allows the ink to be placed more accurately, preventing that awful banding or streaking that can completely ruin an otherwise perfect transfer.
This infographic breaks down the essential settings to check.
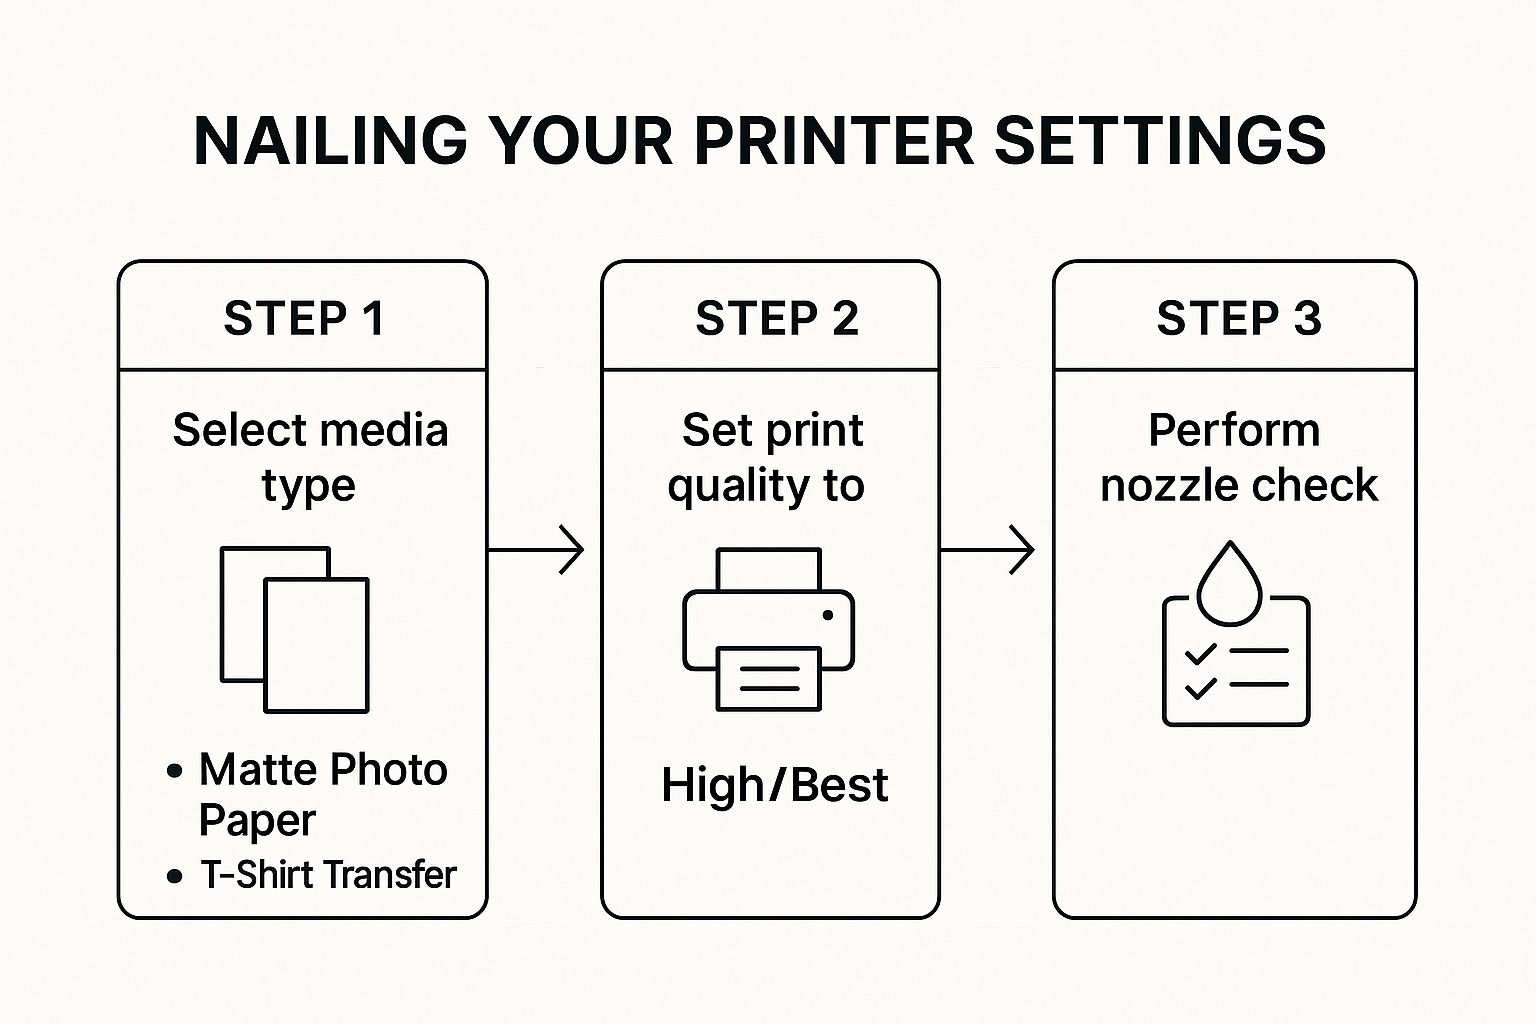
As you can see, it's really just a couple of clicks, but these changes make all the difference in getting the printer to deposit the right amount of ink with maximum precision.
One Last Check Before You Print
Finally, before you feed that pricey transfer paper into your machine, do yourself a favor and run a quick nozzle check. You'll find this in your printer's maintenance or utility menu. It prints a small test pattern to show if any nozzles are clogged. Catching a clog here will prevent faint lines from appearing in your final design and can save you a ton of frustration and wasted materials.
Bringing Your Design to Life with Heat
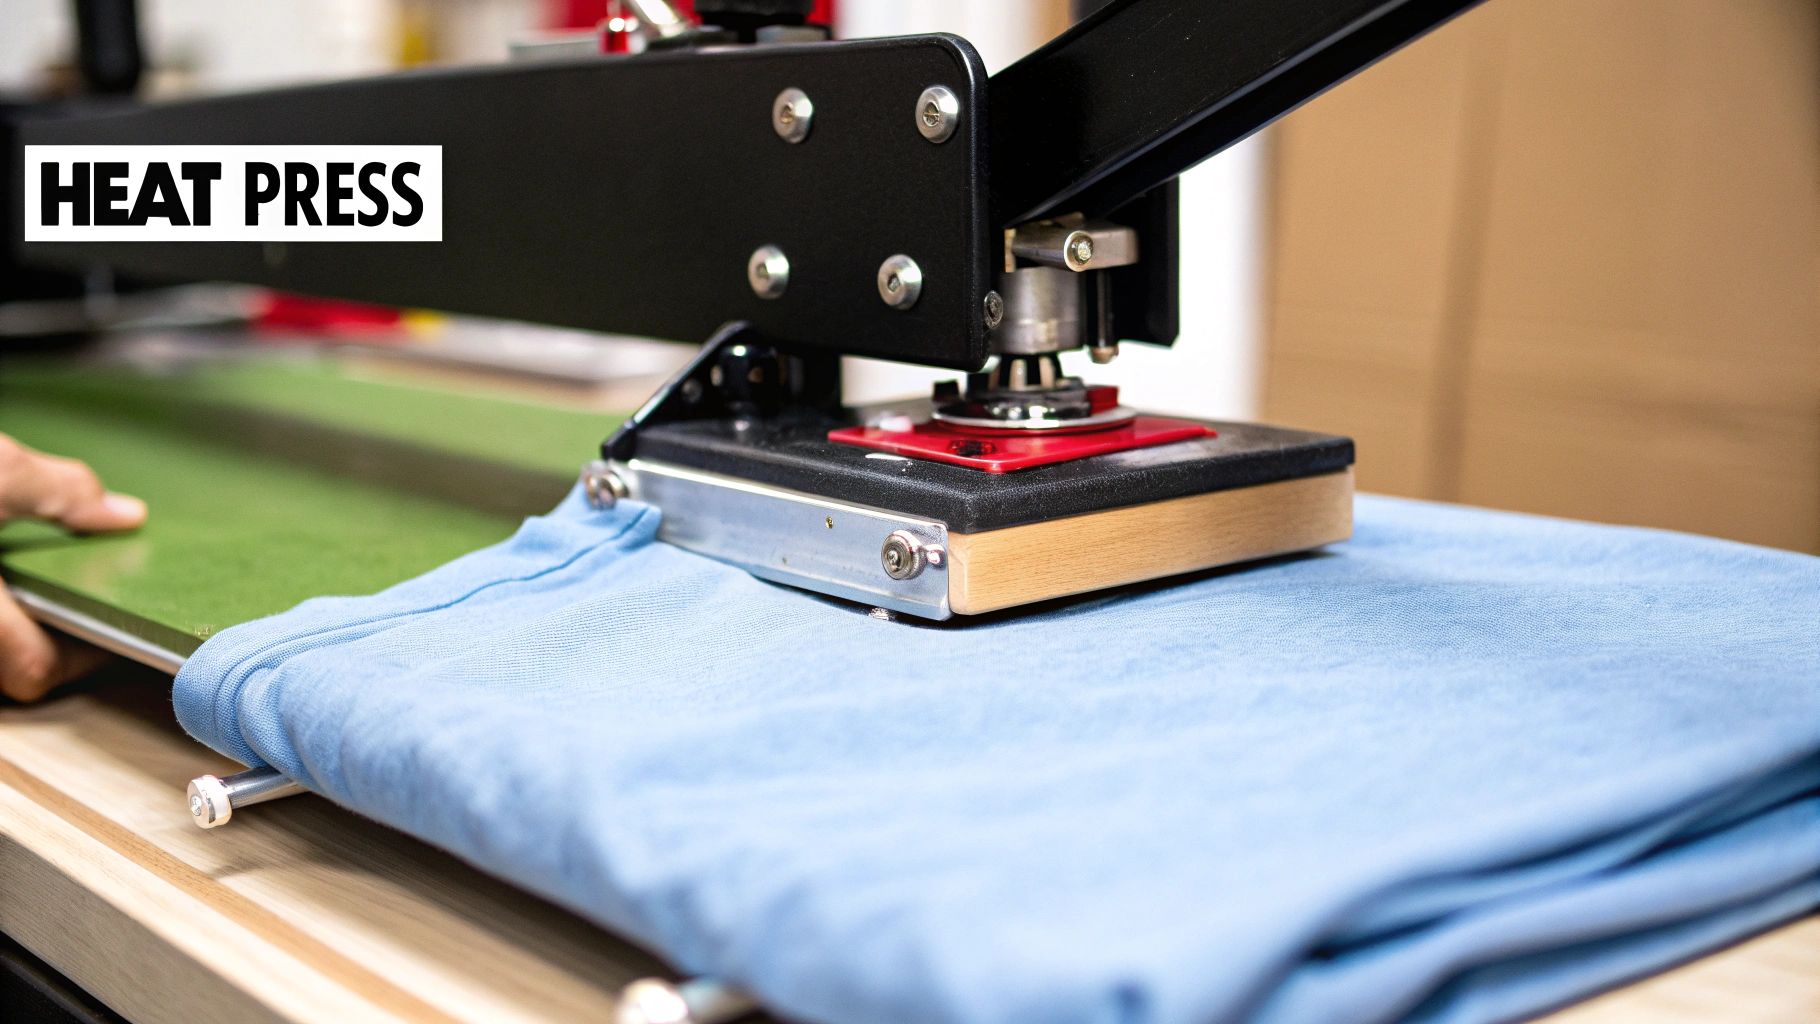
This is it—the moment of truth. All your design work comes down to this final, critical step where your art becomes a real, wearable piece. Whether you've invested in a professional heat press or are starting out with a household iron, your technique here is what separates a great-looking shirt from a peeling mess.
Getting a crisp, durable transfer is all about nailing the trifecta of temperature, pressure, and time.
Before you do anything else, pre-press the garment for 5-10 seconds. This is a non-negotiable step that I see people skip all the time. It smooths out wrinkles and, more importantly, zaps any lingering moisture from the fabric. A dry, flat surface is exactly what you need for a perfect bond.
Dialing in Your Settings
Every brand of transfer paper has its own personality, so the instructions in the package are your best friend. Read them. That said, most papers operate within a similar ballpark.
With a dedicated heat press, you're usually looking at a temperature between 350-375°F (175-190°C). You’ll want to apply firm, even pressure for about 15-25 seconds.
Using a home iron? Crank it to the highest setting (typically for cotton or linen) and, crucially, turn the steam off. You'll need to put some serious muscle into it, pressing down with your body weight and keeping the iron in constant motion for a solid minute or two to avoid any hot spots.
My Two Cents: You can get by with an iron, but it's tough to beat the consistent, even pressure of a heat press. If you're planning to sell your shirts or do this regularly, a press is worth the investment. It’s the single biggest factor in achieving that professional, long-lasting finish.
The All-Important Peel: Hot or Cold?
Your paper’s instructions will specify whether it’s a “hot peel” or a “cold peel.” This isn't a suggestion—it's a rule. The adhesive is engineered to release at a certain temperature, so getting this wrong will absolutely ruin your transfer.
- Hot Peel: Just like it sounds. You peel the backing paper off immediately, while everything is still piping hot. This tends to leave a softer, more matte finish that feels integrated with the fabric.
- Cold Peel: You have to exercise some patience here. Let the garment and transfer cool down completely to the touch before you even think about peeling the backer. This method often results in a glossier, more vibrant look.
Getting the application right is a skill, much like it is in other textile printing worlds, such as dye sublimation. The market for dye sublimation transfer paper has exploded, largely because people want those incredibly vibrant, photo-quality designs on polyester. But just like with our heat transfers, the results are only as good as the application technique.
When you master this final step, you're not just making a t-shirt—you're creating a durable product that looks fantastic and holds up in the wash.
What to Do When Transfers Go Wrong
Even the most seasoned pros run into a transfer that just doesn't look right. It happens. The good news is that most of these frustrating hiccups are surprisingly easy to fix once you learn how to spot the cause.
If your finished design looks faded or dull, the first place to look is your heat press settings. This almost always means the ink didn't get hot enough for long enough to properly bond with the fabric. Go back to the instructions for your specific transfer paper and double-check the recommended temperature and time. If it still looks weak, try adding 5-10 seconds to your press time.
Fixing Stiff or Peeling Transfers
Ever end up with a transfer that feels like a thick, plastic shield on the shirt? Or one that starts lifting at the corners after the first wash? These are two of the most common problems, and they usually point to different culprits.
A stiff, heavy feel often means you've used the wrong paper for the job. For example, using a transfer designed for dark fabrics on a white or light-colored shirt will leave behind an unnecessary and thick white background, creating that "plasticky" feel.
When it comes to peeling edges, the problem is almost always uneven pressure. This is the biggest challenge when you're using a home iron, as it just can't provide the consistent, firm pressure needed across the entire design. A dedicated heat press is built to solve this exact problem.
Pro Tip: Uneven pressure is the #1 reason for transfer failure. Your press needs to clamp down with serious, uniform force over the whole design to get that ink to fuse permanently with the fabric fibers.
If you're constantly fighting with your results, it's a good idea to check your settings against a detailed heat press temperature chart. Dialing in the right combination for your specific paper and garment can save you a ton of wasted materials.
Here’s a quick-glance guide to get you back on track:
- Faded or Dull Colors: Bump up the temperature or press time. Also, make sure your printer is set to its highest quality or photo setting.
- Peeling Edges: You need more pressure. Also, always pre-press your shirt for a few seconds to get rid of any sneaky moisture before applying the transfer.
- Cracking After Washing: The transfer wasn't fully "cured." It needed more time or more heat to create a permanent bond with the fabric. Try increasing one or both on your next attempt.
Keeping Your Custom Creations Looking Great
You've put in the work to print and press a fantastic design, but the job isn't quite done. The secret to a transfer that lasts is all in the aftercare. Get this part right, and your design will stay sharp and vibrant for a long, long time.
The single most important rule? Be patient. You need to let the transfer sit for at least 24 hours before its first wash. This isn't just a suggestion; this curing time is what allows the adhesive to fully set and create a permanent bond with the fabric. Skipping this step is the fastest way to a peeling design.
The Right Way to Wash and Dry
When laundry day finally arrives, your new mantra is "gentle." The first thing you should always do is turn the garment inside out. This small habit puts a layer of fabric between your design and the rubbing and friction from other clothes in the wash.
Stick to these guidelines for the best results:
- Wash with cold water on a delicate or gentle cycle. Hot water is the enemy of the transfer's adhesive.
- Stick to a mild detergent. Avoid bleach and fabric softeners, as they can weaken the bond and cause the design to fade or crack.
- Air-drying is your best friend. Hang the garment or lay it flat to dry naturally.
If there's one thing that will ruin a heat transfer, it's a hot dryer. The high heat can literally melt the adhesive and destroy your design. If you're in a pinch and must use a machine, use the tumble-dry setting with no heat, but honestly, air-drying is always the way to go.
The quality of transfer papers has come a long way. The market is constantly innovating with more durable, vibrant, and even eco-friendly options. These advancements are a big reason why professional results are now so accessible. You can see just how much the industry is growing by checking out this report on the expanding transfer paper market.
And one last tip: never, ever iron directly on the transfer. If the garment is wrinkly, turn it inside out and use a low heat setting on the back of the fabric, well away from the design itself.
Got Questions About Transfer Paper? Let's Get Them Answered.
Jumping into the world of custom apparel can feel like a maze, especially when you're figuring out how to print with transfer paper. Let's walk through some of the most common questions and roadblocks I see people hit, so you can get it right from the start.
Can I Really Use My Regular Home Printer?
Yep, you absolutely can. Most inkjet printers you'd find in a home office are more than capable of handling transfer paper. The key isn't the fancy printer model; it's using the right type of paper. Make sure you grab paper specifically made for inkjet printers, not laser. Laser paper has a totally different coating that won't fuse correctly and could even gunk up your inkjet printer.
Now, if you want your designs to last, I'd point you toward printers that use pigment-based inks. A lot of Epson and Canon models have them. Pigment ink is naturally more resistant to water and UV light than the standard dye-based stuff, which means your t-shirt design will look great wash after wash.
Help! Why Is My Design Cracking and Peeling?
This is the most common and frustrating issue people face, but don't worry, it's almost always an easy fix. The culprit is usually one of three things: not enough heat, not enough pressure, or peeling the backing off at the wrong temperature.
Think of it this way: if the heat press isn't hot enough or you don't press it for the recommended time, the adhesive on the paper never fully melts into the fabric. It’s like trying to use a glue stick that’s half-dried. The same goes for pressure. If the pressure is too low or uneven (a classic problem when using a hand iron), you get a weak bond that just can't handle the agitation of a washing machine.
Pro Tip: Pay close attention to the instructions that came with your paper. They will tell you whether to do a "hot peel" (ripping it off immediately) or a "cold peel" (letting it cool down first). Peeling at the wrong time is a surefire way to ruin the transfer before it even has a chance to properly set.
What’s the Deal with "Light" vs. "Dark" Transfer Paper?
The difference is all about how your design interacts with the color of the shirt you're pressing it on.
- Light Fabric Paper: This kind has a transparent film. Any part of your design you don't print on will be clear, letting the shirt's color show through. Because you're placing it face-down, you have to mirror your image before printing, or all your text will be backward.
- Dark Fabric Paper: This one has a solid, opaque white background. This white layer acts like a primer on a dark wall, making sure your colors pop instead of getting lost on a black or navy shirt. You print the image normally (do not mirror it!), and the entire printed area, white background and all, gets pressed onto the garment.
Ready to skip the trial-and-error and get perfect, professional transfers delivered right to you? At Raccoon Transfers, we live and breathe high-quality DTF prints that are vibrant, durable, and a breeze to apply. Explore our custom transfer options today!