
how to use heat press machine: Quick Start Guide
So, you've unboxed your new heat press. It's an exciting moment, but let's be honest, the manual can feel like it was written by an engineer for another engineer. We're going to skip the technical jargon and get right to the practical steps that take you from a machine in a box to your first awesome creation.
This isn't just about plugging it in. It's about building good habits from the very start to make sure every press is a great press.
You’re jumping in at a great time. The whole world of custom products is exploding, and the numbers back it up. The global heat press machine market was valued at around USD 1.5 billion and is on track to hit an estimated USD 2.8 billion by 2033. You can dig into the full market research reports if you love data, but the key takeaway is simple: tons of people are using these machines to build businesses and bring their creative ideas to life.
Your Pre-Flight Safety Checklist
Before we even get to the fun part, let's talk about setting up your space. A heat press is a serious piece of equipment, and spending a few minutes on safety and prep now will save you from a world of frustration later.
- Find a stable, heat-resistant surface. Your press needs a rock-solid workbench or table that can handle its weight and the heat it throws off. A flimsy plastic table is a definite no-go.
- Check your power source. These machines are power-hungry. To avoid constantly tripping your circuit breaker, plug your press directly into a dedicated 20-amp outlet if you can.
- Inspect the power cord. Take a quick look at the cord for any frays or damage. If you see anything that looks off, get it replaced immediately. It's just not worth the risk.
Pro Tip: I can't stress this enough: keep your workspace clean. A single piece of lint, dust, or a stray hair can get trapped under a transfer and ruin an otherwise perfect print. A quick wipe-down of your area before you start pressing makes all the difference.
Understanding Your Machine's Anatomy
Getting familiar with the key parts of your press will make the whole process feel much less intimidating. Models look different, but they all have the same core components you'll be using for every single project.
The Upper Platen: This is the hot plate on top that does all the work. It has a non-stick coating (usually Teflon) that's essential for even heat and easy cleanup.
The Lower Platen: Think of this as the base. It's the bottom plate, usually covered with a thick silicone pad that gives your garment a firm-yet-forgiving surface to rest on. This pad is what helps ensure the pressure is applied evenly across your entire design.
The Digital Controller: This little screen is your mission control. It’s where you’ll set the exact temperature and time your project needs. Spend a minute just playing with the buttons to see how you adjust the numbers up and down.
The Pressure Knob: This is the big knob, usually on the top or back of the machine, that controls the clamping force. Clockwise tightens it for more pressure; counter-clockwise loosens it. We'll get into the art of dialing in the perfect pressure in the next section.
The Crucial First Press: Seasoning
Do not skip this step. Before you even think about putting a t-shirt in there, you have to "season" your press. New machines come with oils and residues from the factory, and you want to burn those off so they don't end up on your first project.
Just turn the machine on, set it to around 350-400°F (177-204°C), and let it hang out for about 5-10 minutes with nothing in it. You might notice a slight smell—that’s a good thing! It means the gunk is burning off. Once that's done, you're officially ready to start creating clean, professional-looking items.
Getting Your Temperature, Time, and Pressure Just Right
Think of temperature, time, and pressure as the three legs of a stool. If one is off, the whole thing gets wobbly and unreliable. Nailing this trio is the secret that turns a homemade project into a durable, professional-quality product that looks great wash after wash.
It's tempting to hunt for a single "magic number" that works for everything, but the truth is a bit more complex. A 100% cotton t-shirt and a 100% polyester performance tee are two totally different beasts. Cotton can take the heat, but polyester is much more sensitive and can scorch or even melt if you get too aggressive with the temperature.
This is where the real craft comes in. When you move beyond generic presets and truly understand the why behind the numbers, you can adapt to any material that comes your way, from a delicate cotton/poly blend to a rugged canvas tote bag.
This quick decision tree gives you a good visual for the initial machine setup, helping you cover the basics before you even start messing with the settings.
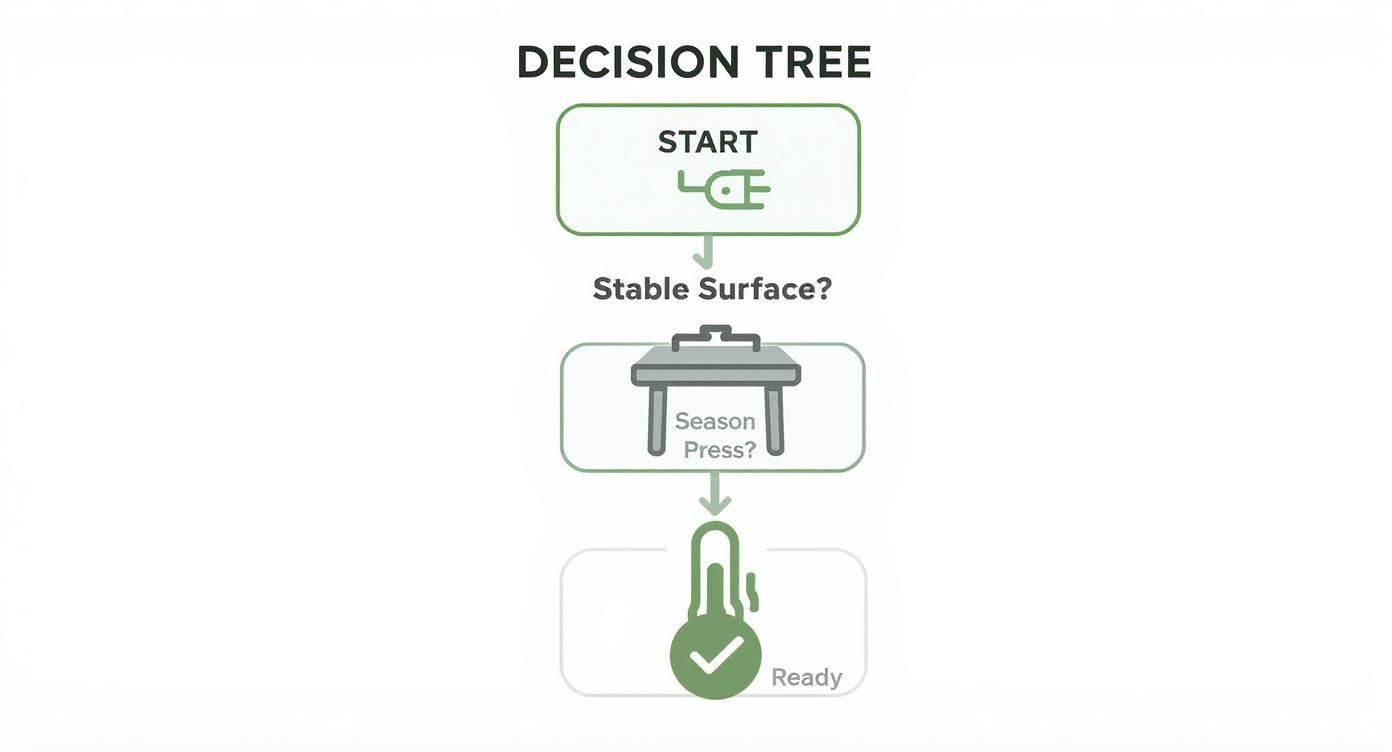
As the graphic shows, a great press starts with foundational steps, like having a stable surface and properly seasoning the machine. Getting these right from the jump is crucial for consistent results.
Finding the Right Temperature
Temperature is probably the most critical variable of the three. If it’s too low, the transfer's adhesive won’t activate correctly, and you'll see peeling after the first wash. Go too high, and you risk scorching the fabric, leaving a permanent shiny or discolored box around your beautiful design.
For instance, a standard DTF transfer on a cotton shirt usually needs a temperature somewhere around 300-320°F (149-160°C). But if you’re pressing that exact same transfer onto a heat-sensitive polyester garment, you'll want to drop the temperature a bit and maybe add a few seconds to the press time to make up for it.
Expert Tip: Every heat press runs a little differently. A reading of 320°F on your machine might actually be 315°F on another. It’s always a good idea to use an infrared heat gun or temperature strips every so often to check what the real surface temperature of your platen is.
A great place to start is always with the manufacturer's recommendations for your specific transfer type. To make this easier, we've put together a detailed heat press temperature chart that provides proven settings for all sorts of materials and transfers.
Quick-Reference Heat Press Settings for Common Projects
Use this chart as a starting point for popular material and transfer combinations. Always perform a test press to perfect your settings.
| Material | Transfer Type | Temperature Range (°F/°C) | Time (Seconds) | Pressure |
|---|---|---|---|---|
| 100% Cotton | DTF (Direct-to-Film) | 300-320°F / 149-160°C | 10-15 | Medium |
| 100% Polyester | HTV (Standard) | 280-305°F / 138-152°C | 10-12 | Medium |
| 50/50 Cotton-Poly | Screen Print Transfer | 325-350°F / 163-177°C | 7-10 | Firm |
| Polyester (Light Color) | Sublimation | 385-400°F / 196-204°C | 45-60 | Light-Medium |
| Canvas/Tote Bags | Glitter HTV | 320-330°F / 160-165°C | 15-20 | Firm |
Remember, these are guidelines. Your specific equipment and environment can play a role, so a small test is never a waste of time.
Setting the Perfect Dwell Time
Time, often called "dwell time," is simply how long the heat and pressure are applied. It’s just as important as temperature because it controls how well the adhesive melts and works its way into the fabric's fibers.
Cut the time short by just a few seconds, and you could end up with a weak bond. On the flip side, pressing for too long can over-cure the adhesive, making it brittle. It can also cause dyes from the garment to "migrate" into your design—a common headache known as dye migration, especially with red polyester fabrics.
Here are a few real-world examples:
- Standard DTF on Cotton: This usually takes about 10-15 seconds.
- Specialty Vinyl (like glitter or foil): These can vary. Some need more time, some less. Always check the instructions that come with the material.
- Sublimation: This process is completely different and needs a much longer dwell time, often 45-60 seconds, to turn the solid ink into a gas that actually dyes the polyester fibers.
Understanding and Adjusting Pressure
Pressure is the final piece of the puzzle, and it's the one people most often forget about. The right pressure ensures the transfer makes complete, even contact with the garment, pushing the adhesive deep into the fabric weave for a bond that will last.
You'll usually see pressure described as light, medium, or firm. But what does that feel like?
- Light Pressure: You can close and lock the press with just a couple of fingers. It feels easy, with very little resistance.
- Medium Pressure: You need to use your hand and a bit of upper body strength to lock it down, but it shouldn't feel like a major struggle. This is the sweet spot for most DTF and HTV applications.
- Firm Pressure: You’ll probably need two hands and a good bit of effort to close and lock the press. It should feel very snug and tight once locked.
How you adjust this depends on your machine. With clamshell presses, you’ll turn a large knob (usually on top or at the back) clockwise to increase pressure and counter-clockwise to decrease it. Swing-away models typically have a similar adjustment wheel right on top of the heat platen.
A great old-school trick to check for even pressure is the "paper test." Just stick a piece of regular printer paper at each of the four corners of the lower platen and close the press. If you can easily slide any of the pieces out, your pressure is uneven and needs to be adjusted. This simple check can save you from a lot of frustrating transfers that only stick in some spots.
Prepping Your Materials for a Perfect Transfer
A flawless, durable design starts long before you even turn on your heat press. Seriously. The prep work is what separates a professional-looking product from one that peels after the first wash. This is where you set the stage for success.
Taking just a few extra moments here will save you from the most common (and frustrating) application failures.
The Non-Negotiable Pre-Press
If you only take one piece of advice from this guide, let it be this: always pre-press your garment. It's a quick step that solves two huge problems at once.
First, every piece of fabric holds invisible moisture. When that hot platen comes down, the moisture turns to steam and gets in the way of your transfer’s adhesive. A quick press for just 3-5 seconds gets rid of that moisture, leaving a perfectly dry surface for the transfer to grip onto.
Second, the pre-press smooths out every last wrinkle. Even a tiny crease can ruin an application, creating a gap or crack right in the middle of your design.
My Personal Rule: I never, ever skip the pre-press. I learned the hard way that a few seconds of prep saves the cost of a ruined shirt and a wasted transfer. Think of it as the cheapest insurance you can get for a perfect result.
Getting Your Transfer Ready
How you prep the transfer itself really depends on what you're using. Each type has its own quirks for getting a clean application.
- Weeding Heat Transfer Vinyl (HTV): This is just the process of removing all the extra vinyl you don't want in your design. Grab a weeding tool and carefully pick away the negative space, leaving your graphic behind on the clear carrier sheet. Pro tip: always do this in a well-lit area so you don't miss the tiny pieces inside letters like 'o' or 'a'.
- Prepping Sublimation Prints: For sublimation, you'll want to trim the paper as close to the design as possible. This is a simple trick to avoid getting faint press lines or stray ink marks on your item. Always use heat-resistant tape to lock the print in place so it doesn’t shift and cause that dreaded "ghosting" effect.
- Working with DTF Transfers: One of the best things about DTF transfers is that they arrive ready to go. No weeding needed. All you have to do is cut your designs out from the sheet and make sure they’re free of any dust before placing them.
If you're still figuring out which material is right for you, our guide on choosing the best vinyl for a heat press is a great place to start.
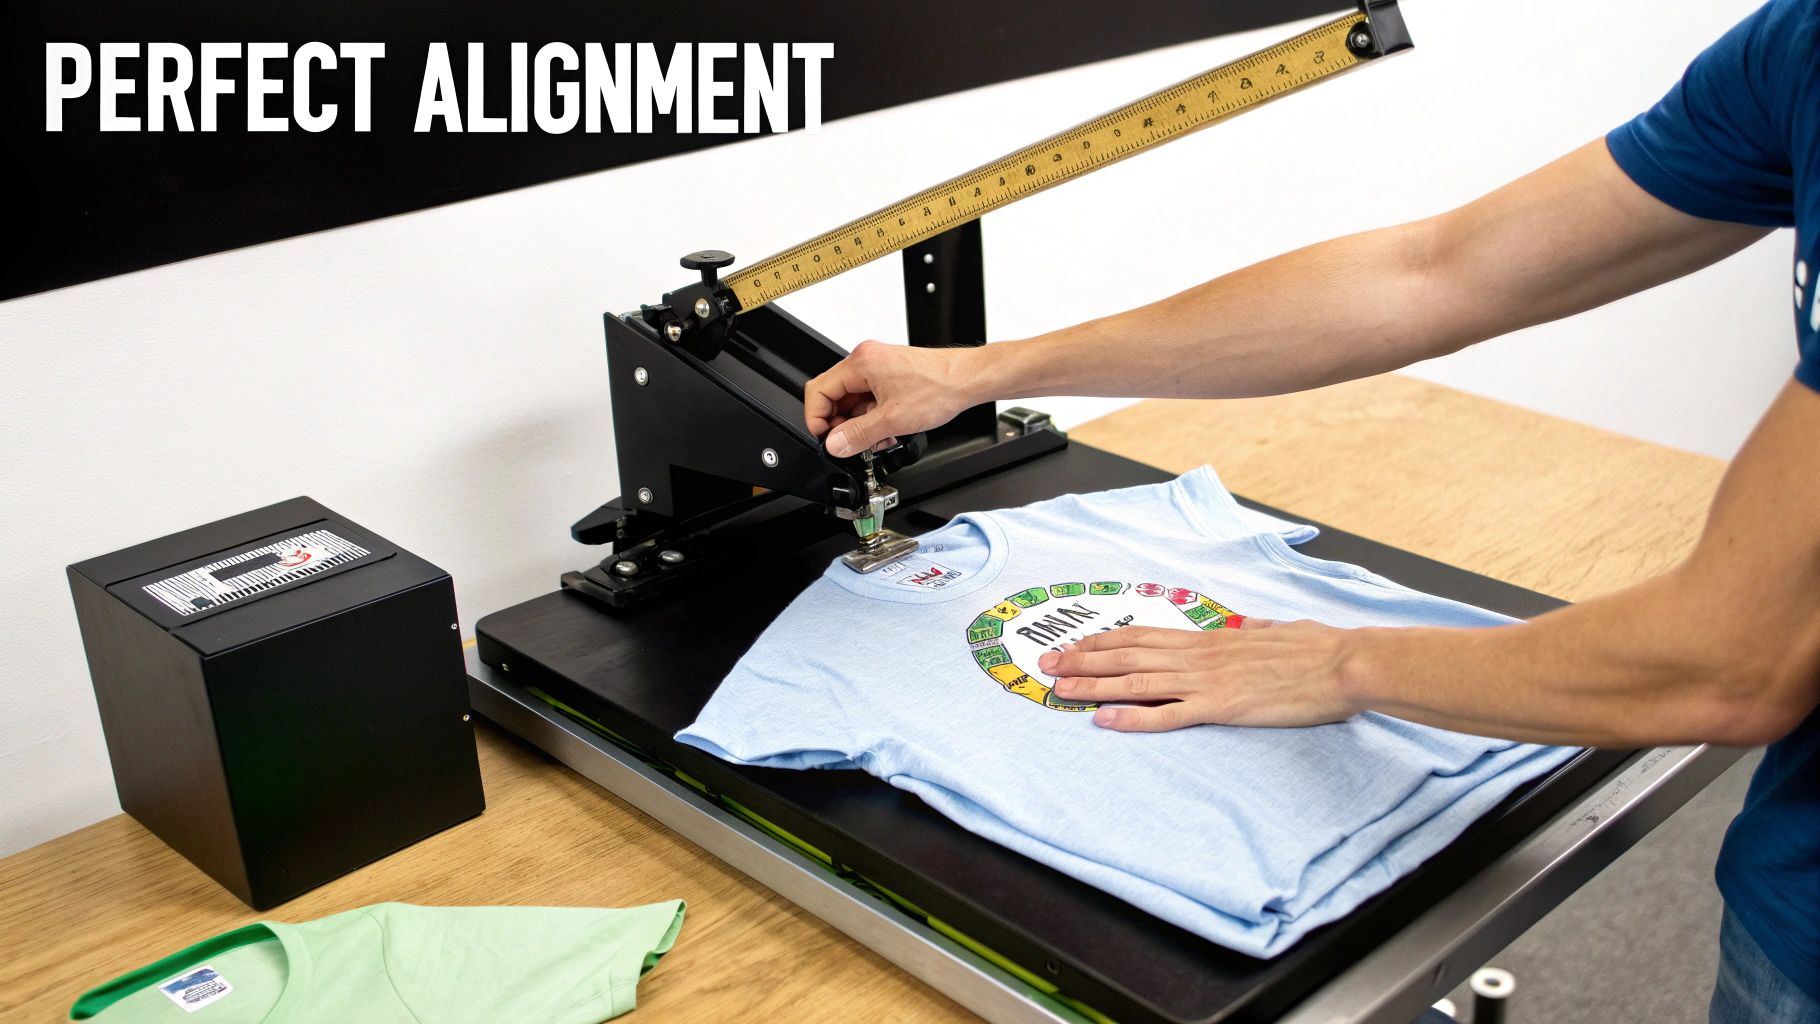
Nailing the Alignment Every Time
Centering a design can feel like guesswork, but a few simple tools make it foolproof. I highly recommend investing in a clear acrylic t-shirt ruler. These guides usually have markings for the collar and centerline, helping you nail the placement with precision.
Don't have a ruler? No problem. A classic trick is to fold the shirt in half vertically and give it a quick press to create a faint centerline. Then, you can gently fold your transfer in half (don't make a hard crease!) to find its center and just line up the two marks.
The humble flat heat press has been a cornerstone of the custom apparel industry's growth, a market segment valued at around USD 500 million. These machines are workhorses in the garment, ceramic, and metal industries because they provide the consistent heat and pressure needed for perfect transfer adhesion. You can read more about the flat heat press machine market share on openpr.com.
Dealing With Tricky Items
Not everything you press will be a simple, flat t-shirt. Once you start working with hoodies, polos, or anything with thick seams, zippers, and buttons, you need a new game plan to get even pressure.
This is where a heat press pillow becomes your best friend. These are foam-filled, heat-resistant pads you slide inside the garment. The pillow raises the application area, allowing bulky things like seams and zippers to sink down around it. This ensures the platen makes direct, firm contact with your transfer. Without one, you're pretty much guaranteed to get uneven pressure, which is why transfers often peel off hoodies and jackets.
Time to Press: Bringing Your Design to Life
Alright, your press is hot, your settings are dialed in, and your shirt is prepped. This is the moment of truth—the part where all that setup pays off and you finally see your creation come to life. Let's get this done.
First things first, get that garment laid out perfectly flat on the bottom platen. Smooth out every single wrinkle, especially in the area you're pressing. A stray crease now will be permanently pressed into the fabric later.
Next, carefully position your transfer. Double-check, and then triple-check it. Is it centered? Is it straight? Take an extra minute here; there’s nothing worse than peeling off a perfectly pressed but frustratingly crooked design.
Don't Skip the Protective Layer
Never, ever press a transfer without a protective sheet between it and the hot upper platen. This is a non-negotiable step that saves you from two major headaches: it stops ink from bleeding onto your platen (which can ruin future projects), and it shields your garment from scorch marks.
You’ve got a couple of solid options here:
- Teflon Sheet: A durable, reusable sheet that creates a perfectly smooth, non-stick surface. If you’re doing this regularly, a good Teflon sheet is a must-have.
- Parchment Paper: This is a great, affordable alternative. Just be sure you're using plain old kitchen parchment paper, not wax paper. Wax will melt and create a huge mess.
Lay your protective sheet over the entire transfer, close the press, and lock it down. Now you can relax for a moment while the timer counts down.
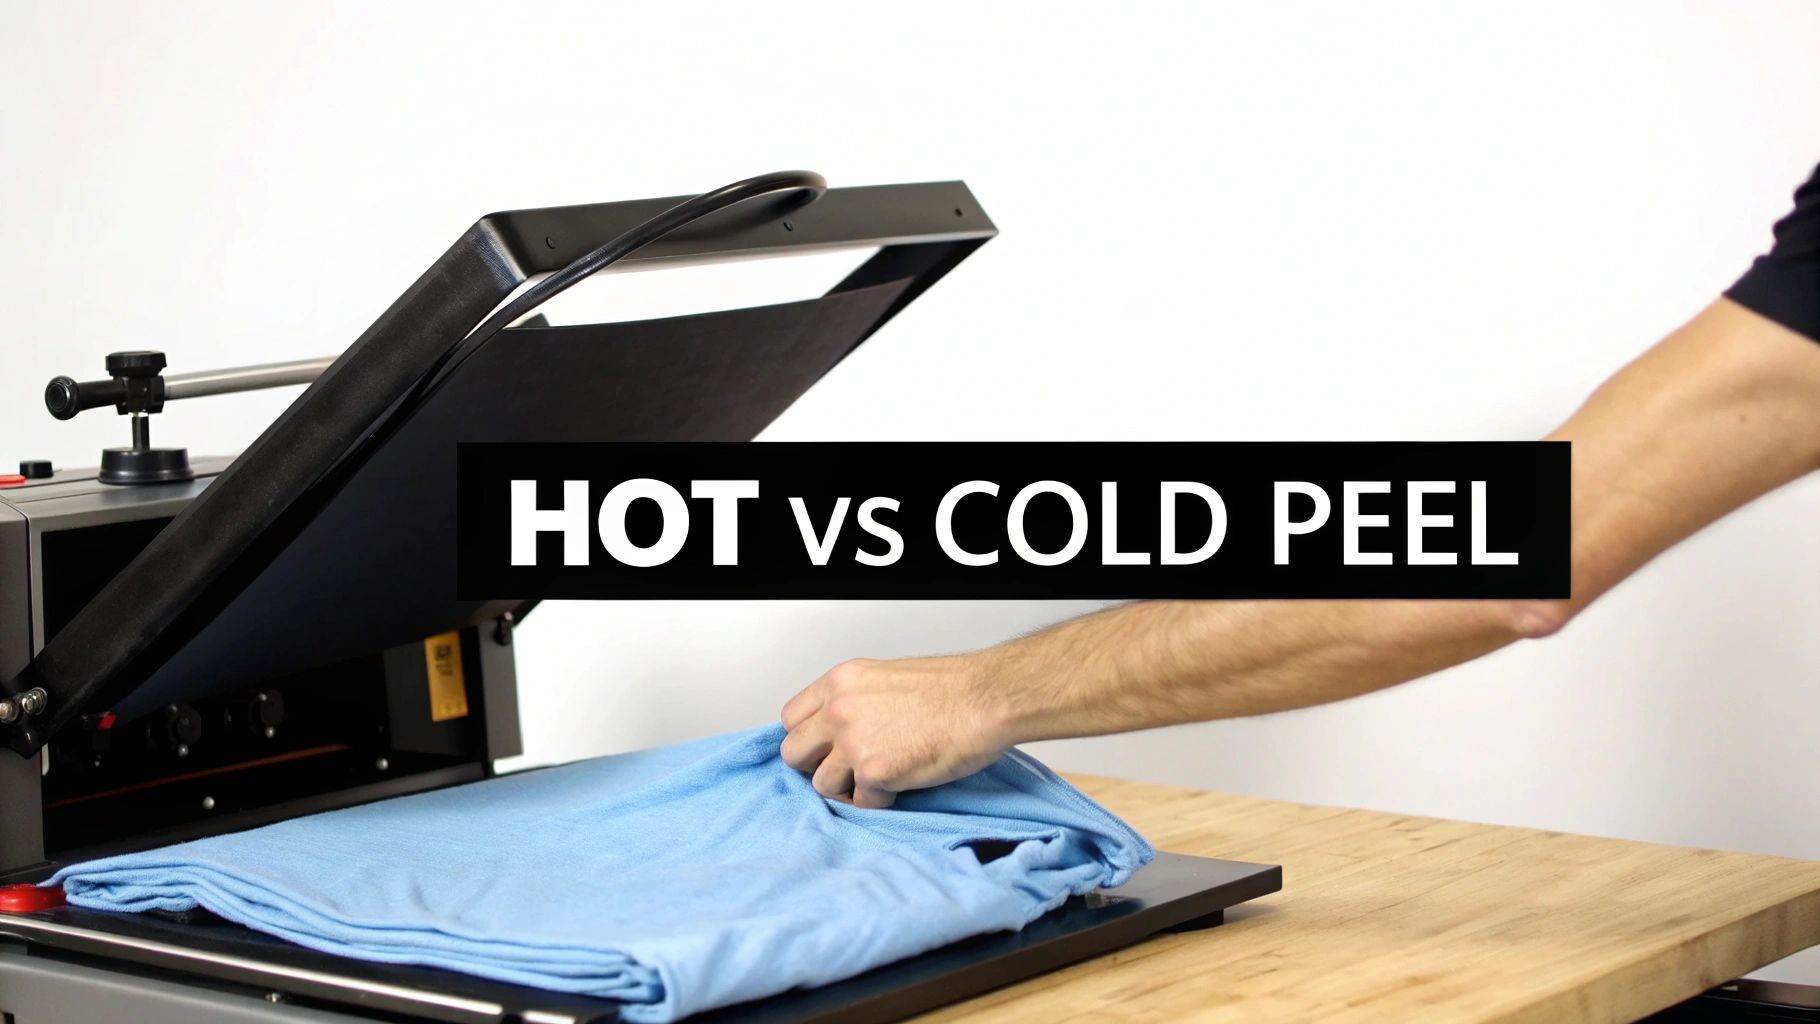
Hot Peel vs. Cold Peel: The Deciding Moment
When that timer beeps, open the press. You’re now at one of the most critical points of the entire process: peeling the carrier sheet. Every transfer is either a hot peel or a cold peel, and doing the wrong one can completely ruin your work.
Hot Peel: This means exactly what it sounds like—peel the clear film off immediately while the transfer is still scorching hot. You have to be quick and decisive. The vast majority of modern DTF transfers, like the ones from Raccoon Transfers, are hot peels. It’s a huge time-saver.
Cold Peel: This one tests your patience. You have to let the garment and transfer cool down completely before you even think about touching the carrier sheet. If you peel while it’s still warm, the design will likely come right off with the film. Some specialty vinyls and older types of transfers require a cold peel.
Pro Tip: When you peel, pull the carrier sheet back at a low, sharp angle, almost folding it over itself. Never pull straight up. Pulling up can stretch the fabric and distort the fresh design before it has a chance to fully set.
Advanced Technique: Layering HTV Like a Pro
Ready to try something more complex, like a multi-color design using Heat Transfer Vinyl (HTV)? The trick to layering is to avoid creating a thick, bulky plastic patch that's prone to cracking.
The secret is to use quick "tack" presses for all but the final layer.
- Position your bottom vinyl layer and press it for just 2-3 seconds. That’s just enough heat to get it to stick so you can peel its carrier sheet off.
- Carefully align the next color on top and repeat the 2-3 second tack press.
- Keep doing this for every layer of your design.
- Once every piece is tacked down and all the plastic carriers are gone, cover the entire design with your protective sheet and do one final, full-duration press—say, 10-15 seconds—to cure everything together perfectly.
This method ensures every layer gets properly bonded to the fabric without overcooking the ones you put down first. The result is a smooth, durable design that looks like it was always meant to be one piece.
Troubleshooting Common Heat Press Issues
Even when you follow every step to the letter, some days things just don't go as planned. A transfer starts to peel, an image looks faded, or you see a faint shadow where it shouldn't be. Don't sweat it—this is a normal part of the learning curve with a heat press. Think of these moments less as failures and more as your machine telling you what it needs.
More often than not, these issues circle back to the big three: temperature, time, and pressure. Sometimes, it's just a simple prep step that got missed. Let's walk through the most common frustrations and get them sorted out, so you can save your garments and get back to creating.
When Your Vinyl or DTF Transfer Is Not Sticking
This is easily the biggest headache for anyone starting out. You go to peel the carrier sheet, and bits of your awesome design lift right off with it. It’s maddening, but the fix is usually pretty simple.
Before you start blaming the transfer itself, take a hard look at your application process. In my experience, peeling is almost always caused by one of these four culprits:
- Not Enough Pressure: This is the number one offender. A good transfer needs firm, even pressure to really push that adhesive into the fabric's fibers. If it feels way too easy to lock your press down, crank the pressure knob a quarter-turn clockwise and try again.
- Temperature Is Too Low: If the heat isn't high enough, the adhesive simply won't melt and activate properly. Always double-check the recommended temperature for your specific transfer type and the fabric you're working with.
- Fabric Coatings: Some garments, especially performance wear or rain jackets, have waterproof or moisture-wicking coatings. These chemical barriers are great for wearing, but they can stop a transfer's adhesive from getting a good grip.
- Forgetting the Pre-Press: Skipping that quick 3-5 second pre-press leaves moisture and wrinkles trapped in the fabric. That moisture turns to steam during the main press, which can block the adhesive and lead to a failed application.
Solving Faded or Dull Sublimation Prints
You were expecting a vibrant, eye-popping design, but what you got looks washed-out and lifeless. Sublimation is a delicate dance of chemistry where solid ink becomes a gas, and getting that reaction just right is everything. A dull print almost always means your settings are off.
The most likely cause? Not enough time or temperature. Sublimation needs a much longer dwell time (often 45-60 seconds) and way more heat (usually around 385-400°F) than vinyl or DTF. If you pull it off too early, not all of the ink has a chance to turn into a gas and bond with the polyester fibers. The result is a weak, faded-looking print. Give it the full time it needs to work its magic.
Eliminating Ghosting and Blurry Images
"Ghosting" is that frustrating, faint shadow you sometimes see next to your design. It happens when the transfer paper shifts ever so slightly during or right after pressing, while the ink is still a gas. This tiny movement causes the ink to settle just a little bit off-register, creating that blurry double image.
Key Takeaway: The single best way to prevent ghosting is to tape your transfer down. A few small pieces of high-quality, heat-resistant tape will lock your sublimation paper or DTF transfer firmly in place. You can learn more about the right way to do this with our guide on heat press tape.
When you open the press, lift the platen straight up, nice and smooth. Avoid letting it shift to the side. Then, carefully remove the transfer paper in one clean motion to prevent any last-second jitters.
It's no surprise that the market for machines that simplify this is growing. Projections show the global automatic heat press machine market is expected to hit about USD 76.4 million by 2031. You can read more about the growth of automatic heat presses on hengceresearch.com. This trend really shows how much people value consistent, error-free results without problems like ghosting.
Handling Uneven Application Over Seams and Zippers
Pressing a flat t-shirt is one thing, but what about a hoodie with a thick pocket seam? Or a polo shirt with a placket and buttons? If you press right over these bulky areas, they prevent the heat platen from making solid contact with the rest of your design. You end up with a transfer that’s stuck perfectly on the high spots but peeling away in the surrounding low spots.
The trick is to raise the printing area so it's higher than all the obstacles.
- Use a Heat Press Pillow: Just slide a foam-filled, heat-resistant pillow inside the garment. This lifts the flat print area up, allowing the seams and zippers to sink down into the soft lower platen and out of the way.
- DIY with Silicone Pads: If you don't have a pillow handy, you can get the same effect using smaller silicone pads—or even a couple of mouse pads in a pinch (just put a protective sheet over them). Place them under the specific area where the transfer is going.
By creating a flat, firm surface, you guarantee that every square inch of your transfer gets the direct pressure it needs for a perfect bond that lasts.
Common Heat Press Questions Answered
Once you start using your heat press regularly, you're bound to run into a few questions. Whether you're trying to figure out a weird result or just want to make sure you're doing things the right way, getting solid answers is how you grow. Let's tackle some of the most common questions I hear from people just starting out and even from seasoned pros.
What Should I Put Between My Heat Press and Shirt?
You absolutely need a protective sheet between your shirt and the hot upper platen. This little step is a lifesaver, preventing stray ink from getting on your platen and stopping any potential scorching on your garment.
A non-stick Teflon sheet is the go-to for many pros. It's tough, reusable, gives a nice smooth finish, and you can just wipe it clean. Another great option, especially if you're on a budget, is parchment paper. It's disposable and works perfectly. Just make sure you don’t accidentally grab wax paper from your kitchen drawer—the wax will melt and create a nightmare of a mess on your shirt and your machine.
Can I Just Use a Household Iron Instead?
Look, for a tiny, one-time personal project, an iron might get you by. But for anything you want to look professional or last more than one wash, it's just not the right tool for the job. A proper heat press gives you two things an iron can't: consistent heat and even pressure.
An iron's surface is full of temperature variations and steam holes, so you'll never get even heat. Plus, you're relying on your own strength for pressure, which is never enough and is all over the place. This is why iron-on projects are notorious for peeling after the first wash—it's a tell-tale sign of a weak bond.
How Do I Know the Right Temperature and Time Settings?
Your first stop should always be the instructions from your transfer supplier (the company you bought the HTV or DTF transfers from). Their recommendations are your starting line.
But here’s a pro tip: not all heat presses are calibrated exactly the same. The temperature on your display might be a few degrees different from the actual platen temperature.
I always tell people to keep a small notebook or a simple digital file for their projects. Write down the shirt material, the type of transfer, and the exact settings that worked perfectly. Over time, this log becomes your personal cheat sheet and is more valuable than any generic guide.
It's also a smart move to do a quick test press on a scrap piece of fabric before you commit to the real thing. This lets you dial in the settings for your specific machine without ruining a perfectly good garment.
Why Is My Vinyl Peeling Off After I Wash It?
This is a heartbreaker, but it's almost always a problem with the initial press, not a fault of the vinyl itself. The adhesive simply didn't create a strong enough bond with the fabric to survive the wash.
Nine times out of ten, it comes down to one of these three things:
- Not Enough Pressure: This is the #1 culprit. If you didn't apply enough firm pressure, the adhesive couldn't work its way deep into the fabric's fibers.
- Wrong Temp or Time: Too little heat or not enough time on the press means the adhesive never got to its ideal melting point to activate properly.
- Washing Too Soon: You have to give the adhesive time to cure. Wait at least 24-48 hours after pressing before that first wash. This curing period is when the bond becomes permanent.
Double-check these three points, and you’ll fix most peeling problems for good.
Ready to create professional-quality custom apparel with transfers that are vibrant, durable, and easy to apply? Raccoon Transfers specializes in premium, hot-peel DTF transfers that ship next business day. Build your gang sheet and see the difference for yourself at https://raccoontransfers.com.