
A Practical Guide to Print Heat Transfers
Imagine taking a design from your computer and turning it into a wearable piece of art. That's the magic of print heat transfers. Think of it less like a sticker and more like a professional, permanent graphic fused directly onto fabric or other items. It's the go-to method for creating custom t-shirts, mugs, and hats that look sharp, vibrant, and store-bought.
What Are Print Heat Transfers
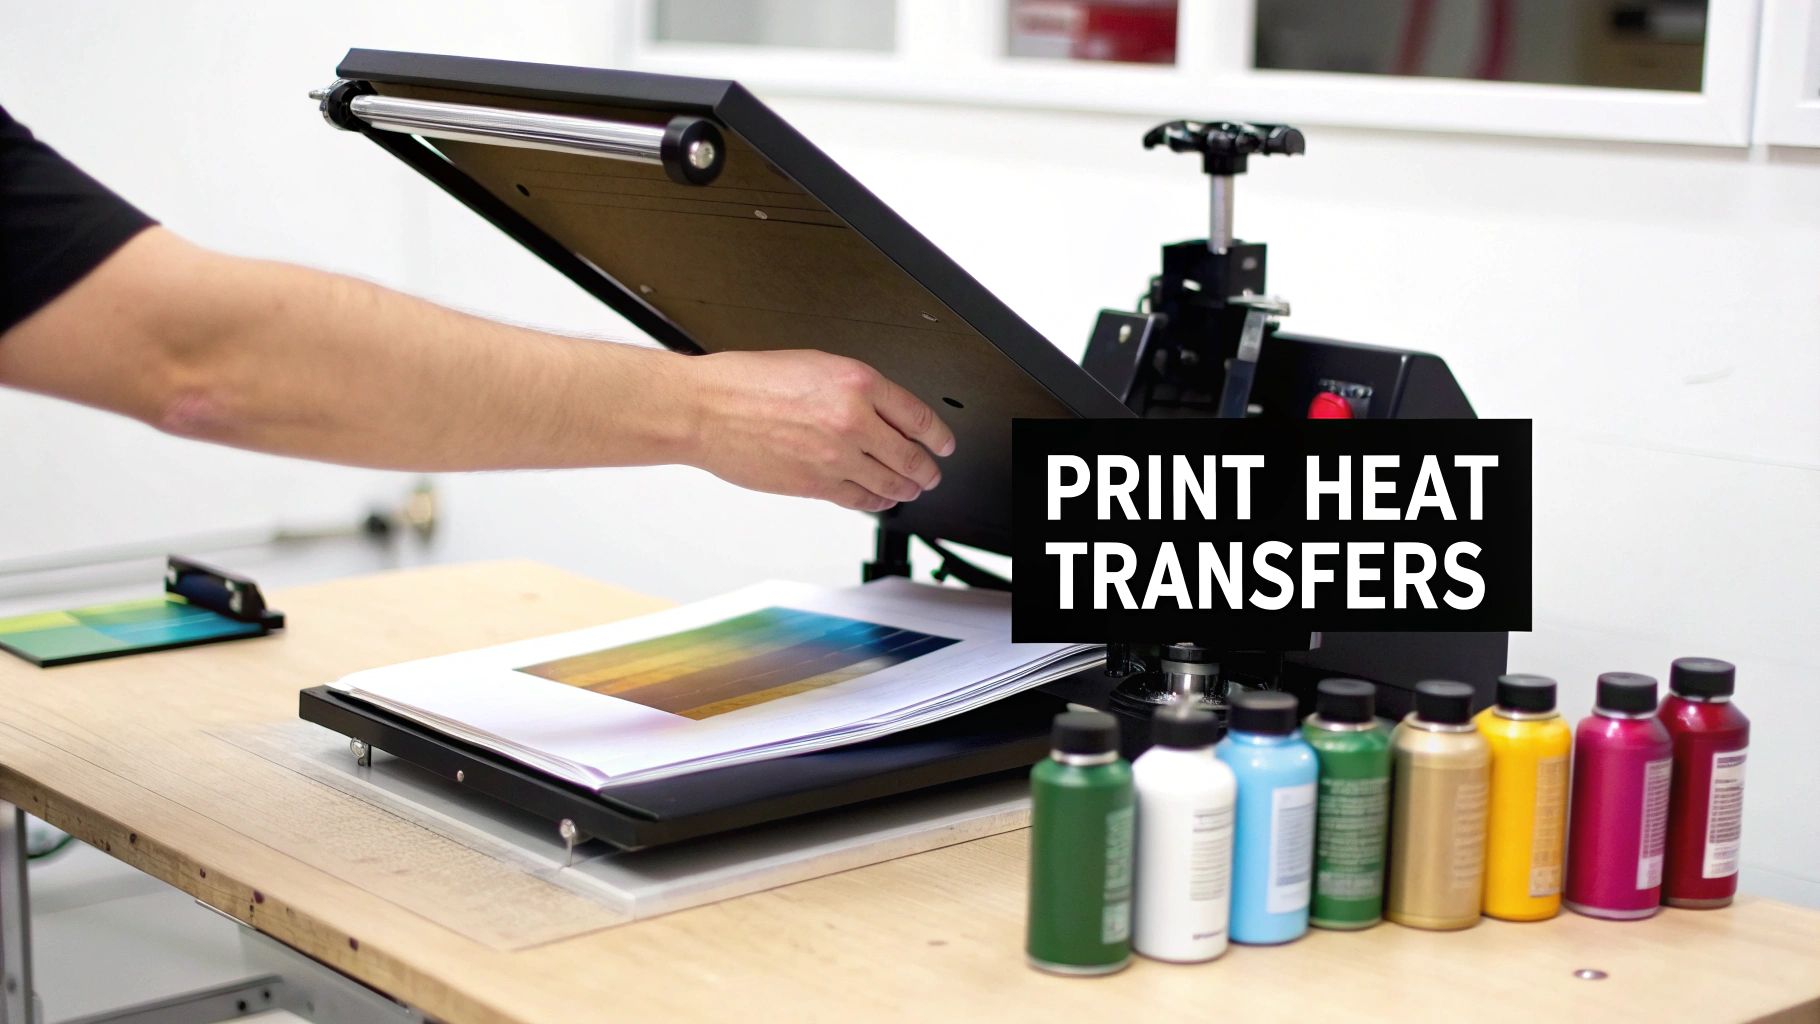
So, what’s happening behind the scenes? The process starts with printing your design onto a special carrier material, usually a clear film. This isn't just regular ink on paper; it's a carefully layered combination of inks and a heat-activated adhesive.
Once printed, this transfer is placed onto the final product—like a cotton tee or a polyester tote bag. A heat press then applies just the right amount of heat and pressure, causing the design to release from the film and permanently bond to the item. It’s a clean, efficient way to get a durable, long-lasting finish.
What makes this method so popular is how it handles complexity. Old-school screen printing needs a different screen for every single color, which gets complicated and expensive fast. With heat transfers, you can have a design with a million colors and fine details, and it all gets applied in one simple press.
The Essential Components
To really get a handle on how this works, it helps to know the three key players involved. Each one has a critical role in bringing your design to life.
To make this even clearer, here’s a quick breakdown of the core components and what they do.
Key Heat Transfer Concepts at a Glance
| Component | Role in the Process |
|---|---|
| The Transfer | This is your design, printed in reverse on a carrier film with a special adhesive backing. It’s the star of the show. |
| The Heat Press | The workhorse machine. It provides the consistent heat and even pressure needed to make the transfer stick permanently. |
| The Substrate | A technical term for the item you're decorating. It could be a t-shirt, a hat, a bag, or even a ceramic mug. |
Each part depends on the others to work correctly, from the quality of the printed transfer to the accuracy of the heat press.
The real beauty here is how straightforward and effective it is. This technology opens the door for everyone, from small Etsy shops to large businesses, to create amazing custom products without the massive setup costs or technical headaches of other methods.
And it’s not just a niche hobby. The demand for this technology is exploding. The global market for heat transfer printers was valued at around $2.5 billion USD in 2025 and is expected to climb to nearly $4.2 billion by 2033. You can dive into the full market research on heat transfer printer growth to see just how fast it's expanding.
Comparing DTF and UV-DTF Transfers
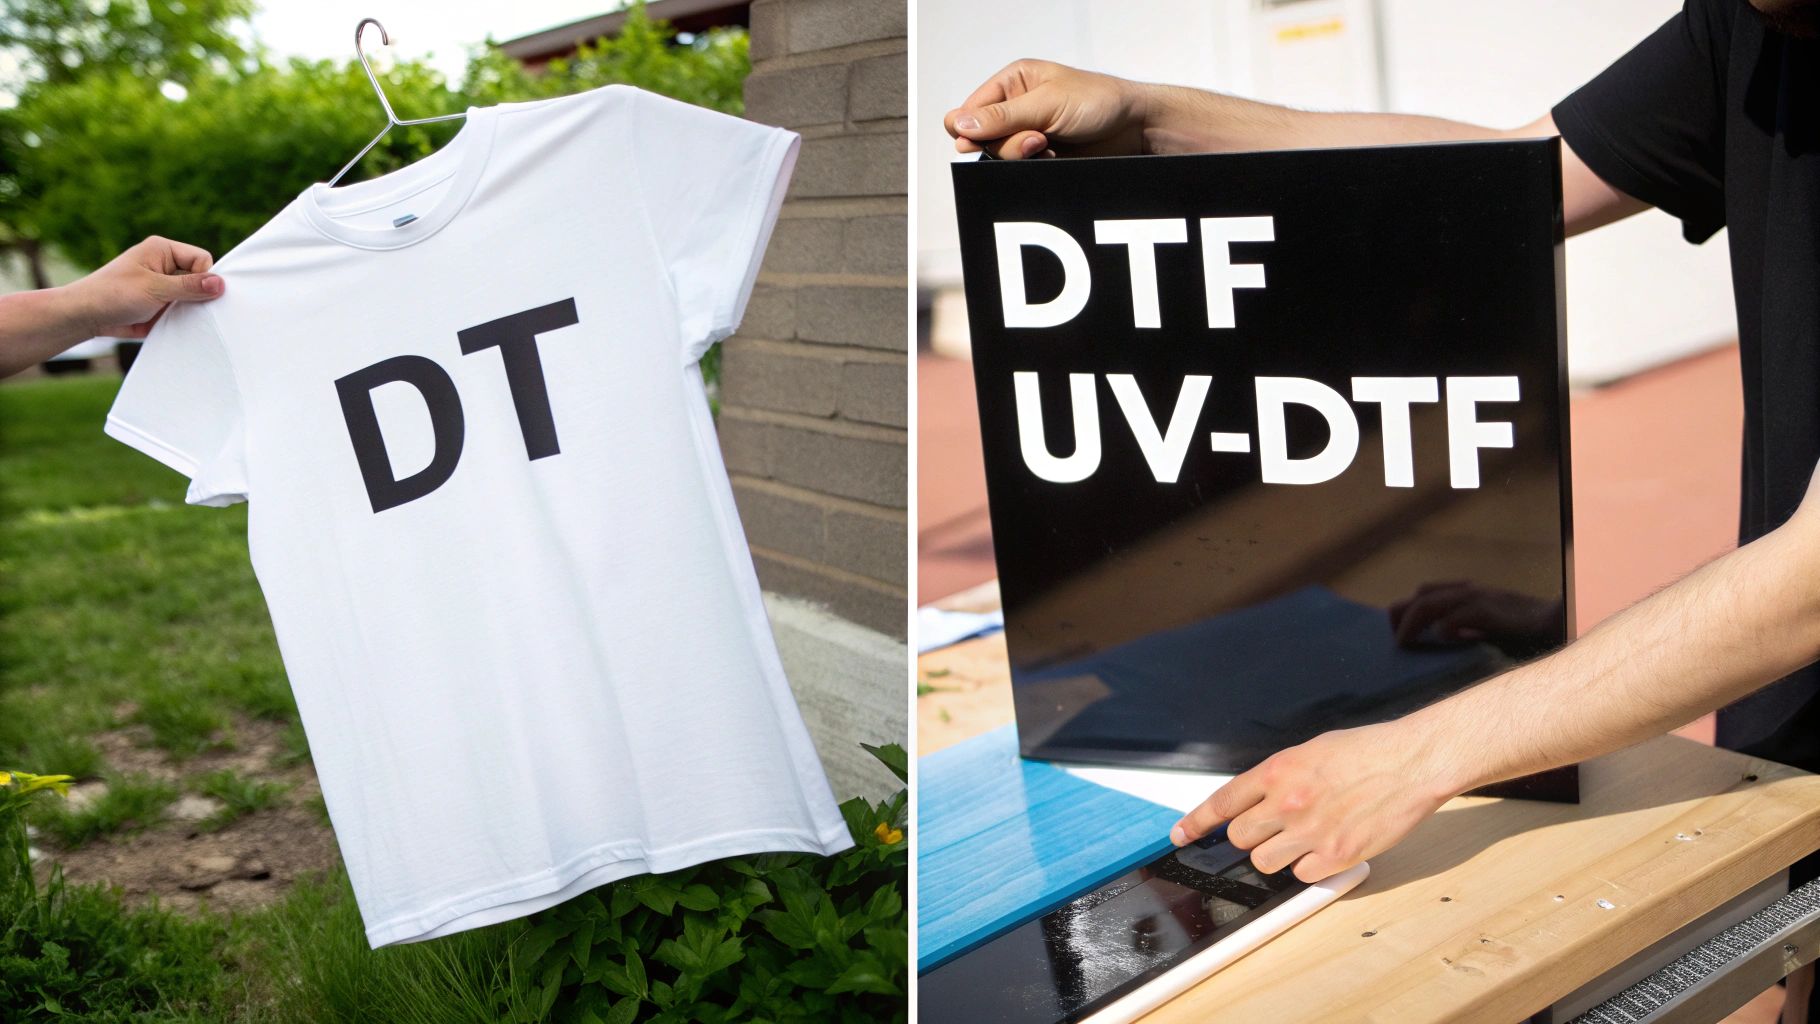
The world of custom printing has some amazing options these days, but two of the most popular methods are Direct-to-Film (DTF) and UV Direct-to-Film (UV-DTF). At first glance, their names are almost identical, which can be a bit confusing. But in reality, they’re built for completely different jobs.
Think of it like this: DTF is your go-to for soft, flexible fabrics, while UV-DTF is the master of hard, unbending surfaces. Knowing which one to use is the secret to getting incredible results every time. Let’s dive into what makes each of these technologies tick and where they truly excel.
The Magic of DTF for Fabrics
When it comes to decorating apparel, Direct-to-Film, or DTF, has become the undisputed champ. The process itself is a cool mix of digital printing and old-school heat application. It all starts with printing your design onto a special transparent film. While the ink is still wet, a fine layer of hot-melt adhesive powder is dusted over the top.
That powdered film is then sent through a small heater, which cures the ink and melts the adhesive, turning your design into a ready-to-use transfer. From there, all it takes is a heat press to bond it permanently to just about any fabric.
- Vibrant and Stretchable: The final print is stunningly vibrant, packed with detail, and flexible enough to move with the fabric without cracking.
- Broad Compatibility: DTF is incredibly versatile. It works just as well on cotton, polyester, and leather as it does on blends, no matter if the material is light or dark.
DTF has quickly become a favorite for anyone in the custom apparel game. Its ability to create soft, long-lasting, full-color designs is perfect for everything from intricate company logos on hoodies to beautiful, photorealistic prints on t-shirts.
The Power of UV-DTF for Hard Goods
Now, let's switch gears to UV-DTF. This technology takes a completely different path and is engineered specifically for rigid objects. Forget heat-activated glue; UV-DTF uses high-intensity ultraviolet (UV) light to instantly cure layers of ink and varnish directly onto an adhesive-backed film. What you get is basically a premium, super-durable sticker.
Applying it couldn't be simpler. You just peel the design from its backing paper, stick it onto your item, rub it down firmly, and then peel away the top carrier film. That’s it—no heat press needed.
- Ideal Surfaces: This is the perfect method for personalizing things like glass, metal, plastic, treated wood, and ceramics.
- Durable Finish: The UV-cured ink creates a glossy, slightly raised graphic that’s tough enough to resist scratches and water.
UV-DTF opens up a massive range of creative possibilities for branding promotional products or creating one-of-a-kind personalized gifts. To see just how versatile it is, you can explore the transformative applications of UV-DTF printing in our guide.
By getting to know these two powerful transfer methods, you can confidently choose the right one to bring your vision to life, whether it's on a t-shirt or a coffee mug.
Getting your transfer to stick and last all comes down to one thing: picking the right material. Think of it like this—you wouldn't use wood glue on metal, right? The same principle applies here. For any print heat transfers project, knowing which surfaces work best with your chosen technology is the first step to a flawless finish.
This is especially true when you're working with DTF and UV-DTF transfers. They’re built for completely different jobs. One is designed to become part of soft, flexible fabric, while the other is made to stick firmly to hard, smooth objects. Nail this choice, and you’ll avoid the headaches of peeling, fading, or cracking.
The Best Fabrics for DTF Transfers
When it comes to fabrics, DTF transfers are incredibly flexible, but they definitely have their favorites. You want a material that lets the heat-activated adhesive sink in and create a permanent bond.
Your best bets usually fall into these groups:
- Cotton and Cotton Blends: This is the sweet spot. Cotton’s natural, porous fibers give the DTF adhesive something to really grab onto, creating a print that’s both soft and tough.
- Polyester: This synthetic superstar works beautifully with DTF. The transfers stick well and the colors come out incredibly vibrant, which is why you see it so often on sportswear and performance apparel.
- Specialty Fabrics: Don't be afraid to get creative! DTF works great on materials like denim, canvas, and even certain types of leather, opening up a world of possibilities for custom hats, bags, and jackets.
Pay attention to the fabric's texture and color, too. A super chunky or rough weave can make it hard to get a smooth application. And if you're printing on a dark-colored shirt, the white ink base layer in a DTF transfer is a lifesaver—it makes sure your design stays bright and isn't see-through. For a deeper dive into different transfer options, our guide on the best vinyl for heat press projects has some great tips.
Ideal Surfaces for UV-DTF Application
Now, let's switch gears. With UV-DTF, you’re moving away from clothes and into the world of hard goods. These transfers are basically next-level stickers that need a non-porous surface to bond correctly. Forget the heat press; it's not needed here.
The most important thing is a surface that's clean and smooth. Any dust, oil, or heavy texture will get in the way of a solid bond, which can cause peeling or bubbling later on.
Some of the best surfaces for UV-DTF include:
- Glass and mirrors
- Metal (like those popular stainless steel tumblers)
- Ceramics (think mugs and tiles)
- Sealed or treated wood
- Hard plastics and acrylics
On the flip side, you’ll want to be careful with things like raw, unfinished wood, silicone, or waxy plastics. The adhesive can struggle to get a good grip on these. This is why material choice is so critical in the personalization world. The demand for versatile customization options is exactly why the heat transfer paper and vinyl market, valued at $1,435.5 million USD in 2025, just keeps expanding. Discover more insights about this growing market.
Material Compatibility for DTF vs. UV-DTF
To make it even clearer, let's break down which materials work best for each transfer type. Think of this as your quick-glance cheat sheet for matching the right transfer to the right product.
| Material Type | Best for DTF | Best for UV-DTF |
|---|---|---|
| Cotton & Blends | ✅ | ❌ |
| Polyester | ✅ | ❌ |
| Canvas & Denim | ✅ | ❌ |
| Glass & Mirrors | ❌ | ✅ |
| Metal | ❌ | ✅ |
| Ceramics & Mugs | ❌ | ✅ |
| Plastics & Acrylics | ❌ | ✅ |
| Sealed Wood | ❌ | ✅ |
| Leather | ✅ | ❌ |
As you can see, there’s no overlap. DTF is your go-to for anything you can wear, while UV-DTF is perfect for decorating hard, everyday objects. Keeping this distinction in mind is the secret to getting professional-quality results every time.
Your Step-By-Step Heat Press Application
Now for the fun part—bringing your design to life. Applying a print heat transfer with a heat press is a pretty straightforward process, but getting it right is all in the details. Think of it like baking: you need the right temperature and timing to get a perfect result. If you follow the recipe, you'll get a design that not only looks sharp but lasts through countless washes.
Let's walk through the whole process, from prepping the garment to that satisfying final peel.
This visual guide breaks down the core stages of applying print heat transfers, from initial prep to the final peel.
Each icon represents a critical action needed to ensure a durable, professional-quality application.
Preparing Your Garment and Transfer
First things first, let's get your canvas ready. Before you even think about the transfer, you have to pre-press your garment for about 5-10 seconds. Don't skip this step! It gets rid of any wrinkles and, more importantly, zaps any hidden moisture from the fabric.
Moisture is the arch-nemesis of a good transfer. When you press, it turns to steam and stops the adhesive from making a solid bond. A quick pre-press gives you a perfectly flat, dry surface to work with.
Next up is placement. Position your transfer on the garment with care. A neat little trick is to fold the shirt in half and press it lightly to make a center crease. Use that line as a guide to get your design perfectly centered. Take your time here—once you press it, it’s permanent.
Dialing In Settings and Making the Press
With your design set, it's time to program the heat press. You’re working with three key variables: temperature, pressure, and time. These three work in harmony to melt the adhesive and bond the design to the fabric fibers. The magic formula really depends on the type of transfer you're using and the material it's going on.
Getting these settings right is the most critical part of the application process. Even a slight deviation can lead to a failed press, causing issues like peeling corners or a scorched garment.
For instance, a typical DTF transfer on a cotton shirt usually needs a temperature around 300-320°F for 10-15 seconds with medium pressure. But always, always check the supplier's instructions for your specific transfers. If you want to dive deeper, we have a complete guide on heat press settings for DTF.
The Grand Reveal and Peeling
Once the timer goes off, you're at the final step: the peel. This is where you pull away the clear carrier film, leaving just your brilliant design behind. Transfers are usually labeled as hot, warm, or cold peel, which tells you exactly when to remove that film.
- Hot Peel: Pull the film off immediately after the press opens.
- Warm Peel: Let it cool for just a few seconds before peeling.
- Cold Peel: You have to wait until the transfer is completely cool to the touch.
Peeling at the wrong temperature can destroy all your hard work. It might pull the design up with the film or leave a tacky residue. Sticking to the specific peel instructions for your print heat transfers is the key to getting that clean, professional finish you're after.
What Makes Modern Print Transfers So Great?
So, why are so many people—from Etsy shop owners to major brands—jumping on the print heat transfer bandwagon? It really boils down to a mix of quality, flexibility, and pure efficiency that older methods just can't keep up with. These modern transfers solve a lot of the classic headaches that come with custom printing.
The perks aren't just about slapping a design on a shirt; they unlock a ton of new creative and business opportunities. Let's dig into the four biggest reasons this tech has become the go-to for custom gear.
Stunning Detail and Color
The first thing you’ll notice is the incredible visual pop. With old-school screen printing, every color needs its own screen, and things like smooth gradients or tiny details are a real pain. DTF transfers, on the other hand, print designs with photorealistic quality. We're talking millions of colors, super-fine lines, and complex details, all in one go.
This means you can take a complex logo, a detailed drawing, or even a full-blown photograph and get a crisp, vibrant print every time. The colors are brilliant and spot-on with your digital file, giving every item a polished, professional look that makes an impression.
Unmatched Versatility
One of the biggest wins for modern transfers is how well they play with different materials. Getting a design to stick to anything other than a basic cotton tee used to be a major challenge, but not anymore.
- Fabrics: Whether you're working with 100% cotton, polyester, tricky blended fabrics, or even leather, DTF transfers form a solid, lasting bond.
- Hard Goods: And with UV-DTF, you can skip the heat press entirely and decorate hard surfaces like glass, metal, plastic, or sealed wood.
This flexibility is a game-changer for building a consistent brand across a whole range of products, from t-shirts to tumblers. It's this level of adaptability that has fueled trends like the popularity of custom honor stoles for celebrating big moments.
The ability to apply the same high-quality design to a t-shirt, a tote bag, and a coffee mug using similar technologies is a significant advantage for anyone building a product line.
Perfect for Small Batches and On-Demand Orders
Here’s where print transfers really pull ahead, especially for smaller businesses and independent creators. Traditional methods like screen printing have hefty setup costs and take time, which makes doing a small run of shirts ridiculously expensive. With DTF, there are no setup fees, no screens to burn, and no complicated color separations.
You can print just one full-color transfer almost as cheaply as you can print a hundred. This makes it the perfect solution for on-demand printing, handling personalized one-off orders, or just testing out a new design without sinking a bunch of cash into inventory.
Seriously Durable
There's an old myth that heat transfers peel and crack after a few washes. While that might have been true years ago, modern DTF transfers have totally flipped the script. When they're applied the right way, these prints are incredibly tough and can easily outlast the garment they're on. We're talking 50+ washes with no cracking, peeling, or fading in sight.
The ink actually fuses into the fabric, leaving a finish that’s soft and flexible enough to stretch without being damaged. It ensures your final product doesn't just look amazing on day one but also holds up to real-world wear and tear, giving your customers something they'll love for years.
Common Mistakes and How to Avoid Them
Knowing where things can go wrong with print heat transfers is half the battle. Getting ahead of these common slip-ups will save you a ton of time, materials, and frustration.
Even seasoned pros can overlook small details that lead to peeling transfers, scorched shirts, or designs that just won't stick. Let's walk through four of the most frequent mistakes and, more importantly, how to sidestep them for a perfect press every time.
1. Getting Heat Press Settings Wrong
This is, without a doubt, the number one culprit behind failed transfers. It's so easy to get the temperature, pressure, or timing just slightly off, but those little details make a huge difference.
Think of it like baking a cake. If the oven is too hot, the outside burns before the inside is cooked. Too cool, and it turns into a gooey mess. The same logic applies here. Every transfer type and every fabric has its own "recipe" for success.
- Too Much Heat: High temperatures can literally scorch the fabric fibers, leaving ugly marks and weakening the adhesive's grip.
- Not Enough Heat: Go too low, and the transfer never fully bonds. You'll see peeling edges and a faded, "ghostly" look almost immediately.
- Uneven Pressure: If your press isn't applying pressure evenly across the entire design, you'll get patchy results where some parts stick and others lift.
The fix is simple: Always follow the manufacturer's recommended settings for temperature and pressure. And before you press your final product, do a quick test on a scrap piece of the same material. It’s a small step that prevents big headaches.
2. Skipping Garment Prep
It’s tempting to just throw a shirt on the press and go, but skipping the prep work is a classic rookie error. Fabrics straight from the box are full of hidden moisture and wrinkles, both of which are enemies of a good transfer.
Trapped moisture turns to steam under the heat, pushing the transfer away from the fabric and weakening the bond. Wrinkles create an uneven surface, preventing the design from making full contact. Skipping a quick 5–10 second pre-press is often the reason a design fails later.
Here's a simple pre-flight checklist:
- Pre-press every single item for 5–10 seconds at the transfer temperature. You'll literally see the steam escape.
- Use a lint roller to remove any stray fibers or dust. A tiny piece of lint can create a noticeable gap in the final design.
- Use the center crease from the pre-press as a guide for perfect placement.
This prep work creates a perfectly smooth, dry canvas, giving your transfer the best possible chance to adhere flawlessly.
3. Mismatched Materials and Low-Quality Art
You can't just put any transfer on any surface and expect it to work. Each transfer process is designed for specific materials.
It sounds obvious, but you wouldn’t try to press a transfer meant for cotton onto a ceramic mug. In the same way, UV-DTF transfers are made for hard, non-porous surfaces, and they'll fail miserably on a soft t-shirt. Always check that your transfer type is compatible with your substrate.
Another critical piece of the puzzle is your artwork. Starting with a poor-quality image will always result in a poor-quality transfer. A common mistake is using a blurry or pixelated file. Taking the time to improve image resolution before you print is non-negotiable for professional results.
4. Botching the Peel
The final step—peeling the carrier sheet—can make or break the entire project. This isn't a "one-size-fits-all" situation. Some transfers are "hot peel" (remove immediately), "warm peel" (wait a few seconds), or "cold peel" (wait until completely cool).
Peeling too early on a cold-peel transfer will lift the ink right off the shirt. Peeling too late on a hot-peel transfer can leave behind a sticky residue or mess with the texture.
There's no room for guesswork here. Follow the peel instructions to the letter. This final bit of discipline is what separates an okay print from a fantastic one.
Consistency is key. From the initial prep to the final peel, being methodical and paying attention to the details will ensure your results are flawless every single time.
Frequently Asked Questions
Getting into the world of custom printing always brings up a few questions. We get it. To help you out, we've put together some answers to the most common things people ask about print heat transfers, giving you the straightforward info you need to get your projects rolling.
How Do Print Heat Transfers Compare to Screen Printing?
The best way to think about this is a classic trade-off: complexity versus quantity.
Print heat transfers, particularly DTF, are your best friend for complex, full-color designs—think photographs or intricate logos. Because there’s no costly, color-by-color setup, they're perfect for small batches or even one-off custom pieces.
Screen printing, on the other hand, really shines on large runs of simpler designs with just a few colors. The initial setup is more complex and expensive, but the cost per shirt plummets as the order size grows. As a bonus, DTF transfers often feel softer and more flexible on the fabric.
How Long Do DTF Transfers Last on Clothing?
Durability is where modern DTF technology really pulls ahead. When you start with a quality transfer and apply it correctly with a heat press, that design can easily handle 50 or more washes without cracking, peeling, or fading.
The secret to a long-lasting print isn't just one thing. It's the combination of a great transfer, precise application, and proper care. Always wash the garment inside out in cold water and skip the high-heat dryer to keep it looking sharp for years.
Can I Use a Regular Home Iron for Heat Transfers?
Technically, you can use an iron, but for any result you'd want to sell or wear proudly, it's not recommended. A home iron just can't deliver the two things that are absolutely essential for a good application: consistent, even heat and uniform pressure.
Without that control, you'll almost always end up with a weak bond. The edges will peel, the center might look okay, but the whole thing will likely start falling apart after just a couple of washes. A real heat press is a non-negotiable investment for that professional, durable finish.
Ready to make your own professional-quality custom gear? At Raccoon Transfers, we make it simple to get started with top-tier DTF and UV-DTF prints. Upload your design and see the difference for yourself.