
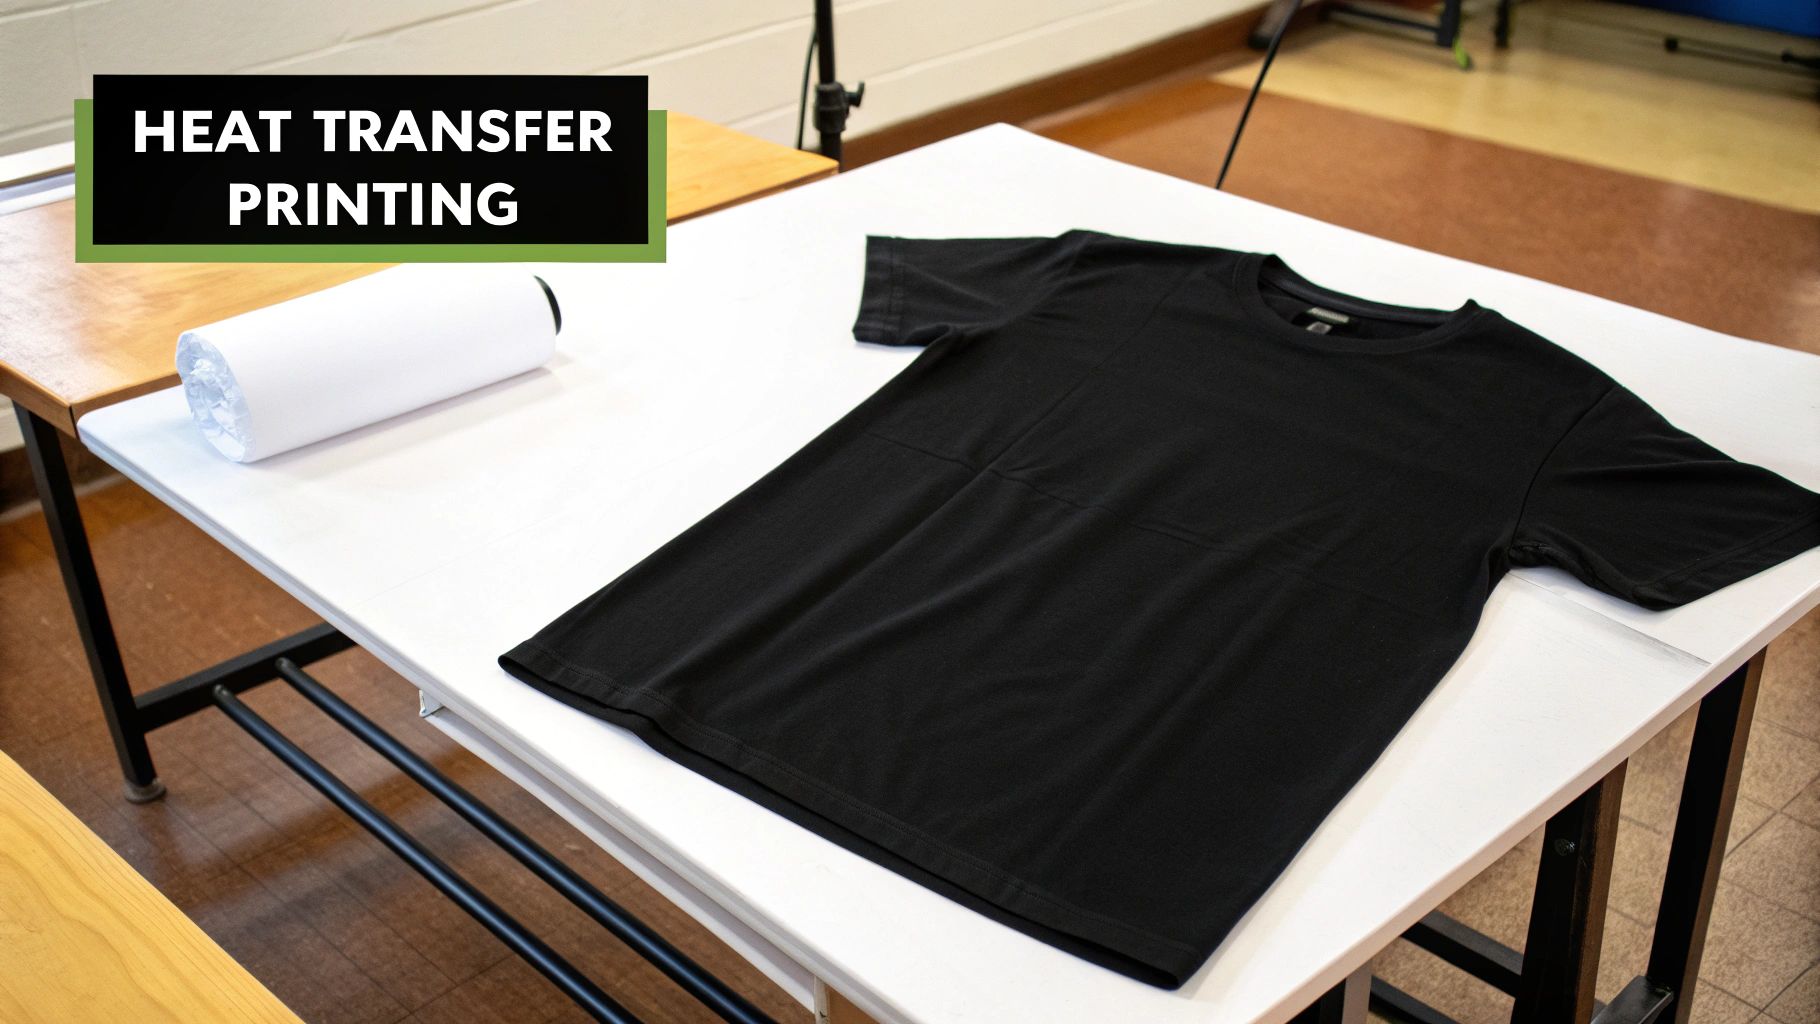
What Is Heat Transfer Printing Explained
Heat transfer printing is one of the most popular ways to get a custom design onto a product, whether it's a t-shirt, a tote bag, or a ceramic mug. At its heart, it's a simple idea: using heat and pressure to apply a graphic. Think of it as the professional, high-quality big brother to the iron-on patches you might have used as a kid.
Decoding Heat Transfer Printing
So, how does it actually work? The whole process hinges on three key players working together: a transfer medium (like special paper or film), specialized inks, and a heat press machine. First, your design is printed onto the transfer medium. This printed sheet is then carefully positioned on top of the item you want to decorate—what we call the substrate.
Once the heat press closes, the magic happens. The heat activates an adhesive on the transfer, which makes the ink release from its carrier. At the same time, the firm pressure from the press ensures the design makes perfect contact, essentially embedding it into the surface of the substrate or fusing it right into the fibers. This reliable technique has become a go-to for everyone from Etsy sellers in their home studios to massive apparel companies.
To give you a quick snapshot, here’s a simple breakdown of the process.
Heat Transfer Printing at a Glance
| Aspect | Description |
|---|---|
| Core Principle | A design is transferred from a carrier medium to a substrate using controlled heat and pressure. |
| Key Equipment | Heat press machine, printer, transfer paper/film, and a computer for designing. |
| Process | Design is printed onto a transfer, placed on the item, and then pressed at a specific temperature and time. |
| Result | A vibrant, full-color design bonded to the surface of the material. |
This table shows just how straightforward the fundamentals are, but the real art is in mastering the details.
The Science Behind the Press
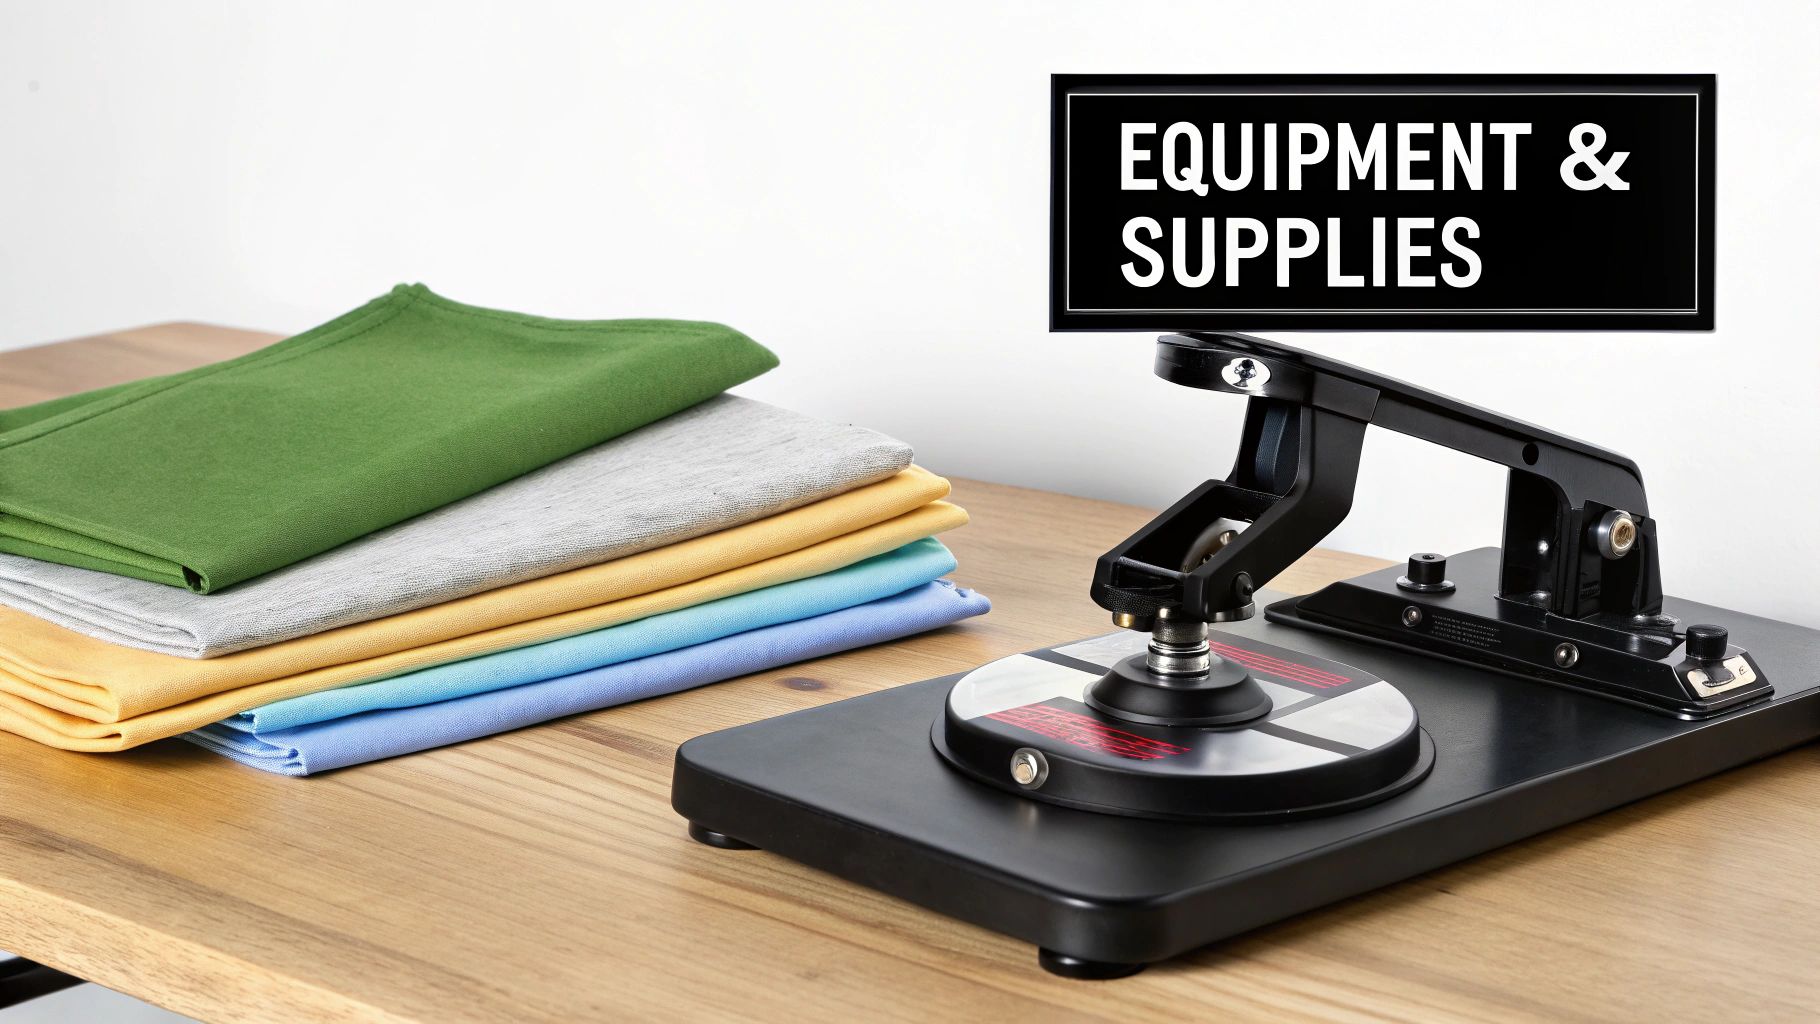
What really separates a professional heat transfer from a DIY job is precision. You can't just guess the settings. Temperature, pressure, and time have to be dialed in perfectly for the specific transfer and material you're working with.
Most heat presses operate somewhere between 180°C and 210°C (356°F to 410°F). They apply consistent, even pressure for a specific duration, usually anywhere from 10 to 30 seconds. This controlled, scientific approach is what creates a permanent bond, so the design won't peel, crack, or fade after a few trips through the laundry. This blend of reliability and relatively low startup costs has cemented its place in the global textile printing market. If you're curious, you can explore more on the history of printing to see how we got here.
Key Takeaway: Heat transfer printing is more than just applying heat. It's a calculated process where precise temperature, pressure, and timing work together to create a durable, high-quality bond between a design and a substrate.
Why It's a Popular Choice
So why do so many creators and businesses lean on heat transfer printing? A huge part of its appeal is its incredible versatility. You're not just limited to cotton t-shirts; this method works on a massive range of materials.
This opens up a ton of creative possibilities. Here are a few of the biggest benefits:
- Low Initial Investment: Getting started with heat transfer printing is far more affordable than other methods like screen printing, which requires a lot more equipment and space.
- Ideal for Small Batches: It’s super cost-effective for one-off custom pieces or small orders. There are no pricey setup fees for each new design.
- Full-Color and Complex Designs: This is where heat transfer really shines. It can reproduce photos, intricate details, and color gradients with amazing clarity and punch.
- Speed and Efficiency: For small to medium-sized jobs, the turnaround can be incredibly fast. You can go from a digital design to a finished product in minutes.
How Heat Transfer Actually Works
To really get what's happening with heat transfer printing, we need to go beyond the press itself and look at the science behind it. The whole thing hinges on a delicate balance of three key ingredients: heat, pressure, and time. Nailing this trifecta is the real secret to getting a print that looks professional and actually lasts.
I like to compare it to baking a cake. Too much heat and you get a burnt mess. Not enough, and it’s a soupy disaster. Pull it out too soon, and it’s raw in the middle. Heat transfer works on that same principle—precision is everything.
The heat press is built for one main job: delivering a perfectly even temperature across your entire design. That heat is what wakes up the special adhesive on the back of your transfer paper or vinyl.
The Role of Heat and Pressure
When you bring the top plate of the press (the platen) down, it applies a steady, firm pressure across the whole surface. This is the part you just can't fake. A regular home iron can't distribute that kind of even force, which is why iron-on projects often end up with peeling corners and a patchy look.
That consistent pressure does two critical things at once:
- Total Contact: It shoves the transfer material deep into the fabric, making sure it touches every single fiber with no air gaps.
- Ink Release: It helps the now-activated adhesive and ink let go of the carrier sheet and grab onto their new home.
This one-two punch of heat and pressure kicks off a chemical reaction. The adhesive melts and seeps into the fibers of the garment, pulling the ink along with it. Once it cools, that adhesive hardens, locking the design in place for good. It's why a great transfer feels like it’s part of the shirt, not just a sticker sitting on top.
A professional heat press is a tool of consistency. Its ability to hold an exact temperature and apply uniform pressure is what makes the difference between a durable, retail-quality print and a DIY job that cracks after one wash.
Why Time Is the Final Ingredient
Time is the last piece of the puzzle. It’s the gatekeeper that controls how long the chemical reaction gets to work its magic. Different transfers need different amounts of time in the hot seat. For example, a glitter vinyl might need a full 20 seconds to set correctly, but a simple plastisol transfer could be done in just 10 seconds.
Cut the time short, and the adhesive won't fully bond, giving you a weak print that will peel right off. But leave it in too long, and you can scorch the fabric or even over-melt the ink, causing your sharp lines to blur and colors to bleed. It’s a fine line.
The Molecular Fusion Process
So, at its core, what is heat transfer printing? It's really just a method of controlled molecular fusion. You're using thermal energy and force to fuse two separate things—the design and the item—into a single, unified object.
You can break the whole thing down into three simple stages:
- Activation: First, the heat press warms up the garment to get rid of any sneaky moisture and create a flat surface. Then, heat hits the transfer, waking up its adhesive layer.
- Transference: Pressure takes over, pushing the now-softened adhesive and ink into the fabric's weave or onto the coating of a hard good.
- Bonding: As the item cools, the adhesive solidifies and forms a permanent chemical bond, locking the ink right where you want it.
This scientific dance between heat, pressure, and time is what makes heat transfer such a powerful and versatile printing method. Once you master how to control these variables, you can create designs that are not only vibrant and sharp but also tough enough to last.
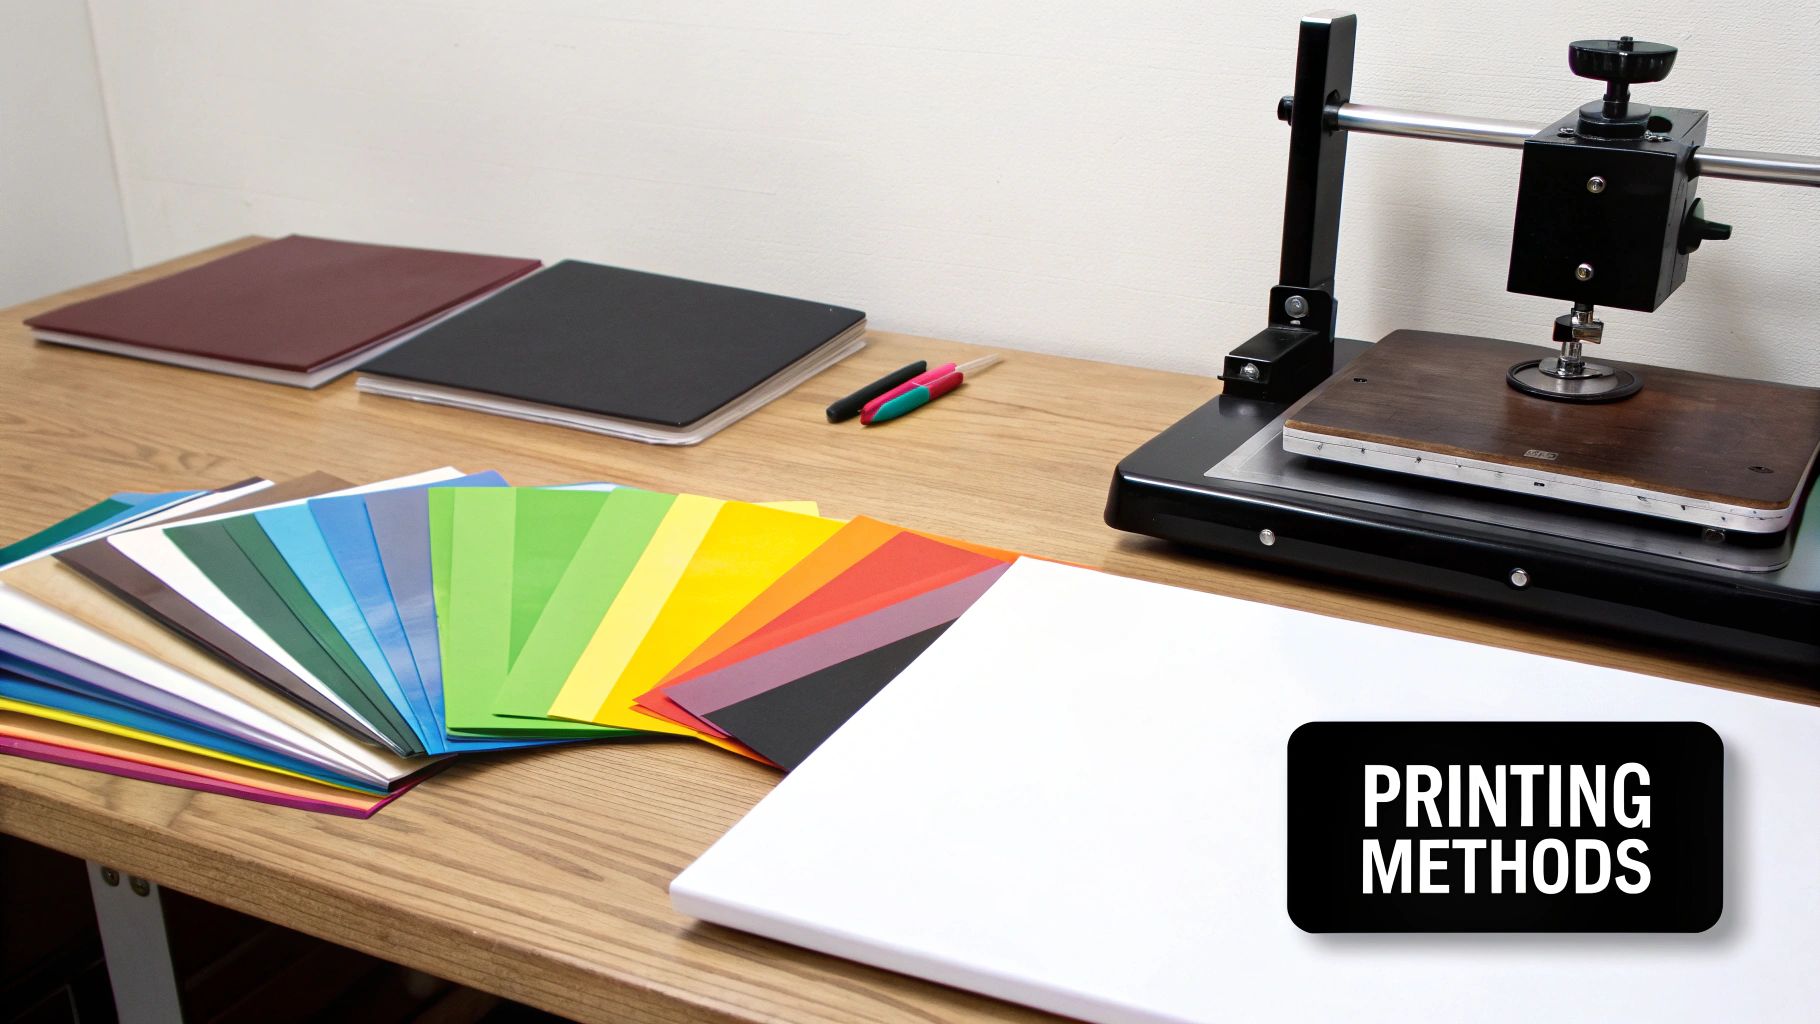
Exploring Different Heat Transfer Methods
Getting a handle on the basics—heat, pressure, and time—is just the starting line. The world of heat transfer printing isn't a one-size-fits-all deal. It's more like a workshop full of specialized tools, each one perfect for a different kind of job. Picking the right method is what turns a cool idea into a fantastic finished product that people will actually want to wear.
Think of it like being an artist. You wouldn't use thick oil paints for a delicate watercolor painting, right? In the same way, the printing technique you choose directly impacts the final look, feel, and lifespan of your design.
Heat Transfer Vinyl (HTV): The Bold and Durable Classic
Heat Transfer Vinyl, or HTV as everyone calls it, is a real workhorse in the custom apparel game. The process is straightforward: your design gets cut out from a colored sheet of vinyl, and then you press it onto the garment with heat. It’s the go-to for those simple, punchy graphics like names and numbers on jerseys or clean company logos.
Because HTV sits on top of the fabric, it creates a distinct, slightly raised feel that’s incredibly tough. It’s perfect for sharp lines and comes in an almost endless variety of finishes—matte, glossy, glitter, a fuzzy texture called flock, and even glow-in-the-dark.
- Best For: Cotton, polyester, and cotton/poly blends. It shines with bold, single-color designs or layered graphics.
- Key Advantage: Unbeatable durability and a huge range of special effects. A good HTV print can easily outlast the shirt itself.
- Limitation: It's not built for complex, multi-color photos. Every single color has to be cut and applied as a separate layer, which gets complicated fast.
Dye-Sublimation Printing: For Ultimate Vibrancy
Dye-sublimation is where science and art really come together. Instead of putting a layer on top of the fabric, this method uses special inks that turn into a gas under heat. This gas then sinks right into the polyester fibers of the garment, permanently dyeing them from the inside out.
The result is a print that has absolutely zero feel or "hand." You literally can't feel it, because the design has become part of the fabric. Sublimation creates breathtakingly vibrant, photorealistic images that will never crack, peel, or fade. The only catch? Its magic only works on light-colored, polyester-based materials.
Key Insight: Dye-sublimation doesn't just print on a shirt; it becomes part of the shirt. The ink molecularly bonds with the polyester fibers, creating a permanent, untouchable design with unmatched color vibrancy.
To see exactly how this stacks up against other techniques, check out our guide on heat transfer and sublimation printing.
Direct-to-Film (DTF) Transfers: The Versatile Newcomer
Direct-to-Film, or DTF, is a newer method that has quickly become a favorite because it bridges the gap between other techniques. The process starts by printing your design onto a special film, coating it with a powdered adhesive, and then heat-pressing the whole thing onto your item.
DTF really gives you the best of several worlds. It can handle full-color, photorealistic images just like sublimation, but you can apply it to almost any fabric—cotton, polyester, leather, you name it—in any color. The final print is soft to the touch, flexible, and surprisingly durable, making it a fantastic all-around solution.
Inkjet and Laser Paper Transfers
This is where many people first dip their toes into heat transfer printing, often at home. You simply use a regular inkjet or laser printer to print a design onto specially coated paper, then use a heat press (or even a home iron) to transfer it to the shirt.
While these are cheap and easy to start with, paper transfers tend to have a heavier, plastic-like feel on the fabric and don't hold up as well in the wash compared to HTV or DTF. They're best for one-off promotional items, joke shirts for an event, or personal craft projects where professional-grade longevity isn't the main goal.
The technology has come a long way. Back in 1980, over 40% of custom t-shirts in the U.S. were made with some form of heat transfer. The arrival of digital methods in the 1990s changed everything, making the process cheaper and cleaner by getting rid of old-school screen preparation. This shift kicked off the personalization boom we're still riding today.
Comparing Major Heat Transfer Printing Methods
To make things a little clearer, here’s a quick rundown of how these popular methods stack up against each other. Choosing the right one depends entirely on what you're making and what you want the final product to look and feel like.
| Method | Best For Materials | Durability | Feel On Fabric | Ideal Use Case |
|---|---|---|---|---|
| HTV | Cotton, Polyester, Blends | Excellent | A distinct, durable layer | Sports jerseys, logos, text |
| Dye-Sublimation | 100% Polyester (light colors) | Permanent | Zero feel (part of fabric) | Full-color photos on apparel |
| DTF | Cotton, Poly, Blends, Leather | Very Good | Soft and flexible | Detailed, multi-color graphics |
| Paper Transfers | Cotton, Blends | Fair to Good | Can be stiff | Hobby projects, event shirts |
Each of these techniques has its place in the custom printing world. Whether you need the rock-solid durability of HTV, the stunning vibrancy of sublimation, or the all-around flexibility of DTF, there's a heat transfer method that's perfect for your project.
The Step-by-Step Heat Transfer Process
Knowing the theory is great, but actually bringing a design to life is where the fun starts. Let's walk through the entire workflow, from a file on your computer to a finished product in your hands. If you treat these steps like a recipe, you’ll get professional, long-lasting results every single time.
Think about it—if you skip an ingredient or guess a measurement when baking, you'll end up with a mess. The same logic applies here. Following each stage carefully is the secret to making sure your final product looks exactly how you imagined it.
Preparing Your Design File
Before your heat press even warms up, your first stop is your computer. The quality of your digital file is everything; it directly determines how sharp your final print will be. A blurry, low-resolution image will, without a doubt, become a blurry, low-resolution t-shirt.
For the best possible outcome, your design needs to be in a high-resolution format, with 300 DPI (dots per inch) being the industry standard. This ensures every line is crisp and your colors pop. Most pros use vector files (like AI, EPS, or SVG) for logos and graphics, while raster files like PNGs with transparent backgrounds are perfect for photos or more complex images.
Crucial Tip: Always, always mirror your design before you print it on the transfer paper. The image gets applied face-down onto the fabric, so you have to flip it horizontally in your software. If you don't, it will be backward on your final product. This is easily the most common mistake beginners make, and it's a frustrating one!
This infographic breaks down the core workflow into three simple phases.
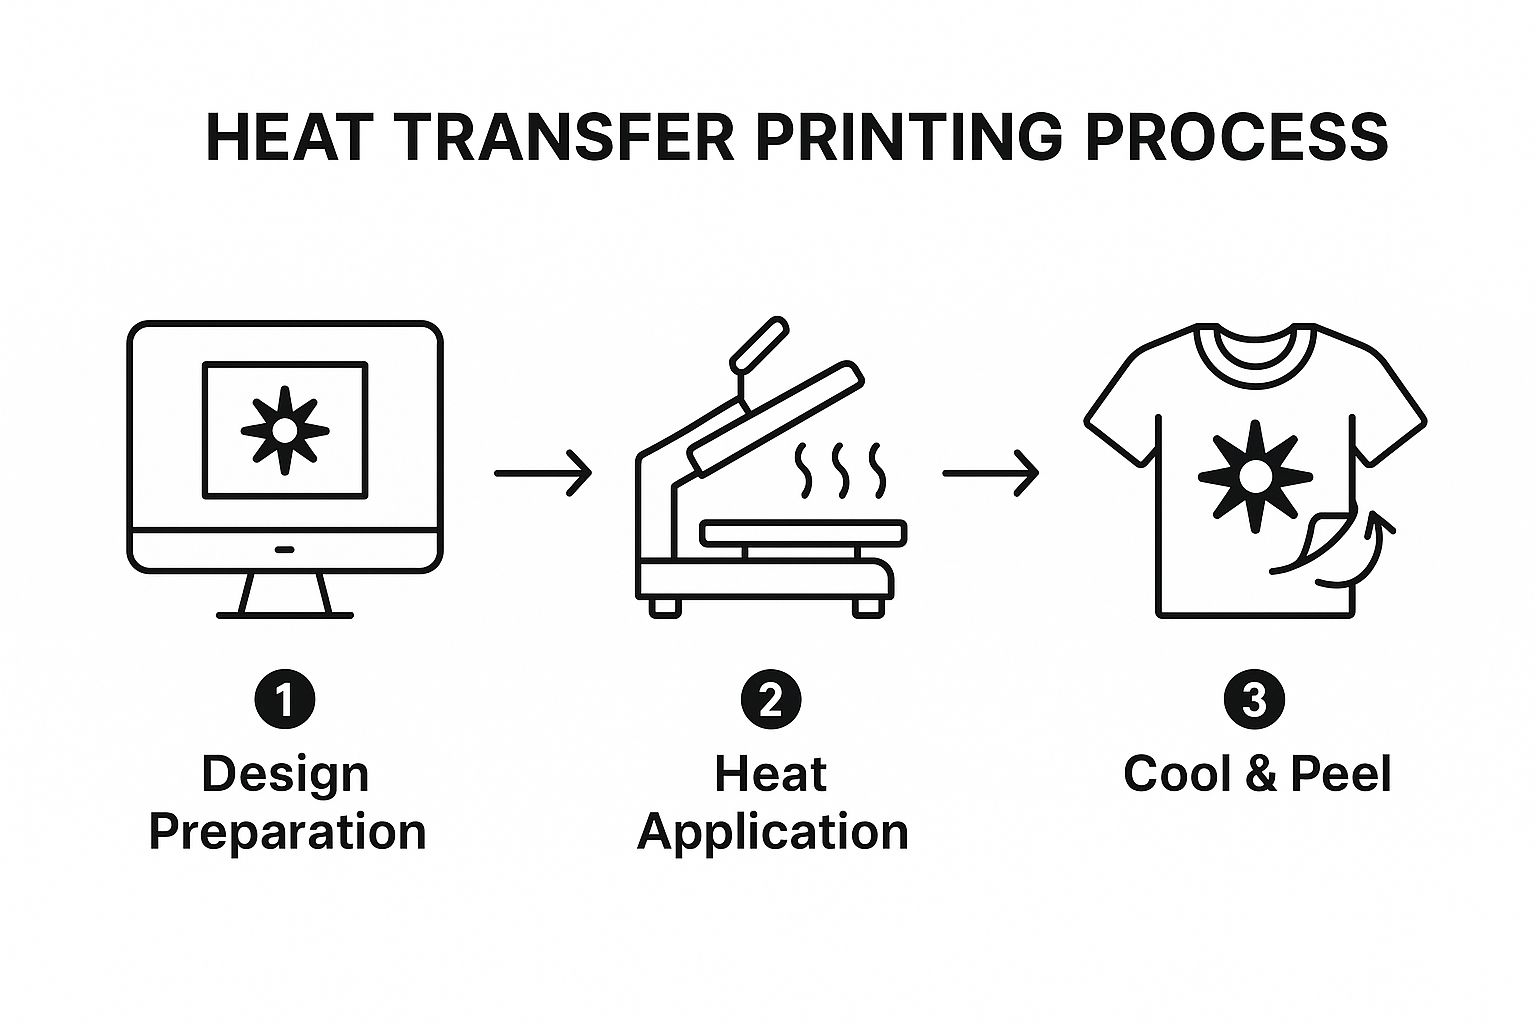
As you can see, the process flows logically from digital prep to physical application, ending with the big reveal.
Printing the Transfer and Prepping the Garment
With your design mirrored and ready to go, it's time to print it onto your chosen transfer material. This could be anything from heat transfer vinyl (HTV) and sublimation paper to direct-to-film (DTF) sheets or another kind of heat transfer paper for printing. What you choose really depends on the project. If you're using vinyl, you'll also need to "weed" the design, which just means removing all the excess vinyl from around your graphic.
Next, get your garment ready. This is a non-negotiable step for a professional finish. You need to pre-press the item for about 5-10 seconds. This quick press does two critical things: it smooths out any wrinkles that could mess up the transfer, and it evaporates any sneaky moisture hiding in the fabric that can weaken the adhesive.
Applying the Transfer with Precision
Alright, this is the main event. Lay your garment flat on the bottom of the heat press and carefully position your transfer on top, with the design facing down against the fabric. Take your time here. Use a ruler or alignment tools to get it perfectly centered and straight.
With everything lined up, you're ready to press.
- Set the Correct Temperature: Dial in the heat press to the specific temperature recommended for your transfer material. This can vary widely, from around 300°F for some DTF transfers to over 400°F for sublimation.
- Adjust the Pressure: Set the pressure to medium or firm, again, based on the transfer's instructions.
- Set the Time: Program the timer for the right duration, which could be as short as 10 seconds or as long as 60 seconds.
- Press the Design: Lower the press and let it do its job. That precise combination of heat, pressure, and time is what permanently fuses the design to the product.
Peeling the Carrier Sheet
When the timer buzzes, open the press. The very last step is peeling away the carrier sheet, but how you do it matters immensely. Transfers fall into one of three categories based on when you peel them:
- Hot Peel: You rip the carrier sheet off immediately while the design is still piping hot.
- Warm Peel: You give it a few seconds to cool down a bit before peeling.
- Cold Peel: You have to wait until both the garment and the transfer have cooled completely to room temperature before touching the carrier sheet.
Peeling at the wrong temperature can completely ruin the design, causing it to lift off the fabric or stretch out of shape. Always check the manufacturer's instructions for your specific transfer—it’s the key to getting that perfect, clean finish.
The Pros and Cons of Heat Transfer Printing
Every printing method has its own personality—its unique strengths and quirks. Understanding these is the key to picking the right tool for the job. Heat transfer printing is an incredible technique, but it isn't the magic bullet for every single project.
Let's take a balanced, honest look at where it shines and where it falls short. This way, you can appreciate its advantages and be smart about its limitations, ensuring you choose it when it’s the undisputed champion for your needs.
The Advantages of Heat Transfer Printing
The biggest reason so many people get started with heat transfer printing is how easy it is to get into. It’s incredibly welcoming for beginners, small businesses, and anyone wanting to create custom gear without a huge upfront investment. The startup costs are just a fraction of what you'd spend on a professional screen printing setup.
This makes it the go-to for small batches and one-off creations. Need one personalized t-shirt for a birthday? A dozen hats for a local team? Heat transfer is almost always the cheapest and fastest way to make it happen.
Here's where it really stands out:
- Full-Color Freedom: This is a huge one. Heat transfer excels at reproducing complex, multi-color designs—think photorealistic images and detailed gradients—with brilliant color and sharp detail.
- Speed for Small Orders: The workflow is impressively quick. You can take a design from your computer to a finished, ready-to-wear product in a matter of minutes, which is perfect for on-demand orders.
- Versatility Across Materials: Different transfer types, especially DTF, open up a world of possibilities. You can print on a massive range of fabrics and colors, from classic cotton and polyester to trickier materials like leather.
- Eco-Friendly Aspects: The process is also making strides in sustainability. Modern heat transfer methods can reduce water consumption by nearly 70% compared to traditional textile dyeing, a significant plus as businesses focus on greener practices. You can explore more about the evolution of printing methods and their impact to see how far things have come.
The Disadvantages of Heat Transfer Printing
While the benefits are strong, it's just as important to understand the potential downsides. The most common criticisms of heat transfer printing usually circle back to how the print feels and how it holds up over time, though technology is rapidly closing this gap.
Unlike ink that soaks into the fabric, a heat transfer sits on top. This creates a tangible layer that people in the industry call the "hand." While modern transfers like DTF have a much softer and more flexible feel than their predecessors, the print is still more noticeable than a screen print.
Important Consideration: High-quality transfers like good vinyl and DTF are built to last. However, cheaper paper-based transfers are notorious for cracking or peeling after just a few washes, especially if not cared for properly.
Let's break down the main limitations:
- The "Hand" of the Print: The design can sometimes feel like a distinct layer on the garment. If you're aiming for that super soft, "no-feel" finish, this might not be the best route.
- Durability Varies: The lifespan of the print is completely tied to the quality of the transfer you use. Budget methods simply won't have the staying power of premium HTV or DTF.
- Slower for Bulk Orders: It's a star for small runs, but heat transfer becomes a time sink for very large orders. For hundreds of shirts, screen printing is far more efficient. Our guide comparing heat transfer vinyl vs. screen printing dives deeper into this trade-off.
- Heat Sensitivity: This one's a no-brainer. The process requires high heat, so it’s not suitable for delicate or heat-sensitive fabrics that could melt, scorch, or be damaged by the press.
Where You'll See Heat Transfer Printing in the Wild
The real magic of heat transfer isn't just the tech—it's seeing what people create with it. Sure, the custom t-shirt is the classic example, but the possibilities go so much further, touching almost every corner of the personalization and branding world.
This is why everyone from Etsy sellers working out of their homes to massive corporations relies on it. Heat transfer makes it affordable to create a single, high-quality item or a small batch, which blows the doors wide open for all kinds of creative and business ventures.
Custom Apparel and Team Sports
If you want to see heat transfer vinyl (HTV) in its element, just look at the world of sports. The next time you see a local soccer or basketball team, check out their jerseys. Those crisp, tough names and numbers on the back? That’s almost certainly HTV. It's built to last through intense games and countless laundry cycles.
But it’s not just for athletes. This is the go-to method for:
- Branded Workwear: Putting sharp company logos on everything from polo shirts to high-visibility safety gear.
- Event Merch: Making those one-of-a-kind t-shirts and hoodies for concerts, 5K charity runs, and family reunions.
- Indie Fashion Brands: Giving independent designers a way to produce small batches of graphic tees without the massive upfront costs of screen printing.
The Big Picture: Heat transfer printing puts professional-grade apparel customization into everyone's hands. It gives small businesses and individuals the power to create gear that was once only possible with a full-scale factory run.
Personalized Gifts and Promo Items
The ability to print on things other than fabric is where heat transfer really gets exciting. Take dye-sublimation, for instance. That's the secret behind those incredibly vibrant, full-color photo mugs, custom mousepads, and personalized phone cases you see everywhere. The ink literally becomes part of the object’s surface, creating a permanent, glossy finish that won’t peel or fade.
This same flexibility makes it perfect for all kinds of promotional products that help businesses get their name out there. With cost-effective transfers, it’s simple to produce items like:
- Custom tote bags for trade shows
- Branded hats and caps
- Personalized keychains and coasters
These are the items that put a brand right into a customer's hands. For anyone looking to test the waters with a new product, services like Raccoon Transfers make it incredibly easy to get high-quality DTF prints for a huge range of products. It’s how countless creators turn a simple idea into a real, tangible thing they can sell.
Got Questions About Heat Transfer? We've Got Answers.
Even after you've got the basics down, a few practical questions always pop up right when you're ready to get started. Let's tackle some of the most common ones that people ask about heat transfer printing.
How Long Does a Heat Transfer Design Actually Last?
This is the big one, and the answer really comes down to the specific method you're using and how well you apply it.
Top-tier methods like Heat Transfer Vinyl (HTV) and Direct-to-Film (DTF) are built to last. When you get the application just right, these designs are incredibly tough and can easily survive 50+ washes—often looking great long after the t-shirt itself starts to wear out. On the flip side, some of the more basic paper transfers might begin to fade or crack after just a handful of washes.
Pro Tip: To get the most life out of any heat transfer, turn the garment inside-out, wash it in cold water, and either tumble dry on low or hang it up. High heat from a dryer is the enemy of the adhesive, so avoiding it goes a long way.
Can I Just Use a Regular Home Iron Instead of a Heat Press?
Look, it's technically possible to use a home iron for some basic, craft-level projects, but I really wouldn't recommend it for anything you want to last. A dedicated heat press is engineered to deliver two crucial things a home iron just can't: perfectly even heat from edge to edge and consistent, heavy pressure.
Trying to make do with an iron usually ends in frustration and a few common issues:
- Uneven Application: An iron has hot and cool spots, which means part of your design might get scorched while another part barely sticks at all.
- Peeling Corners: It's almost impossible to apply uniform pressure with an iron by hand. This is exactly why iron-on designs tend to start lifting at the edges first.
- Fails in the Wash: Without that solid, even bond, the design simply won't hold up once it goes through a wash cycle or two.
What's the Real Difference Between Heat Transfer and Screen Printing?
The main distinction is all about how the ink gets onto the shirt. Think of it this way: heat transfer printing is like applying a high-tech, durable sticker. The design is printed on a carrier sheet and then bonded on top of the fabric's surface.
Screen printing, on the other hand, works by pushing ink into the actual fibers of the material using a mesh screen as a stencil. This fundamental difference makes each method suited for different kinds of jobs. Heat transfer is the champion for small orders, one-offs, and complex, full-color images because there's minimal setup. Screen printing is the king of bulk orders with simpler graphics, offering a softer feel and better cost-per-shirt on large runs.