
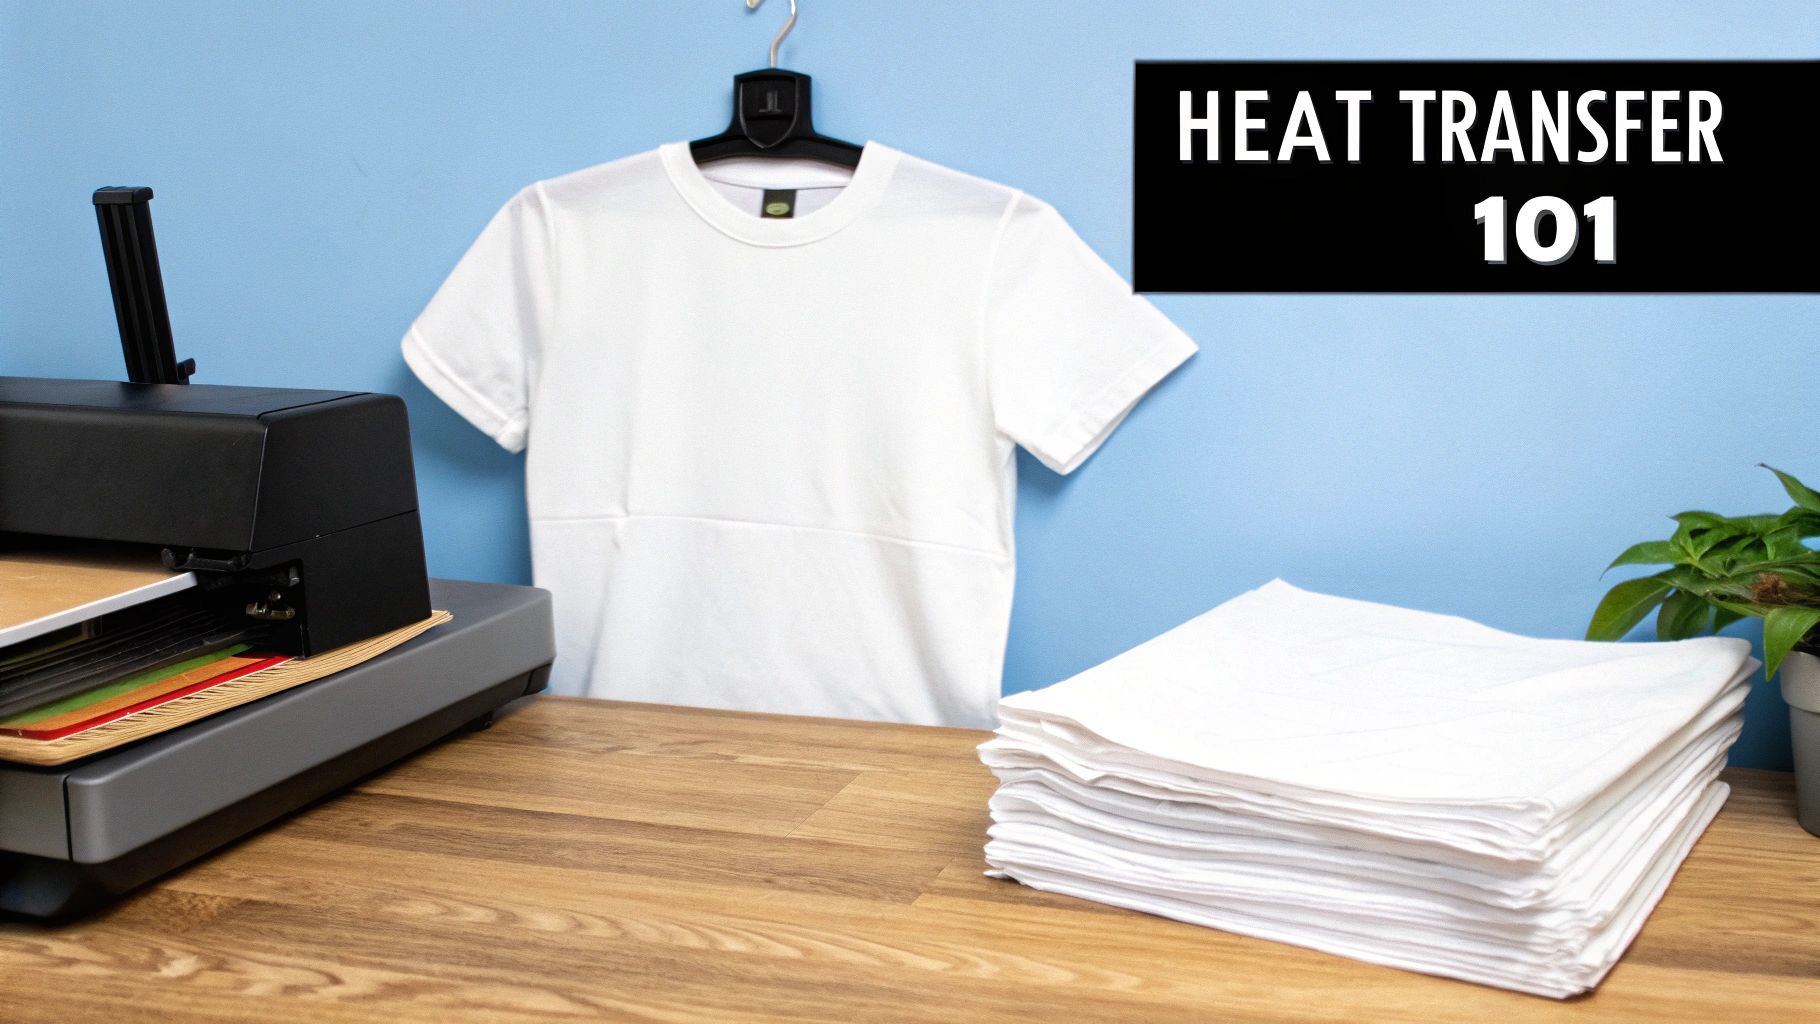
Heat Transfer Paper Printing for Pro T-Shirts
Heat transfer paper printing is one of the most accessible ways to create custom apparel. It’s a fantastic method for turning your digital designs into tangible, wearable art, all from the comfort of your own home or small shop. Think of it as a bridge between your computer screen and a t-shirt, and it's a process that's surprisingly easy to get the hang of.
The Foundation of Heat Transfer Paper Printing
Before you fire up the heat press, let’s talk about what makes this whole process tick. For a successful transfer, you need four things to work in perfect harmony: a great design, a printer with the right ink, the correct type of transfer paper, and a reliable heat source. Nailing these fundamentals is what separates a shirt that looks great for years from one that cracks and fades after the first wash.
The popularity of this method isn't just anecdotal; the numbers back it up. The heat transfer paper market was valued at an impressive USD 523.2 million in 2023 and is only expected to climb. This growth, detailed in a full market analysis by market.us, shows just how many creators are turning to this technique for custom gear.
Choosing Between Light and Dark Fabric Transfer Paper
One of the first, and most important, decisions you'll make is picking the right transfer paper. This isn't just a minor detail—it completely changes how you'll approach the project and what the final product will look like. It all comes down to the color of the garment you're printing on.
To make it easier, here's a quick comparison to help you choose the right paper based on your fabric color, design, and desired feel.
| Feature | Paper for Light Fabrics | Paper for Dark Fabrics |
|---|---|---|
| Coating | Transparent polymer layer | Opaque white layer |
| Best For | White, pastel, and light-colored fabrics | Black, navy, red, and all dark/colored fabrics |
| Trimming | Optional, unprinted areas are clear | Essential, unprinted areas leave a white background |
| Application | Image is printed in reverse (mirrored) | Image is printed as-is (not mirrored) |
| Final Feel | Softer, blends into the fabric ("soft hand") | Thicker, sits on top of the fabric ("heavy hand") |
Understanding this distinction from the get-go will save you a world of frustration and wasted materials.
Key Takeaway: Always match your paper to your fabric color. Using light transfer paper on a dark shirt will make your design nearly invisible. Conversely, using dark paper on a light shirt without precise trimming will leave you with an obvious white box around your graphic.
Getting this simple choice right sets the stage for a perfect print. Once you've got a handle on the fundamentals of paper selection, you can move on to the next steps with confidence. For a more detailed walkthrough of the entire process, be sure to check out our complete guide on how to use heat transfer paper effectively.
Getting Your T-Shirt Printing Gear in Order
To get that professional, store-bought look with heat transfer paper, you need the right tools. It's not about having the most expensive stuff, but the right stuff. Think of it like cooking—a great recipe needs the right ingredients. Let's walk through what you'll actually need and why each piece matters.
The most critical relationship in this whole process is between your printer and your paper. They have to be a perfect match. You can't just grab any paper off the shelf; it has to be made specifically for your type of printer, whether that's an inkjet or a laser.
The Printer and Paper Partnership
First things first, you have to pair your heat transfer paper to your printer. An inkjet printer sprays tiny droplets of liquid ink, whereas a laser printer uses a powdered toner that gets fused onto the page with heat.
Trying to use the wrong paper is a recipe for disaster. If you run inkjet paper through a laser printer, for instance, it can literally melt inside the machine and cause some serious, expensive damage.
- Inkjet Printers: This is what most people have at home or in a small studio. They're fantastic for printing vibrant, full-color photos and graphics. Just make sure you grab inkjet-specific heat transfer paper. Pro tip: pigment-based ink will give you better results that resist water and fading.
- Laser Printers: You usually see these in offices. They're workhorses for crisp text and bold, single-color designs. For these, you’ll need laser-specific transfer paper designed to handle the high heat inside the printer.
The Big Debate: Iron vs. Heat Press
Now, let's talk about how you'll apply the heat. A regular household iron can get the job done for a one-off project or if you're just testing the waters. But if you're serious about this, a heat press is a game-changer.
The problem with a household iron is its surface. It heats unevenly (those steam holes are the enemy!) and it's almost impossible to apply consistent, even pressure across the whole design. This is why you often see home-made shirts start peeling or cracking after just one wash.
A heat press solves both of those problems beautifully. It delivers perfectly even heat and pressure across the entire surface, every single time. Those are the two secret ingredients for a transfer that actually lasts.
My Two Cents on Upgrading: If you plan on selling your shirts or you just want a professional finish that won't wash out, investing in a heat press is the single best thing you can do. It's what separates the hobby-grade stuff from pro-quality work.
Your Essential Supporting Tools
Beyond the big-ticket items, a few smaller tools will make your life a whole lot easier and your final product look much cleaner.
Precision Cutting Tools
When you're printing on paper for dark fabrics, you have to trim away any unprinted background. If you don't, you'll end up with a big white box around your design.
- Scissors: Fine for simple shapes with straight lines or gentle curves.
- Craft Knife: Much better for getting into tight corners or cutting out intricate details.
- Cutting Machine: For a perfect cut every single time, nothing beats a Cricut or a Silhouette. It's a huge time-saver and delivers flawless, professional edges.
Protective Gear and The Right Garments
Finally, you need a couple of things to protect your equipment and your shirt. Always place a Teflon sheet (or even just a piece of parchment paper) over your transfer before pressing. This prevents any ink from bleeding onto your heat press and helps distribute the heat a little more evenly.
As for the shirts themselves, stick with fabrics that have a high cotton content. 100% cotton is the gold standard, but a good cotton-poly blend works well too. The natural fibers in cotton grab onto the transfer's adhesive, making the colors pop and the design last. Try to avoid 100% polyester—it can scorch and melt under the high heat needed for most transfers.
Getting Your Design Ready for a Flawless Print
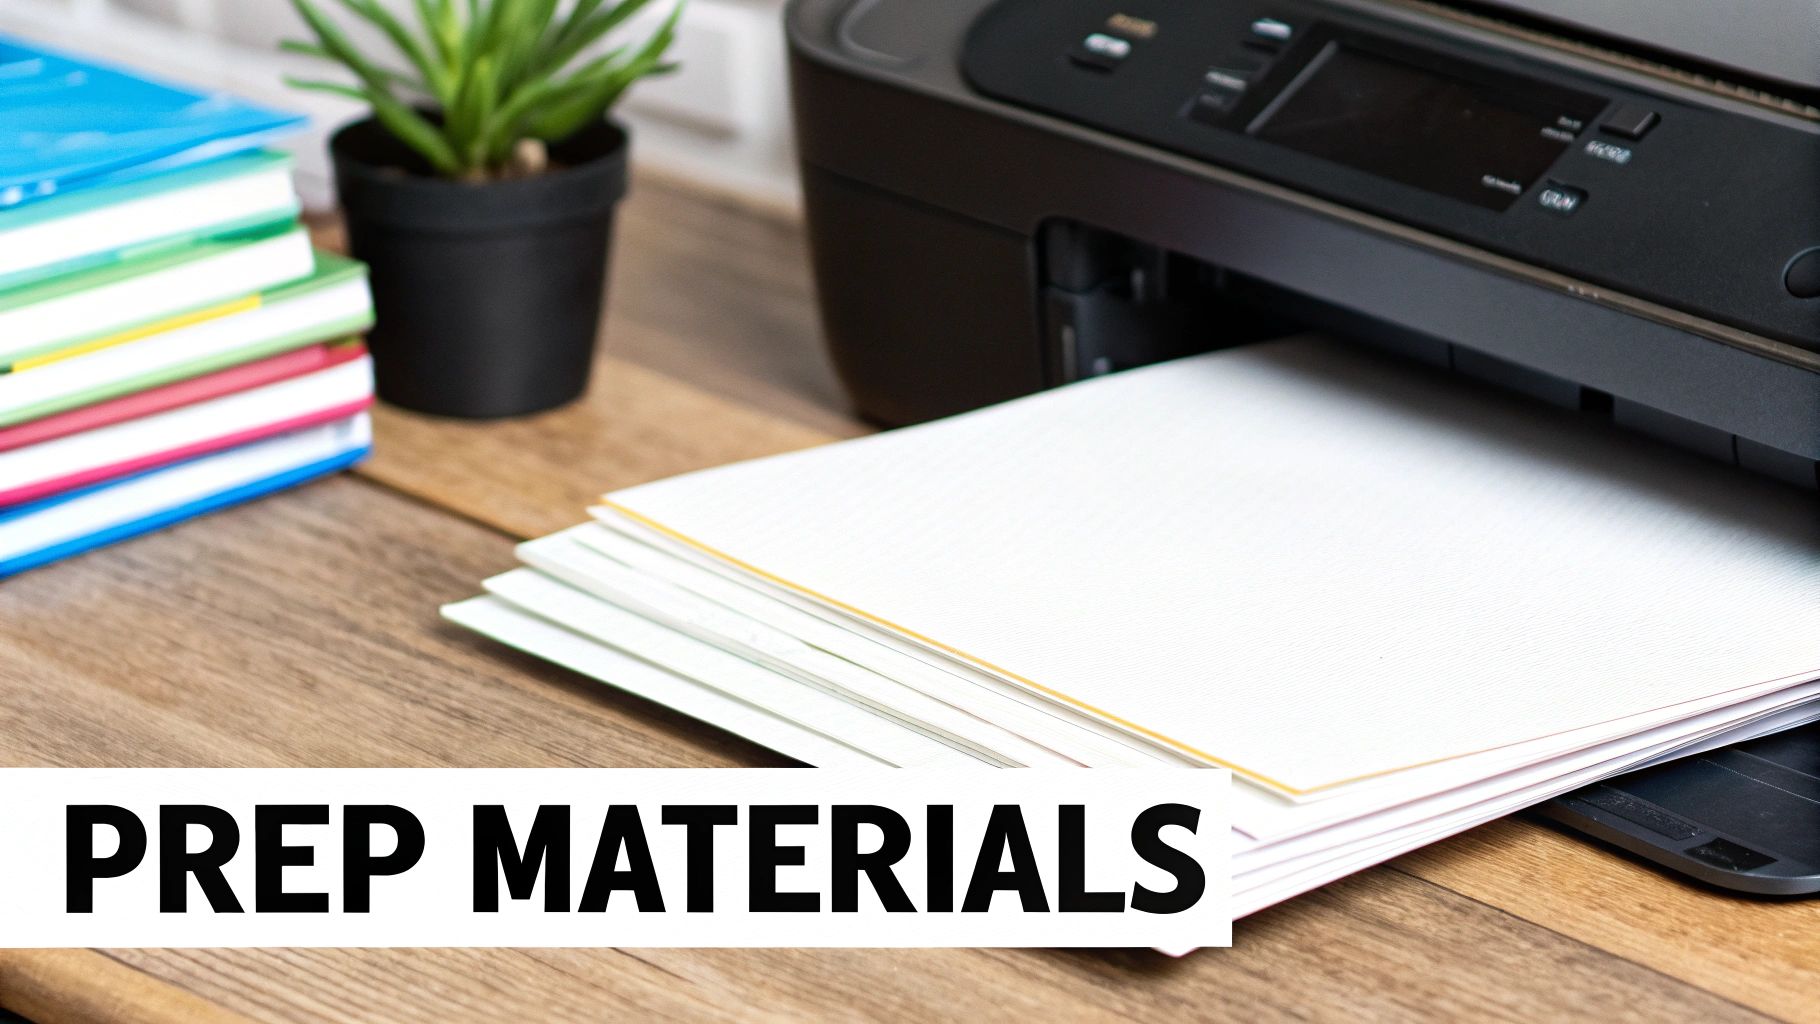
A great custom t-shirt doesn't start at the printer. It starts with a solid digital design file. Think of your file as the blueprint for the final shirt—getting it right from the beginning is the secret to avoiding those frustrating mistakes that can ruin a project.
The first, and maybe most important, rule of heat transfer paper printing is knowing when to mirror your image. It’s a classic rookie mistake to forget this. If you're printing on light-colored fabric, the transfer paper is transparent. This means you absolutely must print your design in reverse. Once you press it onto the shirt, it flips back to the correct orientation. Skip this, and all your text will be a backward, unreadable mess.
Of course, the rules flip when you work with dark fabrics. Heat transfer paper for darks has a solid, opaque white background. For these, you print the design exactly as you want it to appear on the shirt. No mirroring needed. You’ll peel the design off its backing and place it right-side-up onto the garment.
Nailing the Perfect Printer Settings
Whatever you do, don't just hit "print" and hope for the best. The settings you choose in your print dialog box make a huge difference in the final quality. Your main goal here is to convince the printer to lay down a thick, vibrant layer of ink that will really pop after being pressed.
To get that rich color saturation, dig into your printer's media type settings.
- T-Shirt Transfer Setting: If your printer has this option, use it. It's specifically calibrated for this exact job.
- Matte Photo Paper (High Quality): No transfer setting? No problem. The next best thing is a high-quality matte photo paper setting. This tells the printer it’s working with a thicker material, so it automatically uses more ink.
- Premium or Best Quality: Always bump the print quality up to the highest possible setting. It will print slower, sure, but the improvement in color depth and detail is well worth the wait.
My Two Cents: Always, always do a test print on a regular piece of paper first. It takes a few seconds but can save you from wasting an expensive sheet of transfer paper. This quick check lets you catch any weird color shifts or software glitches before they become a real headache.
The Technical Details That Matter
Beyond the printer itself, the specs of your actual design file are what separate an amateur-looking shirt from a professional one. If your final transfer looks blurry or pixelated, the problem almost always traces back to the initial file setup.
Let's talk resolution. For any kind of print work, especially on apparel, your design needs to be at least 300 DPI (dots per inch). Web images are typically 72 DPI, which looks fine on a screen but will look blocky and just plain bad when printed on a shirt. Stick to 300 DPI for sharp lines and clear details—it's non-negotiable.
Finally, pay attention to your file format. JPEGs are everywhere, but they are a "lossy" format, which means they lose a little bit of quality every time you edit and save them. For the absolute best results, save your final design as a PNG or TIFF. These formats keep all the original image data intact, ensuring your colors stay true and your edges stay crisp all the way to the heat press.
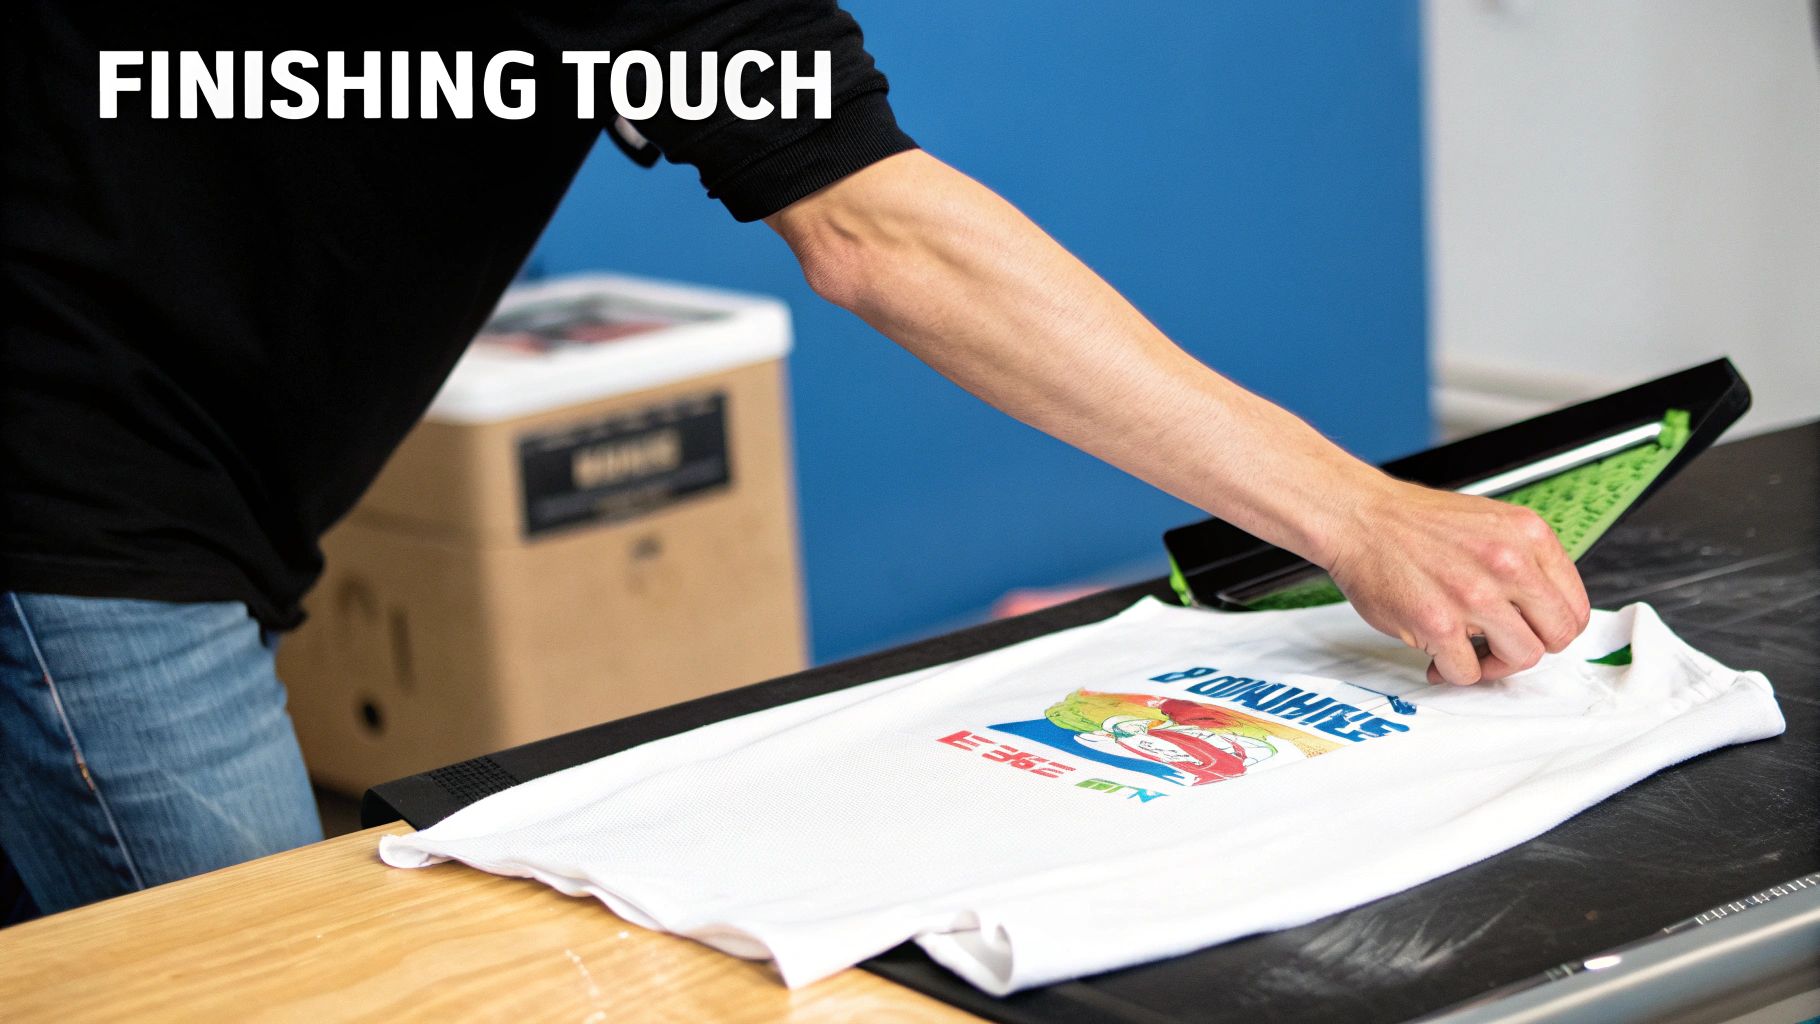
Mastering the Heat Application Process
This is where the magic happens. All your prep work—the design, the printing—comes down to this final, critical step. It’s the moment your digital file becomes a real, tangible piece of wearable art. Success here boils down to a precise balance of three things: time, temperature, and pressure. Nailing this trio is what separates a professional-looking design that lasts from one that peels after the first wash.
The custom apparel world is booming, and this process is right at the heart of it. The global market for heat transfer paper and vinyl is on track to hit a staggering USD 2.27 billion by 2034. That's a lot of custom t-shirts and hoodies! This growth just shows how much people want unique, personalized gear. If you're interested in the numbers, you can dive deeper into the full heat transfer market analysis on businessresearchinsights.com.
The image below gives you a bird's-eye view of the entire workflow, from printing the paper to pressing the final product.

As you can see, it’s a straightforward journey: mirror your image (for light fabrics), line it up on a preheated garment, and then apply heat to lock it in for good.
Calibrating Your Heat Press Settings
Let's be clear: a heat press will always give you better, more consistent results than a home iron. It’s designed to deliver perfectly even heat and pressure, which are absolutely essential for a transfer that won't crack or peel. That said, there’s no single magic setting; the right combination depends on your specific paper and fabric.
Your first stop should always be the instructions that came with your transfer paper. The manufacturer has already done the testing for you. If you've lost them or they weren't included, a solid starting point for most cotton or poly-cotton blends is:
- Temperature: 350-375°F (177-190°C)
- Time: 15-25 seconds
- Pressure: Medium to firm
Before you even think about placing your transfer, always pre-press the garment for 3-5 seconds. This little step is a game-changer. It smooths out wrinkles and, more importantly, zaps any lingering moisture from the fabric, giving the transfer a perfect surface to bond to. Skipping this is one of the top reasons transfers fail.
Insider Tip: Steer clear of pressing over seams, collars, or zippers. These raised areas create uneven pressure, which is a surefire way to get a patchy, peeling transfer. Always work on a completely flat part of the garment.
Techniques for Using a Household Iron
If a home iron is all you have, don't worry—you can still get good results. It just takes more effort and a bit more finesse. Your biggest hurdles will be getting the heat even and applying enough pressure.
First things first: empty all the water out of your iron and turn the steam setting completely off. Steam is your enemy here. Next, find a hard, heat-resistant surface to work on. A sturdy table with a pillowcase on it is far better than an ironing board, which is too soft and will absorb all the pressure you're trying to apply.
You'll need to press in sections, keeping the iron moving constantly to prevent scorching any one spot. Use your body weight to press down hard—I mean, really lean into it. Pay special attention to the edges of the design, as that's where peeling almost always starts. Plan to spend at least 2-3 minutes applying heat across the entire transfer to make sure every part gets properly bonded. If you're serious about this, you'll eventually want to upgrade, and our guide on how to use a heat press can walk you through that.
Understanding Hot Peel vs. Cold Peel
Once the timer goes off, you’re not quite done. The final move is peeling off the paper backing, but when you do it is everything. This all depends on whether your paper is "hot peel" or "cold peel."
- Hot Peel: Just like it sounds, you peel the backing away immediately after lifting the press, while the transfer is still piping hot. This usually leaves the design with a softer, more matte finish that feels integrated into the fabric.
- Cold Peel: You have to wait. Let the garment cool down completely to the touch before you even think about peeling. Rushing this will ruin your work. Cold peel transfers often have a slightly glossier, smoother feel and can hold finer details.
Get this wrong, and you'll have a mess. Trying to peel a cold peel paper when it's hot will pull the ink right off. Waiting too long on a hot peel can make the backing stick stubbornly. Always, always check your paper's instructions to know which kind you're working with.
Ensuring Your Custom Designs Last
So, you've nailed the press, and your custom shirt looks fantastic. What now? The real test of a great transfer isn't just how it looks right after pressing, but how it holds up wash after wash. The next steps you take are critical for preventing that dreaded cracking and peeling.
Proper aftercare is what separates a one-wash-wonder from a long-lasting favorite. The most important rule? Patience. Give the design at least a full 24 hours to cure before it sees the inside of a washing machine. This waiting period lets the adhesive fully bond to the fabric, creating a much stronger, more permanent hold.
The Golden Rules of Garment Care
When it is finally time for that first wash, a few simple habits can dramatically extend the life of your design. Following these guidelines consistently will keep your heat transfer paper printing projects looking sharp.
First up, always turn the garment inside out. This simple trick shields the design from the abrasive tumbling of the wash cycle. It's like putting armor on your artwork.
Then, be mindful of your machine's settings.
- Wash Temperature: Stick with cold water, no exceptions. Hot water is the enemy—it can reactivate the adhesive and cause the transfer to lift right off the fabric.
- Detergent Choice: Go for a mild detergent. Steer clear of harsh chemicals, bleach, and especially fabric softeners, as they can break down the ink and compromise the bond.
Pro Tip: I always recommend washing custom garments by themselves or with other soft items. Throwing a printed tee in with a pair of jeans or a jacket with a metal zipper is just asking for the design to get scuffed and damaged.
Drying for Durability
How you dry your garment is the final, crucial step. I can't stress this enough: high heat from a machine dryer will destroy a heat transfer design faster than anything else. It's the primary cause of cracking and fading.
The absolute best way to dry your shirt is the old-fashioned way: hang dry or lay it flat to air dry. This gentle method completely avoids the damaging heat that can ruin your work.
If you're in a pinch and must use a machine, use the tumble dry low or, even better, an air-fluff setting with no heat at all. While this advice is geared toward heat transfer paper, many of the same principles apply to other printing methods. You can find similar tips in these detailed DTF washing instructions for comparison.
Got Questions About Heat Transfer Printing? Let's Clear Things Up.
Even when you follow the steps perfectly, you’re bound to run into a few snags. It happens to everyone. Let's walk through some of the most common questions and frustrations I hear from creators working with heat transfer paper. Getting these answers sorted out now will save you a ton of time, wasted materials, and headaches later.
Before we dive in, it's worth noting how much this space is growing. A close cousin to what we're doing is heat transfer vinyl, and that market alone is projected to hit around USD 500 million in 2025. It’s expected to keep climbing at a rate of 7% through 2033. This boom is all thanks to the massive demand for custom t-shirts and gear. If you're curious about the bigger picture, Archive Market Research has some great insights into these market trends.
"Why Is My Design Cracking or Peeling After I Wash It?"
This is, without a doubt, the number one problem people face. Nine times out of ten, if a design is cracking or lifting after a wash, the problem happened during the initial press. It simply means the adhesive didn't get a chance to properly melt and bond with the fabric's fibers.
Go back and check the big three of pressing:
- Pressure: Did you apply enough firm, even pressure? If you're using a home iron, this is almost always the culprit. You really have to lean into it.
- Temperature: Was your heat press or iron set to the right temperature for the specific paper you're using? Every brand is a little different.
- Time: Did you press for the full recommended time? It’s tempting to cut it short, but those last 10-15 seconds are often what makes or breaks the transfer.
Another thing to consider is how the garment is being washed. The best way to care for these shirts is to turn them inside out, wash in cold water, and avoid the high-heat setting on your dryer. A little care goes a long way.
"Can I Just Use My Regular Home Printer?"
Technically, yes, most inkjet printers will work. But the ink inside that printer is what really matters. For designs that last, you'll want a printer that uses pigment-based inks. They're far more water-resistant and fade-proof compared to the standard dye-based inks found in many entry-level printers.
Now, if you have a laser printer, you need to be much more careful. You absolutely have to buy paper made specifically for laser printers. The heat inside a laser printer is intense, and it will melt the coating on standard inkjet transfer paper. This can cause a sticky, catastrophic mess inside your machine that can be very expensive to fix.
My Two Cents: Don't play guessing games with your supplies. The printer, ink, and paper are a team. Mismatching them isn't just a recipe for a bad transfer; it's how you accidentally destroy a perfectly good printer.
"What’s the Difference in How Light vs. Dark Papers Feel?"
The final texture, or what we call the "hand" of the design, is a huge differentiator between the two types of paper.
Paper for light fabrics uses a transparent polymer film. This is great because any area you don't print on is basically invisible, which makes the design feel much softer and more like it's part of the shirt. It bends and stretches naturally with the fabric.
Paper for dark fabrics is a different beast. It has to have a solid, opaque white background; otherwise, your colors would just get lost on a dark shirt. This makes the transfer feel a bit thicker and heavier—it's an extra layer sitting on top of the fabric. This is why it's so important to trim as close to your design as possible. If you don't, you'll end up with a stiff, white box around your graphic.
Ready to step up your game from paper to pro-level transfers? Raccoon Transfers offers premium Direct-to-Film (DTF) transfers that give you incredible durability, pop-off-the-shirt color, and a soft feel on pretty much any fabric you can imagine. Check them out: https://raccoontransfers.com