
Your Ultimate DTF Heat Press Guide for Perfect Apparel
A great DTF heat press isn't just a piece of equipment; it's the heart of your operation. This is the single most important tool for getting professional, durable custom apparel. Think of it less like a simple heater and more like a precision instrument—one that determines whether your brilliant designs peel, crack, or truly become one with the fabric. Nailing this choice is the first and most critical step toward getting flawless results every single time.
Your Guide to Choosing the Right DTF Heat Press
Picking a DTF heat press can feel a bit daunting with all the options out there, but it really comes down to understanding your own needs and how you work. The right machine is the foundation for every single print, ensuring the temperature, pressure, and time are perfectly controlled. Without that level of precision, even the highest quality DTF transfers, like the ones we make at Raccoon Transfers, can fail to apply correctly. This decision directly impacts your efficiency, the quality of what you sell, and your ability to grow.
It's no secret this technology is booming. The global Direct to Film (DTF) printing market hit a massive USD 2,720 million in 2024 and is on track to reach USD 3,920 million by 2030. That incredible growth just goes to show how popular DTF has become for small brands and creators who need a solid way to produce vibrant, full-color designs on everything from t-shirts to hats.
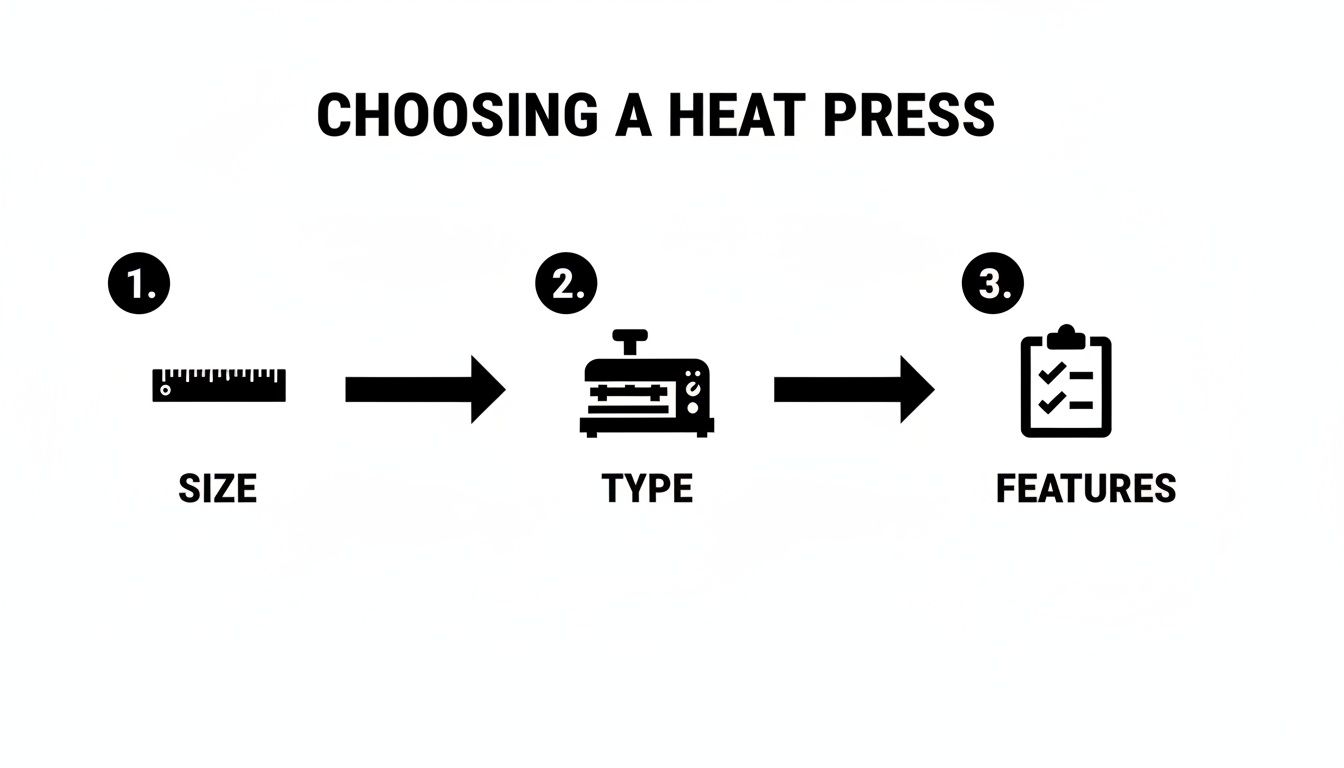
Understanding the Main Types of Heat Presses
Your workspace and how many items you plan to produce will be the biggest factors in deciding which style of press is right for you. Each one has its own set of pros and cons that fit different setups.
To make it easier, here's a quick comparison of the three main types of heat presses to help you choose the right one for your needs.
| Press Type | Best For | Pros | Cons |
|---|---|---|---|
| Clamshell | Small spaces, beginners, and t-shirt production | Space-saving, often more affordable, fast operation | Limited access to the platen can make layout tricky |
| Swing-Away | Precise placement, oversized items, and safety-conscious users | Full, unobstructed access to the work area, even heat | Requires significantly more operational space |
| Drawer-Style | Hybrid needs, busy workshops, and ease of use | Easy access without a large footprint, good for workflow | Can be more expensive than clamshell models |
Ultimately, the "best" press is the one that fits your space, your products, and your budget.
For a deeper dive into specific models and recommendations, check out our guide on the best heat press machines for shirts.
Non-Negotiable Features for a DTF Heat Press
No matter which style you lean toward, a few features are absolutely essential for getting consistent, high-quality DTF results. Skimping on these will only lead to frustration and wasted materials down the road.
A cheap press with uneven heat is the fastest way to ruin expensive transfers and garments. Consistency is king, and that starts with a quality platen that distributes heat and pressure uniformly from edge to edge.
First, look for a machine with digital time and temperature controls. Those old-school analog dials just don't offer the accuracy needed for DTF, where being off by just 10 degrees can make or break a transfer. You need controls that are accurate and easy to read.
Adjustable pressure is another must-have. DTF requires firm, even pressure to properly melt the adhesive into the fabric's fibers. A press with a clear pressure adjustment knob lets you dial in the perfect setting for whatever you're working on, from a thin t-shirt to a thick, fleece-lined hoodie.
Key Questions to Ask Before You Buy
To make sure you're investing wisely, run through these questions. Your answers will point you directly to the machine that’s a perfect fit for what you want to accomplish.
- What am I actually making? If you're focusing on standard t-shirts, a 15"x15" or 16"x20" platen will serve you well. But if you see yourself pressing oversized hoodies or using large gang sheets, you'll definitely need a bigger platen to avoid pressing in sections.
- How much space do I have? Seriously, measure your workspace. A swing-away press needs a surprising amount of clearance on all sides to operate safely, while a clamshell can be tucked into a much tighter spot.
- Will I need to press more than just shirts? If you think you might want to branch out into hats, tote bags, or even shoes, look for a machine that supports interchangeable lower platens. This versatility lets you expand your product line without having to buy a whole new press for every different item.
Nailing the DTF Application Process
Alright, you've got your heat press warmed up and ready to go. Now for the fun part—bringing your designs to life. This is where the real magic happens, turning that printed film into a vibrant, permanent part of the garment. The process itself is pretty straightforward, but getting it right every single time comes down to respecting a few key steps. It's all about precision, not guesswork.
The first thing you need to do, and it’s a step beginners often skip, is prep the garment. Every fabric, especially natural ones like cotton, holds a surprising amount of moisture from the air. This hidden water is the ultimate enemy of a good transfer. When you apply heat, that moisture turns to steam and fights against the adhesive, preventing a solid bond.
Don't Skip the Pre-Press. Ever.
To get that moisture out, you absolutely have to do a pre-press. It's simple: place your shirt or garment on the lower platen and press it for 5-10 seconds at your target temperature. You might even see a little wisp of steam—that’s a good sign! You've just kicked out the moisture. This quick step also smooths out wrinkles, giving you a perfectly flat and dry canvas for your transfer. Skipping this is the fast track to transfers that start peeling after the first wash.
Think of it like priming a wall before painting. It’s a small, quick step that makes all the difference in the final quality and longevity of your work. It ensures the DTF adhesive bonds directly to the fabric fibers, not a layer of steam.
The Three Pillars of a Perfect Press
Once the garment is prepped, the whole process boils down to three things: temperature, time, and pressure. These elements are a team; if one is off, the others can't pick up the slack, and you'll end up with a failed press. Getting the balance right is what properly cures the transfer and makes it last.
Choosing the right equipment is the foundation for controlling these variables, as this quick guide shows.
With the right machine, you can dial in your settings with confidence.
-
Temperature: For most standard DTF transfers on cotton or poly/cotton blends, a range of 300°F to 325°F (149°C - 163°C) is your sweet spot. Pure polyester, however, needs a lower temp to keep it from scorching. Always check the instructions that come with your transfers—the specific film and powder used can shift the ideal temperature a bit.
-
Time: You're not cooking a roast here. The press time is usually short and sweet, typically between 10 to 15 seconds for the main press. Too little time and the adhesive won't melt properly. Too much, and you risk burning the shirt or messing with the ink's vibrancy.
-
Pressure: This one feels more like an art than a science at first. You're looking for medium to firm pressure. Imagine a firm, confident handshake—not a bone-crushing grip. The idea is to apply enough force to embed the ink and adhesive into the fabric's fibers, which is key for durability. If the pressure is too light, the transfer just sits on top and will peel off in no time. For a deeper dive, our specific DTF press instructions break it down even further.
The Great Debate: Hot Peel vs. Cold Peel
After that first press, you have one last crucial step: removing the carrier film. DTF transfers generally fall into two camps—hot peel or cold peel—and this tells you when to peel.
Hot peel is exactly what it sounds like. You peel the film off immediately after the press opens, while the shirt is still piping hot. This method is super fast and efficient, and it tends to leave a softer, more matte finish that feels like it’s part of the fabric.
On the other hand, cold peel requires patience. You have to take the garment off the press and let it cool all the way down to room temperature before even thinking about peeling the film. This is often the go-to for designs with super fine lines or tiny, intricate details, as it helps ensure every last bit of the design stays on the shirt. Trust me, rushing a cold peel is a guaranteed way to ruin a perfectly good print.
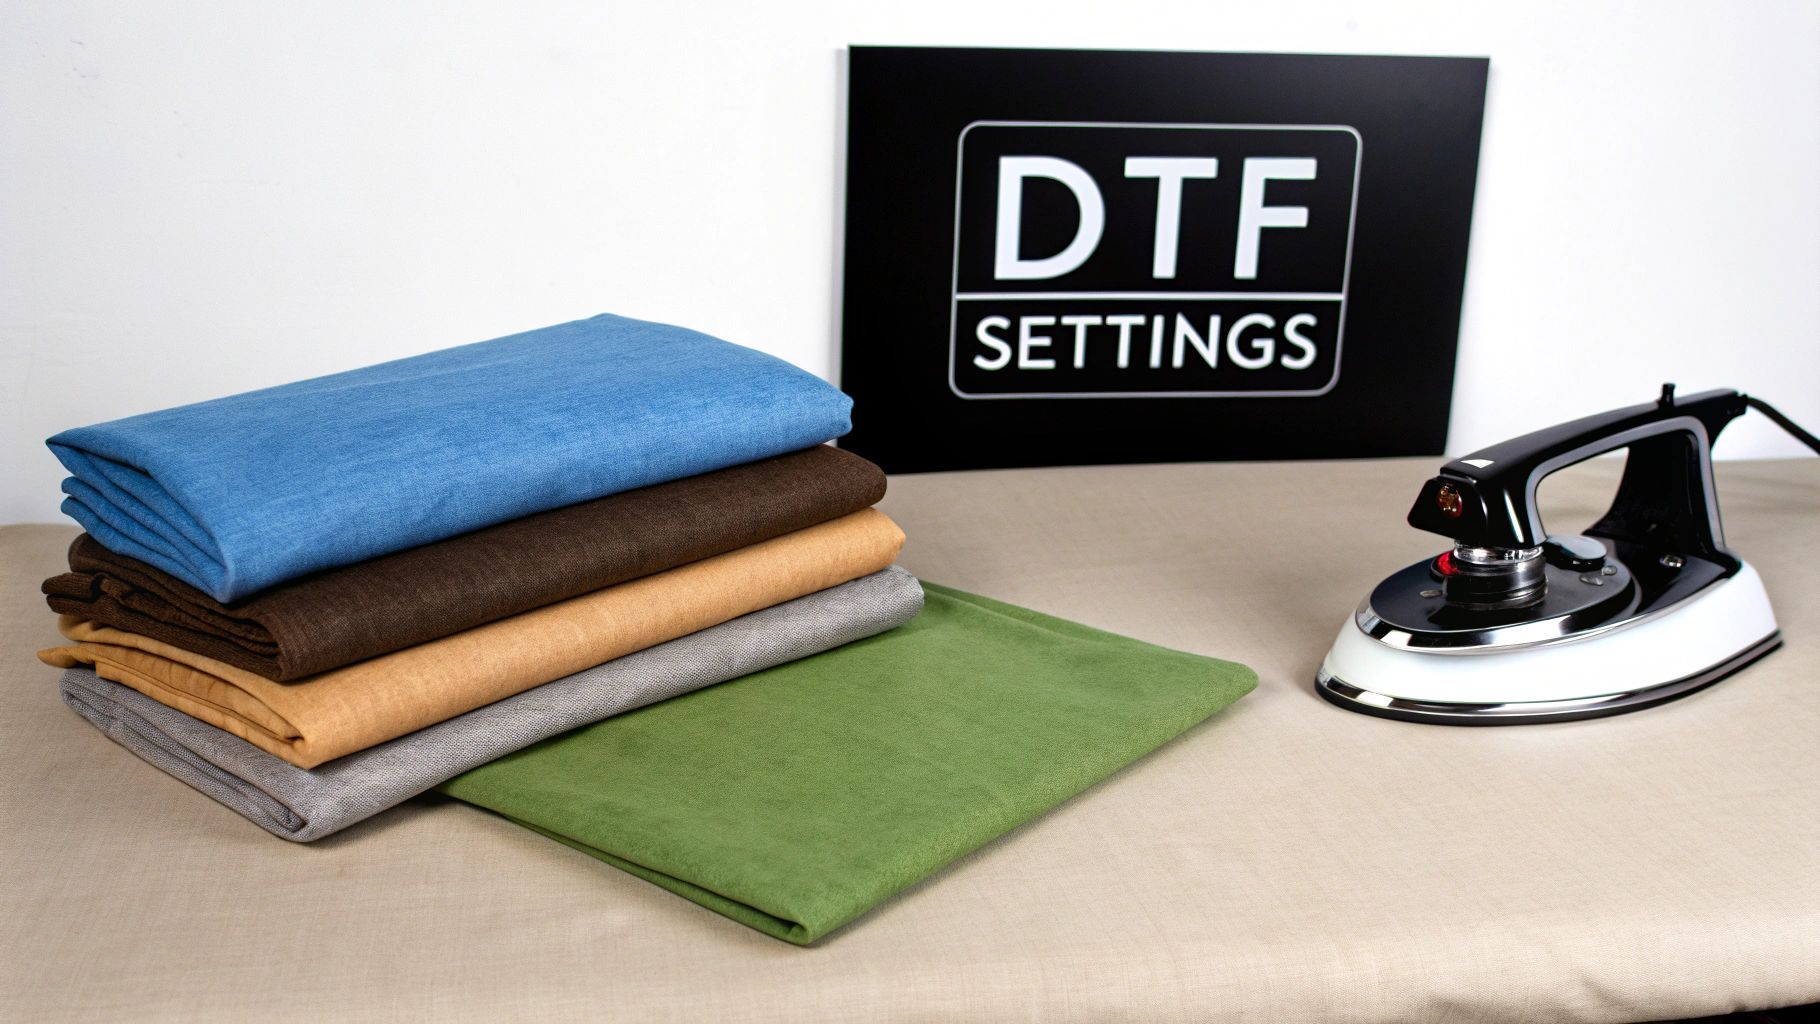
Getting Your DTF Settings Just Right for Different Materials
Think of your heat press settings not as a one-size-fits-all rule, but as a starting recipe you'll need to tweak for each type of fabric. What works perfectly on a classic cotton tee can scorch a polyester performance shirt or just refuse to stick to a thick canvas tote. Getting the hang of how different materials react to heat, time, and pressure is the key to unlocking consistent, professional results every single time.
This versatility is a huge part of why DTF is taking off. The global market for heat transfer films, which includes DTF, was valued at a massive USD 2,808 million in 2024. While traditional heat transfer vinyl (HTV) is still a big deal, especially for things like sportswear, DTF is gaining ground fast. Why? It offers unlimited colors and can be pressed onto a wild variety of surfaces—from leather and denim to glass and metal—with just a heat press. If you're curious about the industry's growth, you can explore additional insights on the heat transfer film market here.
Cotton and Blends: Your Go-To Starting Point
Cotton is your best friend when you're starting out. It’s forgiving, handles heat well, and is generally pretty easy to work with.
For a standard 100% cotton shirt, a great baseline is 300-320°F (149-160°C) for 10-15 seconds with medium to firm pressure. If you're working with a 50/50 cotton/poly blend, you can use a similar recipe. Just try to stick to the lower end of that temperature range—around 300°F—to keep the polyester fibers happy.
Navigating Polyester and Synthetics
This is where your technique really matters. Polyester is essentially a plastic, and too much heat will cause the fibers to melt. You'll see this as a shiny, scorched-looking box around your design. Worse yet, the dye from the fabric can actually bleed into your transfer—a frustrating issue called "dye migration"—turning a crisp white design into a muddy, discolored mess.
Pro Tip: The secret to avoiding dye migration on polyester is to lower your temperature and shorten your press time. You only need to melt the DTF adhesive enough for it to bond, not so much that you activate the fabric's dye.
For 100% polyester, I recommend starting around 270-290°F (132-143°C) for just 8-10 seconds. Tri-blends, which mix polyester with cotton and rayon, also do much better with these cooler, quicker settings.
Recommended Heat Press Settings by Material
Here’s a quick-reference chart with some solid starting points for the most common materials you'll encounter. Always remember to test a small, inconspicuous area first if you're working with a new garment.
| Material | Temperature (°F/°C) | Time (Seconds) | Pressure | Peel Method |
|---|---|---|---|---|
| 100% Cotton | 300-320°F / 149-160°C | 10-15 | Medium-Firm | Cold Peel |
| 50/50 Blends | 290-310°F / 143-154°C | 10-12 | Medium | Cold Peel |
| 100% Polyester | 270-290°F / 132-143°C | 8-10 | Medium | Cold Peel |
| Tri-Blends | 270-290°F / 132-143°C | 8-10 | Medium | Cold Peel |
| Leather | 260-275°F / 127-135°C | 8-10 | Light-Medium | Cold Peel |
These settings are your foundation. From here, you can fine-tune them based on your specific heat press and the exact material you're using to get that perfect press every time.
Handling Textured and Tricky Surfaces
Ready to branch out from t-shirts? Pressing on things like zippered hoodies, tote bags with thick seams, or structured hats requires a slightly different approach.
When you're dealing with an uneven surface, getting uniform pressure across the entire transfer is the biggest challenge. This is where heat press pillows are absolute lifesavers. You slide one of these heat-resistant foam pads inside the garment, which raises the printing area above any zippers, seams, or buttons. This ensures your press's top platen makes clean, even contact with the transfer.
Here are a few quick tips for some of those trickier materials:
- Leather: Always, always use a protective sheet (Teflon or parchment paper) over the leather to prevent the heat from scorching the surface. Start low and slow: 260-275°F for around 10 seconds with light pressure should do it.
- Denim: This stuff is tough and can handle heat similar to cotton. The real trick is pressure. You need firm pressure to really push the transfer's adhesive into the fabric's coarse weave for a solid bond.
- Canvas Totes: Treat these like you would a heavyweight cotton shirt. The main thing to watch for is thick seams around the edges, which is where a pressing pillow really proves its worth.
By getting a feel for these subtle differences, you'll be able to confidently tackle almost any project that comes your way. For an even more detailed breakdown, our complete heat press settings guide for DTF is a fantastic resource to bookmark and keep handy.
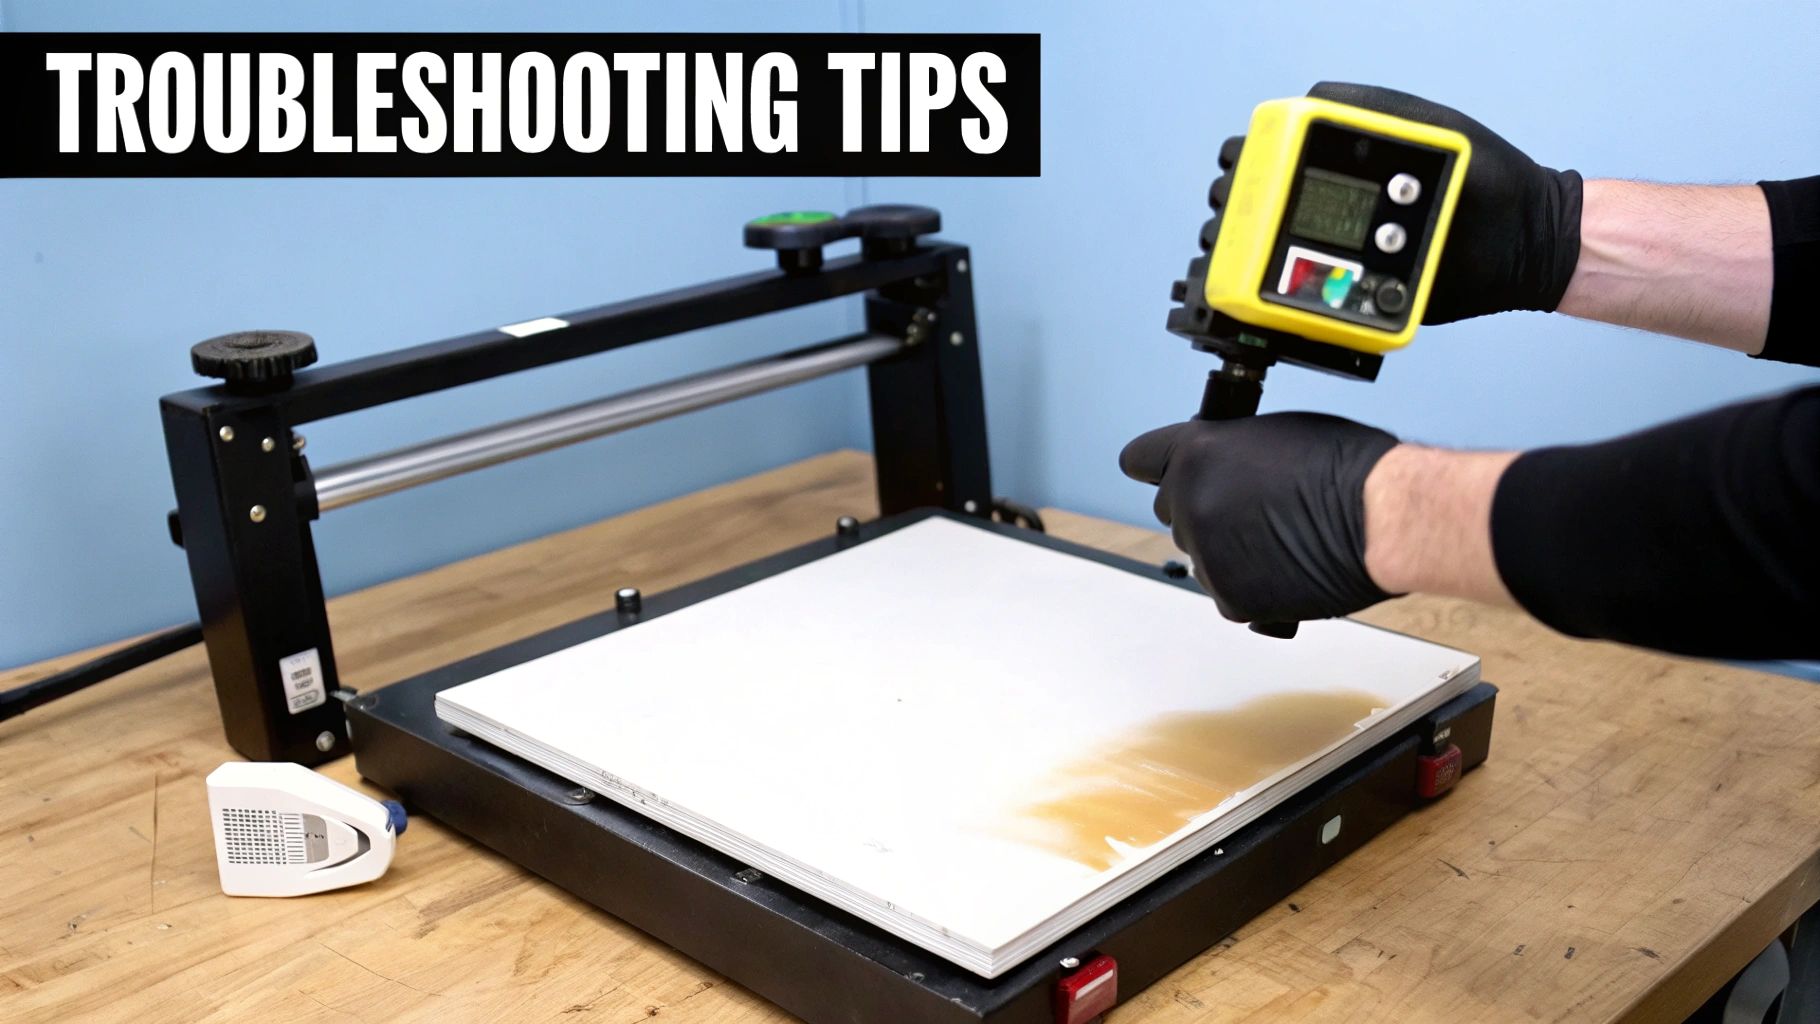
Troubleshooting Common DTF Pressing Problems
Even the most seasoned pros run into a stubborn transfer now and then. You do everything right, but the press goes sideways. The good news? Most DTF pressing issues are simple fixes once you know what to look for. So, before you get frustrated and toss a perfectly good garment, let’s walk through the common culprits and how to fix them.
It's worth remembering that DTF is already a huge step up in simplicity compared to older methods like DTG, which required finicky pre-treatment steps. DTF works great on cotton, poly, and blends, which is why it's exploding for things like custom sportswear. When you get the hang of it, the workflow can cut your production time by as much as 40%, so it pays to master the process. If you want to dive deeper, you can explore a comparison of these printing methods and see why so many shops are making the switch.
Symptom: Your Transfer Is Not Sticking at All
This is probably the most common and frustrating problem, especially when you're just starting out. You go to peel the film, and the whole design—or big chunks of it—lifts right off with it.
Before you blame the transfer, take a hard look at your process. In my experience, more than 90% of adhesion failures boil down to one of three things: not enough pressure, hidden moisture in the shirt, or the wrong temperature.
- The Pressure Fix: "Medium pressure" can mean different things to different machines. If your transfers aren't sticking, your press is almost certainly set too light. Give that pressure knob a solid quarter-turn to tighten the clamp and try again. The idea is to physically embed the adhesive into the fabric's weave.
- The Moisture Fix: Did you pre-press the garment? If not, you're trying to stick a transfer to a steamy surface. Even a little ambient humidity can get trapped in the fabric, and that steam will push the transfer away. Always pre-press for at least 5-10 seconds to give yourself a bone-dry, flat surface.
- The Temperature Fix: You need to confirm your heat press is actually as hot as it says it is. Grab an inexpensive infrared temp gun and check for cold spots or an inaccurate thermostat. It's a surprisingly common issue, particularly with budget-friendly presses.
Symptom: The Edges of Your Design Are Peeling Up
You’ve pressed the shirt, the peel was clean, and everything looks perfect. But after the first wash, the edges of the letters or sharp corners of the design are starting to lift. This is a classic sign of a weak bond.
This problem almost always points to uneven pressure or heat. If your platen isn't making perfectly uniform contact across the entire transfer, the edges just aren't getting the same bonding force as the center.
Pro Tip: Try the dollar bill test. When the press is cold and clamped shut, see if you can slide a dollar bill under the edges of the top platen. If it slides in and out easily, your pressure is uneven and needs adjustment.
A quick fix is to do a second, shorter press. After you peel the carrier film, cover the design with a Teflon sheet or parchment paper and hit it again for 3-5 seconds. This really helps to lock in any stubborn edges that didn't fully adhere on the first go.
Symptom: You See a Faint Box Outline Around Your Design
Ah, the dreaded "press box." It’s that faint, sometimes shiny, outline on the fabric that perfectly matches the shape of your heat platen. You’ll see it most often on polyester and dark-colored garments.
This outline is caused by the fabric fibers getting scorched from too much heat or crushed by too much pressure. It’s a clear signal your settings are too aggressive for that particular material.
- Lower the Heat: For synthetics like polyester, you need to dial it back. Try dropping your temperature into the 270-290°F range.
- Ease Off the Pressure: You don't need to smash the fabric. Lighten up on the pressure knob until you have just enough force to bond the transfer without leaving an imprint.
- Use a Heat Press Pillow: This is the best long-term solution. Sliding a heat-resistant foam pillow inside the shirt elevates the print area. This ensures the press only makes firm contact right where the transfer is, softening the pressure around the edges and eliminating that box for good.
Keeping Your Heat Press in Fighting Shape
Think of your heat press as the workhorse of your shop. It's the one piece of gear that has to perform perfectly every single time. If it's not working right, nothing is. A little regular maintenance is all it takes to keep it running smoothly, ensuring you get consistent, professional-quality results day after day.
Ignoring your press is a surefire way to end up with failed transfers, wasted materials, and a machine that gives up on you way too soon. A simple care routine isn't a chore—it's an investment in your business.
A Simple Maintenance Routine That Works
You don’t need a complicated checklist. Just a few consistent habits will make all the difference in keeping your machine reliable and accurate.
Here’s a practical schedule that I've found works wonders:
- After Each Pressing Session: Give the outside of the press a quick wipe-down with a soft, dry cloth. This keeps dust and lint from building up. If you spot any ink or adhesive residue on the platen while it’s still warm, gently wipe it away before it bakes on.
- Weekly Deep Clean: Time to give that upper platen some attention. With the press completely cool and unplugged, use a dedicated platen cleaner or a non-abrasive cloth to remove any stubborn gunk. This is crucial for preventing uneven heat spots that can ruin a transfer.
- Monthly Health Check: Once a month, do a quick audit. Check and tighten any bolts or screws, especially around the pressure assembly. Most importantly, it's time to fact-check your temperature display.
An inaccurate thermostat is the silent killer of good DTF transfers. If your press says it's at 320°F but is actually running at 290°F, you'll get under-cured designs that peel right off. Never trust the built-in display blindly.
Grab an infrared temperature gun and take readings across the entire top platen. Check the center and all four corners. If you see a variance of more than 5-10 degrees, you’ve likely found a cold spot, which could mean a heating element is on its way out.
Smart Safety Habits for a Better Workflow
A safe shop is a productive shop. Working smart isn't just about preventing accidents; it's about creating a smooth, efficient process.
First up, proper ventilation is an absolute must. While the DTF process is generally safe, fumes can accumulate, especially during long runs. Always work in a room with good airflow or crack a window open. It's a small thing that makes a huge difference.
Next, get yourself a good pair of heat-resistant gloves. Platens and freshly pressed garments can easily top 300°F, and a split-second touch can lead to a nasty burn. Don't take the risk.
Finally, think about your rhythm. A great habit to get into is prepping the next item while the current one is pressing. Lay out the shirt, position the transfer, and have it ready to slide in the moment the press opens. This not only makes you faster but also minimizes the time your hands are near the hot platen. It’s safer, smarter, and just plain more efficient.
Common Questions About DTF Heat Pressing
Once you get the hang of the basics, you'll inevitably run into a few specific questions on a real-world project. Getting those answers right can be the difference between a flawless print and a costly mistake. Let's tackle some of the most common questions we get about using a DTF heat press.
Can I Use a Home Iron Instead of a Heat Press?
Look, I get the temptation, but for any work you want to last, the answer is a hard no. A home iron just can't deliver the two things that are absolutely critical for DTF: consistent, even pressure and a stable, accurate temperature.
When you use an iron, you're almost guaranteed to get peeling, cracking, and a design that falls apart in the wash. A dedicated DTF heat press isn't just a tool; it's a necessary investment for professional, sellable results. The controlled heat and pressure it provides are what make the magic happen.
What Is the Difference Between a Hot and Cold Peel?
This one is all about timing and a little bit about the final finish. It simply refers to when you pull the carrier film off after pressing.
- Hot Peel: Just like it sounds, you peel the film away immediately after the press opens, while everything is still piping hot. It’s faster and usually leaves the design with a softer feel and a more matte look.
- Cold Peel: You have to be patient with this one. You let the garment and transfer cool down completely to room temperature before even thinking about peeling. This method is fantastic for designs with tiny, intricate details and often produces a finish with a subtle gloss.
The most important thing? Always follow the instructions that come with your specific transfers. The film and adhesive are engineered to work best one way or the other.
How Do I Know If I Am Using the Right Pressure?
Getting the pressure just right can feel more like an art than a science, but you can definitely learn the feel. "Medium pressure" should mean it takes some firm effort to lock the handle down, but you shouldn't have to throw your whole body into it.
The goal is to apply enough force to really embed the ink into the fabric fibers. Too little, and it won't stick; too much, and you risk squishing the adhesive out around the edges of your design.
Here's a pro tip I use all the time: the "paper test." Before heating the press, lock it down and try to slide a piece of paper under each of the four corners of the platen. If you can't easily pull any of them out, your pressure is even and firm. It's a great way to confirm you're getting solid contact across the entire design.
Why Is Pre-Pressing a Garment So Important?
This is a step people are often tempted to skip, but please don't. Pre-pressing your garment for 5-10 seconds is non-negotiable. Natural fabrics like cotton are surprisingly good at holding onto moisture from the air. When you press a damp (even if it feels dry) shirt, that hidden moisture turns into steam, which is the mortal enemy of a good DTF bond.
A quick pre-press zaps that moisture and flattens out any wrinkles, giving you a perfectly prepped surface. Trust me, skipping this simple step is the number one cause of transfers failing right off the bat.
Ready to create stunning, durable custom apparel? The team at Raccoon Transfers provides premium, ready-to-press DTF transfers that bring your designs to life with vibrant color and incredible detail. Upload your artwork today and see the difference quality makes. Explore our offerings at https://raccoontransfers.com.