
Master Heat Transfer Shirt Printing
Heat transfer printing is a fantastic way to get custom designs onto shirts. At its core, the process is pretty simple: your design gets printed onto a special transfer paper, which you then place on a shirt and press with heat. The heat and pressure work together to permanently bond the ink to the fabric. This method is a go-to for many because it's brilliant for producing detailed, full-color graphics, especially for those smaller and medium-sized print runs.
Building Your Foundation for Perfect Prints
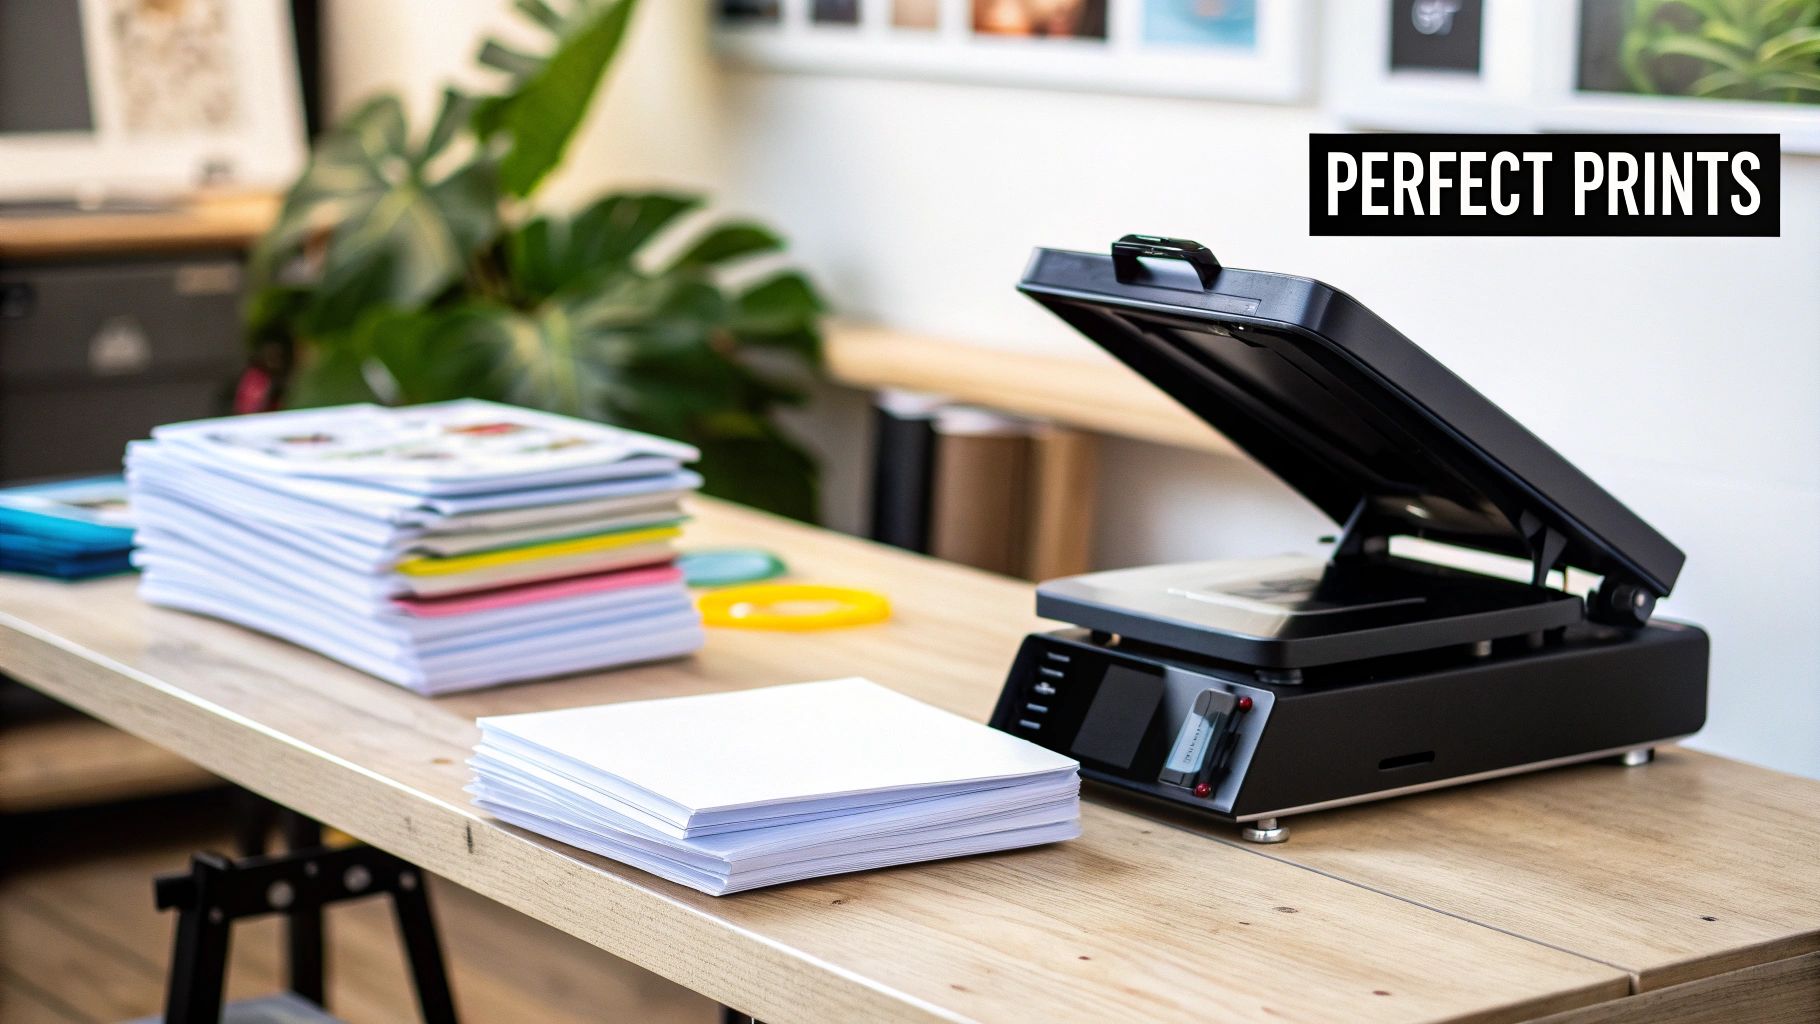
Jumping into the world of custom apparel can feel a little intimidating, but getting great results really boils down to having the right equipment and materials. While there are a few ways to go about it, Direct-to-Film (DTF) has quickly become a fan favorite. Why? Because it’s incredibly versatile, the colors are stunningly vibrant, and the final print feels soft and flexible on the shirt.
One of the best parts about getting started with DTF is that you don't need to sink a fortune into a massive, complicated printer setup. By ordering your transfers from a pro like Raccoon Transfers, you get to skip the most technical (and expensive) part of the whole operation. This frees you up to focus on what you do best: designing and pressing awesome shirts.
Choosing the Right Heat Press
Think of your heat press as the heart and soul of your setup. It's not just a hot plate; it's the precision tool that determines the quality and longevity of every single print you make. I have to be blunt here: a home iron just won't cut it. It simply can't provide the consistent, even heat and pressure needed to make a transfer last.
When you're shopping for a press, keep an eye out for these crucial features:
- Even Heat Distribution: You need a press with a solid, high-quality heat platen that doesn't have "cold spots." If the heat is uneven, parts of your design won't stick properly, and you'll end up with prints that peel and crack after a wash or two.
- Accurate Temperature and Time Controls: Digital controls are a must. Being able to dial in the exact temperature and time for different fabrics is non-negotiable for consistent, professional results. No more guesswork.
- Adjustable Pressure: Not all garments are created equal. You'll need different pressure for a thin polyester tee than you would for a thick, heavy cotton hoodie. A press with an easy-to-use pressure adjustment knob gives you the control you need for any job.
A reliable heat press isn't just an expense—it's an investment in your brand's reputation. When you produce consistently high-quality prints, you build customer trust and get people coming back for more.
Essential Supporting Tools for a Smooth Workflow
Beyond the press itself, a few other inexpensive tools will make your life a whole lot easier and your prints look much more professional. Don't skip these; they make a huge difference.
First up, heat-resistant tape. This stuff is your best friend for locking transfers in place on the garment. It stops the design from shifting when you close the press, which prevents annoying ghosting or misaligned prints. You'll also want a Teflon sheet or a roll of parchment paper. This acts as a protective layer between your transfer and the hot platen, preventing any ink from bleeding onto your press and ensuring a super clean application.
The demand for quality custom apparel is definitely on the rise, and so is the market for the equipment that makes it. The global heat transfer printing machine market is projected to grow at a compound annual growth rate of 5.90% between 2023 and 2030, driven largely by the booming textile industry. You can dig into more details about the heat transfer machine market on cognitivemarketresearch.com. This trend really underscores why investing in good, reliable gear is key to meeting customer expectations for vibrant, durable apparel.
Getting Your Artwork Ready for Perfect DTF Prints
Long before you even think about firing up your heat press, the real magic happens on your computer screen. The quality of your final printed shirt—the sharpness of the lines, the pop of the colors—is decided right in your digital artwork file. Nailing this part is non-negotiable if you want to create apparel that looks professional and flies off the shelves.
Think of your digital file as the foundation of a house. If the foundation is cracked, it doesn't matter how great the rest of the construction is; you're going to have problems. It's the same with printing. The world's best DTF transfer can't save a low-quality, poorly formatted design.
The Essentials of a Print-Ready File
To get your designs to jump from the screen to the shirt without a hitch, there are a few technical details you have to get right. These aren't just friendly suggestions; they're the absolute must-dos for professional DTF printing.
First up, your image resolution needs to be 300 DPI (dots per inch). This is all about detail and clarity. While a 72 DPI image looks just fine on a website, it will turn into a blurry, pixelated mess when you print it. You can't just take a low-resolution graphic and try to scale it up, either—the quality is already gone. Always start your design on a 300 DPI canvas from the very beginning.
Next is the color mode. Your monitor displays colors using RGB (Red, Green, Blue) light, but printers work with CMYK (Cyan, Magenta, Yellow, Black) ink. If you design in RGB, you're bound to be disappointed when the colors look different on the final shirt. That’s because the printer is trying its best to match colors it physically can't create with ink. To avoid any surprise color shifts, always set your design software to CMYK.
Finally, you have to export your file as a transparent PNG. If you save your design as a JPEG, you'll get a white box printed around your graphic, which is a dead giveaway of an amateur job. Using the PNG format preserves the transparency, so only the design itself gets printed. This is the key to getting that clean, high-end look without any awkward, boxy outlines.
How to Save Money with Gang Sheets
One of the smartest and most cost-effective ways to order DTF transfers is by using a gang sheet. The idea is simple: you arrange multiple designs onto one large sheet before printing. Instead of paying for each little design separately, you just pay for the whole sheet, which can drastically slash your cost per transfer.
Let's say you're printing a shirt that needs a big logo on the back, a small one on the left chest, and another graphic on the sleeve. You can place all three of those pieces on a single gang sheet and press a whole shirt from one order. This method is also a lifesaver for combining jobs for different clients or just stocking up on your best-selling designs without placing a bunch of small, expensive orders.
Think of building a gang sheet like a game of Tetris. The goal is to fit as many designs as you can onto the sheet with as little wasted space as possible. Getting good at this directly pads your profit margin.
When you're arranging your designs, just be sure to leave a little bit of space between each one so you can easily cut them apart later. Here at Raccoon Transfers, our online builder makes this whole process a breeze. You can just upload your PNG files, then drag, drop, and rotate them until you have the perfect layout. Getting the size of each graphic right is also important, and you can learn more from our guide on choosing the right graphic size for T-shirts.
Mastering your artwork prep is what really separates the pros from the hobbyists in this business. By paying close attention to resolution, color, and file type—and by using gang sheets to your advantage—you're setting yourself up for incredible prints, happy customers, and a healthier bottom line.
The Heat Press Application Process From Start to Finish
This is where the magic really happens—turning a digital file into a piece of apparel you can actually wear. The heat press is the heart of heat transfer shirt printing, and it’s where your DTF transfers and garments come together to create a professional-grade product. The whole process boils down to three key things: temperature, time, and pressure. Nail these, and you'll get a flawless, durable print every single time.
The demand for high-quality custom apparel is skyrocketing. The global market was valued at $8.17 billion in 2024 and is expected to climb to $13.55 billion by 2029. That's a huge opportunity, which makes perfecting your pressing technique more critical than ever. You can dig into the full market analysis on the custom t-shirt printing industry's growth at globenewswire.com.
Setting The Stage: The Pre-Press
Before you even think about laying down your transfer, the garment itself needs a little prep work. Even a brand new shirt that feels bone-dry is holding onto some moisture. This hidden moisture is the enemy of a solid transfer; when heated, it turns to steam and can stop the adhesive from bonding properly to the fabric.
The fix is simple: a quick pre-press. Just lay your shirt on the heat press and press it for 3-5 seconds. This quick hit of heat does two critical things. First, it zaps any moisture out of the fabric. Second, it smooths out any wrinkles, giving you a perfectly flat, dry canvas for your design.
Trust me, this is a step you don't want to skip. It ensures the DTF adhesive gets a clean, strong grip on the fabric fibers, which makes a massive difference in how well the print holds up in the wash.
Dialing In Your Heat Press Settings
Getting the right mix of heat, time, and pressure is what separates a homemade-looking shirt from a professional one. There's no single magic number, either. The settings change based on what you're printing on. A 100% cotton tee needs a different approach than a sensitive polyester jersey.
A great print starts long before the press. It begins with high-quality artwork, as this workflow shows.

This illustrates that a sharp, vibrant print is born from a high-resolution file, set to the right color mode, and saved as a transparent PNG. Once the art is solid, you can focus on the press itself.
Let's break down the three pillars of a perfect press:
- Temperature: This is what activates the adhesive on the DTF transfer. If it's too low, the transfer won't stick. Too high, and you can scorch the shirt or melt the print.
- Time: Also called "dwell time," this is how long the heat is applied. It needs to be just long enough for the adhesive to fully melt and fuse with the fabric.
- Pressure: This guarantees solid, even contact across the entire design. Most jobs call for medium to firm pressure, but you’ll need to adjust based on the fabric’s thickness and feel.
Think of these settings like a recipe. Too much of one ingredient or not enough of another, and the result is a letdown. Precision and consistency are everything.
To give you a head start, we've put together a quick reference guide with the settings we use for the most common materials. For a deeper dive, be sure to check out our complete guide on heat press settings for DTF transfers.
Heat Press Settings for Different Materials
Here's a handy chart with our recommended starting points for different fabrics.
| Material Type | Temperature (°F/°C) | Press Time (Seconds) | Pressure | Peel Method |
|---|---|---|---|---|
| 100% Cotton | 300-320°F / 149-160°C | 10-12 Seconds | Medium-Firm | Cold Peel |
| 50/50 Cotton-Poly Blend | 280-300°F / 138-149°C | 8-10 Seconds | Medium | Cold Peel |
| 100% Polyester | 260-280°F / 127-138°C | 7-8 Seconds | Medium | Cold Peel |
| Tri-Blends | 260-275°F / 127-135°C | 7-8 Seconds | Light-Medium | Cold Peel |
Remember, these are starting points. It's always a smart move to do a quick test on a scrap piece of fabric if you're working with something new.
The Peel and The Finishing Press
Once the timer beeps, the next crucial step is the peel. Our Raccoon Transfers are all cold peel. This is non-negotiable—you have to let the transfer cool down completely before you even think about removing the film. If you get impatient and peel it while it's still warm, you risk pulling up parts of your design.
So, be patient. Let the garment cool until it's no longer warm to the touch. Then, grab a corner of the film and peel it back in a smooth, steady motion at a low angle. The design will stay behind, perfectly bonded to the shirt.
To take your print to the next level, do a quick finishing press. Cover the design with a sheet of parchment paper or a Teflon sheet and press it again for another 3-5 seconds. This final press locks the ink into the fabric fibers, boosting durability and giving the print a premium matte finish with a super-soft feel. It’s that last professional touch that makes all the difference in your heat transfer shirt printing projects.
How to Test Your Prints for Long-Term Durability
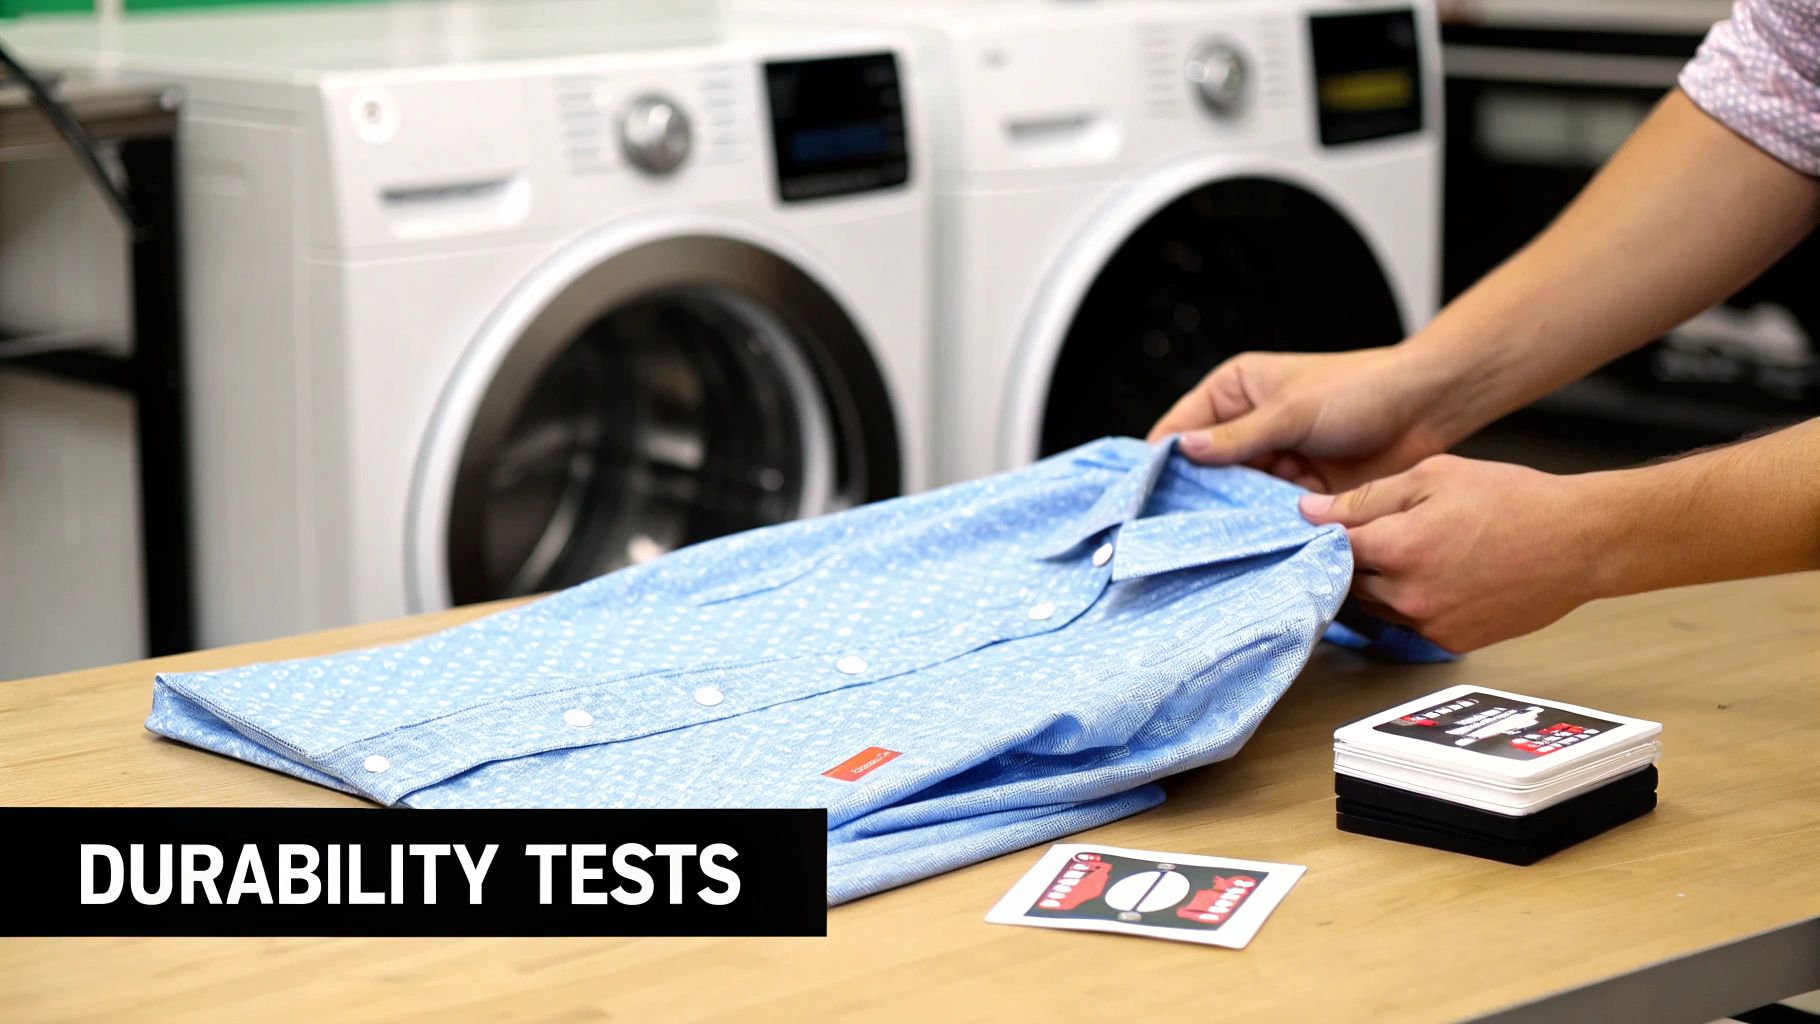
So you've just pressed a design. The colors pop, it's perfectly centered, and it looks fantastic. But the real proof of a professional heat transfer shirt printing job comes after the press cools down. A great-looking design is worthless if it cracks, peels, or fades after the first wash—that's the fastest way to disappoint a customer.
This is exactly why post-press quality control is non-negotiable. It’s not an extra step; it's fundamental to building a reputation for quality. By making a few simple tests part of your routine, you can guarantee every garment you sell is built to last, turning first-time buyers into loyal fans.
The Essential Stretch Test
The first and fastest check you can do is the stretch test. It's a dead-simple, instant way to see how well the DTF transfer has actually bonded with the fabric.
Just wait for the garment to cool down completely after that final press. Gently grab the printed area with both hands and give it a good, solid stretch. You aren't trying to tear it, but you want to apply enough tension to see how the ink reacts.
A properly fused transfer will stretch right along with the fabric without any cracking or lifting. It should look like it’s part of the material. If you see tiny lines appearing in the graphic or the edges start to pull away, that’s a big red flag. The bond isn’t strong enough.
This almost always comes down to one of three things:
- Not Enough Pressure: The press didn't have enough muscle to embed the adhesive into the fabric fibers.
- Temperature Was Off: The heat was too low, and the adhesive never fully activated.
- Time Was Too Short: The press didn't have enough dwell time to complete the fusion.
The Ultimate Wash Test
While the stretch test gives you an immediate gut check, the wash test is the gold standard for long-term durability. This is how you simulate real-world use and see how your prints will actually hold up over time. You don't need to wash every single shirt, but it's smart practice to test one from every new batch of transfers or any time you switch to a new garment style.
To run a proper wash test, just follow the care instructions you’d give your customers.
- Flip the garment inside-out. This protects the print from rubbing against other clothes.
- Wash in cold water on a gentle cycle. Hot water is the number one enemy of custom prints.
- Stick to a mild detergent. Absolutely no bleach or harsh fabric softeners.
- Tumble dry on low. Or, even better, just hang it up to air dry.
Once it's dry, give the print a close inspection. Are there any signs of fading, cracking, or peeling around the edges? A quality DTF print should look just as good coming out as it did going in. Properly applied Raccoon Transfers are rated for 50+ washes, giving you durability that genuinely competes with screen printing. For a deeper dive into what makes these prints so tough, check out our complete guide to DTF transfer durability.
A successful wash test is your final seal of approval. It’s the confidence you need to know that your products won't just look great on day one, but will continue to represent your brand's quality for months and years to come.
Troubleshooting Common Visual Issues
Beyond durability, you also need to keep an eye out for visual flaws that point to problems in your pressing technique.
If the transfer has a glossy, almost plastic-like finish, that's usually a sign of too much heat or pressure. This can make the print feel heavy and stiff. To fix this, try backing off the temperature by 5-10 degrees or reducing your pressure a notch. The goal is a clean, matte finish that feels like it's part of the shirt.
On the other hand, if you see faded spots or areas where the transfer didn't stick at all, that’s a classic sign of not enough pressure or an uneven heat platen. Make sure your press is clamping down with firm, consistent pressure across the entire design. If the problem persists, you might need to test your press for cold spots.
Making these quick quality checks a standard part of your workflow is what elevates your products from a hobby to a professional-grade business. It ensures every single piece you ship is something you can be proud of.
Pro Tips for Saving Time and Money
Turning your passion for custom apparel into a real business comes down to working smarter, not just harder. It’s not just about speed; it's about making every single step in your heat transfer shirt printing process as efficient as possible. With a few tricks of the trade, you can cut down on costs, work faster, and put more money back in your pocket.
The single biggest way to slash your cost-per-print is to get really good at making gang sheets. Instead of ordering transfers one by one, you pack multiple designs onto a single sheet. This is a game-changer for combining different pieces of an order—like a big back graphic, a small chest logo, and a sleeve hit—or even ganging up jobs for a few different clients. When you use every last inch of the film, your costs plummet.
Maximize Your Material Investment
Think of filling a gang sheet like a game of Tetris. Your goal is to leave zero empty space. The better you get at arranging your designs, the less waste you'll have, and the cheaper each individual transfer becomes. It’s a skill that directly translates to profit.
When you're ordering from us at Raccoon Transfers, keep an eye on those bulk discounts. Planning your jobs so you can order a larger quantity of sheets at once will save you a ton in the long run. This kind of planning lets you stock up on popular designs or take on bigger projects with more competitive pricing.
Another huge money-saver? Catching mistakes before they happen. I can't tell you how many people I've seen waste money on bad prints because of a simple file error. Create a quick pre-flight checklist for yourself.
Before you upload a single file, make sure it’s:
- Saved at 300 DPI so it prints sharp, not blurry.
- Set to CMYK color mode to avoid weird color surprises.
- Exported as a transparent PNG so you don't get a big white box around your art.
This literally takes 30 seconds, but it can save you the headache and cost of an entire batch of ruined transfers.
Streamline Your Production Workflow
Once you've got your transfers in hand, it's all about your rhythm at the heat press. Don't press one shirt from start to finish. Work in batches.
First, pre-press all your shirts. Then, go down the line and position and tape every single transfer. Finally, do all the main presses one after another. This assembly-line approach gets you into a flow state and cuts out a ton of wasted movement.
And don't forget about storage—it matters more than you think. Keep your unused DTF transfers flat in a sealed bag or container, somewhere cool and dry. This protects the adhesive from humidity and dust, which can cause failed applications and wasted materials.
The demand for this stuff is exploding. The heat transfer printing market is a beast, pulling in an estimated $4.21 billion worldwide in 2024. That number alone shows the massive opportunity out there if you can dial in your process. You can dig into more stats on the growth of the heat transfer printing market at grandviewresearch.com.
Here’s my favorite tip for making your shirts feel less like a plastic sticker and more like a premium print: do a second press. After you peel the film off, cover the design with a Teflon sheet or parchment paper and hit it again for just 3-5 seconds. This pushes the ink right into the fabric, making it way softer and more durable, and gives it a perfect matte finish.
By building these habits—smart ordering, double-checking your art, batching your press work, and adding that finishing press—you'll completely transform your workflow. These aren't just theories; they are proven ways to save time and money while making a product that will have your customers raving.
Your Top Heat Transfer Printing Questions, Answered
If you're getting into custom apparel, you've probably got some questions. That's a good thing. Getting the right answers early on is the fastest way to nail your heat transfer shirt printing process and avoid common mistakes. Let's walk through a few of the questions we get all the time from people just starting out.
DTF vs. Heat Transfer Vinyl (HTV): What’s the Real Difference?
This is easily one of the biggest points of confusion. Think of Heat Transfer Vinyl (HTV) like a digital stencil. You cut your design from a solid sheet of colored vinyl and then—the part everyone dreads—you have to meticulously weed out all the tiny pieces you don't need. It’s fine for a simple number on a jersey, but for anything with detail? It's a massive time sink.
Direct-to-Film (DTF) is a game-changer. Your full-color, complex design is printed directly onto a special film, with the adhesive built right in. There is zero weeding involved. You get a soft, flexible print that can handle photorealistic images and tiny details without the hours of manual labor.
"Can I Just Use My Home Iron?" (Please Don't)
It's a tempting shortcut, I get it. But trying to use a standard household iron for heat transfers is a recipe for disaster. There are two main reasons this will fail you every time: uneven heat and inconsistent pressure.
Your iron has steam holes and its surface temperature varies wildly, creating hot and cold spots that prevent the transfer from bonding correctly. On top of that, you simply can't generate the kind of consistent, heavy pressure with your arms that's needed to properly melt the adhesive into the fabric's fibers.
A quality heat press is non-negotiable. It's the only tool that gives you precise temperature control and the firm, even pressure required for a print that lasts. Using an iron will almost always lead to peeling, cracking, or the design washing right off. Think of a heat press as an investment in your quality and reputation.
How to Keep DTF Printed Shirts Looking Great
You've pressed the perfect shirt—now how do you make sure it lasts? Giving your customers (or yourself) clear care instructions is just as important as the printing process itself. The golden rule is simple: be gentle and avoid high heat.
Here’s the best way to care for a DTF-printed garment to ensure a long, vibrant life:
- Turn it inside out. This is the easiest way to protect the print from rubbing against other clothes and the inside of your washing machine.
- Wash in cold water. Always use a cold, gentle cycle. Hot water is the enemy; it can weaken the adhesive over time.
- Go easy on the soap. Stick with a mild detergent and steer clear of bleach or harsh fabric softeners, which can break down the print.
- Hang dry when possible. If you must use a dryer, tumble dry on the absolute lowest heat setting. The best method? Just hang it up to air dry.
Follow these simple steps, and that print will easily hold up for 50+ washes, staying crisp and colorful for years to come.
Ready to create stunning, durable custom apparel without the hassle of weeding vinyl? Order your premium DTF transfers from Raccoon Transfers today and see the difference for yourself.