
How to Make a Shirt Transfer A Pro DTF Guide
Making a shirt transfer really comes down to three key actions: printing your design onto a special film, coating it with an adhesive powder, and then heat-pressing it onto a shirt. This whole process is called Direct-to-Film (or DTF), and it’s the secret behind some of the most vibrant, durable custom apparel you see today.
Your Guide to Flawless DTF Shirt Transfers
Ready to create custom shirts that actually look and feel professional? This guide will walk you through the Direct-to-Film process, showing you how to turn your digital artwork into high-quality, wearable products. Unlike some of the older, clunkier methods, DTF gives you incredible versatility and quality, which is why it's become a go-to for everyone from weekend hobbyists to full-blown print shops.
The path from a file on your computer to a finished shirt is pretty straightforward once you know the steps. I like to think of it as a three-part workflow: getting your design ready, creating the actual transfer, and finally, applying it to the garment. We’ll break down the tools and techniques for each stage.
What You'll Learn in This Guide
I've laid this out as a clear roadmap, so you'll feel confident even if this is your first time trying DTF. Here’s what we'll cover:
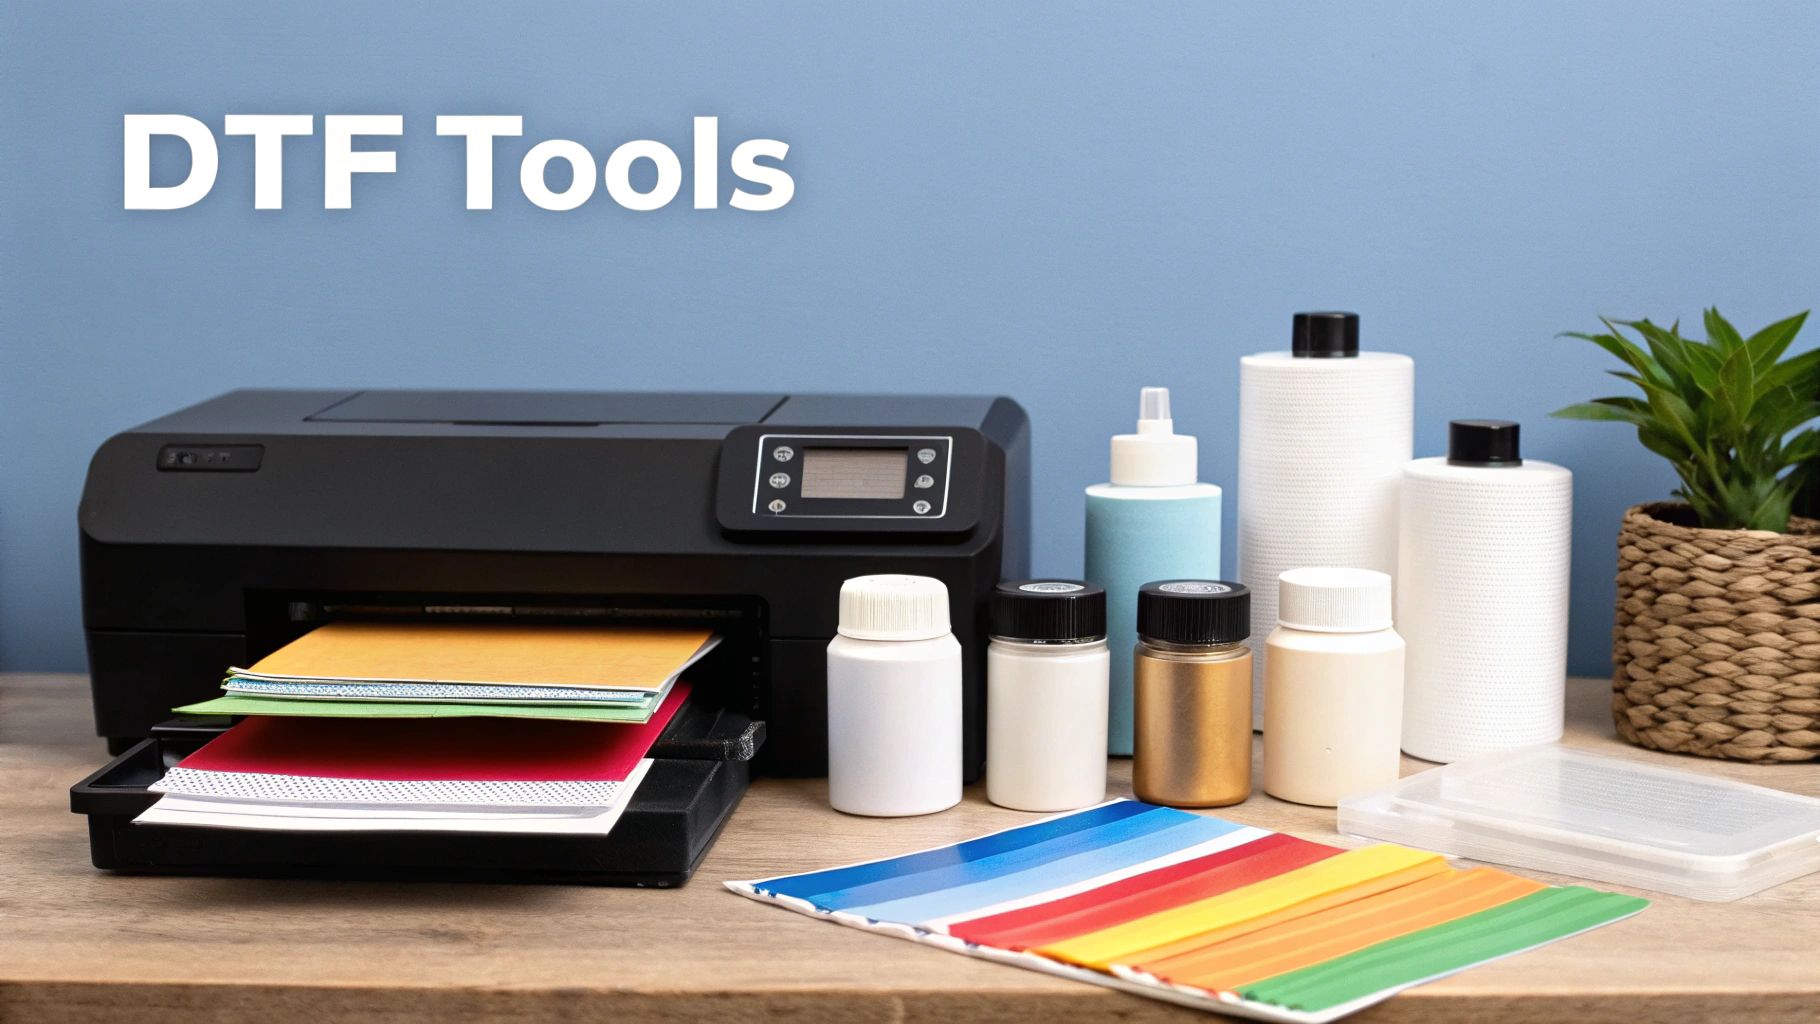
- Gathering Your Supplies: We'll go over the essential gear, from the right printer and inks to the crucial adhesive powder.
- Prepping Your Design: I’ll show you how to prepare your artwork to ensure it prints clean, crisp, and vibrant.
- The Application Process: This is the hands-on part—printing, curing the adhesive, and pressing the design onto the fabric.
- Finishing Like a Pro: A few extra tips to make sure your transfers look great and last through dozens of washes.
The demand for custom t-shirts is exploding. The market was valued at USD 5.16 billion in 2024 and is expected to nearly double, hitting USD 9.82 billion by 2030. That kind of growth, highlighted in market analysis by Grand View Research, shows just how much opportunity is out there.
By learning how to make a shirt transfer with DTF, you’re doing more than just picking up a new craft. You're gaining a skill that can easily turn a creative hobby into a profitable side hustle or even a full-time business.
Before we jump into the hands-on steps, it helps to have a solid grasp of the "why" behind the method. If you want to get a bit more technical, check out our guide that explains in detail what a DTF transfer is and what makes it so effective.
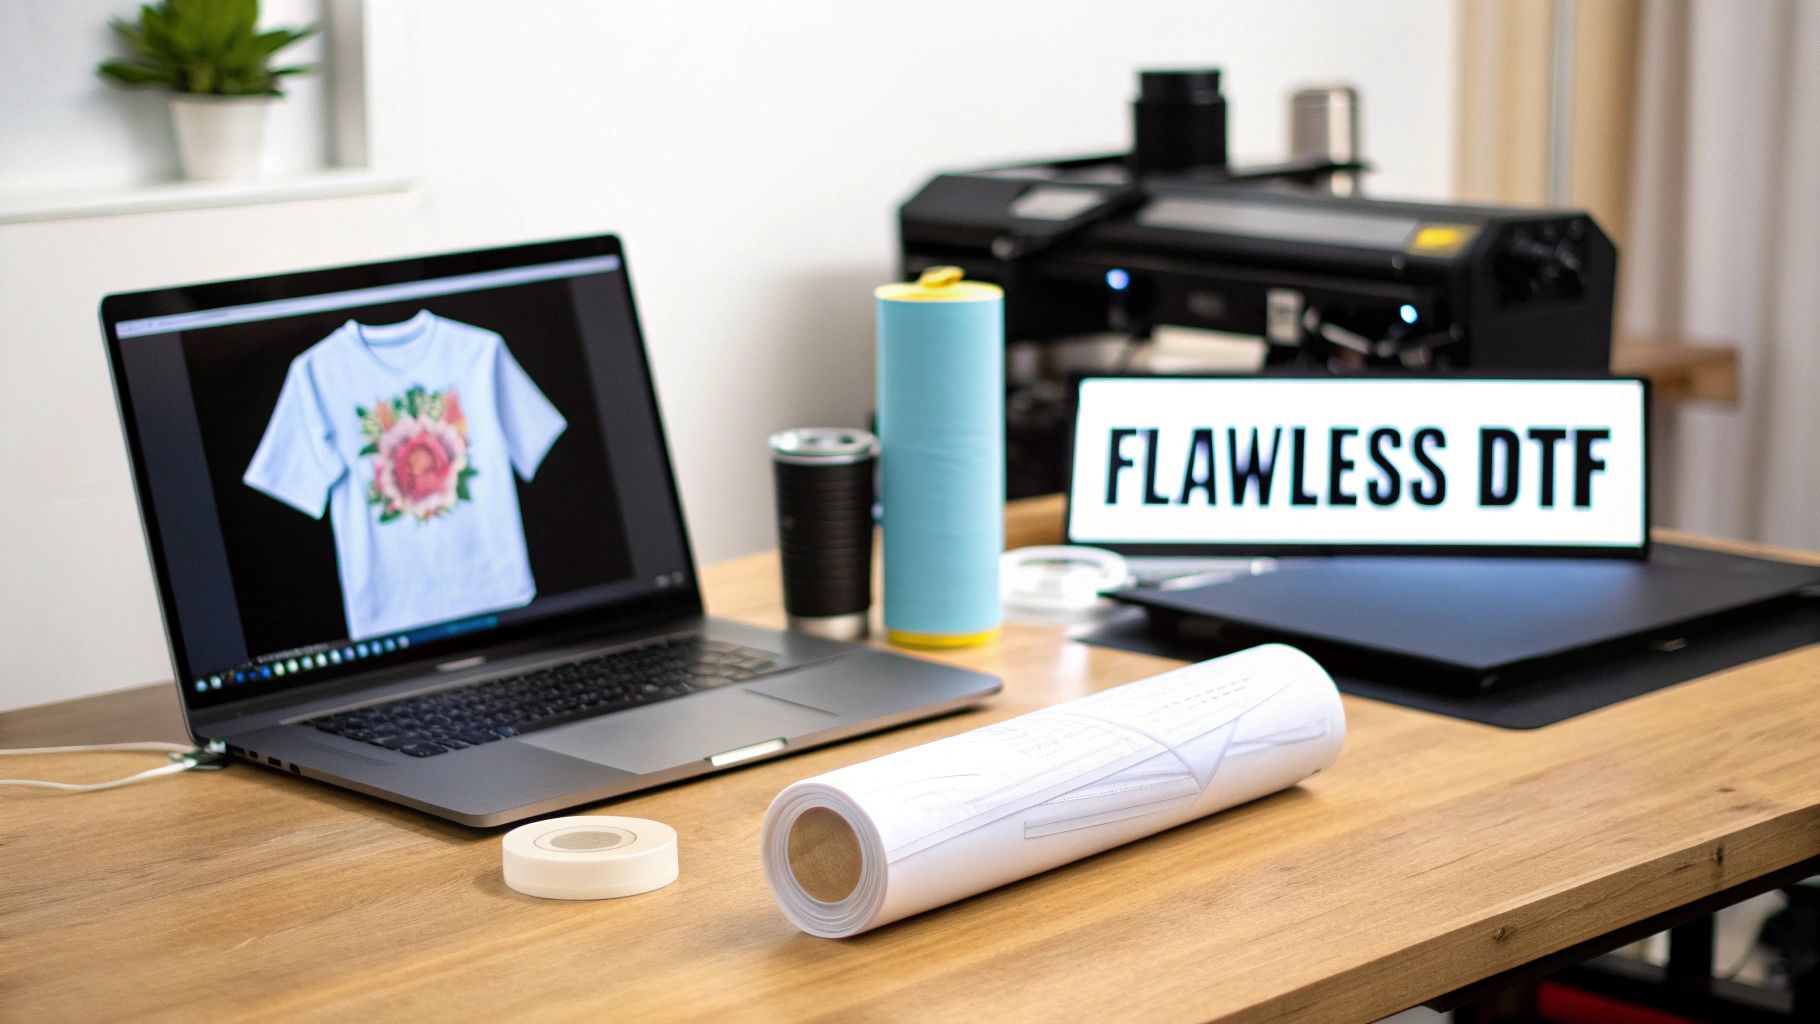
The Right Tools for a Flawless DTF Transfer
The quality of your final shirt transfer comes down to the tools you use. Seriously. Investing in the right gear from the get-go will save you from a world of frustration, wasted materials, and costly mistakes. Think of it as building your workshop—you need a solid foundation.
You don't need to spend a fortune, but there are a couple of core pieces where skimping just isn't an option. The two absolute pillars of any DTF setup are the printer and the heat press. If you cut corners on either, I can almost guarantee you'll be disappointed with the results.
The Printer and Inks
Your DTF printer is the heart of the whole operation. I know it's tempting to try and convert a standard inkjet printer to save some cash, but a dedicated DTF machine is truly the way to go. They’re specifically built to handle the thick, specialized inks and avoid the constant clogging issues that plague converted setups. A purpose-built printer gives you that consistent ink flow you need for sharp, clean designs.
The inks are just as critical. DTF requires a specific set of CMYK and white inks designed to work with the adhesive powder. High-quality ink doesn't just give you brighter, more accurate colors; it also makes a huge difference in the wash durability and the final feel of the transfer on the shirt.
A quick word of advice: The white ink layer is everything, especially on dark-colored shirts. A good printer that lays down a smooth, opaque white base is what makes your colors really pop instead of looking muddy.
The Heat Press and Consumables
A quality heat press is, without a doubt, one of the most important investments you'll make. A regular home iron just won't cut it. A good heat press delivers the two things you absolutely need for a permanent transfer: perfectly even temperature across the heating element and consistent, heavy pressure. Look for a machine with reliable digital controls for both time and temp.
You'll also need a few key supplies to keep your production running smoothly.
- DTF Film: This is what you print on. A good film will release the design cleanly after pressing. Most are "cold peel," which just means you let it cool down completely before peeling it off the shirt.
- Adhesive Powder: This fine, white powder is the magic that makes the transfer stick. You need a quality powder that melts evenly when cured, creating a bond that’s strong enough for the wash but flexible enough to not crack when stretched.
Beyond these essentials, you'll want a few supporting tools. A simple powder shaker or a dedicated applicator helps you get an even coating of adhesive. You’ll also need a way to melt the powder before pressing, which can be done with a small curing oven or by just hovering your heat press over the film. Getting these foundational pieces right is the first real step in learning how to make a shirt transfer that actually lasts.
Preparing Your Design for a Perfect Print
An incredible shirt transfer doesn't start when you turn on the printer—it starts with the design file itself. The quality of your digital artwork is the foundation for everything. Honestly, a flawless design file is what separates a professional, sellable shirt from an amateur-looking one. I've seen it time and time again: skipping these prep steps leads to fuzzy prints, weird colors, and a lot of wasted film and ink.
The gold standard for DTF printing is a high-resolution PNG file with a transparent background. This is non-negotiable. Using a PNG lets you print intricate designs, like detailed text or cool splatter effects, without that ugly white box showing up around the graphic on the shirt. For resolution, always, always aim for at least 300 DPI (dots per inch). This ensures your final print is crisp and sharp, not a pixelated mess.
Getting Your Colors and Dimensions Right
One of the biggest frustrations I hear about is when the colors on the finished shirt look nothing like what was on the computer screen. Nine times out of ten, this comes down to the color profile.
Your design software needs to be set to RGB. This color model is what DTF printers are calibrated for, so it gives you the most vibrant and accurate results. Designing in CMYK, which is meant for paper printing, can often make your transfers look dull and off-color.
Pro Tip: Before you export your final file, use the "soft proof" feature in your design software if you have it. It gives you a preview of how the colors will likely look when printed, letting you make tweaks beforehand and avoid any nasty surprises.
The size of your graphic is just as important. A design that looks perfect as a small chest logo will look stretched and pixelated if you blow it up for a full-front print without designing it at that scale. For a deeper dive, check out our guide on choosing the right graphic size for t-shirts. It has detailed charts for different placements. And if your design includes photos, mastering pro color correction for photos is a skill that will pay dividends in achieving vibrant, true-to-life transfers.
The Most Important Final Check
I'm going to say this in bold because it's that important: you must mirror your image.
Before you hit "print," you have to flip your design horizontally. The transfer gets printed in reverse on the film. That way, when you press it face-down onto the fabric, the image transfers in the correct orientation. Forgetting this simple step means any text or logo will be backward on the final shirt—a costly and completely avoidable mistake that we've all made at least once.
Nailing this prep work is what sets you up for success in a huge market. The global t-shirt industry was valued at around $169.1 billion in 2021 and it's still growing. By mastering these digital fundamentals, you ensure your work stands out from the competition.
Getting Your DTF Print Ready: From Film to Cured Transfer
Alright, this is where the magic happens. We're taking that digital file you prepped and turning it into a physical transfer that's ready to bring a shirt to life. Nailing these next few steps is what separates a professional, long-lasting print from one that fades or cracks after a few wears.
First up, printing. Your DTF printer will lay your mirrored design onto the special film, starting with the CMYK colors and then covering it with a solid layer of white ink. This white layer is the secret sauce—it’s what makes your colors pop on any garment, light or dark. As the film comes out of the printer, be gentle! The ink is wet and will smudge if you touch it. Always handle the film by the edges.
Applying the Adhesive Powder
With the ink still wet, it’s time to apply the adhesive powder. Think of this stuff as the powerful glue that will permanently bond your design to the fabric. The key here is getting a nice, even coat over every single drop of ink.
I find it easiest to work inside a shallow bin to contain the mess. Lay your freshly printed film flat and generously sprinkle the powder over the entire design. Then, pick up the film and gently rock it back and forth to make sure the powder sticks to all the inked areas. Once it's fully coated, give the back of the film a few good flicks with your finger to knock off any loose powder. You want a clean transfer, not a shirt with random specks of melted glue.
A Pro Tip From Experience: If you see any clumps or bare patches in the powder, it’s going to cause problems. An uneven coat can lead to a rough texture or, worse, parts of the design that peel off. Don’t be afraid to tap it all off and start again until it looks perfect.
It's this demand for high-quality custom apparel that's driving the market. The industry sells roughly 2 billion t-shirts annually, and that number is only growing. It's a massive opportunity, with the market projected to hit $330 billion USD in 2025. If you're a data nerd like me, you can dive deeper into these apparel industry statistics from Goodink.com.
The prep work we discussed earlier is the foundation for this stage, as this handy visual reminds us.
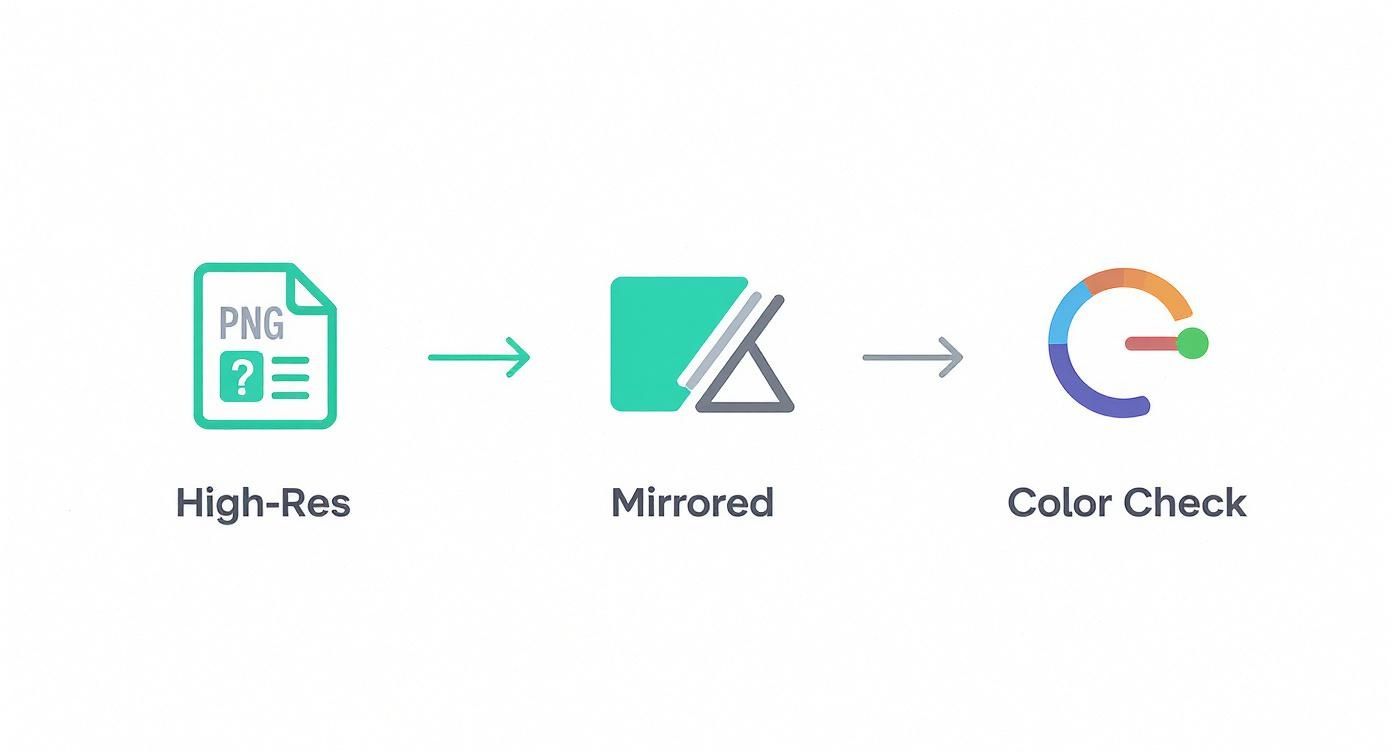
A great final print always starts with a perfectly prepared file. Now, let's lock it all in.
Curing the Transfer to Perfection
The last step before pressing is to melt that powder. This is called "curing," and it transforms the grainy powder into a smooth, solid sheet of adhesive. How you do this depends on your setup.
- Heat Press (Hover Method): This is a common way to do it. Set your press to 320-340°F (160-170°C). Lay the transfer on the bottom platen, but do not close the lid. You want the top heating element to hover about an inch over the film for around 90-120 seconds.
- Convection Oven: If you have a dedicated curing oven, set it to about 250°F (120°C) and bake the transfer for two to three minutes. This gives you a really even cure.
- Dedicated Curing Unit: For anyone doing serious volume, these machines are a lifesaver. They automate the process for consistent results every time.
You'll know it's done when the powder has melted into a glossy, slightly rubbery finish—some people call it an "orange peel" texture. If it still looks powdery, it needs more time. If it looks overly shiny and melted, you've gone too far.
Once it's perfectly cured, your transfer is officially finished. It’s stable, durable, and ready to be pressed onto a shirt.
Perfecting Your Heat Press Application
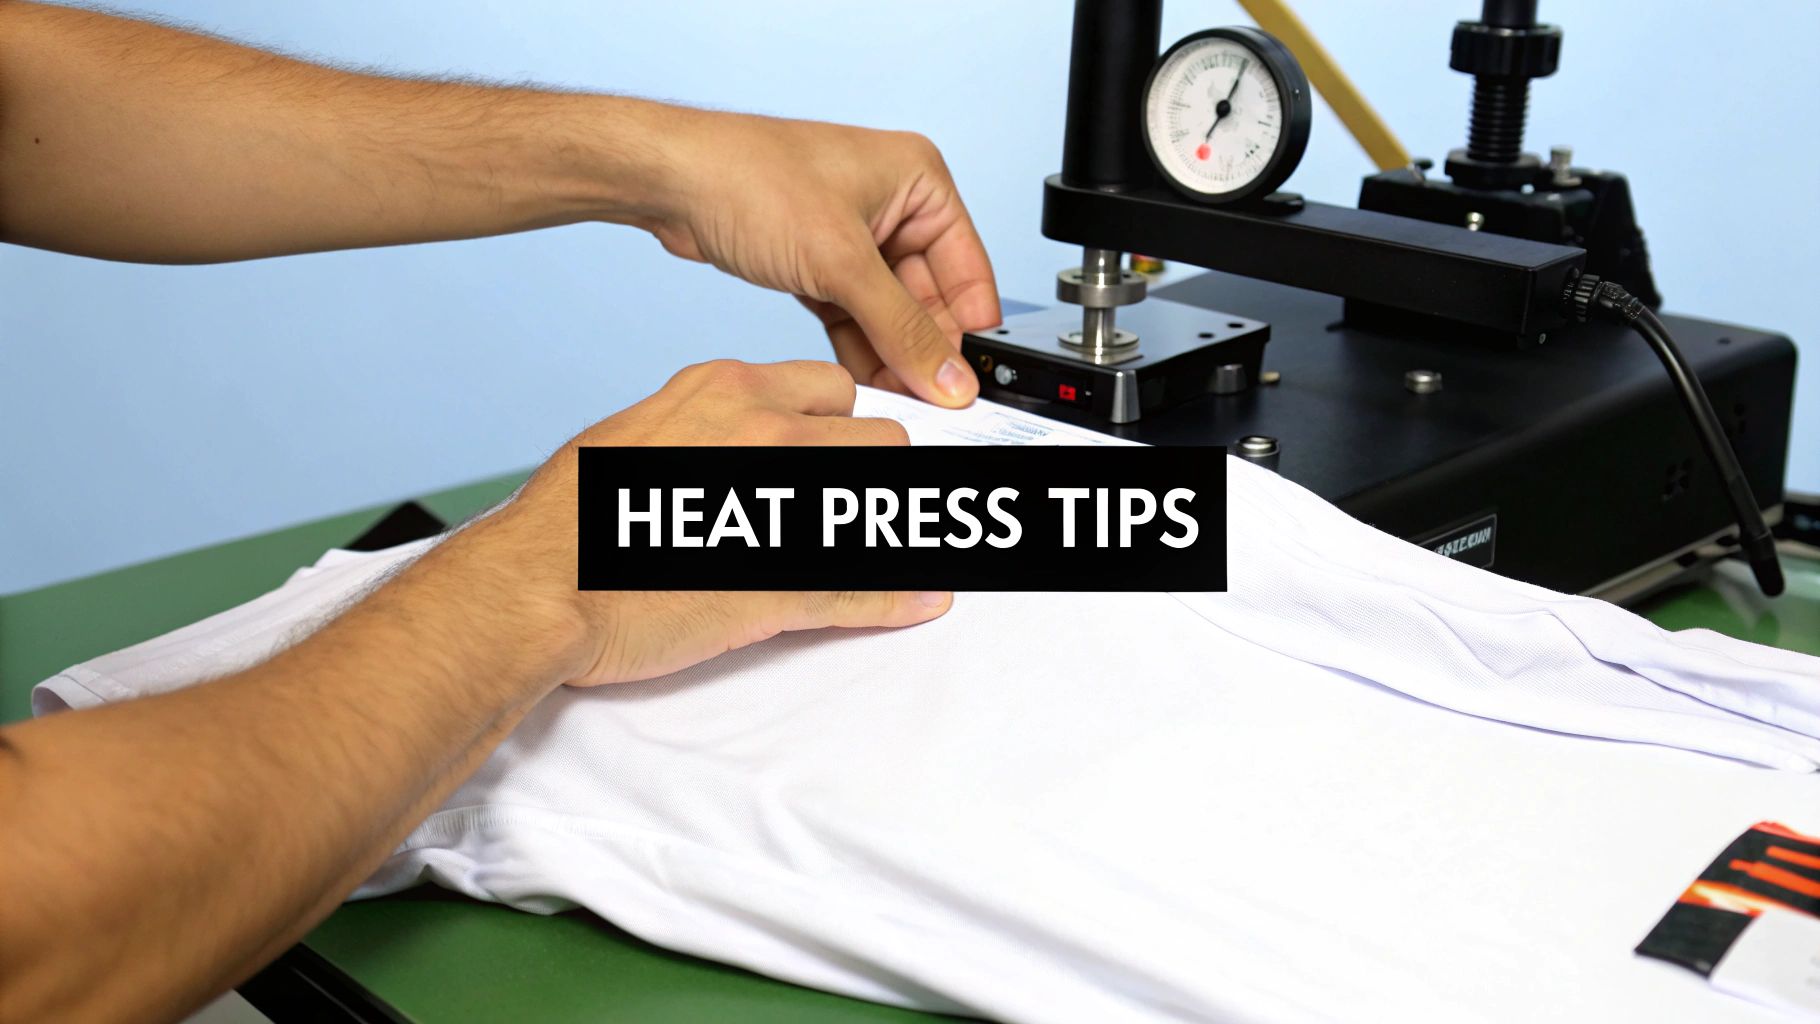
Alright, this is where the magic happens. The final press is what turns your printed film into a professional, durable garment that looks and feels incredible. Getting this right comes down to mastering the three pillars of heat application: accurate temperature, consistent pressure, and precise timing. Nail this trio, and you'll create shirts that won't crack, peel, or fade out after a few washes.
Before you even think about placing the transfer, take a moment to pre-press the garment. I can't stress this enough. Lay your shirt on the press and give it a quick 5-10 second press. This does two critical things: it zaps any moisture hiding in the fibers and irons out all the wrinkles, giving you a perfectly flat, dry canvas for your design.
Dialing in Your Settings
With the shirt prepped, go ahead and position your cured DTF transfer on the garment. I always use a t-square to make sure everything is centered and straight—eyeballing it can lead to some frustratingly crooked results. Once you're happy with the placement, cover the transfer with a Teflon sheet or parchment paper. This protects both your design and the heat platen from any mishaps.
While the exact settings can shift a bit depending on your specific press and the shirt you're using, there are some solid starting points. For a deep dive into different materials, be sure to check out our complete guide on heat press settings for DTF transfers.
But for now, here's a quick-reference table to help you get started with the most common fabrics you'll likely be working with.
Heat Press Settings for Common Fabrics
This table is a great starting point for dialing in the right settings for your projects. Remember to always test a small, inconspicuous area if you're working with a new fabric for the first time.
| Fabric Type | Recommended Temperature | Press Time in Seconds | Pressure Level |
|---|---|---|---|
| 100% Cotton | 300-325°F (149-163°C) | 10-15 seconds | Medium to Firm |
| Polyester | 275-300°F (135-149°C) | 8-12 seconds | Medium |
| 50/50 Blends | 280-305°F (138-152°C) | 10-12 seconds | Medium |
Getting these settings right is non-negotiable. Too much heat can easily scorch a polyester shirt, leaving a permanent shiny mark. On the flip side, not enough time or pressure means the transfer won't fully bond, and you'll be left with a design that starts peeling off after the first wash.
The Critical Cold Peel Technique
Once the timer beeps, open the press and slide the shirt out. And now for the hardest part: waiting. DTF transfers require a cold peel, which means you have to let the transfer cool all the way down to room temperature.
Seriously, don't rush this. Peeling the film while it's still warm is the number one mistake I see people make, and it almost always ruins the transfer. A proper cold peel lets the adhesive fully set and grip the fabric fibers, which is the secret to a clean release and that smooth, matte finish we all love.
When it's completely cool to the touch, pick a corner and gently peel the film back on itself at a low, sharp angle. It should come away cleanly, leaving your vibrant design perfectly adhered to the shirt.
One last thing. To really lock in the design and give it a softer hand-feel, do a finishing press. Just place your Teflon sheet back over the now-exposed design and press it again for another 5-10 seconds. This final touch helps embed the ink deeper into the fabric, making a huge difference in washability and feel.
Troubleshooting Your Shirt Transfers: Answering the Big Questions
Even with a perfect process, things can go sideways. It happens to everyone. Let's walk through some of the most common issues I see and get them sorted out so you can press with confidence.
Why Is My DTF Transfer Cracking After I Wash It?
This is a classic problem, and 99% of the time it comes down to the heat press application. The biggest mistake people make is not using enough pressure. You need to really clamp that press down firmly. Without that heavy, even pressure, the adhesive just sits on top of the fabric instead of working its way deep into the fibers. That creates a weak bond that just can't handle the stress of a washing machine.
Low temperature or not pressing long enough can also be the culprit. But here's a pro tip that a lot of people miss: the second press.
After you peel off the film (the "cold peel"), cover the design with a Teflon sheet or parchment paper and press it again for another 5-10 seconds. This final press is what truly melts the design into the garment, giving it that soft-hand feel and dramatically boosting its durability. Don't skip it!
Can I Just Use My Home Iron Instead of a Heat Press?
I get this question all the time, and I understand the temptation. But honestly, using a home iron for DTF transfers will only lead to frustration. A heat press is non-negotiable for two critical reasons: it provides consistent, even temperature and heavy, uniform pressure.
Your standard household iron is full of hot and cool spots, and you just can't apply the kind of consistent pressure needed with your own strength. You'll end up with a patchy transfer where some parts stick and others peel right off, or the whole thing cracks after a single wash. To get that clean, professional look that DTF is famous for, you absolutely need a proper heat press.
What's the Deal with a Hot Peel vs. a Cold Peel?
This simply refers to when you pull the clear film off the shirt after pressing.
- Hot Peel: You rip the film off immediately, while everything is still screaming hot.
- Cold Peel: You have to wait. Let the shirt and the transfer cool down completely to room temperature before even thinking about touching that film.
For virtually all modern DTF transfers, cold peel is the way to go. Waiting for it to cool down gives the adhesive the time it needs to solidify and properly bond to the fabric. This gives you a much cleaner release and helps you get that super smooth, matte finish everyone loves. Always double-check the instructions that come with your transfers, but if you're ever in doubt, just wait for it to cool.
How Do I Wash These Custom Shirts So They Actually Last?
The way you care for the shirt is just as important as how you made it. To get dozens of washes out of your work, you need to treat it right. First, and this is crucial, wait at least 24-48 hours after pressing before the shirt sees the inside of a washing machine. The adhesive needs that time to fully cure.
When it's laundry day, follow these simple rules:
- Turn the garment inside out. This protects the print from rubbing against other clothes.
- Wash with cold water on a gentle cycle.
- Skip the bleach and harsh fabric softeners.
- For best results, hang it up to dry.
- If you have to use a dryer, use the lowest heat setting possible.
And a final word of warning: never, ever iron directly on the transfer. If you need to get wrinkles out, turn the shirt inside out and use a low heat setting, avoiding the design area.
Ready to create stunning, durable custom apparel without the guesswork? At Raccoon Transfers, we provide premium, ready-to-press DTF transfers that guarantee professional results every time. Just upload your design, and we’ll handle the rest, with next-day shipping available. Explore our products and bring your creative visions to life.