
How to Print T Shirt Designs With DTF Transfers A Practical Guide
Ever wonder how brands get those incredibly vibrant, detailed designs on T-shirts? The kind that feels soft and lasts forever? It's more accessible than you might think, and the secret is often Direct-to-Film (DTF) transfers. This guide is your complete roadmap to printing T-shirt designs that look and feel professional, skipping the massive learning curve of traditional methods like screen printing.
Your Starting Point for Professional T-Shirt Printing
I'll walk you through the entire process, showing you exactly how to take a digital idea and turn it into a high-quality, wearable product that customers will love. Whether you're just starting as a hobbyist or you're laying the groundwork for a new apparel brand, getting a handle on modern transfer methods is your first big step.
This isn't just a creative outlet; it's an entry point into a massive, growing industry. The global custom t-shirt printing market was valued at around $6.09 billion USD in 2025, and it's not slowing down. This growth is being driven by the boom in e-commerce and a real hunger from consumers for unique, personalized clothing.
Why DTF Is Your Best Choice
In the world of custom apparel, Direct-to-Film (DTF) has quickly become a go-to for creators and businesses of all sizes. Why? It's all about versatility and quality. DTF lets you print stunning, full-color designs on almost any fabric you can think of. If you want to know more about the nitty-gritty, you can find a deep dive into the technology here: https://raccoontransfers.com/blogs/guides/what-is-a-dtf-transfer.
Here’s a quick breakdown of what makes it stand out:
- Fabric Freedom: Cotton, polyester, blends, denim, even leather—DTF works beautifully on all of them. Your creative options are practically endless.
- Vibrant, Full-Color Prints: Unlike other methods, you can print designs with unlimited colors, fine details, and complex gradients with no extra setup fees per color.
- Exceptional Durability: When applied correctly, a DTF transfer feels soft, flexible, and can handle dozens of washes without cracking, peeling, or fading. It’s built to last.
Why DTF Is Your Best Choice for Printing T-Shirt Designs
Here's a quick comparison of DTF transfers against other popular T-shirt printing methods, highlighting the key advantages for creators and small businesses.
| Feature | DTF Transfers | Screen Printing | Heat Transfer Vinyl (HTV) |
|---|---|---|---|
| Color Capability | Unlimited colors, gradients, and fine details | Limited colors, one screen per color | Limited to solid colors, requires layering for multi-color |
| Fabric Versatility | Excellent on cotton, poly, blends, darks, and lights | Best on cotton, can be challenging on synthetics | Works on most fabrics but can be thick and less flexible |
| Setup & Small Orders | No setup fees, ideal for one-offs and small batches | High setup costs, best for large volume runs (100+) | Low setup, but weeding intricate designs is time-consuming |
| Feel on Garment | Soft, flexible, and lightweight | Can be thick, especially with multiple ink layers | Often feels like a plastic layer on top of the fabric |
| Durability | Highly durable, lasts 50+ washes | Very durable, can outlast the shirt itself | Good durability but can peel or crack over time |
As you can see, DTF really hits the sweet spot, offering the color and detail of high-end printing without the high costs or complexity, making it perfect for today's on-demand market.
By mastering a reliable and scalable method like DTF, you're building a strong foundation for your brand. Using a service like Raccoon Transfers takes the guesswork out of it, making professional-grade custom apparel achievable for anyone, no matter your experience level.
Of course, printing is just one piece of the puzzle. To build a successful T-shirt business, you need a solid plan for everything else. Following an ultimate business startup checklist is a great way to make sure you've covered all your bases. This guide will get your printing dialed in; that resource can help with the rest.
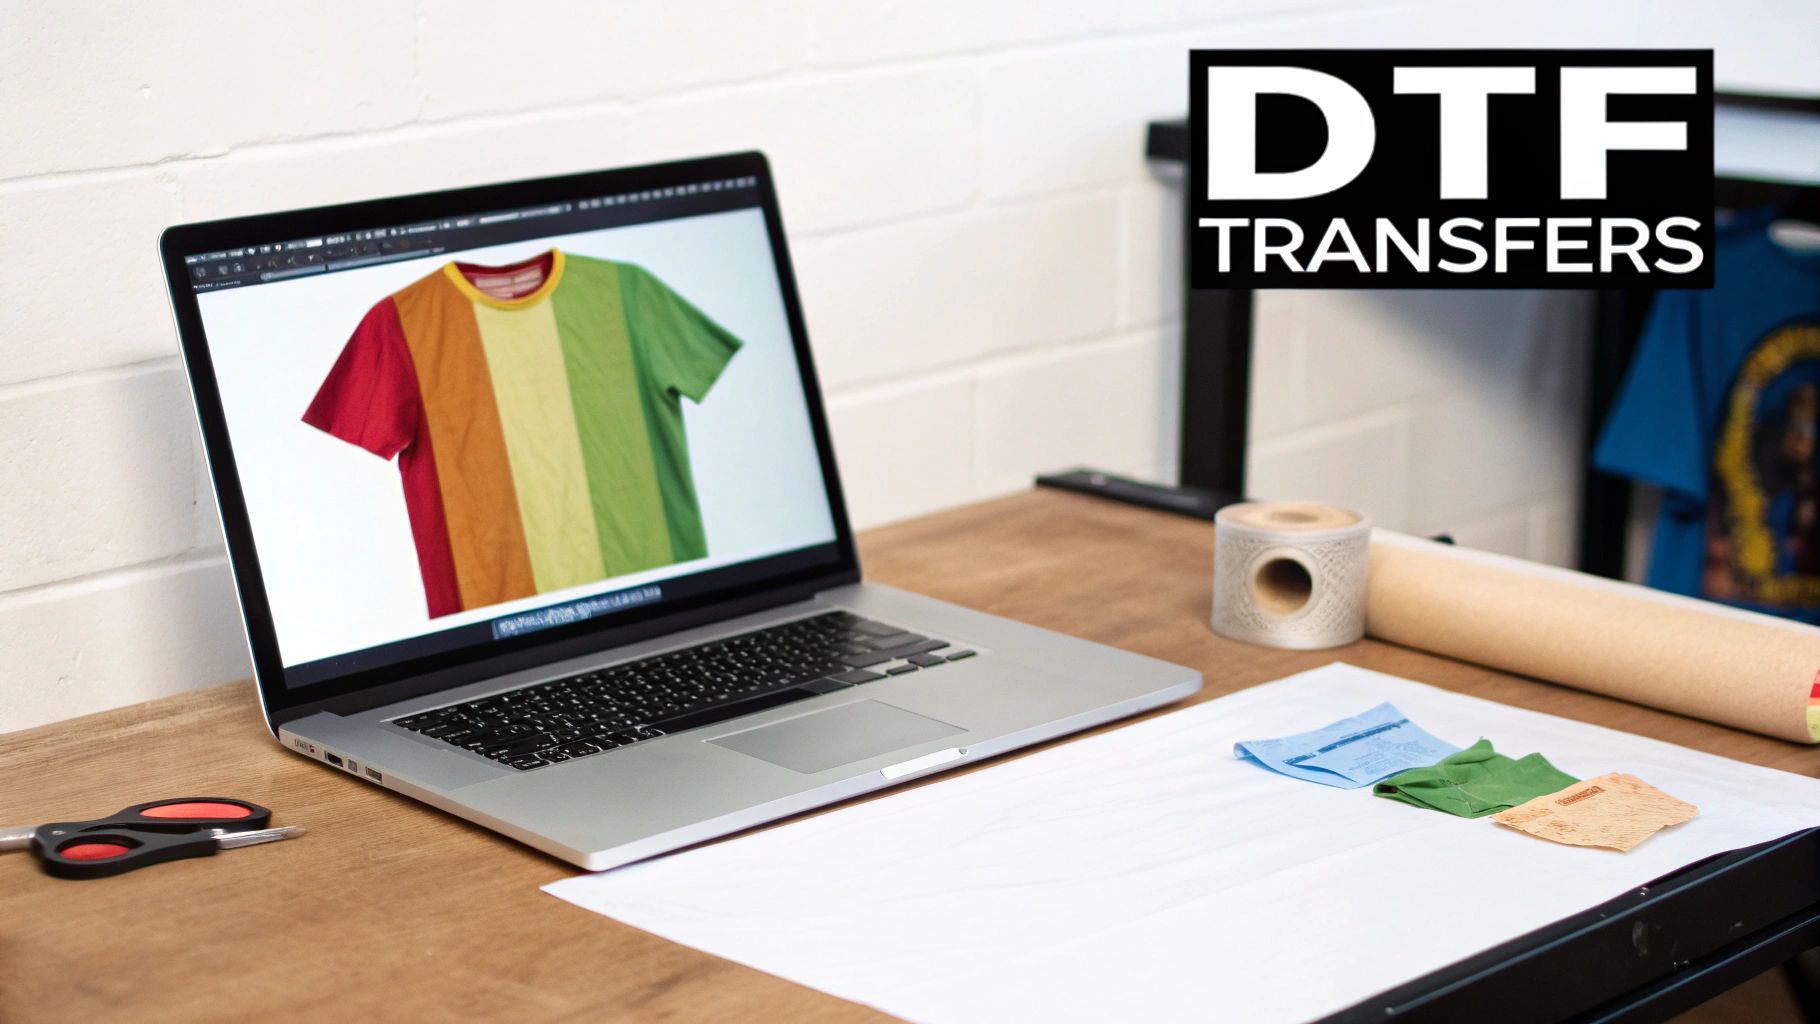
Nailing Your Artwork for a Flawless Print
Let’s be honest: the final print on your T-shirt is only ever as good as the digital file you start with. Getting your artwork right isn't just a suggestion; it's the single most important thing you can do to make sure your design looks as amazing on fabric as it does on your screen.
Think of it like building a house—you need a solid foundation. These technical specs are that foundation. Before you even think about ordering transfers, mastering these simple rules is the secret to getting professional results that pop.
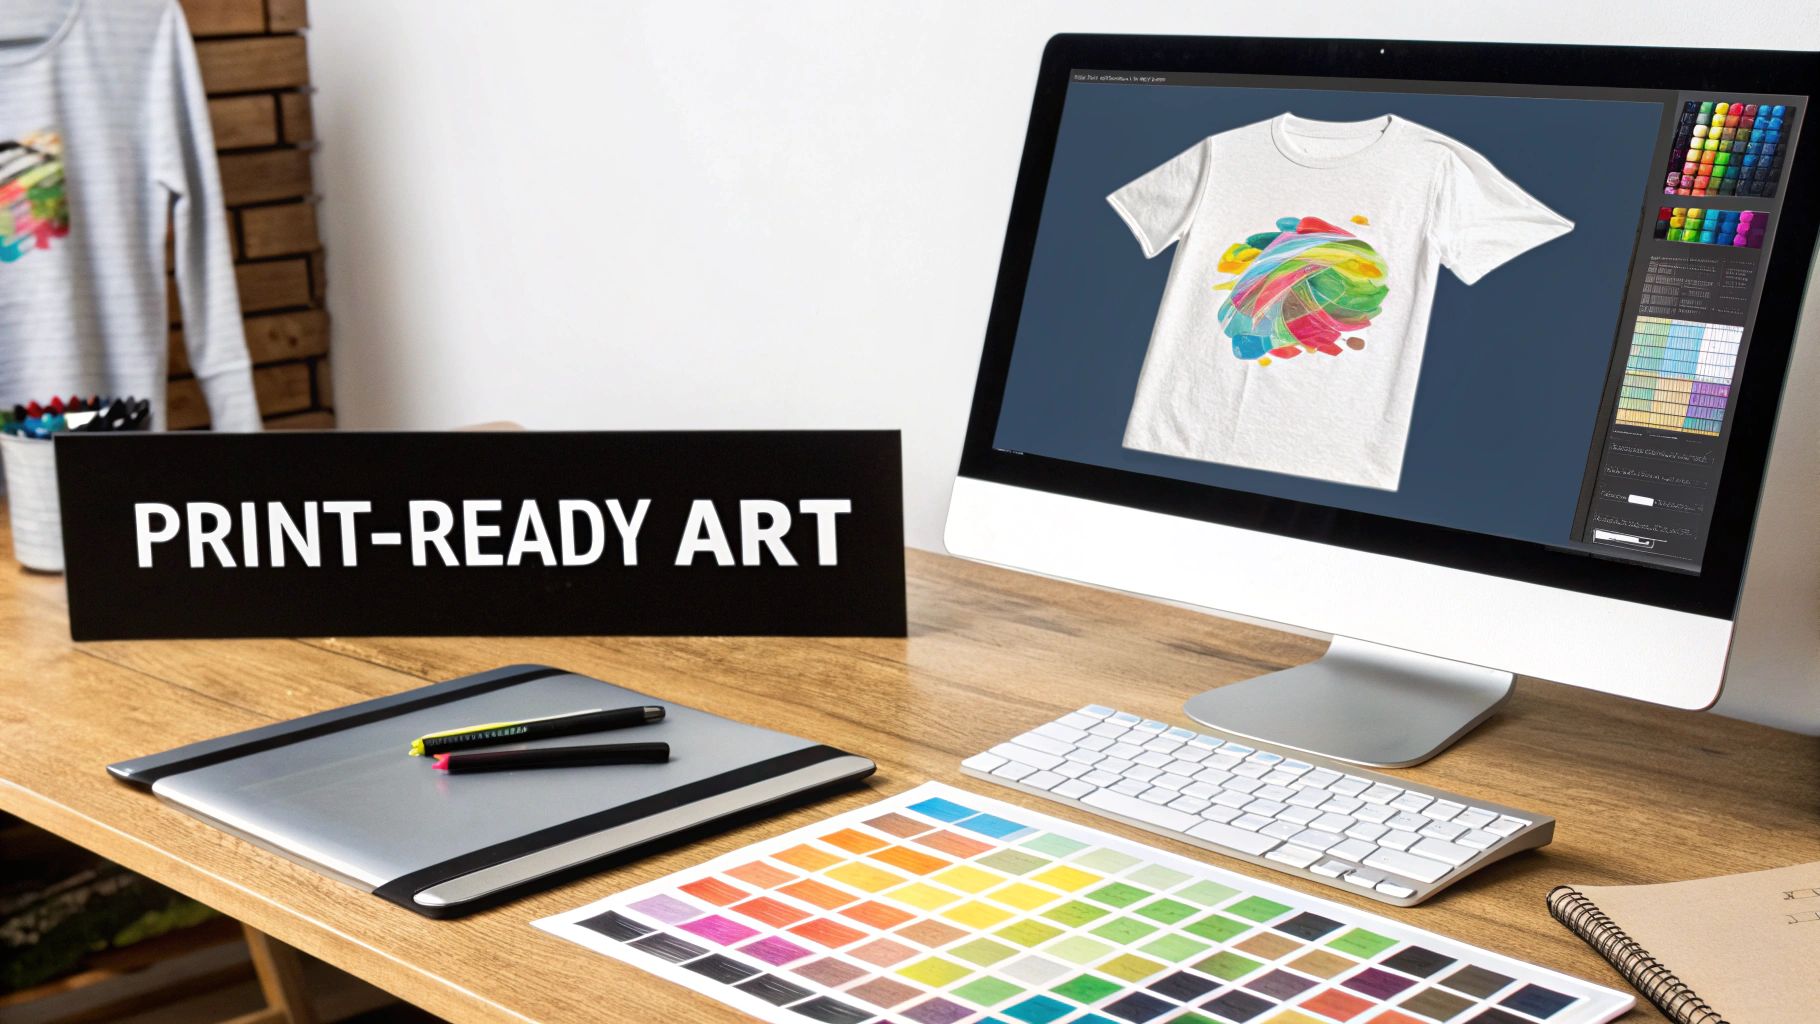
The Non-Negotiables: Resolution and Background
First up, let's talk clarity. Your artwork needs a resolution of 300 DPI (dots per inch). This is the gold standard in the print world for a reason. Anything less, like a 72 DPI image snagged from a website, will look blurry and pixelated once it’s on a shirt. No exceptions.
Just as critical is the background. Your design file must have a transparent background. If you skip this, the printer will interpret that white or colored background as part of the design, leaving you with an ugly, solid-colored box around your graphic. It’s a classic rookie mistake, so make sure to save your file as a PNG to keep that background transparent.
Pro Tip: Simply saving a JPEG with a white background as a PNG won't cut it. That doesn't magically make the background disappear. You have to actually remove the background layer in a program like Adobe Photoshop or Canva before you export the file.
Choosing the Right File Type for the Job
The format you save your file in makes a huge difference. While you might see a bunch of options, it really boils down to two main types for professional printing.
- Raster Files (.PNG): These are your pixel-based images, perfect for photos or designs with complex color gradients. For this kind of art, a high-quality PNG is your best friend because it handles both detail and transparency perfectly.
- Vector Files (.AI, .EPS, .SVG): Unlike raster files, vectors are built with mathematical formulas. This is a game-changer because you can scale a vector image to any size—from a tiny chest logo to a giant back piece—and it will never, ever lose quality. For logos, text, or any design with sharp, clean lines, vector is always the way to go.
If your design has any text or crisp edges, a vector format will give you the cleanest possible print. Luckily, most professional transfer providers (including us at Raccoon Transfers) accept both high-res PNGs and vector files, so you have some flexibility depending on what you’re creating.
Getting the Size and Placement Just Right
Once your file is technically perfect, there’s one last piece to the puzzle: making sure the design is sized correctly and looks good on the actual garment. Before finalizing the artwork, you need a high-quality design to begin with. If you need some guidance on creating an effective logo brand design that really connects, there are great resources out there to help.
The size of your graphic completely changes its impact. A full-front print on a size small tee looks wildly different than that same graphic on a 3XL hoodie. To avoid any guesswork, check out this in-depth guide to T-shirt graphic sizes. It breaks down the recommended dimensions for all the common placements—full front, left chest, sleeve, and more—so your mockups will be a true reflection of the final product.
Getting the Most Bang for Your Buck with Gang Sheets
If you're planning to print more than a few T-shirts at a time, you absolutely need to get familiar with gang sheets. This isn't just a minor tip; it's probably the single most effective way to slash your costs and seriously boost your profits. For anyone looking to move from a hobby to a real business, this is a total game-changer.
Think of it this way: ordering individual transfers is like baking one cookie at a time on a huge baking sheet. It just doesn't make sense. A gang sheet lets you fill one large sheet of transfer film with as many designs as you can possibly fit. You print everything in one shot, which drastically cuts the cost of each individual graphic.
For apparel brands, promo companies, or anyone printing in volume, mastering the gang sheet is the backbone of efficient production. A single, large transfer sheet is always going to be cheaper than buying dozens of small, individual ones. It's the key to keeping your profit margins healthy.
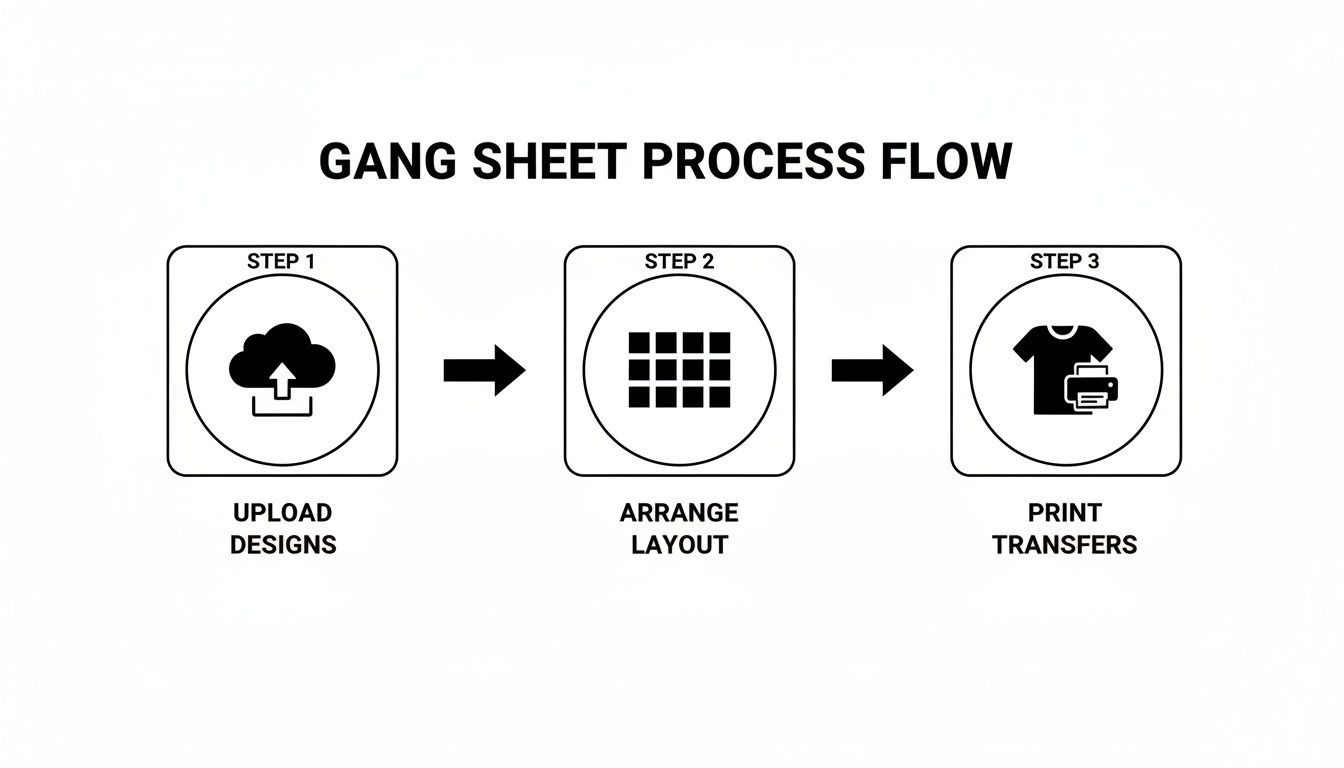
How to Build Your Gang Sheet
Putting together a gang sheet used to require some serious skills in design software, but thankfully, those days are over. Modern online builders have made the whole process incredibly simple.
For instance, a tool like the Raccoon Transfers Gang Sheet Builder lets you drag and drop your print-ready PNG files right onto a digital canvas that matches the real-world sheet size. From there, it’s just a matter of playing a little digital Tetris with your artwork.
As you can see, the idea is to nest different designs and sizes together, using every bit of available real estate. That's how you squeeze the most value out of every sheet.
Once you upload your files, you can easily resize, rotate, and duplicate each design. Your goal is to cram as much artwork as you can onto the sheet without anything overlapping. Most builders even have handy features like automatic quantity counters, so you know exactly how many of each design you're getting as you build the sheet.
Pro Tips for Saving Every Inch of Space
Getting the most out of your gang sheet is a bit of an art form. Remember, any wasted space is literally wasted money, so you want to fill every possible inch of that film. This is where a little bit of strategy really pays off.
Here's how the pros do it:
- Mix and Match Your Sizes: Never just place large designs by themselves. Combine your main front or back prints with smaller graphics. Those awkward empty spaces around a big circular logo are perfect for tucking in left-chest logos, sleeve graphics, or custom neck tag prints.
- Rotate and Flip Everything: Don't be afraid to spin your designs 90 or 180 degrees. Sometimes, all it takes to make a design fit is turning it from horizontal to vertical.
- Fill Gaps with Text: Got a brand slogan or website URL you use often? These are perfect for filling in those long, skinny gaps between larger designs that would otherwise be empty space.
- Think Like You're Playing Tetris: Try to arrange your designs into rough rectangular blocks. This makes it much easier to see the remaining empty space and fill it systematically.
By being thoughtful about how you arrange your artwork, you can often cram 20-30% more designs onto a single sheet compared to just plopping them down randomly. That's a direct impact on your per-item cost, which means you can either pocket more profit or offer better pricing to your customers.
Figuring Out Your Capacity and Cost
Before you even open a gang sheet builder, you should have a rough idea of what you need. Understanding how many designs you can fit is essential for planning production runs and pricing your T-shirts accurately.
Start by making a quick list of what a particular job requires. For example:
- 20x Full Front Logos (11" wide)
- 20x Left Chest Logos (4" wide)
- 20x Sleeve Prints (3" wide)
Knowing this, you can pick a gang sheet size—say, a 22" x 60" roll—and start arranging your pieces in the builder. As you place the designs, the tool will show you exactly how much room you have left. You might discover you have enough space to sneak in a few extra logos for a future order or even test out a new design for almost no additional cost.
This kind of planning turns printing from a simple task into a strategic part of your business. It allows you to order with precision, cut down on waste, and get the absolute most value from every single transfer sheet you buy. This is exactly how smart apparel businesses scale their operations.
The Heat Press Process: From Transfer to Tee
This is where the magic happens. All your digital prep work pays off as your design makes the jump from a file to a finished T-shirt. Getting the heat press process right is what separates a homemade-looking shirt from a professional, durable piece of apparel. It’s not about some secret skill; it’s about following a precise, repeatable workflow.
Consistency is everything. Each part of the process, from the initial pre-press to the final cure, builds on the last. Skipping a step might seem like a small time-saver, but it's often the difference between a print that lasts for years and one that peels after a single wash.
Let's walk through the exact steps to make sure every T-shirt you create is top-notch.
By getting the front-end file prep sorted, you can focus all your attention on what really matters: achieving that perfect press.
The All-Important Pre-Press
Before you even think about laying down your DTF transfer, your first move should always be to pre-press the garment. Just lay the T-shirt flat on your heat press and press it for 5-10 seconds at your target temperature.
This simple action accomplishes two critical things. First, it zaps any lingering moisture hiding in the fabric fibers. Even a shirt that feels perfectly dry can hold enough humidity to mess with the adhesive, leading to peeling issues later on. Second, it smooths out every wrinkle, giving you a perfectly flat canvas for an even application.
Key Takeaway: Never skip the pre-press. Think of it as creating the perfect foundation. It eliminates the most common causes of print failure before they even have a chance to start.
Dialing in Your Heat Press Settings
With a pre-pressed shirt ready to go, the next phase is all about precision. The "big three" of heat pressing are temperature, time, and pressure. Nailing these for your specific fabric isn't just important—it's non-negotiable. Using the wrong settings is the fastest way to ruin both a transfer and a blank tee.
For instance, a 100% cotton shirt needs a different approach than a delicate polyester or a tri-blend. Too much heat will scorch synthetic fibers, while too little will result in a weak bond that gives up in the wash.
As a starting point, most cotton and poly-blend applications work well in the 280-320°F range for 10-15 seconds. Pressure should be set to medium-firm to ensure the heat and adhesive are applied evenly across the entire design.
For a more detailed breakdown, check out our complete guide on heat press settings for DTF transfers.
Recommended Heat Press Settings by Fabric Type
Use this quick-reference guide to dial in the correct temperature and time for common T-shirt materials, ensuring a perfect press every time.
| Fabric Type | Temperature (°F) | Time (Seconds) | Pressure | Peel Type |
|---|---|---|---|---|
| 100% Cotton | 300-320 | 10-15 | Medium-Firm | Cold Peel |
| 50/50 Cotton/Poly | 280-300 | 10-12 | Medium | Cold Peel |
| Tri-Blends | 270-290 | 10-12 | Medium | Cold Peel |
| 100% Polyester | 260-280 | 8-10 | Light-Medium | Cold Peel |
Remember, these are starting points. Always test a small area if you're working with a new fabric to ensure optimal results.
Perfect Placement and the First Press
Now for the fun part. Carefully position your DTF transfer on the garment. If you're not confident eyeballing it, a T-shirt alignment tool or a simple ruler can be a lifesaver for getting things perfectly centered and straight.
Once you’re happy with the placement, cover the transfer with a Teflon sheet or a piece of parchment paper. This protects both the transfer and the shirt from direct contact with the hot platen. Press it using the settings you’ve already dialed in.
When the timer beeps, open the press. This next moment is what makes DTF so reliable: the peel.
DTF transfers are a cold peel. This is crucial. You must let the transfer and garment cool down to room temperature before you try to remove the film. Peeling it while it’s still warm is one of the most common mistakes and will likely pull parts of your design right off the shirt. Let it cool completely.
Once it's cool to the touch, start at one corner and peel the film back in a smooth, low-angle motion. A good transfer will release clean, leaving a vibrant design behind. If you feel any resistance, stop. It probably just needs more time to cool.
The Finishing Press for a Pro-Grade Feel
The design is on the shirt, but there's one last step. The finishing press (or curing press) is what truly locks the ink into the fabric. This dramatically boosts wash durability and gives the print a fantastic soft, matte finish.
Cover the exposed design again with parchment paper and press it for another 5-10 seconds. This final hit of heat and pressure melts the ink just enough to give it a "soft-hand" feel, making it seem less like a layer on top of the fabric and more like part of the shirt itself. This is the secret to achieving that retail-quality look.
Locking in Longevity: Curing and Wash Care
A great design is one thing, but a great design that lasts is what keeps customers coming back. The final moments of your printing process are all about making sure that T-shirt can survive everything life—and a washing machine—throws at it. This is where you bake in the quality.
That final press after you peel away the film? It’s not optional. This is what truly fuses the DTF adhesive with the fabric fibers. Without it, you’ve just got a design sitting on the surface, waiting to crack and peel.
This second press melts the ink and adhesive into the garment, giving it that soft-hand feel and the durability you’re aiming for. It’s the difference between a shirt that looks good today and one that looks good a year from now.
The Final Curing Press: Your 10-Second Insurance Policy
Think of this as the final seal of approval for your hard work. After you've peeled the DTF film, leaving the design on the shirt, it's time to lock it in.
Grab a protective sheet—parchment paper or a Teflon sheet works perfectly—and lay it over the design. You’re going to press it again for just 5-10 seconds at the same temperature you used before. That quick burst of heat is all it takes to finish the curing process. You’ll notice the print gets a nice matte finish that looks like it was always part of the fabric.
Don't skip this. This quick, 10-second press is probably the single most important step for durability. It’s what ensures your designs can handle dozens of washes without losing their color or integrity.
Wash Care: Setting Your Customers Up for Success
Your job isn't quite done when the shirt is printed. How your customers care for their new favorite tee is just as important as how you made it. Giving them clear, simple washing instructions is a small touch that makes a huge difference. It protects their purchase and shows you care about the quality of your work.
Here’s what you should tell every customer:
- Turn it Inside Out: This is the golden rule. It protects the print from rubbing against other clothes, zippers, and buttons in the wash.
- Go Cold: Wash with cold water. Hot water is the enemy of the transfer adhesive and can cause it to break down over time.
- No Harsh Stuff: Tell them to avoid bleach and harsh fabric softeners. These chemicals are tough on the ink and can lead to fading.
- Low Heat or Air Dry: High heat from a dryer will kill a custom print. Tumble dry on the lowest setting, or better yet, hang it up to air dry.
Taking a moment to educate your customers not only helps your prints last longer but also cuts down on complaints about a design not holding up. It makes you look like the expert you are. The custom apparel world is all about meeting customer expectations, from quick turnarounds to sustainable practices. Providing solid care instructions fits right in with what today’s buyers want—a quality, long-lasting product. You can learn more about these market trends and consumer preferences on GlobeNewswire.
Nailing these final curing and care steps is how you build a reputation for quality that stands the test of time. It’s what turns a one-time purchase into a loyal fan.
Troubleshooting Common Printing Issues
Even when you think you've got your T-shirt printing process down to a science, a transfer can still fail. It’s frustrating, and it costs you time and money. But don't worry—most of these problems are actually pretty simple to fix once you know what to look for.
The biggest complaint I hear is about transfers not sticking to the shirt. Before you start questioning the quality of your DTF transfers, take a hard look at your heat press technique. In my experience, 90% of adhesion problems come down to one of three culprits: not enough pressure, the wrong temperature, or skipping the pre-press. That last one is a biggie—if you don't pre-press the shirt to remove moisture, the adhesive simply can't create a solid bond.
Why Is My Design Cracking or Peeling?
So, you've just pressed a shirt, and it looks incredible. But after a wash or two, the customer sends you a photo of it cracking and peeling. What went wrong?
Nine times out of ten, the problem is an incomplete cure. That final press you do after peeling off the film is absolutely critical. It’s not just for looks; it’s what melts the DTF adhesive deep into the fabric fibers, creating a bond that's built to last. Skipping it is asking for trouble.
Of course, how the shirt is washed matters, too. I always tell my clients to wash their custom shirts inside out with cold water and to avoid the high-heat setting on the dryer. If you’ve done a proper final press, these simple care instructions will keep the print looking great for a long time.
Pro Tip: A cracked print is a sign of a weak bond. Always finish with a 5-10 second curing press, using parchment paper or a Teflon sheet to protect the design. This simple step is your best insurance policy against premature peeling and unhappy customers.
Fixing Other Common Print Flaws
Sometimes the issues aren't as dramatic as a peeling design but are just as frustrating. Here are a couple of other headaches I've run into and how to solve them:
-
The "Adhesive Halo": Ever notice a faint, glossy outline around your design? That's usually caused by your heat press being too hot for the fabric. The excess heat melts the adhesive powder just beyond the edges of the ink. The fix is simple: try dropping your temperature by 10-15°F.
-
Dull or Faded Colors: This happens when the colors on the film look punchy and bright, but come out looking muted on the shirt. More often than not, this is a pressure problem. Too much pressure can literally squash the ink layer, making it thinner and less vibrant. Back off to a medium-firm pressure, and you should see those colors pop again.
Got Questions About Printing T-Shirts? Let's Get Them Answered.
When you first dive into printing your own t-shirt designs, it feels like there's a million questions. The world of transfers can seem a bit complicated, but honestly, Direct-to-Film (DTF) technology has made things a whole lot simpler. Let's tackle some of the most common things people ask.
What’s the Best Fabric for DTF Transfers?
One of the best things about DTF is its incredible flexibility. It works beautifully on a huge range of fabrics. We're talking 100% cotton, polyester, and pretty much any cotton/poly blend you can think of.
Unlike some older methods that get picky about materials, the adhesive on DTF transfers is formulated to grab onto almost anything. Tri-blends, canvas, even denim—they all work. This opens up a ton of creative freedom for your projects.
Can I Just Use My Home Iron Instead of a Heat Press?
I get this question all the time. While you technically can use a home iron, I strongly recommend against it if you're aiming for a professional-looking product that lasts. A good heat press is a non-negotiable piece of equipment for one simple reason: it delivers consistent temperature and even pressure.
An iron just can't do that. It has hot spots and applies pressure unevenly, which means the transfer won't bond correctly. The result? Your design will start cracking, peeling, or fading after just a few washes.
A heat press is the only tool that properly cures the DTF adhesive into the fabric fibers. Honestly, investing in a decent one is the single biggest step you can take to guarantee your printed shirts are durable and professional every single time.
How Do I Print White on a Dark T-Shirt?
This is where DTF really shows its magic, and the best part is, you don’t have to do a thing. The printing process handles it all for you automatically.
When a professional DTF transfer is created, the printer lays down a solid base of white ink underneath your entire design. This white layer acts like a primer, making sure every color in your artwork pops and looks completely opaque, even on a black shirt.
All you have to do is upload your design with a transparent background. The printer software is smart enough to create that perfect white underbase, so your colors look exactly how you designed them, no matter the shirt color.
Ready to bring your ideas to life with vibrant, durable, and easy-to-apply transfers? At Raccoon Transfers, we make it simple to get professional-quality prints for any project.
Order your custom DTF transfers today!