
DIY T-Shirt Magic with Iron On Paper for T Shirts
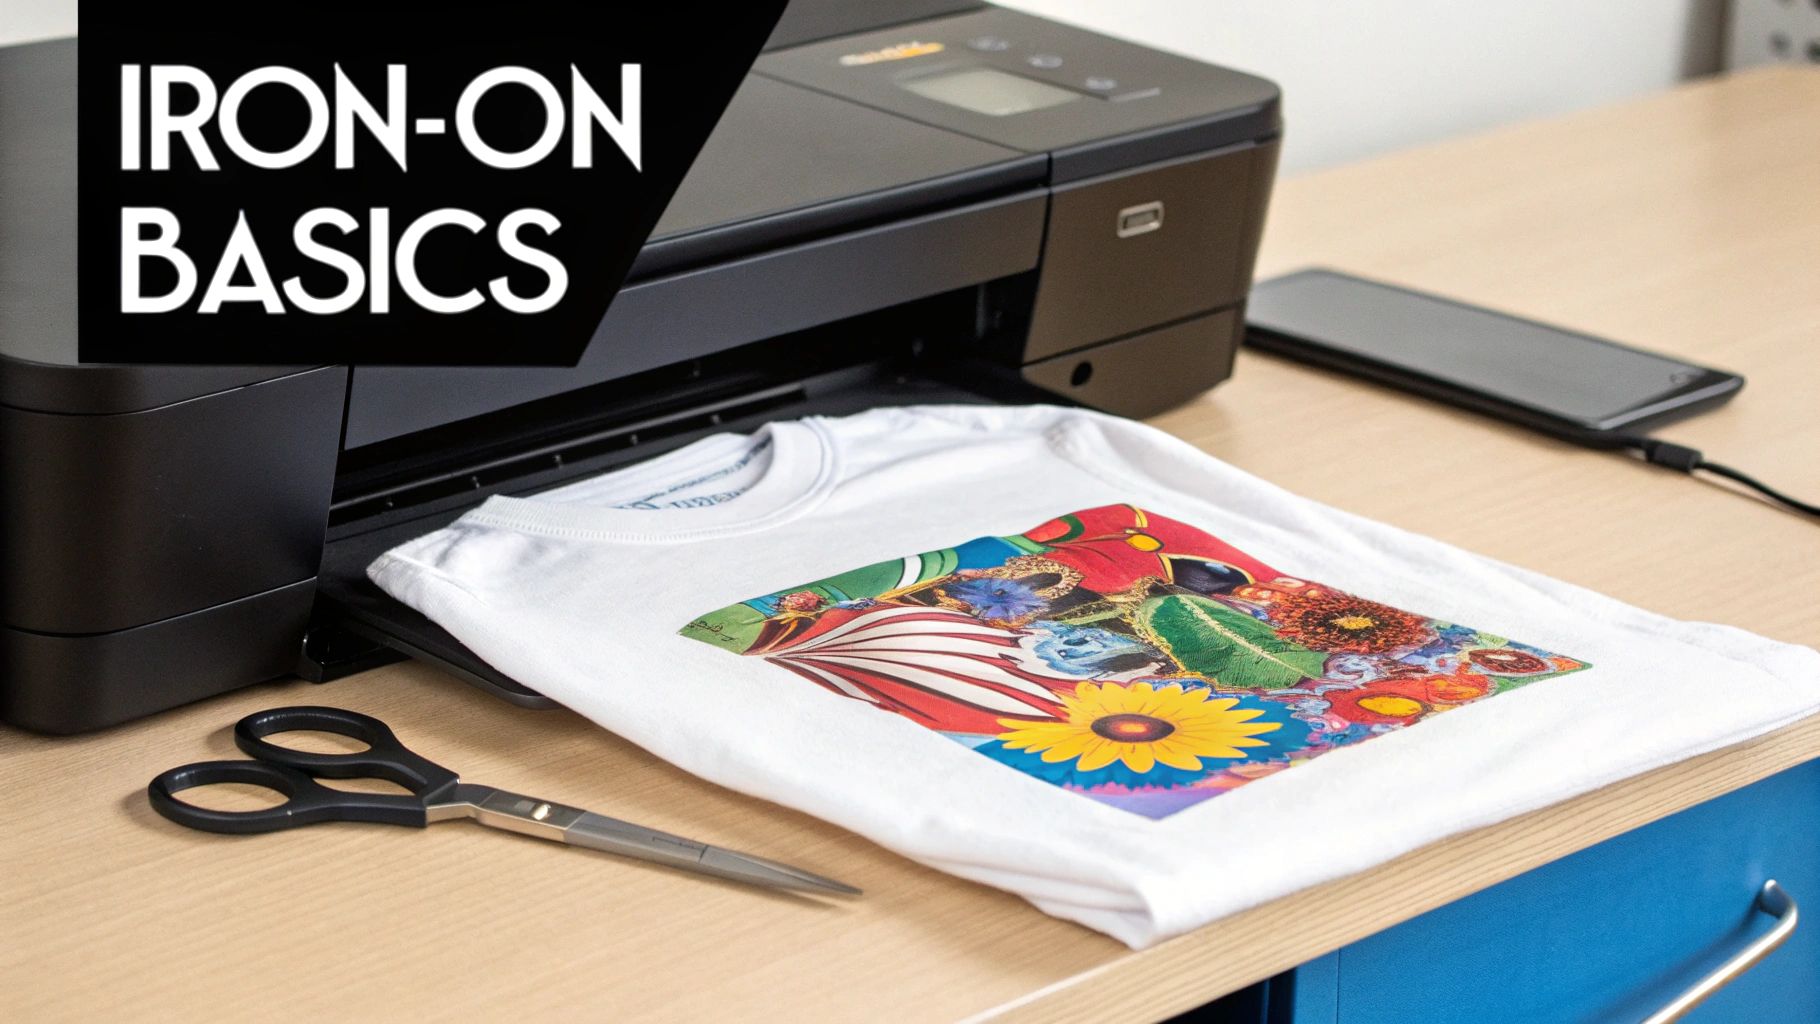
Ever wonder how you can get a custom design onto a T-shirt right from your desk? The magic behind it is often iron-on paper for T-shirts. It's a special coated sheet that acts as a go-between for your printer and your fabric.
Think of it like a temporary tattoo for your clothes, except it’s a lot more permanent. You print your design onto the paper, lay it on the garment, and use a household iron or a heat press to lock the image into the fibers for good.
What Is Iron-On Paper and How Does It Work?
At its core, iron-on paper for T-shirts is the bridge that connects your digital art to a real-world shirt. One side of this paper has a special heat-activated adhesive that grabs onto the ink from your printer. When you introduce heat and pressure, that adhesive melts and fuses the ink—along with a thin polymer film—directly onto the threads of the fabric.
It’s this brilliantly simple technology that has opened up the world of custom apparel to everyone, from DIY crafters making shirts for a family reunion to small businesses launching their first brand. No complex, expensive equipment is required, which is why it's such a popular starting point.
The demand is massive. The custom T-shirt printing market was valued at USD 5.16 billion and is expected to hit USD 9.82 billion by 2030. That’s a lot of custom tees!
The Basic Transfer Process
Getting a design from your screen to a shirt breaks down into just a few easy steps. It’s a simple dance between your home printer and a hot iron.
- Design and Print: First up, create or download the design you want. Then, just print it onto the iron-on paper using a regular inkjet printer.
- Trim and Place: Next, you’ll need to cut your design out. This is a key step—any part of the paper you don't trim off will leave a faint film on the shirt, so get as close to the design as you can.
- Heat Application: Finally, place the trimmed design face-down on your T-shirt and press it with firm, even heat. The heat gets the adhesive working, creating a lasting bond.
The paper is just the carrier. Its whole purpose is to hold your design perfectly still until heat and pressure make it let go, becoming a permanent part of the fabric.
Two Key Types of Transfer Paper
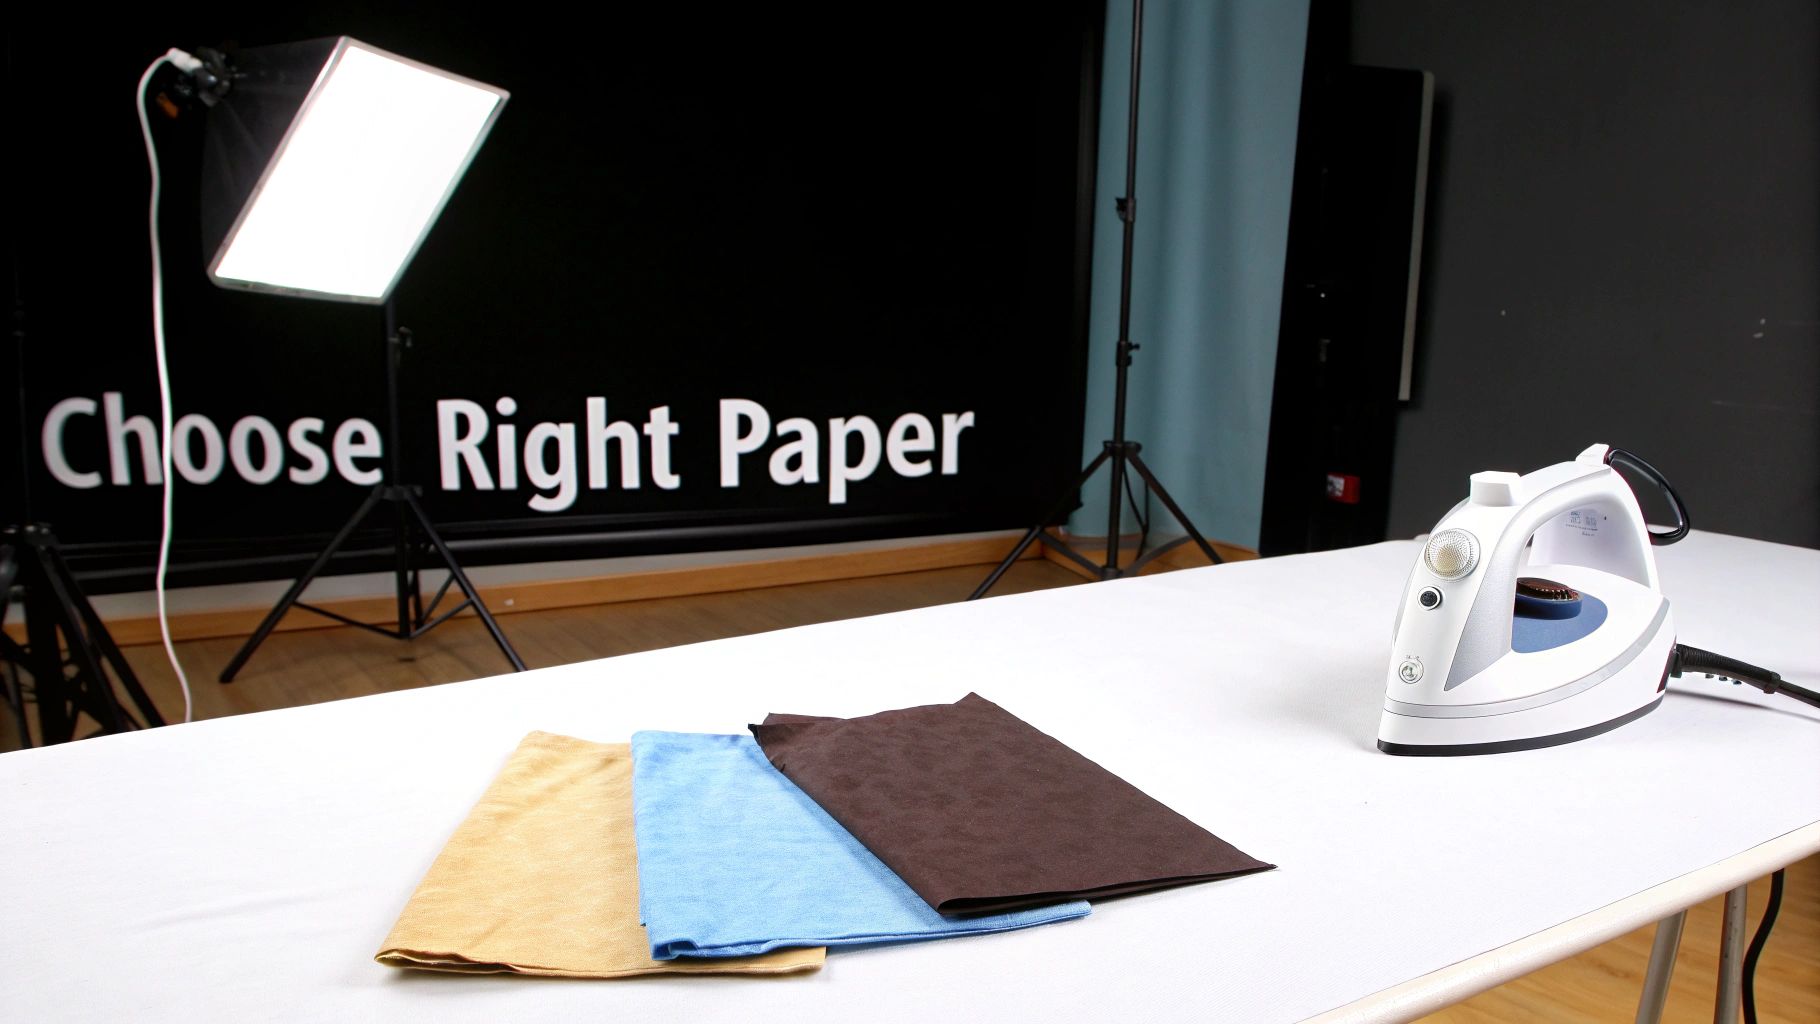
Getting a great result starts with knowing which of the two main types of iron-on paper to use. Your choice comes down to one simple thing: the color of your T-shirt.
- Paper for Light Fabrics: This type has a clear film. It's perfect for white, beige, or pastel-colored shirts where the fabric color can show through the unprinted parts of your design without looking weird.
- Paper for Dark Fabrics: This paper comes with an opaque, white background. It acts as a solid white base for your design, making sure your colors pop and look vibrant, even on a black or navy blue shirt.
Picking the right paper is the first—and most important—decision you'll make. The wrong choice can leave your design looking faded, invisible, or just plain awkward. For a deeper dive into this, check out our guide on what transfer paper is.
Choosing the Right Iron On Paper for Your Project
The success of your entire T-shirt project really hinges on one thing: picking the right iron on paper for t shirts. It’s a lot like choosing paint for a canvas; you wouldn't use watercolors on a surface prepped for oil paints. In the same way, the paper you choose completely dictates how your design will look, feel, and hold up over time.
Getting this right isn’t just about matching the paper to your shirt's color, although that’s the biggest piece of the puzzle. You also have to think about the fabric itself and the kind of finish you're going for. A little thought here goes a long way in preventing common headaches like faded colors or a design that feels like a stiff, plastic sticker.
Light vs. Dark Fabric Paper: The Fundamental Choice
The very first decision you need to make is whether you need paper for light or dark fabrics. This is non-negotiable. They work in completely different ways, and grabbing the wrong one is a surefire way to ruin your shirt.
-
Paper for Light Fabrics (White, Pastels, etc.) This type has a transparent polymer film. Because the background is clear, any unprinted areas of your design let the shirt’s natural color peek through. This makes it perfect for text or images with soft, intricate edges that you want to blend in seamlessly. The trade-off? Your home printer doesn't use white ink, so any white in your design will also be transparent.
-
Paper for Dark Fabrics (Black, Navy, Forest Green, etc.) This paper is the total opposite. It has a solid, opaque white base that essentially creates a white canvas on your dark shirt. This ensures your colors come out bright and true, not muddy. But here's the catch: you must trim your design perfectly. If you don't, you'll end up with a very obvious white border around your image.
The core difference is simple: light fabric paper is transparent, letting the shirt color through, while dark fabric paper is opaque, covering the shirt color completely to make your design pop.
Exploring Finishes and Fabric Compatibility
Beyond the light-versus-dark decision, the specific type of paper also affects the final texture. Most brands offer at least a couple of finishes, with matte and glossy being the most common. A matte finish gives a softer, more subtle look that feels more integrated into the fabric, while a glossy finish delivers that vibrant, photo-like pop.
Your shirt's material is just as critical. Most iron-on papers are made to work best with 100% cotton or cotton-poly blends. The natural fibers in cotton grab onto the transfer's adhesive, creating a really solid bond.
Things get a bit trickier with synthetics like 100% polyester. These fabrics can't handle high heat, so you risk scorching or even melting them if your iron is too hot. If you're set on using polyester, you absolutely need a specialty paper designed for synthetics and must use a much lower temperature, which can sometimes affect how long the transfer lasts.
Specialty Papers for Unique Designs
If you're looking to create something that really stands out, there’s a whole world of specialty papers out there. These are your go-to options for adding a bit of extra personality to your projects.
A few popular specialty choices include:
- Glitter Paper: Perfect for adding a brilliant, sparkling finish to your designs.
- Glow-in-the-Dark Paper: Charges up in the light and makes your T-shirt glow when the lights go out.
- Stretchable Paper: A must-have for stretchy fabrics. It offers much better flexibility and helps prevent the design from cracking when the fabric moves.
To make things a little easier, we've put together this quick guide to help you find the perfect paper for your needs.
Iron On Paper Selector Guide
This table breaks down the most common paper types so you can match the right product to your project.
| Paper Type | Best For Fabric Color | Ideal Fabric Material | Final Feel | Key Feature |
|---|---|---|---|---|
| Standard Light | White, Pastel, Light Gray | 100% Cotton, Cotton Blends | Soft, slightly noticeable film | Transparent film blends well |
| Standard Dark | Black, Navy, Red, All Colors | 100% Cotton, Cotton Blends | Thicker, more like a patch | Opaque white base for vibrancy |
| Stretchable | Light and Dark Variants | Cotton/Spandex, Jersey Knits | Very flexible, minimal cracking | Designed to move with fabric |
| Specialty (Glitter) | All Colors (Dark Recommended) | Cotton, Blends | Textured, slightly raised | Adds a sparkling visual effect |
Choosing the right paper sets the foundation for a great-looking custom shirt. For a deeper dive into all the options, be sure to check out our complete guide on selecting the best paper for heat transfer.
Getting It Just Right: Your Step-by-Step Transfer Guide
Alright, you've picked the right paper, and now it's time for the fun part. This is where a digital design and a plain old T-shirt become something uniquely yours. Nailing the process is what separates a homemade-looking shirt from one that looks crisp and professional, and I'll walk you through it every step of the way.
Whether you're working with a trusty household iron or a proper heat press, the little details make all the difference. Let's get this done.
First Things First: Prepping Your Design and Workspace
Before you hit "print," you have to get your design ready. Getting this step wrong is one of the most common—and frustrating—mistakes you can make. The single most important rule comes down to which type of iron on paper for t shirts you're using.
- For Light Fabric Paper: You absolutely must mirror the image (flip it horizontally). Think about it: you're placing the paper face-down on the shirt, so if you don't reverse the design first, any text or logos will come out backward.
- For Dark Fabric Paper: Do not mirror the image. This paper works differently. You peel the backing off and place it face-up, so what you see is what you get.
With your design sorted, dive into your printer settings. Don't just use the default. Go for the highest quality option you can find, usually called "Best" or "High-Quality Photo." This tells your printer to lay down more ink, giving you those deep, vibrant colors that really pop on fabric.
Pro Tip: Always, and I mean always, wash and dry your T-shirt before you put a transfer on it. Don't use fabric softener. This gets rid of any factory coatings that can mess with the transfer's adhesive and, just as importantly, it pre-shrinks the cotton so your design doesn't get warped and wavy after the first wash.
Applying the Transfer with a Household Iron
Using a standard iron is how most of us get started. It's totally doable, but you need to be precise. The biggest mistake people make? Using an ironing board. Its soft, padded surface just isn't firm enough and will absorb all the pressure you need for a good, solid bond.
Instead, find a hard, heat-resistant surface like a kitchen counter or a sturdy wooden table. Lay a cotton pillowcase down to protect it. Crank your iron up to the highest setting (usually "Cotton" or "Linen") and—this is critical—turn the steam off. Steam is moisture, and moisture is the enemy of a perfect transfer.
Here’s how to get it done right:
- Pre-Heat the Shirt: Run the hot iron over the spot where your design will go for about 10-15 seconds. This irons out wrinkles and drives out any lingering moisture, creating the perfect canvas.
- Position Your Design: Place your trimmed transfer exactly where you want it. For light paper, it goes design-side down. For dark paper, you'll peel the paper backing off first and place it design-side up.
- Apply Serious Pressure: Now for the most important part. You can't be timid here. Use your body weight to press down firmly and evenly. Don't just slide the iron around like you're ironing a collar. Press one area for the time recommended on the package (usually 15-30 seconds), then lift the iron and move to an overlapping section. Make sure every last bit, especially the edges and corners, gets the same intense pressure.
- Cool and Peel: Let it cool down! Check your paper’s instructions—some are "hot peel," but most are "cold peel" and give you a much smoother finish. Once it's cool to the touch, gently peel the backing paper away in one smooth, confident motion.
Using a Heat Press for Pro-Level Results
If you're serious about making shirts, a heat press is a game-changer. It eliminates all the guesswork by delivering perfectly even heat and pressure, which is why it's the standard for any professional setup. The results are not only better but also incredibly consistent.
The demand for this kind of customization is huge. The heat transfer paper market is on track to grow from USD 656.62 million in 2024 to USD 1,224.5 million by 2034. A heat press makes this possible by being incredibly efficient. You can press a full 8.5x11 sheet in as little as 60 seconds at 350°F, meaning a dedicated creator can churn out dozens of shirts in an afternoon. You can dig into the heat transfer paper market's growth here.
Here’s the basic rundown for using a heat press:
- Set the Temp and Time: Preheat your press to the temperature specified by your paper manufacturer, which is typically somewhere between 350°F and 375°F (175°C - 190°C). Set the timer accordingly, usually for 15 to 30 seconds.
- Adjust the Pressure: Dial in a medium to firm pressure setting. You need enough force to create a strong bond without squashing the fabric's natural texture.
- Press the Shirt: Lay your shirt flat on the lower platen and position your transfer. It's a good practice to cover it with a Teflon sheet or a piece of parchment paper to protect the design from the direct heat of the upper platen.
- Lock it Down: Close the press until it locks. When the timer goes off, open it up, and carefully slide the hot shirt out. As with the iron method, let it cool completely before peeling the backing away.
By following these steps, you'll have the confidence to turn any blank shirt into a piece of high-quality, custom apparel.
How to Fix Common Iron-On Transfer Problems
Let's be real—even when you follow the instructions to the letter, DIY projects have a way of going off the rails. It’s incredibly frustrating when your custom T-shirt project doesn't turn out like the masterpiece you envisioned. But don't give up! Most issues with iron-on paper for T-shirts are not only fixable but also teach you what to look out for next time.
Instead of writing off a shirt as a failure, let's play detective. The culprit behind most transfer fails usually boils down to one of three things: heat, pressure, or timing. Once you figure out which one went wrong, you can save your current project and nail the next one.
The whole process seems simple enough on the surface, but tiny missteps can have a big impact.
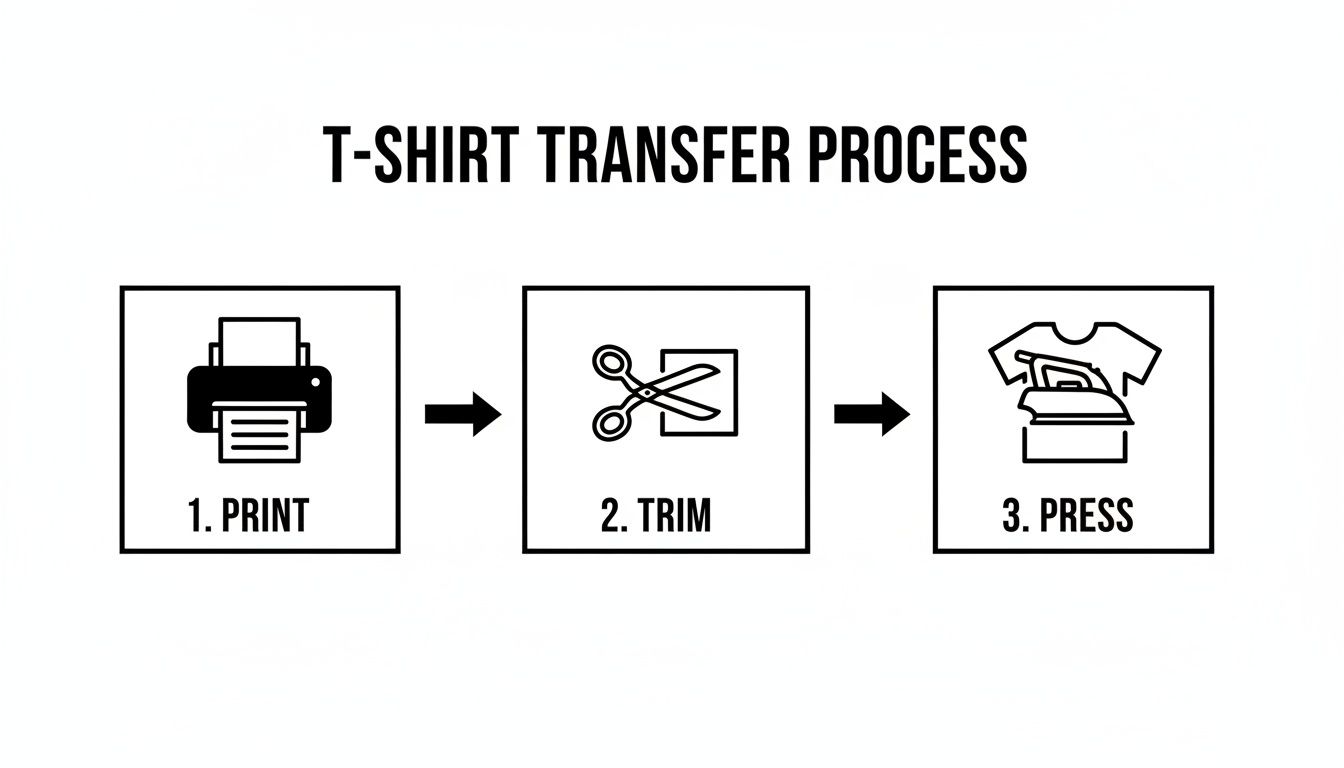
As this guide shows, getting the print, trim, and press stages just right is key to a flawless result.
The Design Is Peeling at the Edges
This is probably the most common headache. You peel away the backing paper, and the corners of your design are already lifting. Or worse, it looks perfect until it comes out of the first wash. This is almost always a classic case of uneven heat and pressure.
- What Went Wrong: A household iron just isn't built to distribute heat and pressure evenly. It's really hard to push down with the same force across the entire design, and those outer edges are the first to get neglected.
- How to Fix It: Don't panic! Just grab a sheet of parchment paper, place it over the design, and press it again. This time, put all your focus on those peeling spots. Use your body weight to press down firmly for another 10-15 seconds. You need to give those edges the direct, focused heat they missed the first time around.
The Colors Look Faded or Dull
Did your bold, vibrant graphic come out looking weak and washed-out on the shirt? The problem here usually starts before the iron is even plugged in—it’s a printer issue.
The biggest mistake people make is hitting "print" with the default settings. To get those rich, punchy colors that survive the transfer process, you have to tell your printer to lay down more ink.
For your next attempt, take a minute to explore your printer’s settings before printing.
- Boost the Print Quality: Look for the quality setting and change it from "Standard" or "Normal" to "High Quality" or "Best".
- Choose the Right Paper Type: In the paper settings, select an option like "Photo Paper Glossy" or "Matte." This little trick fools the printer into using more ink, giving you a much more saturated image to work with.
The Transfer Is Cracking After Washing
There's nothing more defeating than pulling your newly-designed shirt out of the laundry only to find the graphic is cracked and ruined. This usually happens for one of two reasons: the fabric was stretched too soon, or it wasn't washed with care.
Think of the transfer's adhesive like glue—it needs time to fully cure and grab onto the fabric fibers. It's at its most fragile right after you've pressed it.
- What Went Wrong: You either wore or stretched the shirt before the adhesive had a full 24 hours to set. The other possibility is that you used hot water or a hot dryer, which softens the adhesive back up and causes it to crack under stress.
- How to Fix It: Patience is everything. Always wait at least 24 hours before wearing or washing a freshly made shirt. When it is time for a wash, turn it inside out, use cold water, and stick to a gentle cycle. To dry, hang it up or use the tumble dryer on its lowest heat setting. This simple routine will make your creations last so much longer.
Comparing Iron On Paper to Other Customization Methods
So you’ve decided to make a custom T-shirt. That's great! But you’ve quickly realized you're facing a dizzying number of printing options. While iron on paper for t shirts is a fantastic starting point, it’s just one tool in a much bigger workshop. Getting a feel for where it stands next to methods like Heat Transfer Vinyl (HTV), Direct-to-Film (DTF), and classic screen printing is the key to picking the right one for your project.
Think of it like cooking. You wouldn't use a blender to chop vegetables when a knife works better. Each printing technique has its own strengths, and the best choice really boils down to your design's complexity, your budget, how many shirts you're making, and the final look you're going for.
Iron On Paper: The DIY Champion
Iron-on paper is, without a doubt, the king of accessibility. It’s the perfect gateway for anyone just dipping their toes into custom apparel because you can get started with practically nothing.
- Best For: One-off projects, last-minute birthday party shirts, quick design prototypes, or anyone just having fun and experimenting.
- Key Advantage: You can use the inkjet printer and household iron you already have. The only real investment is the paper itself.
But, as with most things, that convenience comes with a few trade-offs. The durability isn't on par with professional methods, and the finished design often has a noticeable, sometimes plasticky feel, especially when using paper designed for dark fabrics.
Heat Transfer Vinyl (HTV) for Bold Graphics
For many crafters, Heat Transfer Vinyl (or HTV) is the logical next step up. Instead of printing a design onto paper, you use a cutting machine (like a Cricut or Silhouette) to slice shapes and letters out of solid-colored vinyl sheets. These are then heat-pressed onto the shirt.
This method is brilliant for creating simple, bold, and vibrant graphics—think team logos, names on jerseys, or punchy single-color designs. It's tougher than iron-on paper and gives a really clean, sharp finish. The main limitation? Complex, multi-colored images are a real headache, as each color requires its own separate layer of vinyl.
HTV is your go-to for crisp, solid-color designs. It provides a professional look for text and logos but isn't suited for photorealistic images.
Screen Printing: The Bulk Order Powerhouse
Screen printing is the old-school, tried-and-true method behind most of the T-shirts you see in stores. It works by pushing ink through a stenciled mesh screen directly onto the fabric. The result is an incredibly durable design that feels soft because the ink literally becomes part of the shirt.
Its biggest selling point is how cost-effective it is at scale. Once you’ve made the screen, churning out hundreds of shirts is quick and cheap per shirt. The flip side is that the setup costs and labor make it completely impractical for small batches or one-of-a-kind projects.
Direct-to-Film (DTF): The Modern Contender
Direct-to-Film (DTF) is one of the newer kids on the block, and it brilliantly combines the best features of other methods. A special printer puts your full-color design onto a transfer film, which is then heat-pressed onto the garment. DTF gives you the stunning, photorealistic detail of iron-on paper but with the fantastic durability and soft feel of screen printing.
You can get a deeper look at all these options in our guide to the types of heat transfers.
The appetite for custom apparel is massive. In fact, the custom T-shirt printing market was valued at $4.17 billion in 2024 and is expected to hit $9.59 billion by 2033. Heat transfers like DTF and iron-on paper are a huge driver of this growth, making up 25-30% of the methods used today thanks to their speed and amazing detail. You can learn more about the growth of the textile transfer market.
Head-to-Head: T-Shirt Customization Methods Compared
To help you see the differences at a glance, we’ve put together a quick comparison of how these popular methods stack up against each other.
| Method | Best For | Cost (Small Batch) | Durability | Feel on Shirt |
|---|---|---|---|---|
| Iron On Paper | Hobbyists, one-off designs | Very Low | Low (10-20 washes) | Stiff, sits on top of fabric |
| HTV | Simple logos, text | Low | Medium (25-40 washes) | Flexible, slightly raised layer |
| Screen Printing | Large batches (50+) | Very High | High (50+ washes) | Very soft, part of the fabric |
| DTF Transfers | Complex, multi-color designs | Moderate | High (50+ washes) | Soft, flexible, and stretchy |
Each method has its place. Iron-on paper is unbeatable for quick, fun projects, while methods like DTF and screen printing offer the durability and professional finish needed for a brand or business. Choosing the right one is all about matching the tool to the job.
When It's Time to Go Pro with Your T-Shirt Transfers
Look, DIY projects with iron-on paper for t-shirts are a blast. They’re a fantastic, budget-friendly way to make a quick custom shirt for a party or a last-minute gift. I’ve done it dozens of times myself. But let's be honest, every tool has its limits.
There’s a clear tipping point where the project's needs—whether we're talking about quality, quantity, or sheer complexity—outgrow what a home setup can handle. Knowing when to make that jump is the secret to a successful project, not a frustrating mess.
Sometimes, a project just needs a professional touch. This is especially true if you’re making shirts for anything beyond a one-off personal craft.
Scenarios That Call for a Professional Finish
That household iron and a sheet of transfer paper are perfect for a single birthday shirt or a fun crafternoon. But some situations demand a more heavy-duty solution. If you find yourself nodding along to any of these, it’s probably time to call in the experts.
-
You're Selling Your Designs: If you're planning to sell your shirts on Etsy, at a local market, or for your own brand, your reputation is on the line. Customers expect a product that feels soft, looks amazing, and can survive more than a few washes. Professional methods like DTF are designed for exactly that—commercial-grade durability.
-
You Need a Big Batch of Shirts: Making ten shirts for a family reunion? Totally doable. But printing 50 for a company event or a whole sports team? That's a different beast entirely. A pro service guarantees every single shirt is perfectly identical, a level of consistency that's almost impossible to nail one by one with a home iron.
-
Your Artwork is Intricate or a Photo: Home inkjet printers have come a long way, but they struggle to capture the full range of colors and tiny details in a complex photograph or a detailed illustration. Professional printers deliver far better color accuracy and can reproduce the finest lines and softest gradients that DIY methods just can't touch.
Stepping up to a professional service isn't admitting defeat. It's about choosing the right tool for the job. It's about making sure the final product looks just as good as the design you poured your heart into.
Professional services like Raccoon Transfers use modern techniques like Direct-to-Film (DTF). This is a huge leap in quality. The transfer feels soft and flexible, almost becoming part of the fabric itself instead of sitting on top like a stiff sticker.
The durability is in another league, too—built to handle 50+ washes without cracking or fading. For the projects that really count, switching from DIY to a professional transfer ensures your vision comes to life exactly as you imagined.
Got Questions About Iron-On Paper? We've Got Answers.
Even when you follow the instructions to the letter, a few questions always seem to come up when you're working with iron-on paper for t-shirts. Getting those nagging little uncertainties sorted out can be the difference between a project you're proud of and one that ends in total frustration. Let's tackle some of the most common ones.
How Long Do Iron-On Shirts Actually Last?
This is the big one, isn't it? While they won't last forever like a professionally printed shirt, a well-made iron-on design can hold up surprisingly well. If you apply it correctly and take care of it, you can expect your creation to survive 25-30 washes before you start seeing any serious fading or cracking.
Want to get the most life out of your design? Follow these simple rules:
- Give It a Day: Don't wash the shirt for at least 24 hours after you press it. The adhesive needs time to fully cure and set.
- Flip It: Always turn the garment inside out before tossing it in the wash. This protects the design from rubbing against other clothes.
- Keep It Cool: Wash with cold water only. Hot water is the enemy of the adhesive and can cause it to soften and peel away.
- Air is Best: High heat from a dryer can ruin your work. It's best to hang dry the shirt, but if you must use a dryer, choose the lowest heat setting possible.
Can You Use a Laser Printer with Iron-On Paper?
This is a really important one, and the answer is a hard no—at least for standard iron-on paper. That paper is made specifically for the way an inkjet printer works, which uses liquid ink and very little heat.
A laser printer, on the other hand, uses intense heat to melt toner powder onto the page. If you run a sheet of regular iron-on paper through it, that heat will melt the adhesive layer right inside your machine. It’s a recipe for a sticky, expensive disaster that can permanently damage your printer's internal parts. Unless the packaging explicitly says it’s made for laser printers, just don't risk it.
What's the Best Fabric for Iron-On Transfers?
When it comes to getting the best results, 100% cotton is king. The natural fibers give the heat-activated adhesive something to really grab onto, creating a strong bond that looks clean and lasts.
Cotton/poly blends work great, too. The main thing you want to avoid are fabrics that are either fully synthetic (like 100% polyester) or just very sensitive to heat. These materials can easily scorch, or even melt, under the high temperatures needed to apply the transfer. If you're not sure about your fabric, always do a quick test on a hidden spot first.
When you need a design that's truly built to last—with bold colors and a soft-to-the-touch feel—it's time to bring in the pros. Raccoon Transfers provides top-tier, commercial-grade DTF transfers that give you unmatched durability and detail for any project. Explore professional-quality transfers today.