
Plain Comfort Color T Shirts: Fabric, Fit & Print Guide
Comfort Colors 1717 plain tees are garment-dyed, 6.1 oz per square yard, 100% ring-spun U.S. cotton blanks with a relaxed fit, dyed after sewing to create a broken-in look that can suit DTF printing when you test the shade first. They're a distinctive blank, not a guarantee of identical color or measurements from shirt to shirt.
The popular advice that “pre-shrunk means consistent” gets only half the job done. Pre-shrinking addresses how a shirt may change after washing; it doesn't make every blank in a size run identical. For a small brand, that difference can shift a hem-aligned graphic or change how a design sits near a side seam, so sample and measure before committing to a batch.
What Makes Plain Comfort Colors Tees Different
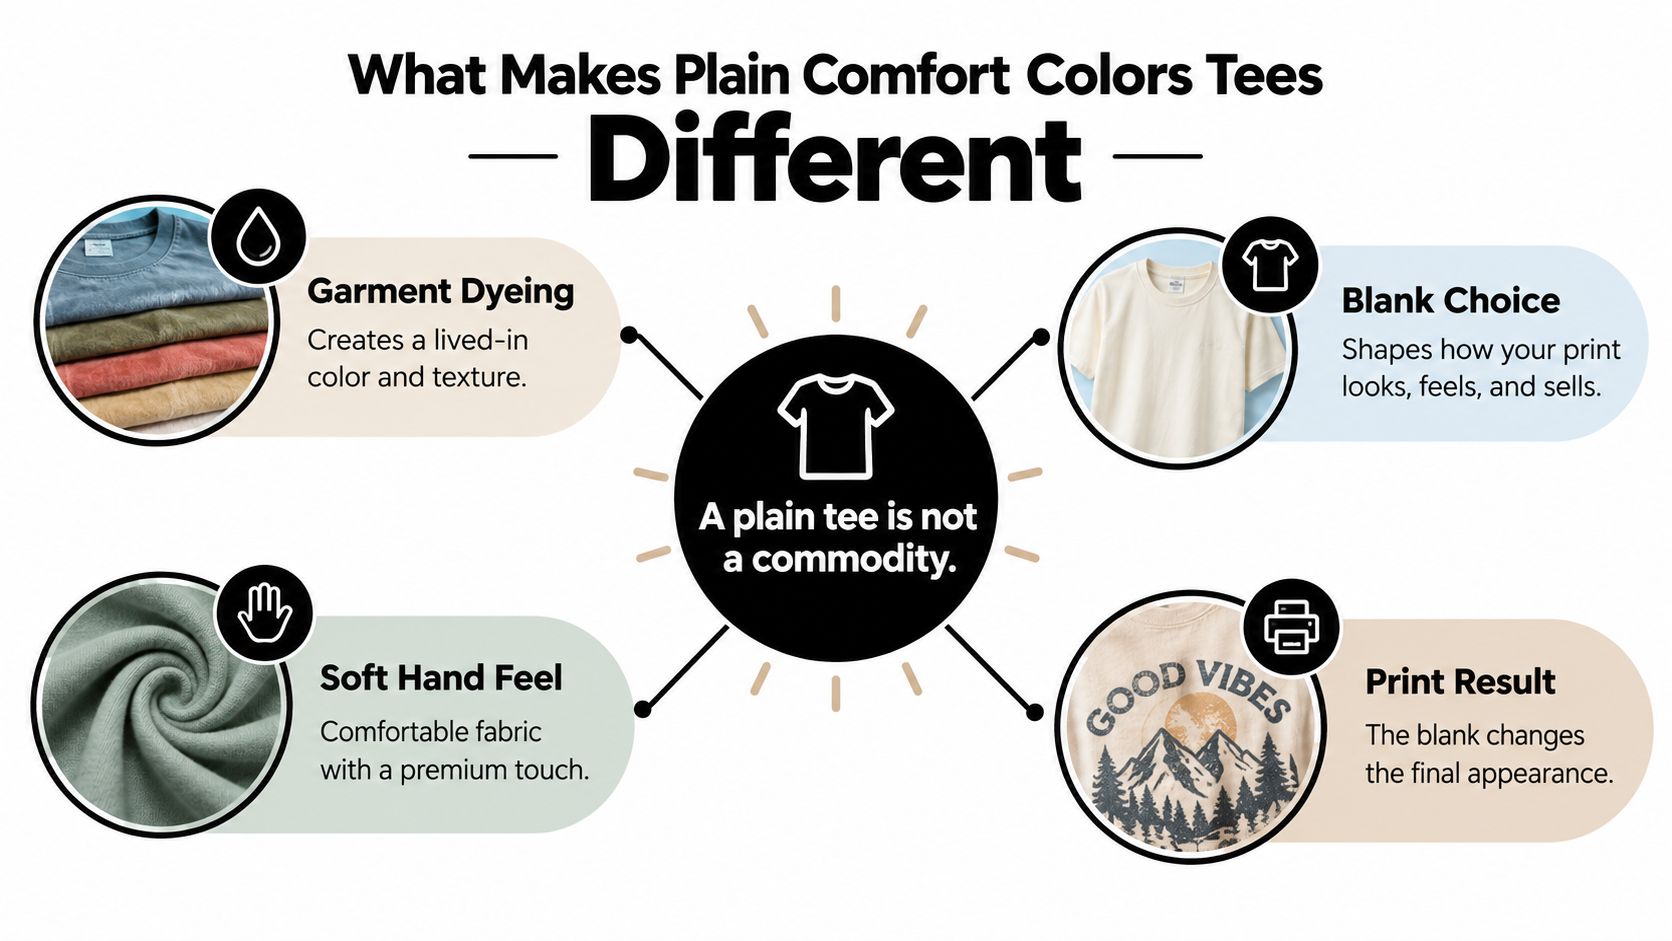
A plain tee isn't a commodity. The blank you choose affects how a graphic looks and feels, and whether the finished shirt reads as a basic promotional item or a considered product.
The distinguishing feature of Comfort Colors is garment dyeing. The shirt is sewn first, then dyed as a finished garment. That's different from dyeing fabric in a roll and cutting and sewing it afterward. Think of the difference between a pair of jeans that's developed a softer, worn-in look and a fresh pair with a more uniform finish. The garment-dyed shirt has a lived-in character from the start, with natural variation that's part of its appeal rather than a defect.
That look helped Comfort Colors find a place with shoppers seeking something more distinctive than a flat, uniform blank. The company became a significant North American printwear supplier before Gildan announced an agreement on February 4, 2015, to purchase substantially all of its assets for approximately US$100 million. The transaction closed on March 2, 2015. In the 12 months ending December 31, 2014, Comfort Colors reported approximately US$95 million in net sales (Gildan's acquisition announcement).
That history helps explain why blank Comfort Colors shirts became a familiar foundation for designers and small brands. The product already had retail recognition, while its undecorated format gave decorators a canvas for screen printing, embroidery, and transfers. Gildan's acquisition also connected the brand with a broader manufacturing and distribution infrastructure.
The main trade-off is straightforward. Choose this blank when its washed, vintage-inspired appearance supports the product you're selling. If your artwork depends on a perfectly flat, uniform color field, the natural variation may work against the design rather than enhance it.
Fabric Weight, Fit, and Feel Under a Print
A print sits on the shirt you choose, not on an abstract “cotton tee.” The 1717's measurable construction gives decorators a useful starting point for thinking about opacity, hand feel, and how substantial the finished piece will feel.
The shirt weighs 6.1 oz/yd², approximately 207 g/m², and uses 100% ring-spun U.S. cotton with 30-singles yarn, according to the manufacturer's 1717 product specifications. Ring-spun yarn is made by continuously twisting fibers into a smoother, more compact yarn than conventional open-end cotton. In practical terms, that generally gives the surface a softer hand and a more uniform feel under a graphic.
The relaxed fit, classic-width rib collar, shoulder-to-shoulder twill tape, and reinforced topstitching contribute to the shirt's casual, substantial character. Its heavier body also offers more opacity than a lightweight blank, which can help reduce show-through and give larger DTF or screen-printed designs a firmer base. The result isn't that every transfer will automatically look better. Artwork, placement, color contrast, and application still matter.
For a broader comparison of fabric choices and how they affect decoration, see this guide to T-shirt materials. If you're weighing blanks specifically for screen printing, this overview of shirts for screen printing can help you compare options according to the finish and production needs you have.
Shop-floor rule: Treat the fabric specification as a starting point, then judge the decorated sample under the same conditions your customer will see and wear it.
The garment-dyed finish is less uniform by design, so don't promise a perfectly flat color surface. A print can appear different across shirt shades, and even the same color may show natural variation. That lived-in look can support a premium, casual product, but it should be reflected in your mockups and customer expectations. A bold graphic intended to look crisp and modern may need a different blank, or at least a test print, before you settle on the 1717.
Pressing DTF and UV-DTF Transfers onto Plain Tees
First, use the right kind of transfer. DTF is for fabric, making it the relevant option for decorating a plain tee. UV-DTF is intended for hard surfaces such as glass, metal, and plastic, not for pressing onto a shirt.
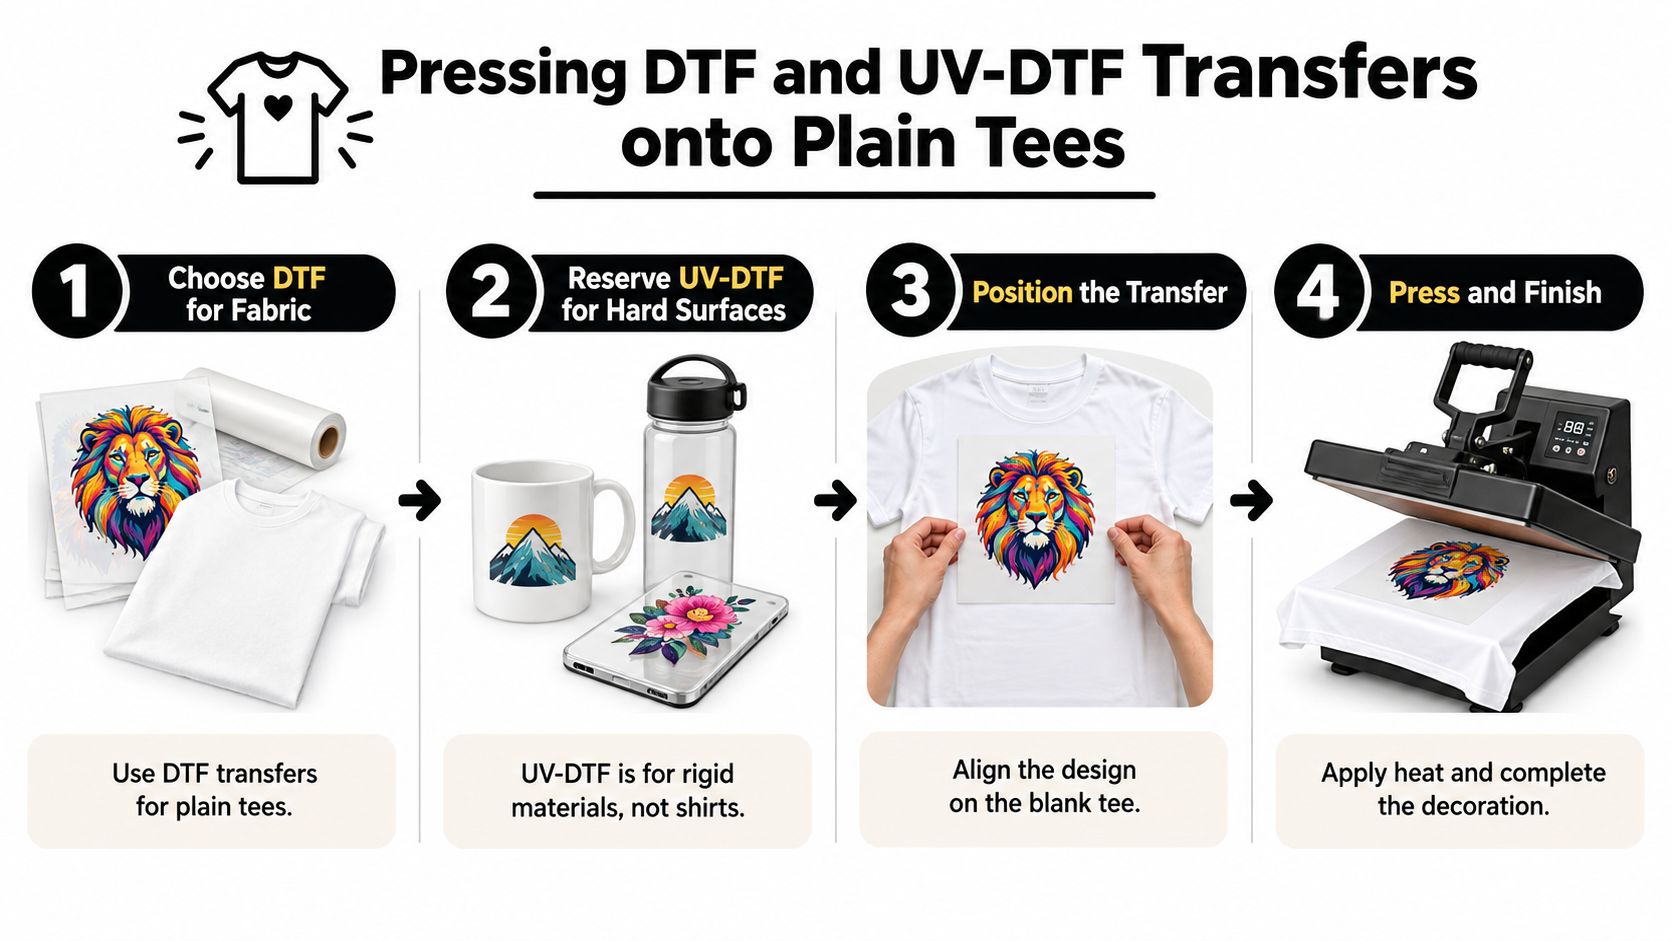
A reliable workflow is more useful than guessing at a setting and hoping it holds across a production run. Follow the transfer supplier's instructions for temperature, pressure, and dwell time, then verify the result on the exact garment color you intend to use.
- Prepare the shirt. Lay it flat and make sure the print area is smooth. If your press setup calls for it, pre-press the garment to remove moisture before positioning the transfer.
- Position the design. Align it against consistent visual landmarks, such as the collar and center line, rather than eyeballing each shirt differently. Make sure the design isn't sitting across a seam or an uneven area.
- Press according to the transfer instructions. Apply the specified temperature, pressure, and dwell time. Don't assume that settings that worked on a lighter blank will transfer unchanged to this heavier cotton.
- Finish as directed. Follow the supplier's peel and any post-press instructions. Check the finished transfer for adhesion before moving on to a full run.
The 1717's heavier cotton retains heat differently from a lightweight blank. That's a reason to check the actual result, not a reason to add time or pressure arbitrarily. Garment-dyed shirts also have a softer, less uniform surface, so test the transfer on a spare shirt in the same color and production lot whenever possible. Look closely at the edges and fine details, and assess whether the transfer's appearance sits well against the fabric shade.
If you need a heat press settings reference, start with this guide to DTF heat-press settings, then follow the specific transfer manufacturer's instructions. For a ready-to-press option, Custom DTF Transfer by Size: Perfect Prints for Every Project is a transfer service that offers artwork by size.
A successful test isn't just “the design stuck.” Check the placement, appearance, and edges after pressing, then follow the care instructions before deciding whether the result is ready for customers. The same combination of shirt color, transfer, press, and workflow should be the one you validate before scaling production.
Sizing Charts and Tolerances for Accurate Fit
“Pre-shrunk” doesn't mean every shirt in a size run measures exactly the same. It addresses shrinkage after washing, not the differences that can occur in how garments are made. That distinction matters when you're selling a fit-sensitive product or placing a graphic close to a hem or side seam.
The manufacturer's specification lists tolerances of approximately ±1 inch for chest width and ±1.25 inches for body length. So two shirts in the same nominal size can differ by roughly 2 inches in measured chest width or length if they fall at opposite ends of the stated tolerance (1717 specification sheet). That range can change how a large graphic sits relative to the hem. A layout measured from a side seam can also appear to shift when the shirt's width varies.
The available information doesn't provide a complete, verified measurement table for every size from Small through 4XL, so use the manufacturer's current chart or a physical sample rather than filling in unverified figures. Retail charts can also disagree about measurement conventions. One chart reports a medium chest width of 20.25 inches, while another gives a narrower body-width figure of 19.5 inches. Before comparing charts, check what each measurement means and where the shirt was measured.
| Size-planning check | What to do |
|---|---|
| Chart convention | Confirm whether “width” means a flat chest measurement and where it's taken. |
| Physical sample | Measure an actual shirt from the supplier, laid flat and smoothed without stretching. |
| Graphic placement | Check designs measured from the hem or side seam against the sample, not only a mockup. |
| Customer fit | Describe the fit using the sample and measurements you verified. |
For a practical explanation of measurement terms, consult this resource on how to read clothing size charts. You can also use this guide to relaxed-fit T-shirts to think through how a roomier cut may affect the fit customers expect.
Pre-shrunk can make post-wash sizing more predictable. It can't remove manufacturing tolerance, so measure a physical sample before decorating a batch.
Washing and Caring for Garment-Dyed Shirts
Garment dyeing and washing leave some loose pigment on the shirt's surface. The manufacturer notes that this pigment can bleed in early washes, so new garments should be washed separately or with like colors in cold water (Comfort Colors care instructions). That's especially important for dark or saturated colors, where loose pigment can transfer to lighter items.
For finished shirts, give customers simple instructions they can follow:
- Wash with similar colors: This reduces the chance of loose pigment staining lighter garments.
- Use cold water: Follow the manufacturer's care guidance for new shirts.
- Turn printed garments inside out: This helps reduce surface abrasion against other laundry.
- Avoid high dryer temperatures: Extra heat can contribute to color change, surface wear, or residual shrinkage.
Pigment transfer and print failure aren't the same problem. If a shirt's color affects another item or changes during washing, that doesn't automatically mean the DTF transfer has failed. Inspect the design itself for lifting, cracking, or other signs of poor adhesion before deciding what happened. Clear care instructions also help customers understand the garment's finish, rather than assuming every color shift is a printing defect.
Pre-washing a blank might remove some loose pigment, but it adds handling and can introduce lint or dimensional changes before decoration. Don't make it a blanket production step without testing it. Instead, press a sample in the actual garment color and finish, then follow the care sequence you'll recommend to customers and examine both the shirt and print afterward.
A short care card is enough: cold wash with like colors, turn inside out, and avoid high dryer heat. Specific guidance is easier to follow than a general instruction to “wash carefully.”
Choosing Between Blank Sourcing and Transfer Options
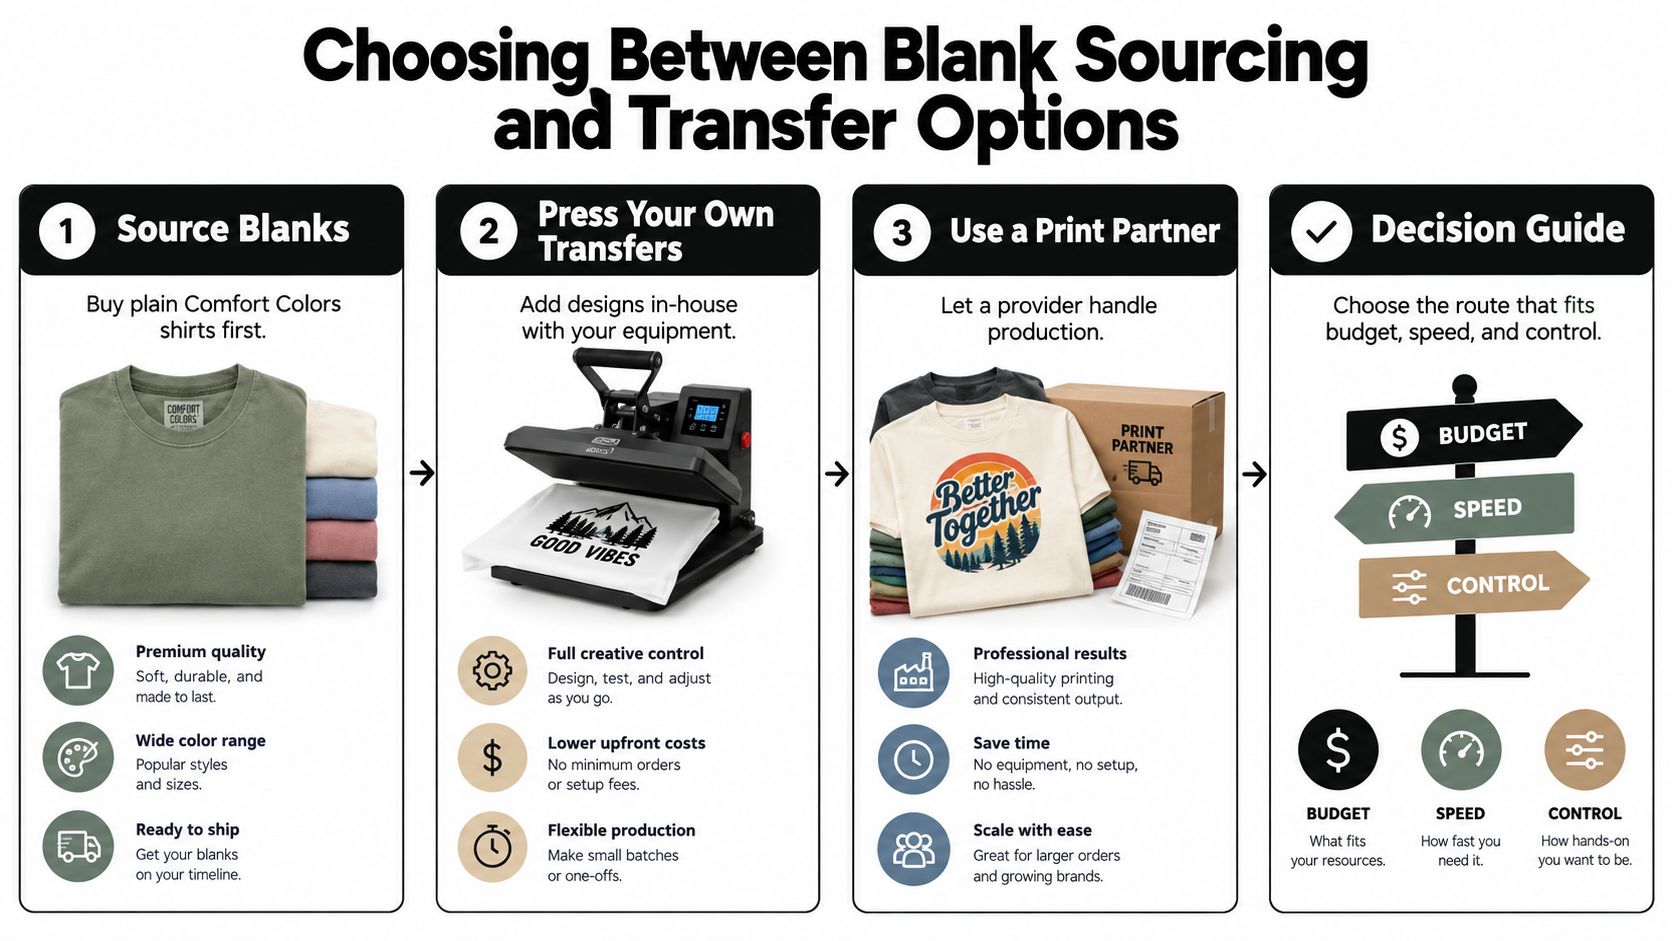
The right production route depends on what you need to control. Buying blanks and pressing in-house gives you direct control over shirt shade and placement, but you'll need a press, a tested workflow, and samples. A transfer service can supply ready-to-press artwork while leaving you responsible for sourcing and decorating the garment. Ordering a fully decorated garment shifts more of the production work to a print partner, but gives you less direct control over the press itself.
| Route | Works well when | Check before committing |
|---|---|---|
| Source blanks and press in-house | You already have press equipment and want to control placement and timing. | Test the shirt color, transfer, and press settings together. |
| Order ready-to-press transfers | You want to decorate garments yourself without producing the transfer artwork in-house. | Confirm the artwork size, application instructions, and sample result. |
| Use a print partner | You'd rather delegate decoration than manage the press workflow. | Approve a sample for color, placement, and fit before selling the finished product. |
Raccoon Transfers is a U.S.-based service for DTF and UV-DTF transfers, with an online gang sheet builder for combining designs. It also offers free mockups, a stated 24-hour turnaround, next-day shipping, free delivery on orders over $79.90, and local pickup options. Those logistics can make it a possible transfer source when you want to handle shirt selection and pressing separately from transfer production.
Whichever route you choose, don't order a full run based on a screen mockup alone. Get a sample shirt in each color you plan to use, check that its size and shade match your needs, and keep an extra blank for a test or an unexpected mismatch. Confirm that the sizes you need for the Comfort Colors 1717 are available in your chosen color with your supplier. Stock can vary, so don't build a launch plan around an unverified size-and-shade combination.
Use Cases and Your Next Step for Ordering
Plain Comfort Colors tees make sense when the blank's character is part of the product. Independent designers can use them for small drops with one carefully tested graphic. A clothing brand built around washed, vintage-style apparel can lean into the garment-dyed look, while event planners and promotional teams may prefer them when a more substantial, casual shirt fits the brief. Makerspaces can use a sample to teach DTF application, and e-commerce sellers can test a design before settling on a broader size and color assortment.
Start small and check the parts that affect the finished shirt. Choose one design, build a small gang sheet if that suits your artwork, and order a test shirt in the size and color most relevant to the product. Measure it against the supplier's chart, press the transfer using its instructions, then inspect the result and follow the care guidance before scaling. If the design sits near a hem or side seam, use the physical sample to validate that placement.
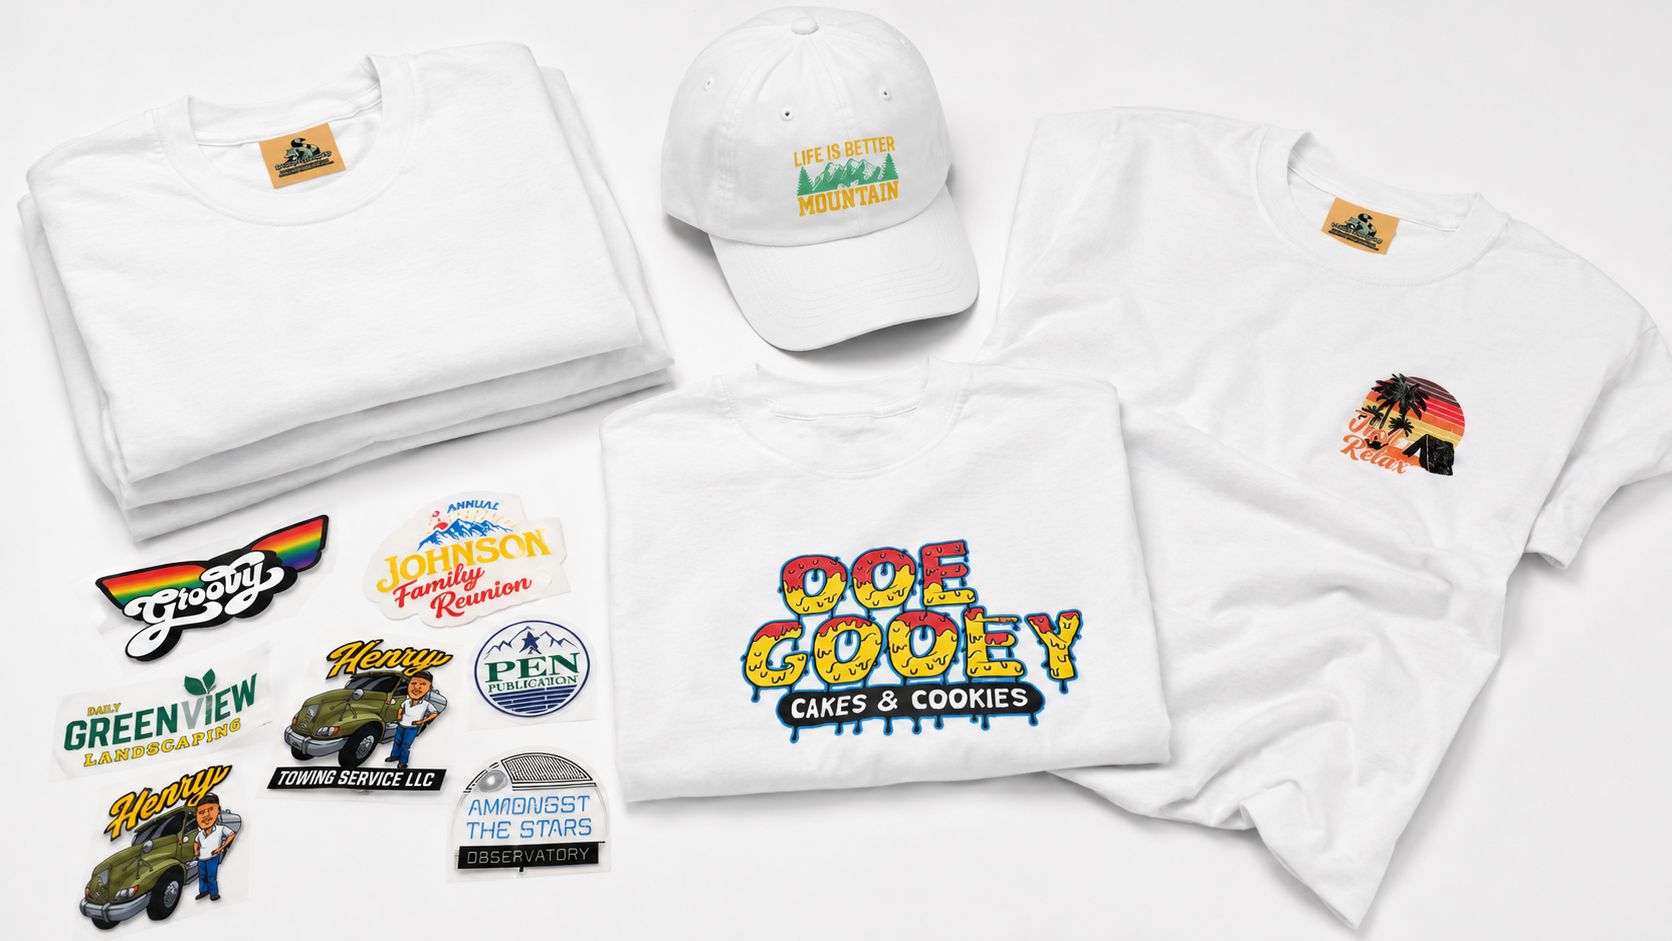
For your first Comfort Colors run, build a sample around the exact shirt color, size, and transfer you intend to sell. Visit Raccoon Transfers to use its gang sheet builder, request a free mockup, and review transfer options before you commit to a batch.