
Your Ultimate Guide to Print Transfer on T Shirt Designs
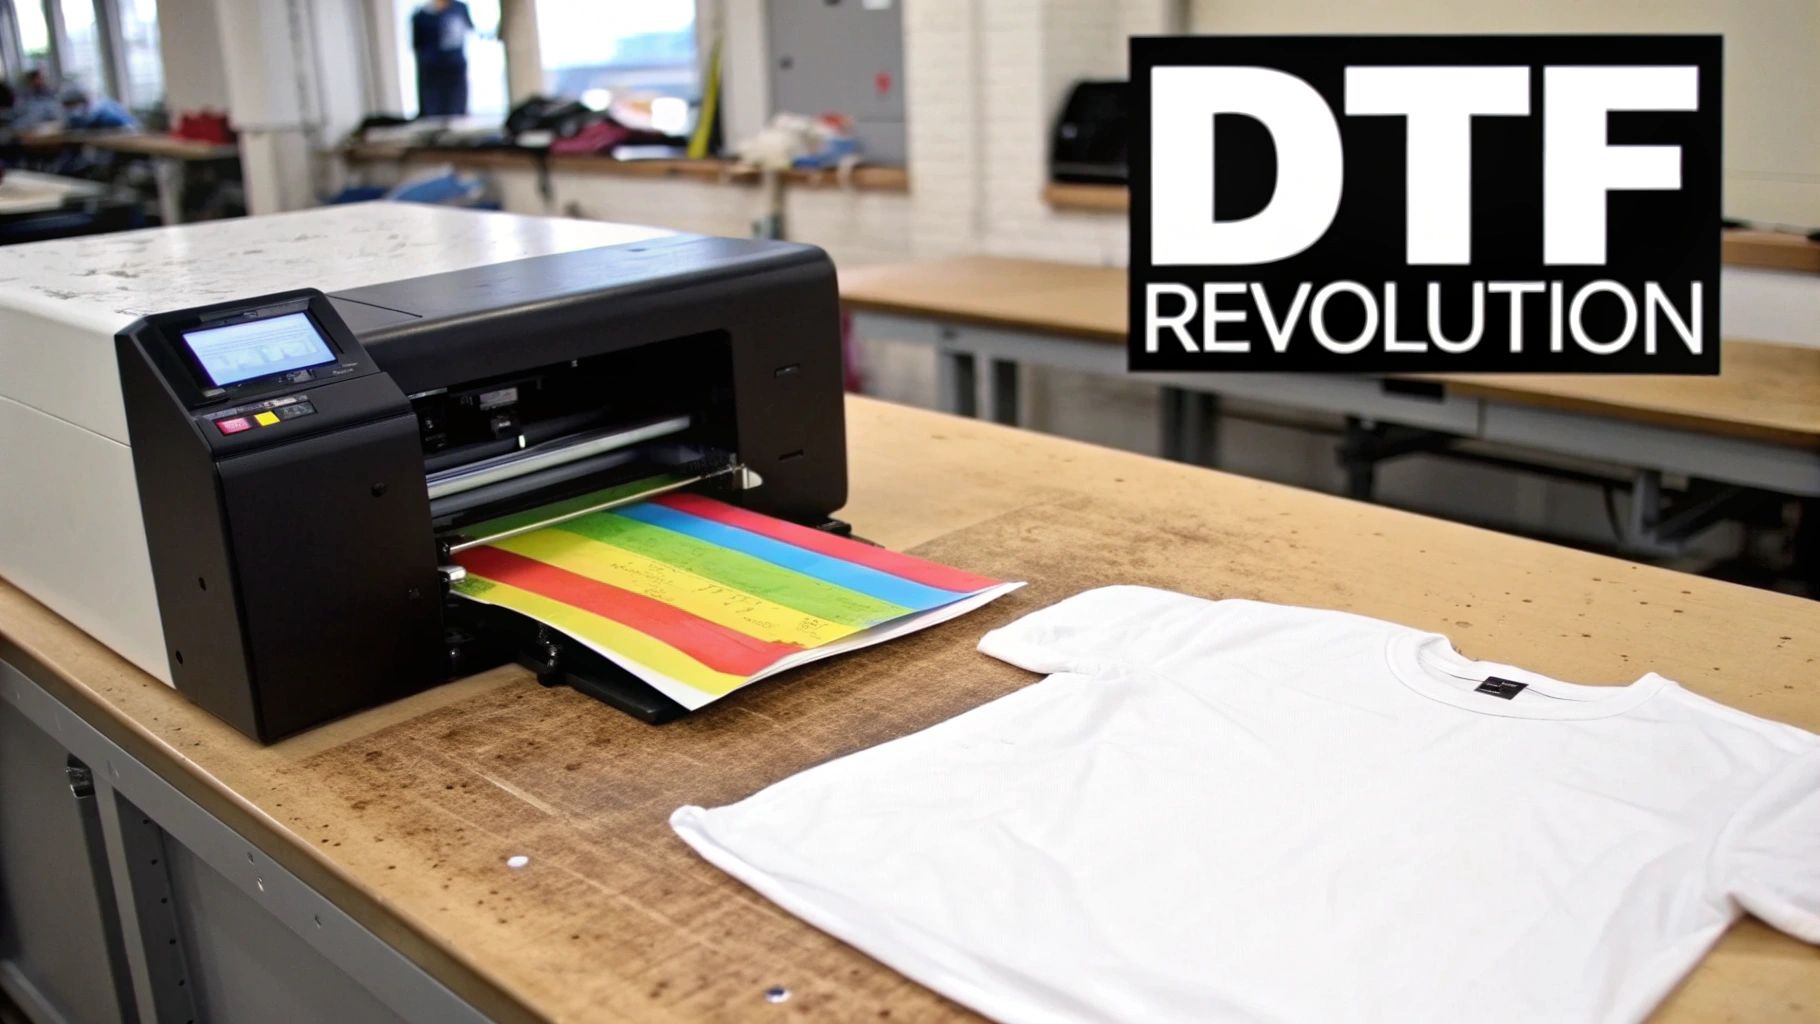
A print transfer is exactly what it sounds like: a design printed onto a special film that you then transfer onto a T-shirt using heat and pressure. The go-to method these days is Direct-to-Film (DTF), and for good reason. It’s known for producing incredibly vibrant, durable prints that work on just about any fabric you can throw at it, from cotton to polyester and everything in between.
The New Standard for Custom T-Shirt Printing
For years, making custom apparel involved some serious trade-offs. You could go with screen printing, which is super durable but has high setup costs and gets tricky with complex, multi-color designs. This made small orders a non-starter. On the other hand, older heat transfer methods were great for one-offs but often left you with a stiff, plastic-y feel that just didn't last.
This is exactly where Direct-to-Film (DTF) transfers have stepped in and completely shaken things up.
There's no tedious weeding of vinyl or messy screen prep. Instead, a specialized printer lays down water-based inks onto a clear film. After printing, a powdered adhesive is applied and melted, creating a transfer that's ready to press. When heated, this transfer bonds permanently with the fabric fibers.
Why Is Everyone Talking About DTF?
The final product feels fantastic. It’s soft, it stretches with the shirt, and it can survive dozens of washes without cracking or fading. For small businesses, brands, and anyone who wants top-tier custom shirts, DTF has torn down the old barriers to entry.
Here’s a quick rundown of why it's become so popular:
- Unlimited Colors: DTF handles photorealistic images, intricate gradients, and tiny details perfectly, all in one clean application.
- Works on Almost Anything: You can press a DTF transfer onto a T-shirt made of cotton, polyester, tri-blends, or even leather, no matter if the fabric is light or dark.
- Great for Any Batch Size: Since the setup is minimal, DTF is just as economical for a single custom shirt as it is for a batch of 100. Say goodbye to minimum order quantities.
The real magic of DTF is how it merges the full-color, high-detail capabilities of digital printing with the kind of durability that used to be exclusive to screen printing. It truly gives you the best of both worlds.
This isn’t just a small trend, either. DTF is a major force in the custom T-shirt printing market, which was valued at a massive $8.17 billion in 2024. Projections show it soaring to $13.55 billion by 2029, largely fueled by the growing demand for personalized products from brands, events, and creative individuals.
Getting a handle on how this technology works is your first step. If you want to get into the nitty-gritty, check out our guide on what a DTF transfer is and how the process works from start to finish. Mastering this technique puts you right in the center of a booming industry built on quality and creativity.
Getting Your Artwork and T-Shirts Ready for Printing
A great DTF print starts way before you even think about firing up the heat press. The two biggest factors that will make or break your final t-shirt are the quality of your artwork file and the fabric you choose to print on. Nail these two, and you’re setting yourself up for a professional, long-lasting print that your customers will love.
Your artwork file is essentially the blueprint. If you start with a weak foundation, it doesn’t matter how good your pressing technique is—the result will always be a letdown. The goal is a clean, sharp file that looks just as good on the shirt as it does on your screen.
Your Artwork File: The Non-Negotiables
The absolute most important thing for a crisp print is resolution. Your design file has to be created and saved at 300 DPI (dots per inch). If you use a low-resolution file, like something you pulled from a website at 72 DPI, your print will come out blurry and pixelated. It's a dead giveaway of an amateur job.
Equally critical is the file format. For DTF, you absolutely must use a PNG file with a transparent background. I can't stress this enough. A transparent background means we only print your design—no weird white or colored box around it. If you send a JPG or a PNG with a background color, that background will get printed right onto the shirt.
For a deeper dive into getting images ready for apparel, this complete guide on how to print photos on clothing has some fantastic insights that cover a lot of ground.
How to Save Money with Gang Sheets
If you're printing more than one design or need a logo in a few different sizes, ordering them one by one gets expensive fast. This is exactly what gang sheets were made for. A gang sheet is just a large sheet of transfer film that you can fill up—or "gang"—with as many different designs as you can fit.
By arranging multiple logos, sleeve hits, and neck tag designs onto one sheet, you pay for the whole sheet instead of each individual transfer. This slashes your per-print cost and is how smart brands and small shops keep their budgets in check. Just remember to leave a little bit of space between each design so you can easily cut them apart later.
Pro Tip: Be strategic when you build your gang sheet. I always recommend mixing your best-sellers with smaller, more niche designs. That way, you’re always stocked and ready for any order that comes in, and you won't have to place a rush order for a single tiny print.
Choosing the Right T-Shirt Fabric
The shirt you pick is just as crucial as your artwork. DTF is known for its versatility, but that doesn't mean every fabric behaves the same way under the heat press. The material directly impacts how the transfer looks, feels, and holds up over time.
Before you press, it's worth knowing how different t-shirt materials handle DTF transfers.
T-Shirt Fabric Guide for DTF Transfers
| Fabric Type | Best For | Heat Press Notes | Final Feel & Durability |
|---|---|---|---|
| 100% Cotton | Classic t-shirts, hoodies, and everyday wear. The go-to for vibrant, reliable prints. | Bonds beautifully with DTF adhesive. Standard heat and time settings work perfectly. | Soft, flexible print that feels part of the fabric. Excellent durability and washability. |
| Polyester | Athletic apparel, performance wear, and jerseys. | Prone to dye migration. Use lower temperatures (around 275°F) and shorter press times to prevent discoloration. | The print sits slightly more on top of the fabric but remains vibrant. Very durable. |
| 50/50 Blends | All-purpose shirts that balance the softness of cotton with the durability of polyester. | Less risk of dye migration than 100% poly, but still best to use slightly lower heat settings. | A great middle-ground. The print feels soft and holds up well to repeated washing. |
| Tri-Blends | Premium, ultra-soft fashion tees (cotton/poly/rayon). | These are sensitive to heat. Test first! Use low temp and very light pressure to avoid scorching or press marks. | Creates a slightly vintage or faded look as the print melds with the textured fabric. Very soft feel. |
The key takeaway? While cotton is the easiest and most forgiving, you can get great results on almost anything with the right settings. Always do a test press if you're working with a new fabric.
Of course, the size and placement of your graphic matter, too. For some solid advice on that, check out our post covering the ideal graphic size for a T-shirt.
It’s no surprise that digital artwork is at the center of the custom apparel world. In 2023, the graphic design segment, which is all about high-quality digital files for things like print transfers, drove over 58% of the market's revenue. It just shows how critical getting the digital side right has become.
Mastering Your Heat Press Application Technique
Alright, your artwork is ready to go and you’ve picked the perfect t-shirt. Now comes the fun part: the heat press. This is the moment where your digital design truly comes to life on fabric. Honestly, getting this step right is what separates a pro-level shirt from one that just looks... off.
Think of your heat press as more than just a hot plate. It’s a precision tool. Its only job is to deliver the perfect mix of heat, pressure, and time to lock that transfer into the fabric fibers for good. Nailing these three variables is the entire game.
Before you even get to the press, the prep work matters immensely. A great final product starts with a solid digital file, correct sizing, and the right fabric choice.
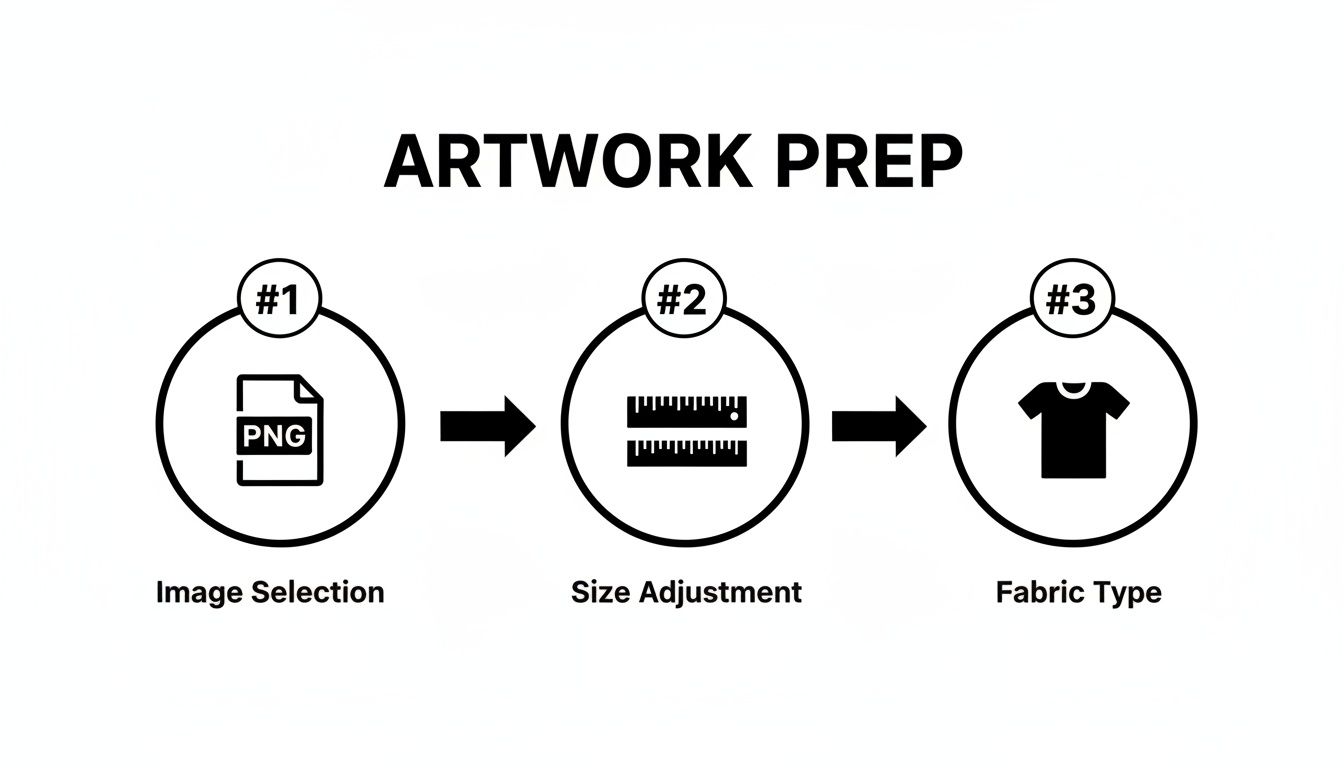
This workflow is a great reminder that a successful press is built on the prep you do beforehand.
Don't Skip the Pre-Press
Before you even think about laying down your transfer, you have to pre-press the shirt itself. Just lay it flat on the heat press and give it a quick press for about 5-10 seconds at your target temperature. This little step is way more important than it sounds.
First, it zaps any hidden moisture out of the fabric. Moisture is the number one enemy of a good transfer; it turns to steam under the heat and messes with the adhesive, which is a major cause of peeling down the road.
Second, it irons out all the wrinkles, giving you a perfectly smooth canvas. Trust me, trying to apply a transfer over a crease is a recipe for disaster. You'll get an ugly, flawed print every single time.
Dialing in the Big Three: Heat, Time, and Pressure
The long-term success of your print transfer on t-shirt comes down to three critical settings: temperature, time, and pressure. These aren't just guidelines; they're the recipe for a print that looks great and lasts. Get them wrong, and you're looking at scorched shirts or designs that flake off in the first wash.
-
Temperature: This is what activates the DTF adhesive. For most cotton and poly-blends, you're in a safe zone between 300-325°F (149-163°C). If you're working with delicate polyester or tri-blends, drop that temperature to 270-285°F (132-140°C) to prevent scorching the fabric.
-
Time: This is simply how long you apply the heat. The industry standard is right around 10-15 seconds for the main press. Too short and the glue won't cure; too long and you can damage the ink or the garment.
-
Pressure: This is all about the force. You want medium to firm pressure. A good way to test this is by feel—it should take a bit of muscle to lock the handle down. If it closes with zero effort, your pressure is too light.
This printing method is exploding in popularity, which is great for all of us. The market for custom t-shirt printing gear, including heat presses, hit $1.2 billion in 2024 sales and is projected to climb to $1.9 billion by 2033. That growth means professional-grade equipment is becoming more affordable than ever.
Getting the Placement Just Right
Now for the moment of truth. Placing the transfer can be a little nerve-wracking at first, but a few simple tricks make it a breeze. For a standard center-chest design, a great rule of thumb is to place the top of the design 2-3 inches down from the collar.
A T-shirt alignment tool or even a basic ruler will become your best friend. Take an extra 10 seconds to double-check that everything is straight and centered. It's so much easier to adjust it now than to regret it later.
Real-World Scenario: Let's say you're pressing a hoodie. The bulky front pocket seam creates an uneven surface, which is a classic problem. The fix? Slide a pressing pillow or a thick mouse pad inside the hoodie. This raises the print area above the seams, guaranteeing even pressure across the entire design.
Hot Peel vs. Cold Peel: What's the Difference?
After the timer goes off, you need to peel off the clear carrier film. This is where you'll hear the terms "hot peel" and "cold peel." They mean exactly what they sound like, and knowing which one to use is crucial.
Hot Peel Transfers
- The Move: Peel the film off immediately after the press opens, while it's still piping hot.
- The Look: This gives you a matte, softer finish because the ink gets pushed deeper into the fabric.
- The Technique: Be confident. Use one smooth, continuous motion to pull the film away. If you hesitate, you risk pulling up parts of the design.
Cold Peel Transfers
- The Move: Take the shirt off the press and let it cool down completely. You can wave it around or place it on a cool countertop to speed things up.
- The Look: Perfect for designs with super-fine lines or when you want a glossier, sharper finish.
- The Technique: Start at one corner and peel the film back slowly, keeping it low and almost rolling it off the design.
Most modern DTF transfers, including the ones we make at Raccoon Transfers, are a warm or cold peel, which gives you more flexibility. If you're just starting out, I'd recommend a cold peel—it's much more forgiving.
For a deeper dive into the perfect settings for every type of fabric, our detailed guide on heat press settings for DTF is a great resource.
The Finishing Press: Don't Skip This!
You've peeled the film and the design looks great. But you're not done yet. The last step is a quick finishing press.
Cover the exposed design with a sheet of parchment paper or a Teflon sheet and press it again for another 5-7 seconds. This final press does wonders—it locks the ink into the fabric fibers, seriously improves wash durability, and gives the print a much softer, more professional feel. It's a small step that makes a huge difference in the final quality.
Troubleshooting Common Print Transfer Issues
Even with perfect prep, you'll eventually run into a transfer that just doesn't want to cooperate. It happens to everyone. The good news is that most issues are simple fixes once you know what to look for. Think of it as part of the craft—every problem you solve makes you a better, faster, and more confident printer.
Instead of getting frustrated, let's walk through some of the most common hiccups and how to get your production back on track.
The Transfer Isn’t Sticking Properly
This is, without a doubt, the number one headache for newcomers. You press the shirt, go to peel the film, and part of your beautiful design decides to stay behind.
If you're seeing lifting edges, patches of the print refusing to release, or the entire transfer coming off with the film, the culprit is almost always one of the "Big Three": pressure, temperature, or time.
Start with your pressure. The adhesive needs to be firmly embedded into the fabric's fibers. If you can lock down your heat press with little to no effort, the pressure is too light. Give it a crank until you feel solid resistance when closing it.
If your pressure is good, look at your heat and time. Too little heat or not enough time under pressure means the adhesive never fully activates. Double-check the recommended settings for your specific transfers and the fabric you're using. Sometimes, just adding a couple of extra seconds is all it takes.
One more thing to watch out for: some garments, especially performance wear, come with a factory-applied waterproof or stain-resistant coating. This chemical barrier can stop the DTF adhesive in its tracks. A good pre-press can sometimes burn this coating off, but be aware that some fabrics are simply not compatible.
Peeling or Cracking After the First Wash
There's nothing worse than seeing a perfectly pressed shirt come back from the laundry looking flaky and cracked. This is a dead giveaway that the transfer wasn't fully cured.
A quality print should easily outlast the t-shirt itself. If it fails after just one or two washes, the bond with the fabric was never properly set.
Pro Tip: That final finishing press is not optional. Pressing the design for an extra 5-7 seconds after you peel the film is what truly melts the adhesive into the garment's fibers. This single step makes a world of difference in washability and gives the print a much softer feel.
To fix this for good, make that final press a non-negotiable part of your process. Also, always tell your customers to wait at least 24-48 hours before the first wash. This gives the print time to fully cure on a molecular level.
The Dreaded Adhesive Halo Effect
Ever notice a faint, clear outline around the edge of your design? That's the "adhesive halo." While it's a normal part of how DTF transfers are made, it can sometimes be more noticeable than you'd like.
This happens because the adhesive powder layer is intentionally a tiny bit larger than the ink layer to ensure every edge is locked down. It’s nearly invisible on most shirts, but it can catch the light on certain colors and fabrics.
How to Minimize It:
- Source Quality Transfers: Work with a top-notch transfer provider like Raccoon Transfers. Our process applies the adhesive with extreme precision to minimize any excess.
- Dial in Your Settings: Over-pressing—too much time, heat, or pressure—can cause that adhesive to "squish out" from under the ink. Stick to the recommended settings.
- The First Wash Fix: This is an easy one to explain to clients. The halo almost always disappears or becomes practically invisible after the first wash cycle.
Preventing Dye Migration on Polyester
If you've ever pressed a crisp white design onto a red polyester shirt only to see it turn pink a day later, you've witnessed dye migration. This is when the dye in the polyester sublimates (turns into a gas) under the heat and permanently stains your transfer ink from below.
It's a common battle with brightly colored synthetic fabrics.
The key is to work smarter, not hotter. To prevent dye migration, lower your heat press temperature to around 270-285°F and shorten your press time to about 10 seconds. This is just enough heat to cure the transfer but cool enough to keep the fabric dyes locked in place where they belong.
We've put together a quick-reference table to help you diagnose problems on the fly.
Common DTF Transfer Issues and Solutions
| Problem | Potential Cause | Solution |
|---|---|---|
| Transfer Not Adhering | 1. Insufficient pressure. 2. Temperature too low. 3. Fabric has a chemical coating. |
1. Increase heat press pressure. 2. Verify temp with a heat gun; increase if needed. 3. Perform a thorough pre-press; test on an inconspicuous area. |
| Cracking/Peeling After Wash | 1. Incomplete curing. 2. No finishing press was done. 3. Washed too soon after pressing. |
1. Ensure correct time, temp, & pressure. 2. Add a 5-7 second finishing press with a cover sheet. 3. Advise waiting 24-48 hours before the first wash. |
| Visible Adhesive "Halo" | 1. Over-pressing (too much heat/pressure). 2. Lower-quality transfers. |
1. Stick to recommended settings precisely. 2. Use a high-quality transfer provider. 3. Reassure client it will fade after the first wash. |
| Dye Migration (e.g., Pink on Red) | 1. Heat press temperature is too high for polyester. 2. Pressing for too long. |
1. Lower temperature to 270-285°F. 2. Shorten press time to ~10 seconds. 3. Use transfers with a dye-blocking layer for stubborn fabrics. |
Hopefully, this chart saves you some time and materials the next time a print gives you trouble. With a bit of practice, spotting and solving these issues will become second nature.
Post-Press Care: Making Your Prints Last
You’ve just peeled back that film, and the design looks fantastic. It’s a great feeling, but hold on—the job isn’t over just yet. What you do after the press is just as critical as the press itself. This final step is all about making sure that print becomes a permanent part of the shirt.
Think of the DTF adhesive as a powerful glue that needs time to fully cure. Right after pressing, the bond is good, but it hasn't reached its final, bulletproof strength. The print needs a crucial 24-48 hour curing period before it ever sees the inside of a washing machine. During this time, the ink and adhesive are locking into the fabric fibers, creating that tough, flexible finish you want.
Trust me, washing a shirt too soon is the number one reason I see prints fail. It's the fastest way to cause peeling or cracking. Rushing this final, simple step can ruin all your hard work. Patience is everything here.
Simple Washing Instructions Your Customers Will Actually Follow
To get the most life out of that print transfer on t shirt, you need to give your clients dead-simple care instructions. Handing these over with the final product shows you know your stuff and protects the quality of your work. It's a professional touch that prevents a lot of headaches and emails down the road.
Here’s exactly what you should tell them:
- Wait to Wash: Let the shirt sit for at least 24 hours before its first wash. 48 hours is even better. This lets the print fully set.
- Turn It Inside-Out: This is the golden rule. Turning the shirt inside-out protects the design from getting roughed up by zippers, buttons, or the machine itself.
- Go Cold: Wash on a gentle cycle with cold water. Hot water is the enemy—it can soften the adhesive and make the colors fade over time.
- Use Mild Detergent: Stick to a basic, color-safe detergent. Stay away from harsh chemicals, bleach, and fabric softeners, as they can break down the ink.
Giving your customers these simple tips is a game-changer. It shows you care about the longevity of your product and builds a reputation for quality that lasts.
The Right Way to Dry and Iron
The laundry process doesn't stop once the washing machine dings. How you dry a printed shirt is just as important.
A hot clothes dryer can be brutal on a DTF print. The absolute best way to dry the shirt is to hang it up. If you must use a dryer, tumble dry on the lowest heat setting you have. High heat can reactivate the adhesive, making the print feel tacky or, even worse, causing it to warp and peel off.
And if the shirt needs a good ironing? Never, ever put a hot iron directly on the print. Always turn the shirt inside-out first and iron the back of the fabric. You can also place a sheet of parchment paper over the design as a protective barrier. This shields the print from direct heat, keeping it smooth and looking brand new for years to come.
Answering Your T-Shirt Print Transfer Questions
When you're getting into custom apparel, a lot of questions come up. It doesn't matter if you've been doing this for years or are just firing up your heat press for the first time—getting solid answers is how you avoid expensive mistakes and get results you're proud of.
Let's dive into some of the most common questions we get about using print transfers on t-shirts. Getting these details dialed in is the secret to making shirts that not only look incredible but also hold up wash after wash.
What's the Real Difference Between DTF and Screen Print Transfers?
The biggest difference boils down to two things: how complex your design is and how many shirts you're making.
A DTF (Direct-to-Film) transfer is printed digitally. This makes it the champion for anything photorealistic, designs with subtle gradients, or artwork with a ton of colors. Since there are no screens to set up and burn, DTF is incredibly efficient for smaller batches or even one-of-a-kind prints.
On the flip side, screen print transfers use the classic method of pushing ink through a mesh screen, laying down one color at a time. This approach is a workhorse and super cost-effective when you're printing a large run of a simple design with only a few colors. But that setup time and cost make it a poor choice for small orders or complex, full-color art.
Here’s a simple way to think about it:
- DTF is your go-to for detail and flexibility. It’s the modern solution for full-color logos, intricate graphics, and small-to-medium quantity jobs.
- Screen print is built for volume and simplicity. It’s the king for high-quantity orders of one or two-color designs where cost-per-shirt is the main driver.
Can I Just Use My Home Iron for a T-Shirt Transfer?
I know it's tempting, especially for a one-off project, but trust me on this: using a home iron for professional DTF transfers is a recipe for disaster. An iron simply can't deliver the two most critical things you need: consistent heat and even pressure.
Your standard iron has hot and cool spots across its surface. This means you’ll scorch one part of your transfer while another part barely gets warm enough to stick. Even more important, it's impossible to apply the kind of firm, uniform pressure needed to truly lock the adhesive into the fabric's fibers. The result? A print that starts peeling and cracking after the very first wash.
A heat press isn't just a recommendation; it's a non-negotiable tool for professional-quality work. It gives you precise temperature control and even pressure across the entire design, which is absolutely essential for a durable finish that lasts.
How Do I Get Rid of That White Outline Around My Design?
Ah, the "adhesive halo." That faint, clear outline you sometimes see happens because the adhesive layer is intentionally made just a tiny bit larger than the ink. This ensures every last edge of your design bonds securely to the shirt. It’s usually pretty minimal, but there are a couple of things you can do to make it a non-issue.
First, always partner with a high-quality transfer provider. Their equipment and processes are far more precise, which minimizes that adhesive bleed from the get-go. Second, make sure you aren't over-pressing the transfer. Too much heat or pressure can cause the adhesive to squeeze out from the edges.
But here's the good news: this halo is most noticeable right after you press it. After the first wash, it almost always becomes invisible.
How Long Will a DTF Print Actually Last on a Shirt?
This is where DTF really pulls ahead of the pack. When it's applied correctly and cared for properly, a DTF print is incredibly tough. We’re talking 50-100 washes or even more. It’s not uncommon for the print to actually outlast the t-shirt it’s printed on. Its longevity is right up there with traditional screen printing, and in some cases, it’s even better.
The whole secret is in the application and care. Nailing your heat press settings creates a permanent bond, and simple care—like washing inside-out with cold water—keeps the print looking vibrant and feeling great for years.
Ready to start creating your own stunning, long-lasting custom apparel? At Raccoon Transfers, we make premium DTF prints that are super easy to use and deliver brilliant colors with unbeatable durability. Build your custom gang sheet today!