
Printing Heat Transfer A Complete Guide for Flawless Results
Everything in heat transfer printing circles back to one simple truth: you can't get a great transfer from a bad file. That flawless print you're picturing—the one that doesn't crack, peel, or fade—starts right here, with properly prepared artwork.
Preparing Your Artwork for Perfect Transfers
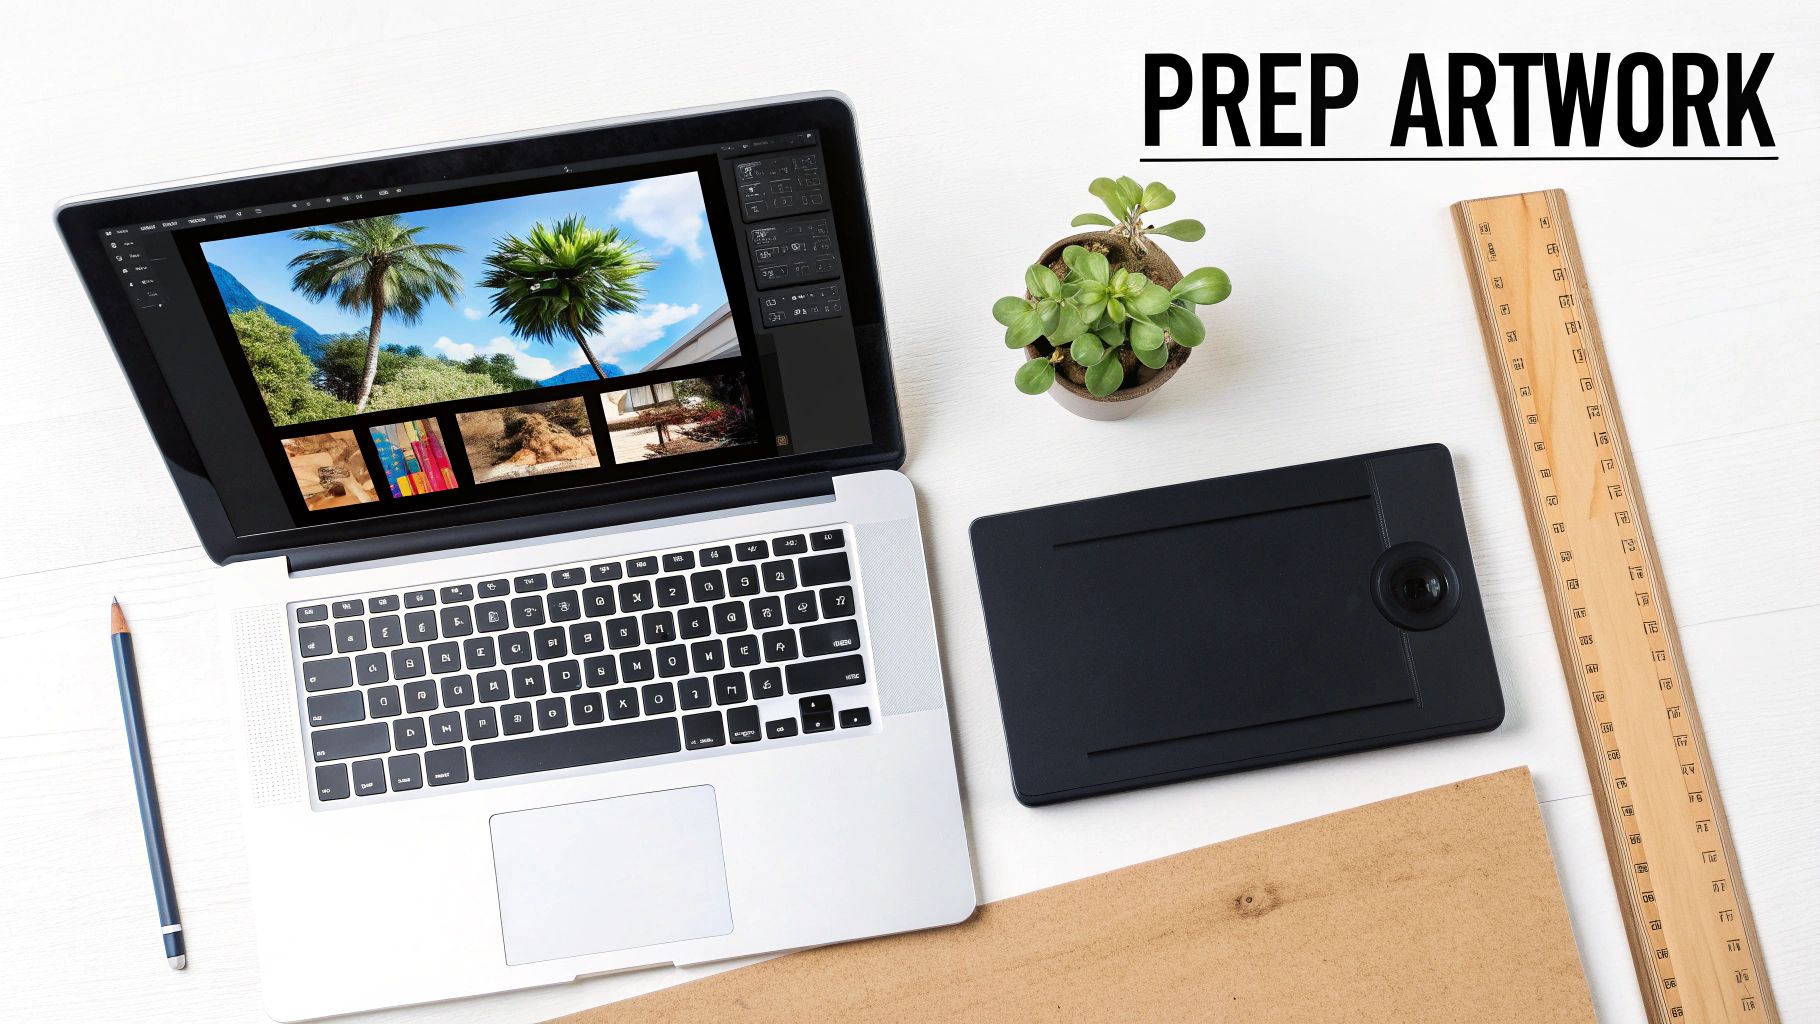
The fate of your final product is sealed long before you ever flip the switch on your heat press. Seriously. A sharp, vibrant, and durable transfer is a direct result of a well-prepared digital file. Skipping these foundational steps is the number one reason I see for blurry prints, weird color shifts, and frustrating do-overs.
Whether you're working with Direct-to-Film (DTF) for t-shirts or UV-DTF for hard goods, the core principles are the same. Nailing your artwork from the get-go saves you time, cuts down on waste, and ensures you end up with a professional-quality product you can stand behind.
File Formats: Vector vs. Raster
When you're ready to upload your art, you'll be dealing with two main file types: vector and raster. Knowing which one to use for your specific design is crucial for getting the results you want.
-
Vector Files (AI, PDF, EPS): These are the undisputed champions for most transfer work. Because vector graphics are built on mathematical paths, you can scale them to any size—from a tiny hat logo to a massive full-back design—and they will never lose quality or look pixelated. They are perfect for logos, text, and any art with solid blocks of color.
-
Raster Files (PNG, TIFF): Think of these as pixel-based images, making them ideal for photographs or art with complex color blends and gradients. When you're using raster files, two things are non-negotiable: a resolution of at least 300 DPI (dots per inch) and a transparent background. A PNG is usually the best bet for raster uploads since it natively supports the transparency that DTF printing requires.
A classic mistake is grabbing a low-res JPG off the web, saving it as a PNG, and hoping for the best. It doesn't work that way. The source file itself has to be created at 300 DPI to avoid a blurry, jagged mess. Always start with a high-quality image.
Essential Pre-Flight Checklist
Before you hit that upload button, run through a quick pre-flight check. Trust me, I've learned from experience that these few minutes can save you hours of headaches down the line. It's like proofreading your design before sending it off.
Here’s my go-to checklist:
- Outline All Fonts: Convert any text in your design to outlines or curves. This locks the font into the artwork, so there's no risk of it being swapped for a generic font if our system doesn't have yours installed.
- Verify Image Embedding: If you're working in a program like Adobe Illustrator and have placed images in your file, make sure they are embedded, not just linked. This packages everything into one neat, self-contained file.
- Confirm True Transparency: Double-check that your background is actually transparent, not just filled with a white color. A white background will print as a solid white box around your design.
- Check Color Profile: For the most accurate color, design your files using a CMYK color profile. Our printers can work with RGB files, but designing in CMYK gives you a much better preview of how the colors will look once they're actually printed.
If you want to dive deeper, we have a complete guide on how to design a heat transfer that covers all the technical must-haves.
Maximize Your Value with a Gang Sheet
Want the best pro tip for cutting your cost per print? Use a gang sheet. This is simply the practice of arranging multiple designs—different logos, multiple sizes, or even art for totally different jobs—onto a single large transfer sheet. Instead of paying for each design one by one, you just pay for the full sheet.
For example, you could easily fit a large chest graphic, a couple of sleeve logos, and a neck tag design all on one sheet, slashing your overall cost. It's the smartest and most economical way to order when you have a variety of graphics for a project or an entire apparel line.
The Secret to a Long-Lasting DTF Print
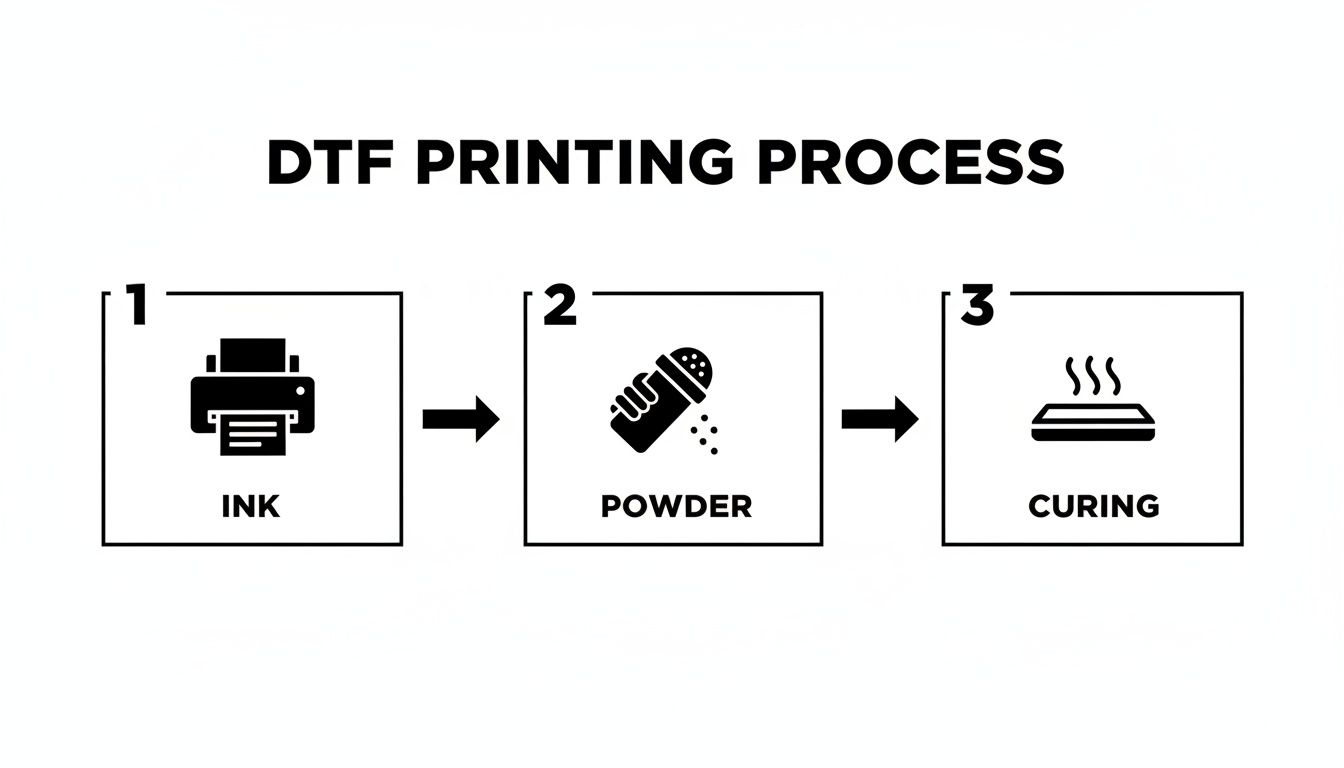
When you peel back a freshly pressed DTF transfer, you're not just looking at ink on a shirt. You're seeing the result of a multi-layered process where every single step is critical for getting that soft feel, vibrant color, and incredible durability. Let's break down exactly how a digital file becomes a tough, wash-resistant design.
It all starts with a purpose-built DTF printer, which is a far cry from your desktop inkjet. The first thing it does is lay down the full-color design using CMYK inks (Cyan, Magenta, Yellow, and Black) onto a special coated film. This is where your artwork's detail and gradients are perfectly replicated.
Right after the color goes down, the printer adds a solid base layer of high-opacity white ink over the entire design. This white layer is the real game-changer. It’s what makes your graphics show up bold and bright on any color fabric, whether it’s a black hoodie or a neon-green tee. Without it, the colors would just sink into the fabric and look faded from the start.
The Make-or-Break Role of Adhesive Powder
With the ink layers down, the wet print moves on to what is arguably the most important step for durability: applying the adhesive powder. A fine, granulated thermoplastic polyurethane (TPU) powder is sprinkled over the entire inked area.
For that print to last wash after wash, the powder has to be coated perfectly evenly. If you have clumps or bald spots, you'll get a print that fails during pressing or starts peeling at the edges after just one cycle in the laundry. This is a common failure point for DIY setups, but professional shops like ours use automated shakers that guarantee a flawless, consistent coating every single time.
Pro Tip: The evenness of the adhesive powder is directly tied to the print's final washability and longevity. A consistent, automated application is what separates a professional transfer from one that fails prematurely.
Curing: Turning Powder into a Resilient Film
Once the excess powder is shaken off, the transfer sheet slides into a curing oven. The heat inside is carefully controlled, and its job is to do more than just dry the ink. It needs to perfectly melt the TPU powder, transforming it from a loose, grainy layer into a smooth, flexible sheet of adhesive.
Getting this part right is a delicate balancing act.
- Not enough heat and the powder won't fully melt, resulting in a weak bond that won't stick properly to the garment.
- Too much heat can scorch the inks, ruining the colors, or make the adhesive layer brittle and prone to cracking.
When cured correctly, the transfer comes out as a single, unified layer—the inks are now permanently fused with the adhesive. This is what gives a quality DTF print its famous stretch and resilience, allowing it to flex with the fabric instead of breaking apart. The demand for apparel with this level of quality is exploding; the global market for heat transfer printing in textiles hit USD 4,214.8 million in 2024 and continues to climb. You can dig into more stats about the textile printing market's expansion at Grand View Research.
Mastering Your Heat Press for Any Material
Alright, let's get to the fun part: turning that freshly printed transfer into a finished product. This is where the magic happens, where your design goes from a digital file to something you can actually wear or sell. Getting this right comes down to three key things: temperature, time, and pressure. Nail these, and you’ll create a print that lasts. Get them wrong, and you'll have a shirt that peels after its first trip through the wash.
There’s no single magic formula here. The settings that work for a 100% cotton tee will be totally different from what you need for a stretchy polyester blend or a tough piece of leather. Every heat press has its own personality, but there are definitely reliable starting points that will get you fantastic, professional-grade results right out of the gate.
This whole process—from ink hitting the film to the final cured transfer—is a carefully orchestrated dance.
Each step is critical. The ink lays the foundation, the powder provides the bond, and the curing process locks it all in, creating that durable, flexible graphic that’s ready for the press.
It's this kind of technology that’s fueling major growth in the custom apparel world. The global thermal printing market, which is the engine behind methods like DTF, is absolutely booming. It was valued at USD 51.48 billion in 2025 and is on track to hit USD 70.06 billion by 2032. The specific slice of that pie we're talking about, thermal transfer printing, makes up about 48% of the market, which shows just how versatile and popular it is for everything from fabrics to hard goods.
The Most Important Step You Might Be Skipping
Before you even think about laying down that transfer, there's a quick, simple step that prevents most application headaches: the pre-press. Garments, especially natural fibers like cotton, are secretly holding onto moisture from the air. If you press a transfer onto a slightly damp shirt, that moisture turns to steam and completely sabotages the adhesive.
Giving the garment a quick pre-press for 5-10 seconds at your target temperature works wonders. It does two things:
- It zaps any hidden moisture, clearing the way for the adhesive to grab hold of the fabric fibers for a permanent bond.
- It smooths out all the wrinkles, giving you a perfectly flat surface for a clean, professional application.
Trust me, skipping this is the number one rookie mistake. It takes just a few extra seconds but can be the difference between a successful run and a pile of wasted shirts.
Perfect Placement and Protection
Want your stuff to look like it came from a retail store? It's all about consistent placement. A solid rule of thumb for a standard chest print on a t-shirt is to place the top of the design about three inches down from the collar. You can use a t-shirt alignment tool for precision, or just get used to using the "three-finger rule" to quickly center it.
Once your transfer is exactly where you want it, cover it with a Teflon sheet or a sheet of parchment paper. This little protective layer is non-negotiable. It keeps any stray ink from getting on your heat press platen and, more importantly, protects the garment from scorching—a real lifesaver when you're working with heat-sensitive fabrics like polyester.
I can't stress this enough: a Teflon sheet is a must-have. It not only protects your gear and your garment but also helps distribute the heat more evenly. It’s a cheap piece of insurance that pays for itself over and over.
Recommended Heat Press Settings for Common Materials
To give you a head start, here’s a quick-reference guide for applying our DTF transfers to some of the most common materials. Remember, these are starting points—always do a quick test press on a scrap piece or an inconspicuous area first to dial in the perfect settings for your specific machine and garment.
| Material Type | Temperature (°F) | Time (Seconds) | Pressure | Peel Method |
|---|---|---|---|---|
| 100% Cotton | 300-320°F | 10-15 | Medium-Firm | Hot Peel |
| 50/50 Cotton/Poly Blend | 280-300°F | 10-12 | Medium | Hot Peel |
| 100% Polyester | 260-280°F | 8-10 | Medium | Hot Peel |
| Tri-Blends | 260-280°F | 8-10 | Light-Medium | Hot Peel |
| Canvas / Heavy Duck | 300-320°F | 12-15 | Firm | Hot/Cold |
| Leather (Untreated) | 250-270°F | 10 | Light | Cold Peel |
Dialing in these settings is key to getting that perfect, long-lasting print every single time.
Hot Peel vs. Cold Peel: The Final Touch
After the timer goes off, the last thing to do is remove the clear carrier film. Most DTF transfers from Raccoon Transfers are a hot peel, meaning you can peel the film away the second the press opens. It's fast, efficient, and what you'll be doing most of the time.
-
Hot Peel: As soon as the press opens, grab a corner of the film and peel it back in one smooth, confident motion. This method typically leaves a soft, matte finish and is perfect for standard fabrics like cotton and poly-blends.
-
Cold Peel: For this, you let the garment and transfer cool down completely to room temperature before peeling. This can sometimes give you a slightly glossier finish and is often the better choice for tricky, textured fabrics, as it gives the adhesive a bit more time to fully bond.
When in doubt, always check the instructions that came with your transfers. For a much deeper dive into the nuances of pressing on different materials, be sure to check out our complete DTF heat press settings guide.
One final pro tip: After you've peeled the film, do a quick "finishing press" for another 5-10 seconds with a protective sheet over the design. This helps to really meld the ink into the fabric fibers, improving durability and giving the print an even softer feel.
Applying UV-DTF Transfers on Hard Surfaces
While DTF has completely changed the game for fabrics, customization doesn't stop with apparel. UV-DTF transfers push the boundaries even further, letting you add incredibly durable, high-end graphics to almost any hard surface. The best part? No heat press required. These aren't just stickers; they’re a professional way to brand everything from tumblers and phone cases to laptops and glass.
What makes UV-DTF different is its construction. The design is printed with UV-cured ink and usually finished with a layer of varnish, giving it a glossy, slightly raised feel that’s tough as nails. It’s highly resistant to scratches and fading, resulting in a permanent graphic that looks and feels like it was printed directly on the item.
The Critical Role of Surface Preparation
If you want a bond that truly lasts, it all comes down to the prep work. Your goal is simple: get the surface perfectly clean and free of any debris that could interfere with the adhesive. Dust, oils from your hands, or any other residue will create a weak point and almost guarantee the transfer will fail over time.
For the best results, stick to this cleaning routine:
- Initial Wash: If the item is visibly dirty, a quick wash with soap and water will get rid of the major grime.
- Alcohol Wipe-Down: This is non-negotiable. Wipe the entire application area with a lint-free cloth and isopropyl alcohol (70% or higher). This step dissolves those invisible oils and residues that kill adhesion.
- Let It Dry Completely: Make sure the surface is bone-dry before you even touch the transfer. Any trapped moisture is a deal-breaker for a solid bond.
I can't stress this enough: never skip the alcohol wipe. Even if a surface looks clean, invisible skin oils are more than enough to prevent a UV-DTF transfer from sticking properly. It’s the single most common reason for application failure.
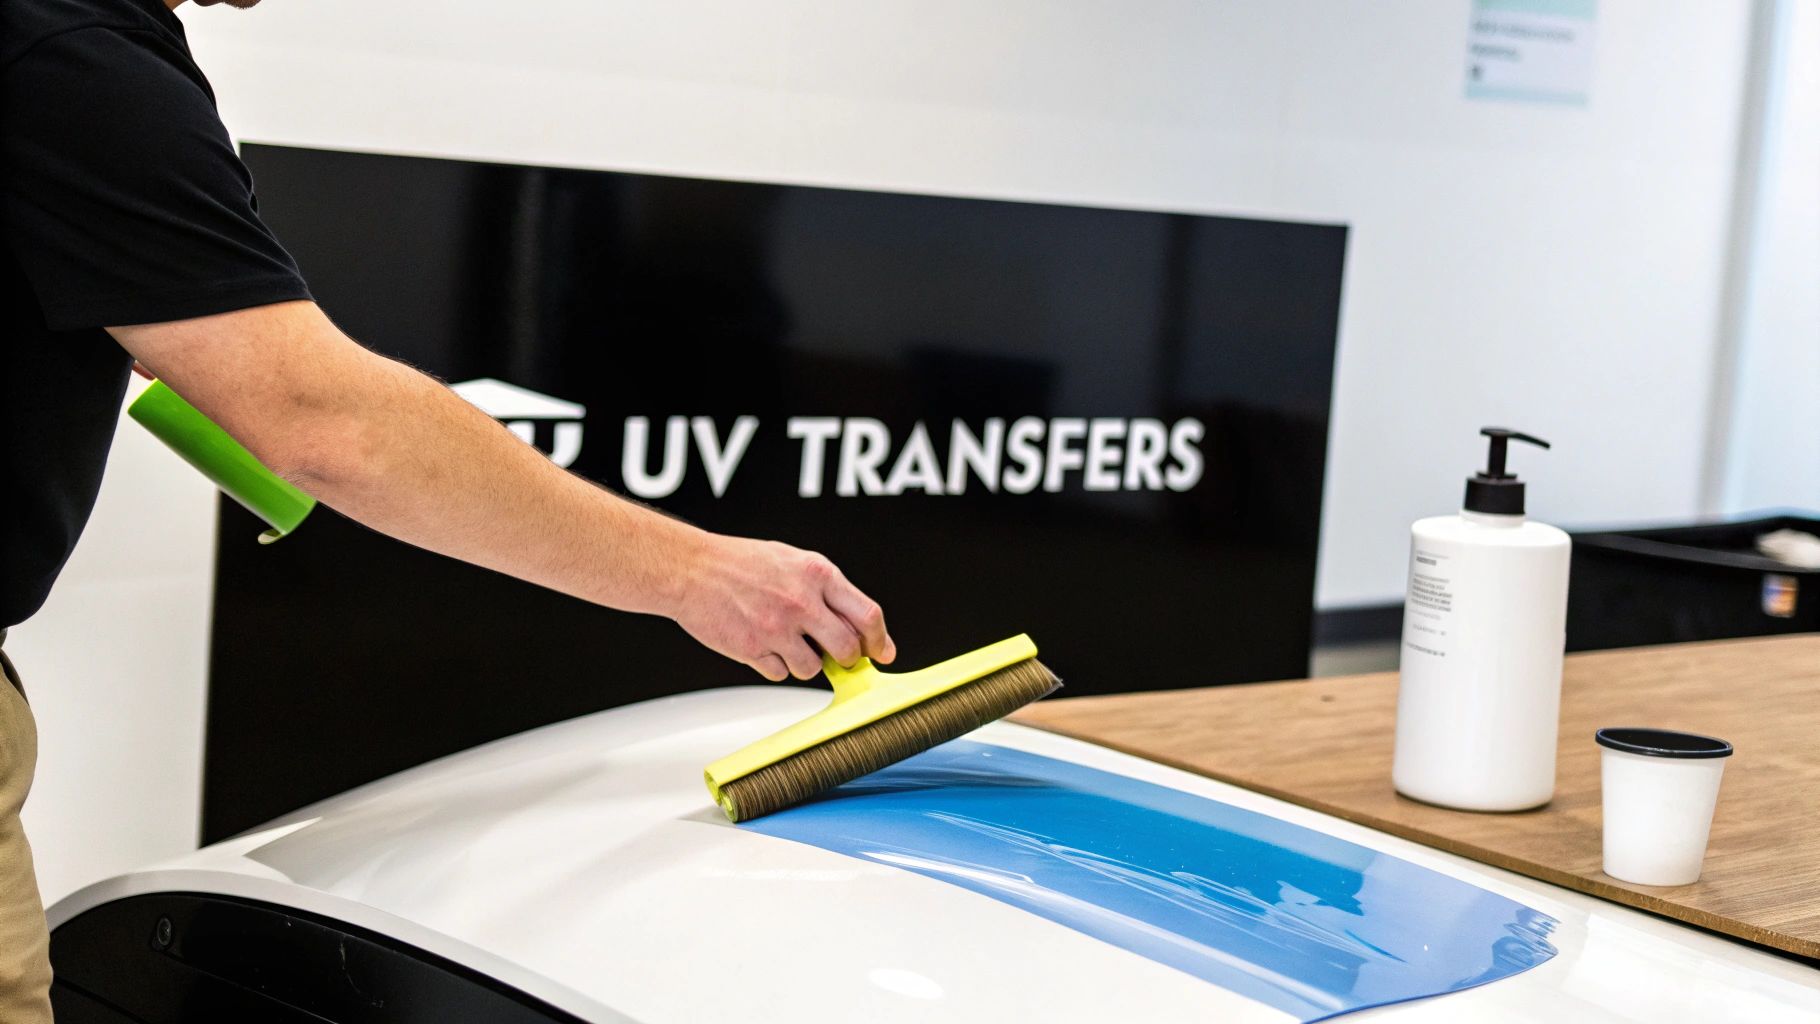
Application Technique for a Flawless Finish
Applying a UV-DTF transfer is pretty straightforward, but you need to be precise to avoid air bubbles and get that smooth, professional look. Don't rush this part.
After your surface is prepped and dry, position the transfer. Be careful here—the adhesive is aggressive and you only get one shot. Once you're happy with the placement, press down firmly on one edge.
Using a squeegee or even a credit card, slowly work your way across the transfer, applying firm pressure from the center outwards. This method is crucial for pushing out any trapped air as you go.
For a more detailed look at the process, you can learn more about UV-DTF stickers in our complete guide. Once the transfer is fully applied, give it one final burnish with your squeegee, paying extra attention to the edges to make sure everything is sealed down tight.
Now for the final reveal. Slowly peel the clear carrier film away, pulling it back on itself at a low, flat angle. If you see any part of the design trying to lift up, just lay the film back down, press on that specific spot again, and then continue peeling. What you’re left with is a vibrant, durable graphic with a premium, textured feel that instantly elevates any product.
Troubleshooting Your Heat Transfers: A Pro's Guide to Common Problems
Even the most seasoned pros run into a snag every now and then. A perfect print can go sideways in the final seconds of pressing, and it's incredibly frustrating. But don't worry—most of these issues are surprisingly easy to fix once you know what to look for.
Think of this as your field guide to heat transfer troubleshooting. Instead of tossing a misprinted shirt, you'll learn how to spot the problem, fix it, and get that flawless press you're aiming for.
Why Isn't My Transfer Sticking?
This is the big one. You lift the film, and the design comes right up with it, or maybe just a piece of it sticks. Before you start questioning the transfer itself, let's look at the press. Nine times out of ten, the issue lies in the application.
-
The Hidden Culprit: Moisture. Cotton and other natural fibers are like sponges for humidity. When you press a transfer onto a slightly damp shirt, that moisture instantly turns into steam, creating a barrier that stops the adhesive from bonding. The fix is non-negotiable: always pre-press your garment for 5-10 seconds. This wrings out any hidden moisture and gives you a perfectly dry canvas.
-
Not Enough Squeeze. Without the right pressure, the adhesive just sits on top of the fabric instead of getting pushed into the fibers. It might look okay at first, but it won't last. You're looking for a solid medium-to-firm pressure—it should take a little muscle to lock the handle of your press down.
-
Teflon and Other Coatings. Be wary of performance wear, jackets, or anything with a waterproof or stain-resistant finish. These coatings are literally designed to repel things, and that includes your transfer's adhesive. If you suspect a coating is the problem, you'll likely need to switch to a different, uncoated garment.
Why Is It Cracking or Peeling After One Wash?
There's nothing worse than a print that looks amazing right off the press, only to have the customer send you a picture of it cracking after the first wash. This is a classic sign of an incomplete bond—the adhesive never fully melted and fused with the fabric.
This almost always points back to a problem with one of the three pillars of heat pressing:
- Your Heat is Too Low: Your press might display 320°F, but is that what the platen is actually putting out? Grab an inexpensive infrared temp gun to find out for sure. A difference of even 10-15 degrees can be the line between a permanent bond and a failed print.
- You're Rushing the Press Time: The adhesive needs time to melt and seep into the fabric's weave. Shaving off even a few seconds can starve the process, leaving you with a brittle design that can't handle the agitation of a washing machine.
- Pressure is Uneven: If your heat press has cold spots or applies pressure inconsistently, you'll get a patchy cure. Some parts of the transfer will stick perfectly, while others are barely hanging on, ready to crack and peel away.
Pro Tip: Do a quick visual check after pressing. A well-adhered transfer will let the texture of the fabric show through the ink. If the design looks smooth and plasticky, like a sticker sitting on top of the shirt, it's a red flag that it needs more pressure or a quick finishing press.
What's Happening to My Colors? (Dye Migration)
Ever press a crisp white transfer onto a red polyester shirt, only to see it turn a disappointing pink by the next day? You've just met dye migration. This happens when the unstable dyes in polyester vaporize under heat and bleed into your transfer ink, staining it from behind.
This is almost exclusively a polyester and poly-blend problem. The solution is to turn down the heat. For 100% polyester, try pressing at a much lower 260-280°F for about 8-10 seconds. This is usually hot enough to cure the transfer adhesive without "activating" the fabric dyes. Using premium transfers with built-in dye-blocking layers also makes a huge difference.
How to Get Rid of That Awful "Heat Press Box"
You finish a great-looking shirt, but there's a faint, shiny rectangle on the fabric where the heat platen was. This dreaded "press box" happens when heat and pressure flatten or scorch the garment's fibers.
Here’s how you can make it disappear:
- Use a Heat Press Pillow: Slip a foam pillow inside the garment. This raises the print area so only that part of the shirt gets the full force of the press, leaving the surrounding fabric untouched.
- Ease Up on the Pressure: You only need enough pressure for a solid bond. Anything more is just crushing the fibers for no reason and is a leading cause of that boxy outline.
- "Thread" the Garment: Many presses are "threadable," meaning you can slide the shirt over the lower platen so you're only pressing a single layer. This technique drastically reduces the press box effect.
The ability to create high-quality custom apparel has fueled incredible growth in the decoration industry, thanks in large part to thermal transfer technology. In fact, the market for thermal transfer printers hit USD 430.1 million in 2024 and continues to expand. You can learn more about the market's growth and key drivers at GM Insights.
Got Questions About Heat Transfers? We've Got Answers.
No matter how many times you’ve fired up the heat press, questions are bound to come up. Getting the right answers can be the difference between a project you’re proud of and one that ends in frustration. Let's dig into some of the most common things people ask us.
What’s the Real Difference Between DTF and Screen Printed Transfers?
It really boils down to three things: versatility, detail, and how many you need. DTF is the undisputed champ for full-color, photorealistic images. If your design has gradients, tons of colors, or intricate details, DTF will capture it perfectly. Since there are no setup fees per color, it’s a lifesaver for small batches or even single custom pieces. Plus, DTF plays nice with almost any fabric, including tricky synthetics and blends.
Screen printed transfers, on the other hand, are the workhorse for big jobs with simple, spot-color designs. The initial cost to create the screens makes small orders pricey, but once you hit a higher volume, the cost per transfer drops significantly.
For anyone printing heat transfers with complex graphics or needing small-to-medium quantities, DTF is going to give you better quality and value every time. Screen printing really only makes sense when you need 50+ identical items with a simple, bold logo.
How Can I Make My Heat Transfers Actually Last?
Durability isn't a single magic trick; it's a combination of three things: a quality transfer, a perfect application, and proper care. It all begins with a professionally made transfer that uses top-notch inks and adhesive powder.
Next, you have to nail the application. Don't guess—follow the recommended time, temperature, and pressure settings for your specific fabric. Here's a pro tip that makes a huge difference: always pre-press the garment for 5-10 seconds. This gets rid of any sneaky moisture hiding in the fibers that could weaken the bond.
Finally, educate your customers on aftercare. It's simple:
- Wash inside out with cold water.
- Skip the harsh detergents, fabric softeners, and bleach.
- Tumble dry on low, or better yet, hang it up to dry.
Stick to these rules, and that transfer will look great for 50 or more washes.
Why Is Everyone Talking About Gang Sheets?
Honestly, using a gang sheet is the single best way to slash your cost per design. It lets you fit multiple different logos, sizes, or totally separate designs onto one large sheet of film for a single price. So instead of paying for ten individual transfers, you arrange them all on one sheet and dramatically lower the cost of each graphic.
This is a game-changer for brands needing logos for different spots—think a big design for the chest, a small one for the sleeve, and a neck tag label, all printed together. If you're serious about making your printing heat transfer business more profitable, getting smart with gang sheets is non-negotiable.
Can I Just Use My Home Iron Instead of a Heat Press?
You’ll see people online saying you can, but trust me, it’s a recipe for disaster. A home iron is physically incapable of providing the two things a transfer needs to bond permanently: consistent, even temperature and uniform, heavy pressure.
Irons have hot and cool spots, and you can't possibly apply enough even pressure with your hands. You'll end up with transfers that peel at the edges, crack after one wash, or just fall off entirely. A heat press isn't a luxury; it's a foundational investment for anyone who wants to create quality products that last. It's the only way to guarantee a permanent, durable application.
Ready to create stunning, durable custom products with ease? Raccoon Transfers offers premium DTF and UV-DTF transfers with next-day shipping. Build your custom gang sheet and start printing today at Raccoon Transfers