
Finding Custom Shirts Near Me A Practical Guide
When you type "custom shirts near me" into a search bar, you're usually met with two options: massive, impersonal online printers or the small shop down the street. While both can print a shirt, working with a local printer is less of a transaction and more of a partnership. Honestly, the results are almost always better.
Why Going Local Is a Game Changer
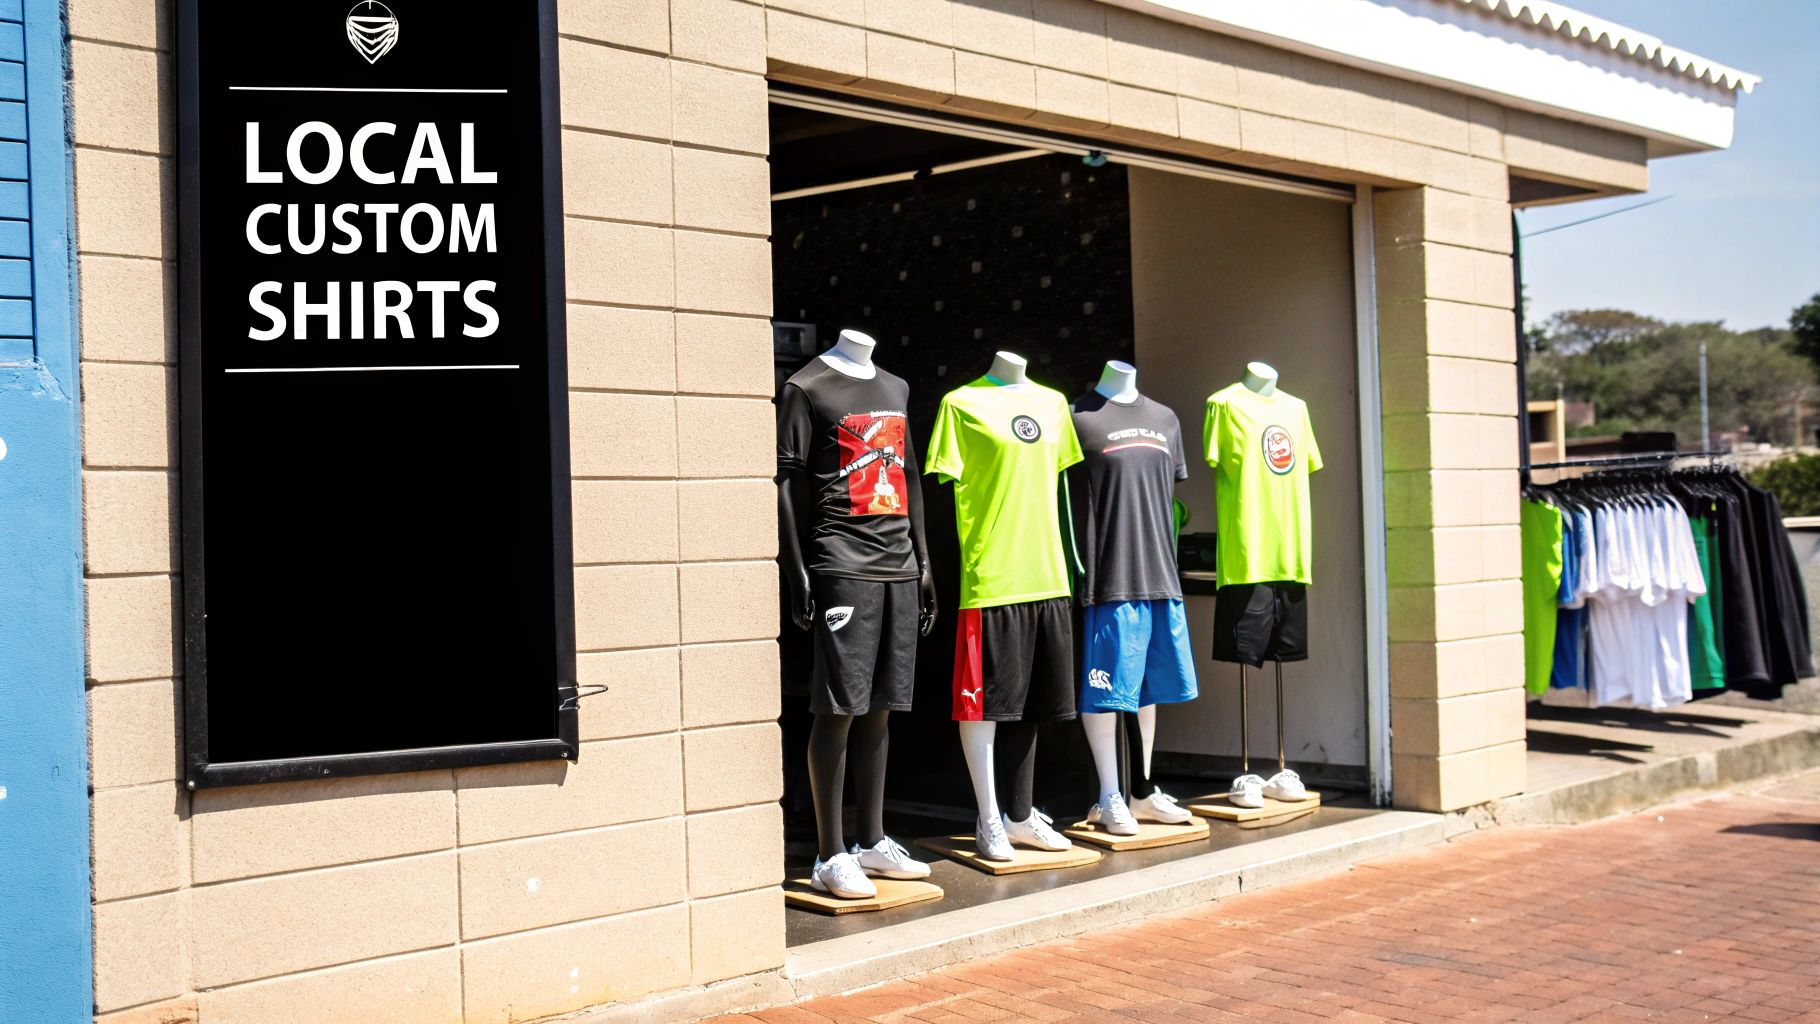
It’s tempting to just click on the first big-name website that pops up, I get it. But the real magic happens when you work with someone in your own community. There's nothing quite like having a real, face-to-face conversation about what you envision for your design.
Think about it. You can explain the exact shade of blue for your company logo or physically feel the difference between a standard cotton tee and a premium tri-blend before placing an order for 100 shirts. That kind of tangible interaction is something you just can't get from a website.
Hands-On Quality Control
The biggest win for local printing is the direct oversight you have. You're not just another order number in a massive queue; you're a real person with a real project, and that personal connection almost always leads to a better final product.
- See and Touch the Samples: You can actually hold a sample shirt, check the vibrancy of the ink, and feel the print texture before you give the green light for the full run.
- Fix Problems on the Spot: If the design placement is a little off or the color isn't quite right, you can sort it out with a quick chat, not a frustrating week-long email chain.
Building a Real Partnership
When you work with a local business, you’re building a relationship. A huge part of this is the value of personalized customer engagement in local shops, which allows them to truly understand your needs. They get to know your brand, what you like, and the quality you expect.
The best local printers are more like creative consultants than simple order-takers. They’ll give you honest feedback, maybe suggesting a different printing method for your specific design or pointing you to a more budget-friendly shirt that doesn't sacrifice quality.
This kind of teamwork doesn't just improve your current project; it makes every future order incredibly simple. Once you find a local printer you trust, they become a go-to part of your team, ready to get your next idea printed quickly and correctly.
Getting to Know the Lingo: A Quick Guide to Printing Methods
Once you've got a shortlist of local printers, you need to be able to speak their language. The printing method you choose—whether it's classic screen printing or a digital option like Direct-to-Garment (DTG)—will have a huge impact on the final cost, feel, and longevity of your shirts. A little knowledge here goes a long way in making sure you pick a shop that’s truly equipped for your project.
Screen printing, for example, is the go-to for big batches. Let's say you're outfitting a team for a charity 5K and need 200 shirts with a simple, two-color logo. Screen printing is perfect for this. It's durable, vibrant, and the cost per shirt gets really low when you order in bulk. The process literally pushes ink through a stenciled screen onto the fabric, creating a design that holds up wash after wash.

Where Digital Printing Fits In
But what if you only need one or two shirts with a really detailed, full-color photograph? That's where digital printing, specifically DTG, comes in. It works a lot like a paper inkjet printer, but for fabric. This method is brilliant for complex, colorful designs on small orders. The trade-off is that it can be more expensive per shirt, so it isn't the most budget-friendly choice for a large run.
The material of your shirt matters, too. As the chart above shows, cotton is still king, especially for DTG, because it absorbs ink beautifully.
Another method you'll hear about is Direct-to-Film (DTF). It’s a newer technique that offers the color possibilities of digital printing with the application feel of a high-quality transfer.
To help you sort through the options, here's a quick breakdown of the most common methods.
Comparing Popular T-Shirt Printing Methods
| Printing Method | Best For | Durability | Cost at Low Volume | Cost at High Volume |
|---|---|---|---|---|
| Screen Printing | Simple designs (1-4 colors), large orders (50+) | Very High | High | Low |
| Direct-to-Garment (DTG) | Complex, full-color designs, small orders, photos | Good | Low | High |
| Direct-to-Film (DTF) | Detailed designs on various fabrics, all order sizes | High | Moderate | Moderate |
| Heat Transfer Vinyl (HTV) | Names, numbers, simple logos on small batches | Good | Low | High |
Ultimately, the best choice boils down to your design, your order size, and your budget. A good local printer will be able to look at your artwork and instantly recommend the most effective and economical method for you. If you're stuck between digital options, our deep dive into DTF vs. DTG printing methods can help clear things up.
The custom t-shirt printing market is booming, and for good reason. It’s projected to hit around USD 9 billion by 2025, growing at a rate of 10.2% each year. This growth is fueled by new tech that makes getting awesome custom gear easier and more affordable than ever.
How to Vet Local Printers and Get an Accurate Quote
You’ve Googled "custom shirts near me" and have a shortlist of local printers. Great start! But this is where you need to dig a little deeper, because not all print shops are created equal.
Start by checking out their digital footprint. A polished, professional website with a solid portfolio is usually a good sign. Look for real photos of their work, not just stock images or digital mockups. Do the colors pop? Are the lines on the designs crisp and clean? This is your first real glimpse into the quality you can expect.
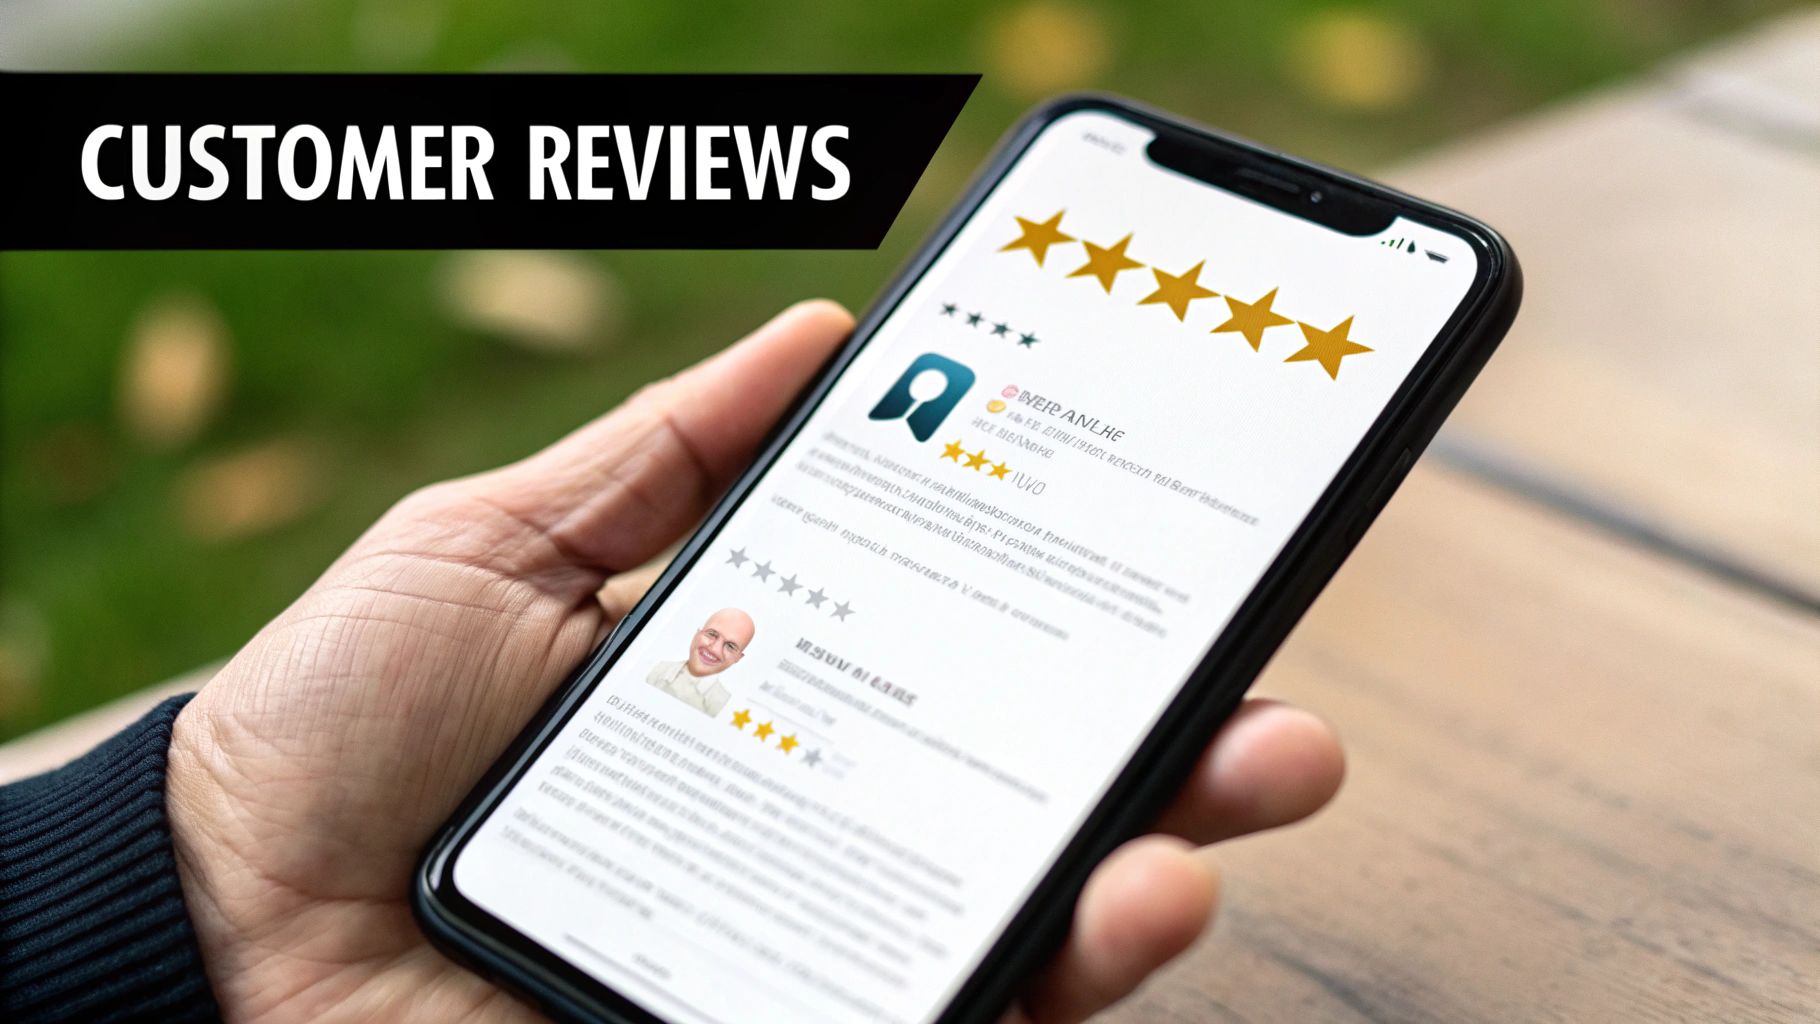
After that, dive into customer reviews on Google, Yelp, or even their Facebook page. Pay close attention to what people say about communication, how quickly they got their orders, and—most importantly—how the final product turned out.
Key Questions to Ask Before Committing
Before you even think about getting a quote, you need to have your questions lined up. This helps you compare printers on an even playing field and weed out the ones that aren't a good fit. Honestly, having a basic grasp of understanding how search queries work can even help you find better candidates from the get-go.
Here are the non-negotiable questions to ask:
- What are your minimum order quantities (MOQs)? This is a huge deal, especially for screen printing, where lower quantities can be expensive or not possible.
- What are your preferred file formats? Most professional shops will want vector files (AI, EPS, SVG) to ensure your design prints perfectly.
- Can I see or feel shirt samples? The difference in feel and fit between shirt brands is massive. You don't want to get stuck with scratchy, ill-fitting tees.
A good, transparent printer will have no problem answering your questions. If they're vague about pricing or their process, take that as a red flag. It’s better to walk away and find someone else you can trust.
Getting a detailed quote is the final piece of the puzzle. Make sure the printer breaks everything down for you. You should see the cost per shirt, any setup fees (these are standard for screen printing), the printing cost for each location (like the front, back, or sleeve), and any fees for design help.
An itemized quote means no nasty surprises later. With the demand for custom apparel booming, most shops are competitive and willing to be upfront with their pricing. Taking the time to be thorough ensures you find the best overall value, not just the cheapest price tag.
Getting Your Design Ready for a Flawless Print
A fantastic design idea can fall apart at the printing stage if the file isn't set up correctly. Trust me, spending a few extra minutes getting your artwork print-ready will save you a world of headaches and ensure your vision comes to life exactly as you imagined.
The biggest hurdle I see people run into is the difference between vector and raster files. Any good local printer is going to ask you for a vector file—think AI, SVG, or EPS formats. Why? Because vectors are made of mathematical paths, so they can be scaled up to the size of a billboard without losing an ounce of quality. Raster files, like JPEGs and PNGs, are built from pixels, and they'll get blurry and pixelated if you try to stretch them too much.
A Few Pro Tips for File Prep
If you're stuck with a raster image and can't get a vector version, don't panic. Just make sure it's high-resolution. The industry standard is 300 DPI (dots per inch) at the actual size you want it printed. Grabbing a tiny logo off a website is a recipe for a fuzzy, amateur-looking print every single time.
Here are a few other things I always double-check before sending a file off:
- Outline Your Fonts: This is a classic rookie mistake. If your design uses a special font, you need to convert that text to outlines. This basically turns the letters into shapes, so the printer can open the file perfectly without needing your specific font installed on their system.
- Color Mode Matters: Your monitor displays colors in RGB (Red, Green, Blue), but professional printers use CMYK (Cyan, Magenta, Yellow, Black) or designated Pantone colors. Colors can and do shift during this conversion, so be prepared for slight differences between what you see on screen and the final shirt.
- Don't Forget the Details: Super fine lines or tiny, intricate text can get lost in the printing process, especially with screen printing where ink is pushed through a mesh screen. It's often better to simplify those tiny details to make sure the final design is crisp and clean.
Your digital file isn't just a picture; it's the blueprint for your shirt. A clean, accurate blueprint results in a great final product. A messy one leads to frustration and reprints.
Finally, think about placement. Where is this design actually going to sit on the shirt? Putting important parts of your artwork too close to the collar, seams, or edges is risky. It can easily get warped or even cut off. For a deeper dive on this, our guide on choosing the right graphic size for a t-shirt is a great resource. A little bit of forethought here makes a huge difference.
Finalizing Your Order and Avoiding Common Pitfalls
You’ve done the hard work of vetting printers and getting your design file just right. Now comes the moment of truth: placing the order. This is your last line of defense against small mistakes turning into big, costly headaches. The most important document you'll see at this stage is the digital proof (or mockup) from your printer.
Think of this proof as the final blueprint for your project. Don't just give it a quick once-over. Zoom in. Scrutinize every detail. This is your chance to catch a typo, confirm the colors are spot-on, and make sure the design placement is exactly where you envisioned it.
The Pre-Production Checklist
Before you give the green light, it pays to run through a quick mental checklist. I’ve seen this simple step save people from major disappointments more times than I can count.
- Quantities and Sizes: Are the counts for each size (S, M, L, XL) exactly what you need? It's easy for a "15" to become a "51" with a simple typo.
- Color Codes: If you specified exact Pantone colors, check that those codes are listed on the proof. Don't just eyeball it.
- Final Invoice: Pull up your original quote and compare it to the final invoice, line by line. Make sure everything matches up.
As you're wrapping things up, just be aware that some shops might try to add on extras. A basic understanding of cross-selling and upselling strategies can help you stick to what you actually need.
Remember, that proof is essentially your contract. Once you sign off on it, you’re saying every detail is 100% correct. Any changes after approval almost always mean extra costs and delays.
Finally, clarify the production timeline and payment terms one last time. When is the deposit due? When do they need the final balance? Getting these details straight ensures the whole process goes smoothly.
And if you're getting your hands dirty with different application methods yourself, our guide on https://raccoontransfers.com/blogs/guides/how-to-heat-press offers some great practical advice.
Common Questions You'll Probably Ask Your Local Printer
Alright, so you've narrowed down your list of local print shops and have your design ready to go. Before you pull the trigger, a few practical questions almost always come up. Let's walk through the big ones so you know exactly what to expect.
So, How Much Are These Custom Shirts Going to Cost Me?
This is the million-dollar question, and the honest answer is: it depends. There isn't a flat rate because your final cost is a mix of a few key things: the printing method they use, the type of shirt you pick, how many colors are in your design, and how many shirts you're ordering.
For instance, screen printing is the go-to for big orders because it's super cost-effective at scale. But for a small run? The setup costs can make it surprisingly expensive.
Here's the most important takeaway: The more you order, the less you pay per shirt. That's the golden rule of bulk printing. A 100-shirt order will always have a better per-piece price than a tiny 15-shirt run.
Always insist on an itemized quote. It should clearly separate the cost of the blank apparel, the actual printing, and any setup fees. This is the only way to truly compare prices between shops and make sure you're not getting hit with surprise charges later.
What’s a Realistic Turnaround Time?
Patience is a virtue, but you still need your shirts on time! A realistic timeframe can be anywhere from a few days to a couple of weeks. It really boils down to three main factors:
- How busy the shop is.
- The complexity of your design.
- Whether the shirts you want are in stock.
A simple, one-color logo on a standard t-shirt they have on the shelf? That's going to be quick. A complex, five-color design with prints on the front, back, and sleeve on specialty-order hoodies? That will take a bit longer. The best move is to get a firm completion date after you’ve approved the final design proof.
Can I Just Bring My Own Shirts?
Maybe. This is a big one, and the policy really varies from one printer to the next. Many shops prefer to supply the garments themselves. Why? Because they've already tested them and know exactly how their inks and machines will perform on that specific fabric. It’s their way of guaranteeing a quality print.
Some places are more flexible and will happily print on items you bring in. Just know that they might not guarantee the final result in the same way, or they may charge a small fee for handling outside goods. You absolutely have to ask about this policy before you go out and buy a box of blank tees.
What's This "Minimum Order Quantity" I Keep Hearing About?
A Minimum Order Quantity (MOQ) is simply the smallest order a shop will accept for a particular job. You'll run into this all the time with screen printing. The setup process is hands-on and time-consuming, so printing just one or two shirts isn't financially practical for the printer.
For screen printing, MOQs often hover around 12 to 24 shirts, sometimes more for designs with a lot of colors. On the flip side, methods like Direct-to-Garment (DTG) printing or vinyl transfers usually have no minimums at all, which makes them perfect for prototypes, one-off gifts, or super small batches.
Ready to bring your designs to life without worrying about minimums or complicated setups? At Raccoon Transfers, we specialize in high-quality, easy-to-apply DTF transfers that work on almost any fabric. Get next-day shipping and see your vision become reality. Build your custom transfer sheet today!